The Super Easy No Fail DIY Curtains
Make semi homemade DIY curtains using this really easy method. If you need custom length curtains, but don’t want to spend custom curtain panel money, read this tutorial to save yourself time and money making them yourself.
(This post contains affiliate links. Please see my Disclaimer for more information)
Do you ever feel like you really want to do a project around the house but feel a little concerned about biting off too much work? Are you feeling a little crafty, but not in a full-blown, Martha Stewart kind of way? I feel like that too a lot. I like to be creative, but I also like projects that are relatively simple.
And I think this project fits the “I want to do something, but not something that is going to take too much time!”
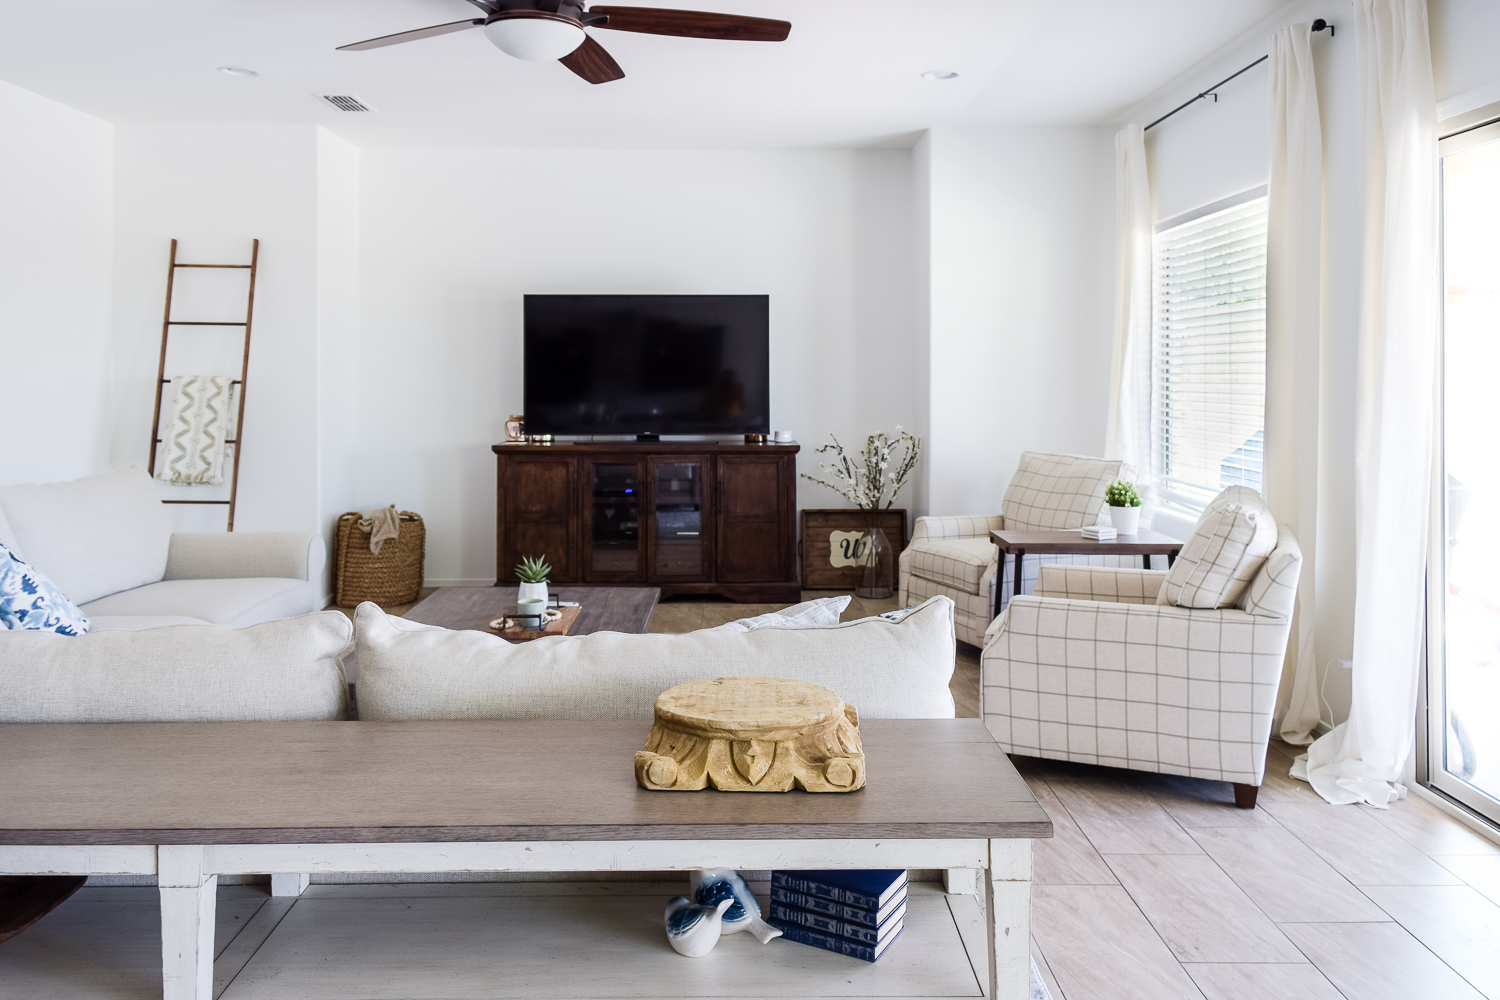
We recently moved into our new home here in North Phoenix and it has loads of natural light. I absolutely love the potential for the space.
When we moved in, the room was a deep gray color with very nice, but super dark gray curtains.
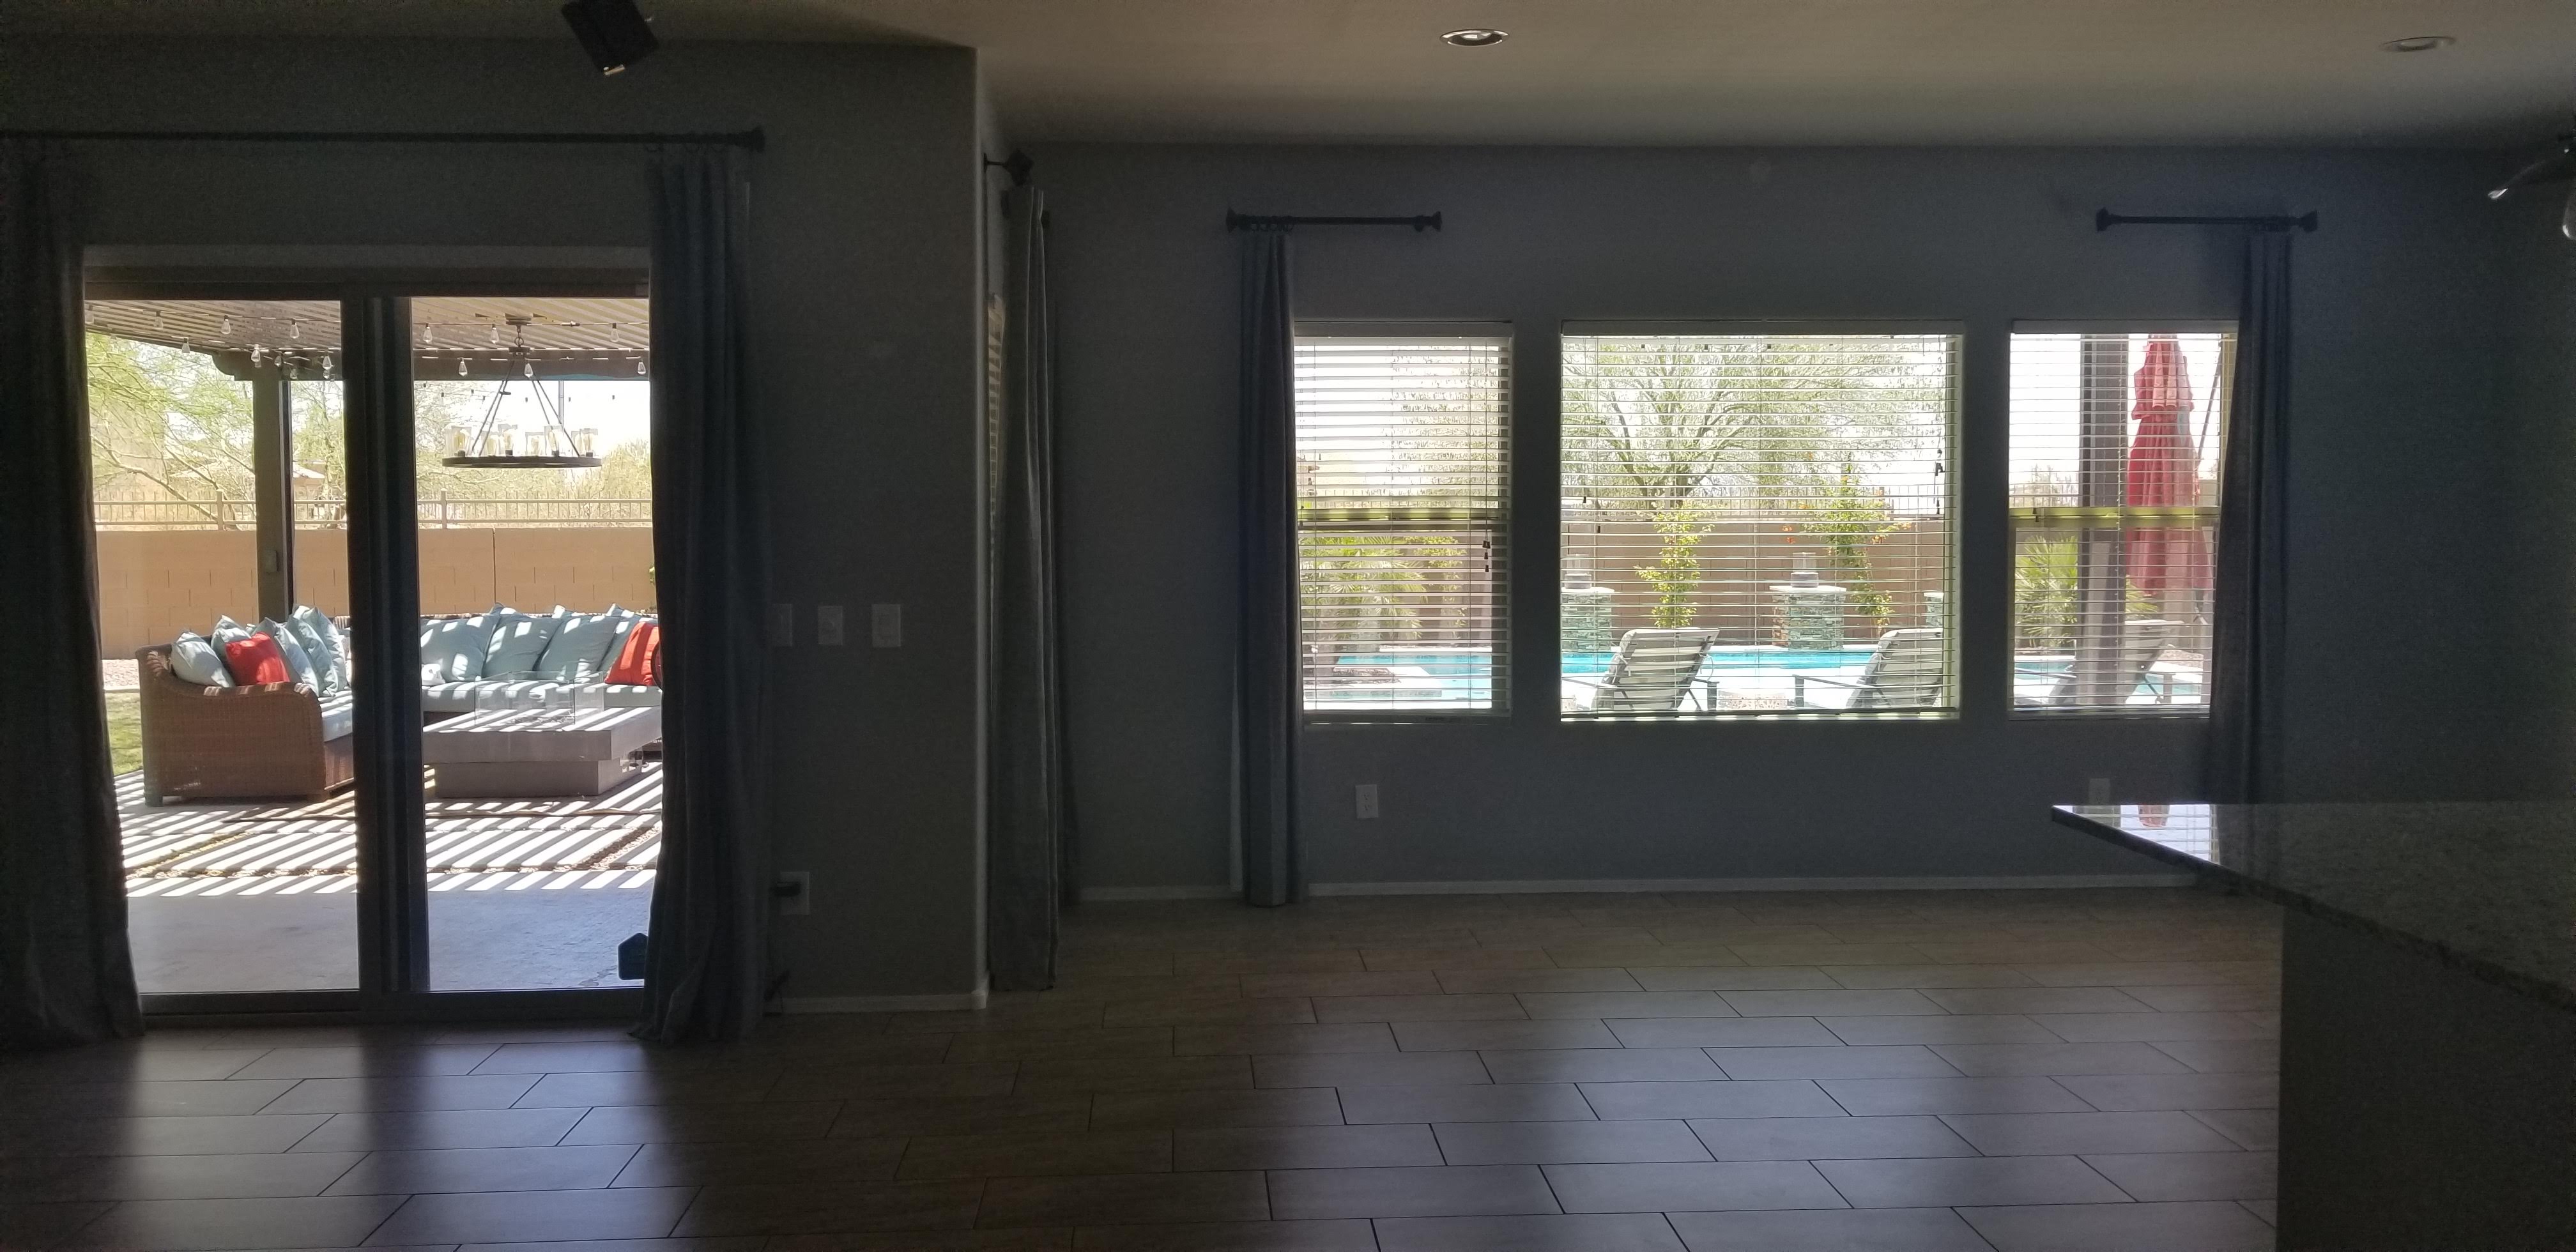
And well… we just moved from Michigan, where it feels overcast 75% of the year. I needed to see the sunshine and light ASAP.
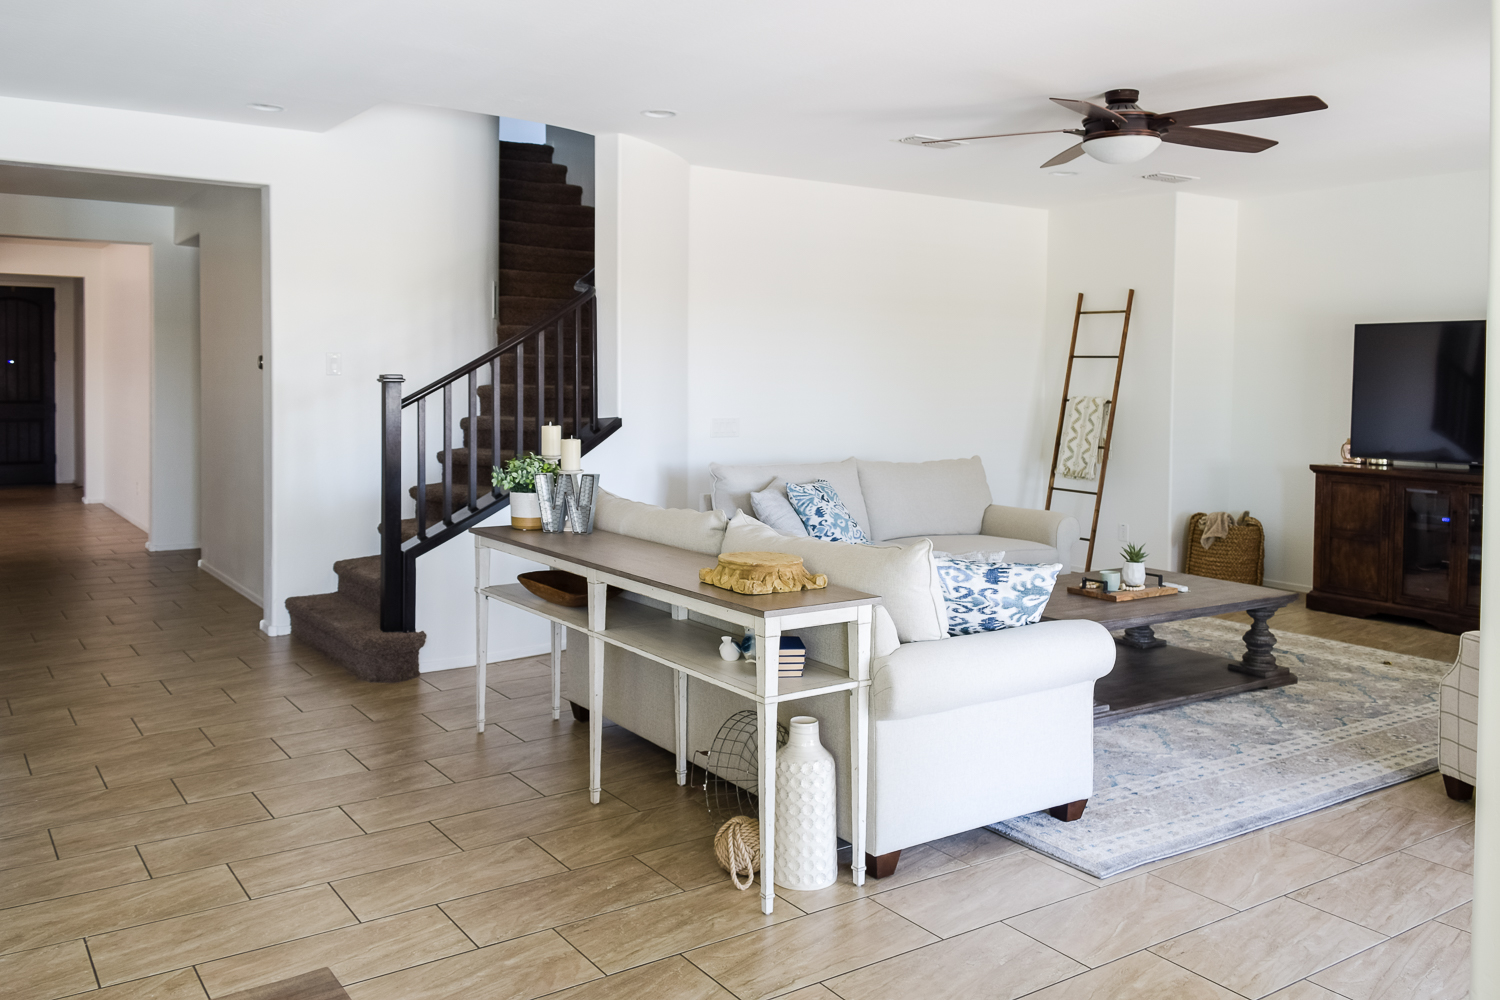
The first thing we did was paint the room a bright Chantilly Lace white. It’s perfect. It doesn’t have any warm colors to it, just a really nice bright white.
While I loved the idea of having curtains around the room, I was not looking forward to buying custom length curtains, due to the 9-foot ceilings. We just bought a house and any extra money was going towards important things like furniture and a new dishwasher…
Jordan immediately said, “We had 18-foot and 9-foot ceilings in the Michigan house, why don’t you make more curtains? You’re really good at it.”
I love how that man flatters me to keep me from spending too much money. 😉 But he is right, I made 2 sets of 2-story curtains, curtains for Owen’s nursery, and even burlap curtains in the last house!
But I had a better plan. One that would be less expensive than buying fabric at Jo-Ann’s (which made our wallet happy) and was 90% already done to help me finish the project quicker.
Let’s get real…
We have two new jobs, we moved in the Summer, and the last thing I really want to do is DIY ten new curtain panels.
And that is where I’m today– I made semi-homemade DIY curtains!

I promise, this is surely not an original idea, but it’s something that I haven’t done before, and I thought that if you are in a time crunch, you might want to know about this really easy custom curtain panel trick!
Other Posts I Think You’ll Enjoy Reading:
- 10 Easy Ways To Decorate Your Home For Under $10
- 5 Super Easy Ways How to Decorate a Living Room
- DIY Wooden Serving Tray
Semi-Homemade DIY Curtains
Have a sewing machine and want an excuse to use it? This is a great project for it! Don’t have a machine? Skip the sewing and use iron-on hemming tape!
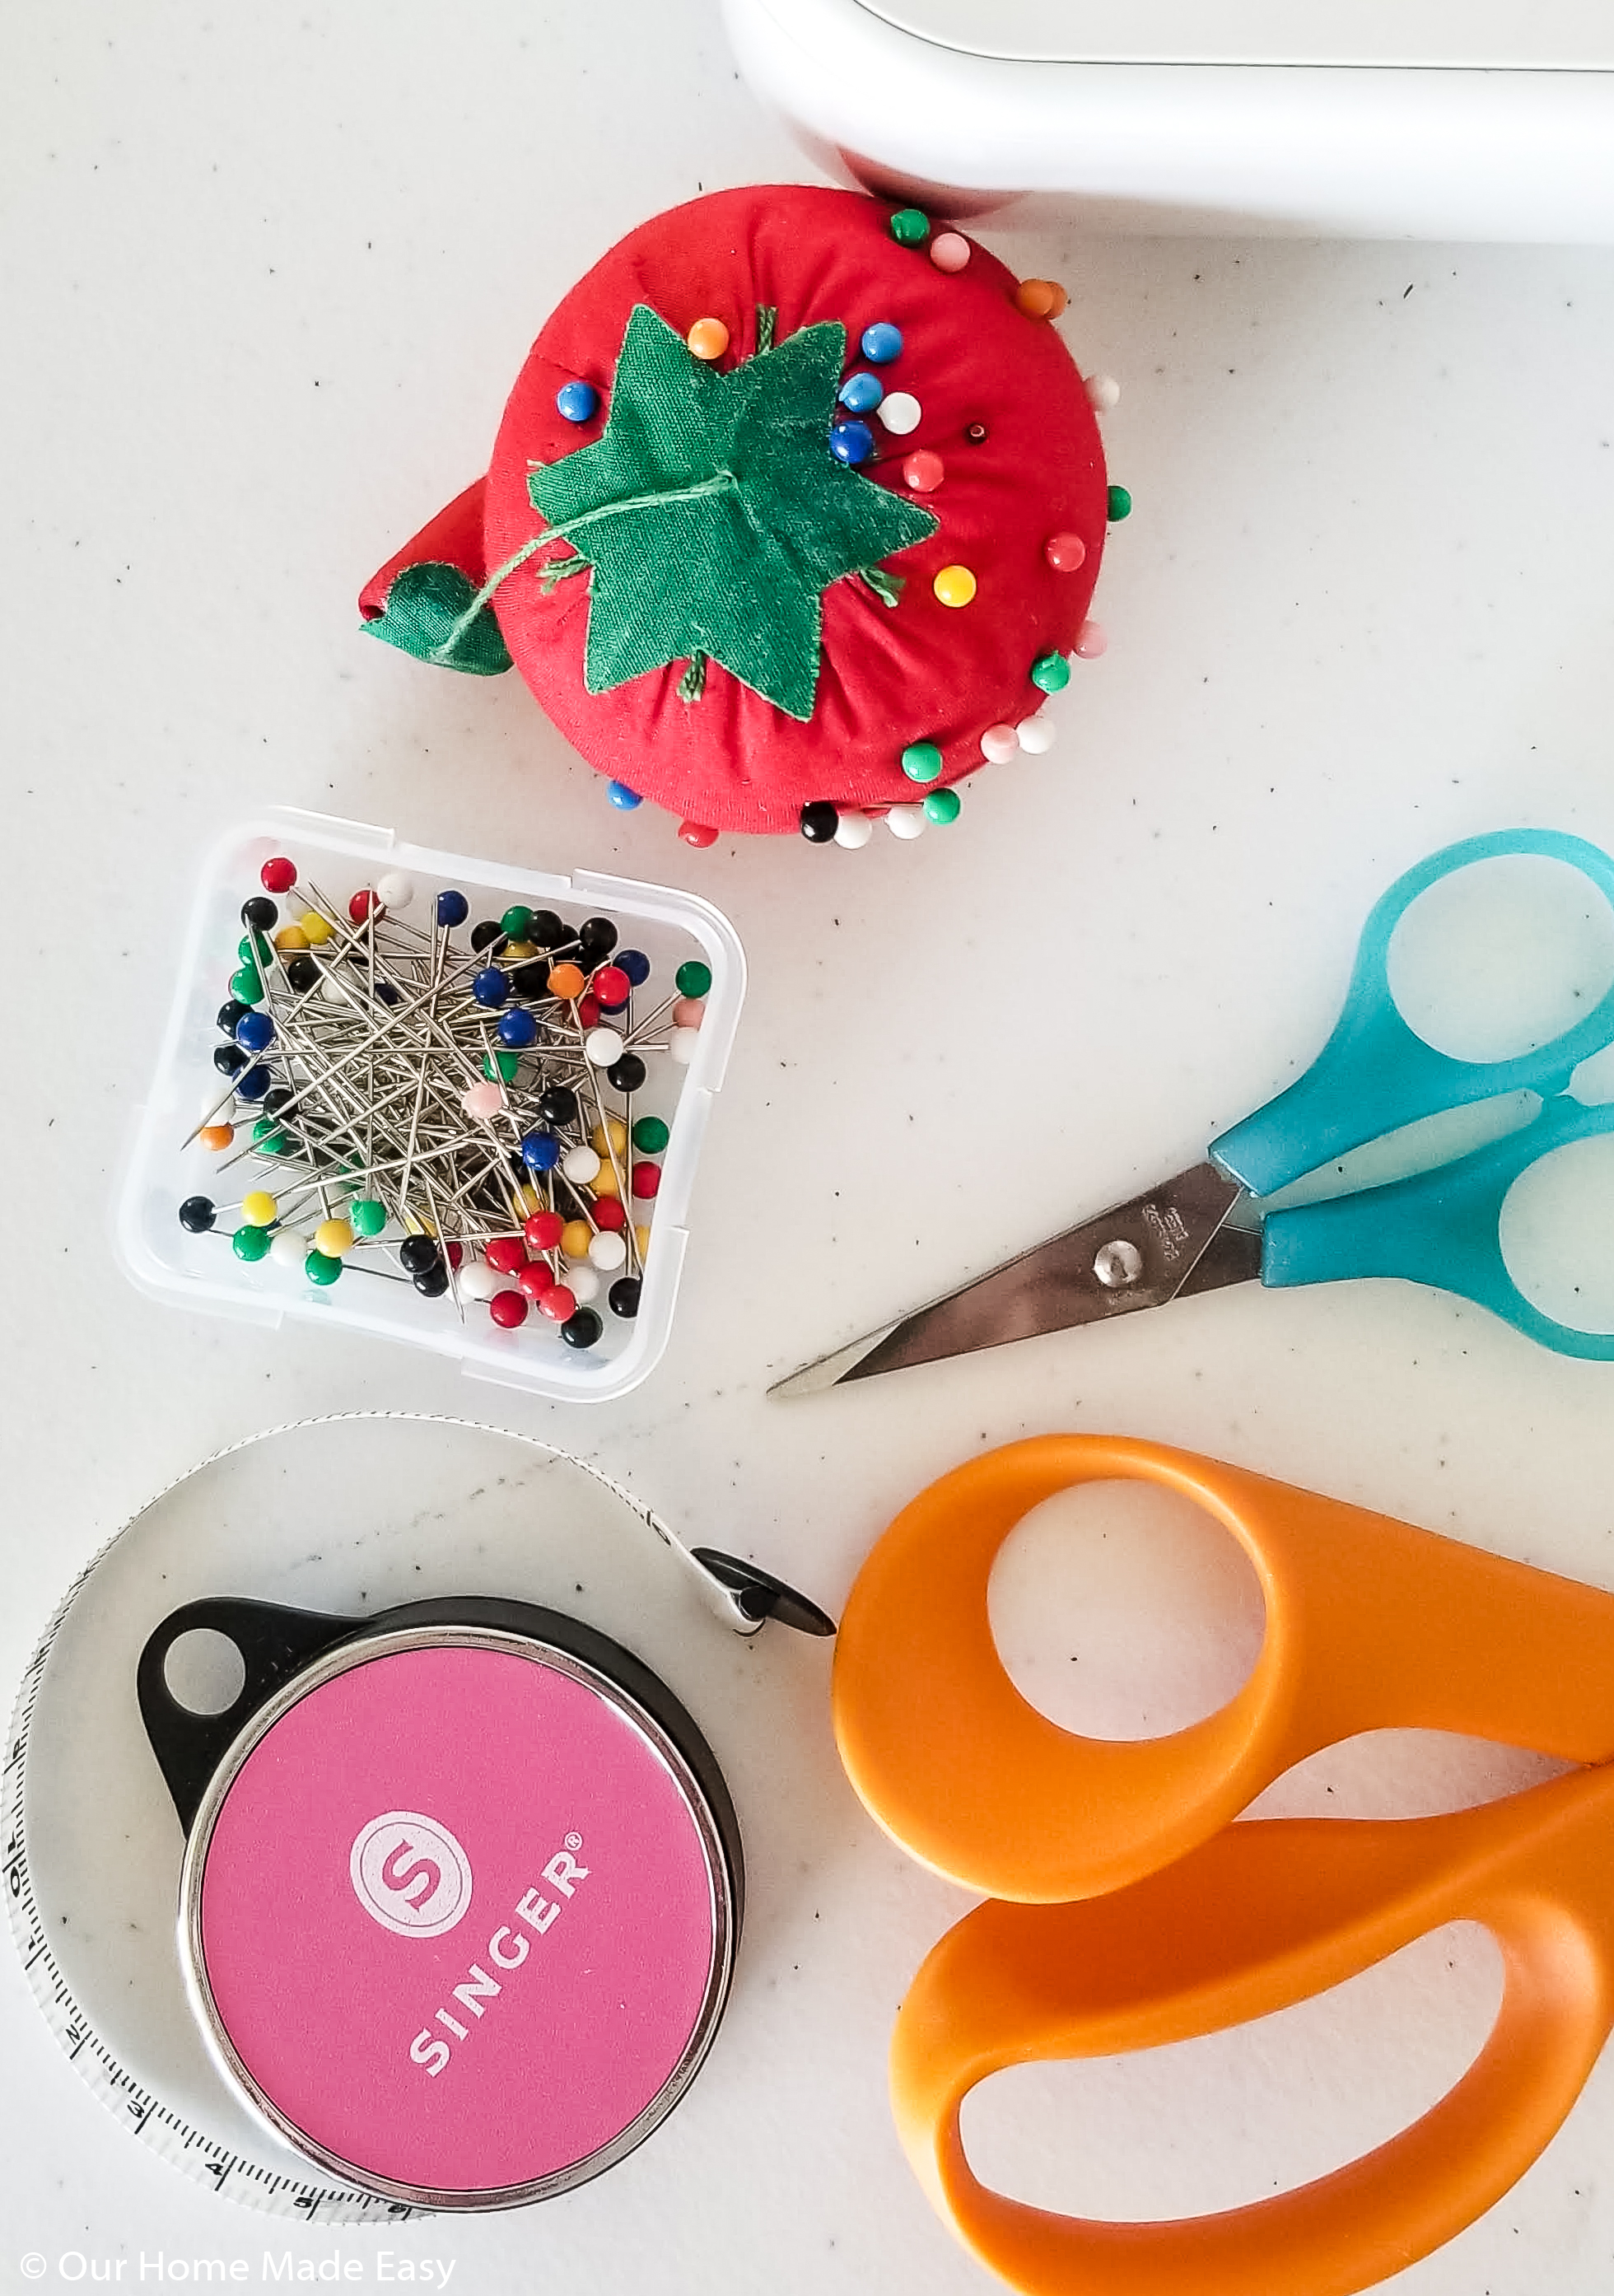
Supplies Needed for the Semi-Homemade DIY Curtains:
- Too Long Curtains (We used these ones in 118″)
- Curtain Rods (We used these ones)
- Folding Table for easy travel
- Fabric Scissors
- Straight Pins
- Hemming Tape OR
- Sewing Machine & Thread
- Iron
Hang Your Curtain Rods
For this room, I wanted the curtain rods to hang about 6 inches below the ceiling. That meant each panel would fall 8 feet, 6 inches to the ground. Definitely not a measurement you could find in a regular store, right?
When you’re hanging your curtain rods, consider how you want to use your curtain panels. Do you want them to frame the window? If so, install your hanging hardware about 7″ on either side of your window to give yourself room to push the curtains out of the way.

Hang Your Curtains
If you’re a professional sewist, please stop reading this post right now. I know this is definitely not pro-speak, but rather “Working mom, short on time, getting all the things done, kinda talk…”
Now that we have that PSA out of the way, hang your too-long curtains on the rods. I chose the IKEA ones because, for about $20 a panel, they were a total steal. There’s no way, even on the best coupon day that I would’ve paid less at Jo-Ann’s and then I would’ve needed to start from scratch!
Measure Your Excess Material
Now that you have your curtains, hanging, it’s time to make them to your custom length! The best part about this? There is absolutely zero work needed from the upper section of the curtains. You are just hemming them.
But what type of curtain length should I choose?
If you’re debating about curtain length, take a look at this really helpful article. You can decide whether you prefer hover, break, or puddle lengths for your room.
Since we don’t have animals, I chose to go a little bit longer on the length. If I had a dog where there is lots of shedding hair, I would’ve chosen the hovering length. All I’m fighting over here are dust bunnies. 🙂
Plan to give yourself about 3 inches for the final hem. If you want your DIY curtains to hover right at the floor, measure the excess that is lying on the floor and subtract the 3 inches for hem from the total.
That is the amount that you’ll want to cut off, next.
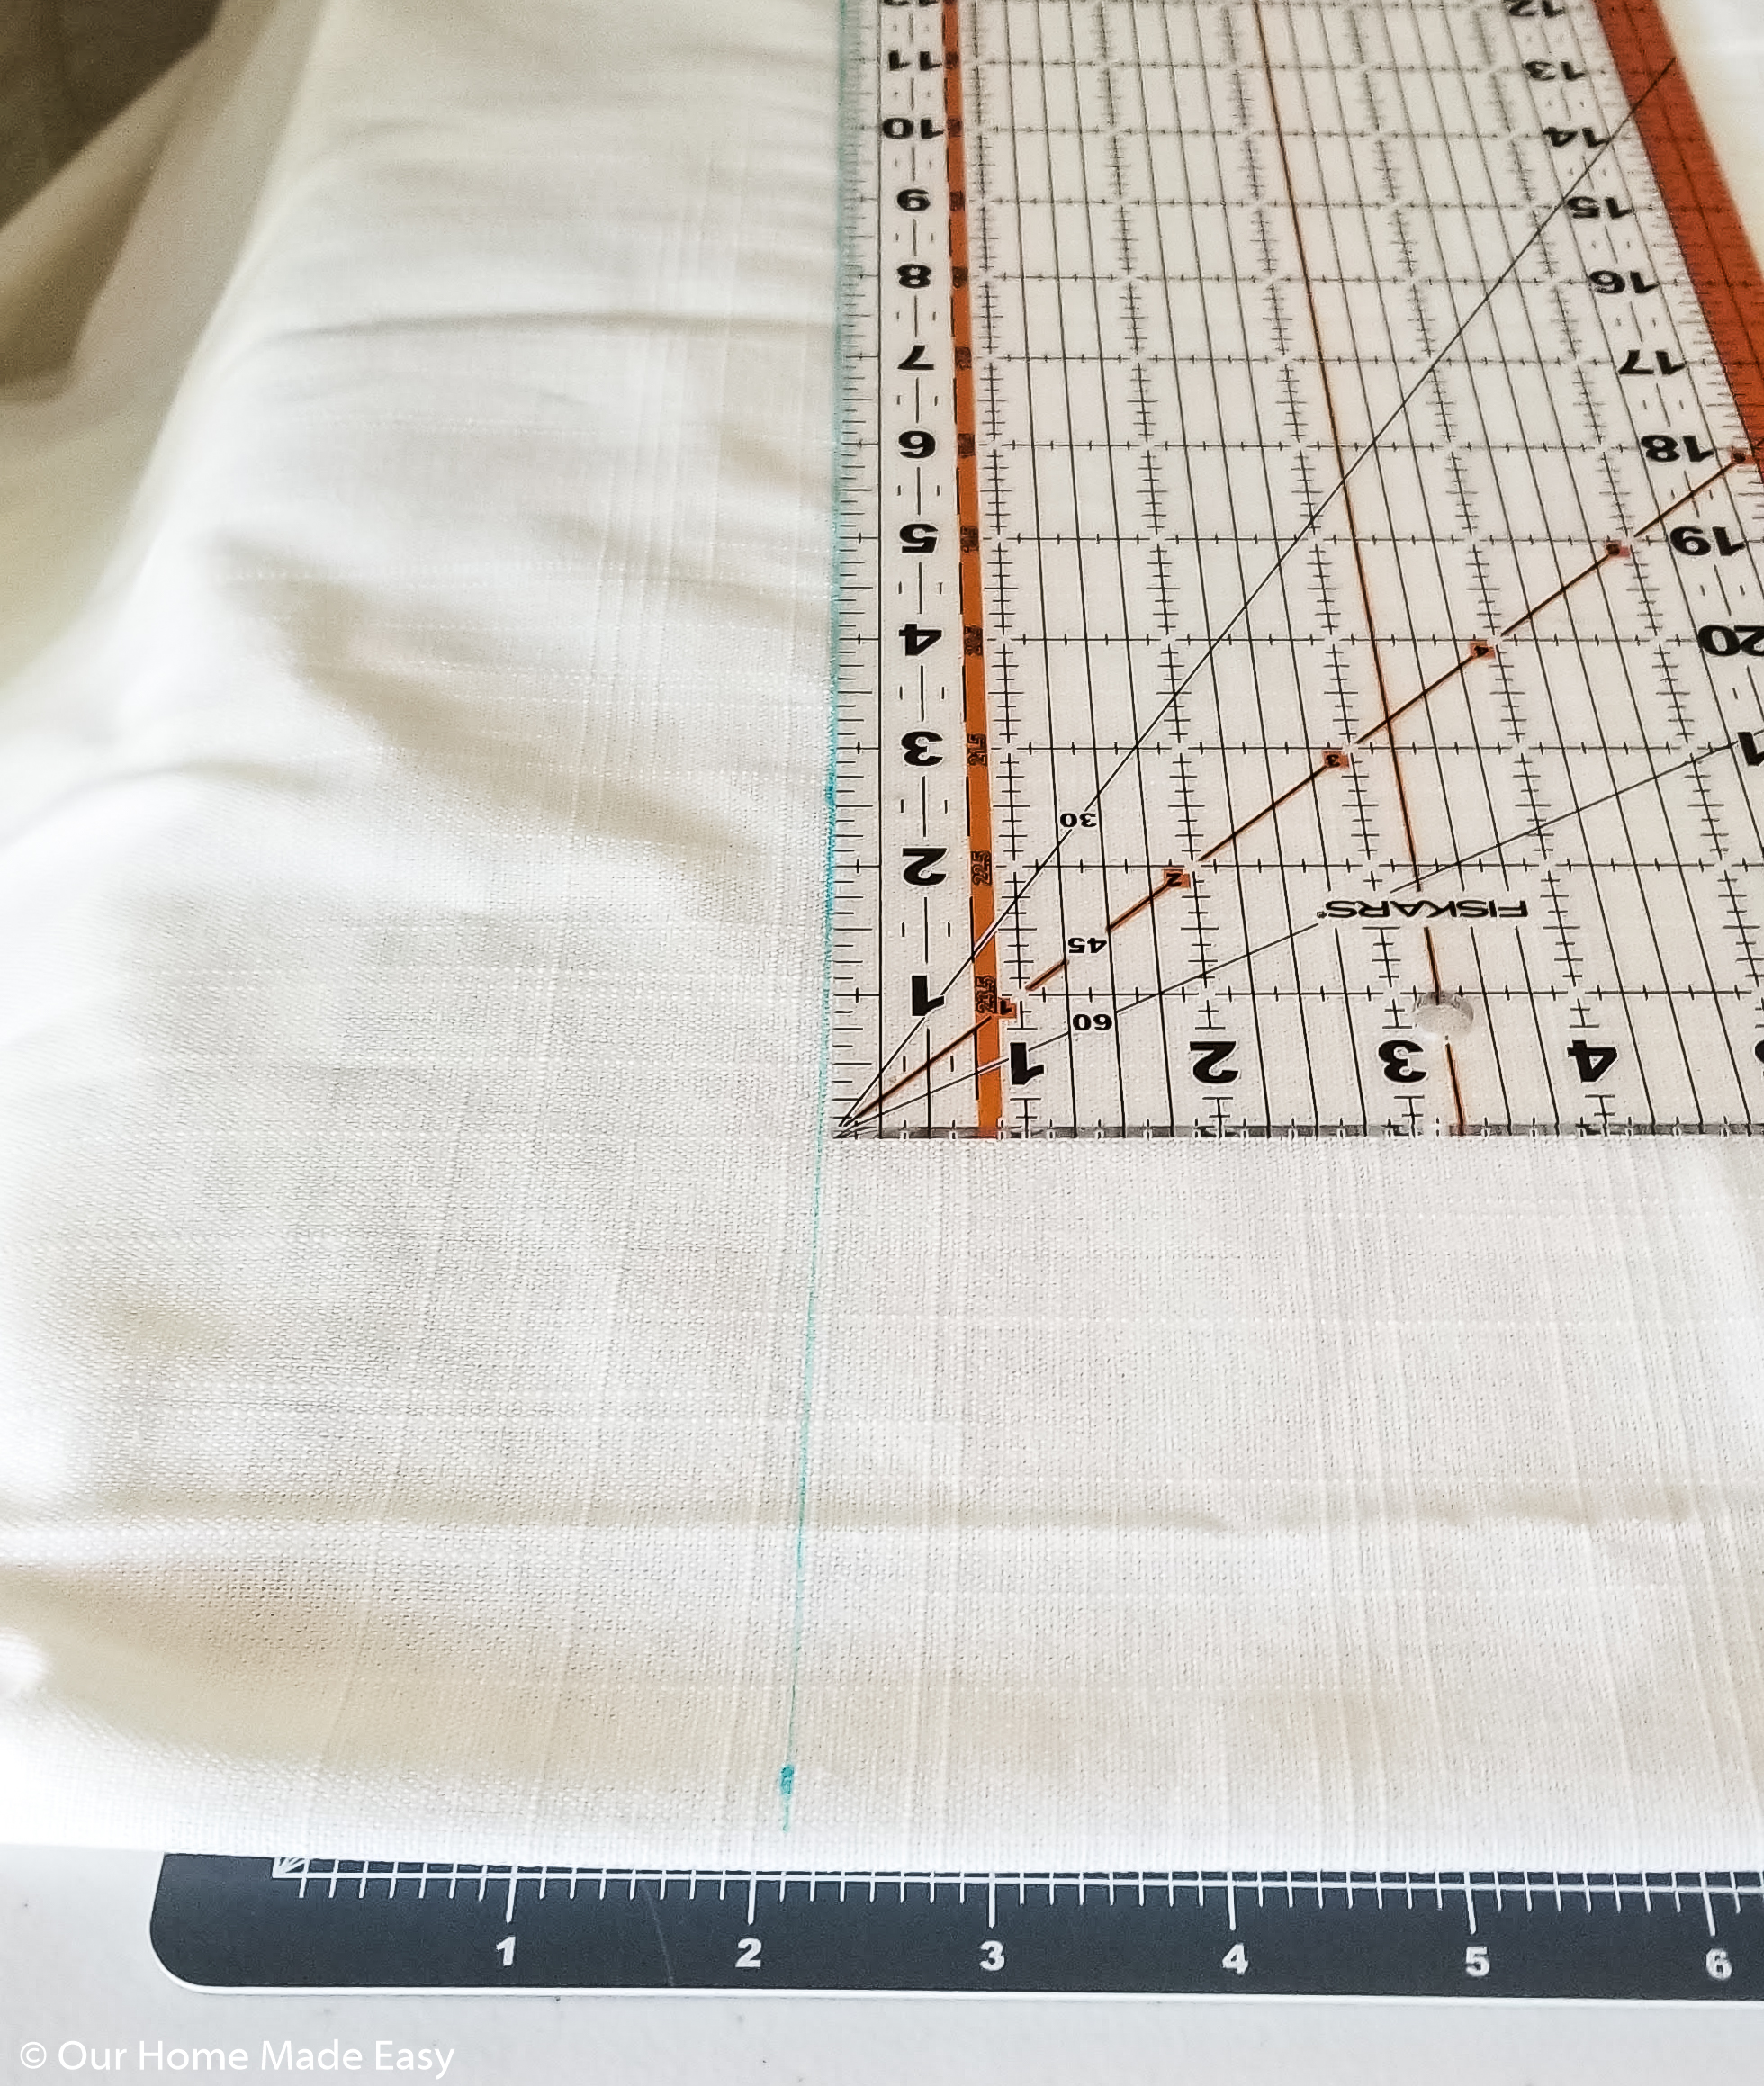
Pull up your folding table, fold your curtain panel in half width-wise and mark your cutting length. Use a ruler to make sure you cut straight. If you want to double-check this first panel, let the panel drop to the floor to see where the cut line falls.
Remember, you’re going to want at least 3 additional inches for that final hem from where the curtain panel breaks on the floor.
Cut your fabric.
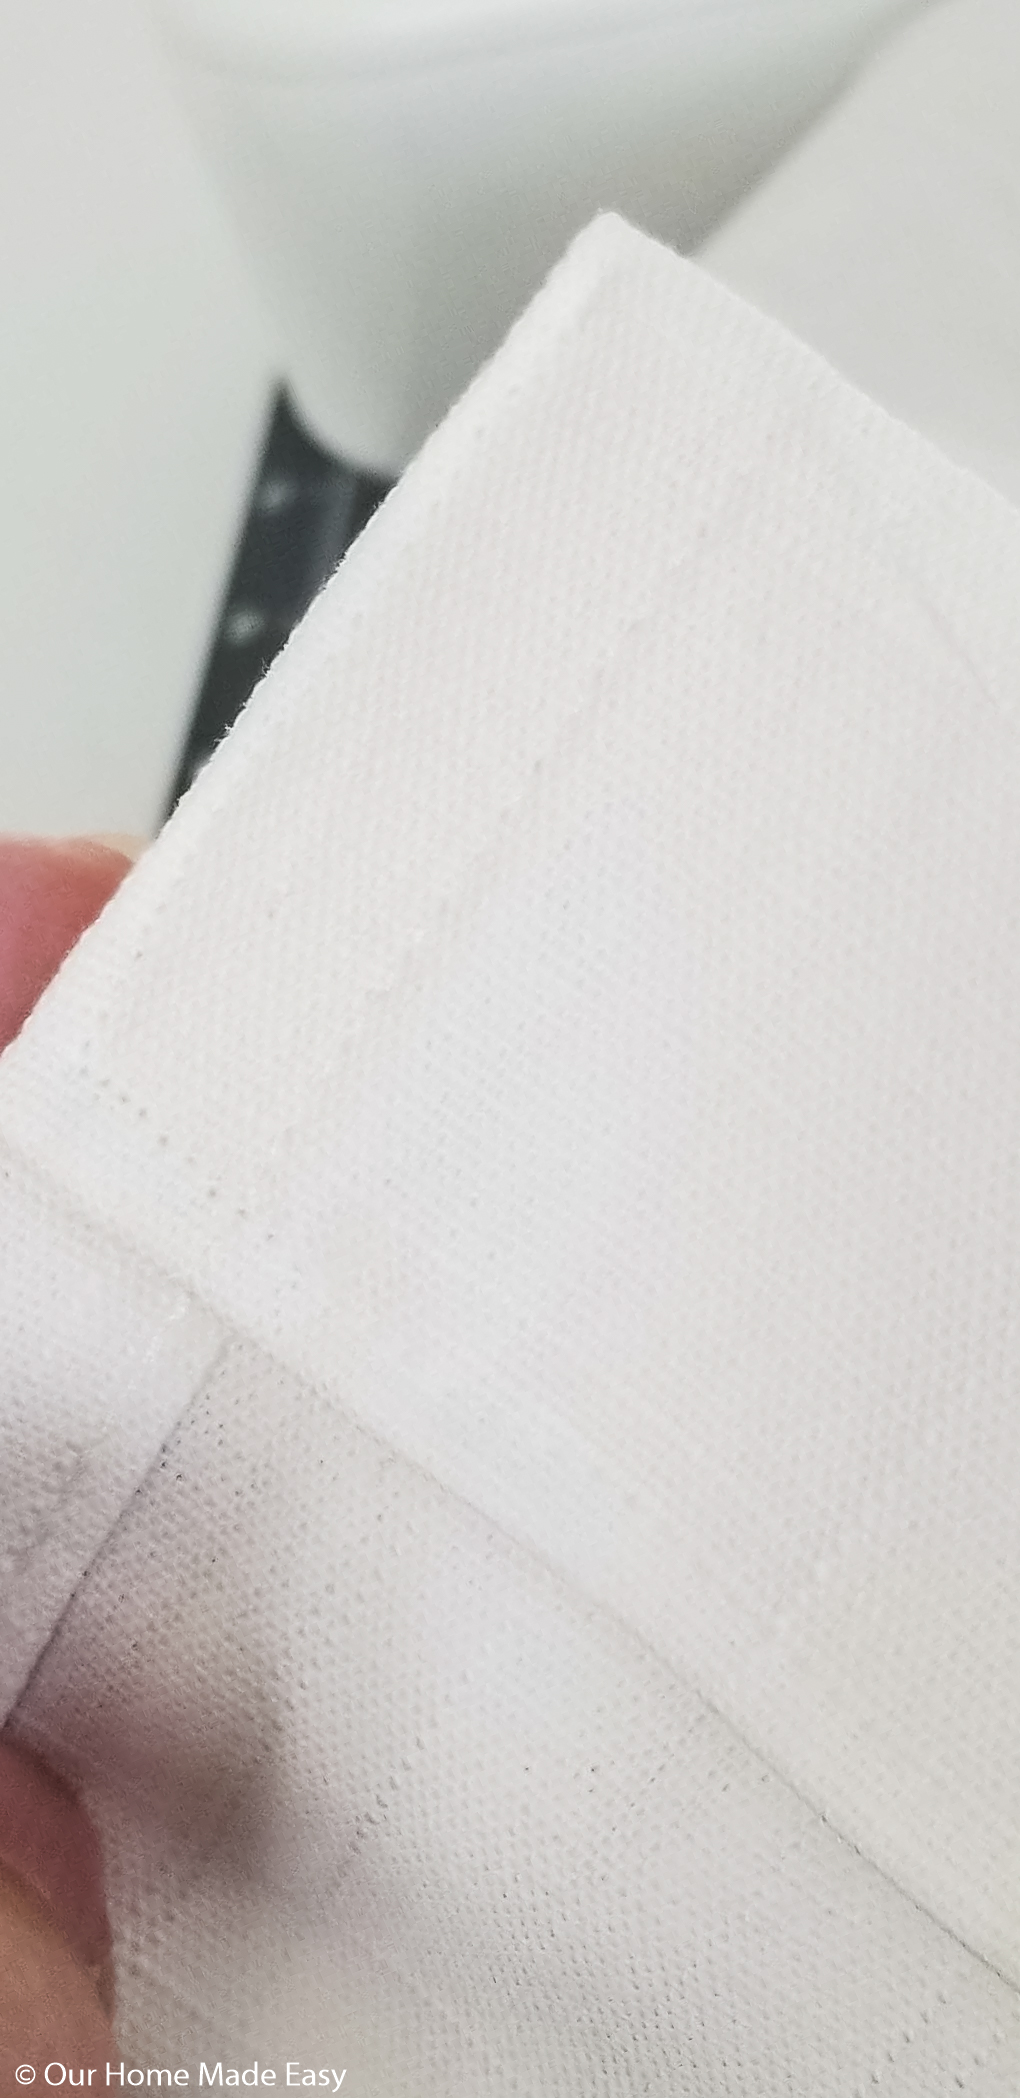
Fold Your Hem
For this project, we chose to fold our fabric up 1/2″ the entire width and then 2″. Your exact numbers will be based on how you want your curtains to fall against your flooring.
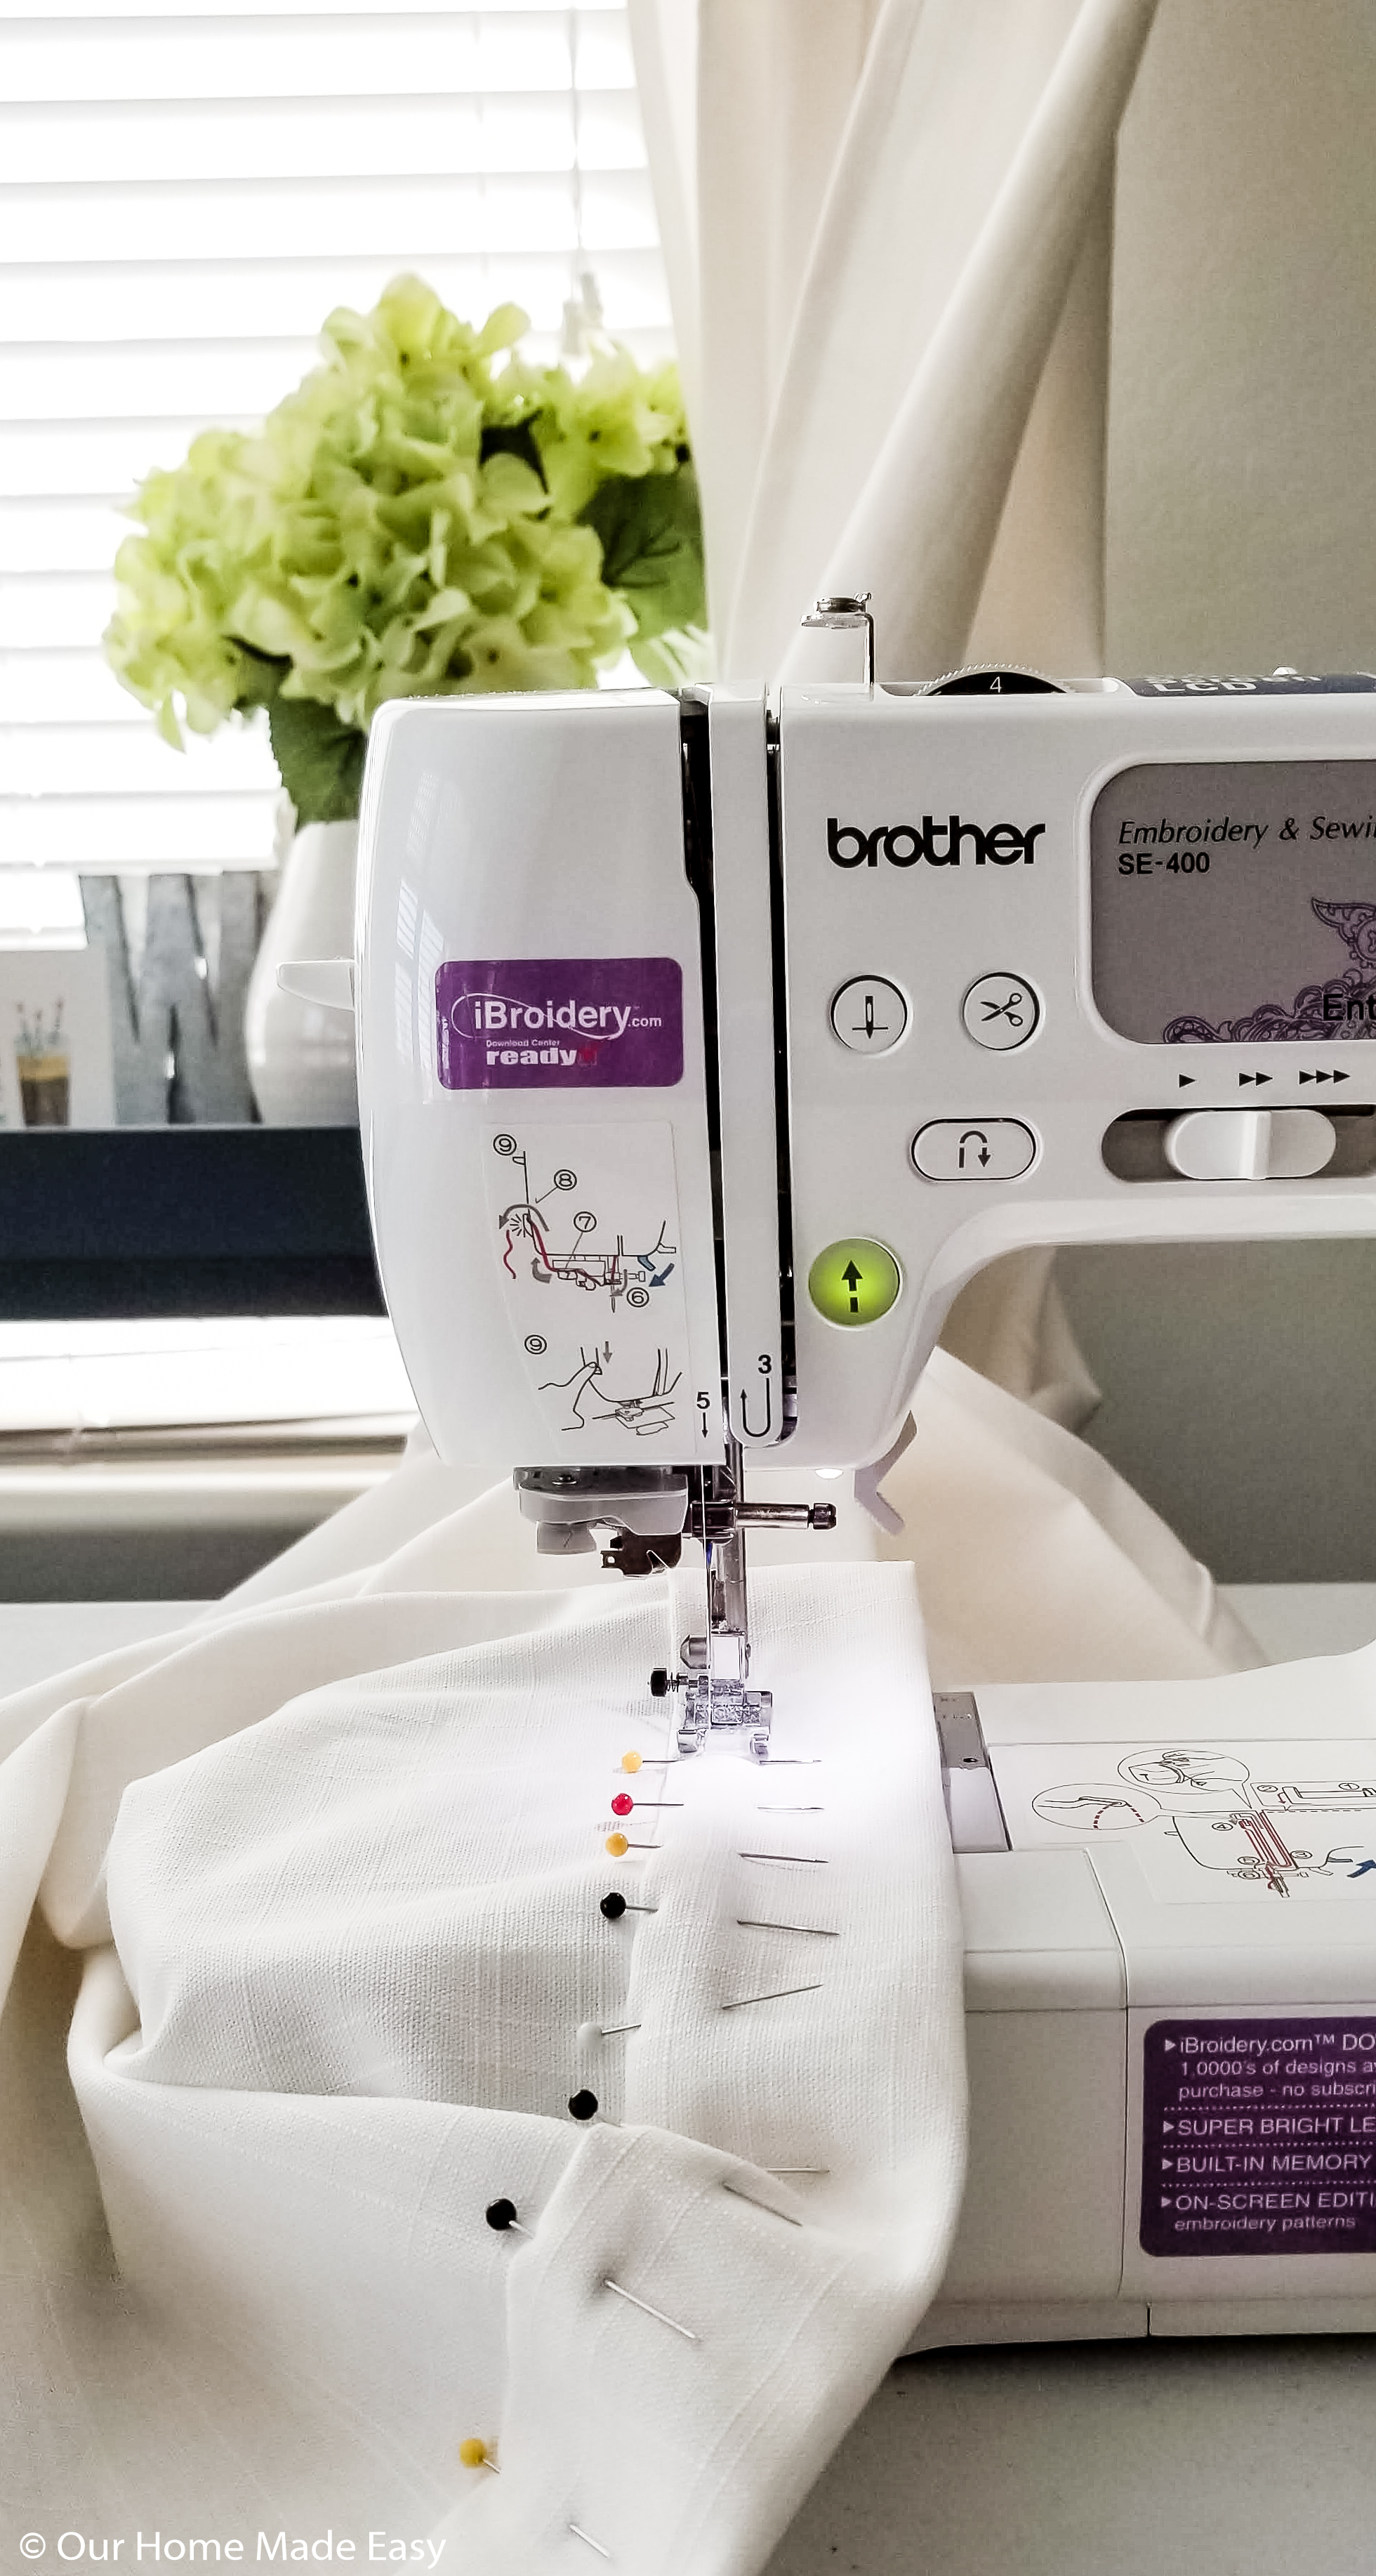
Pin your hem in place.
I’d suggest you start with the numbers we used and take a look about halfway through your pinning. Since your curtains are already hanging, you can let them fall to the floor to see how your hem is looking.
Make adjustments as needed. When you are satisfied with the hem measurements, write it down on a notepad so that you don’t forget later when you start your next panel.
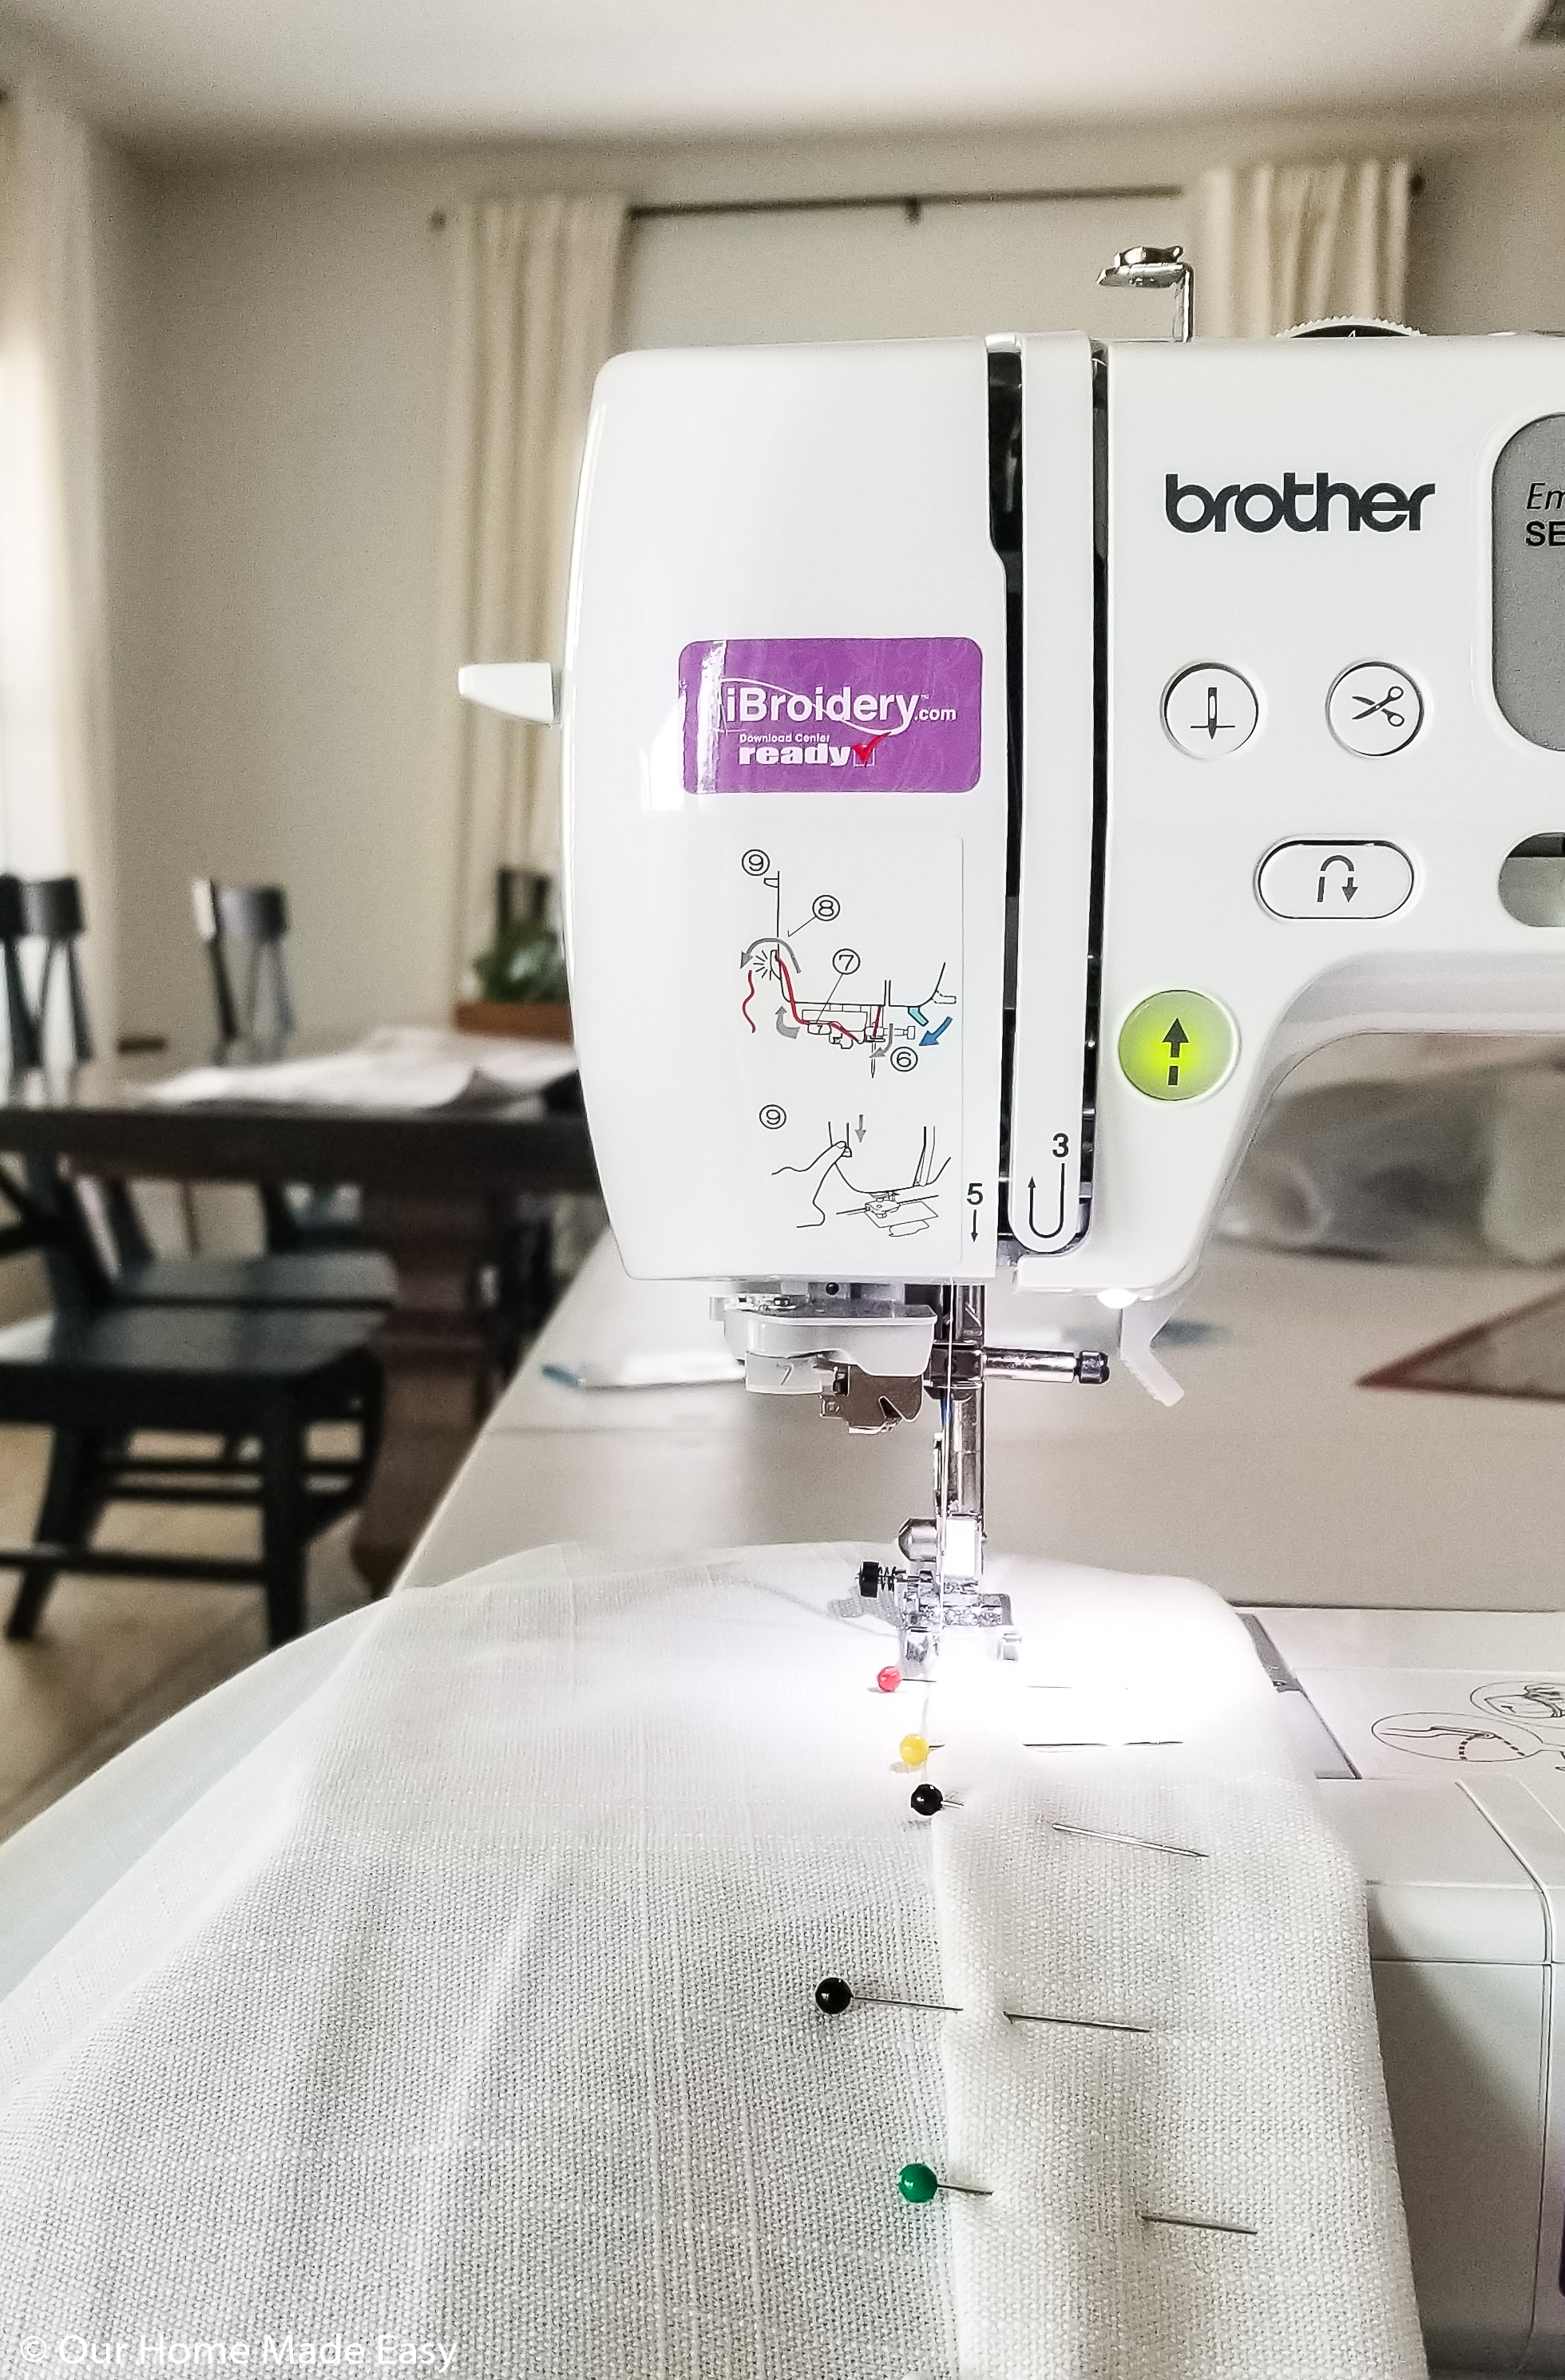
Sew or Iron!
Now that you’ve found the hem, it’s time to sew or use your iron-on hemming tape!
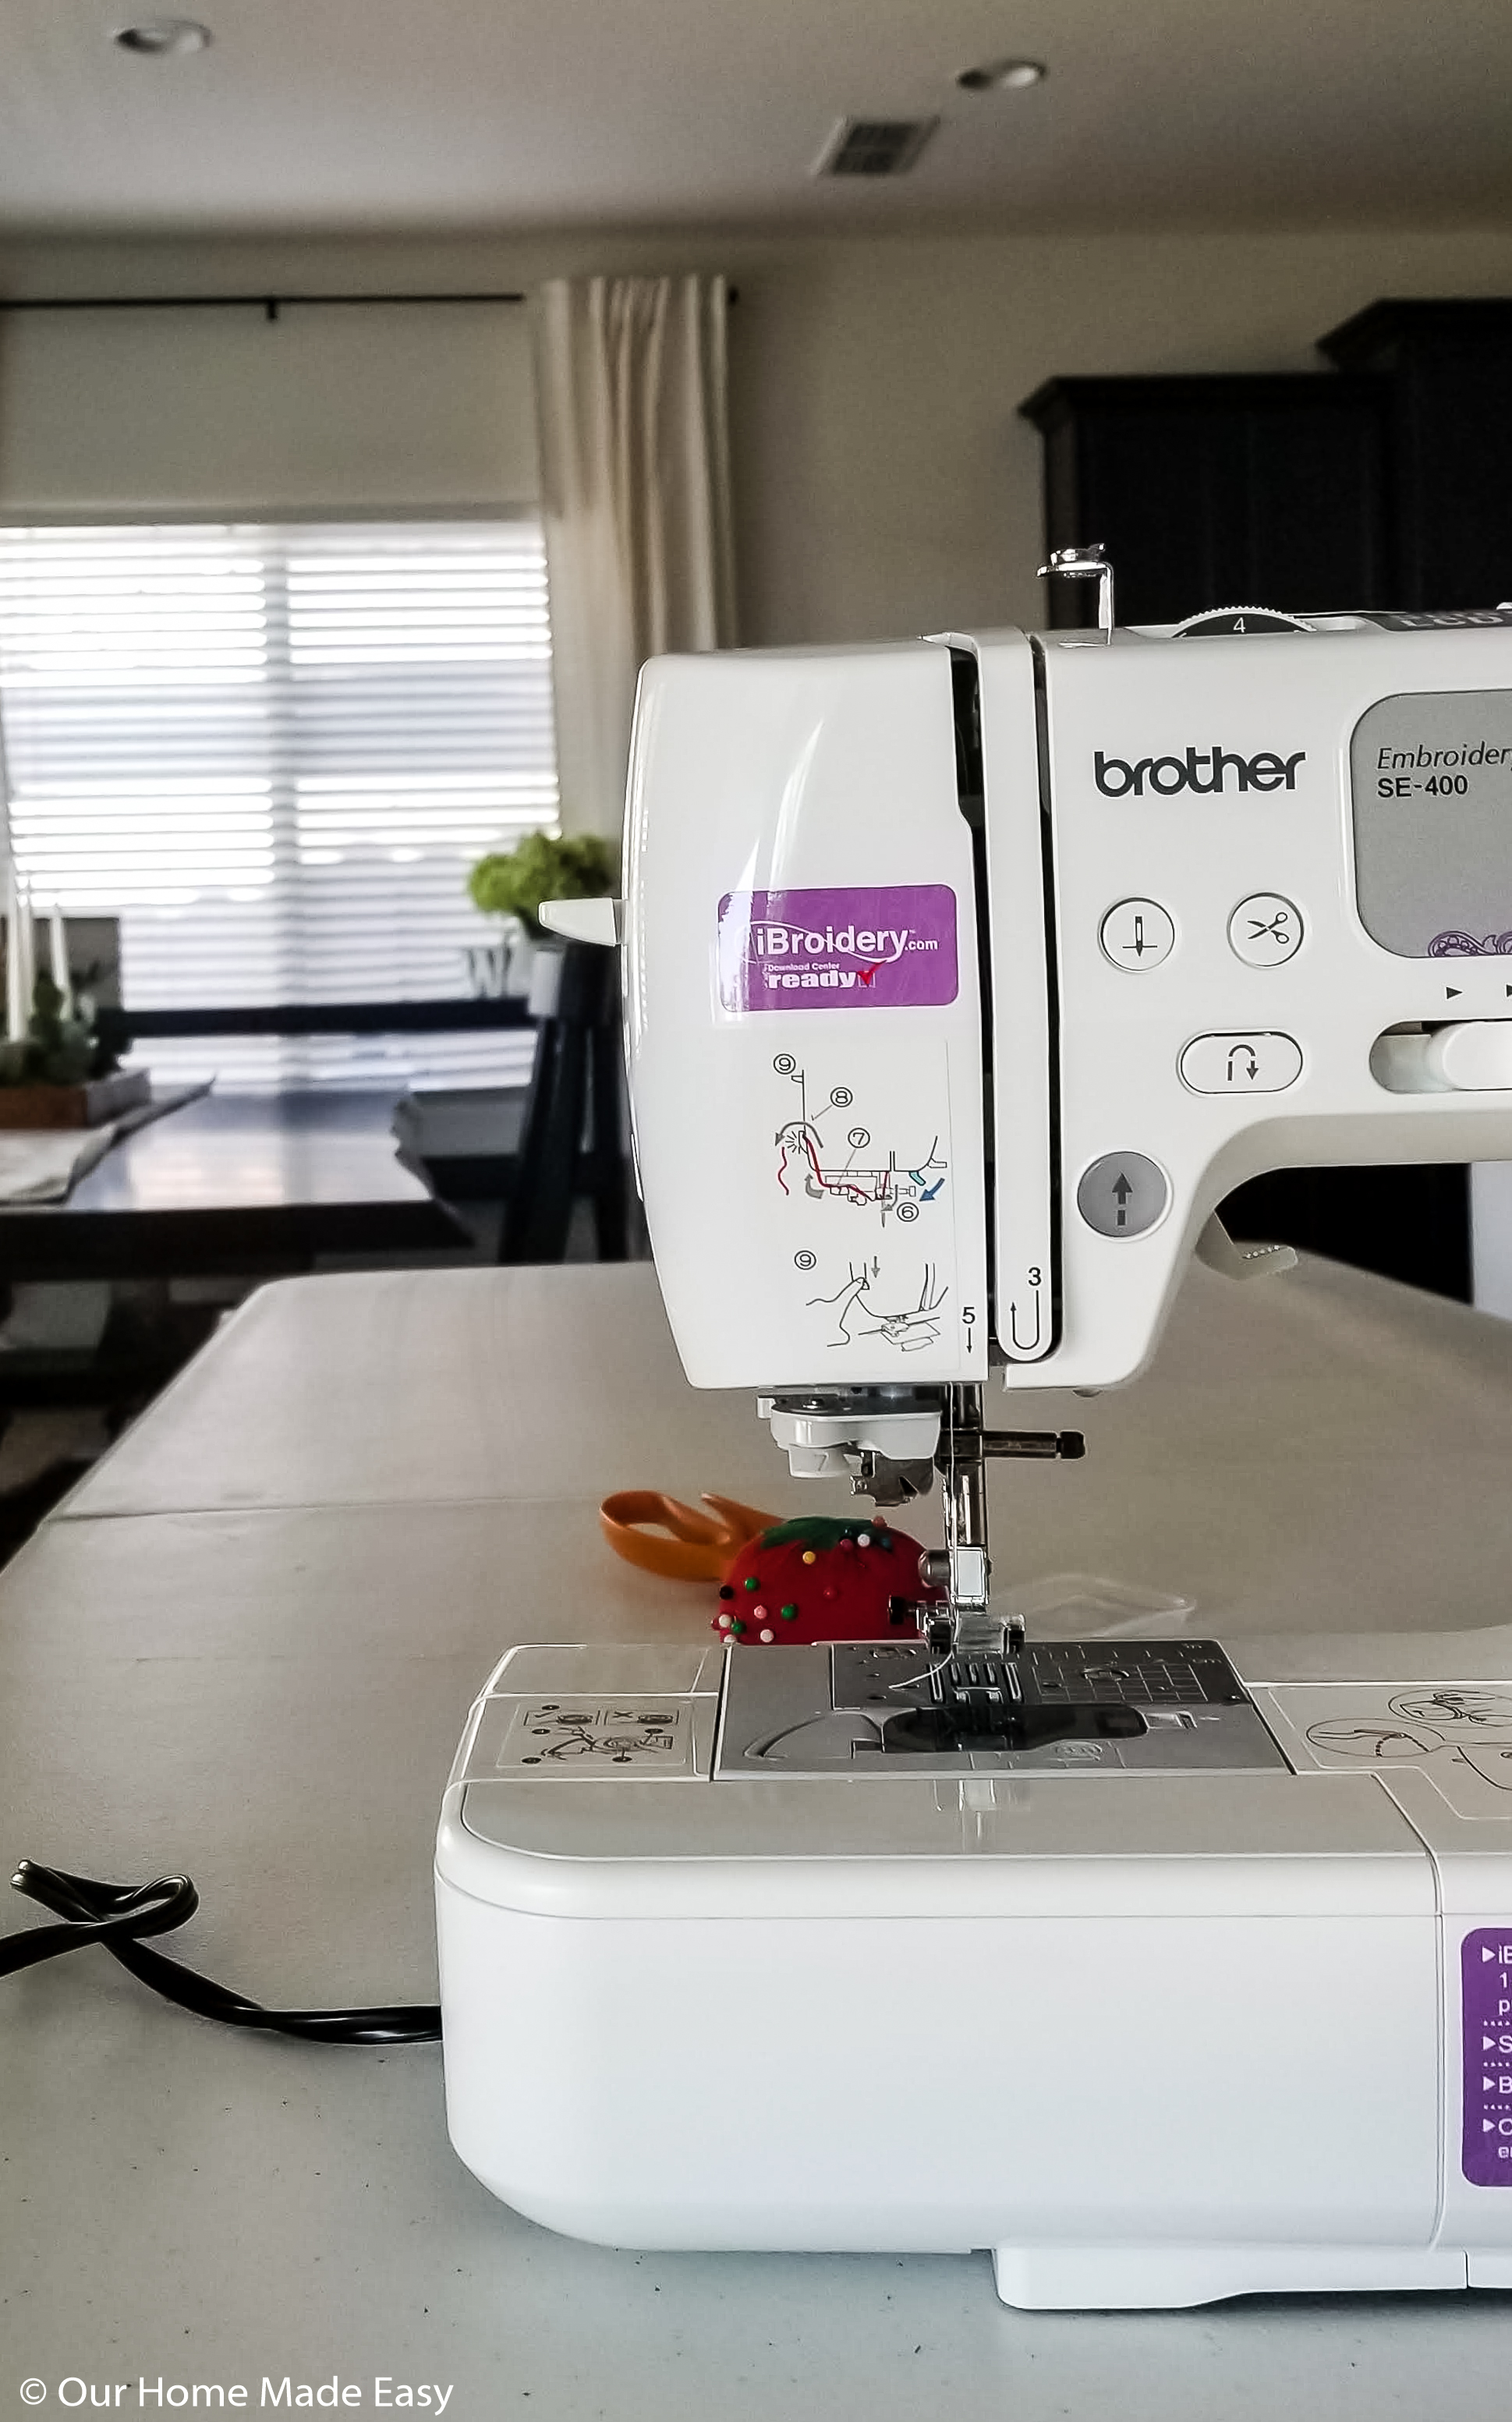
We chose to sew our curtains purely because my sewing machine hasn’t gotten some love lately and I really enjoy sewing when I have the time. I sewed a straight stitch along one side, came around the hem and finished along the other side. I used a white thread that would blend into the curtain fabric.
Super quick & easy to do.
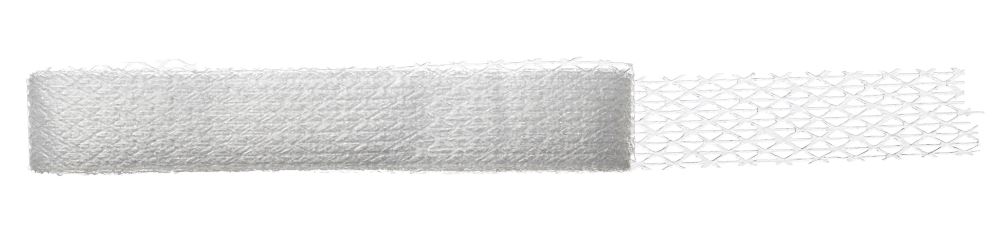
But you totally don’t need to enjoy sewing to finish this project. Using hemming tape, iron on your hem. You can do this by using your folding table covered in a beach towel or bringing down your ironing board.
Repeat this for each curtain panel.
Things we learned about this project— the first panel took more time than the others! By the time we figured out the hem dimensions, we could move quickly.
Press Your Curtains
This is mostly optional. As a final step, you could set up your ironing board in front of each curtain panel and press your hems. If you’re already using the hemming tape, you’ll already be doing this!
and one more reminder of where we started…
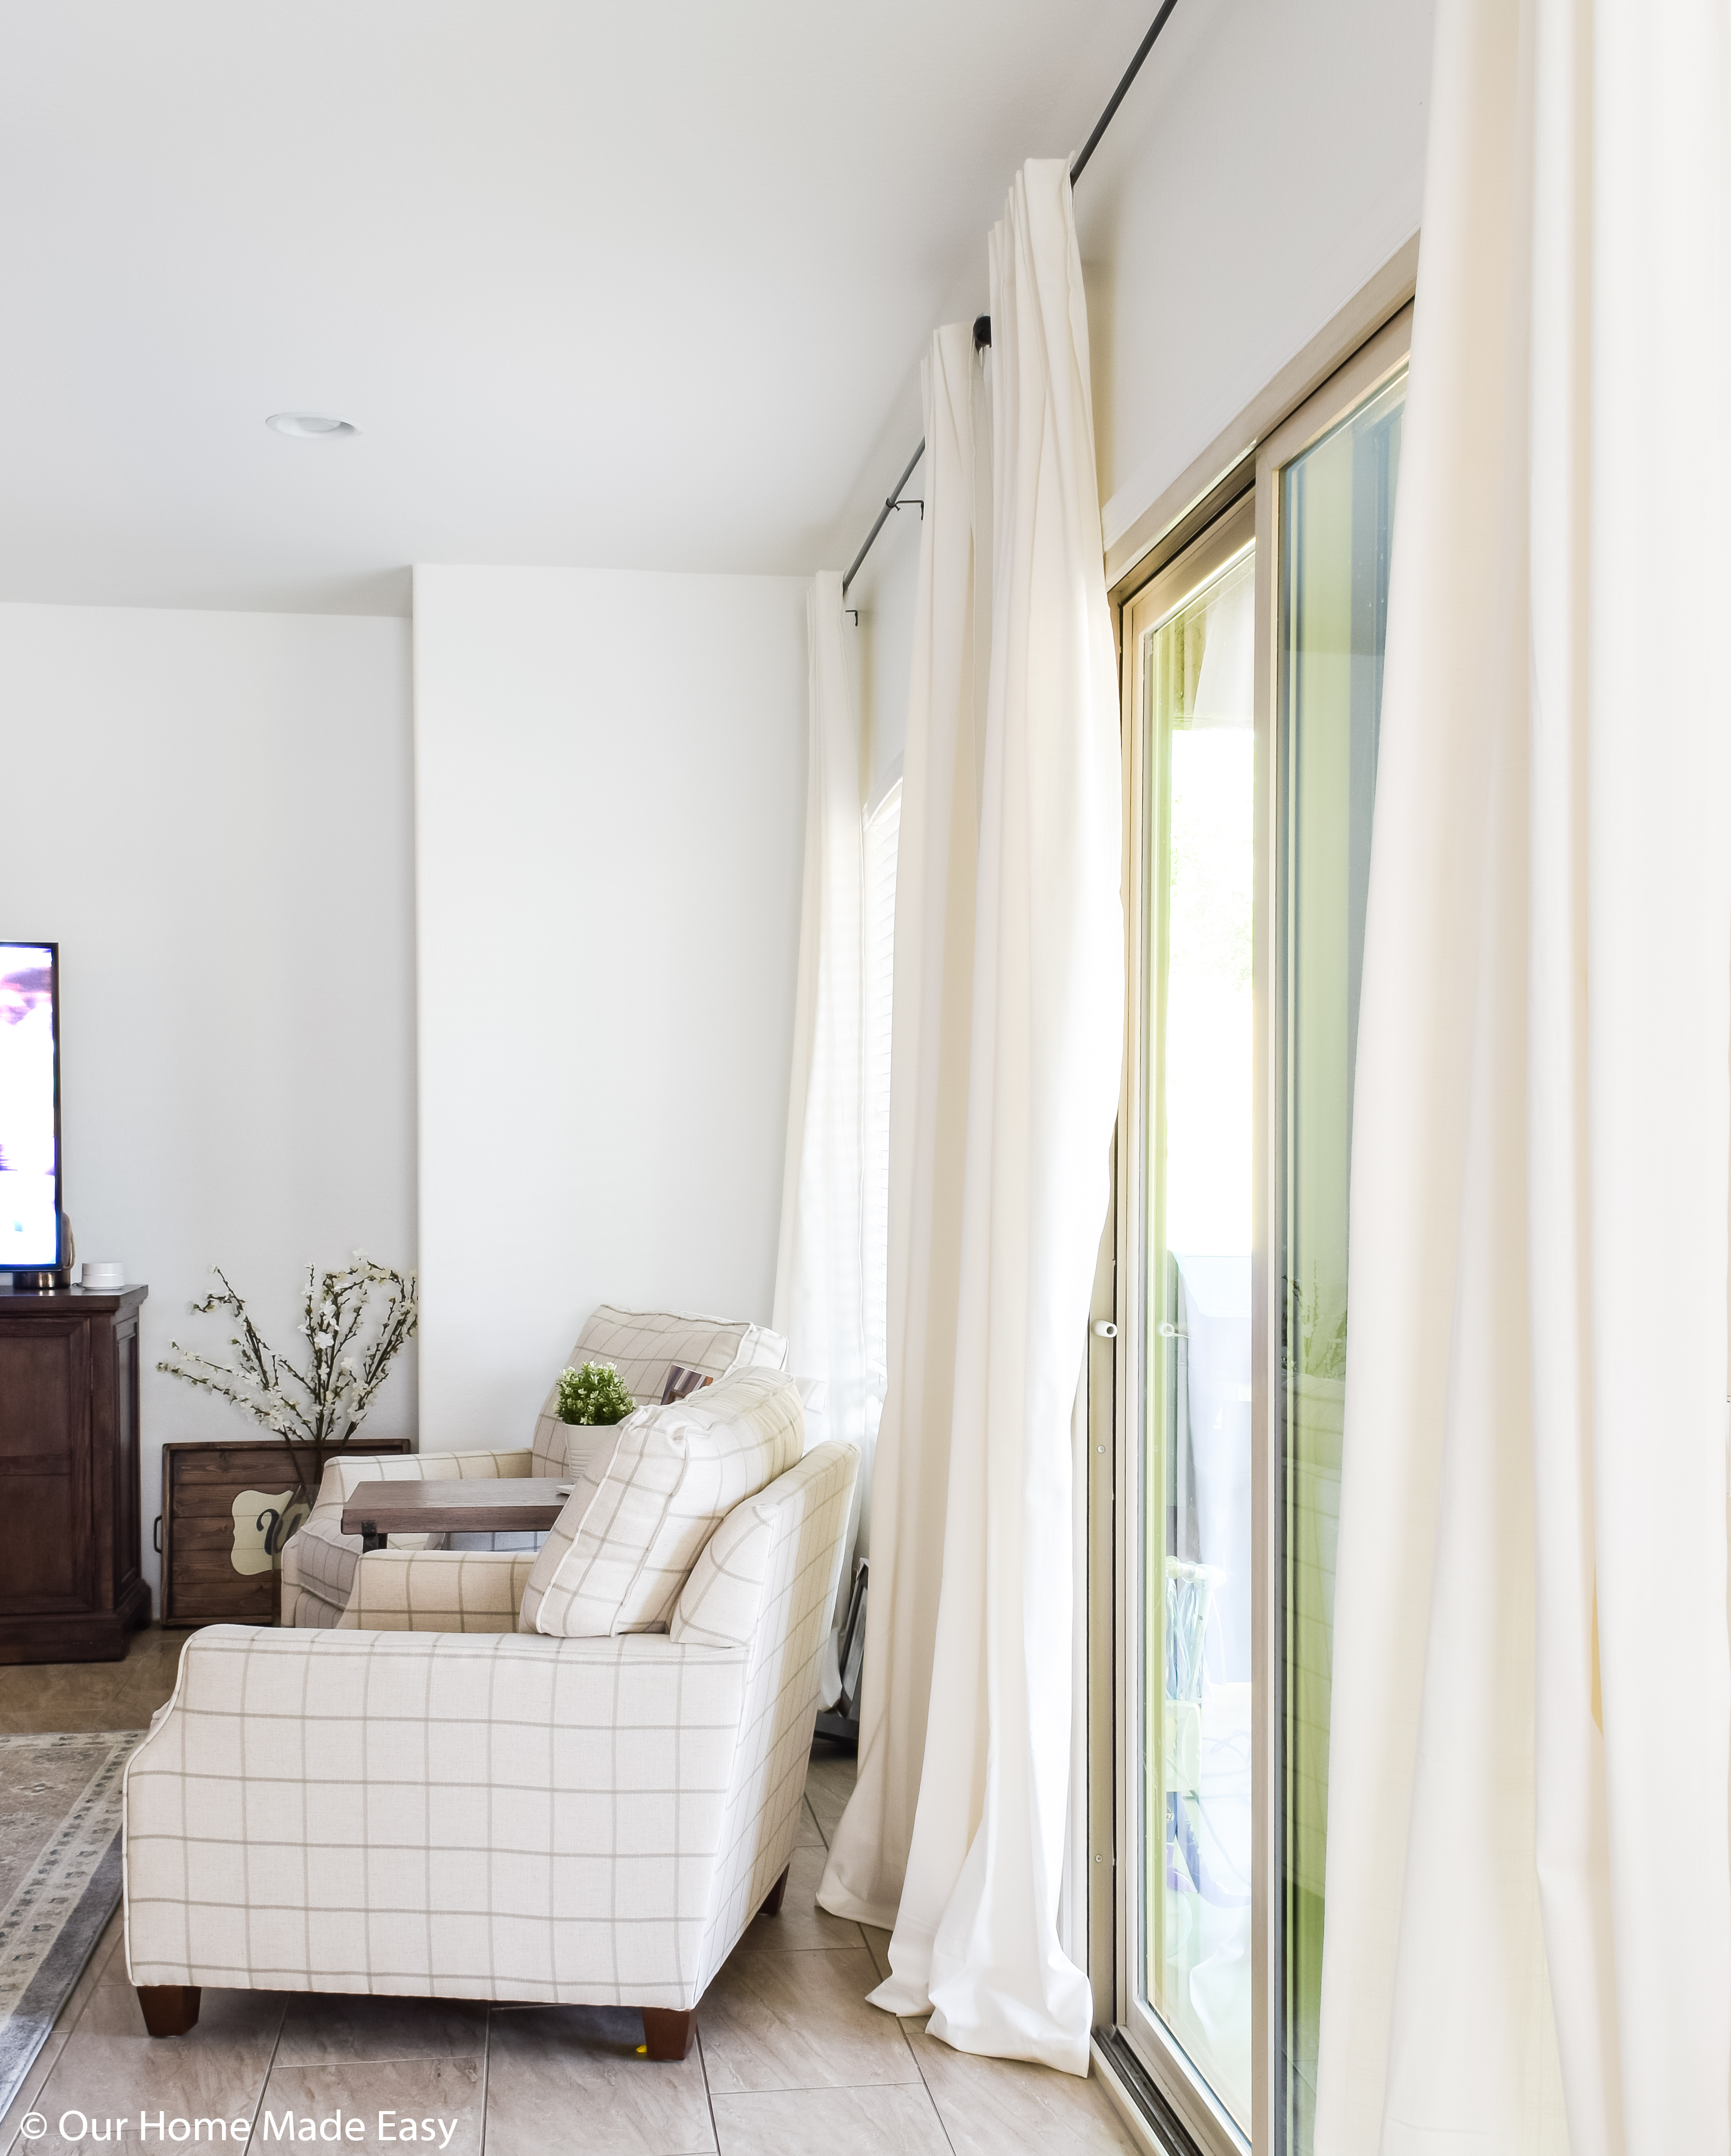
and now!
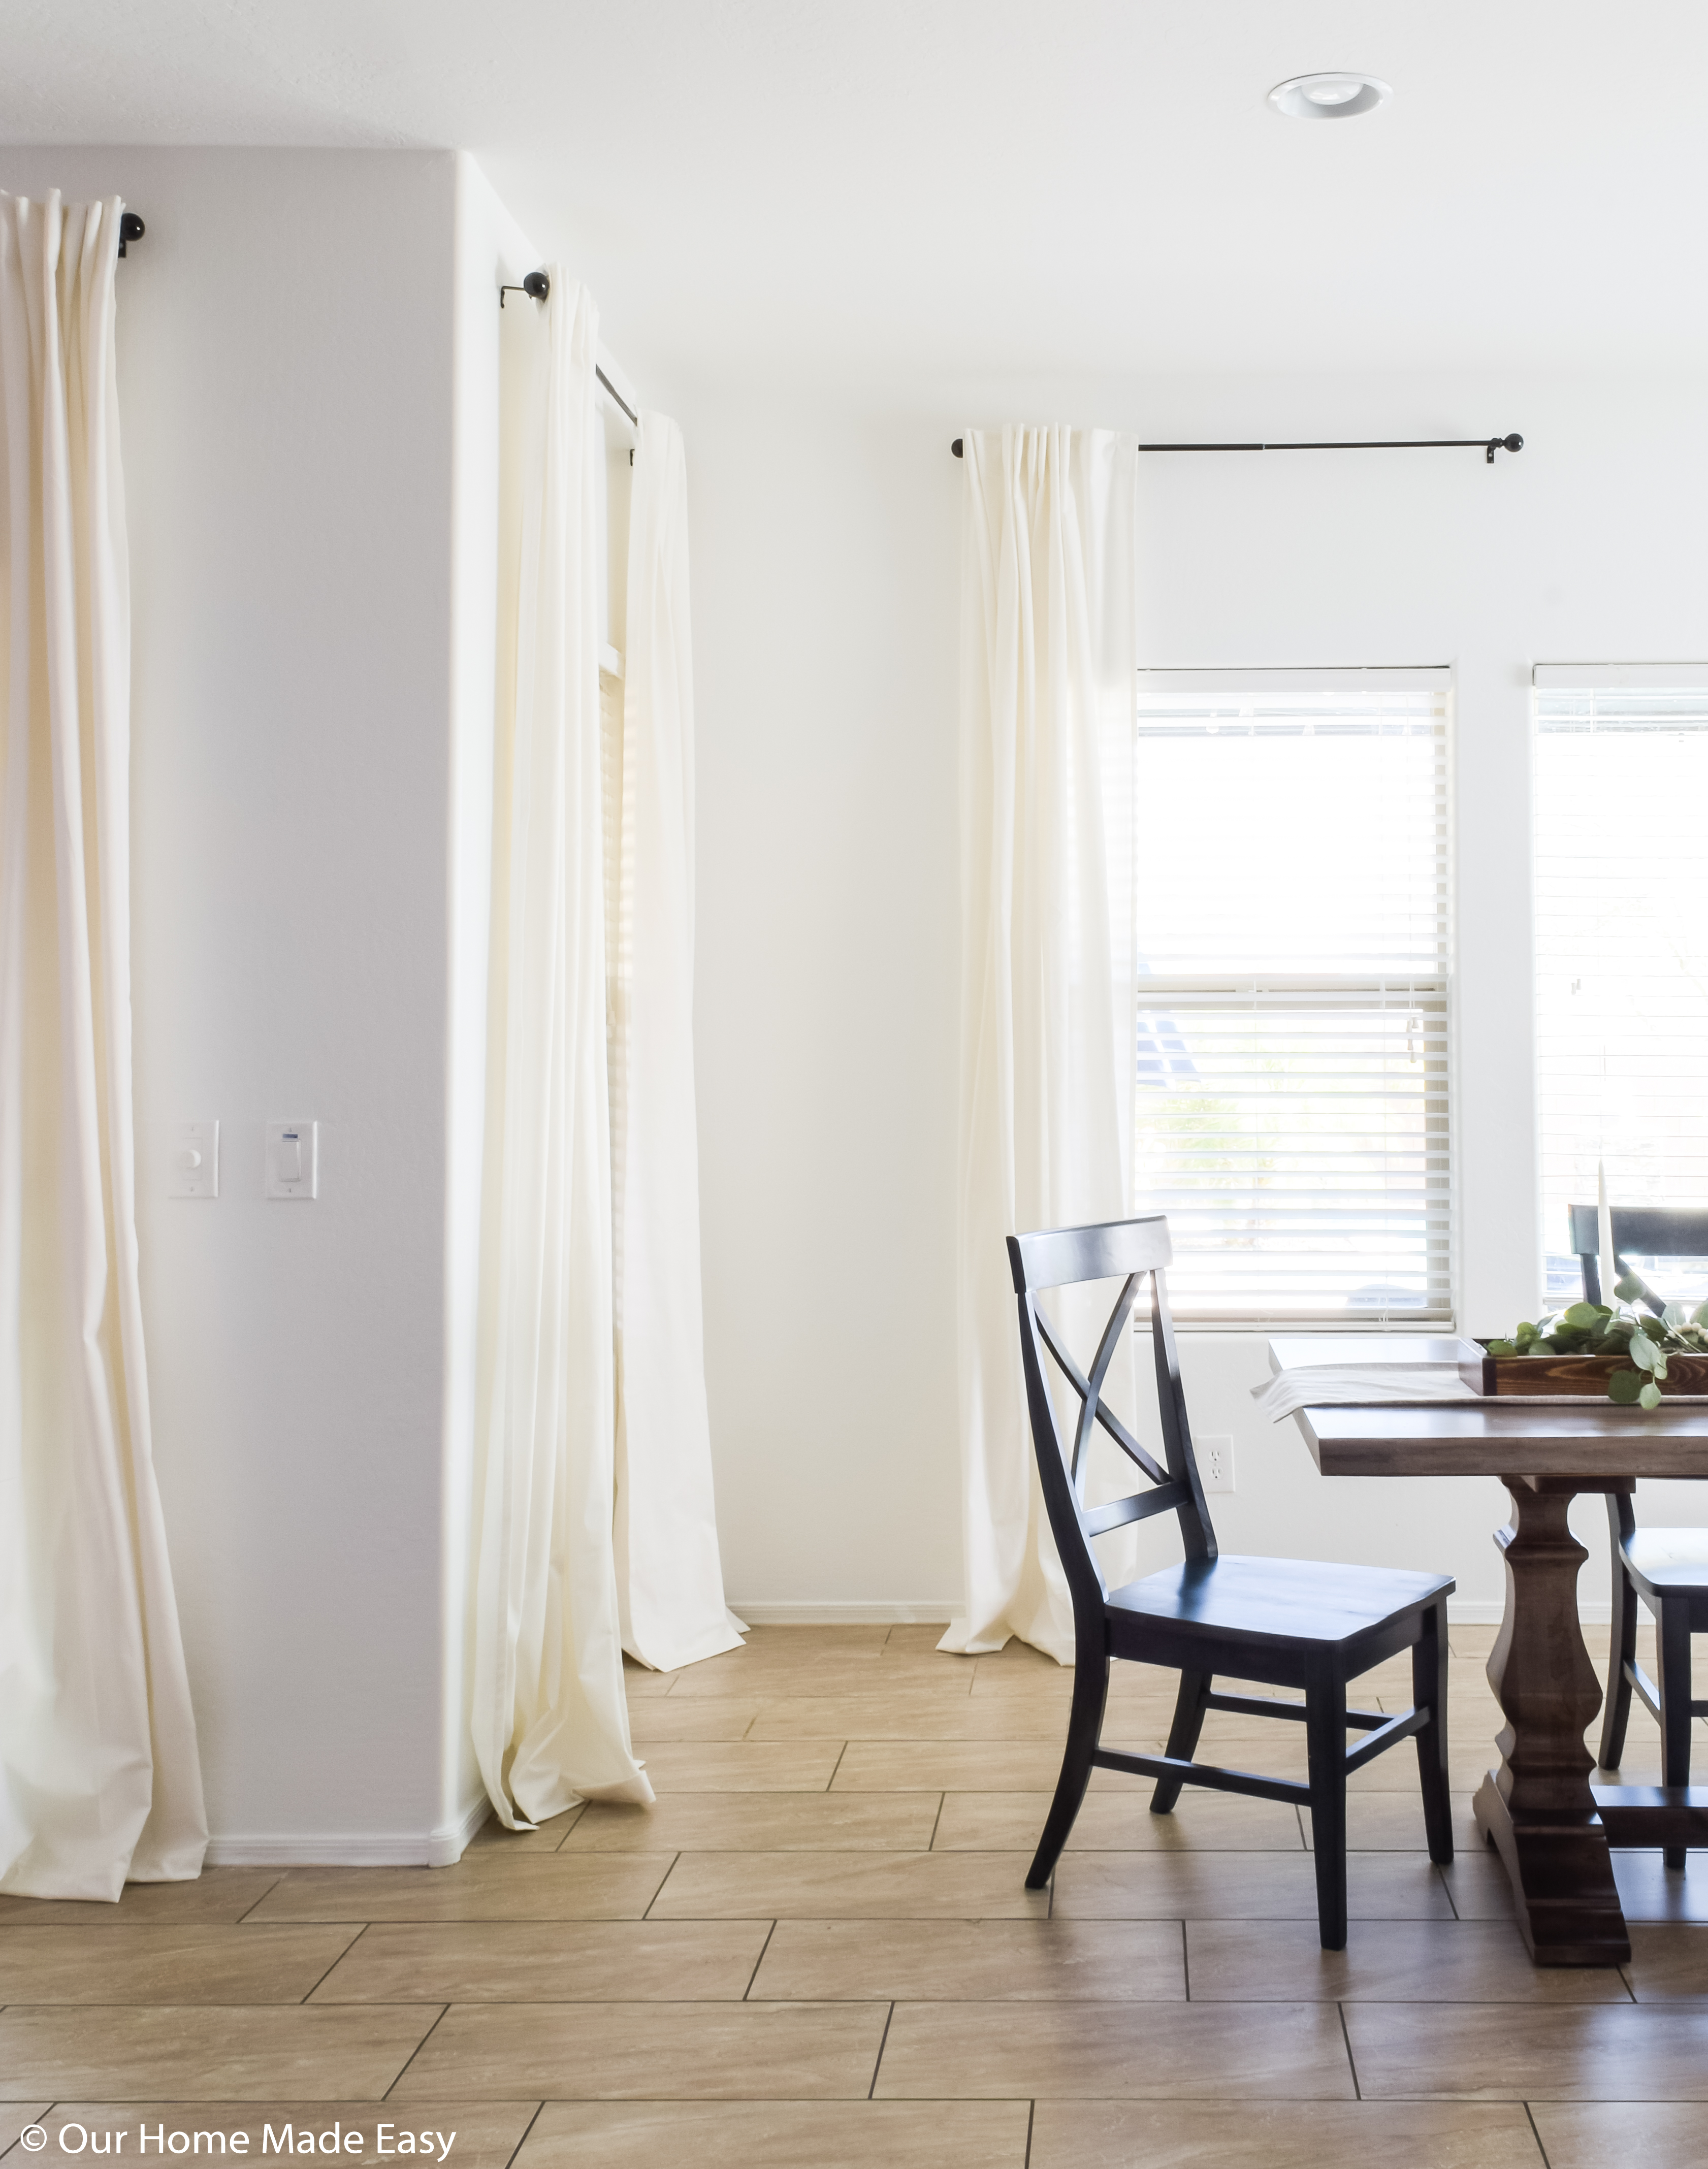
(Curtains | Live Edge Dining Room Table | Dining Room Chairs | DIY One Board Tray)
And that is it!
The best solution for making semi-homemade DIY curtains for when you don’t have much time!
These curtains will save you time by avoiding almost all the sewing and save you money by avoiding custom curtain cost. It’s a total win-win for when you feel a little crafty.

Super Easy DIY Curtains
Create your own custom length curtains with this no-fail DIY curtains tutorial! Whether you own a sewing machine or not, these curtains are easy to make and will upgrade your home.
Materials
- Too Long Curtains
- Curtain Rods
- Folding Table
- Fabric Scissors
- Straight Pins
- Hemming Tape OR
- Sewing Machine
- Thread
- Iron
Instructions
Hang Your Curtain Rods
When you're hanging your curtain rods, consider how you want to use your curtain panels. Do you want them to frame the window? If so, install your hanging hardware about 7" on either side of your window to give yourself room to push the curtains out of the way.
Hang Your Curtains
I chose the IKEA ones because, for about $20 a panel, they were a total steal. There's no way, even on the best coupon day that I would've paid less at Jo-Ann's and then I would've needed to start from scratch!
Measure Your Excess Material
Now that you have your curtains, hanging, it's time to make them to your custom length! The best part about this? There is absolutely zero work needed from the upper section of the curtains. You are just hemming them.
Plan to give yourself about 3 inches for the final hem. If you want your DIY curtains to hover right at the floor, measure the excess that is lying on the floor and subtract the 3 inches for hem from the total. That is the amount that you'll want to cut off, next.
Pull up your folding table, fold your curtain panel in half width-wise and mark your cutting length. Use a ruler to make sure you cut straight. If you want to double-check this first panel, let the panel drop to the floor to see where the cut line falls.
Remember, you're going to want at least 3 additional inches for that final hem from where the curtain panel breaks on the floor.
Cut your fabric.
Fold Your Hem
For this project, we chose to fold our fabric up 1/2" the entire width and then 2". Your exact numbers will be based on how you want your curtains to fall against your flooring.
Pin your hem in place.
I'd suggest you start with the numbers we used and take a look about halfway through your pinning. Since your curtains are already hanging, you can let them fall to the floor to see how your hem is looking.
Make adjustments as needed. When you are satisfied with the hem measurements, write it down on a notepad so that you don't forget later when you start your next panel.
Sew or Iron!
Now that you've found the hem, it's time to sew or use your iron-on hemming tape!
We chose to sew our curtains purely because my sewing machine hasn't gotten some love lately and I really enjoy sewing when I have the time. I sewed a straight stitch along one side, came around the hem and finished along the other side. I used a white thread that would blend into the curtain fabric.
But you totally don't need to enjoy sewing to finish this project. Using hemming tape, iron on your hem. You can do this by using your folding table covered in a beach towel or bringing down your ironing board.
Repeat this for each curtain panel.
Press Your Curtains
This is mostly optional. As a final step, you could set up your ironing board in front of each curtain panel and press your hems. If you're already using the hemming tape, you'll already be doing this!

PIN FOR LATER:

Hi, I’m Brittany, and I believe life at home should feel easier, not heavier.
I’m the creator of Our Home Made Easy, a space for busy women who want dinner on the table, their homes running smoothly, and a little breathing room at the end of the day.
You won’t find perfection here, just realistic recipes, smart shortcuts, and simple routines that work in real life. The kind that help you feed your family well, stay organized enough, and still have time to actually enjoy it.
If you’re juggling work, kids, schedules, and everything in between, you’re in the right place. I’m so glad you’re here.


What a clever idea, Brittany. Your house looks beautiful! I love how much brighter it looks. I’ve been sewing lately too (making bags). I love it! I dream of that Arizona sunshine all the time; can’t wait to get back to it!
Thanks Julie! I hope you get to come back out again soon, too! 🙂