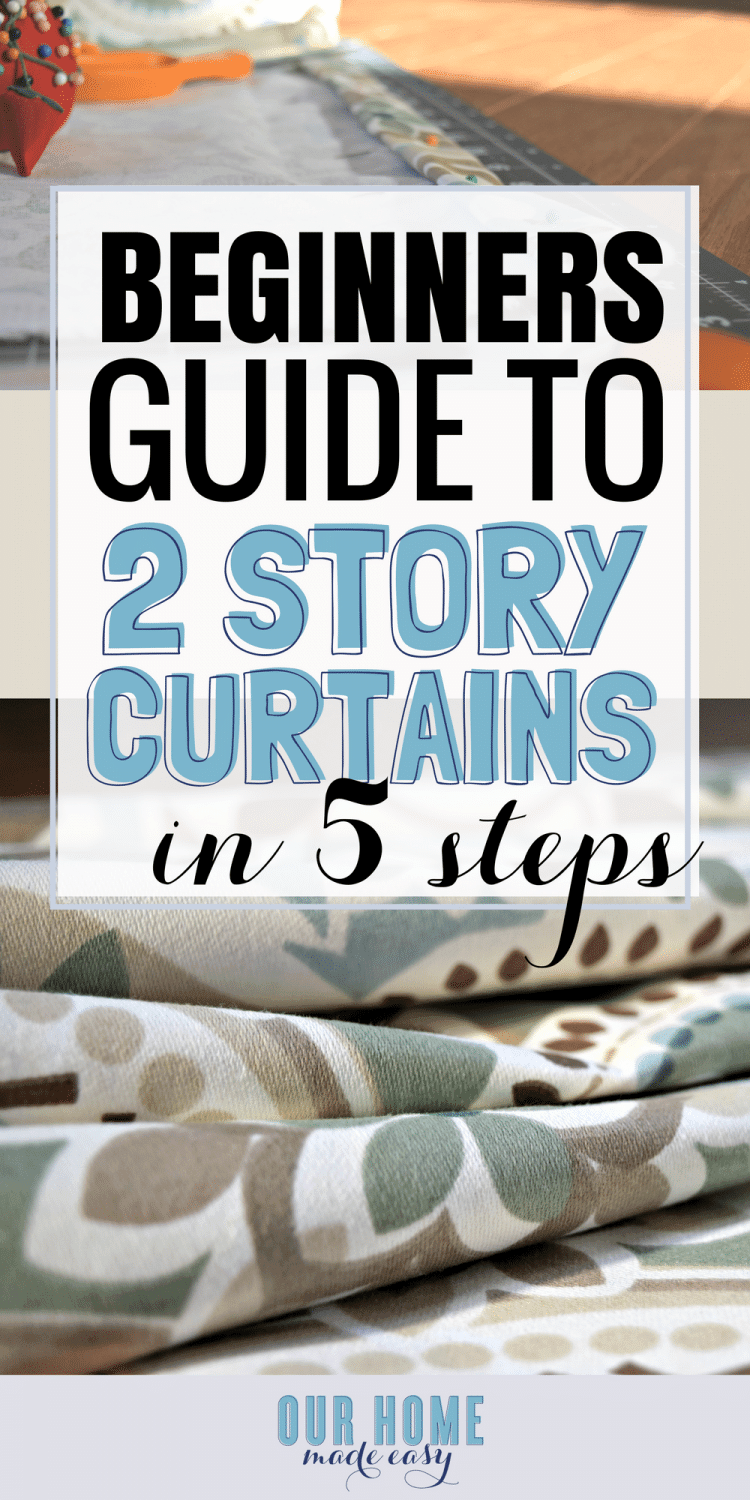
Easy DIY Two Story Curtain Panels in Only 5 Steps!
Do you ever watch HGTV shows where the couple walks into dreamy two story living areas and they instantly say “Ohhhh.. this space!” What no one ever tells you is that “this space!” is not easy to decorate. If you have this type of space, one the easiest things you can do is really fill it up with floor to ceiling curtains panels, DIY style. And on a budget (if you want to save $$ or have lots of options to change out)!
(This post contains affiliate links. If you shop from my blog, I may be compensated for clicks or purchases that you make. Read my disclaimer page for more information.)
When we were looking at floor plans for a new home, I immediately fell in love with two story living spaces. I found them beautiful and dramatic.
Unfortunately, a well dressed window treatment does NOT come with the house upon closing. After waiting a year for the house to settle, the living room was painted a custom color recommended by our awesome paint consultant.
Once the room was painted it was time for me to start curtain shopping!
After we moved in I looked online for 18 foot curtain panels and was extremely surprised at how much they cost on Etsy. I kept finding beautiful panels, but I just couldn’t justify spending almost $1000 on 4-6 panels.
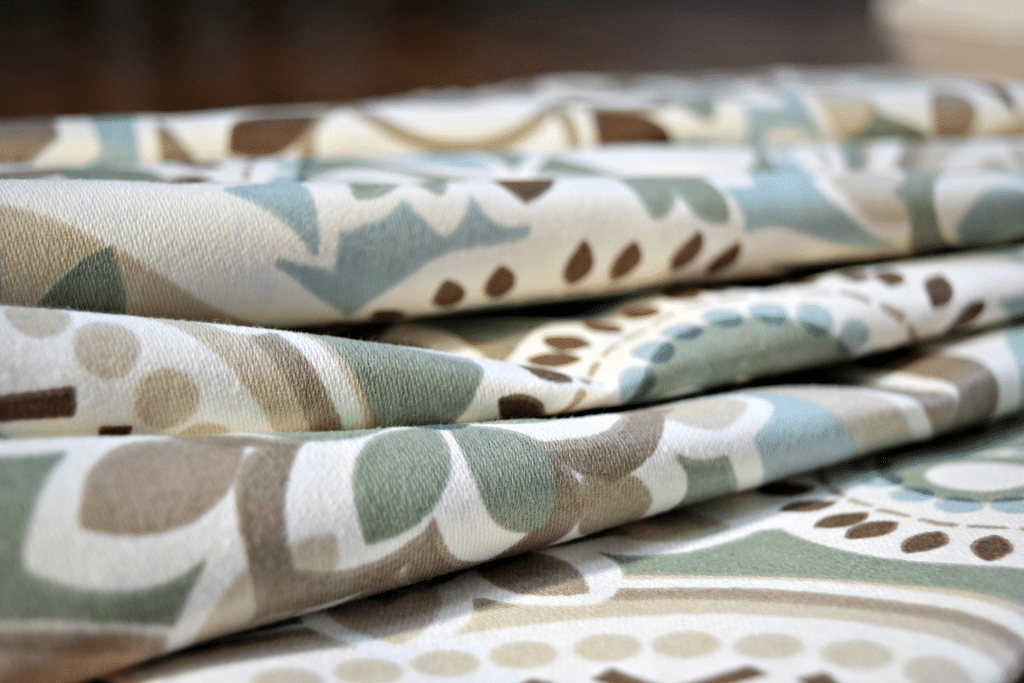
And what if I did not LOVE them?! So, I thought maybe I could make them. I took our whole house wall color sample cards (they are pretty large) to the store to find a fabric that matched our tones.
Luckily we found one that coordinated well. Hallelujah!
With a spool of thread, any sewing machine, and A LOT of fabric, you can make them too in one evening!
Extra Info for you: I found the fabric that I wanted and ordered it online to use a better coupon AND ensure that all 12 yards came on one bolt of fabric. Fabric online can occasionally look different online than in person, but online usually has better pricing. Clear as mud, right?
Supplies Needed
- Home Decor Fabric
(We used this print from Jo-Ann Fabrics)
- Marking Pen
- Fabric Scissors
- Rotary Cutter (Optional, but helpful)
- Iron

- Straight Pins
- Quality Coordinating Thread
If you are a new beginner, check out my post here of 15 must haves for sewing beginners.
Step One: Determine Your Fabric Length
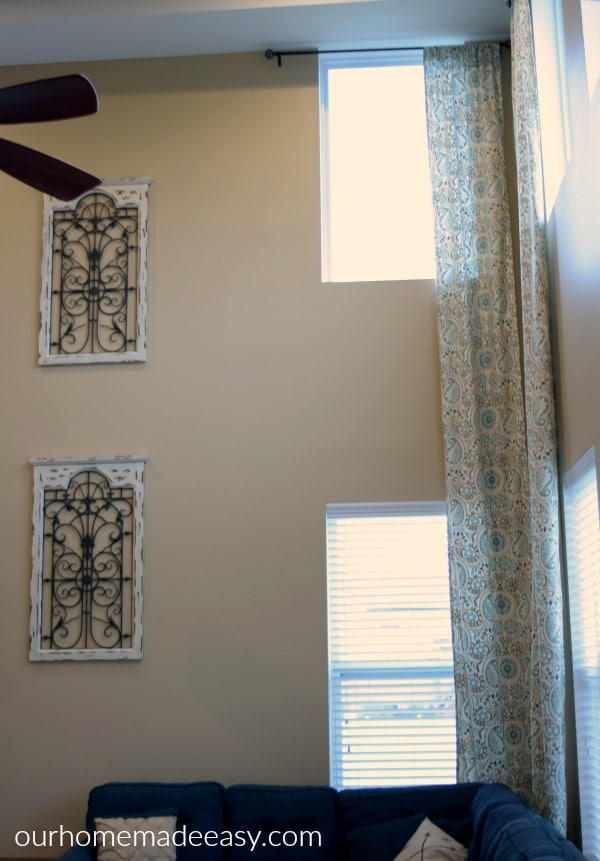
Begin by rolling out the fabric across my living room. I wanted my finished product to be 18 feet long with just a few extra inches to drape onto my floor.
Each panel has a 2″ hem and is folded over 3″ at the top for the drapery rod. I considered adding grommets to the panels, but I decided against it since the grommets wouldn’t be featured as heavily 18 feet in the air.
But, if you do decide to use grommets, add another 1″-1.5″ to your final math as the top of the panel will lay higher than a pocket rod. Check out my grommet tutorial here.
The Math:
Each piece is finished length + 4″ (bottom hem) + 3″ (drapery rod). Optional: Don’t forget to allow for grommet header length
The fabric is considered home décor and is 54″ wide. The panels are intended solely for decoration and I did not need the entire 54″ so I decided to make two panels out of the 54.”
Step Two: Cut the Fabric

Cut the fabric to your determined length. Once the fabric is cut, fold it in half length wise and squared up the fabric.
Then, cut the fabric in half, lengthwise to make two unfinished panels. Once the panels are cut, fold a 1/2″ hem on the lengths of the panels.
Fold twice over and pin in place.
Step Three: Press the Fabric
Before beginning sewing, quickly press your fabric. This helps keep your hem in place and allows you to maintain better control when you need to sew almost twenty feet of fabric!
Step Four: Make 5 Straight Stitches
Using a coordinating thread![]() , straight stitch the sides of the panels.
, straight stitch the sides of the panels.
Once the sides are done, fold the bottoms of the panels up 2″ and 2″ again. Pin in place, press, and sew around the sides and hem. Next, take the top of the panel and fold over 3″.
This will be where your rod slides through the panel. Like the others, pin the hem and press. Sew over the hem.
Make sure you leave the ends open for the rod to slide through. Since these panels are so long, it would be a good idea to reinforce the hem and double sew it.
YOU ARE DONE SEWING.
Step Five: Show Off your DIY Handiwork
Press the curtains for a professional appearance. Just because you didn’t spend a small fortune on long curtains, doesn’t mean that they shouldn’t look top-notch!
Slide the curtain panels on your drapery hardware, congratulate yourself, and sit and enjoy your new panels!
Filling in large two-story areas doesn’t need to be expensive or difficult. Find fabric and just start! In one evening you’ll be able to knock out an entire room’s wall treatments AND save enough to make a second set if you ever want to change them out!
Love a great DIY project? Be sure to grab your list of my favorite weekend warrior projects below!
PIN FOR LATER:


Hi, I’m Brittany, and I believe life at home should feel easier, not heavier.
I’m the creator of Our Home Made Easy, a space for busy women who want dinner on the table, their homes running smoothly, and a little breathing room at the end of the day.
You won’t find perfection here, just realistic recipes, smart shortcuts, and simple routines that work in real life. The kind that help you feed your family well, stay organized enough, and still have time to actually enjoy it.
If you’re juggling work, kids, schedules, and everything in between, you’re in the right place. I’m so glad you’re here.


Its the part between “Slide the curtain panels on your drapery hardware, congratulate yourself…” and “…sit and enjoy your new panels!” that I am wondering about. I am trying to figure out how on the earth to get up to those towering heights to put up curtain rods (and tapestries/pictures for that matter). What did you do??? Thanks!!
Hi Raina! My husband uses this ladder around the house http://amzn.to/2rXqett . He used it an extension ladder to make it up the 18′. The night before I sewed the curtains, he hung up the hardware so that I knew what my measurements needed to be– I didn’t want them to be too short! Thanks for stopping by! -Brittany
I have been looking at similar ladders, but was hoping I could get away with the next size down from that. I am worried about manupulating a beast like that. It may just be unavoidable I suppose. Thank you for your help!
Sure, it’s large! 90% of the time he has it folded in half and collapsed, and it doesn’t take up much more space in the garage as any other ladder. But it’s heavy! -Brittany
How many yards should I ordered if I need to make 4 panels in two story living room curtain?
Thank you
Hi Joan! I would take your total wall height and add 18 inches to cover all your cuts. Since I used the wide fabric on the roll, I cut the fabric in half lengthwise to get 2 panels out of each cut. I’m sorry I can’t be more definitive. It really spends on your walls and fabric width. Thank you for stopping by! -Brittany
You don’t mention matching the pattern across the different panels – doing that would add to the professional look of the finished project. (By the way, I admire you for taking on such a huge project. I am just finishing 8 foot panels with attached blackout lining and I’m getting very tired of wrestling with all that fabric!)
Great suggestion! Thank you for stopping by and good luck on the curtains!! -Brittany
Having just cut and sewed (6) 17’ 10” panel in almost identical fabric last night, the article makes it sound easy when in reality my hand was nearly numb and and I couldn’t stand working with that much fabric!
Hi Heather! I’m sorry to hear about your hand! I felt like 3 hours worth of work to save $600+ from buying online was worth my time. Since the project requires a few straight stitches, I still think it’s a great project for beginner sewists who want to save money decorating their home. Thank you for stopping by! -Brittany
I was surprised you didn’t make a header on the curtain top it would have made them look professional very nice material
Where do you find an online company that guarantees you can get all the fabric in one cut? I’m having the hardest time finding someone who can guarantee even 5 yards will be in one cut, let alone the 21 that I actually need. Any suggestions on this?
Hi Shalyn, I bought mine in quantities of 6 or 7 yards apiece from Jo-Ann Fabrics. Have you chatted online with Fabric.com? They may be able to help you too. Lastly, I would look at an Etsy store to see if you can find a retailer who would sell so much in one spool. Thank you for stopping by! –Brittany
How do you close and open your very long pocket rod curtains?
Brittany, what are those two super cute framed black (metal?) pieces on the wall and do you remember where you got them–retail or flea market/garage sale? The frames are nice, too.
Hi Penny! I found those at Sam’s Club about 8 years ago!
How do you draw the curtains open? Do you simply use your hands to pull the curtain or do you have a pole of sorts?