Homemade Baby Burp Cloths
Here is an easy guide to making your own burp cloths! They are super simple and perfect for beginners. Find more easy homemade baby gifts here to make!
(This post contains affiliate links. If you shop from my blog, I may be compensated for clicks or purchases that you make. Read my disclaimer page for more information.)
Have you ever been to a baby shower where the mama-to-be received totally adorable gifts and you thought “Why didn’t I think to do that?” or “I can definitely make those and not pay $20 for a set of 3!” I am here to tell you, YOU CAN DO IT!
Baby burp cloths are a fun shower gift for an expectant mama and super easy to make! Pair a small stack of these with a coordinating baby blanket and you have a thoughtful gift that any mom will appreciate. Bonus points if you coordinate with the nursery theme or the daddy-to-be’s favorite movie. << personal story 😉
Sure you can pick up a cute handmade set from Etsy, but if you have some time to run to the store and get to sewing, I recommend de-stressing by sewing up a batch of these burp cloths.
If you have the fabric pre-washed (for when the sewing time hits), you can make these during nap time and not worry about having to keep any eye on the kids while you’re focusing on sewing.
Supplies Needed to Make Baby Burp Cloths
- 3/4 yard of fabric per side. (I love the adorable snuggle flannel fabric from Fabric.com, Amazon, and Jo-Ann’s
)
- Fabric Scissors
- Rotary Cutter (Optional, but helpful)
- Iron

- Straight Pins
- Quality Coordinating Thread
Choose your Fabric
Start with the best part, choosing adorable snuggle flannel for the project! Really, you can use any flannel from the fabric store.
I usually purchase snuggle flannel. It’s so soft for new faces and the designs are absolutely adorable. For this tutorial pick out two coordinating fabrics and purchase 3/4 of a yard of each.
If you would like more burp cloths, purchase a yard of fabric. Once I buy fabric, I always wash it right away. That way when I have some unexpected free time to sew they will already be pre-washed and ready to go!
Other Posts I Think You’ll Enjoy:
- A Beginner’s Guide to Making a Hooded Towel
- 17 Easy Homemade Baby Gifts
- The 11 Things You Need To Know Before Sewing Minky Fabric
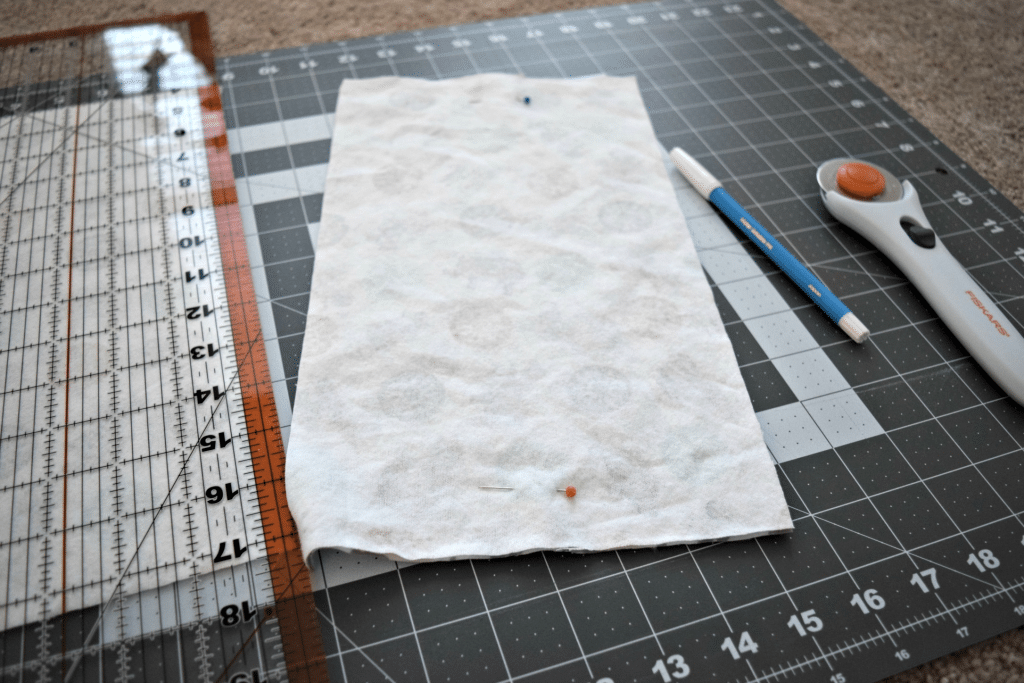
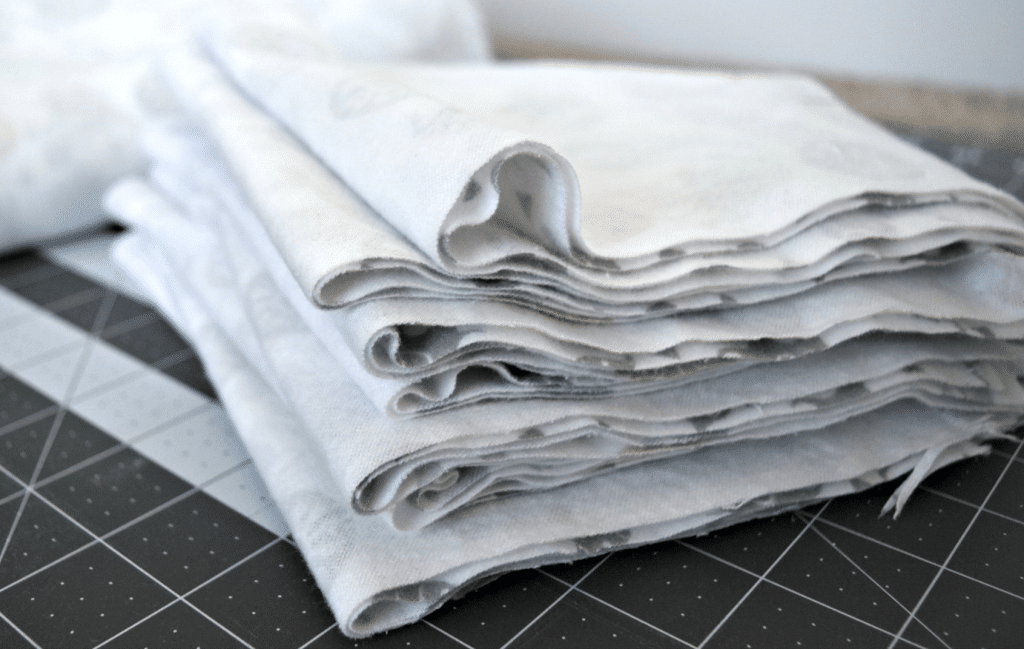
Cut the Fabric
Match up right sides facing one another so the “wrong” side of the fabric is facing you. Cut the burp cloths to your preferred size. For efficiency sake, I try to cut 4 rectangular pieces in width across the 42″.
You can choose to make them as long as you would like. Generally, my pieces are 10″ by 13.”
Once you master these, you may prefer to cut a pattern out of thick cardstock and use a kidney bean shaped item or continue on sewing rectangles. It’s your project, choose what shape you like the best!
Sign up for access to a free baby blanket measuring guide! It’s available to all of my email subscribers at the bottom of this post!
Prior to cutting, pin your fabric in each rectangle. I find that pinning once across the tops and bottoms keeps the fabric in place so that you can cut and stack quickly.
- Related: How to Applique a Baby T-Shirt
- Related: A Beginner’s Guide to Making Hooded Towels
- Related: 11 Things to Know Before You Sew with Minky Fabric
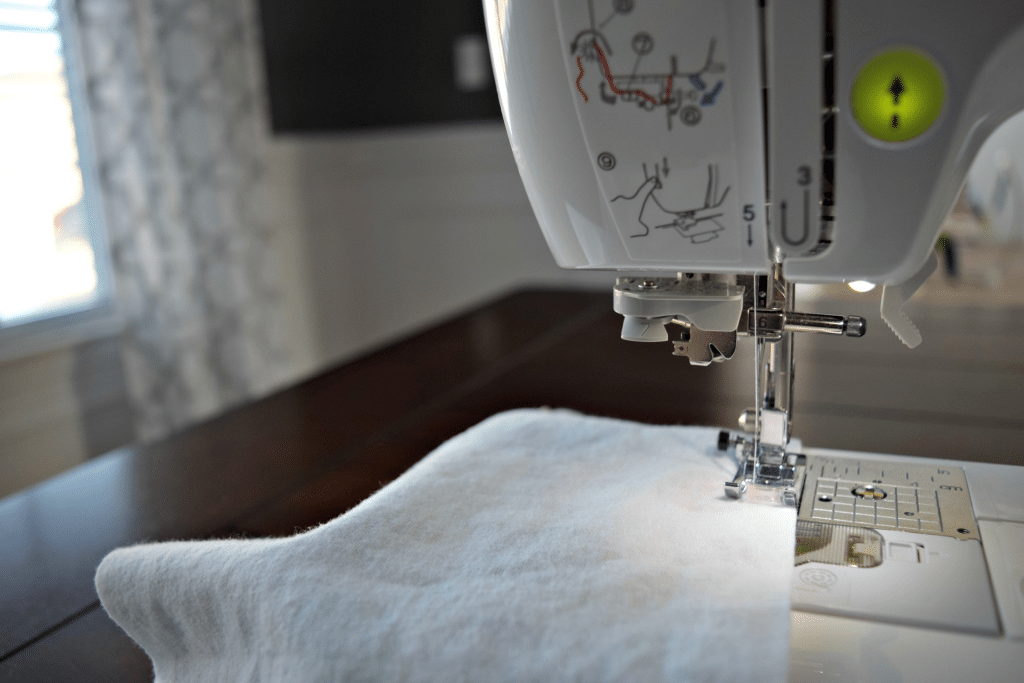
Sew your Burp Cloths
With a rectangle in hand, sew a straight stitch around the outer edge of the fabric, leaving a 1/4″ seam allowance and room to turn the fabric out.
Trim any excess fabric in the corners. This allows the cloths to lay flat nicer.
Since these are usually used heavily, I fold the small opening in and topstitch a straight stitch over the opening in a coordinating thread.
Some sewers prefer to catch the opening when the sewing the top stitch, but I’ve had incidents where I didn’t catch the opening fully and it came undone later. Or perhaps, we are just REALLY hard on our burp cloths. 🙂
Finish off your Burp Cloths
Once the burp cloth has been closed, it is important to press the item. Yes, please iron the burp cloth. Everything that you will ever sew will just look that much nicer pressed.
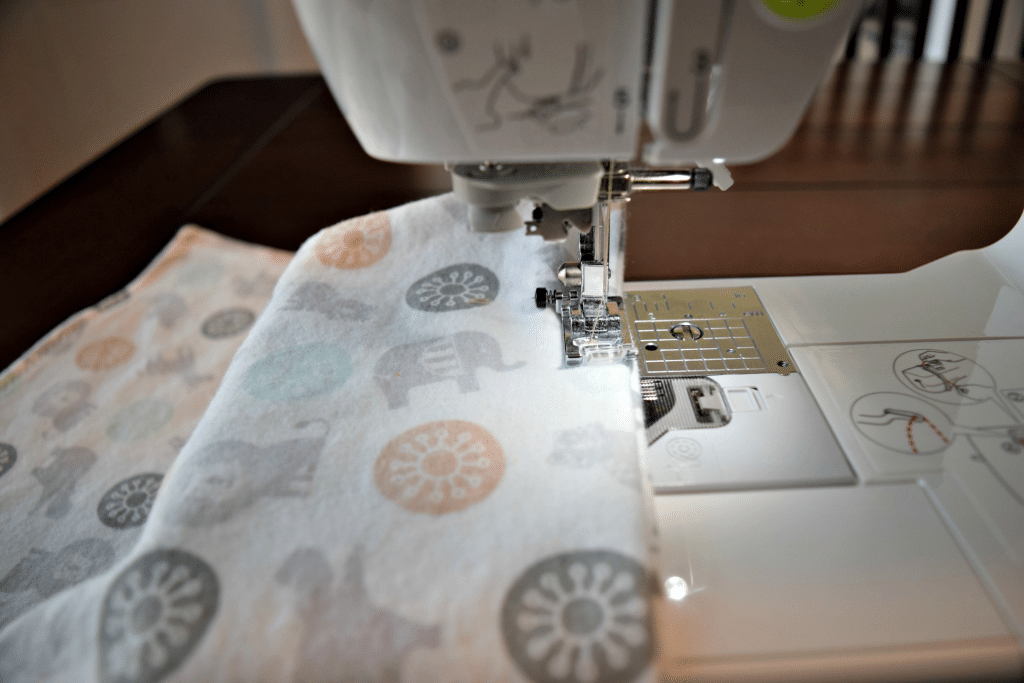
Once pressed, finish off your burp cloth with a decorative stitch across the perimeter. When I have several to make, I choose the zig zag stitch.
However my machine, the Brother SE400![]() has several decorative stitches. Check out your manual, have a little fun! Go wild and choose a contrasting thread to show off the stitch.
has several decorative stitches. Check out your manual, have a little fun! Go wild and choose a contrasting thread to show off the stitch.
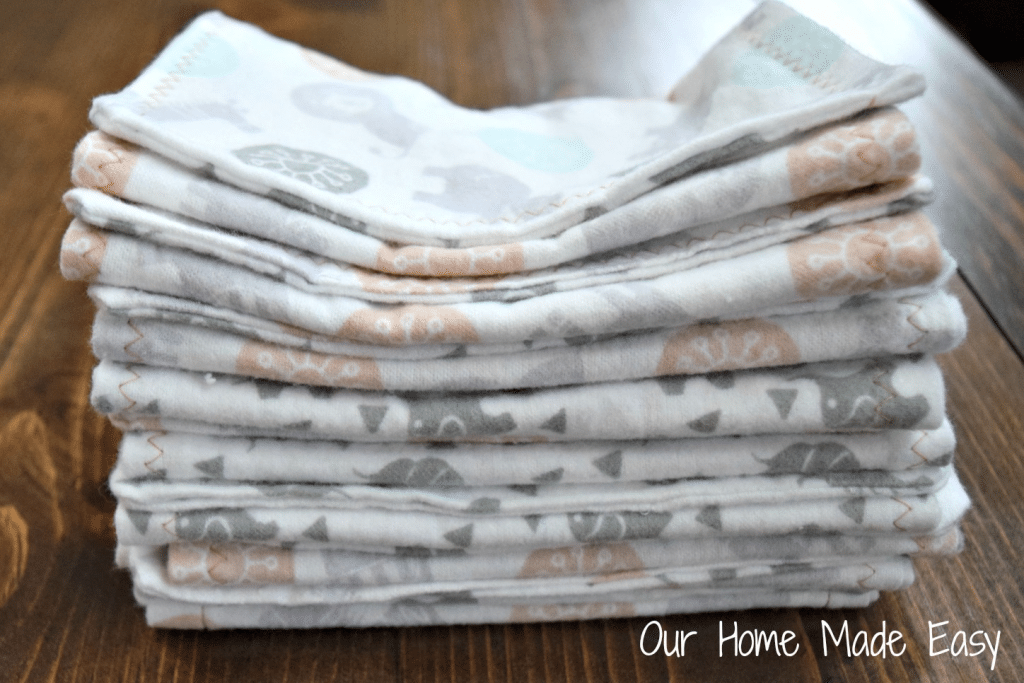
These can be made in less than an hour and go well with a homemade flannel baby blanket. See my baby blanket tutorial here.
Hopefully, you’ll find that these are the perfect project for new sewers and those who need a simple gift for a mama-to-be. Find two adorable pieces of fabric and get to sewing! You’ll have them completed in almost no time and be satisfied with your craftiness.
GET YOUR FREE BABY BLANKET SIZING GUIDE HERE!
PIN FOR LATER:

Hi, I’m Brittany, and I believe life at home should feel easier, not heavier.
I’m the creator of Our Home Made Easy, a space for busy women who want dinner on the table, their homes running smoothly, and a little breathing room at the end of the day.
You won’t find perfection here, just realistic recipes, smart shortcuts, and simple routines that work in real life. The kind that help you feed your family well, stay organized enough, and still have time to actually enjoy it.
If you’re juggling work, kids, schedules, and everything in between, you’re in the right place. I’m so glad you’re here.


I love making burp cloths! I have had about six baby gifts the last couple months. I like the rectangles. I put both materials right side together and divide how many I can get, usually three. I marked lines on the three sections and sew them all up at once. I put more than a seam allowance where I am going to turn it right side out. That way I don’t have to worry about sewing so close to the edge. I sew just inside of my marked lines and cut them apart, turn, press and top stitch. You can get a lot done quicker. I use fat quarters with boy-girl print and regular yardage of fannel. I cut a templete from cardboard. Pretty serious about my burp cloths! Lol Hope you like my idea!
Thank you for some great tips. I am going to make a few burp cloths for our Granddaughter.
That’s an awesome idea! I never thought about it like that! For regular bolt, I like to make 4 across, so the width per gift changes. Thank you for sharing your idea! -Brittany
Would it be ok to embroider on one side and then sew together? Thanks’
Absolutely! I think you could embroider or applique on the sides before sewing them right sides together. Thanks for stopping by!
My husband bought soft white clothes at Lowes they made perfect backing for the burp clothes.
Do these burp clothes have 2 layers of flannel or 4 when finished?
Hi Holly! These are 2 layers thick– a front and back side 🙂 -Brittany