Quick & Easy Wood Tray [Less Than $8!]
You can find some of my favorite things about DIY life are the projects that come together out of need and are super easy to build. This is one of those days. We aren’t going super fancy, just uber practical with this quick & easy wood tray. The best part? It cost less than $8 to make! You can make a serving tray just as quickly as well!

This post contains affiliate links. please see my Disclaimer for more information
How to Make a Quick & Easy Wood Tray
Jordan made this tray one afternoon to help me corral my things in the dining room. Since he wanted to make it super simple, he opted to do something different than my other favorite wood tray.
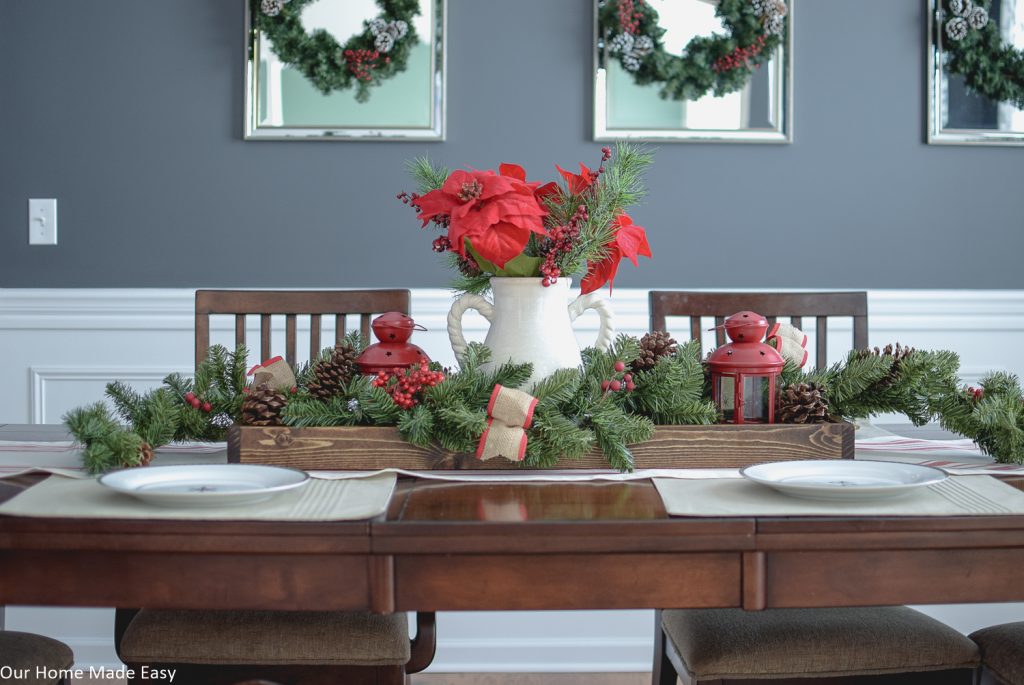
His time cutting trick was to use one single board for the bottom rather and several 1″x 3″ boards! We used an 8″ board, which was perfect for the dining room table. It wasn’t too narrow or too wide, just right for Goldilocks over here. 😉

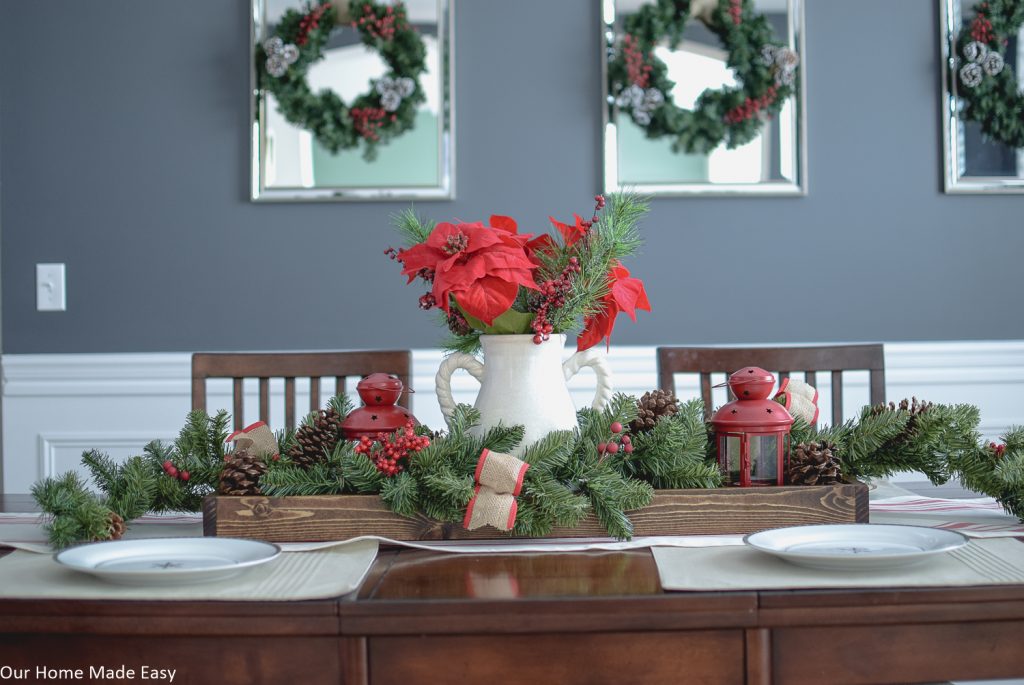
I’ve always been a little cautious when it came to dining room centerpieces solely because we actually eat in the dining room every night! I never wanted to move lots of stuff every night and put it back after dinner.
And that led to using a tray. Each night I can pick it up, move it, and pop it back in place in just a few seconds.
Real life is just pushing our things out of the way, enjoying dinner, enjoying our evenings, and then remembering to clean up afterwards. 🙂


Quick & Easy Wood Serving Tray
This adorable DIY wood serving tray is a simple DIY that can be used for SO many things, from seasonal decor to dinner party dining.
Materials
- 1" x 8" board
- 1" x 3" Board
- Pocket Hole Screws
- Stain
- Matte Polycrylic
Instructions
1. Make Your Cuts
Determine the size you'd like for the tray. Then, cut down your 8" board to the preferred length. For reference, to make my tray a total length of 36", my board is 34.5" in length.
Once you've cut your board to length, measure how long your sides need to be in length. Your long sides will be the length of the board and the short sides will be the board width + 1.5 inches in length.
2. Assemble Your Tray
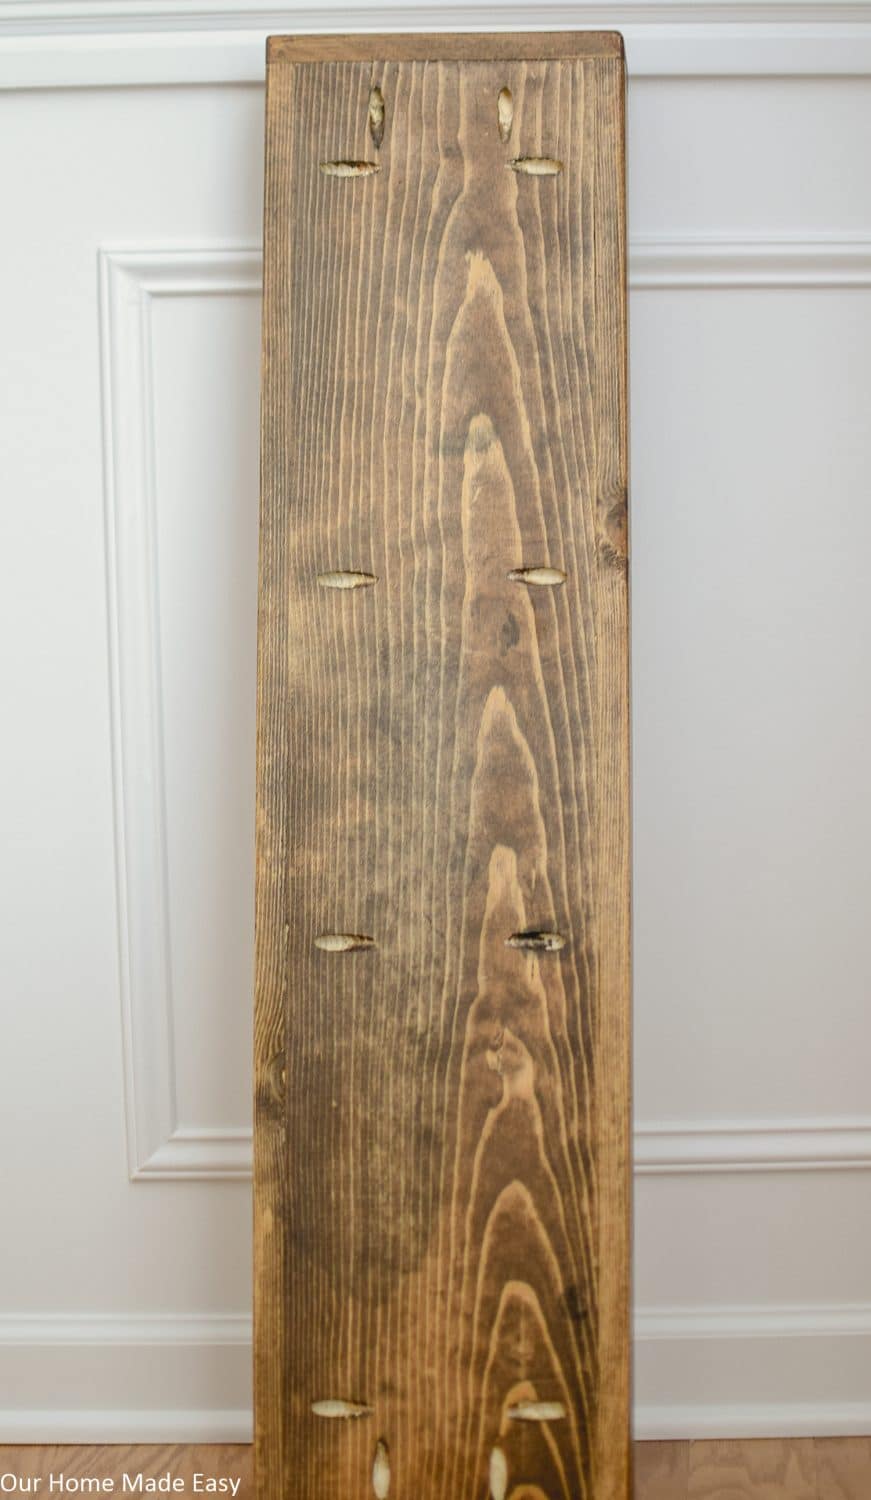
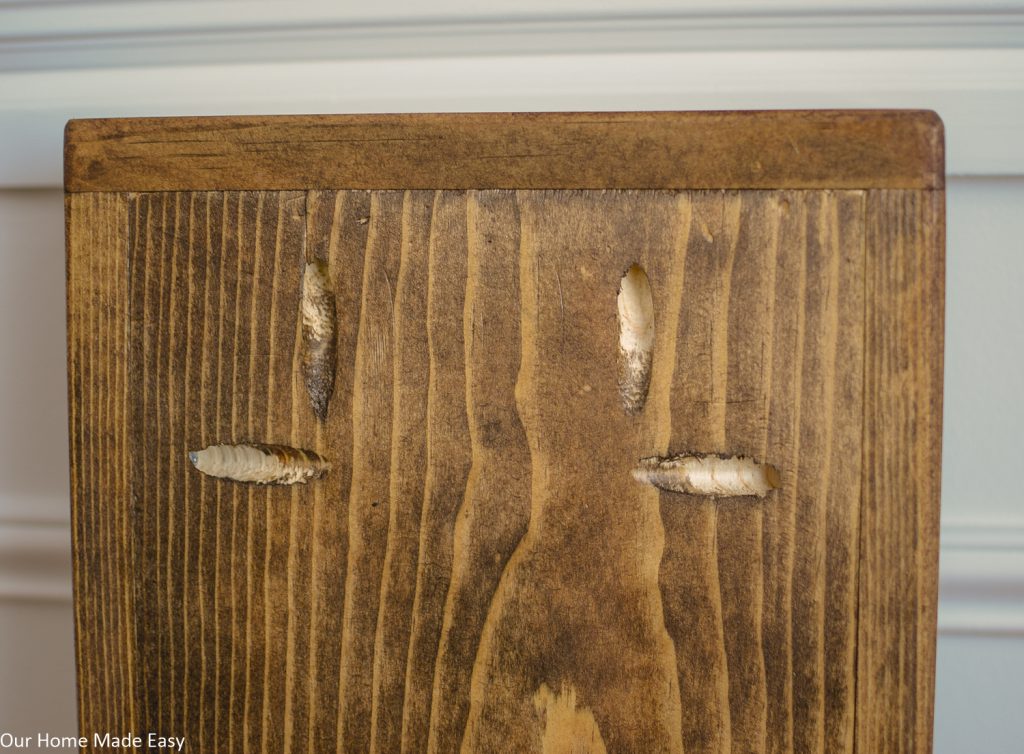
Using your KregJig, attach your pieces with pocket hole screws. In the picture above, you can see where we placed the pocket holes.
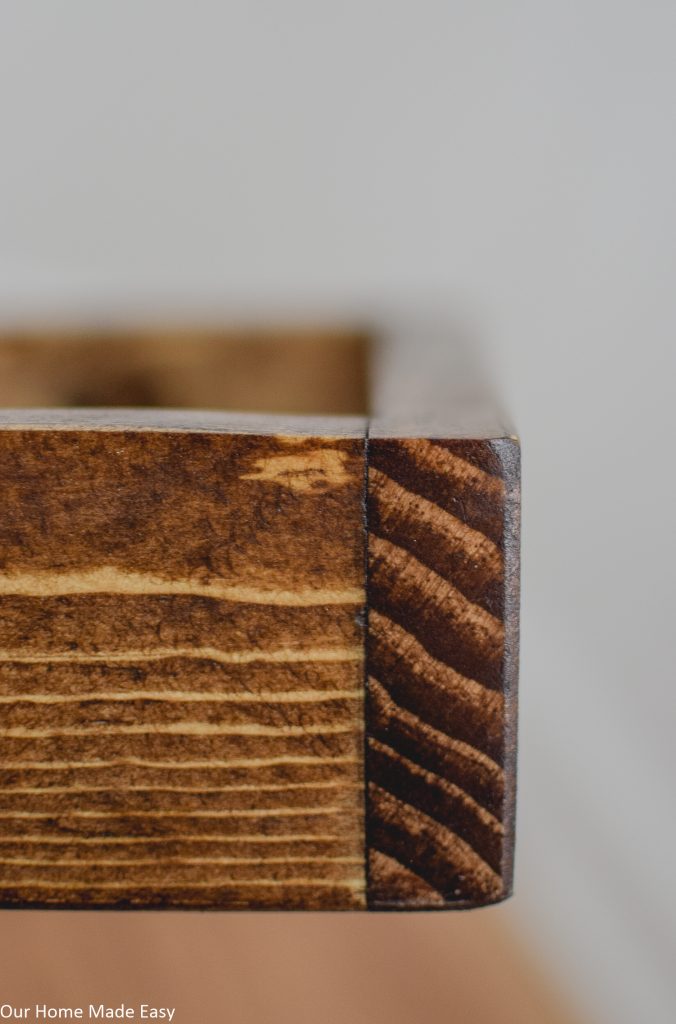
Soften the edges with an orbital sander.
3. Finish with Stain
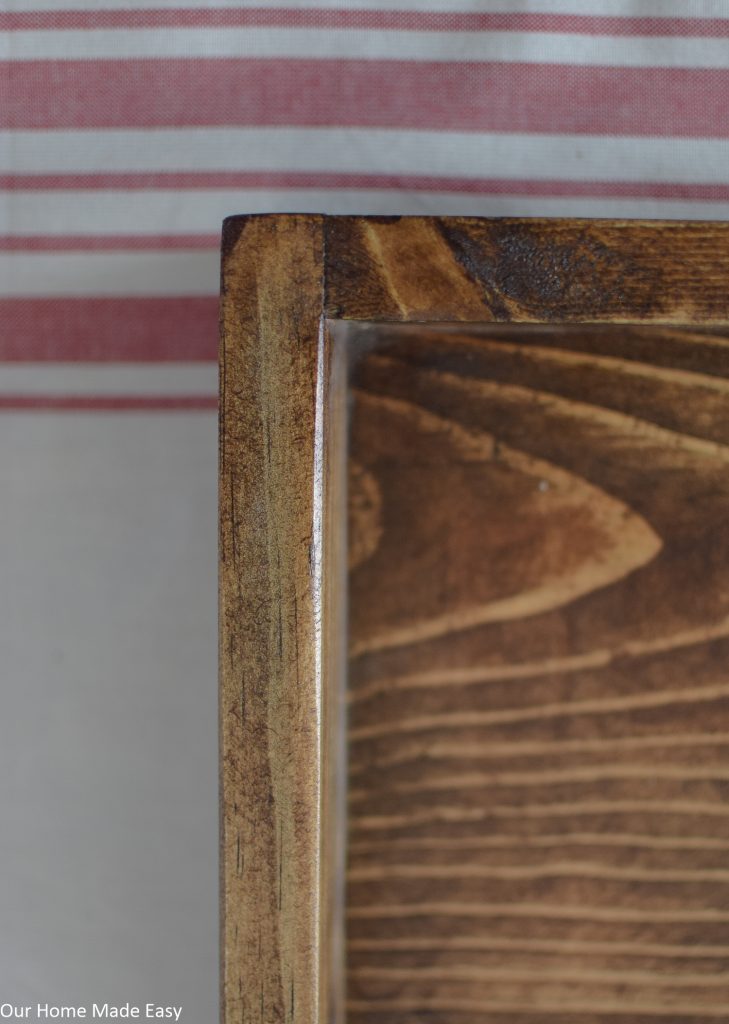
Once you have your tray assembled, stain it to your preference. I used one coat of EarlyAmerican wood stain and a second coat of Konawood stain. I wanted to use up leftover stain from old projects so I combined the coats to find the color that worked well for us.
Once the stain dries, top it with one coat of stain polycrylic to seal in the stain.
Supplies Used for the Quick & Easy Wood Tray
- 1″ x 8″ board
- 1″ x 3″ Board
- Pocket Hole Screws
- Stain (I used a coat of this & this )
- Matte Polycrylic

Make Your Cuts
Determine the size you’d like for the tray. Then, cut down your 8″ board to the preferred length. For reference, to make my tray a total length of 36″, my board is 34.5″ in length.
Once you’ve cut your board to length, measure how long your sides need to be in length. Your long sides will be the length of the board and the short sides will be the board width + 1.5 inches in length.
**Bad blogger: I definitely didn’t get a chance to photograph the steps because it didn’t take longer than 15-20 minutes to put together! By the time I was done helping the kids with something, Jordan was already staining!**
Assemble Your Tray
Using your Kreg Jig, attach your pieces with pocket hole screws. In the picture above, you can see where we placed the pocket holes.
Soften the edges with an orbital sander.
- Related: 13 Things You Need to Know Before Buying the Kreg Jig
- Related: DIY Wooden Serving Tray
- Related: Make an Easy DIY Wood Tray Quickly and for Cheap!
Finish with Stain
Once you have your tray assembled, stain it to your preference. I used one coat of Early American wood stain and a second coat of Kona wood stain. I wanted to use up leftover stain from old projects so I combined the coats to find the color that worked well for us.
Once the stain dries, top it with one coat of stain polycrylic to seal in the stain.
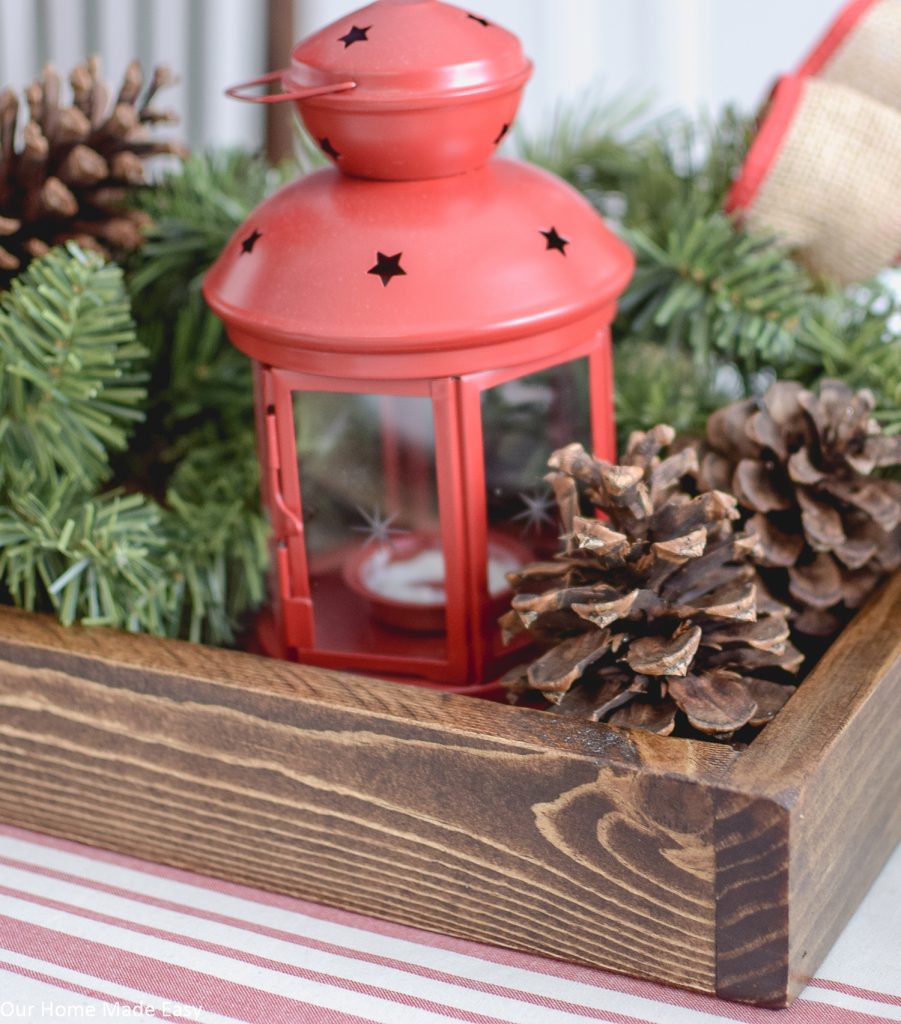
The width is perfect for a dining room table. I took some leftover decor and placed it in the tray. Insta-table thrown together in just a few minutes! The best part? 90% of it is a garland from Target. I didn’t have to do any crafty work.
Now, the table looks perfectly ready for Christmas and my DIY wreaths look a little less lonely!
Total Cost: less than $8!
I am in love with how easy this tray is to make! Simply make a few cuts and piece it together.
Enjoy an easy DIY win and a really nice piece of decor!
PIN FOR LATER:


Hi, I’m Brittany, and I believe life at home should feel easier, not heavier.
I’m the creator of Our Home Made Easy, a space for busy women who want dinner on the table, their homes running smoothly, and a little breathing room at the end of the day.
You won’t find perfection here, just realistic recipes, smart shortcuts, and simple routines that work in real life. The kind that help you feed your family well, stay organized enough, and still have time to actually enjoy it.
If you’re juggling work, kids, schedules, and everything in between, you’re in the right place. I’m so glad you’re here.


Oh my goodness! I love this tray the decor on your dining room table looks so Domingo mine. I had actually just bought two small trays today so I could move my decor on and off the table. I may just take them back and have my hubby build one like this.
Thank you Julie! I’m such a tray fan because it makes moving decor so easy, especially with having little ones!