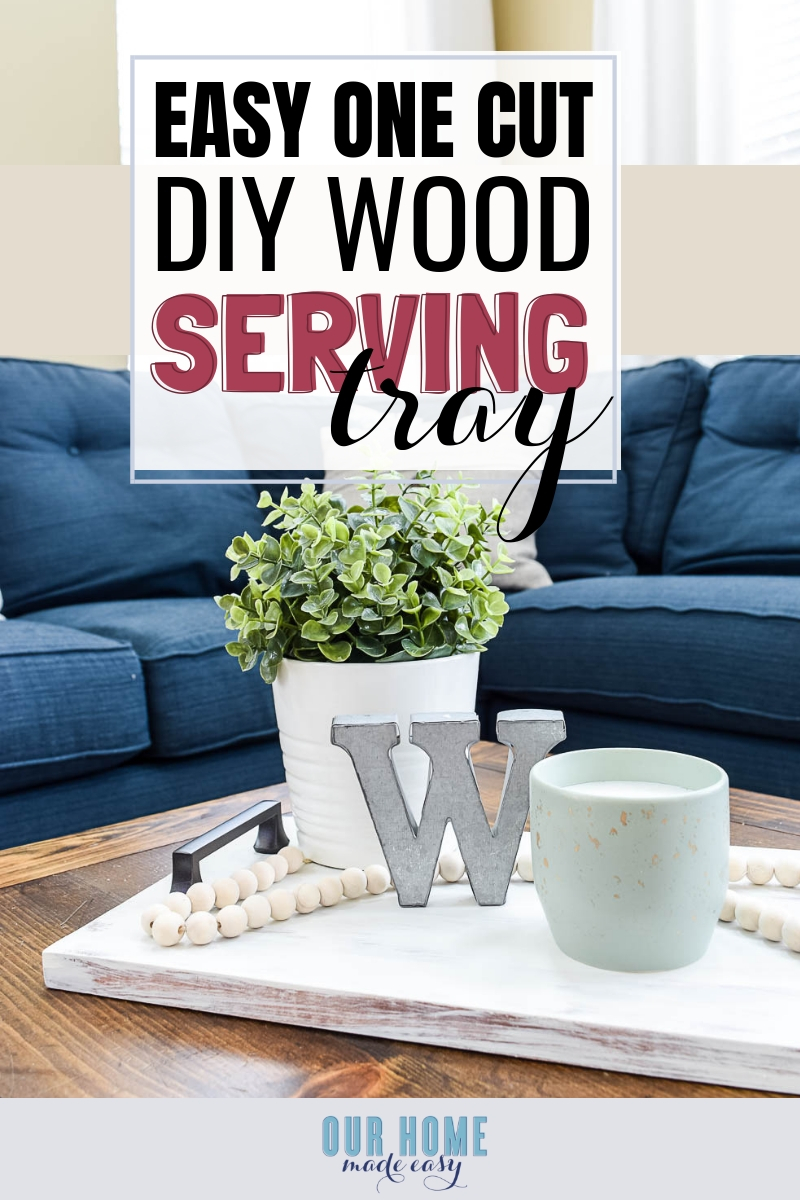
DIY Wood Serving Tray (Easy Home Decor Ideas)
Craft your perfect serving tray with our easy DIY serving tray tutorial. From a one cut board to finishing touches, create a stylish piece for coffee tables or gifting.
 (This post contains affiliate links. Please see my Disclaimer for more information.)
Crafting a DIY serving tray is a great way to add a personal touch to your home décor. These trays are not only functional but also serve as a chic decorative element that can enhance the look and feel of any room. We understand the significance of creating a space that radiates warmth and comfort with minimal time and effort.
The use of serving trays is an ingenious solution for busy individuals who want to quickly elevate their home aesthetic. They offer an attractive way to corral items on a coffee or dining room table, and even when life gets messy, they manage to maintain a sense of order and style.
Knowing that you want a welcoming space, but without spending too much time and money, we’re excited to share a straightforward tutorial on how to construct your wooden serving tray. This project is perfect for those looking to introduce a unique and charming piece into their living space, or even as a thoughtful handmade gift. With just a single board and some simple finishing touches, you can choose from a spectrum of designs, from warm wood tones to calming neutral whites. The process is uncomplicated and cost-effective, with the primary expense being a few dollars on cabinet handles.
Today we will show you exactly what you need to do to create an elegant serving tray that will complement your home, no matter your crafting skill level.
Why Do We Love Styling with Wooden Trays?
Whether it’s one you find at Home Goods, Target, or DIY yourself, they add instant style without much effort. You can choose warm wood tones or pick a neutral white to let your decor items pop! Even if the kids’ toys accidentally end up in the middle of it. It all works, I promise.
And I realized that I’ve never shown you how quick it is to make one for yourself! The biggest cost is $2-$3 you’ll spend on cabinet handles. That’s it.
Admittedly ashamed we haven’t talked about DIY serving trays yet on the blog.
Please forgive me.
DIY Wooden Serving Tray
This serving tray tutorial allows you to customize your tray size, color, finish, and handles! Follow along to craft your perfect tray, over & over again. Super quick & simple! (And they also make for great gift ideas for the friend or sister who already has everything!)
Supplies Needed for Your Serving Tray
- Select Pine Board ( I used 1″x 10″ for my tray)
- 2 Cabinet Pull Handles
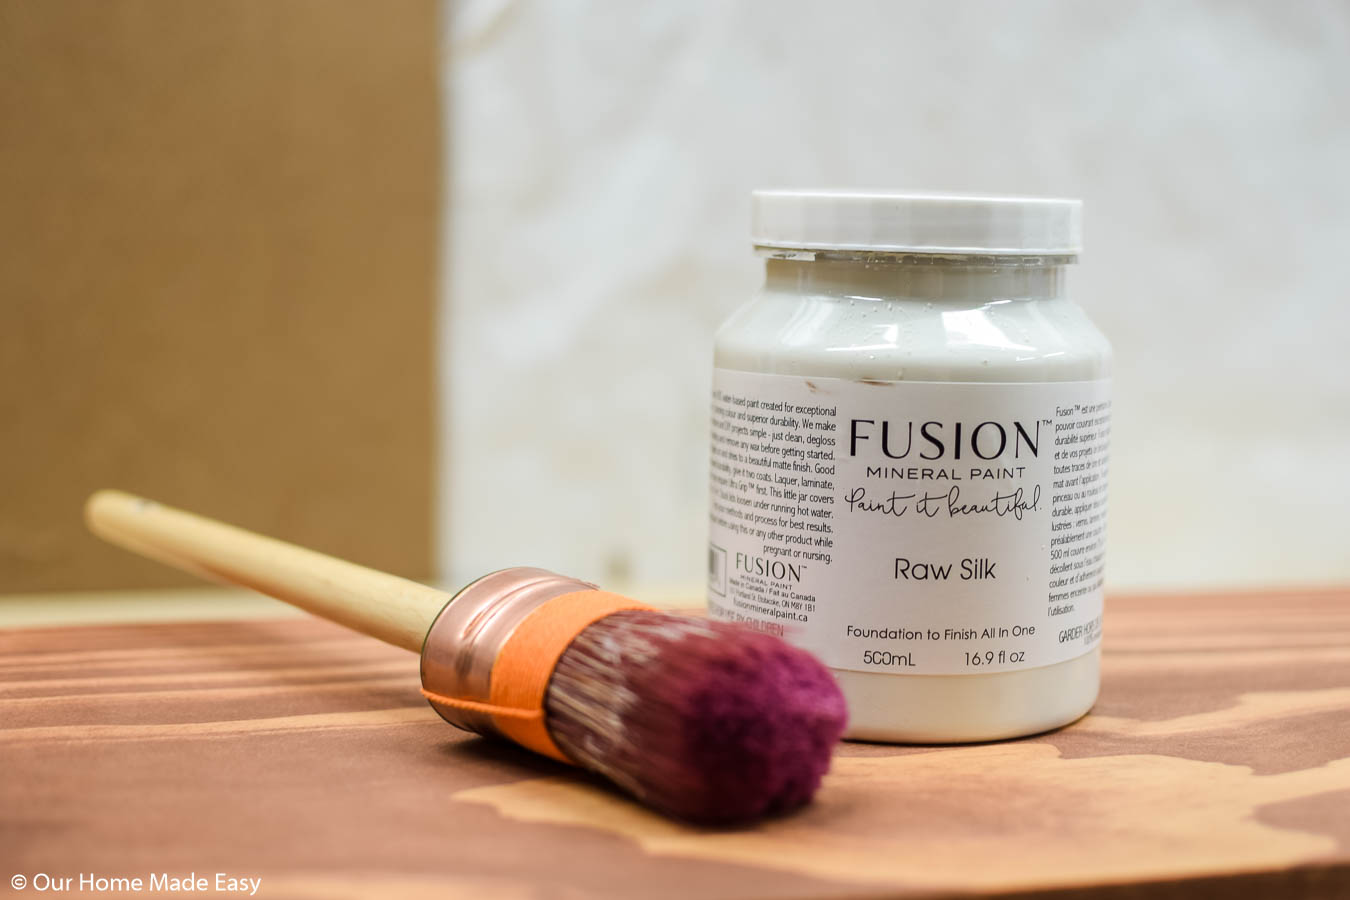
- Stain or Mineral / Chalk Paint
Tools Needed
- Miter Saw
- Sanding Block
- Painting Rags / Foam Brush
- Cordless Drill
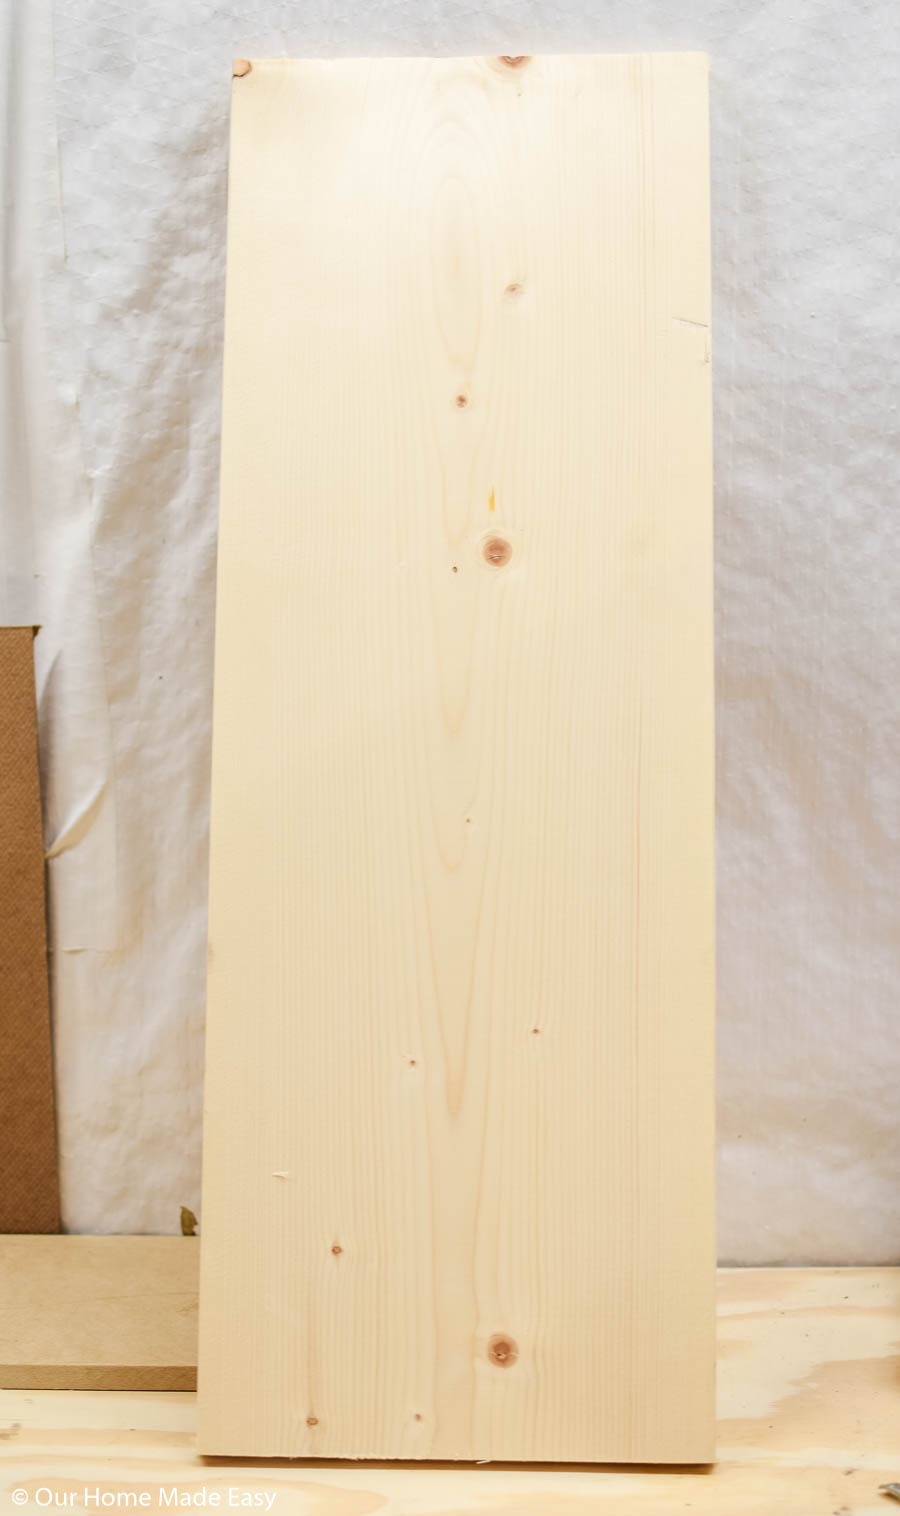
Cut Your Board to Size
Using a miter saw, cut your wood board to your preferred size. For mine, I made it 17″ long. If you have a smaller table, you may want to choose 14″ or if you are covering a larger area, you could easily make your tray 20″. It’s always easier to go longer, test the board on your surface, and then trim it down if needed.
- Related: Quick & Easy Wood Tray [Less Than $8!]
- Related: Easy DIY Wine Rack for a Tabletop
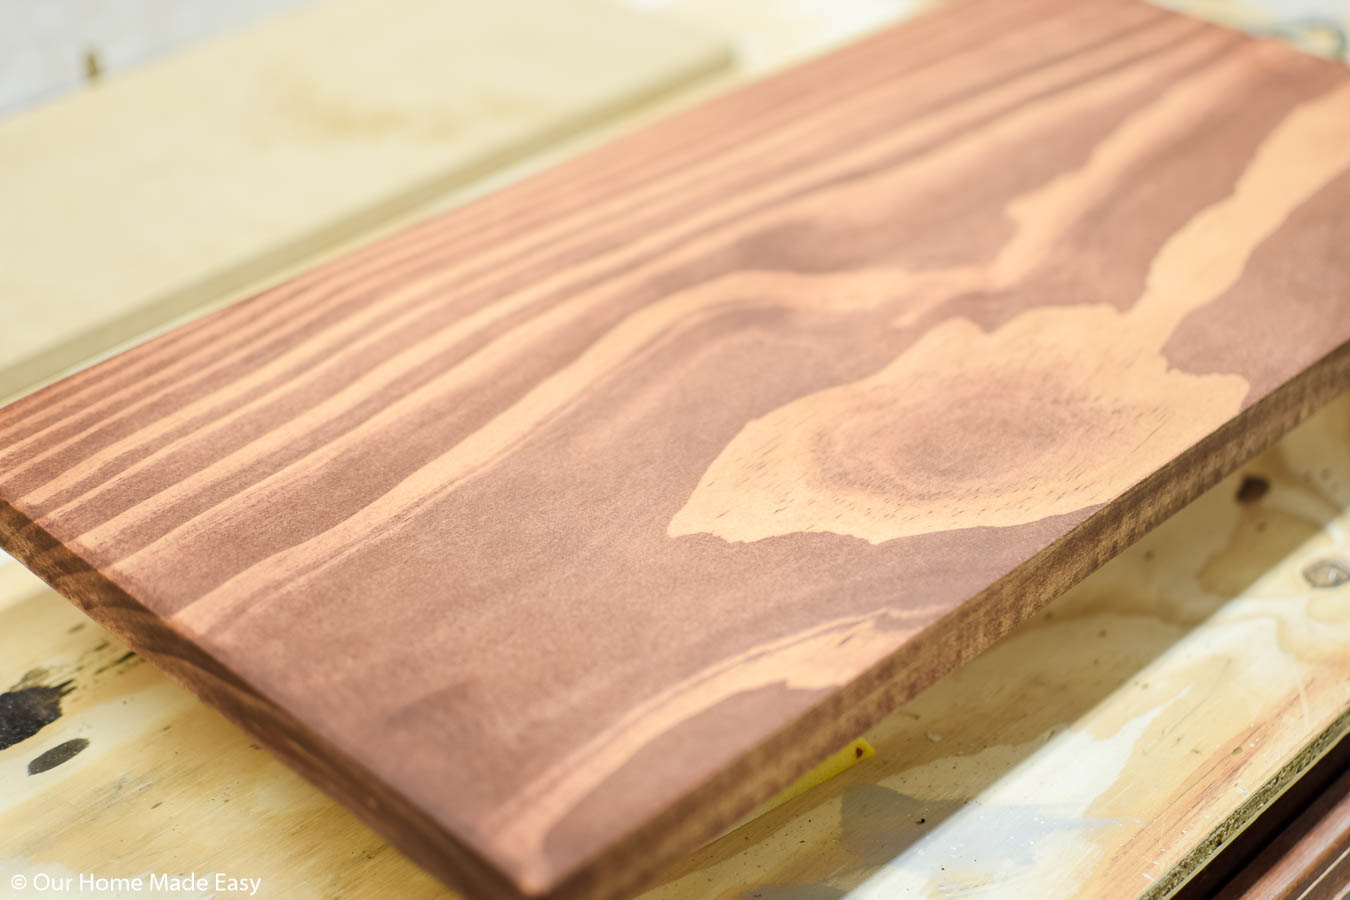
Sand Down Your Board
Once you are satisfied with the board length, quickly sand down any rough edges. If you have an orbit sander handy, this can be done in less than 3 minutes. If you are using a sanding block, simply softens the edges to avoid any splinters.
I like to sand down the short sides and along the top of the long sides to give it a softer look. It’s totally up to your preference. Wipe away excess dust with a clean cloth.
More DIY Serving Tray Projects:
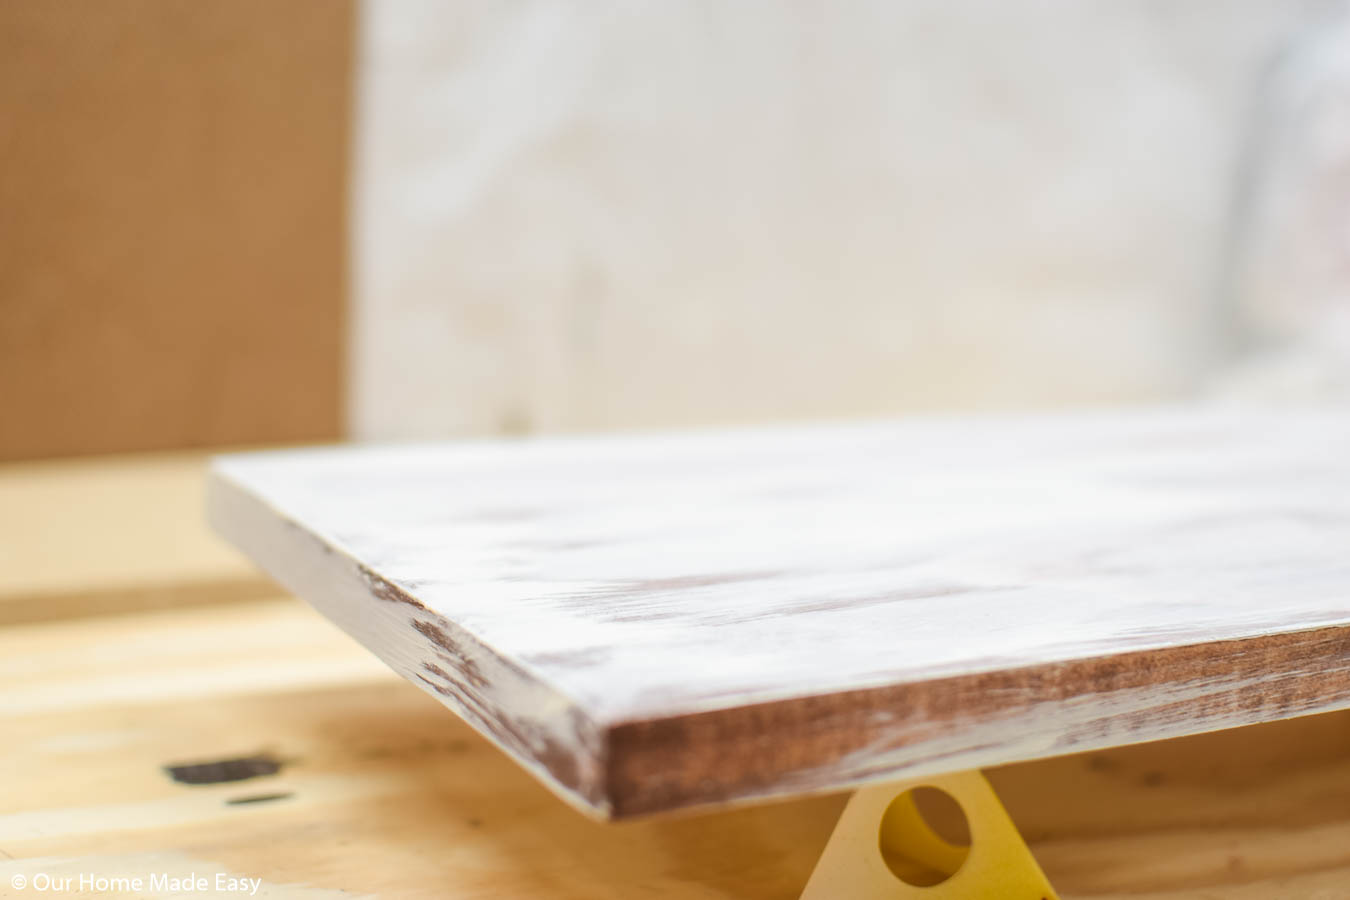
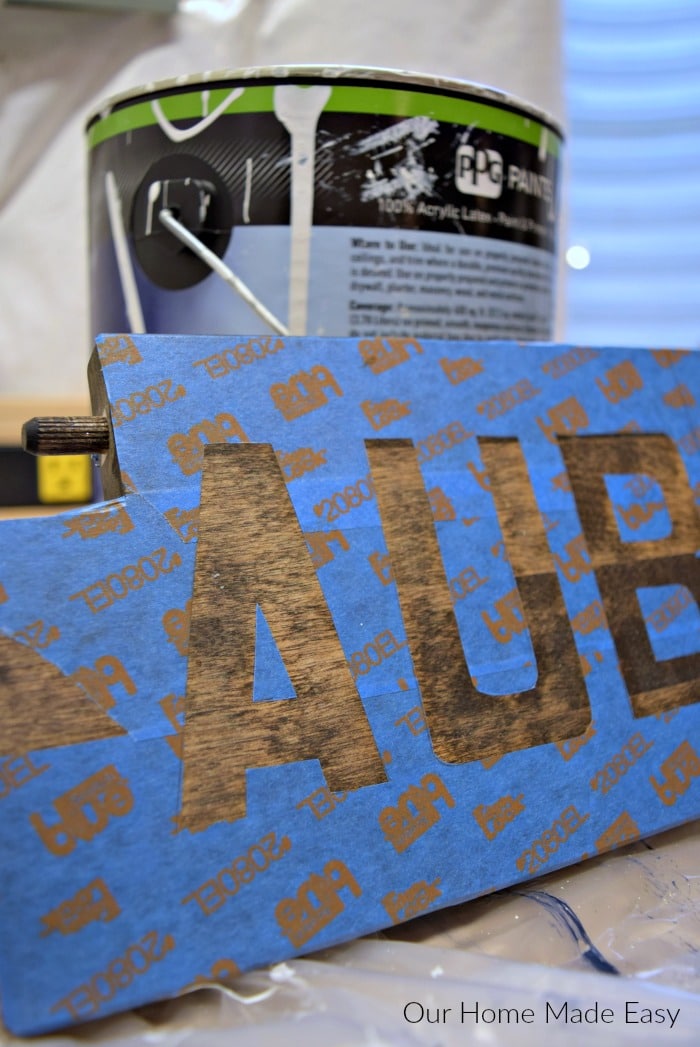
Stain or Paint Your Board
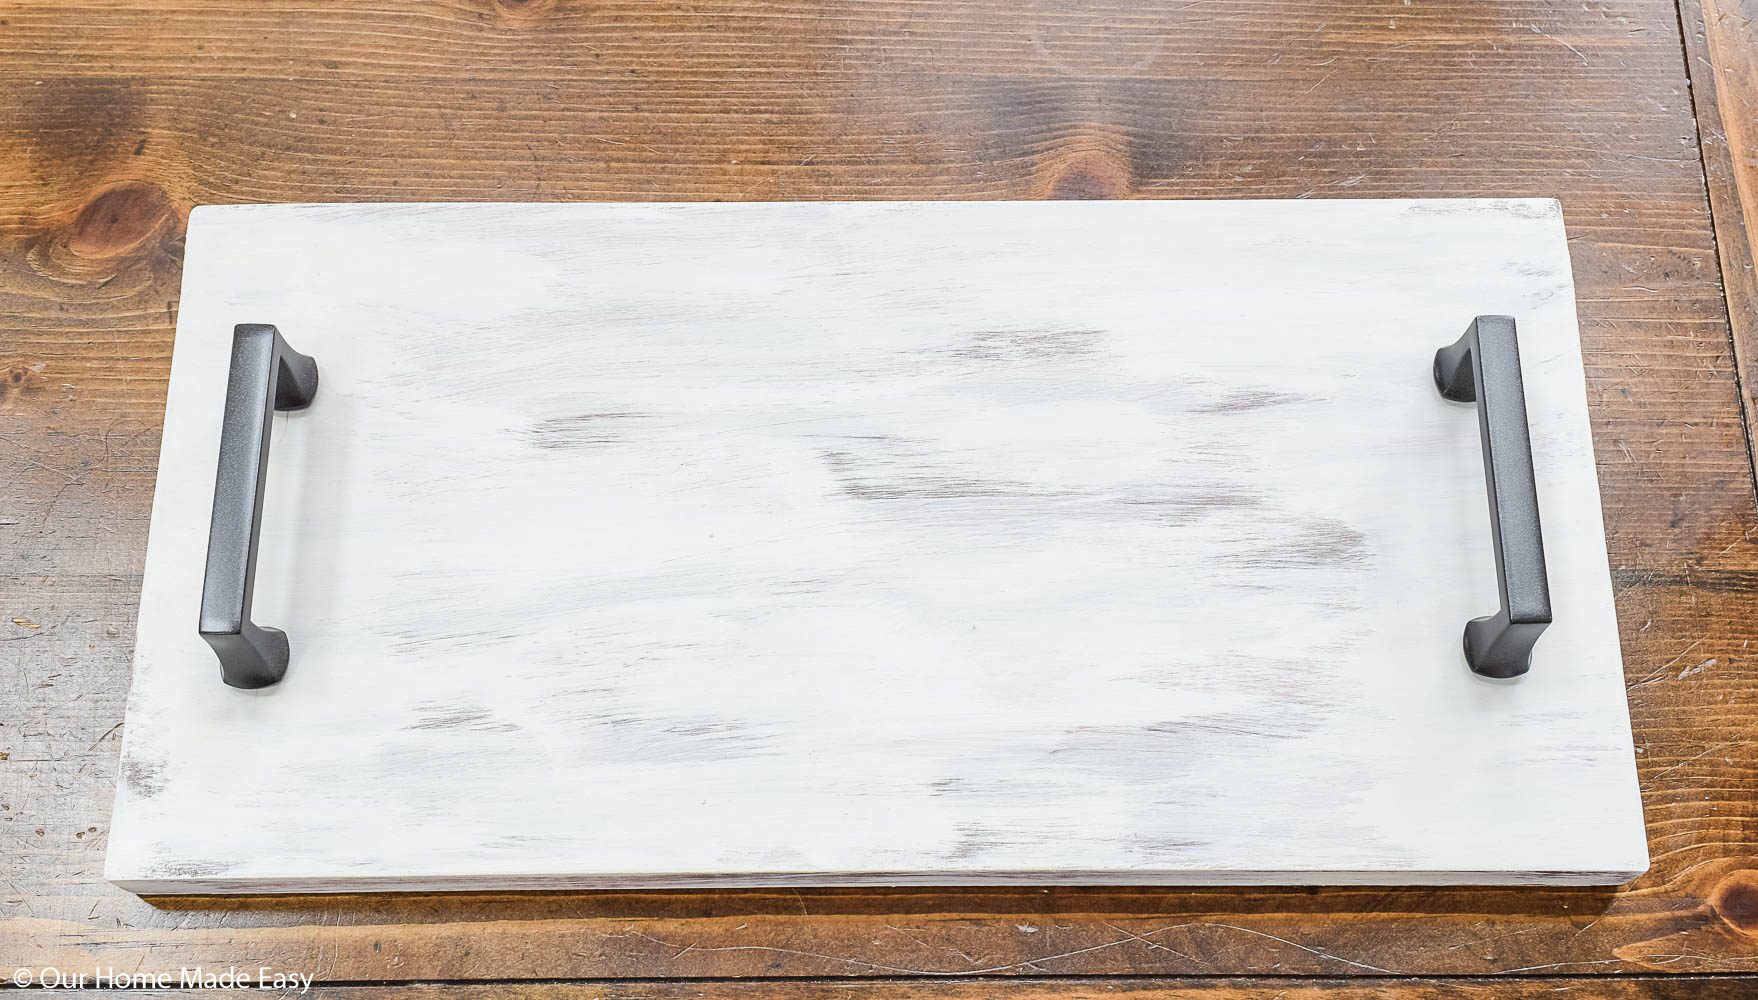
Once your board is smooth, it’s time to start decorating it! You can add stain and leave it as is, or you can paint it. For this particular wood serving tray, I stained it first. It turned out a bit redder than I preferred, so I covered it with a thin coat of paint in Fusion Mineral Paint’s Raw Silk. Once the paint dried, I roughed up the surfaces with a sanding block.
Allow your stain or paint to dry and you’re just about finished!
- Related: Side by Side Comparison of Fusion Mineral Paint Colors
- Related: Fusion Mineral Paint: Is it Worth Your Money and Time?
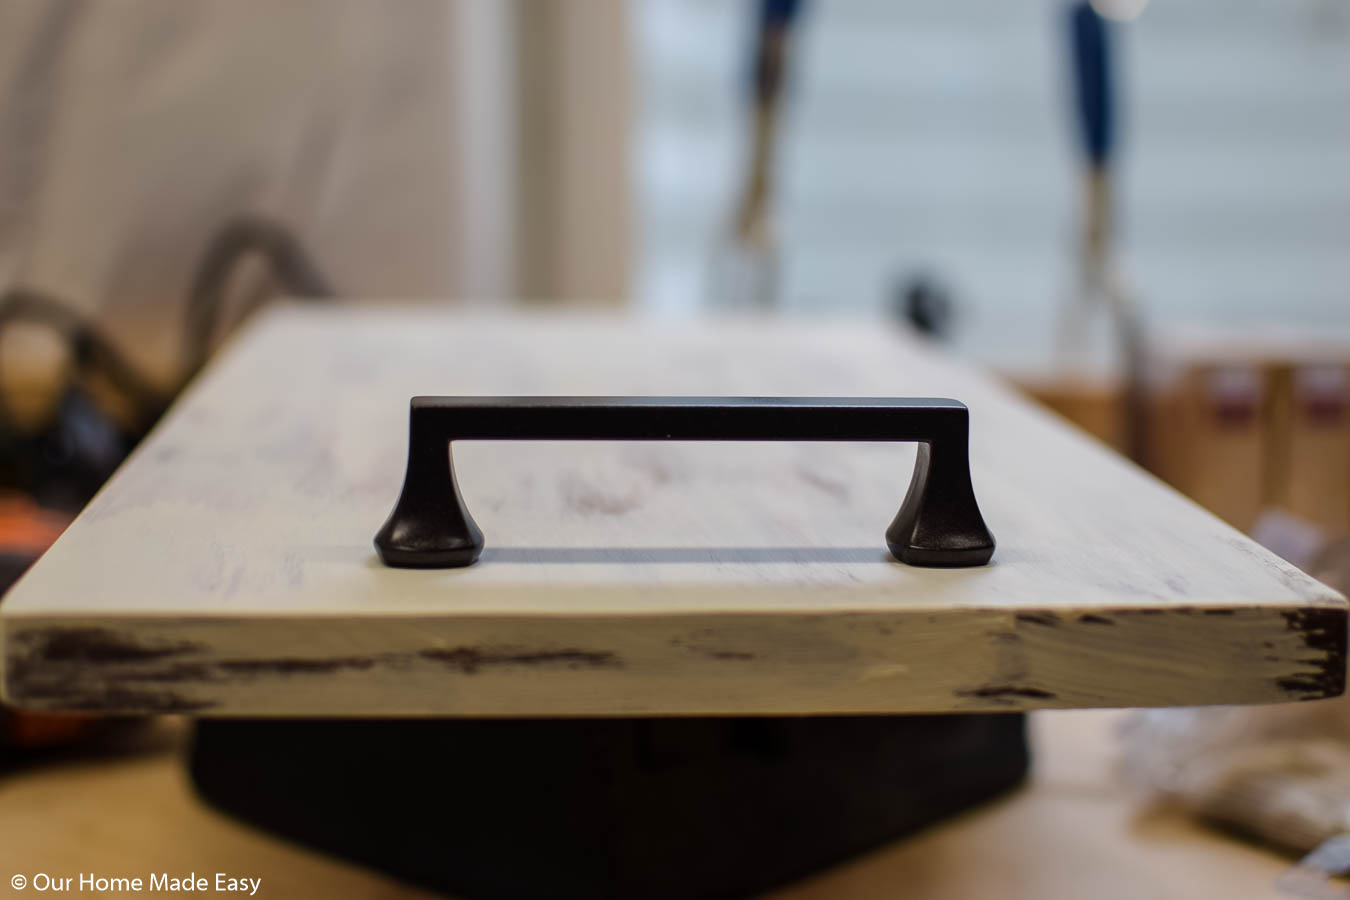
Add Your Handles
Now it’s time to add your handles. Unless you’re adding some extra decor (keep reading below), this is your final step!
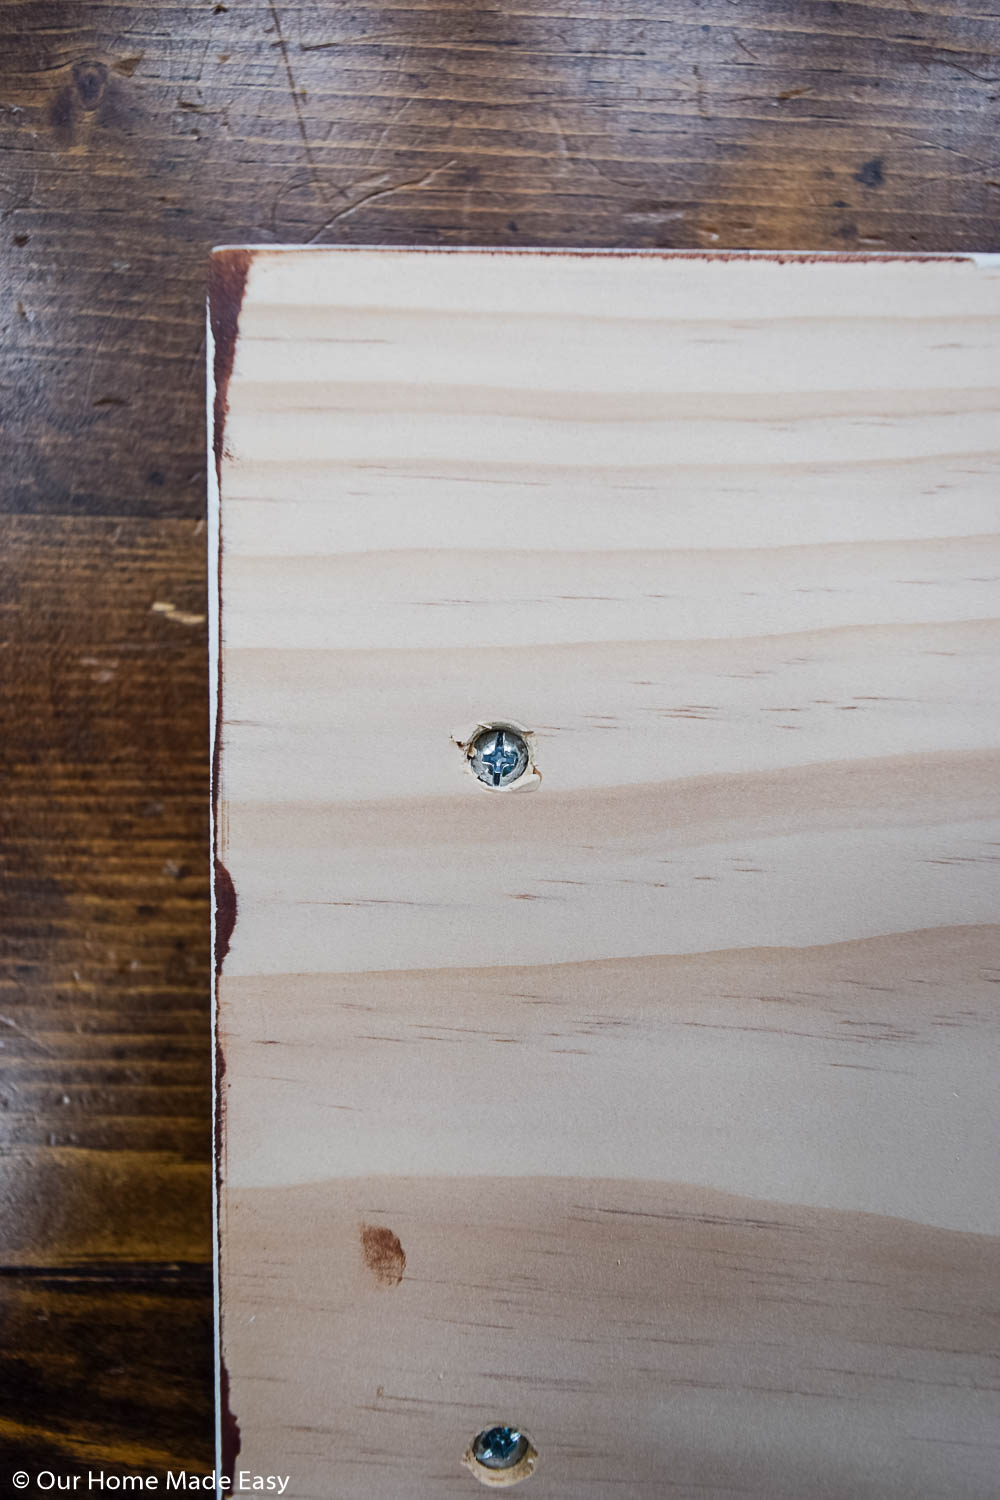
Turn over your serving tray to the unpainted side. Line up where you would like your handles to go. Mark with a pencil and remove your handles. Using the hardware from the handles, drill the screws into your penciled marks.
Attach the handle to the front side of the serving tray. Repeat for the second handle.
And voila! Now you have a beautiful tray!
Optional: Add Some Decor
This is completely optional. You could add a monogram using this no-cutter needed stencil method. Or you could find a farmhouse saying transfer and add it to your serving tray!
For this serving tray, I ended up keeping it plain without any extra decoration.
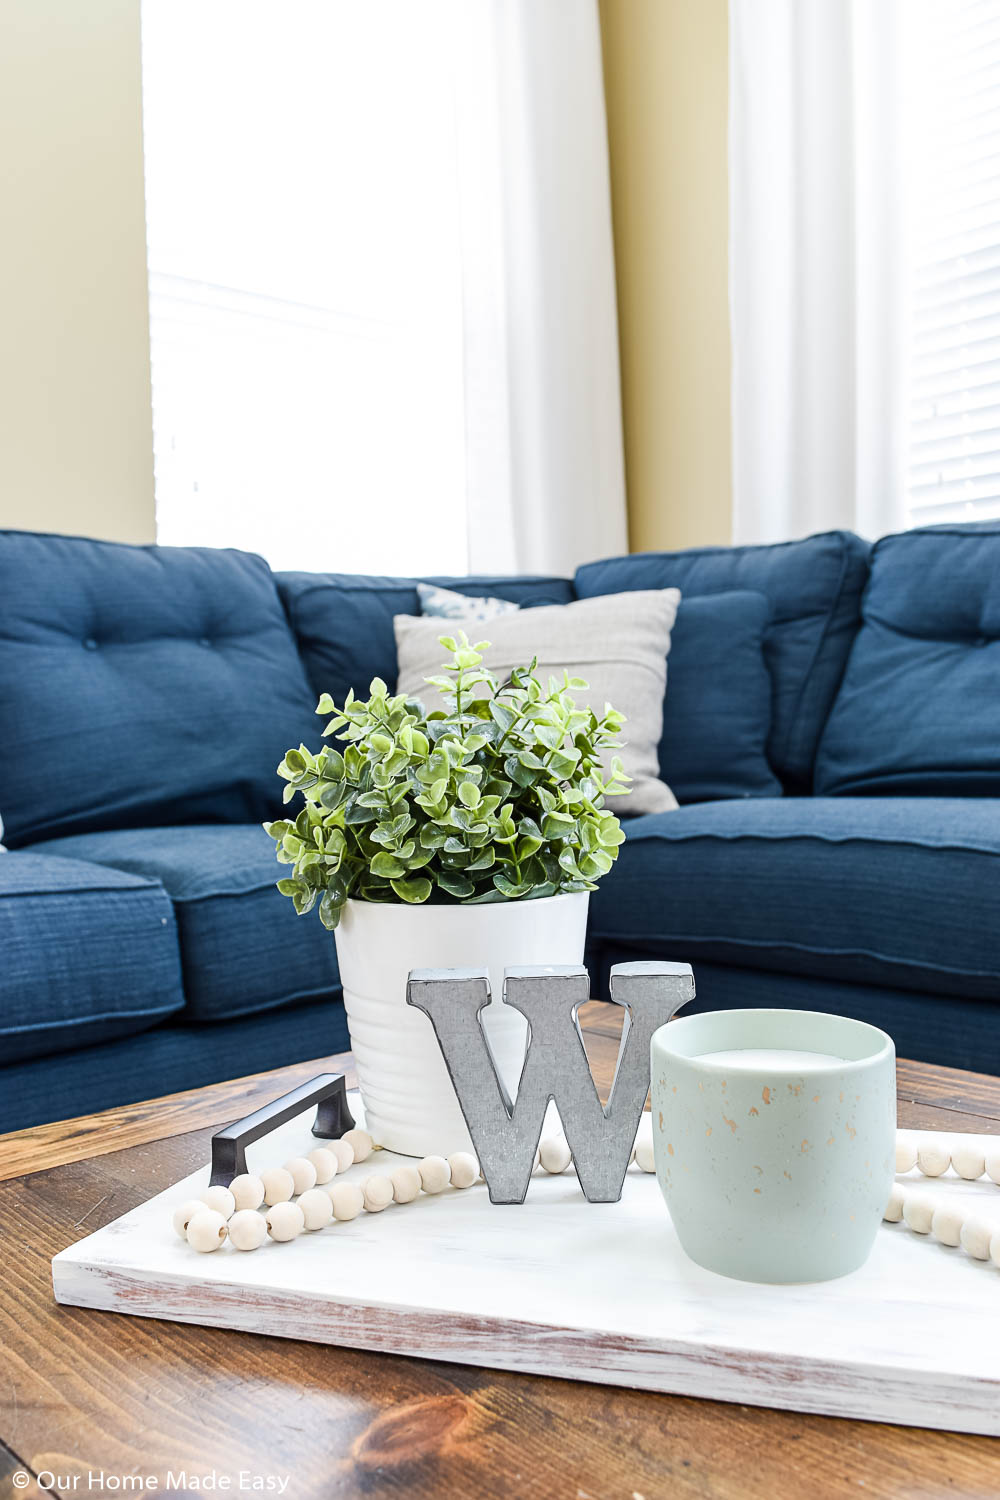
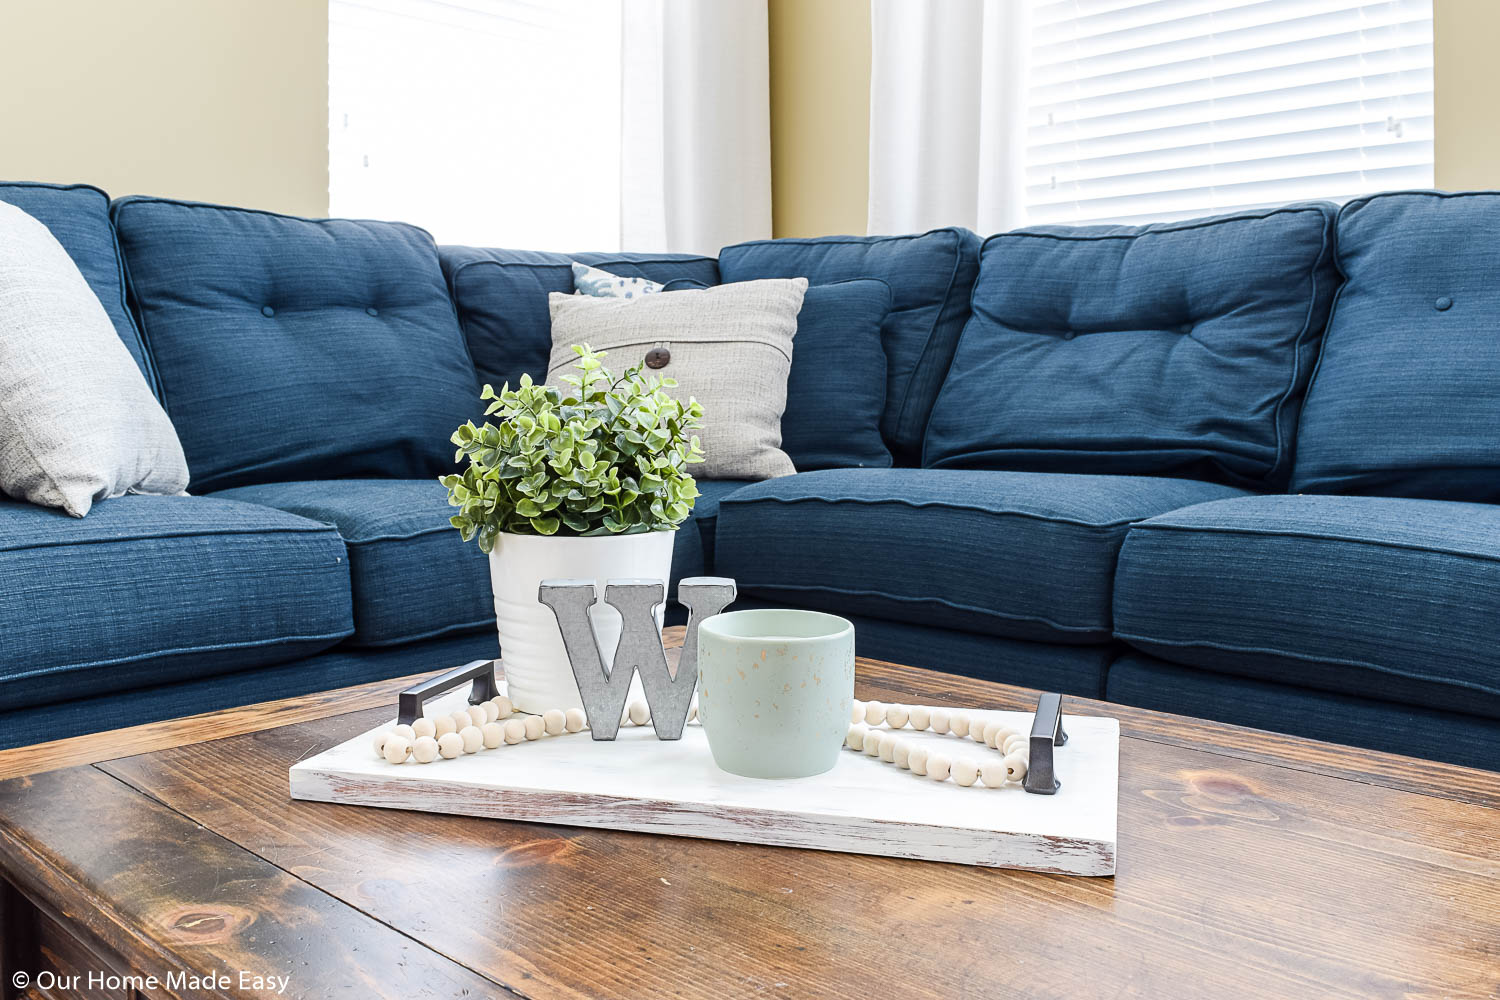
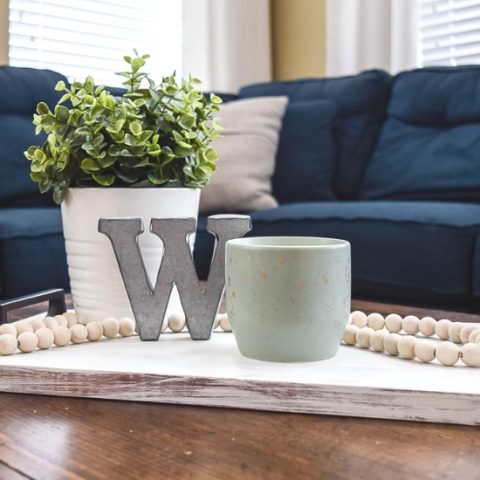
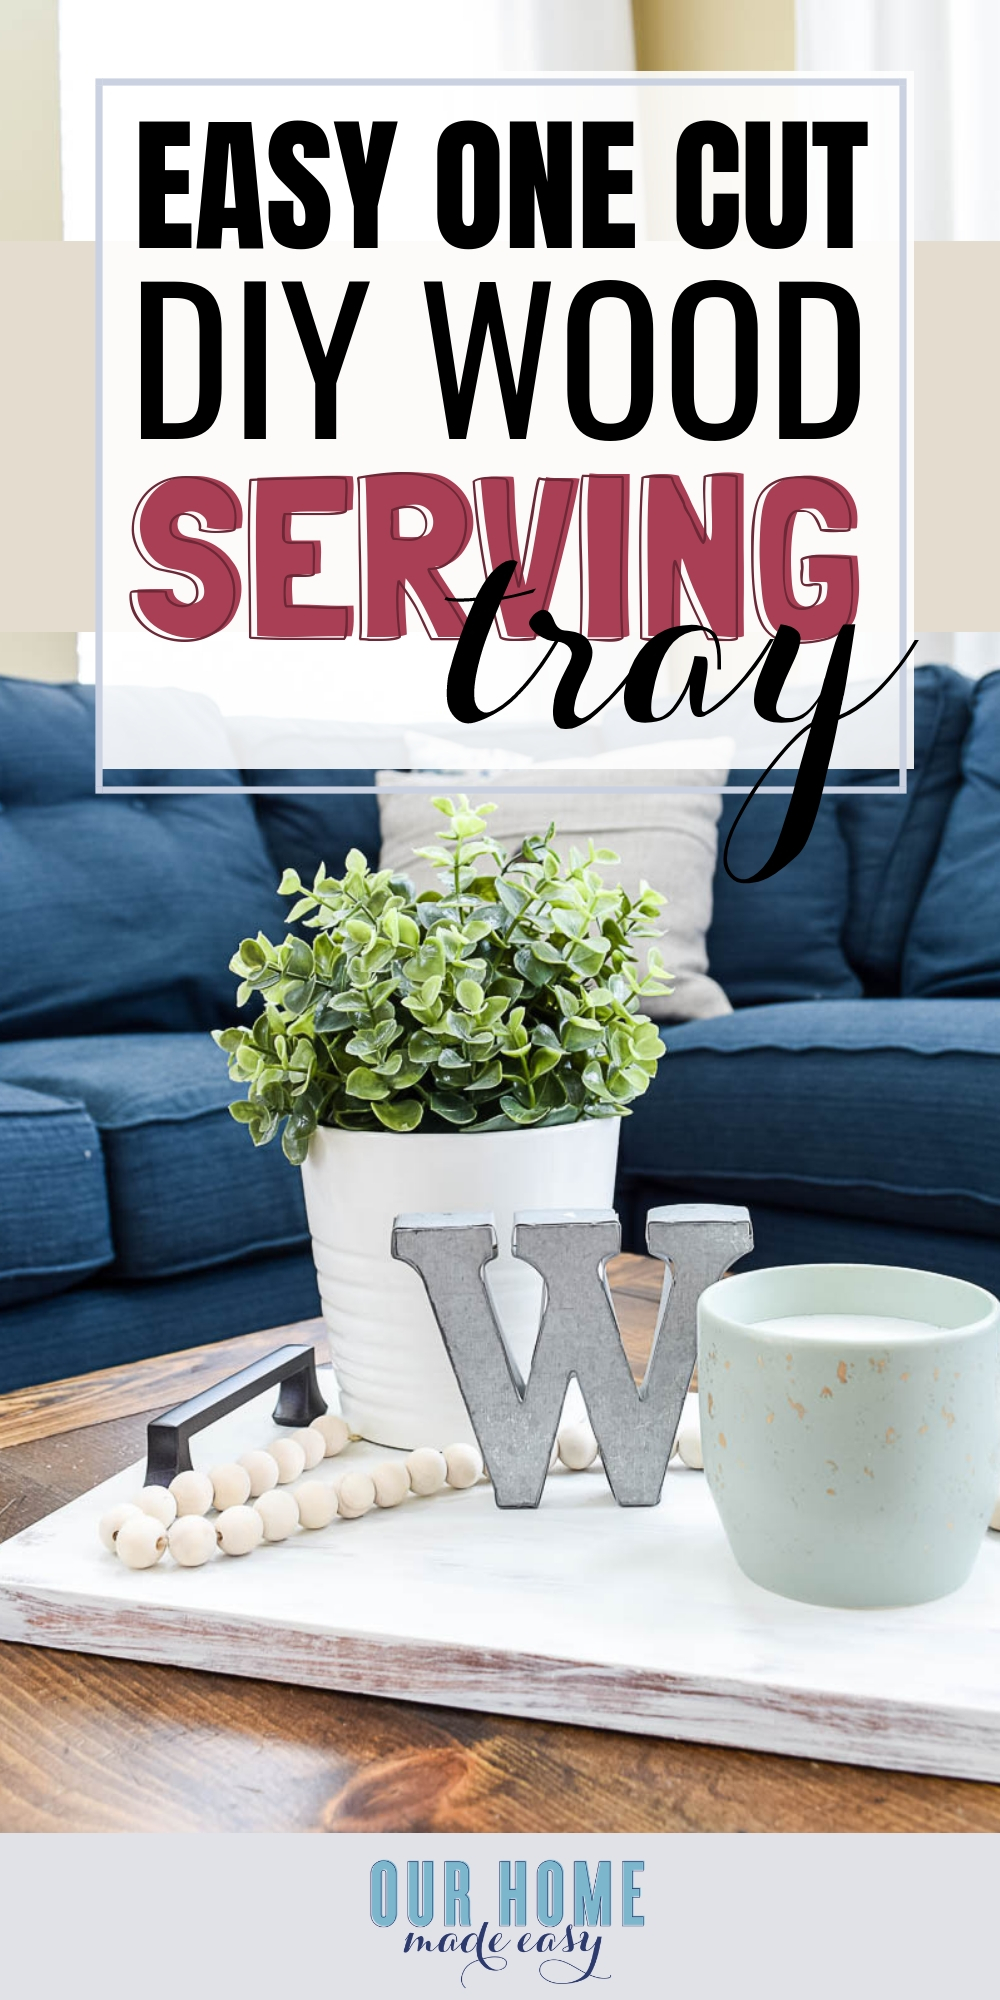
How cute did this quick craft turn out to be? When your serving tray is ready to go, add some greenery, a pretty candle, and another knick-knack. I’m a total sucker for monograms (love my time in Alabama) and wood beads. I am already thinking of different ways we can use them throughout the house.
And that is it! This serving tray is a really great way to build up those layers in your home to make it feel cohesive & complete– without breaking the bank. Do you love simple serving trays around the house? Or do you have another favorite way to add some coziness?
Frequently Asked Questions
Can you provide some creative DIY tray design ideas?
- Patterned Paper: Adhere decorative paper to the tray base and seal with a clear acrylic.
- Mosaic Tiles: Create a mosaic with tiles or broken china for a personalized touch.
- Chalkboard Paint: Coat the tray surface with chalkboard paint for a writable area.
- Fabric Lining: Line the tray with a vibrant fabric and cover with clear acrylic.
What are some unique food arrangement ideas for a serving tray?
- Themed Layouts: Arrange food items to create a seasonal or color-coordinated display.
- Cheese Board: Present a variety of cheeses with nuts and fruit scattered around them.
- Dessert Platter: Offer an assortment of mini desserts in rows or circles.
- Charcuterie Arrangement: Assemble a mix of meats, cheeses, and accouterments in an artful spread.
What type of wood is most durable for crafting a serving tray?
While we like choosing “Select Pine” for our DIY serving trays, you could also use Oak, Maple, or Walnut. They are some of the most durable woods for serving trays. They are hard and hold up well to daily use while having beautiful natural grains.
What dimensions are considered ideal when designing a serving tray?
Typical serving tray dimensions range from 12 x 18 inches to 14 x 24 inches. However, the ideal size depends on your personal needs and the intended use of your wooden serving tray.
More Easy Home Decor Ideas:
- How to Make a DIY Chalkboard Sign
- How to Make $3 Farmhouse Planters
- How to Make a Pallet Snowman
- The Easiest Christmas Homemade Gifts
DIY Serving Tray
Craft your perfect serving tray with our easy DIY tutorial. From a one cut board to finishing touches, create a stylish piece for coffee tables or gifting.
Materials
- Select Pine Board ( I used 1″x 10″ for my tray)
- 2 Cabinet Pull Handles
- Stain or Mineral / Chalk Paint
Tools
- Miter Saw
- Sanding Block
- Painting Rags / Foam Brush
- Cordless Drill
Instructions
- Using a miter saw cut your wood board to your preferred tray size using a miter saw. For the tray in the post above, I made it 17″ long. If you have a smaller table, you may want to choose 14″ or if you are covering a larger area, you could easily make your tray 20″. It’s always easier to go longer, test the board on your surface, and then trim it down if needed.
- Once satisfied with the board length, quickly sand down any rough edges. If you have an orbit sander handy, this can be done in less than 3 minutes. If you are using a sanding block, soften the edges to avoid any splinters.
I like to sand down the short sides and along the top of the long sides to give it a softer look. - Once your tray is smooth, you can apply 1-2 coats of stain or paint per the manufacturer's directions. Allow to dry completely.
- Turn over your serving tray to the unpainted side. Line up where you would like your handles to go. Mark with a pencil and remove your handles. Using the hardware from the handles, drill the screws into your penciled marks.
- Attach the handle to the front side of the serving tray. Repeat for the second handle.
Recommended Products
As an Amazon Associate and member of other affiliate programs, I earn from qualifying purchases.


Love a great DIY project? Be sure to grab your list of my favorite weekend warrior projects below!
PIN FOR LATER


Hi, I’m Brittany, and I believe life at home should feel easier, not heavier.
I’m the creator of Our Home Made Easy, a space for busy women who want dinner on the table, their homes running smoothly, and a little breathing room at the end of the day.
You won’t find perfection here, just realistic recipes, smart shortcuts, and simple routines that work in real life. The kind that help you feed your family well, stay organized enough, and still have time to actually enjoy it.
If you’re juggling work, kids, schedules, and everything in between, you’re in the right place. I’m so glad you’re here.


