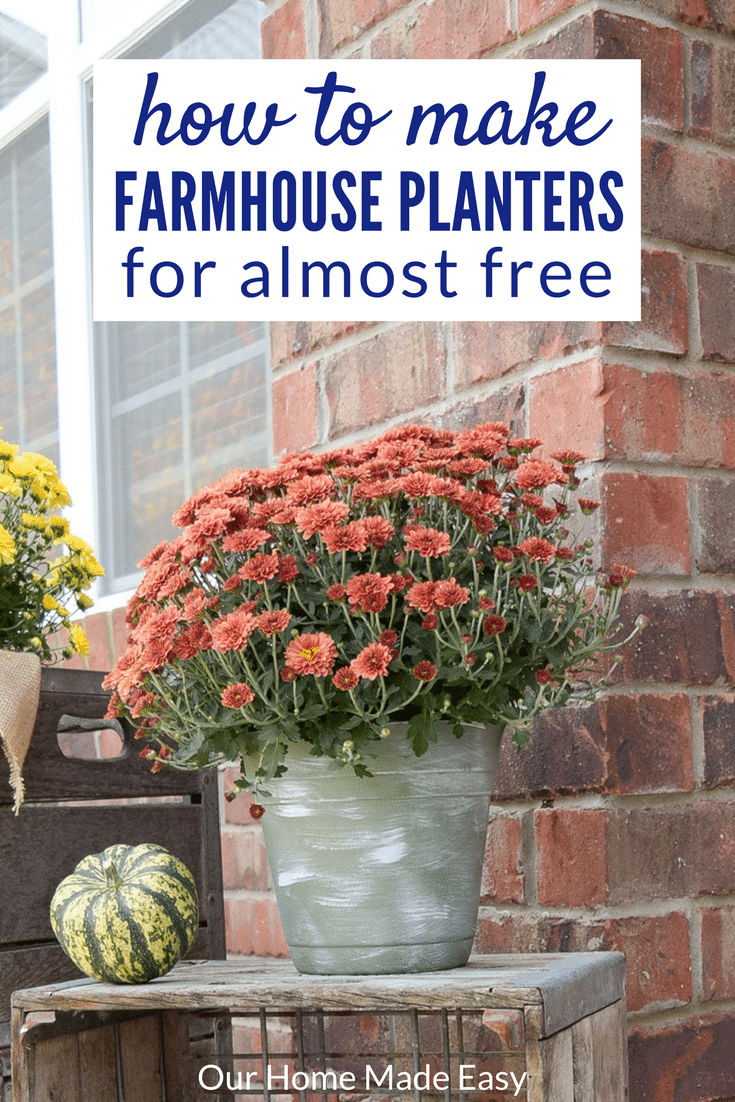
How to Make $3 Farmhouse Planters
This week is all about maximum craftiness at home but without much effort. You could say it’s the Industrial Engineer in me. But when it comes to time, none of us have enough of it, let alone to do a huge craft project. And that’s why easy crafts are magical. They let you actually finish and enjoy it without leaving an ongoing mess on your kitchen table (or maybe that’s just me). And today’s project is ridiculously easy. I’m almost afraid you’re going to throw a virtual shoe at me. Whop! Dodging it to show you how I made these fun farmhouse planters for $3 apiece.
(Affiliate links provided for your convenience. Please see my Disclaimer for more information.)
How to Make Farmhouse Planters
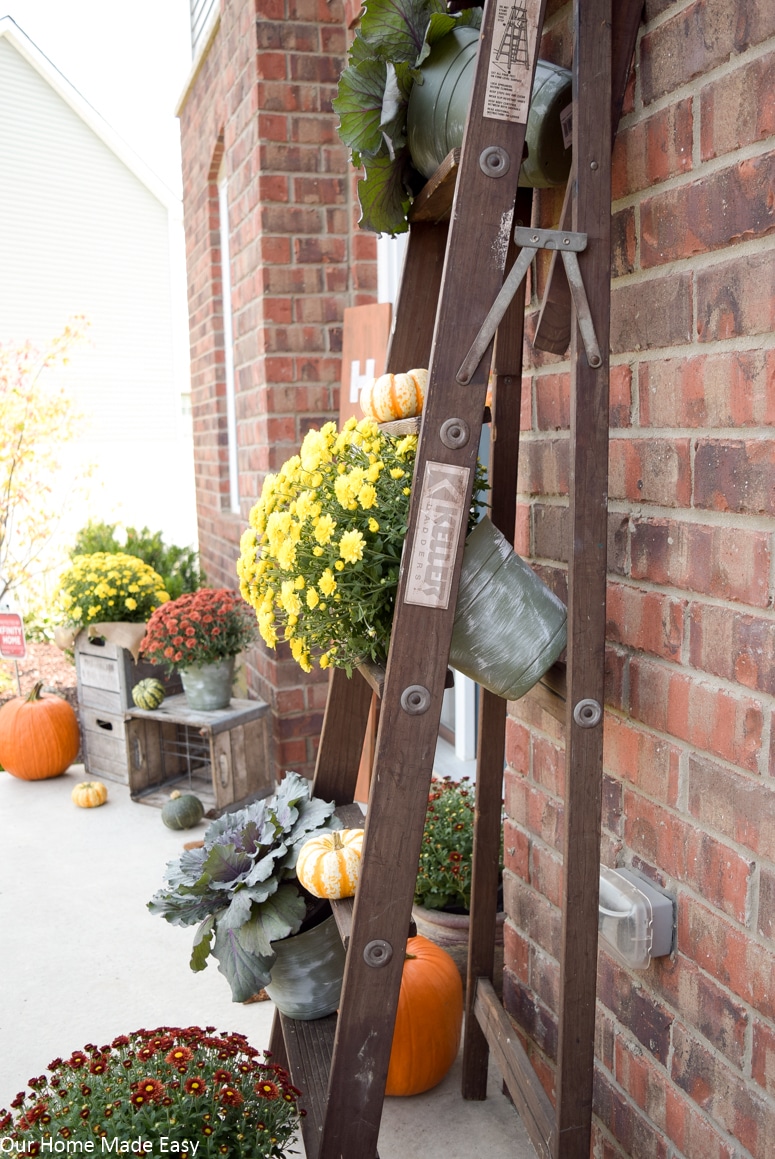
I made a farmhouse planter for each plant I had on my front porch. You could decide to use this method for any size of planter at your own home!
Supplies used:
- Planter
- Chip Brush
- Exterior Acrylic or Leftover Latex Paint
Clean Your Planters
With a clean cloth, simply wipe away any dirt or dust. I picked up my planters at Lowe’s and they were stored outside with the plants. Makes complete sense, but they’re a bit dusty and dirty from being outdoors.
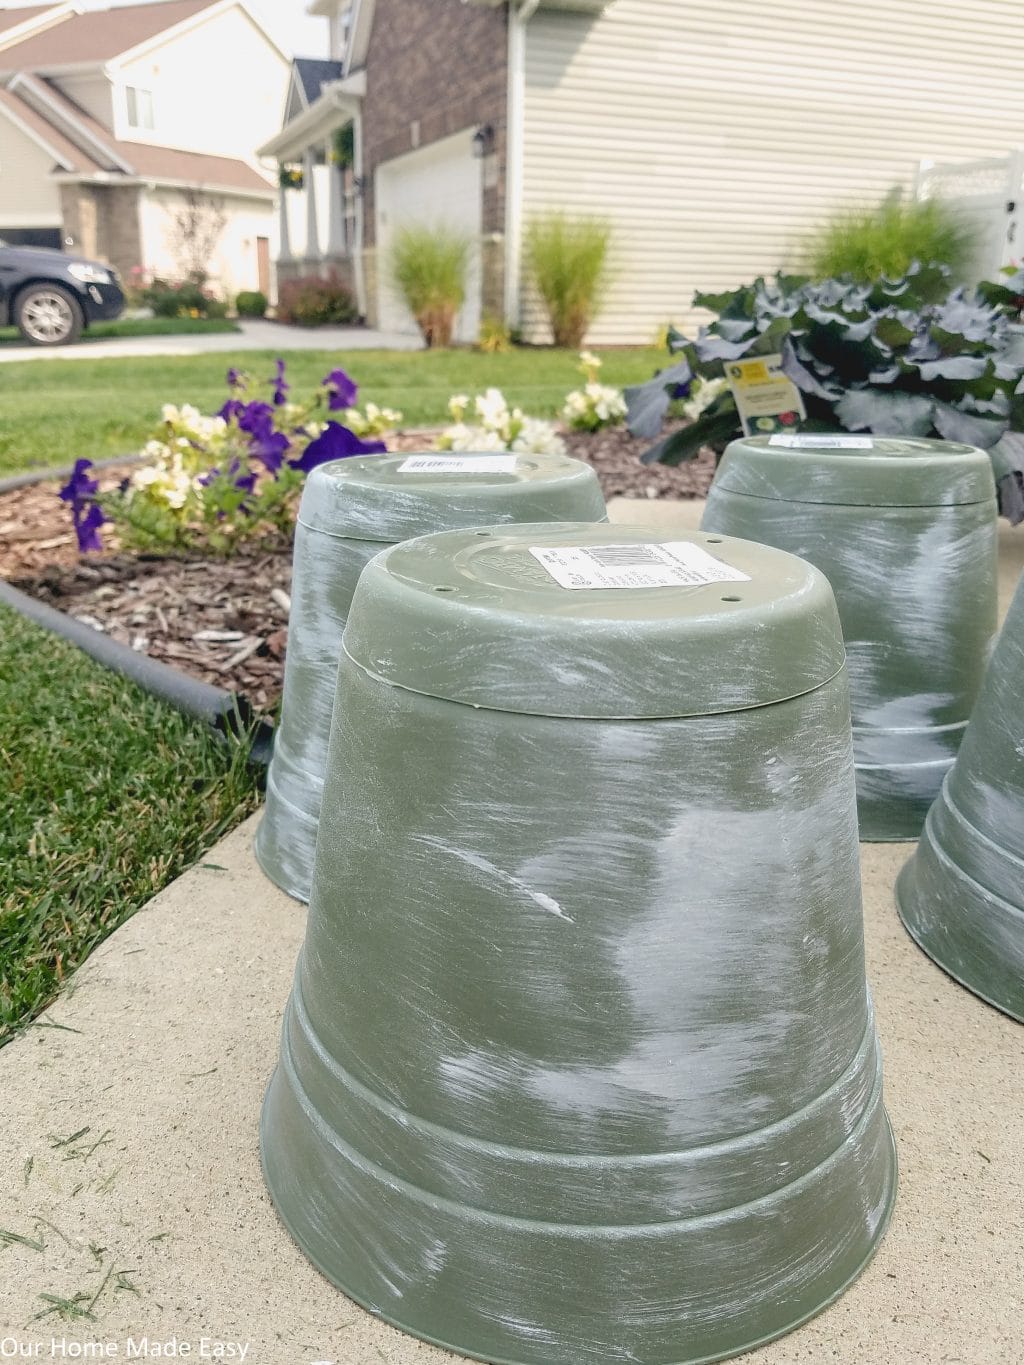
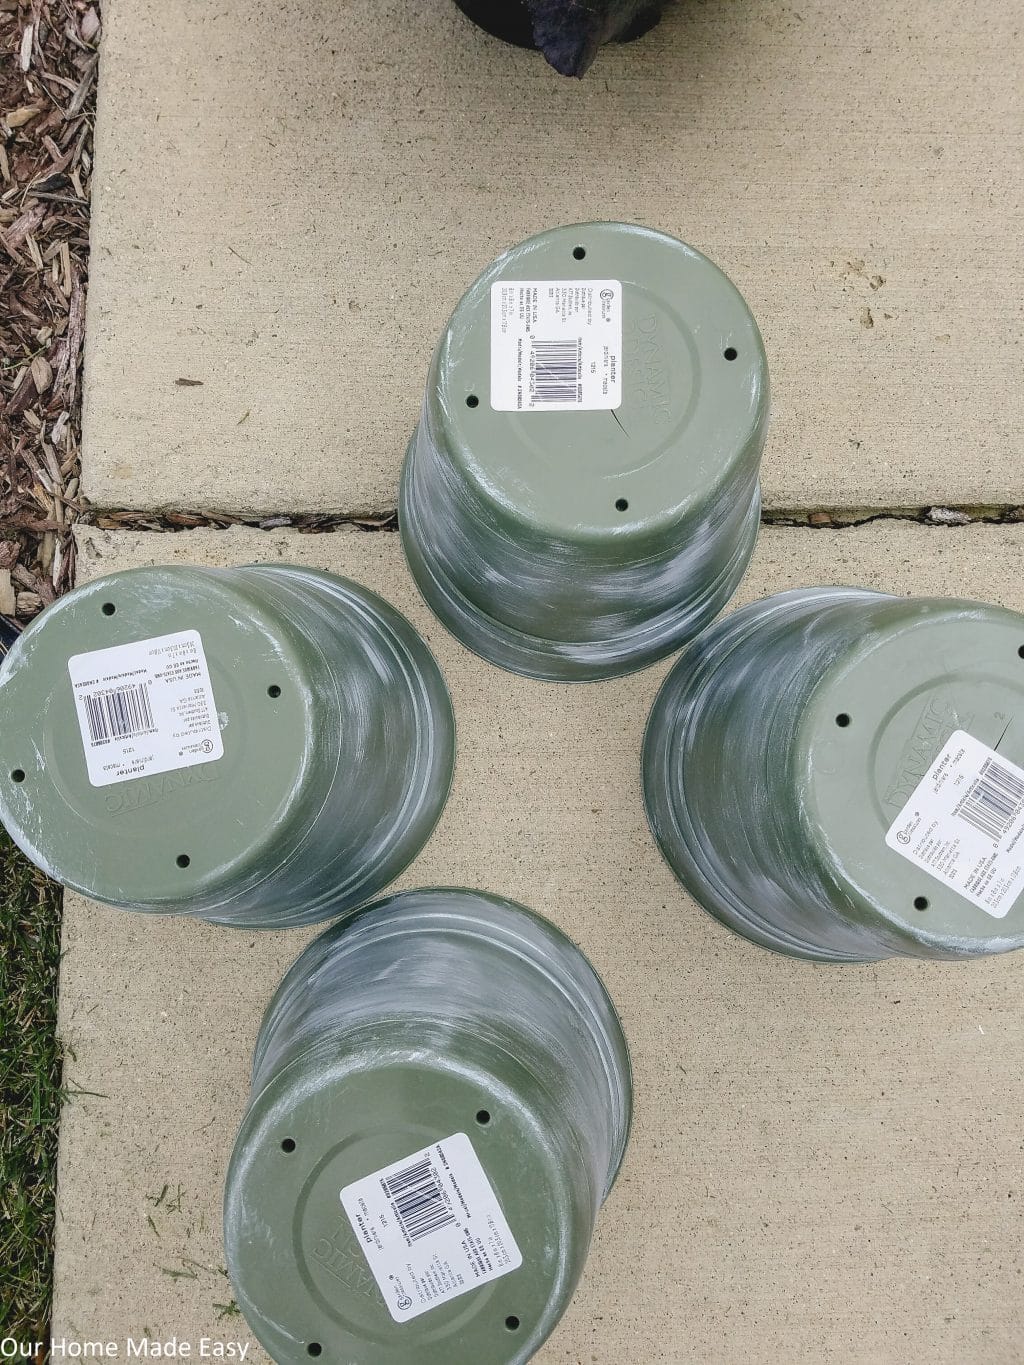
Once your planters are nice and clean, place them open side down in prep for painting.
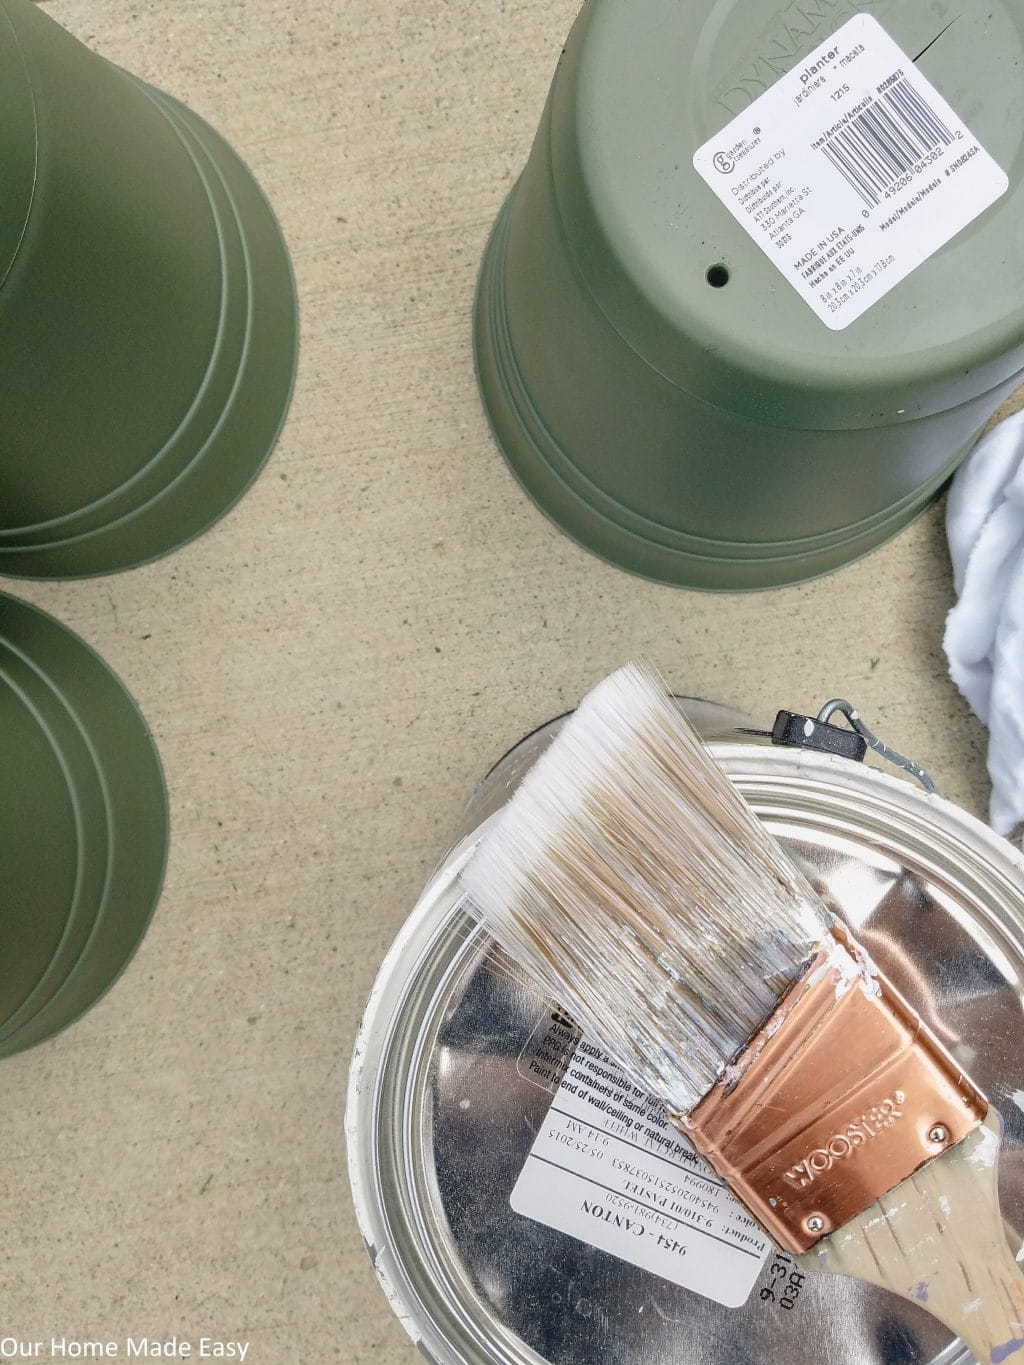
Apply Your Paint
This part was free because I simply went shopping in my basement. I found a leftover gallon of paint (it was used in our mudroom) and brought it outside. You can use an house paint or paint intended for the outdoors. I know you can buy acrylic paint like this, but latex wall paint works well, too.
Take a clean, dry chip brush and very lightly dip it into your paint. Brush off any excess. Then, brush off more onto a dry paper towel. You’re going for minimal paint, here.
Lightly paint on the planters going across the planter rather than up or down. I’d recommend using as little paint as possible and building onto the color rather than splashing on to much because you can’t really take it off afterwards without it looking smudged. For a really chippy look you could do multiple layers of paint or even add a second, lighter color on top of the first.
Fill With Plants
Once your planters are dried, pop in a fresh mum or decorative kale. Now they go from looking like they came straight out of a big box store to something thoughtful and stylish.
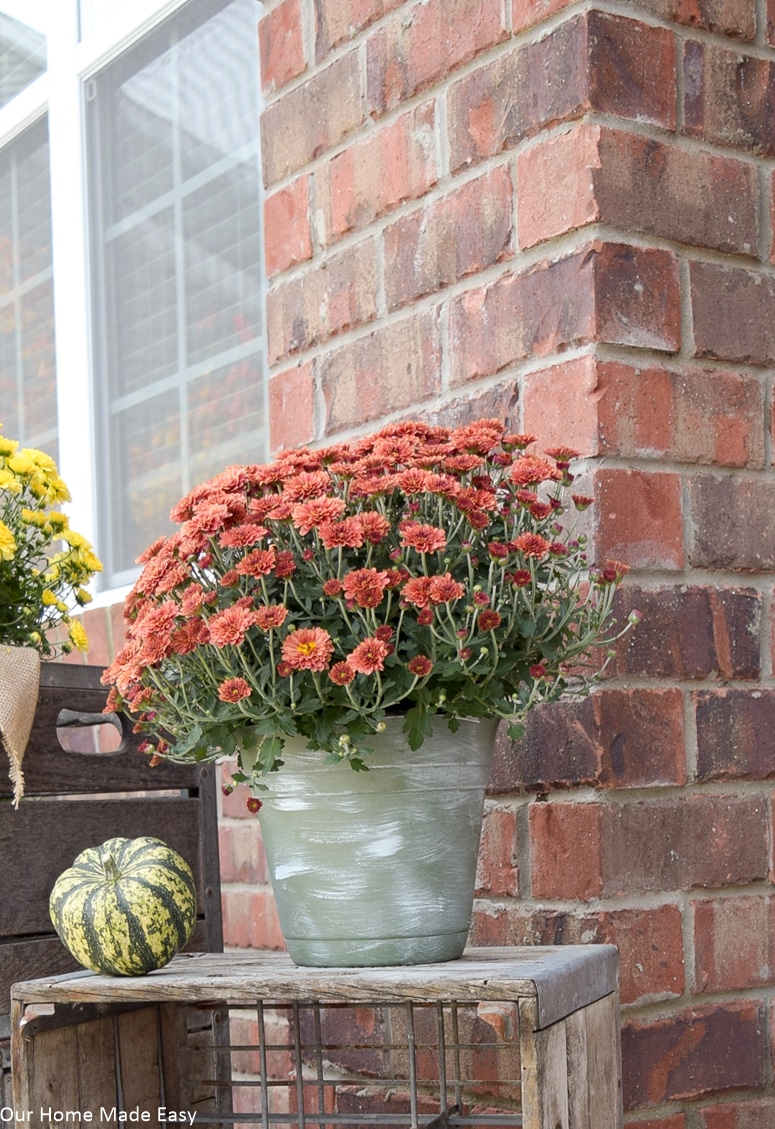
Since the planters were $3 apiece at Lowe’s, my total cost for this project was about $12 for all 4.
Aren’t those super easy and quick? Don’t forget to check out my 15 other fall crafts you can make in an hour! Enjoy your newly updated planters and be the total envy of the neighborhood. They are going to look so good!
How to Make Farmhouse Planters
These farmhouse planters are such an easy DIY! It's the perfect way to add a farmhouse touch to your front porch.
Instructions
- With a clean cloth, simply wipe away any dirt or dust. I picked up my planters at Lowe's and they were stored outside with the plants. Makes complete sense, but they're a bit dusty and dirty from being outdoors. Once your planters are nice and clean, place them open side down in prep for painting.
- Take a clean, dry chip brush and very lightly dip it into your paint. Brush off any excess. Then, brush off more onto a dry paper towel. You're going for minimal paint, here.
- Lightly paint on the planters going across the planter rather than up or down. I'd recommend using as little paint as possible and building onto the color rather than splashing on too much because you can't really take it off afterward without it looking smudged. For a really chippy look, you could do multiple layers of paint or even add a second, lighter color on top of the first.
- Once your planters are dried, pop in a fresh mum or decorative kale. Now they go from looking like they came straight out of a big box store to something thoughtful and stylish.
Notes
This project cost me $3 because I already had most of the materials on hand. If you're purchasing the supplies for this project, you'll spend around $26.

Hi, I’m Brittany, and I believe life at home should feel easier, not heavier.
I’m the creator of Our Home Made Easy, a space for busy women who want dinner on the table, their homes running smoothly, and a little breathing room at the end of the day.
You won’t find perfection here, just realistic recipes, smart shortcuts, and simple routines that work in real life. The kind that help you feed your family well, stay organized enough, and still have time to actually enjoy it.
If you’re juggling work, kids, schedules, and everything in between, you’re in the right place. I’m so glad you’re here.


