How to Make the Easiest 2 Step Fall Wreath + Fall Entry Way
Here an easy fall wreath DIY tutorial and a tour of our entryway decorated for fall. Check out the easy DIY and how to add charm to your home, quickly!

(Affiliate links are included in this post. Please see my Disclaimer page for more information)
Sometimes we need to catch a break. I’m not talking about running away from work or skipping out on cooking dinner or anything serious like that. But this is one of those times where you just need an easy project that makes you feel crafty but without a lot of headaches.
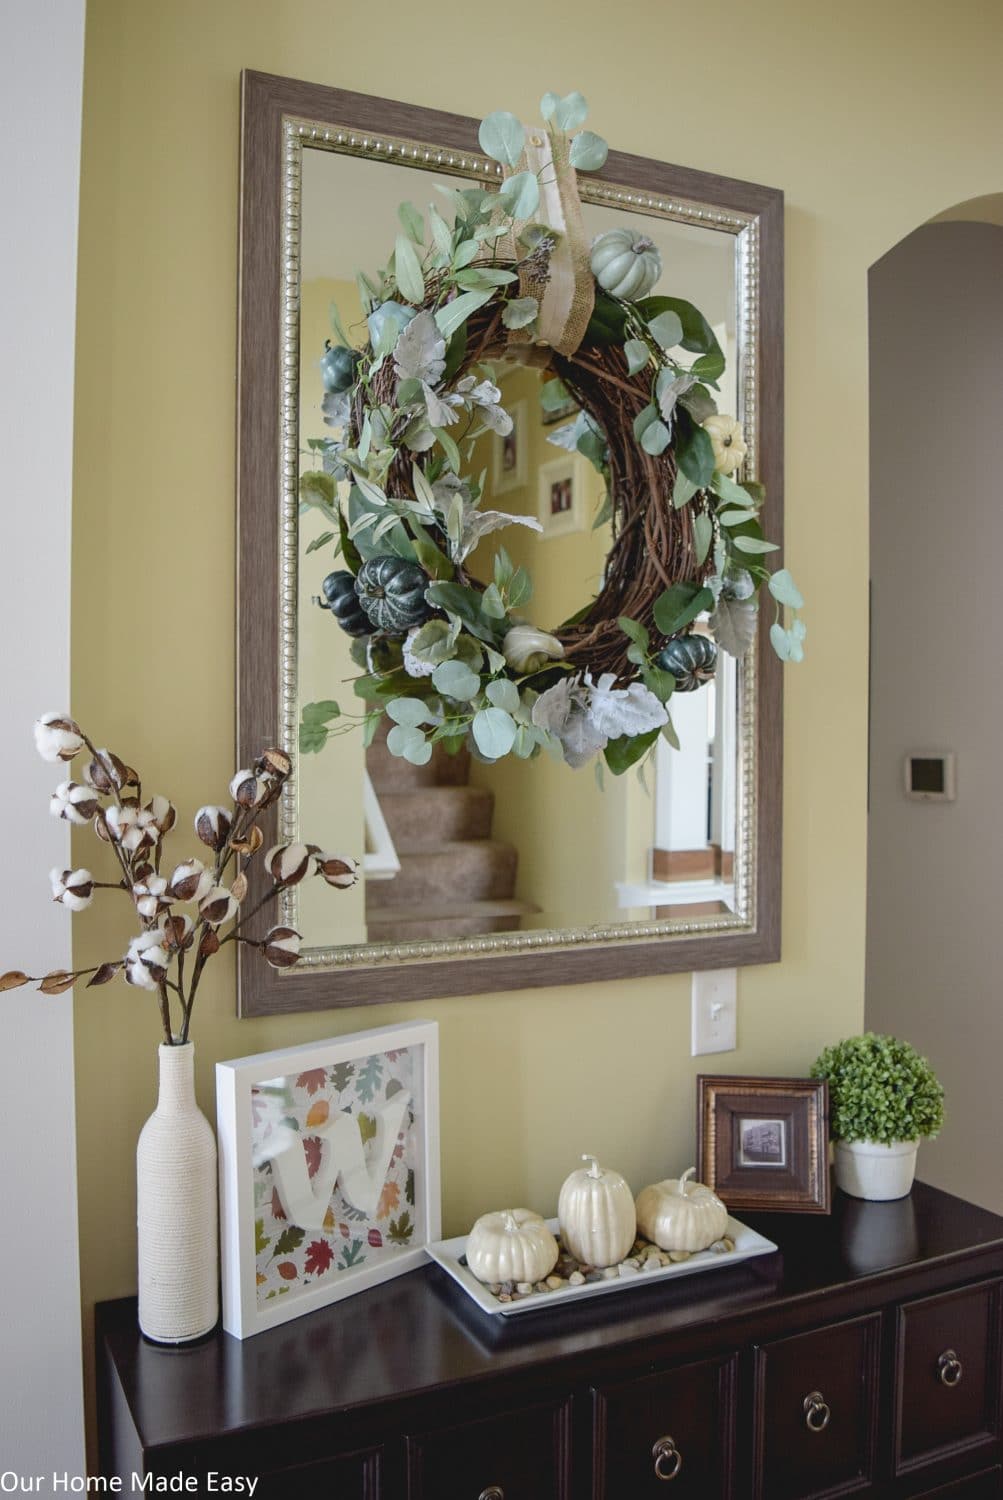
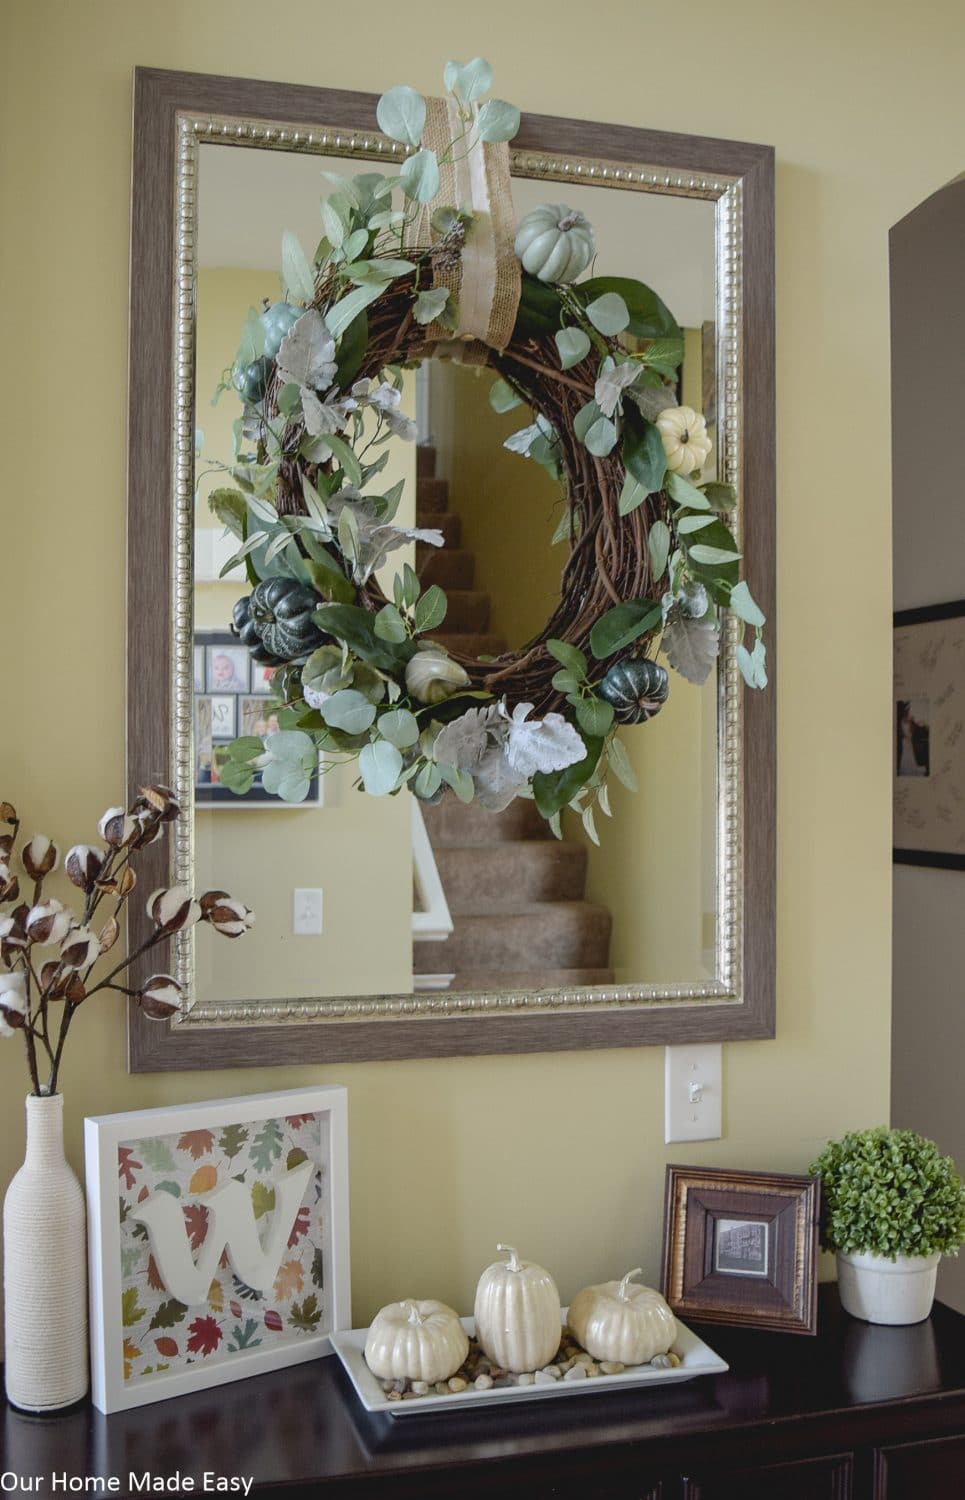
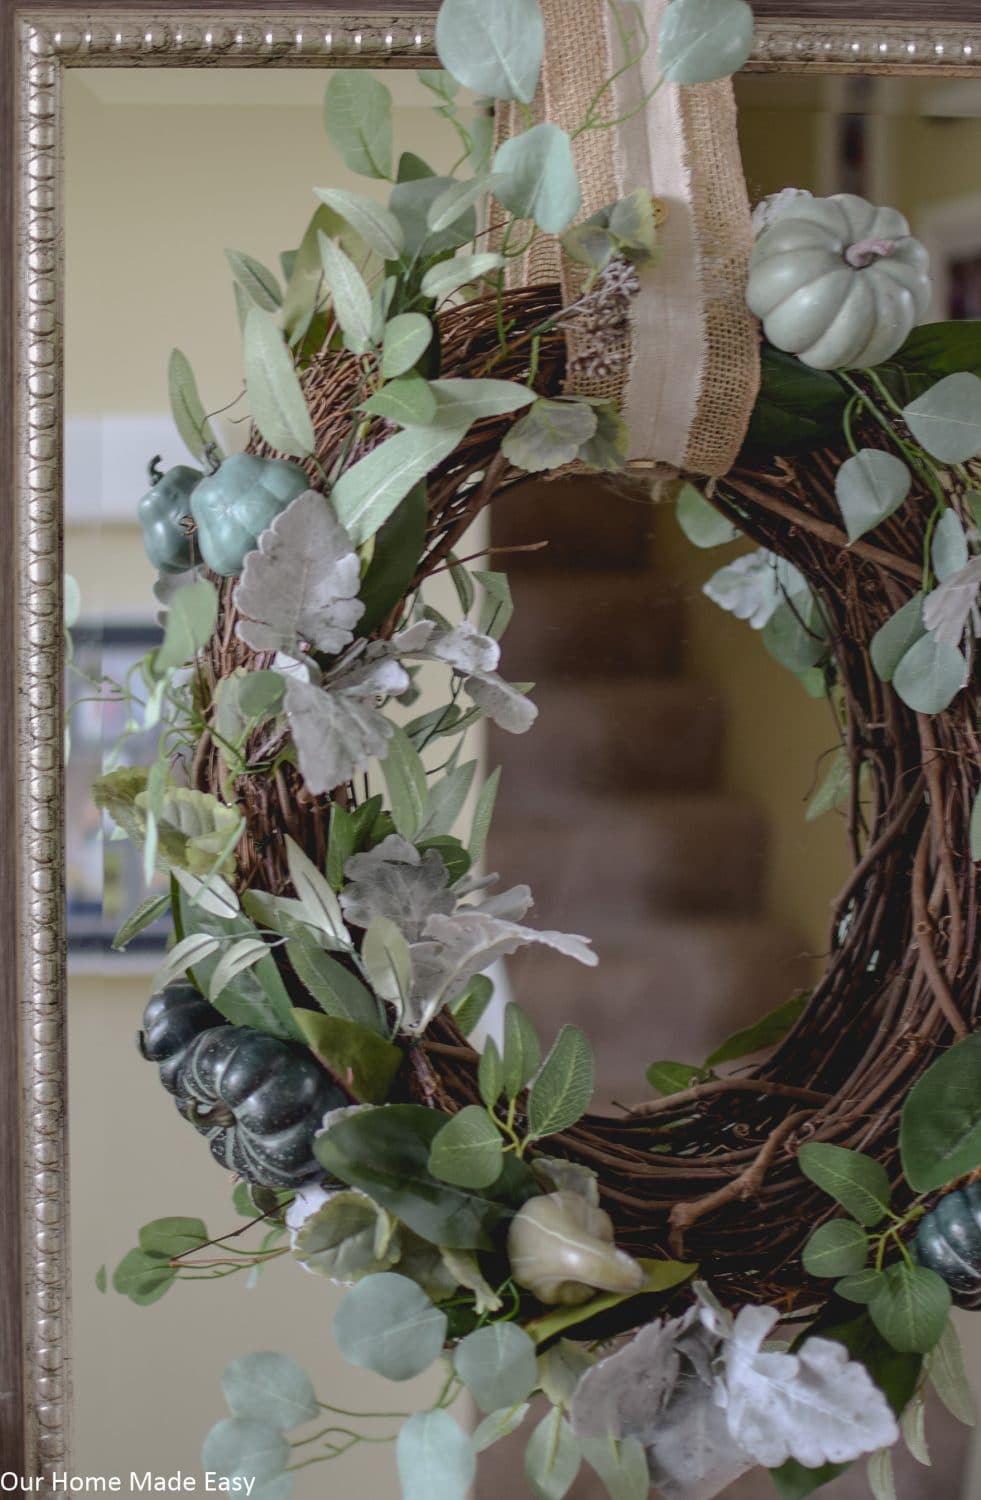
Yes, it’s one of those kinda days. I wanted to share with our entryway and include a fall craft for yourself. In our entryway you will see a pretty oval wreath hanging over the mirror. Can you believe it’s a 15 minute DIY?
I wanted to show you a quick view of our entryway this fall and then an even quicker tutorial on the fall wreath. I know not everyone wants to go pumpkin crazy like our family room, so it makes sense to add some décor items that are more muted and don’t scream HALLOWEEN or ORANGE. My heart loves both. 🙂
For the entry, I avoided the rustic & oranges of the family room. I felt like we needed something soothing and welcomed visitors into our home. Plus– it’s pretty neutral for the transitional times between September and early December. 🙂
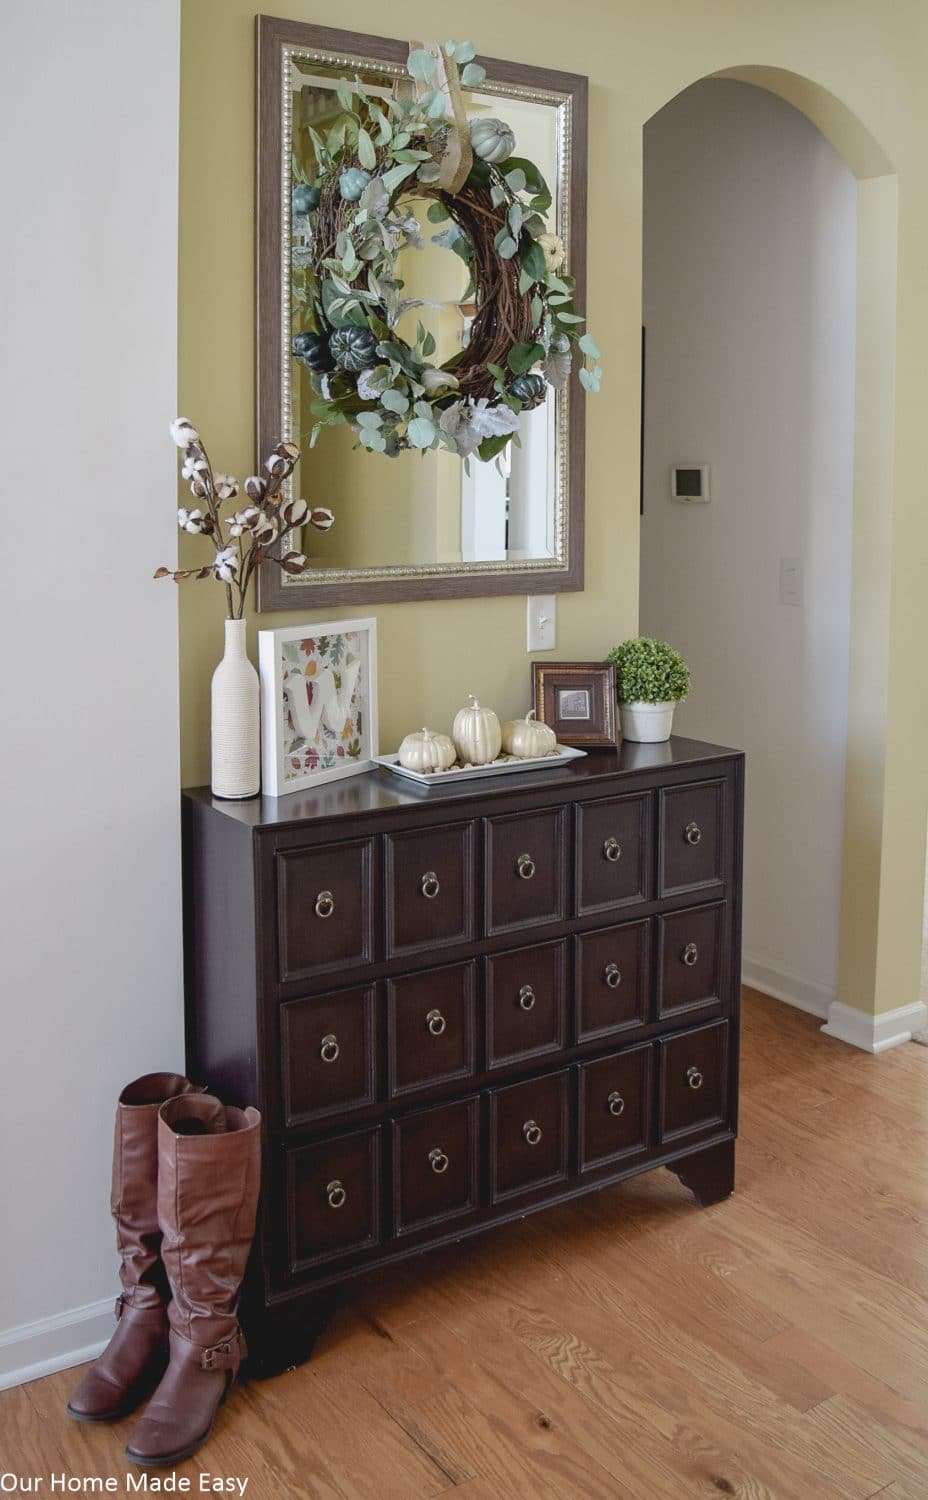
I shopped from our powder room shelves and took the greenery planter. I replaced it with you guessed it — more pumpkins in the bathroom. The apothecary’s chest is still brown/black. One of these days when I have more time I’d love to paint it something lighter and more our style. But judging from our upcoming weekends, it won’t be in the near future.
What did I do with the items that were sitting on the apothecary already?
Any items from the summer are stored away. When it comes to decorating, I think it’s easiest to take everything down, shop from the house, and then put it all back up.
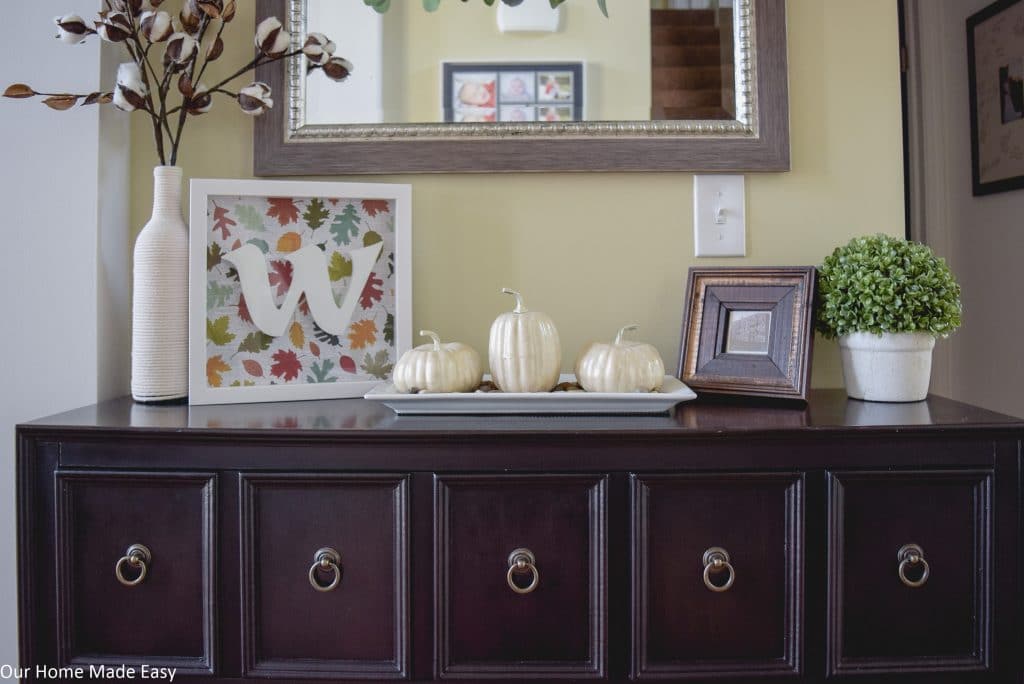
Sources for the Entry Way
- Mirror (linked similar)
- Apothecary Chest (Linked newer version)
- Greenery Wreath [keep reading!]
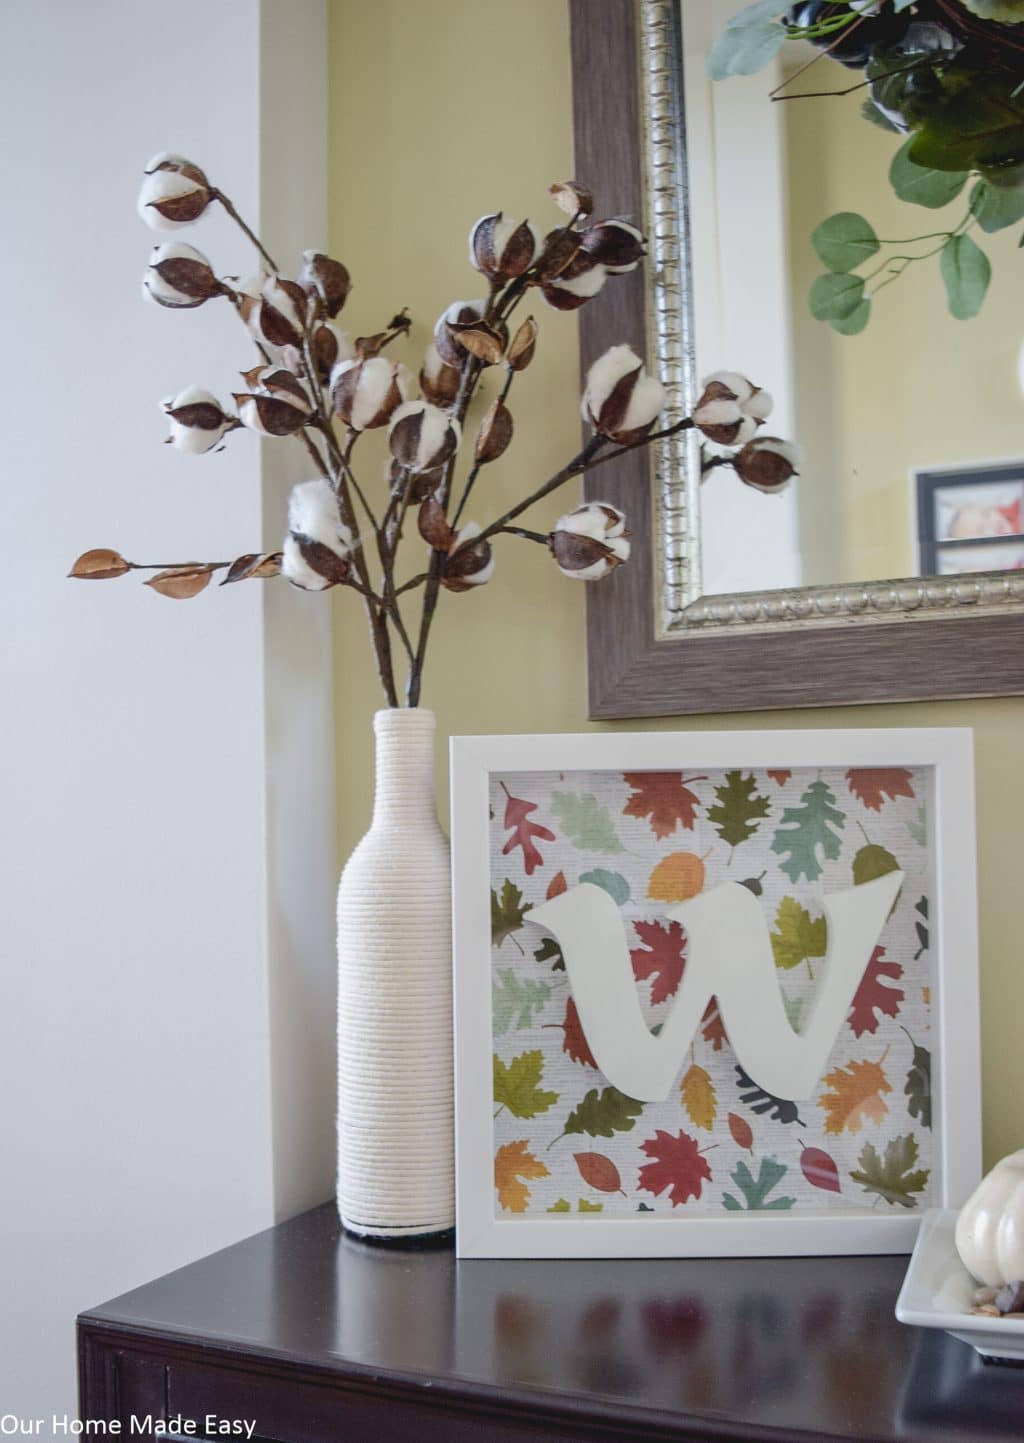
- Monogram Shadow Box
- Neutral Pumpkins
- Cotton Stems
- Planter from Home Goods
Next, I wanted to share an easy craft. It has to be the easiest wreath you’ll make this year! By the time you finish reading this post, you could’ve gone shopping and assembled it. Easy Peasy.
I made this wreath while the Buckeyes were getting ready to kick off last Saturday. You know that time in between “Oh the game is starting” and “Why are the announcers still talking?” Yep, prime wreath making time. And I didn’t even miss kick off!
Ever wonder about the craziness that is our weekends? I’m pretty sure the above paragraph sums up how we accomplish DIY projects. 🙂 We aren’t afraid to take breaks during college football games.
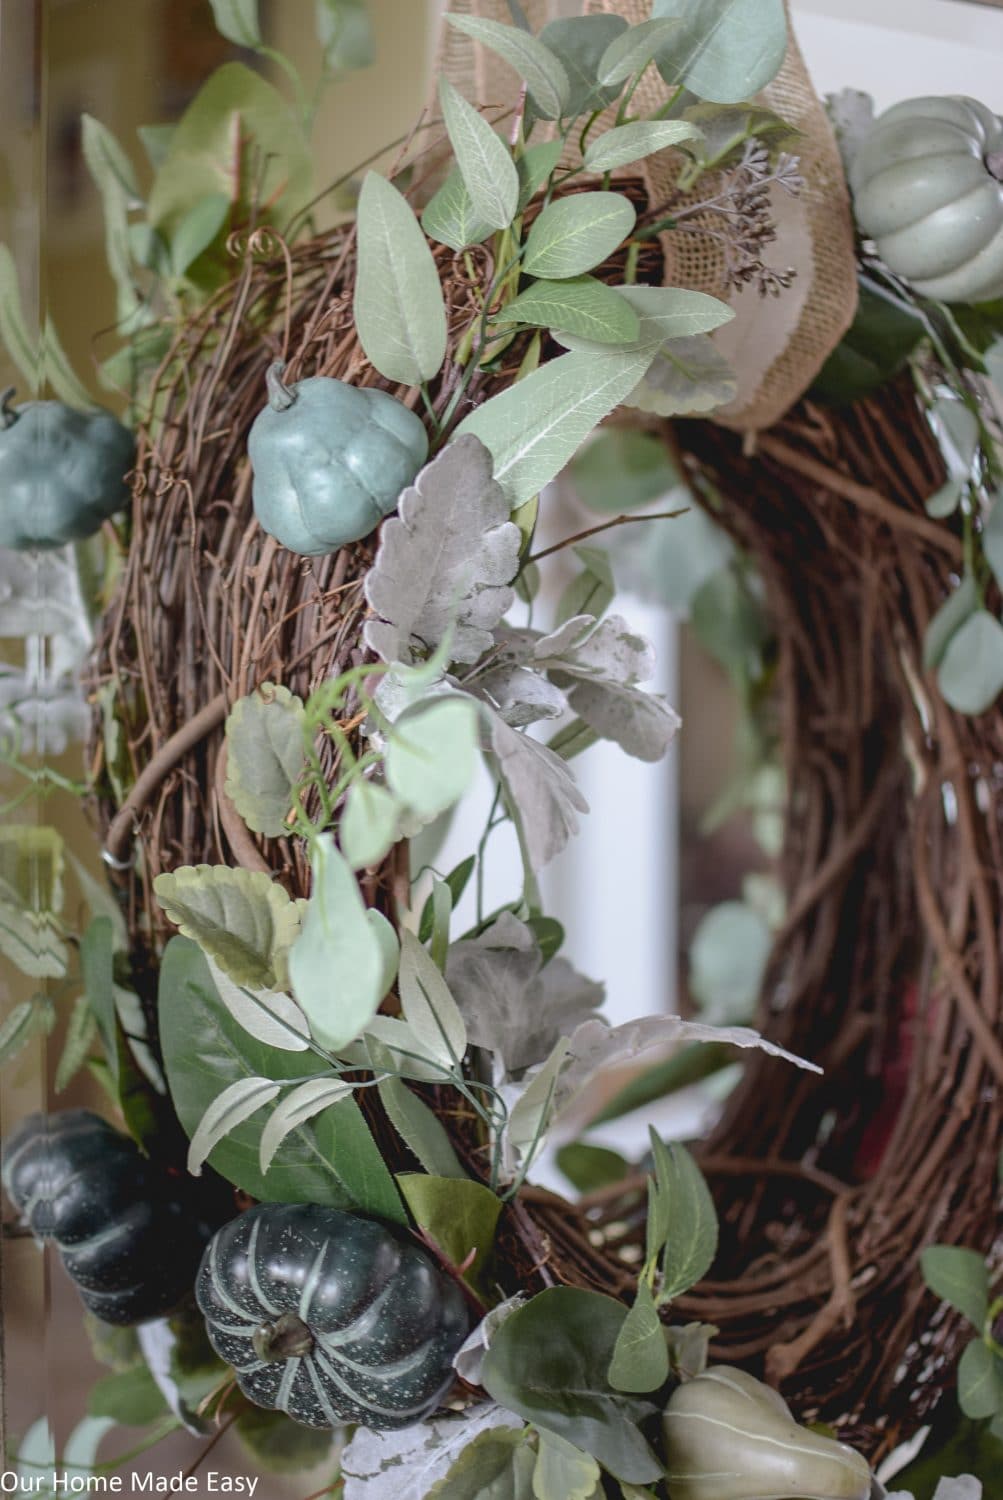
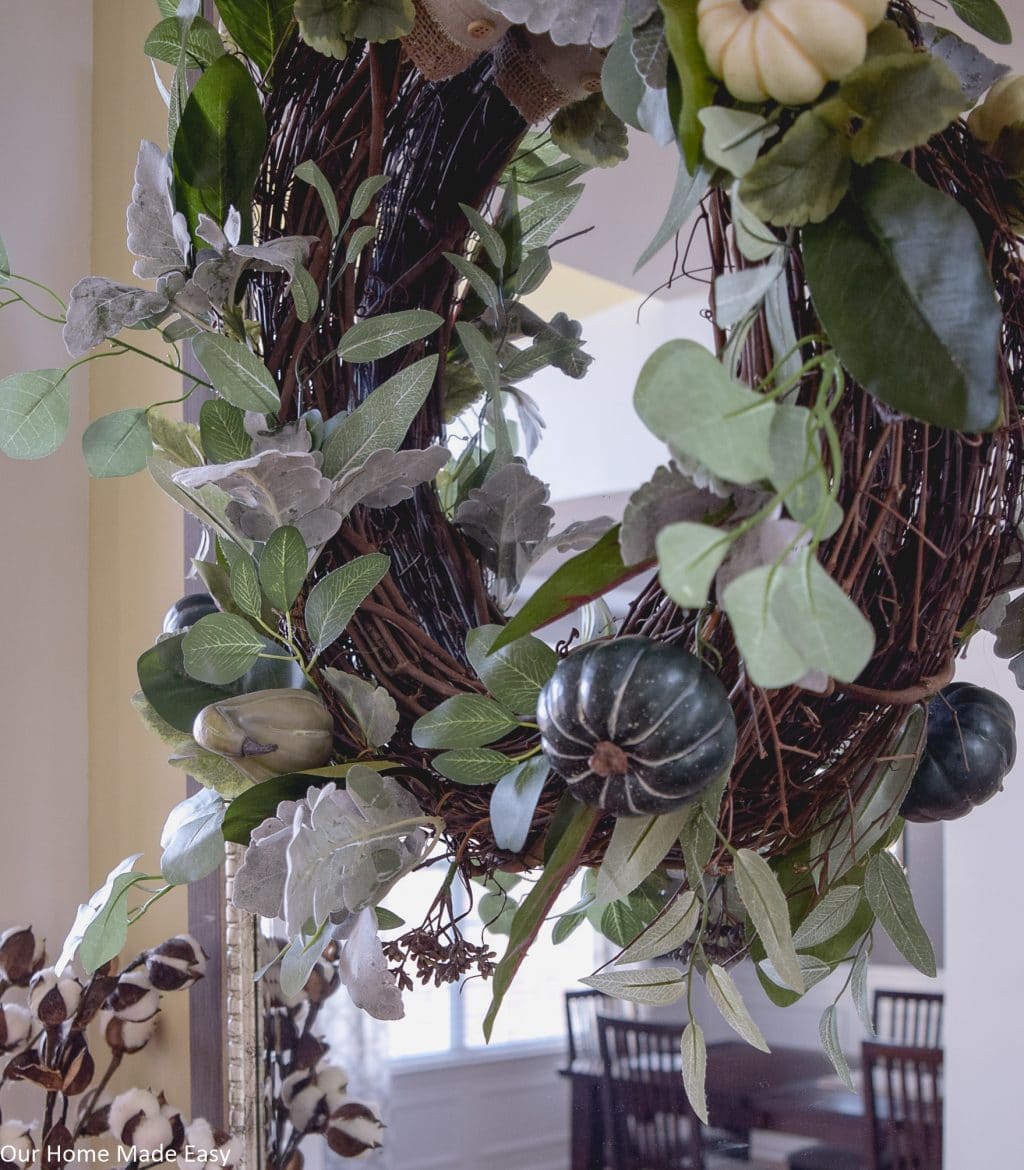
Anyways, back to a super easy fall wreath. I call it a 2 Step Fall Wreath. I’m not even sure it’s even that many steps. Seriously.
How to Make an Easy 2 Step Fall Wreath
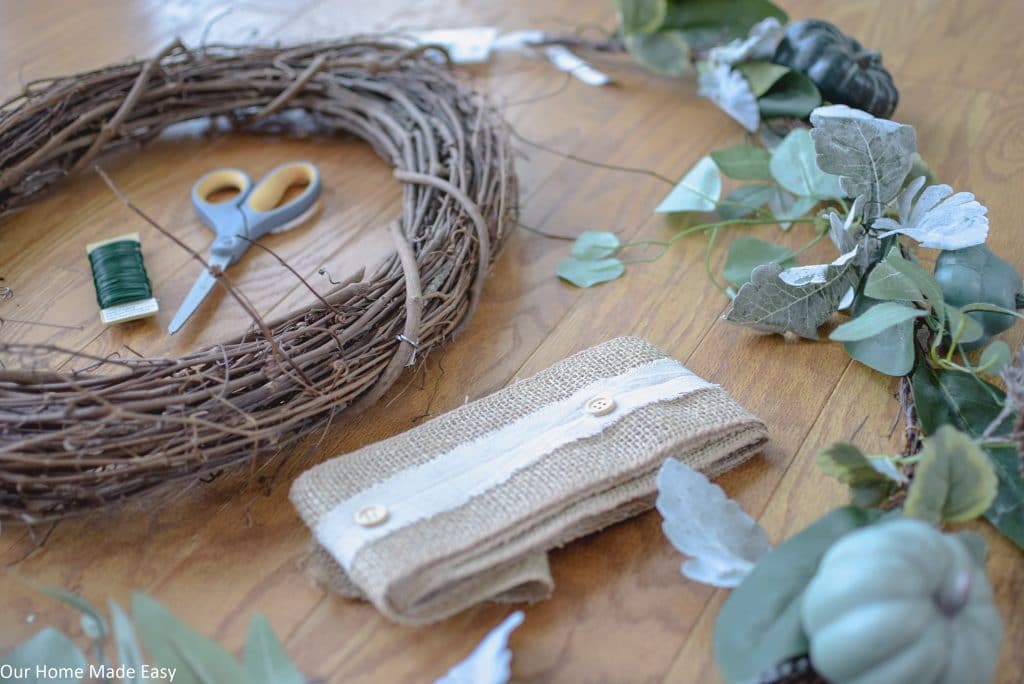
For this project, you’ll only need a few supplies. I always choose grapevine because they are easy to find at craft stores and have a low profile. I tend to avoid the wireframe wreaths only because they require additional effort. When wanting an easy project, the grapevine is my go-to!
Easy Fall Wreath Supplies
- Wreath (I used an oval grapevine)
- Festive Garland
- Floral / Wreath Wire
- Wreath Hanger / Burlap Ribbon (linked similar)
Step 1: Assembling the Wreath
Yes, we are going straight to assembling the wreath! Once you have your grapevine wreath, lay it out on a flat surface. Then lay your garland over the wreath.
Experiment laying the garland towards the outer edge of the face of the wreath. Or make it as tight as possible and keep the garland as close to the middle as possible.

Depending on the size you chose, you’ll have an overlap of the garland. I chose to make this overlap the lower left corner of my wreath. Naturally, it’s where my eyes settle on round wreath. With the oval shape, it looks a bit heavier, but I chose to set overlap in the spot anyways.
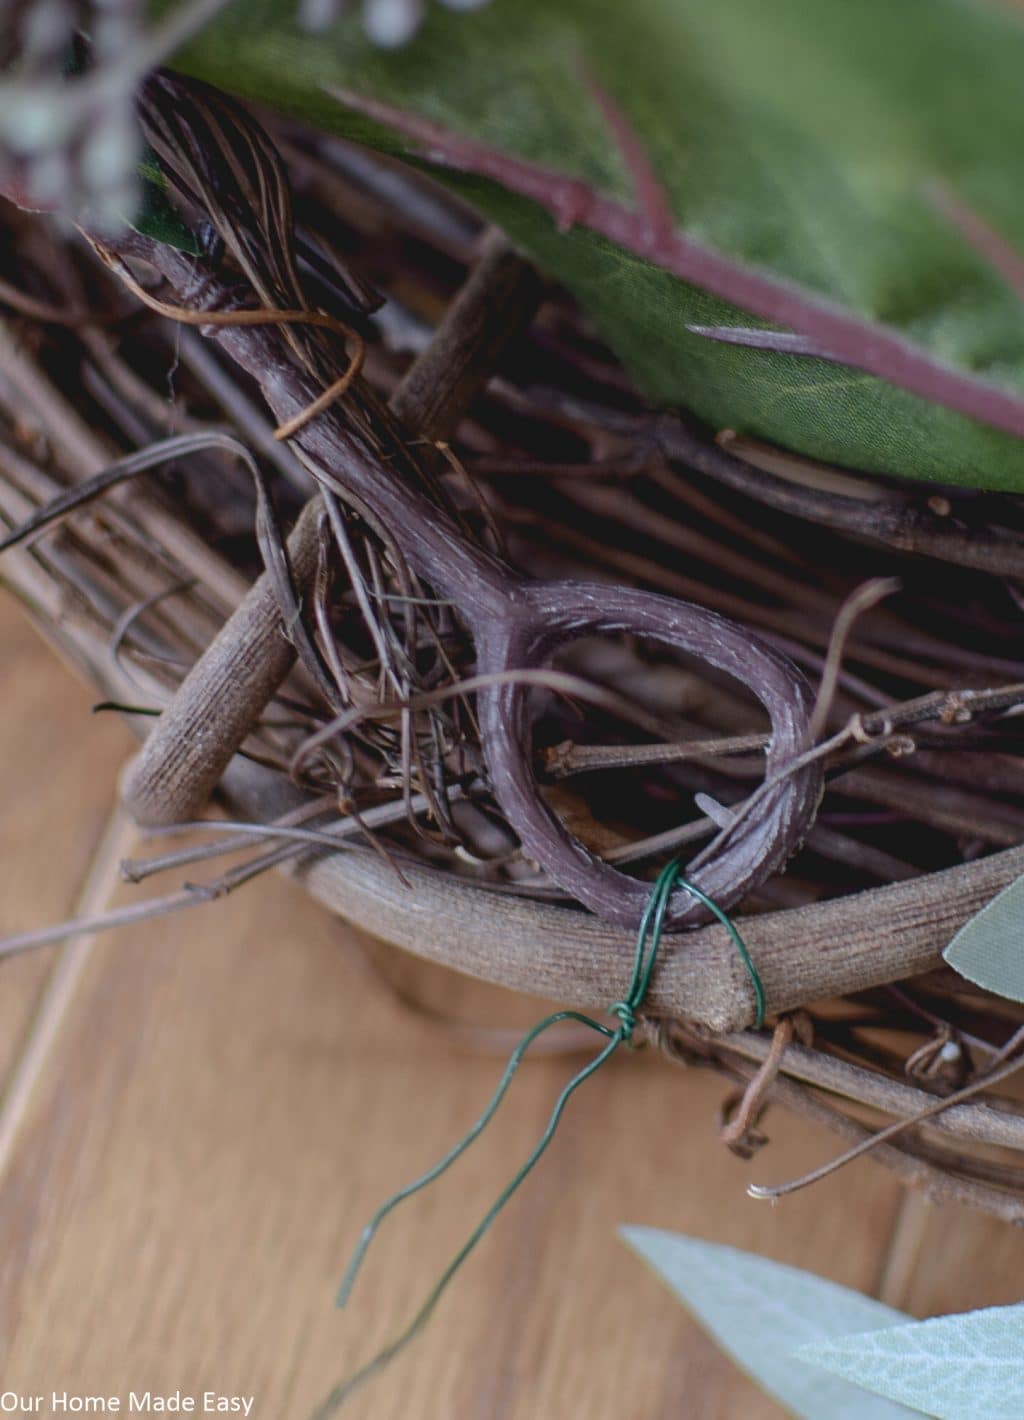
Once you have the garland where you’d like it, clip about 8″ of floral wire and tie the garland to your wreath. Trim any excess wire. Repeat 4-5 times around your wreath. If you have an especially heavy garland, I’d attach it to the wreath whenever it changes direction / has potential to droop.
Step 2: Hang Your Wreath!
Now that you have a fun fall wreath finished, hand it using on a wreath hook. To make it look especially custom, cut a piece of decorative burlap ribbon and double it up around the wreath and tuck behind your mirror. You can see how I hang the wreaths with ribbon here.
And that is it! This was such an easy but fun project. Because sometimes we don’t have a lot of time to devote to crafting around the house. And that’s perfectly fine. You can still be proud of a project that you finished and didn’t spend too much money & time on it. Thank you for stopping by and taking a peek at our entryway and doing some crafting. I hope that you are having a great fall!


