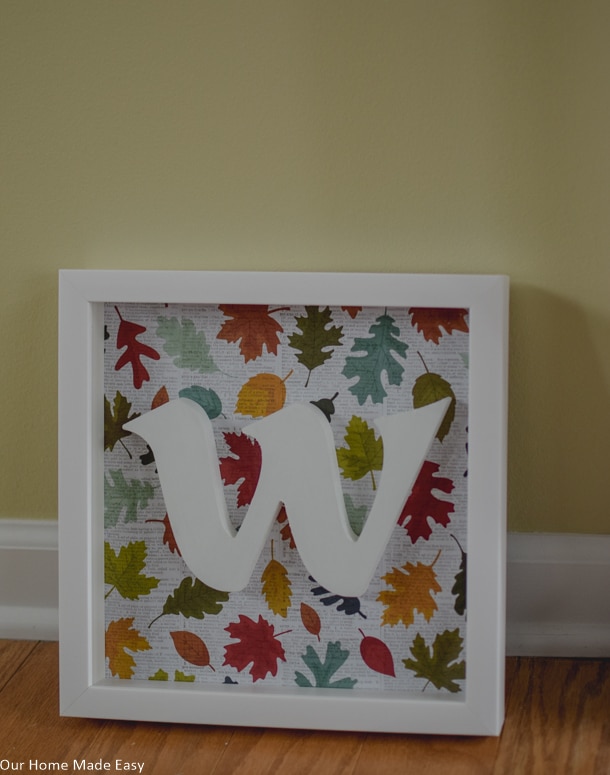
A Cute Monogram Shadowbox For Every Season!
Admittedly, we haven’t done much for fall yet this year. Between arriving home from a trip to see my parents in Phoenix (yay for sunshine!) and returning to work and then a child care change-up, it’s been a bit hectic. Whew. So decorating for fall is on my to-do list, but we haven’t gotten there yet! Until then, I wanted to show you a quick DIY shadowbox craft we created before we left for vacation. The best part? It’s totally interchangeable for the seasons! That means you can keep it up all year and simply pick up a new piece of card stock when you’re ready to switch from Fall to Christmas to Winter. Yay!
(Affiliate links are included in this post. See my Disclaimer for more information)
The story behind the monogram shadowbox is a sweet one. For our wedding shower, one of my dearest friends, Julie, gifted us a DIY shadowbox. Julie used a really pretty fabric and attached it to the shadowbox backing. Then she glued the letter in place. It’s been sitting in our living room in both Alabama and here in Michigan ever since.

Jordan & I both like it so much that when I was thinking of a new fall project, I wanted to make something smaller for a table top. Enter this cute little DIY. But then– the best part happened. Jordan asked me “Why can’t you make it so that it lasts all year?” You guys, it might have been his desire to avoid accumulating more stuff in the house, but I thought it was pretty inventive.
How to Make a DIY Shadowbox for Every Season!
This project totaled about $13 in supplies and $0.40 for each season or holiday’s scrapbook paper.
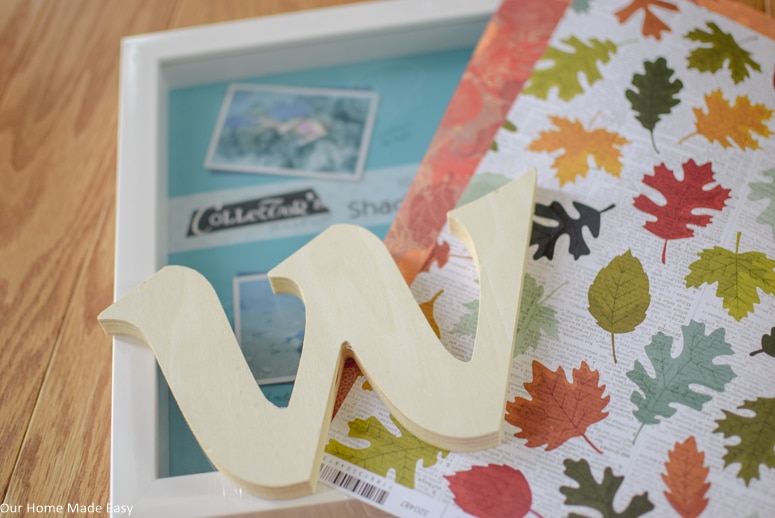
Supplies Needed for DIY Shadowbox
- Shadowbox
- Scrapbook Paper
- Painted Wooden Letter
- Paint for the Letter (Acrylic, Spray, or Latex)
- 1/2″ Wood Screws
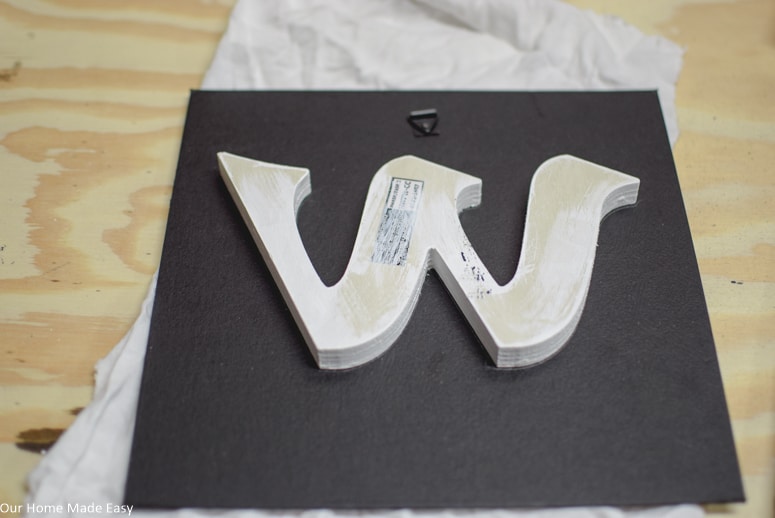
Prep Your Letter
Paint your wooden letter using spray paint, acrylic paint, or even latex paint. Originally I was thinking of staining it to add some character, but when Jordan suggested making it interchangeable, I went with something neutral that would coordinate with any color / pattern of paper. I used some leftover wall paint that we had in the basement.
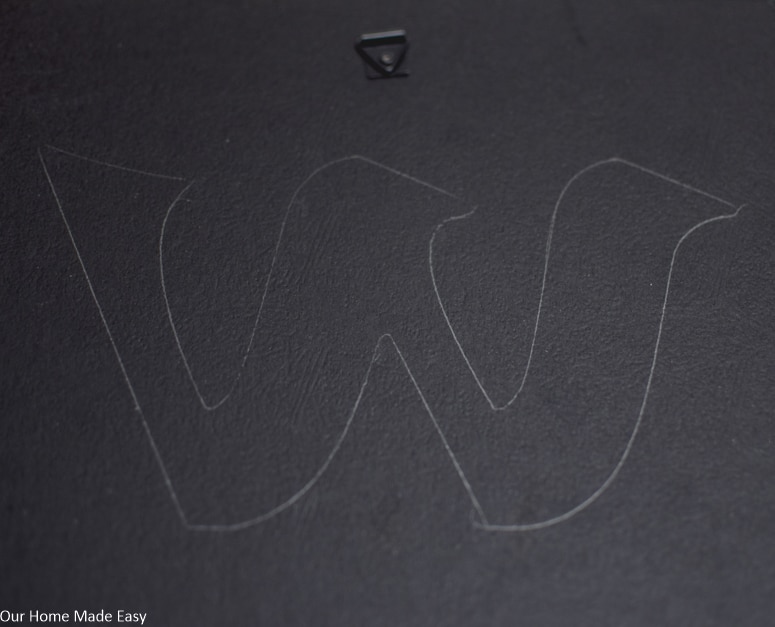
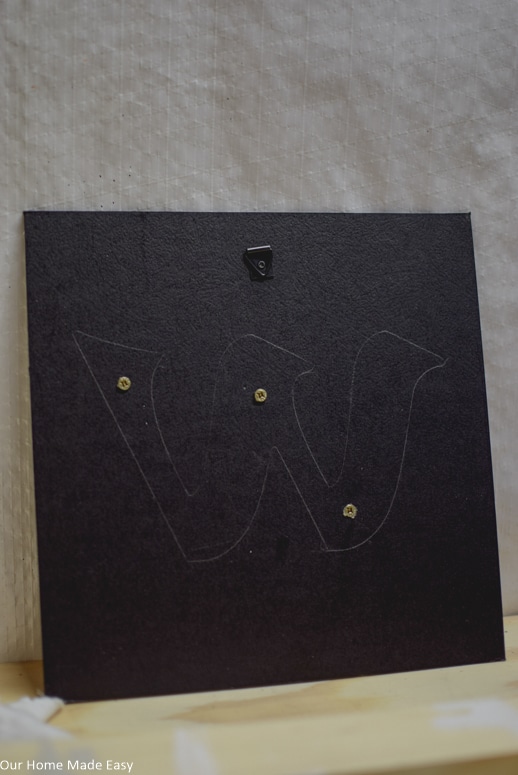
Tracing the Letter
The trick to making this an interchangeable shadowbox are the wood screws holding the letter in place. What happens is that you drill in these screw and simply twist off the letter each time you want to remove the paper! Simply press down the new paper over the screws and it will stay in place.
Super easy and works for ya all year long!
First, you’ll want to remove the backing off the shadowbox. Then, lay your letter down backwards, wrong way facing you. Essentially, if the letter were coming out the other side, it would be facing the correct way if you were looking at it from the front.
That’s a mouthful isn’t it?
Related: 15 of the Best 1 Hour Fall Crafts
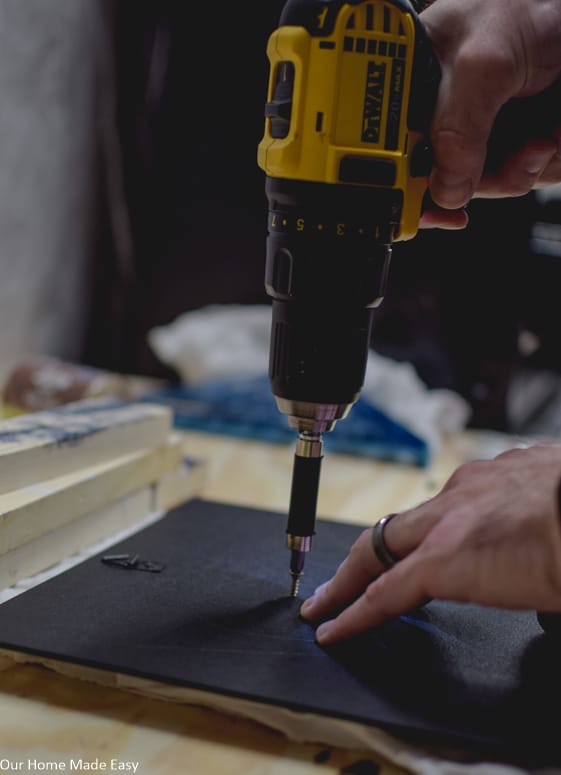
Attaching the Wood Screws
Next you’ll want to lay your letter in the similar spot as the back. Press it down onto the table and drill the wood screws into the back of the backing. Since you traced the letter on the back, you have an idea of where the letter is in front of you / under the backing and know where you need to “hang” the letter.
For the “w,” Jordan drilled 3 screws to keep it hanging in place. If your letter isn’t as large, I think you could get away with 2 screws.
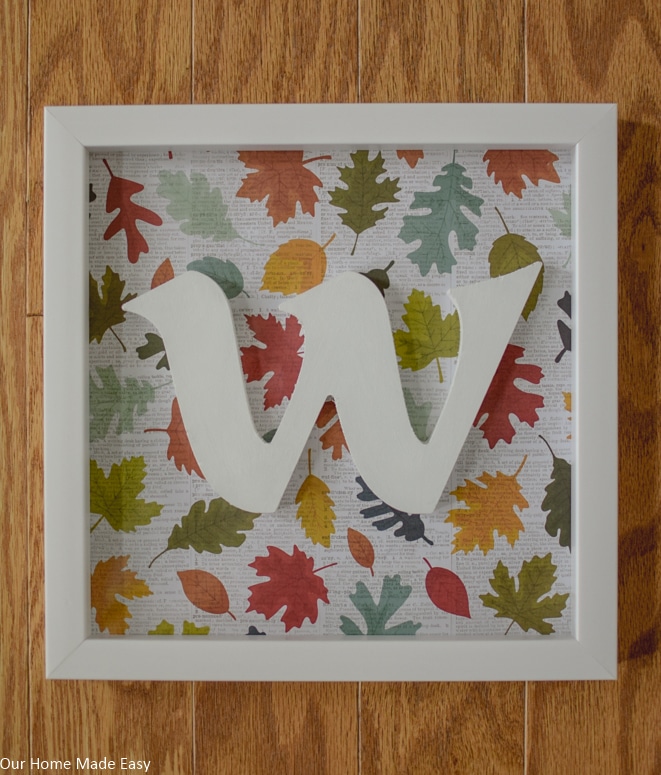
Attach Your Scrapbook Paper
And this is the last step! Holding the shadowbox backing, twist off the letter. The screws shouldn’t fall out of the backing, you’re simply spinning off the letter. Trim your scrapbook paper to the shadowbox size (my paper was 12″ x 12″ for my 10″ shadowbox). Place your paper over the wood screws and firmly push down.
Spin your letter back onto the screws. Finally, reattach the shadowbox baking to the frame.
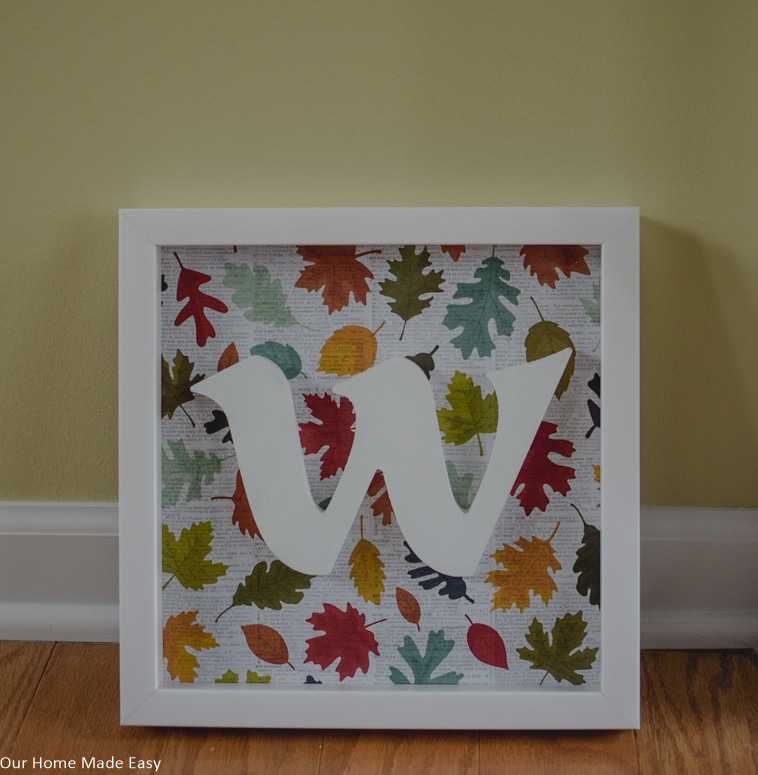
Isn’t is adorable? I’m in love and looking forward to swapping out the paper. It’s probably going to become an obsession picking up the $0.40 paper. 🙂 I can’t wait to show you some of our house looking spiffy in fall decor next week! Its looking a bit lonely now, but give me a weekend and few minutes during nap time and I’ll make sure these projects are displayed somewhere in the house.

Hi, I’m Brittany, and I believe life at home should feel easier, not heavier.
I’m the creator of Our Home Made Easy, a space for busy women who want dinner on the table, their homes running smoothly, and a little breathing room at the end of the day.
You won’t find perfection here, just realistic recipes, smart shortcuts, and simple routines that work in real life. The kind that help you feed your family well, stay organized enough, and still have time to actually enjoy it.
If you’re juggling work, kids, schedules, and everything in between, you’re in the right place. I’m so glad you’re here.


I plan to make several of these for Christmas gifts, but I will glue the letter to the outside of the glass, seasonal paper will be under the glass.
Please clarify some things for me. I even had my husband read your directions because I was thinking that I just wasn’t understanding you. But he also could not understand your directions about “spinning” the letter off the screws. How is that possible when you have THREE screws. You physically cannot “spin” the letter when it’s attached in THREE different places with THREE different screws. What are we not getting from your directions? Thank you for clarifying your directions.
Donna
Hi Donna! We just spun them in the same direction and it popped off. If I were to do this again, I would hold the letter in place with one screw instead of multiple ones.