How to Make a DIY Chalkboard Sign
Make this easy DIY Chalkboard sign for less than $10! Customize the size and stain to coordinate with your home’s decor. Looking for a DIY Birthday Chalkboard Poster?
(Affiliate links are used throughout this post. Please see my Disclaimer for more information)
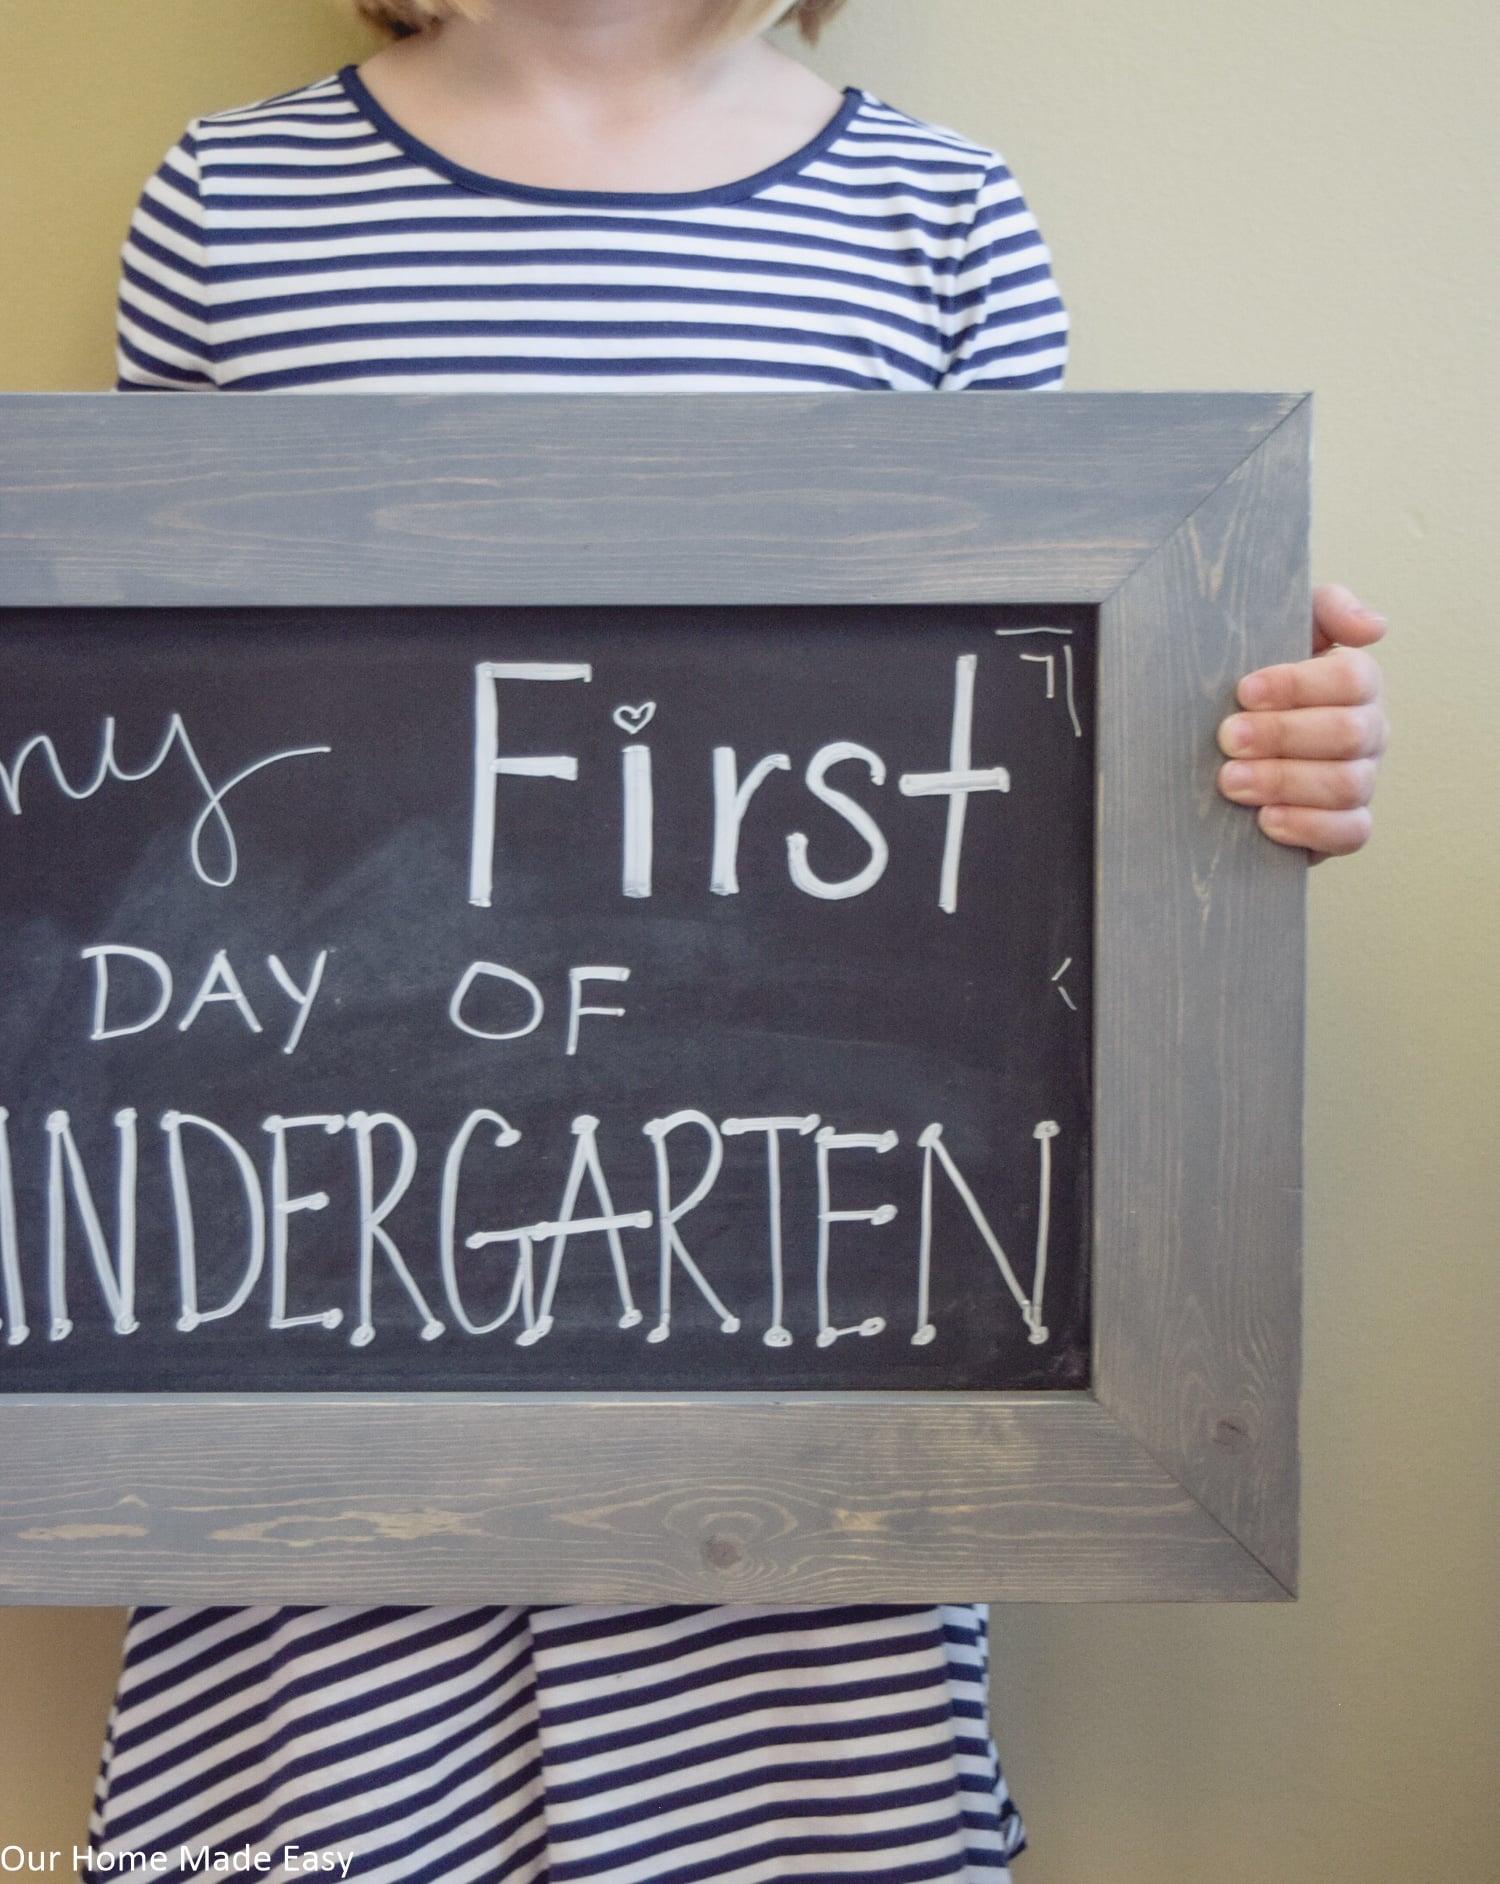
If you didn’t catch my Instagram Stories this morning, you might’ve missed that we sent our oldest to Kindergarten! Up here in Michigan, public schools don’t start until after Labor Day. While I enjoyed so many back to school posts over the past month, we’ve had an extra few weeks to soak in Summertime.
But now, summer has ended and it’s time to bring on September and all that Fall has to offer us in Michigan! I cannot wait.
And I’m super excited to share a quick & easy DIY with you today! It’s perfect for back to school signs (on my mind!) or farmhouse style. You can build these signs for less than $7 – $10 and they are a lot of fun to customize for your space!
How to Make a DIY Chalkboard Sign
Whether you choose to make this sign for a back to school chalkboard or to add decor, to your home, you’ll be surprised at how easily you can make this!
Supplies Needed for the Chalkboard Sign
- 6 ft 1″ x 3″ Board
- Particle Board Remant
- Chalkboard Spray Paint
- Paint or Stain (We used this color)
- Paint Rags
- Chalkboard Markers
Tools We Used
- Miter Saw
- Kreg Jig
- Corner Angle Clamp
- Pneumatic Nail Gun
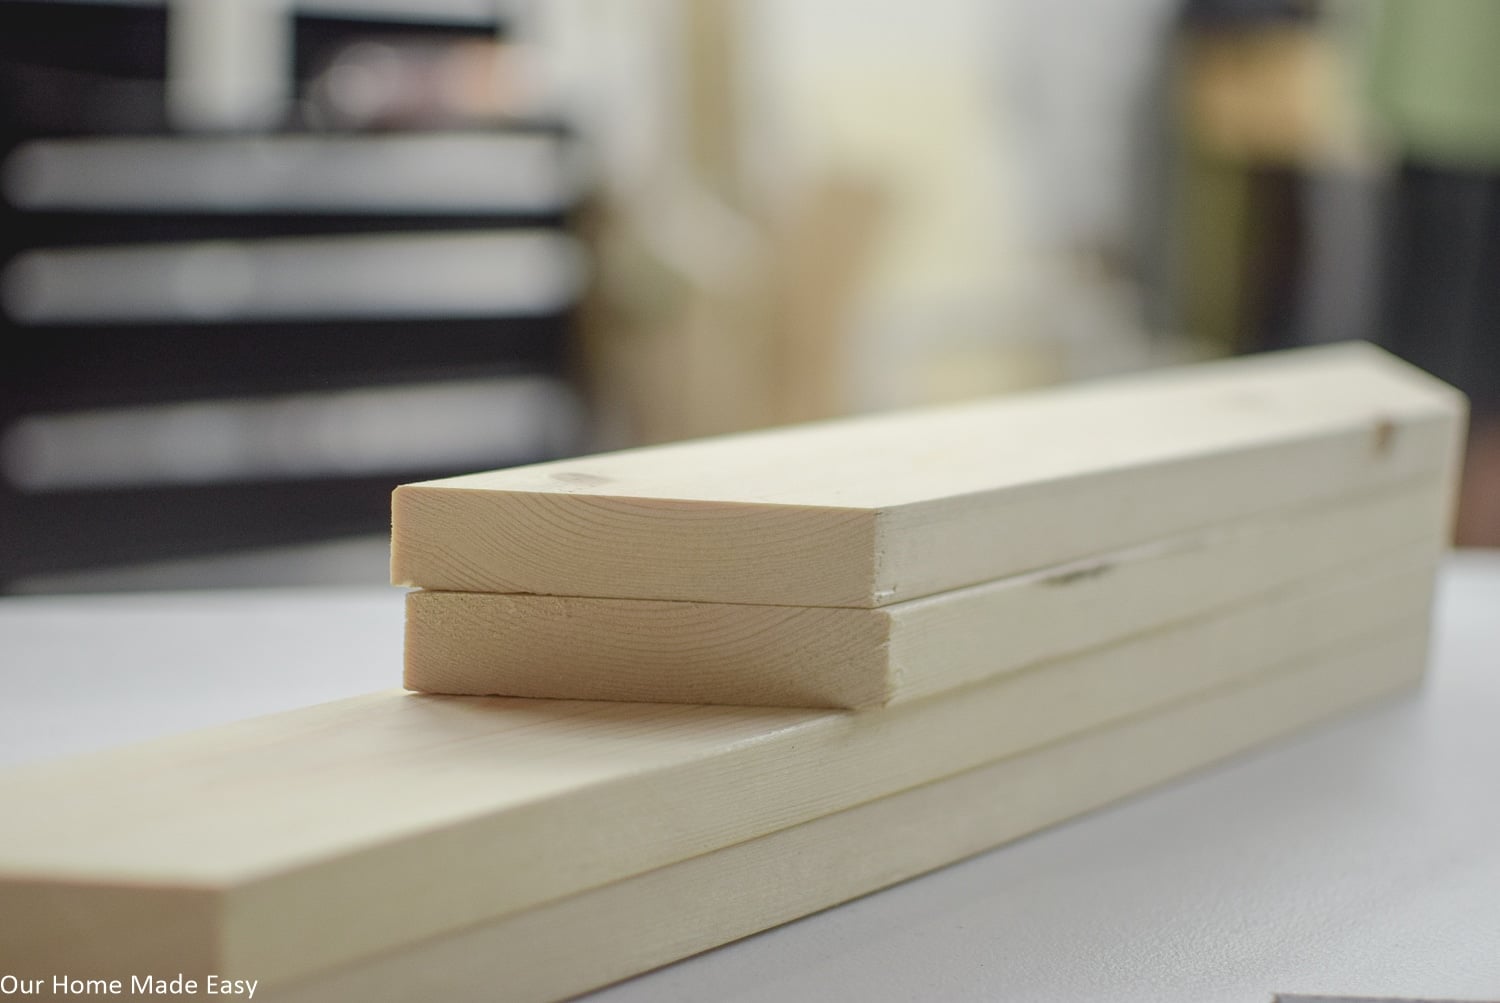
Cut Your Boards
Using a miter saw, cut the 1″ x 3″ 20 inches long with a 45 miter inward. Repeat for a second side. (Your board is 20 inches long, but comes in at a 45 degree angle)
For the shorter sides, cut the 1″ x 3″ 14.5 inches long with a 45 miter inward. Repeat for the second side.
Jordan’s Tip: when you are making your cut on the left, line up the blade at 0 degrees and then adjust the miter to the right 45 degrees. For the right cut, line the blade at 0 degrees and then adjust the miter to the left 45 degrees.

Prep Your Frame
Using a Kreg Jig, drill two pocket holes on each end of the 45-degree angle of the two 14.5 inch pieces.
Jordan’s Tip: Make sure not to drill too close to the edge and destroy your project.
Once you have the pocket holes drilled, it’s time to stain or paint the wood!
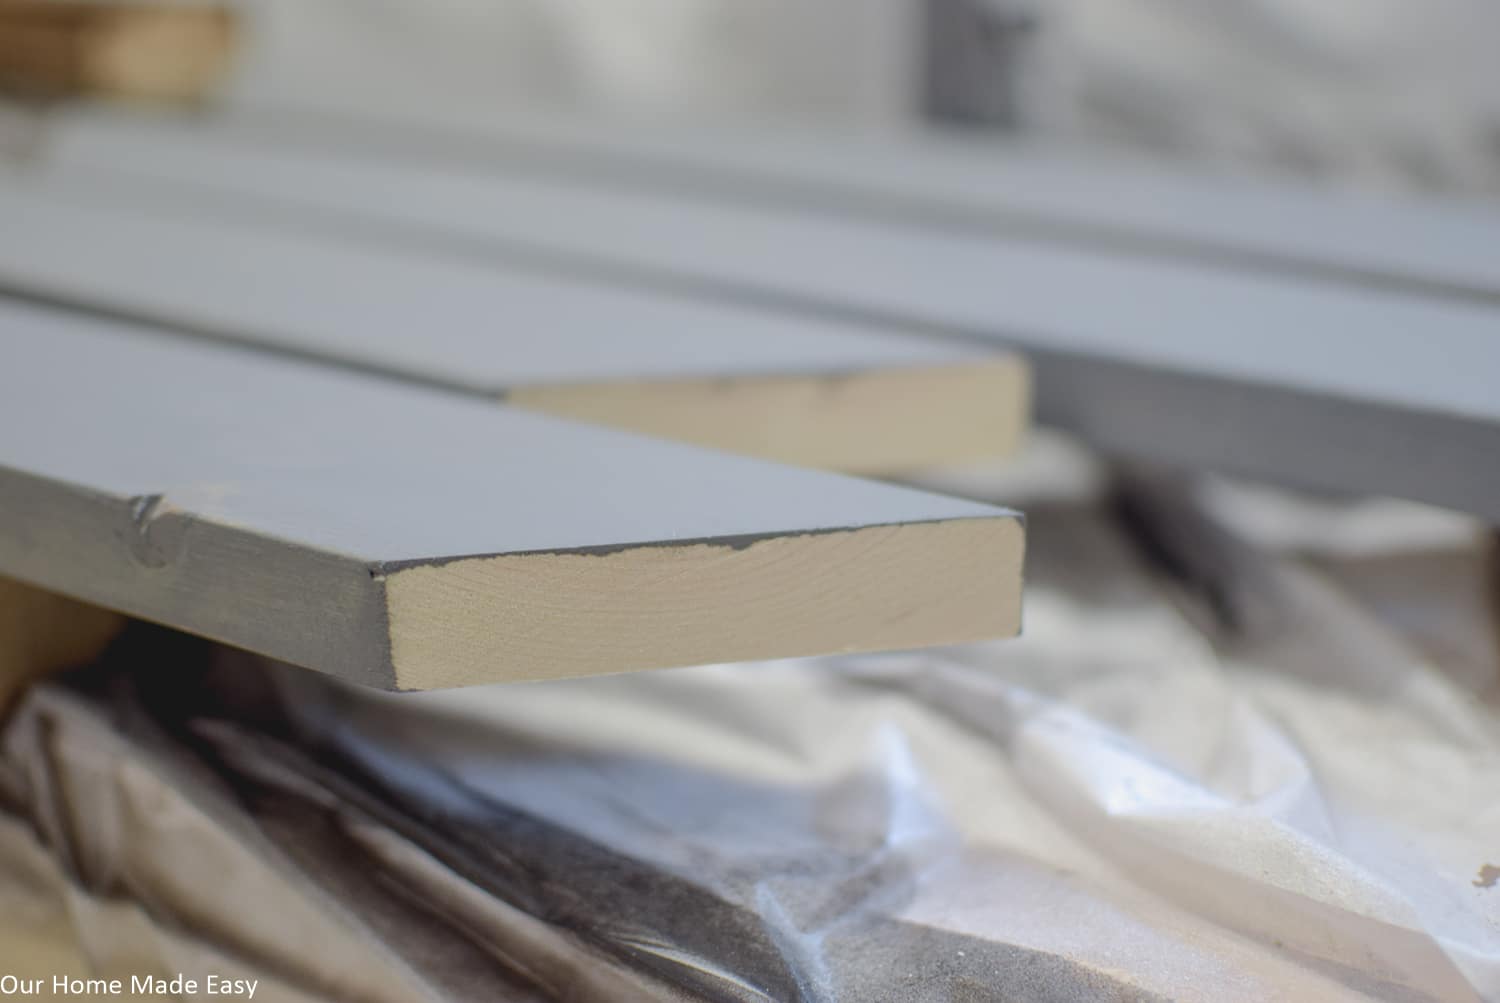
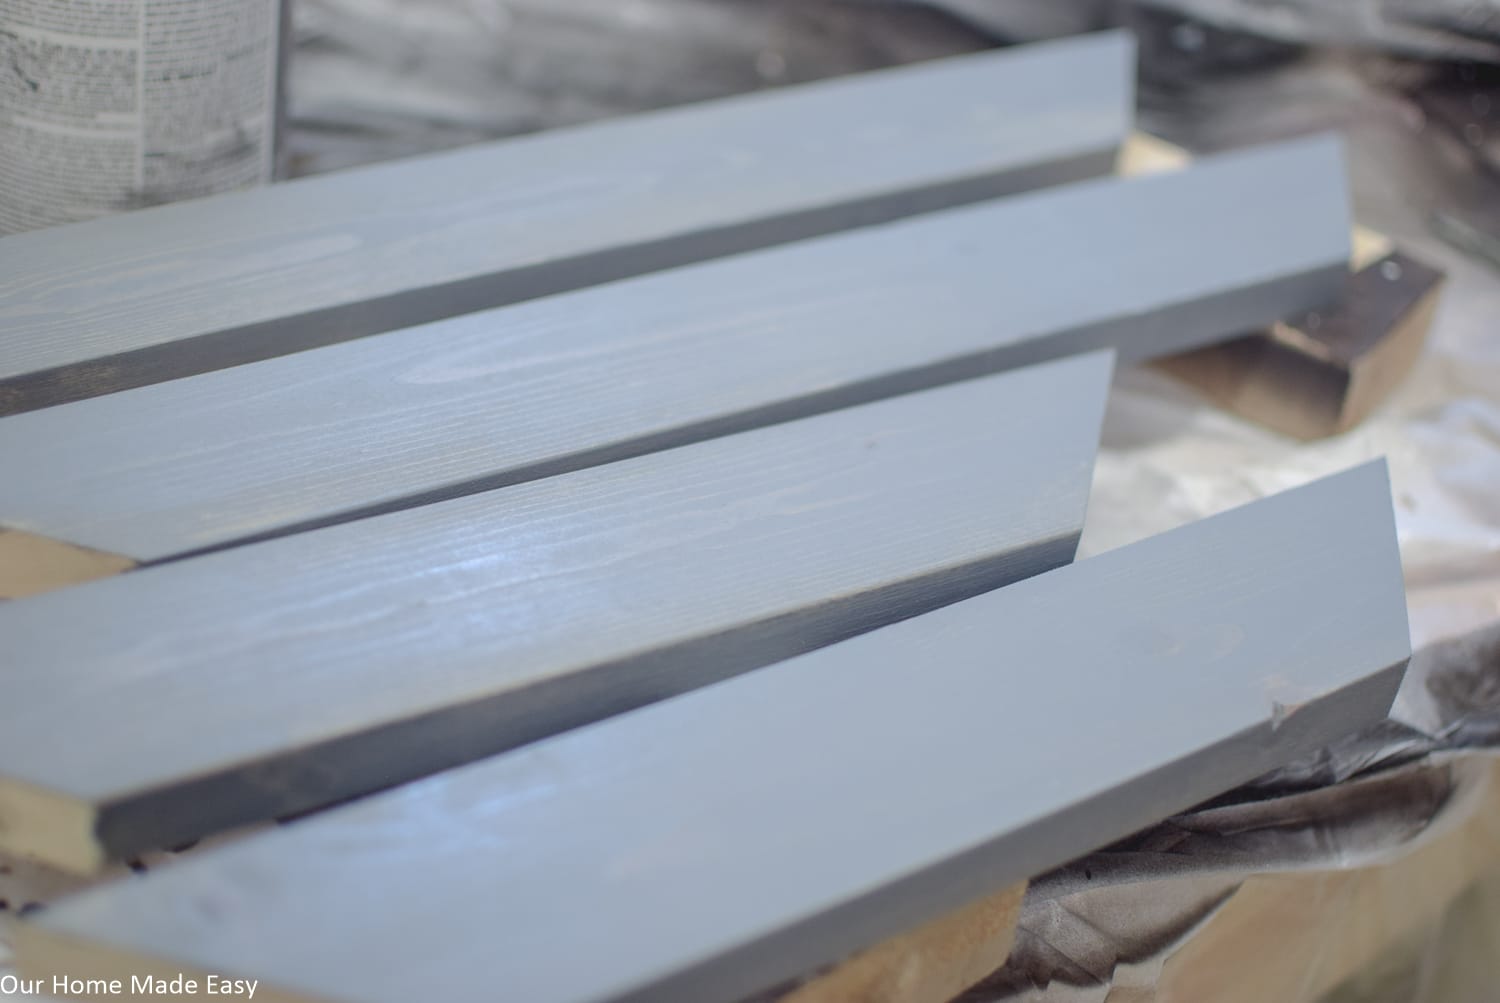
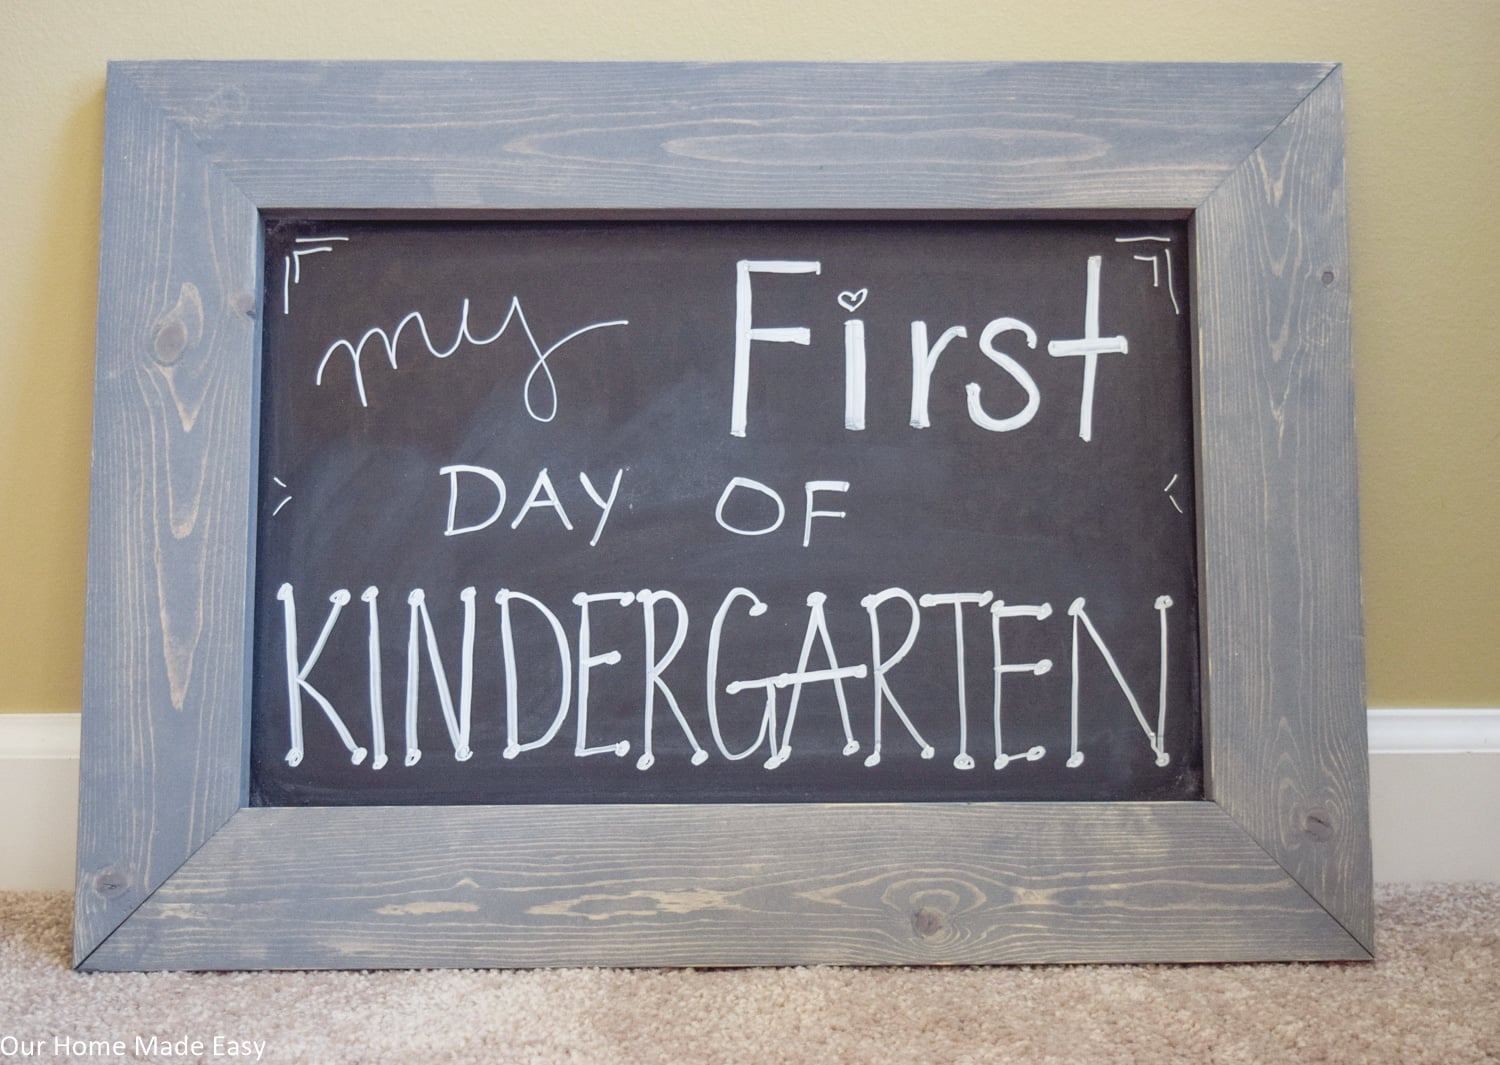
We choose this weathered gray stain. But you could always stain it any shade you’d like, paint over the stain, or just paint it! Allow all the pieces to dry and wipe off any excess stain.
Build Your Chalkboard
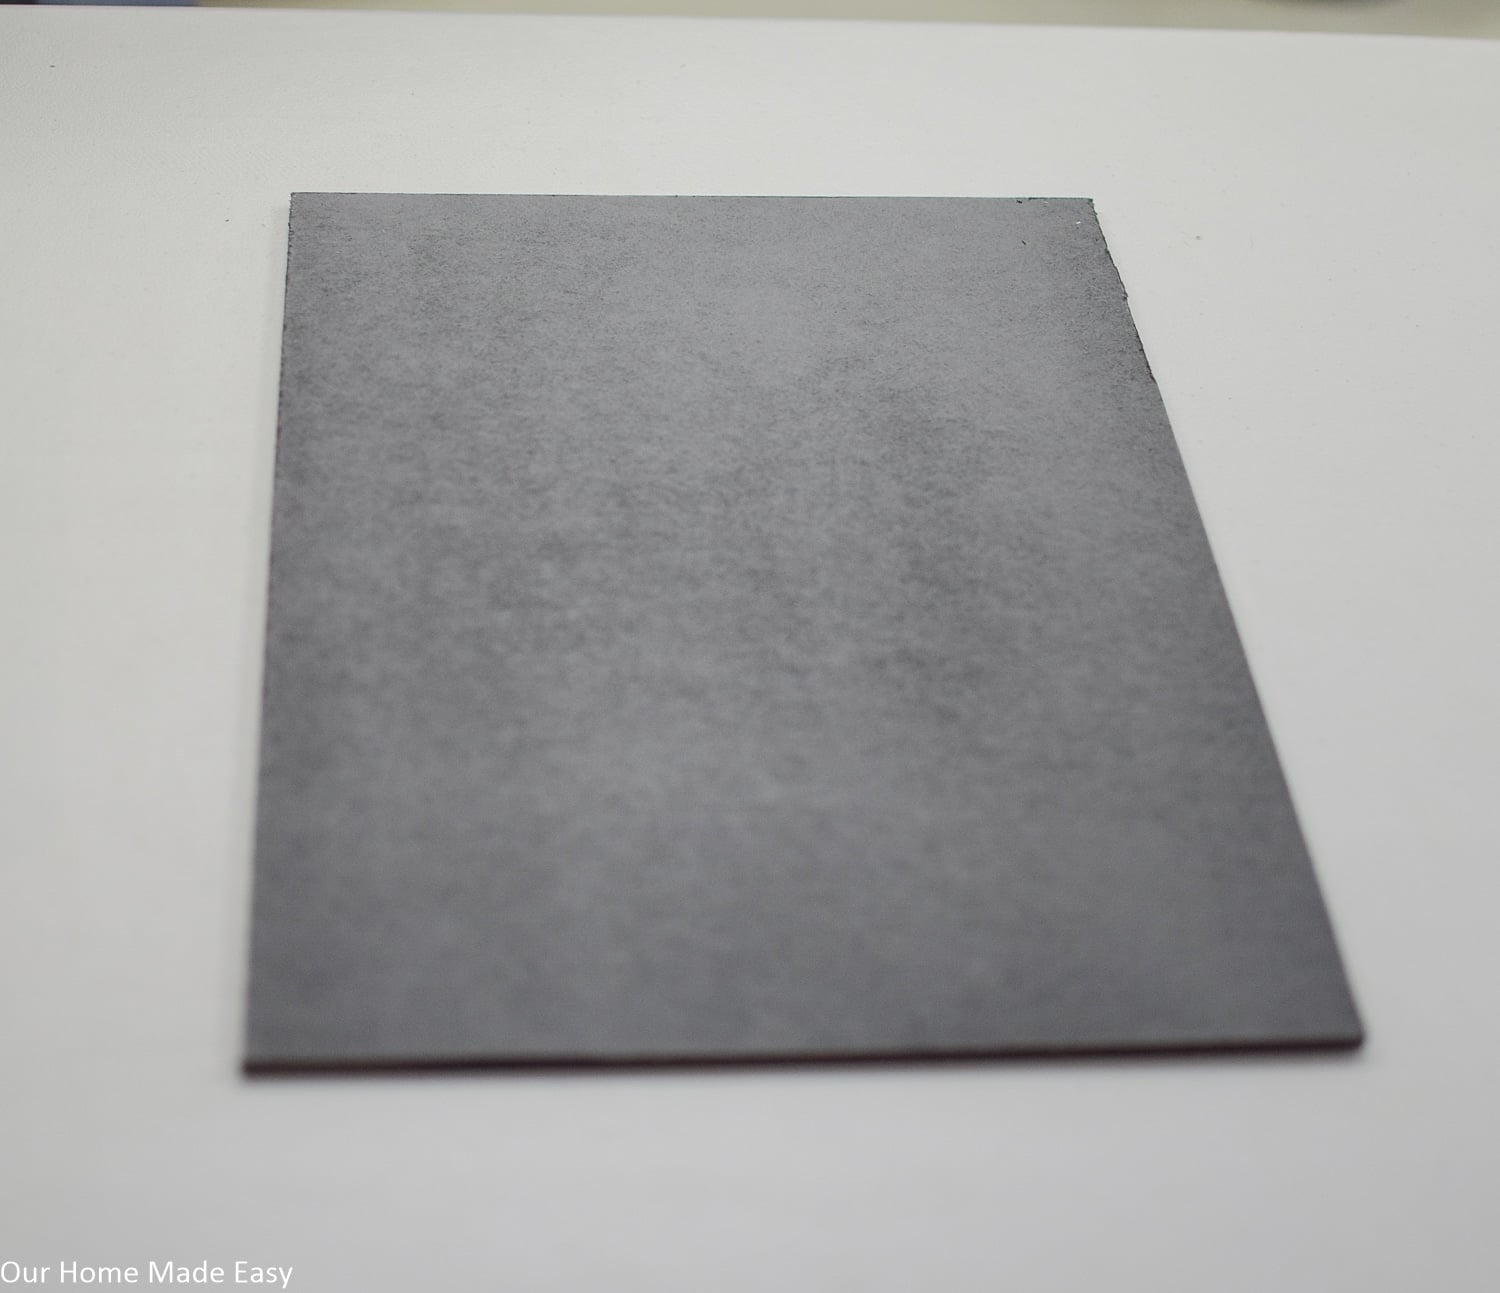
While your stain is drying, it’s time to make your ‘chalkboard.’ But I have a quick & shameless secret to share with you– the board is really MDF spray painted with chalkboard paint! It makes the entire project easier to DIY and it’s so much cheaper than buying real boards– and less heavy to hold!
Cut a piece of thin piece of MDF or other smooth material to make a 17.5″ x 11.5-inch piece. Your measurements don’t need to be super accurate since it will go on the back of your frame.
Once your piece is cut, spray paint with chalkboard paint. Sand in between coats to get a smooth finish. Repeat for 2-3 coats of paint.

Assemble Your DIY Chalkboard Sign
Once all your wood pieces are dried, it’s time to start building your sign!
With pressure or a right angle clamp, begin securing your stained boards to make the frame. Use your pocket holes to secure the frame together. Repeat for each side of the frame.
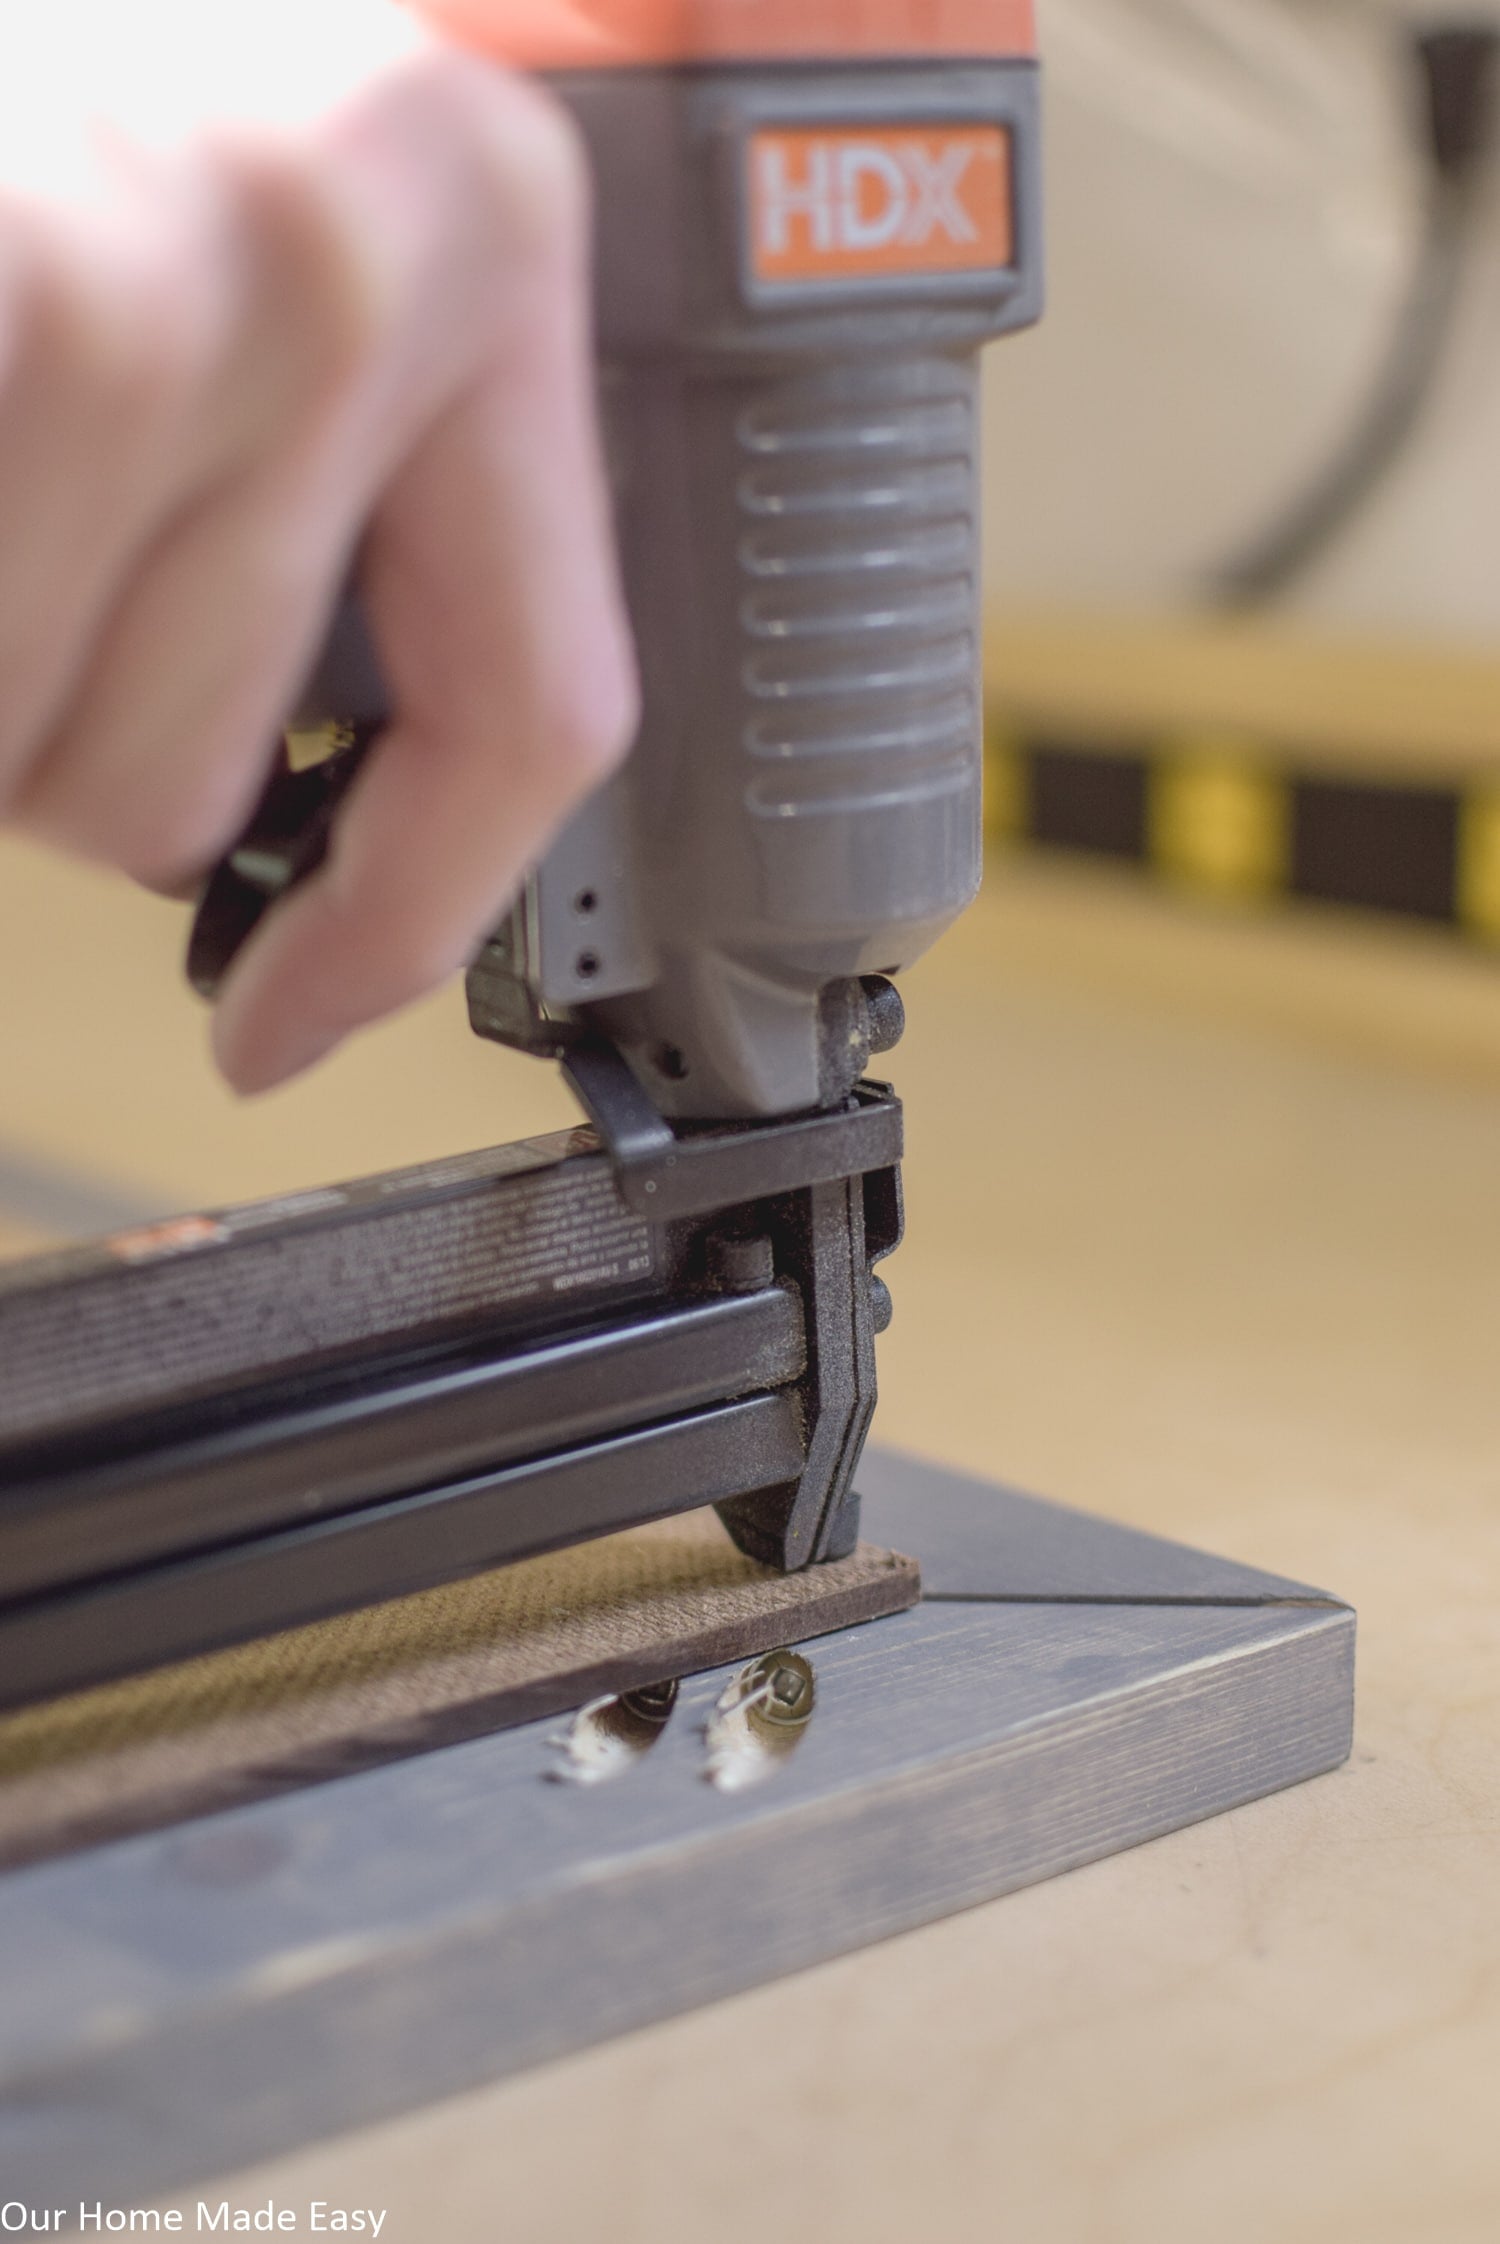
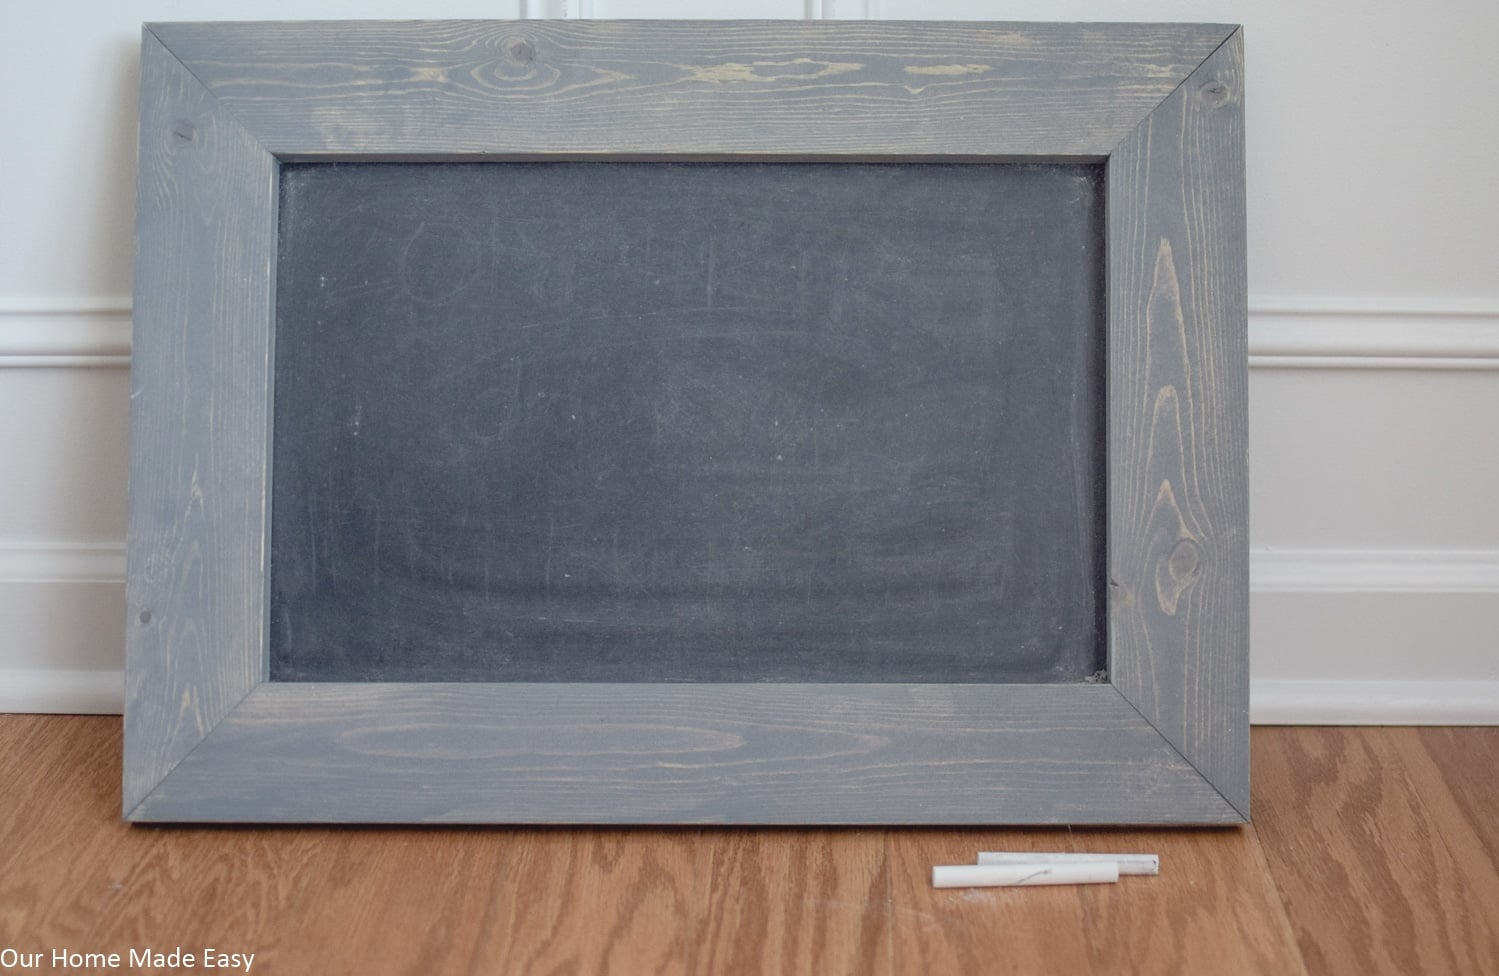
Once your chalkboard piece is dry, glue or secure it in place with brad nails or staples, making sure that you don’t get too close to the edge of the piece.

Decorate Your Sign
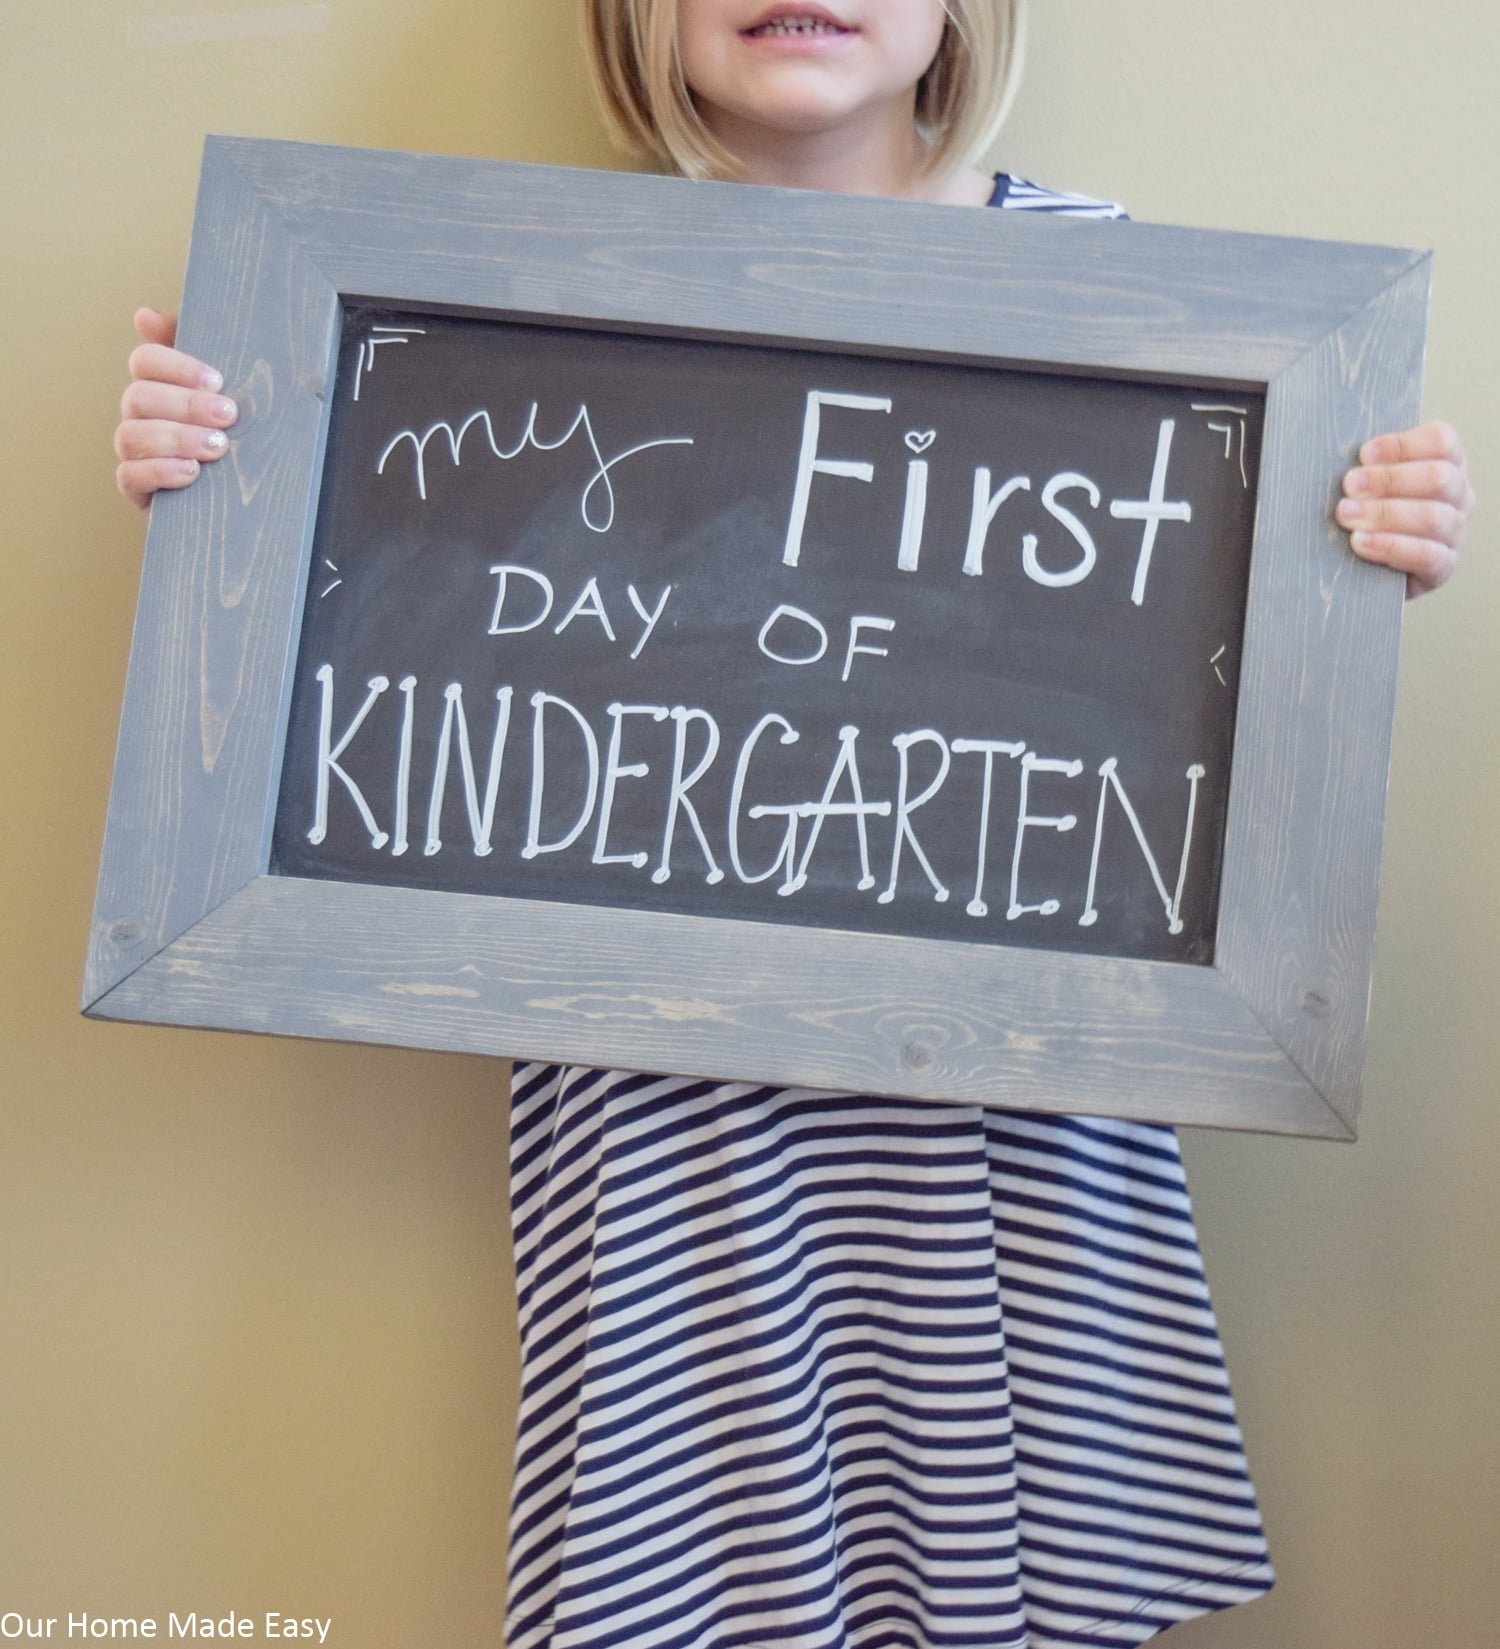
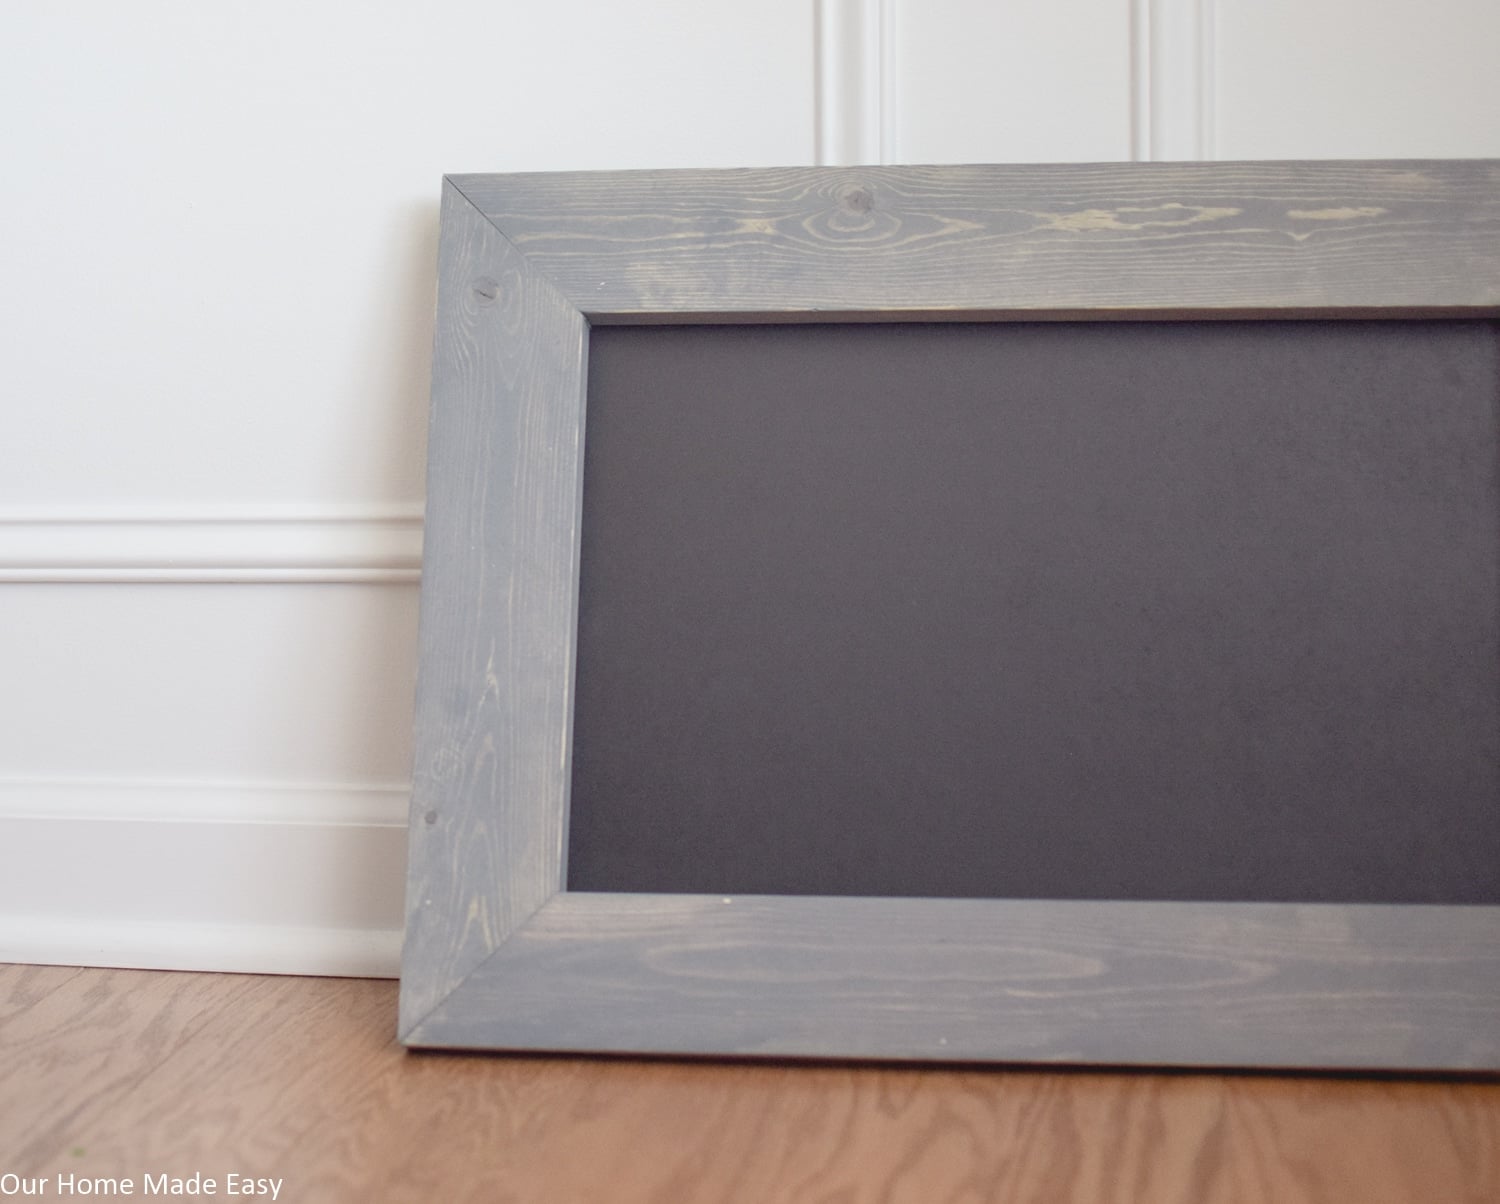
Using chalk paint makers, add your message to your board! Chalkboard markers really ‘pop’ against the background and are really easy to remove. You can change out your DIY chalkboard sign each season, to celebrate birthdays, or back to school days! [I experimented with traditional chalk, but didn’t like the lack of ‘pop.’ Pick up the chalkboard markers and save yourself so much time!]
While I know the back to school rush has passed most readers, I hope that you find that making your own sign is pretty simple! I can’t wait to see how you decorate your signs!
PIN FOR LATER:

Hi, I’m Brittany, and I believe life at home should feel easier, not heavier.
I’m the creator of Our Home Made Easy, a space for busy women who want dinner on the table, their homes running smoothly, and a little breathing room at the end of the day.
You won’t find perfection here, just realistic recipes, smart shortcuts, and simple routines that work in real life. The kind that help you feed your family well, stay organized enough, and still have time to actually enjoy it.
If you’re juggling work, kids, schedules, and everything in between, you’re in the right place. I’m so glad you’re here.


Do you seal this at all?