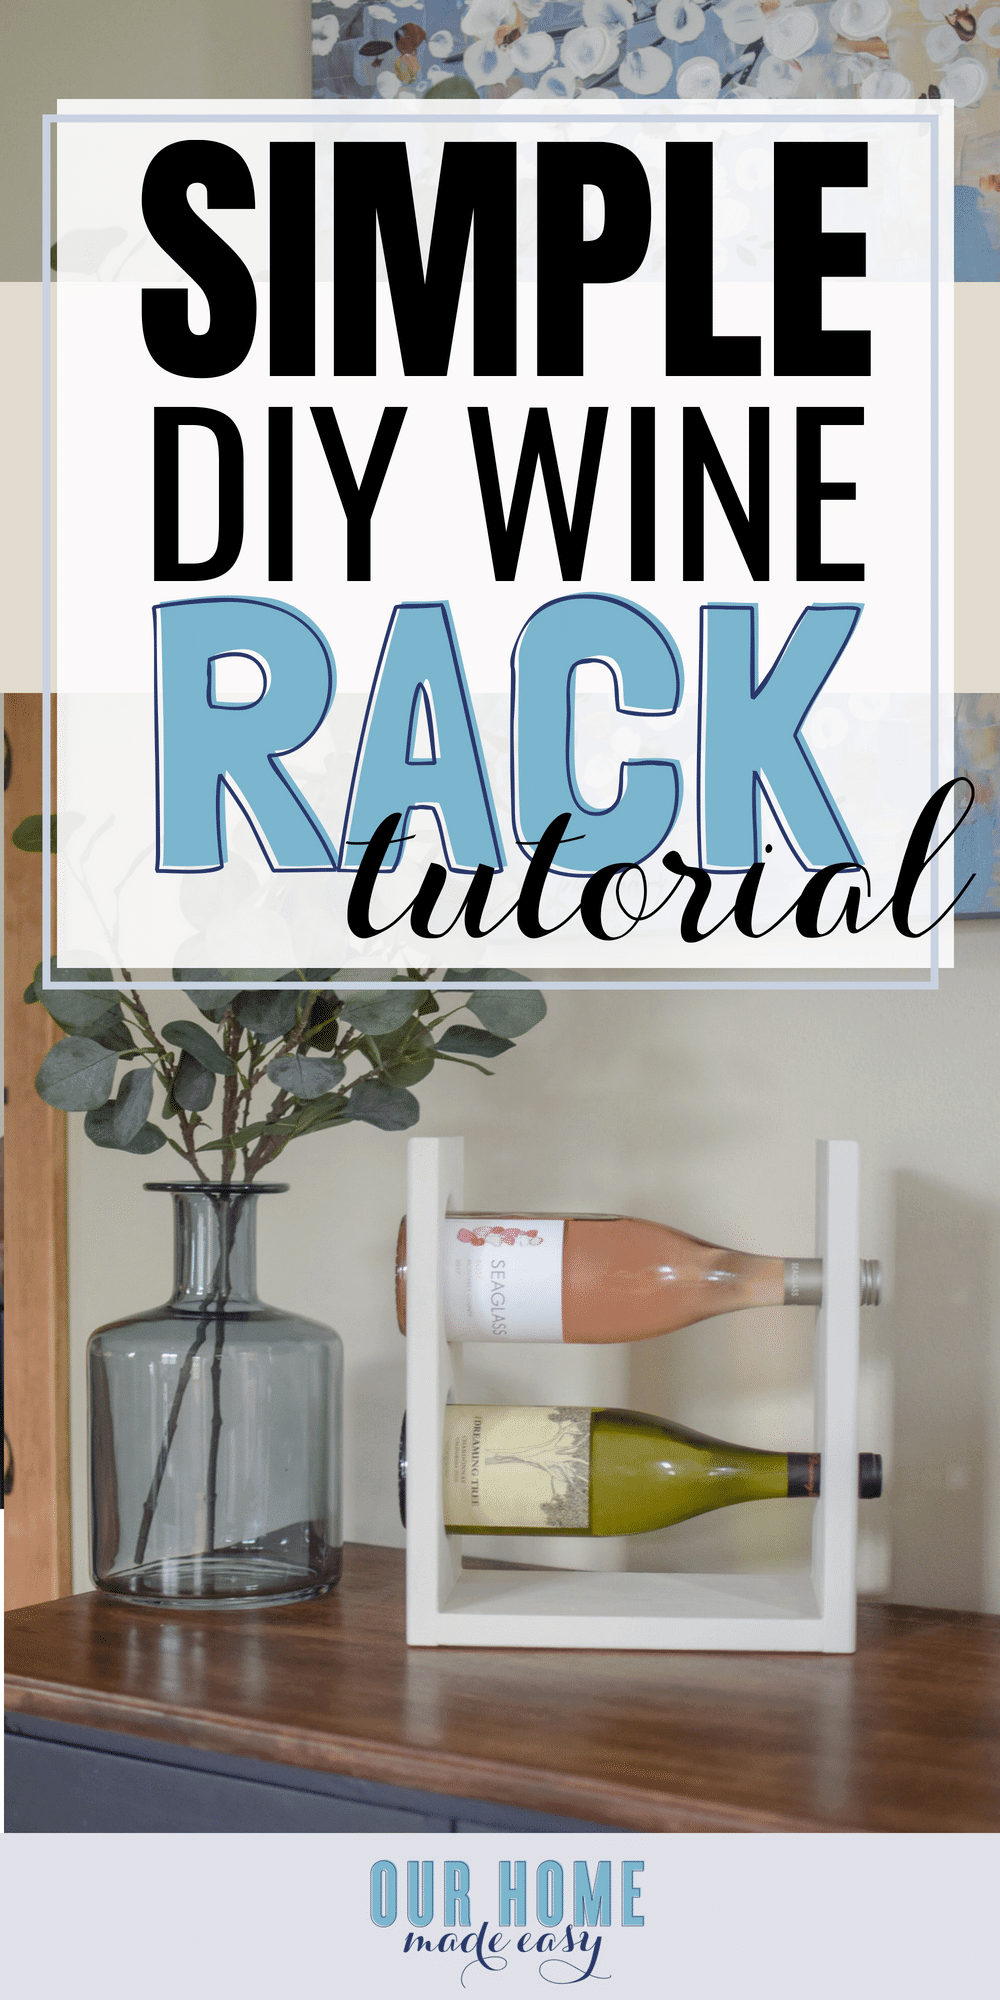
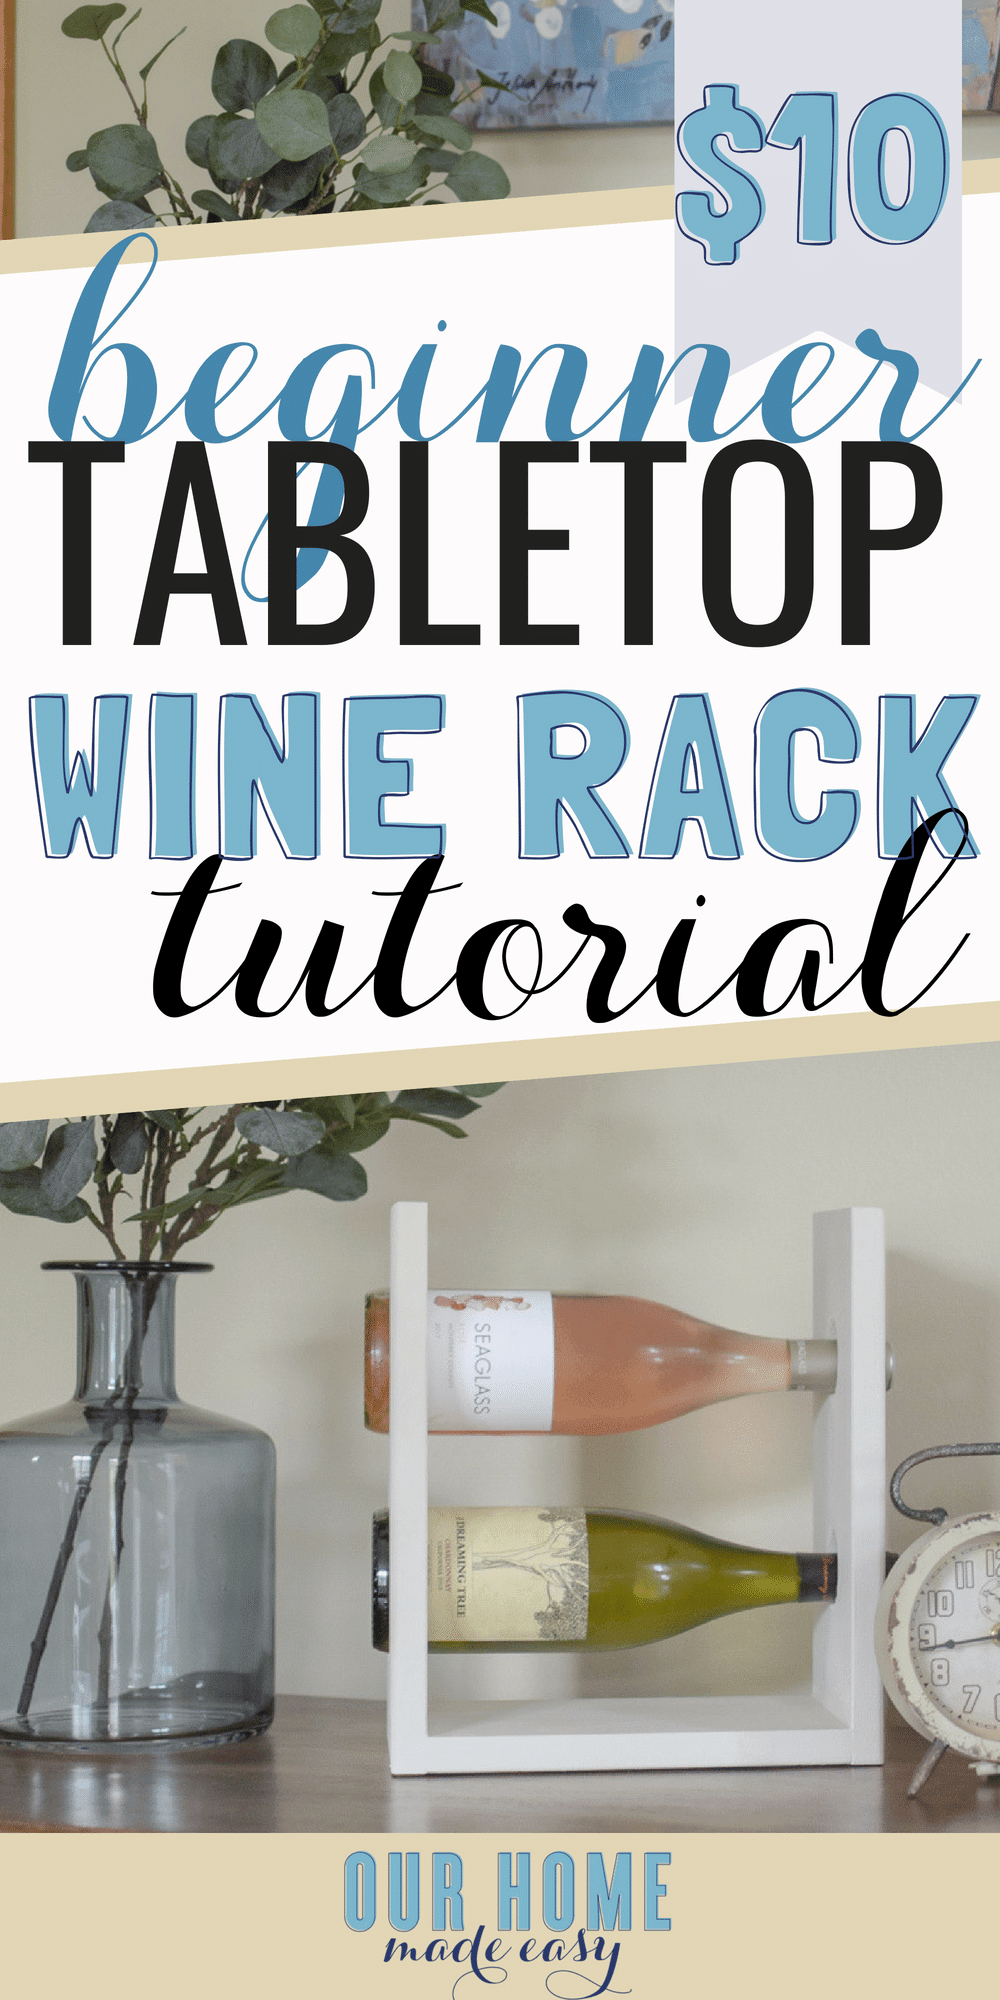
Easy DIY Wine Rack for a Tabletop
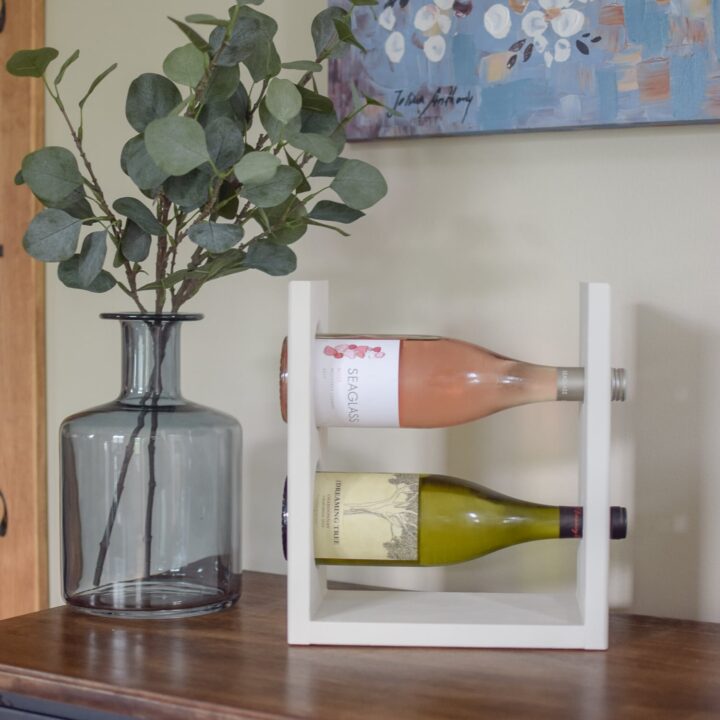
This DIY wine rack is perfect for holding 2 bottles on a table top! Simply use your Kreg Jig and a few other tools to build it for just a few dollars!

(This post contains affiliate links. Please see my Disclaimer for more information)
Over the past few years, one of my most popular tutorials is our wall mounted pallet wine rack. It’s super sturdy and holds alot of wine bottles. However, it’s pretty large and not exactly dainty. To balance the pallet/ rustic project, I wanted to share an even easier DIY wine rack!
I think it’s super adorable and I’m betting you’ll think so too!

The best part? We built it for less than $10.
InstaChristmas gifts my friends!
DIY Wine Rack
Let’s get to building it! I promise this won’t take long at all. If you want to build more than one, make your cuts all at the same time so that you can create them quickly in an assembly line! #IndustrialEngineer
Thanks to the lovely ladies at Fusion Mineral Paint who recently sent me a large box of painting goodies! I couldn’t wait to start using all the colors on my upcoming projects!
Supplied Needed for this DIY Wine Rack
- 1″ x 6″ Common Board
- Kreg Screws
- Sand Paper Block
- Paint or Stain ( I used this one)
Tools Used:
- 3.5 inch Hole Saw
- 1.5 inch Hole Saw
- Miter Saw
- Kreg Jig

Make Your Wood Cuts
Using your one 1″x6″ board, you’ll make 3 cuts.
You will want two pieces that are 12 inches long. The third cut will be 9 inches in length. That’s it! You can make more than one of these wine racks out of one $5 board. Total steal!
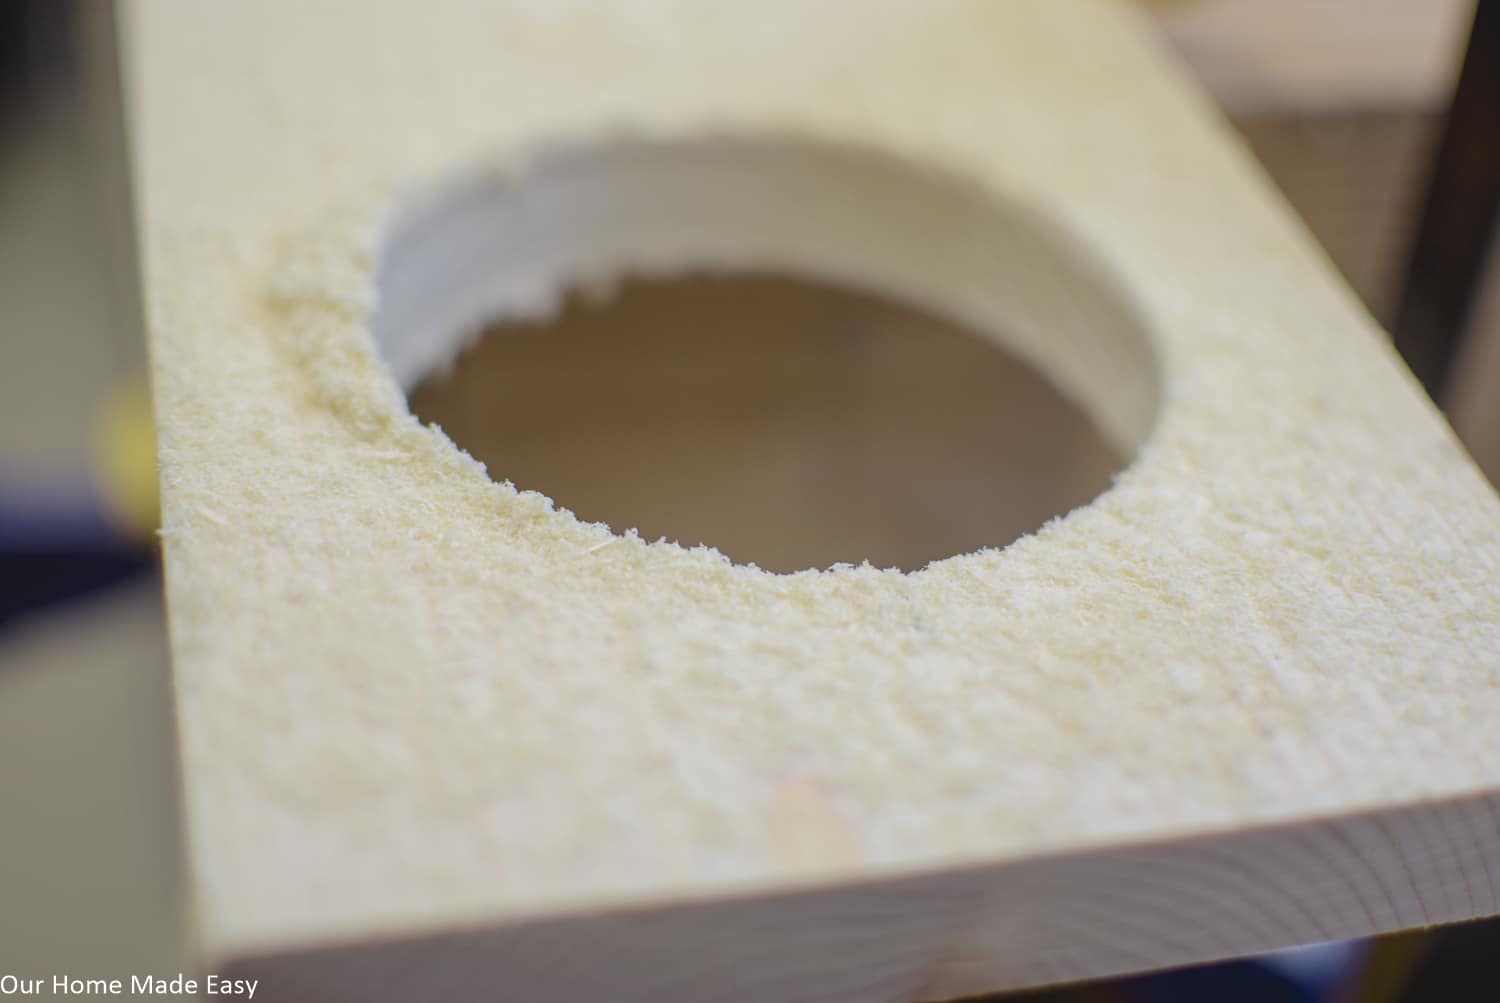
Cut Your Holes
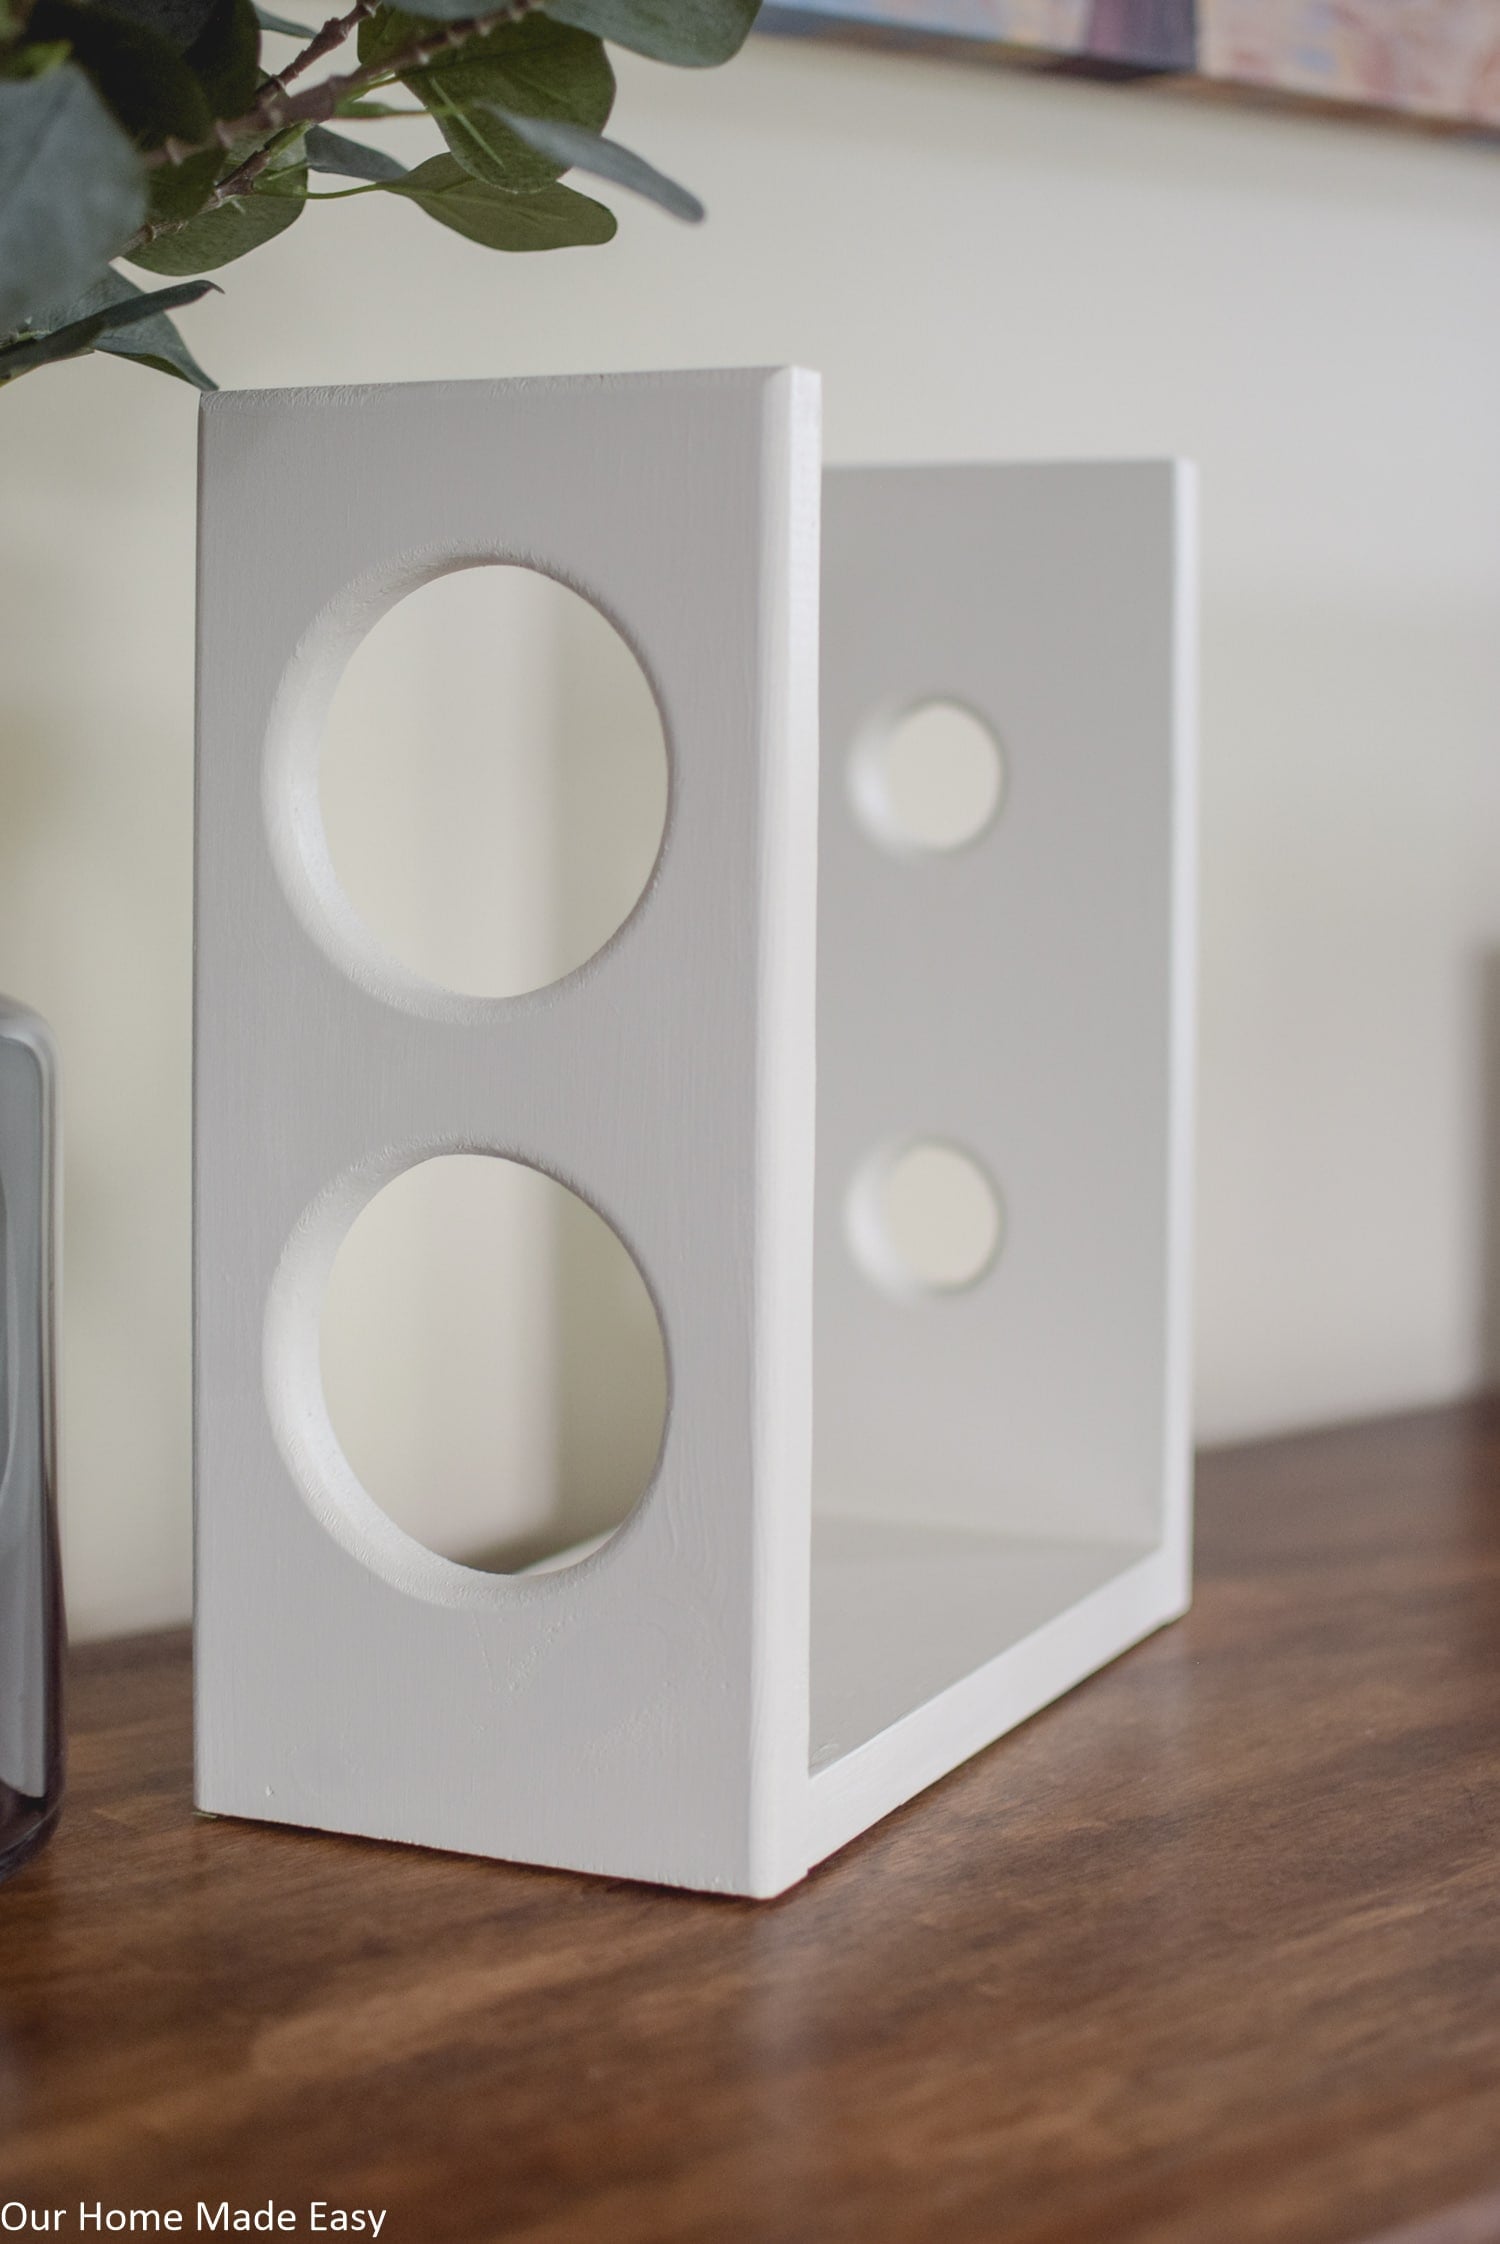
Now you’ll want to use your hole saw and make your cuts for the wine rack. For this rack, the hole cuts are centered / in the same place on both boards. It’s just easier that way. We chose 3.5 inches to accommodate just about any size of wine bottle. As a couple who enjoys the occasional bottle of wine, we’ve learned that they come in so many sizes and shapes!
On each board, measure 3.25 inches down. This will be the center of your first hole and the top of your wine rack. On each board, continue measuring down to 8 inches. This will be the center of the second of the hole.
Place a piece of scrap wood underneath your 12-inch pieces before you cut them. This will prevent tear out.
Cut out each hole.
- Related: 13 Things You Need to Know Before You Buy The Kreg Jig
- Related: DIY Wooden Serving Tray
- Related: Side by Side Comparison of Fusion Mineral Paints
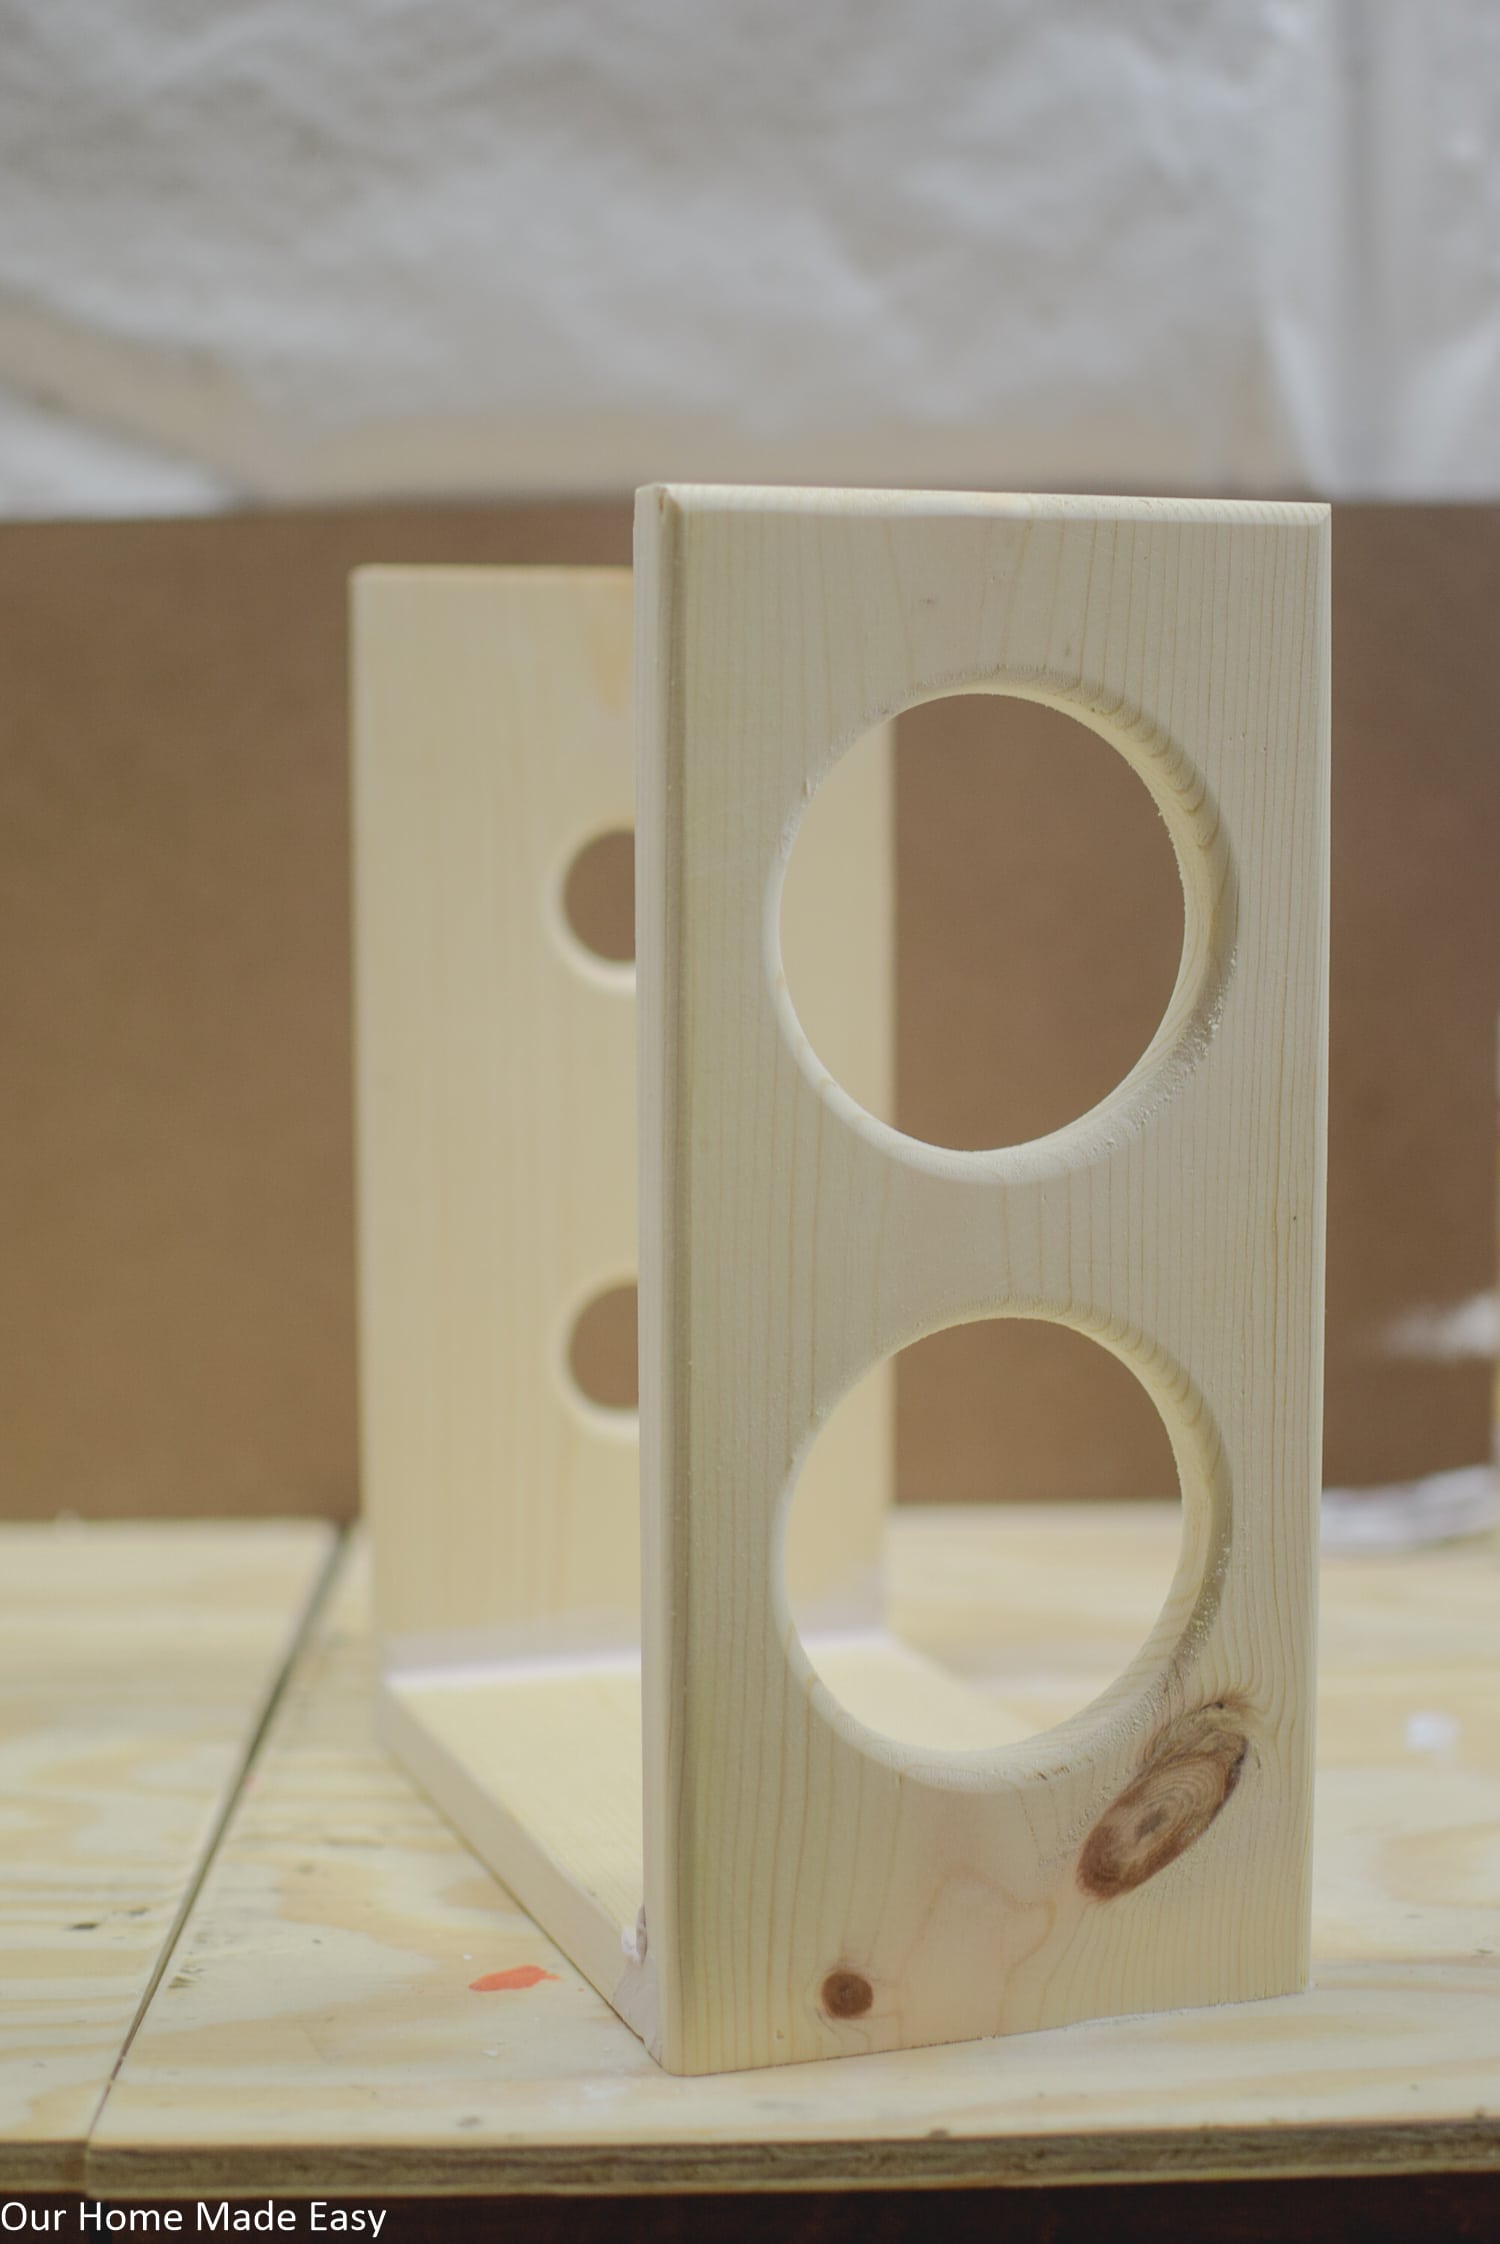
Assemble Your DIY Wine Rack!
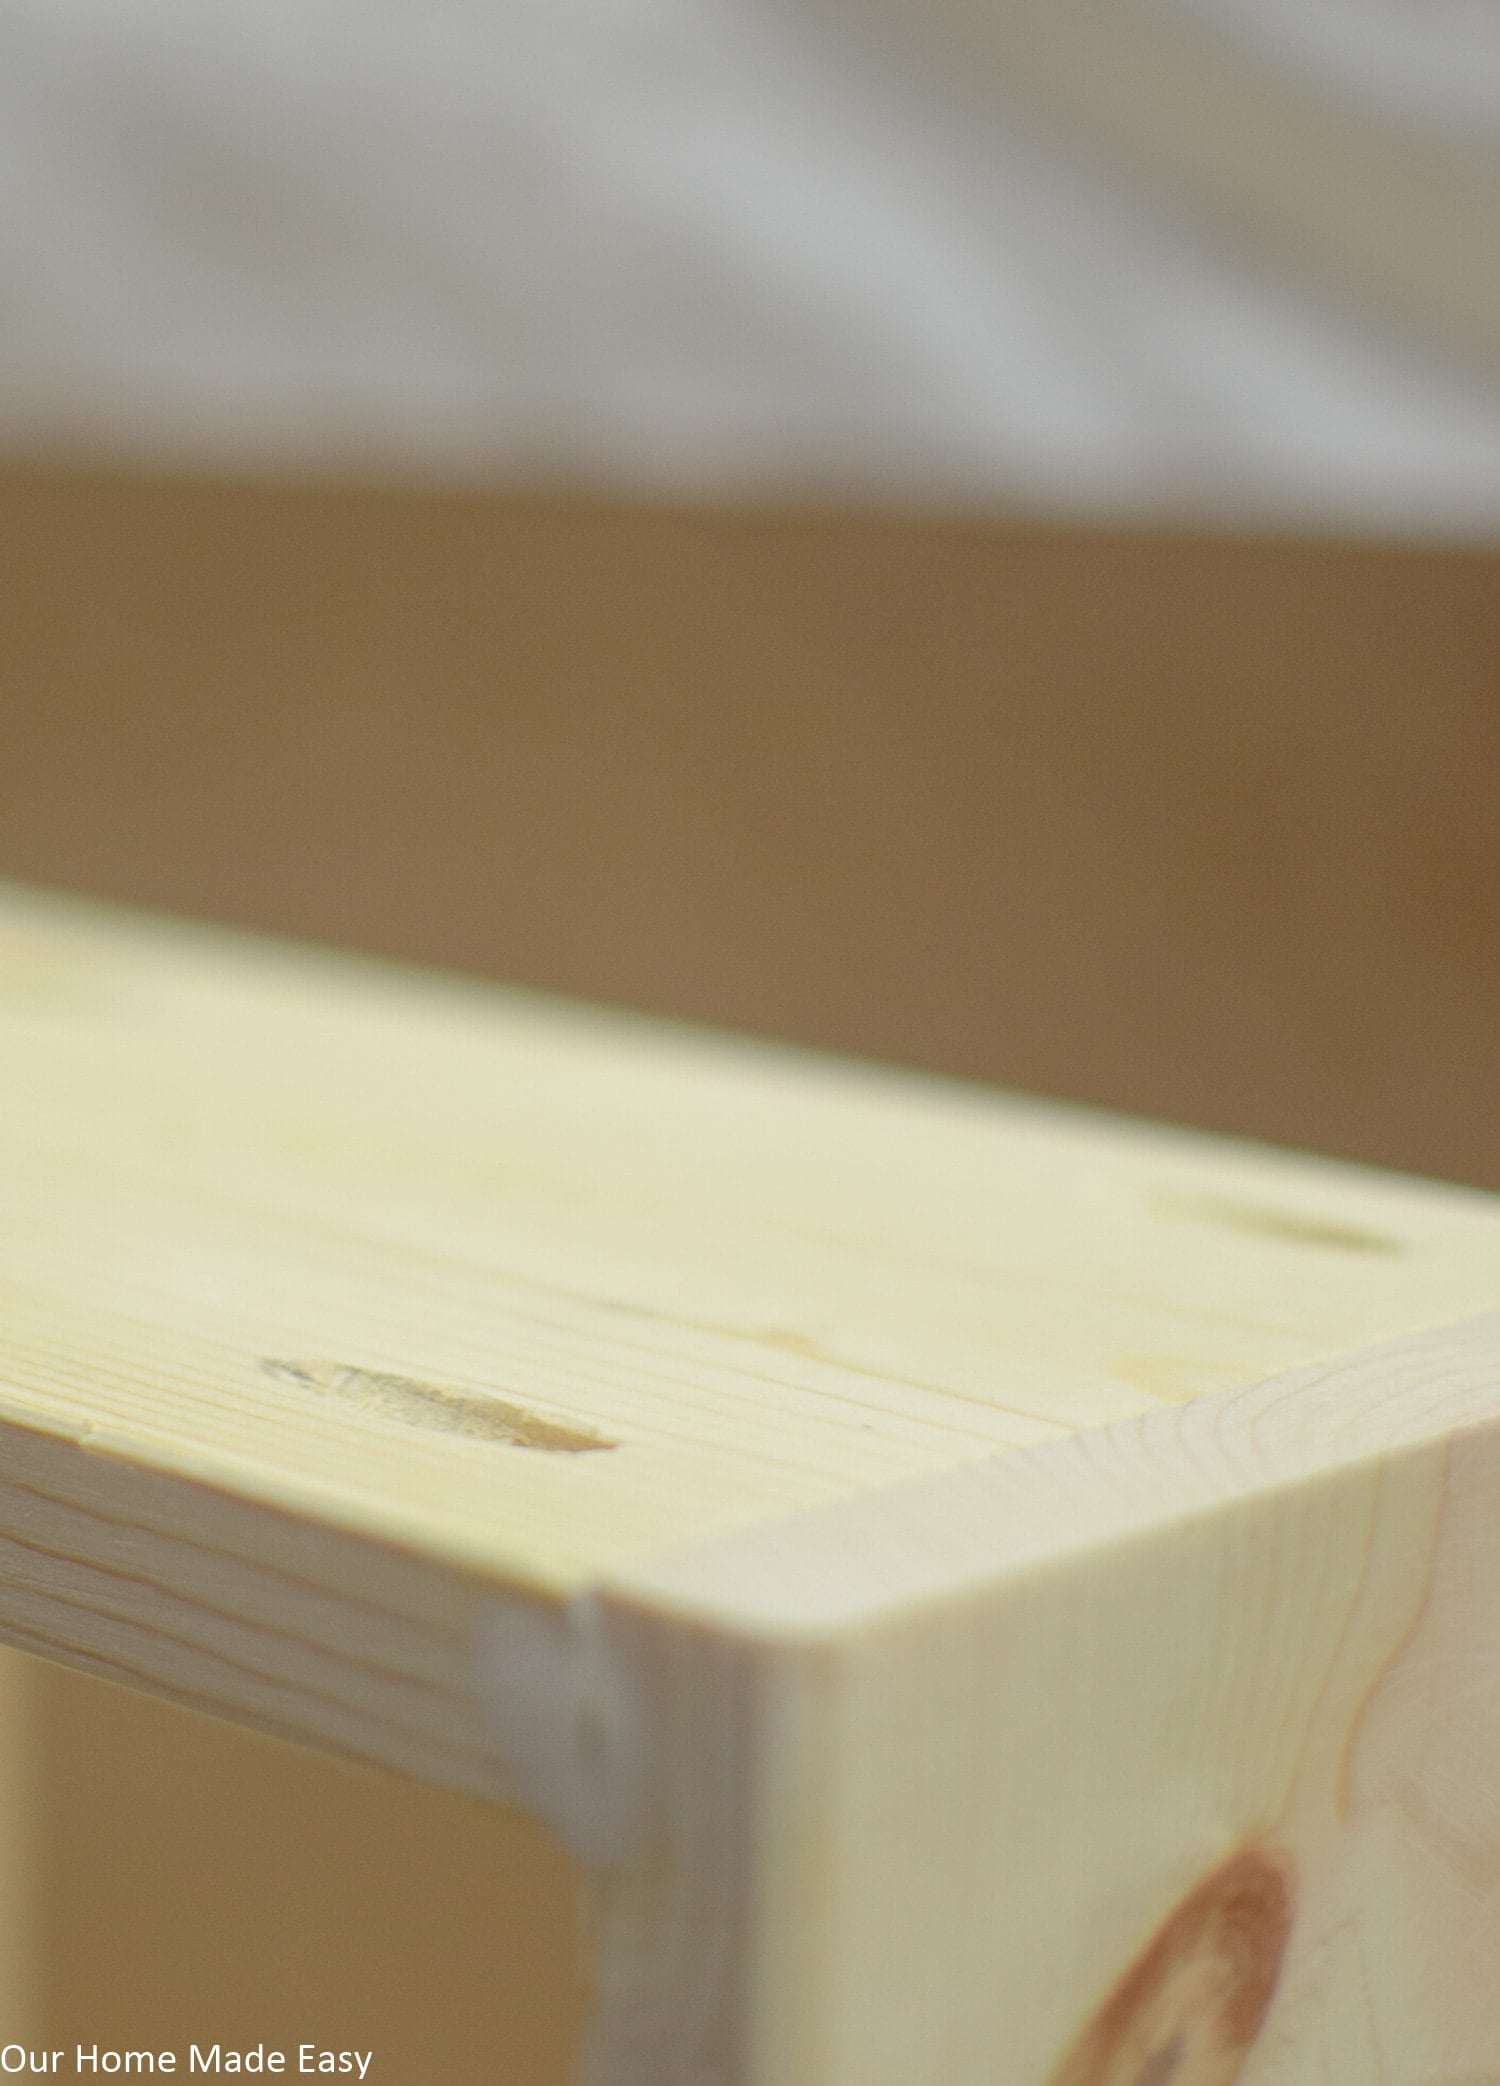
Using your Kreg Jig, create 4 pocket holes on the bottom of your 9-inch piece. This will connect each 12-inch wood board to create a ‘U’ shape. Once you have it assembled, sand it down to a smooth finish.
In case you are wondering why our holes look abnormally curved for sanding— For his birthday in July, I bought Jordan a new router. He was excited to use it for this project. He slightly routed the openings for a smooth curved finish.
You don’t need to do this!
Related: Farmhouse Coffee Mug Holder
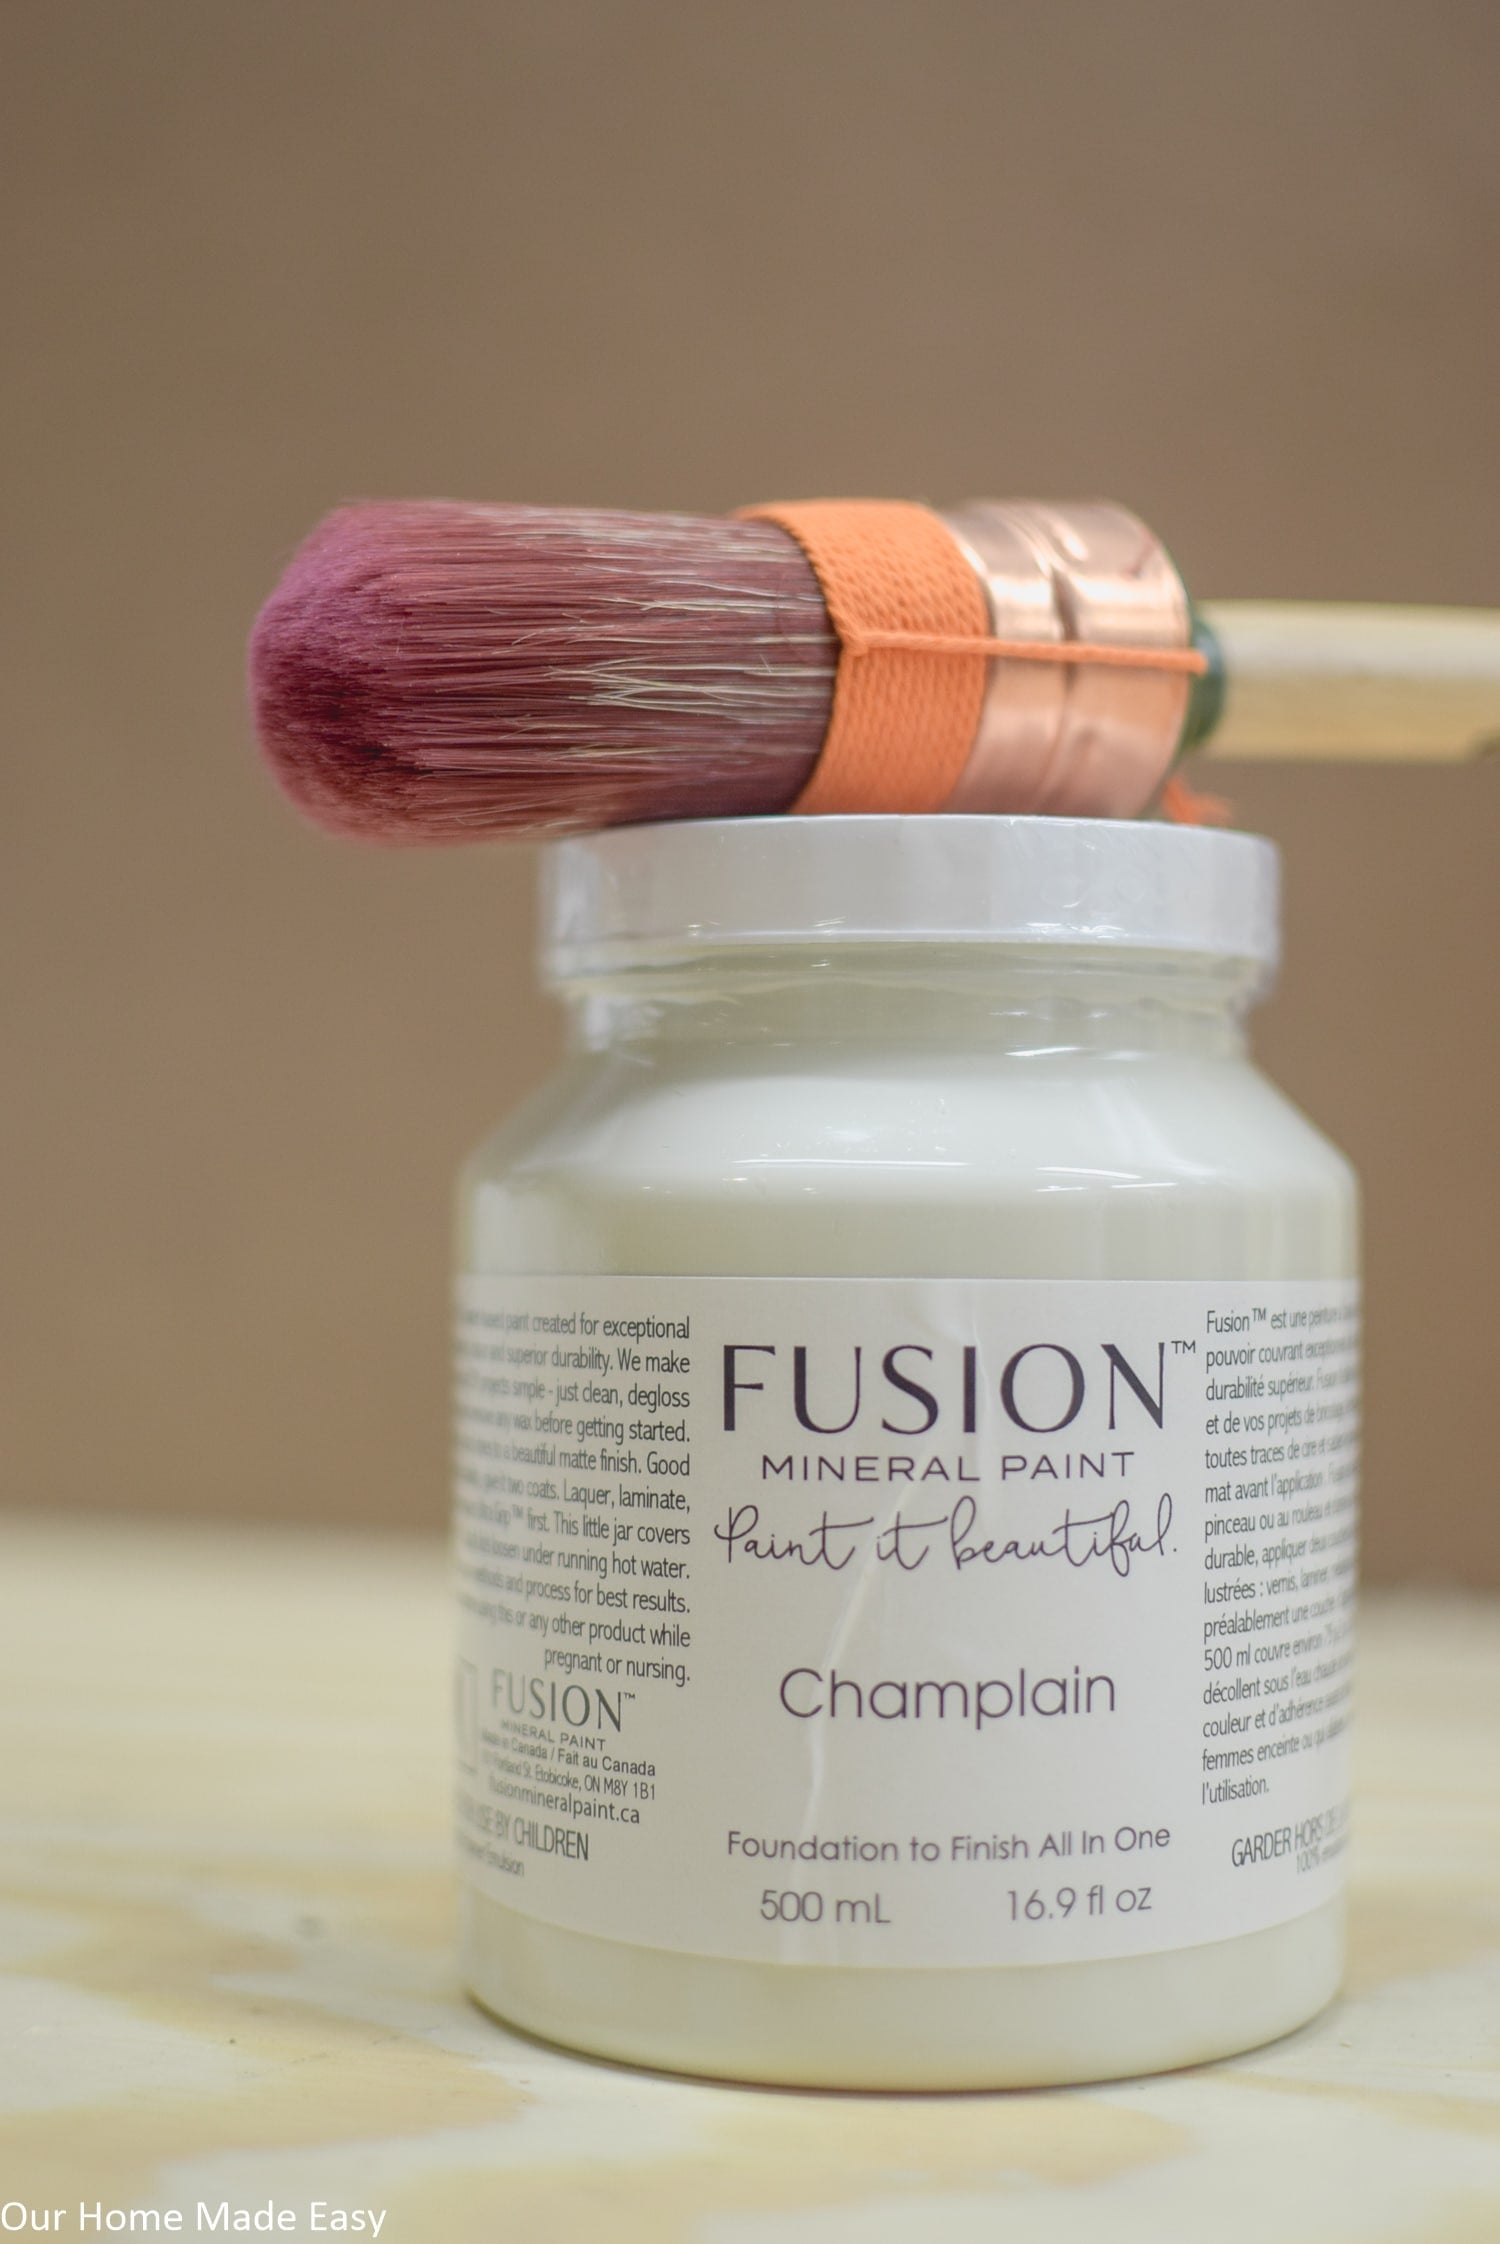
Paint /Stain
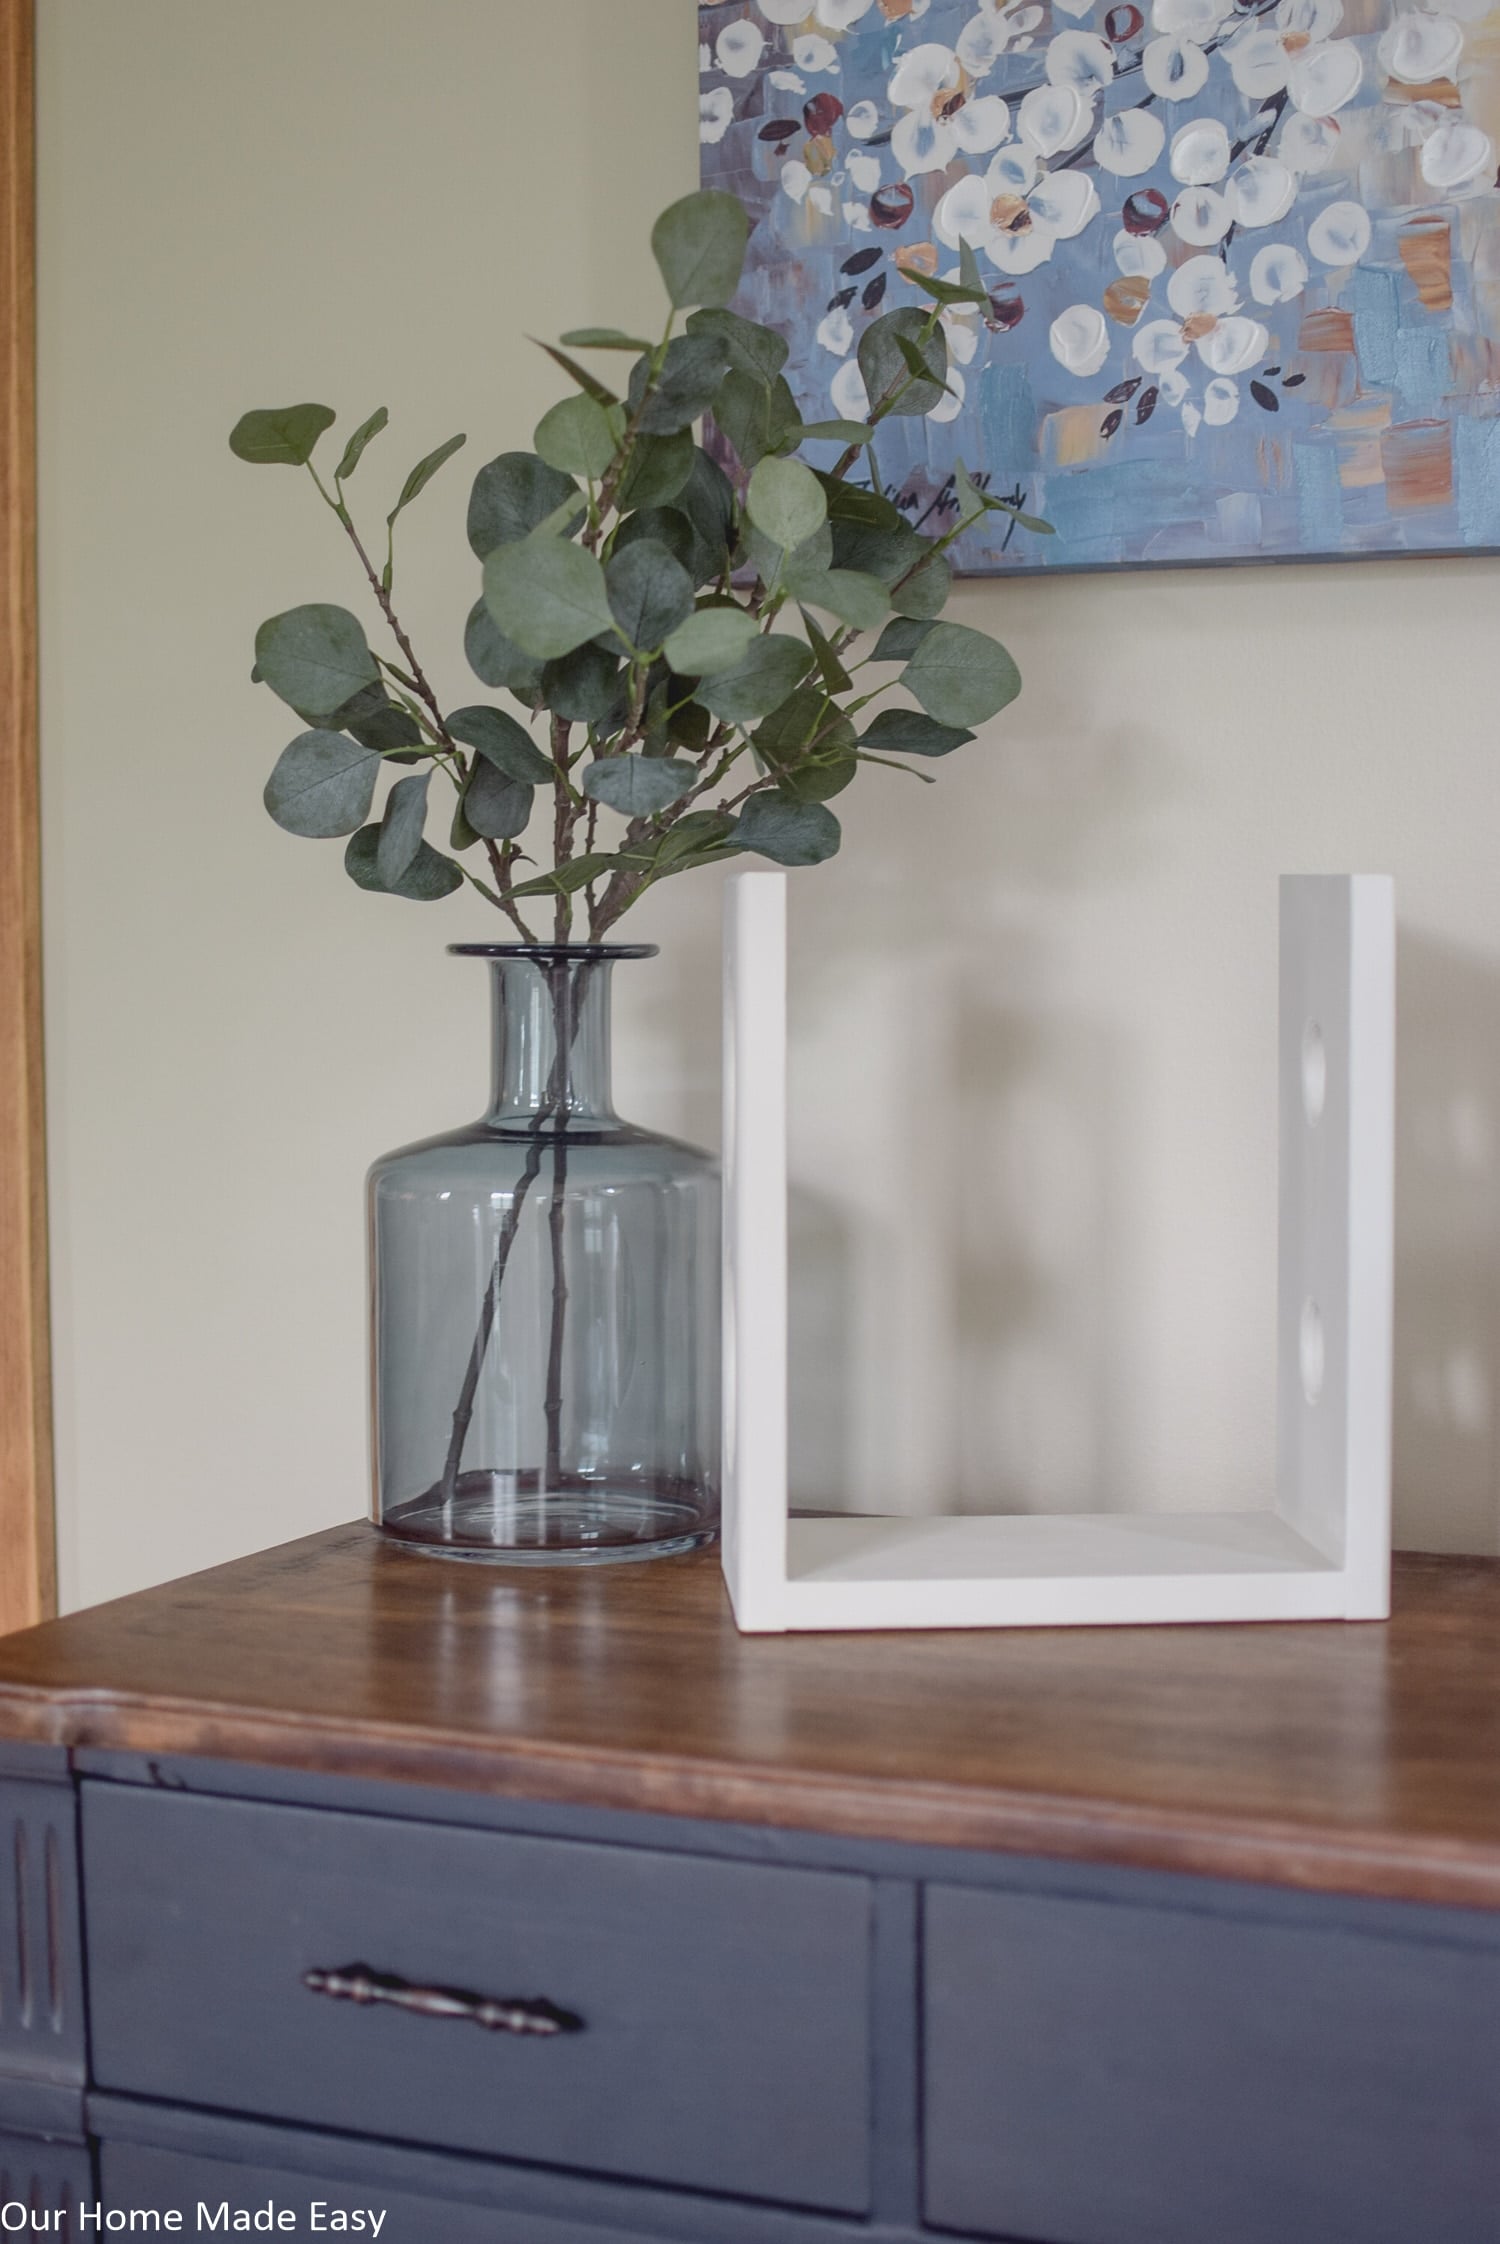
Lastly, it’s time to paint or stain your project! We usually stain our wood projects, but in this case, we chose to use a soft white color since we knew it would sit on top a wood surface. Apply one coat of paint or stain and let it dry. If needed, add another coat. Since we used Fusion Mineral Paint, we didn’t need to seal the paint. But, if I wanted to add more dimension, I could’ve added some wax, like I did for our Two-Tone Buffet Makeover.
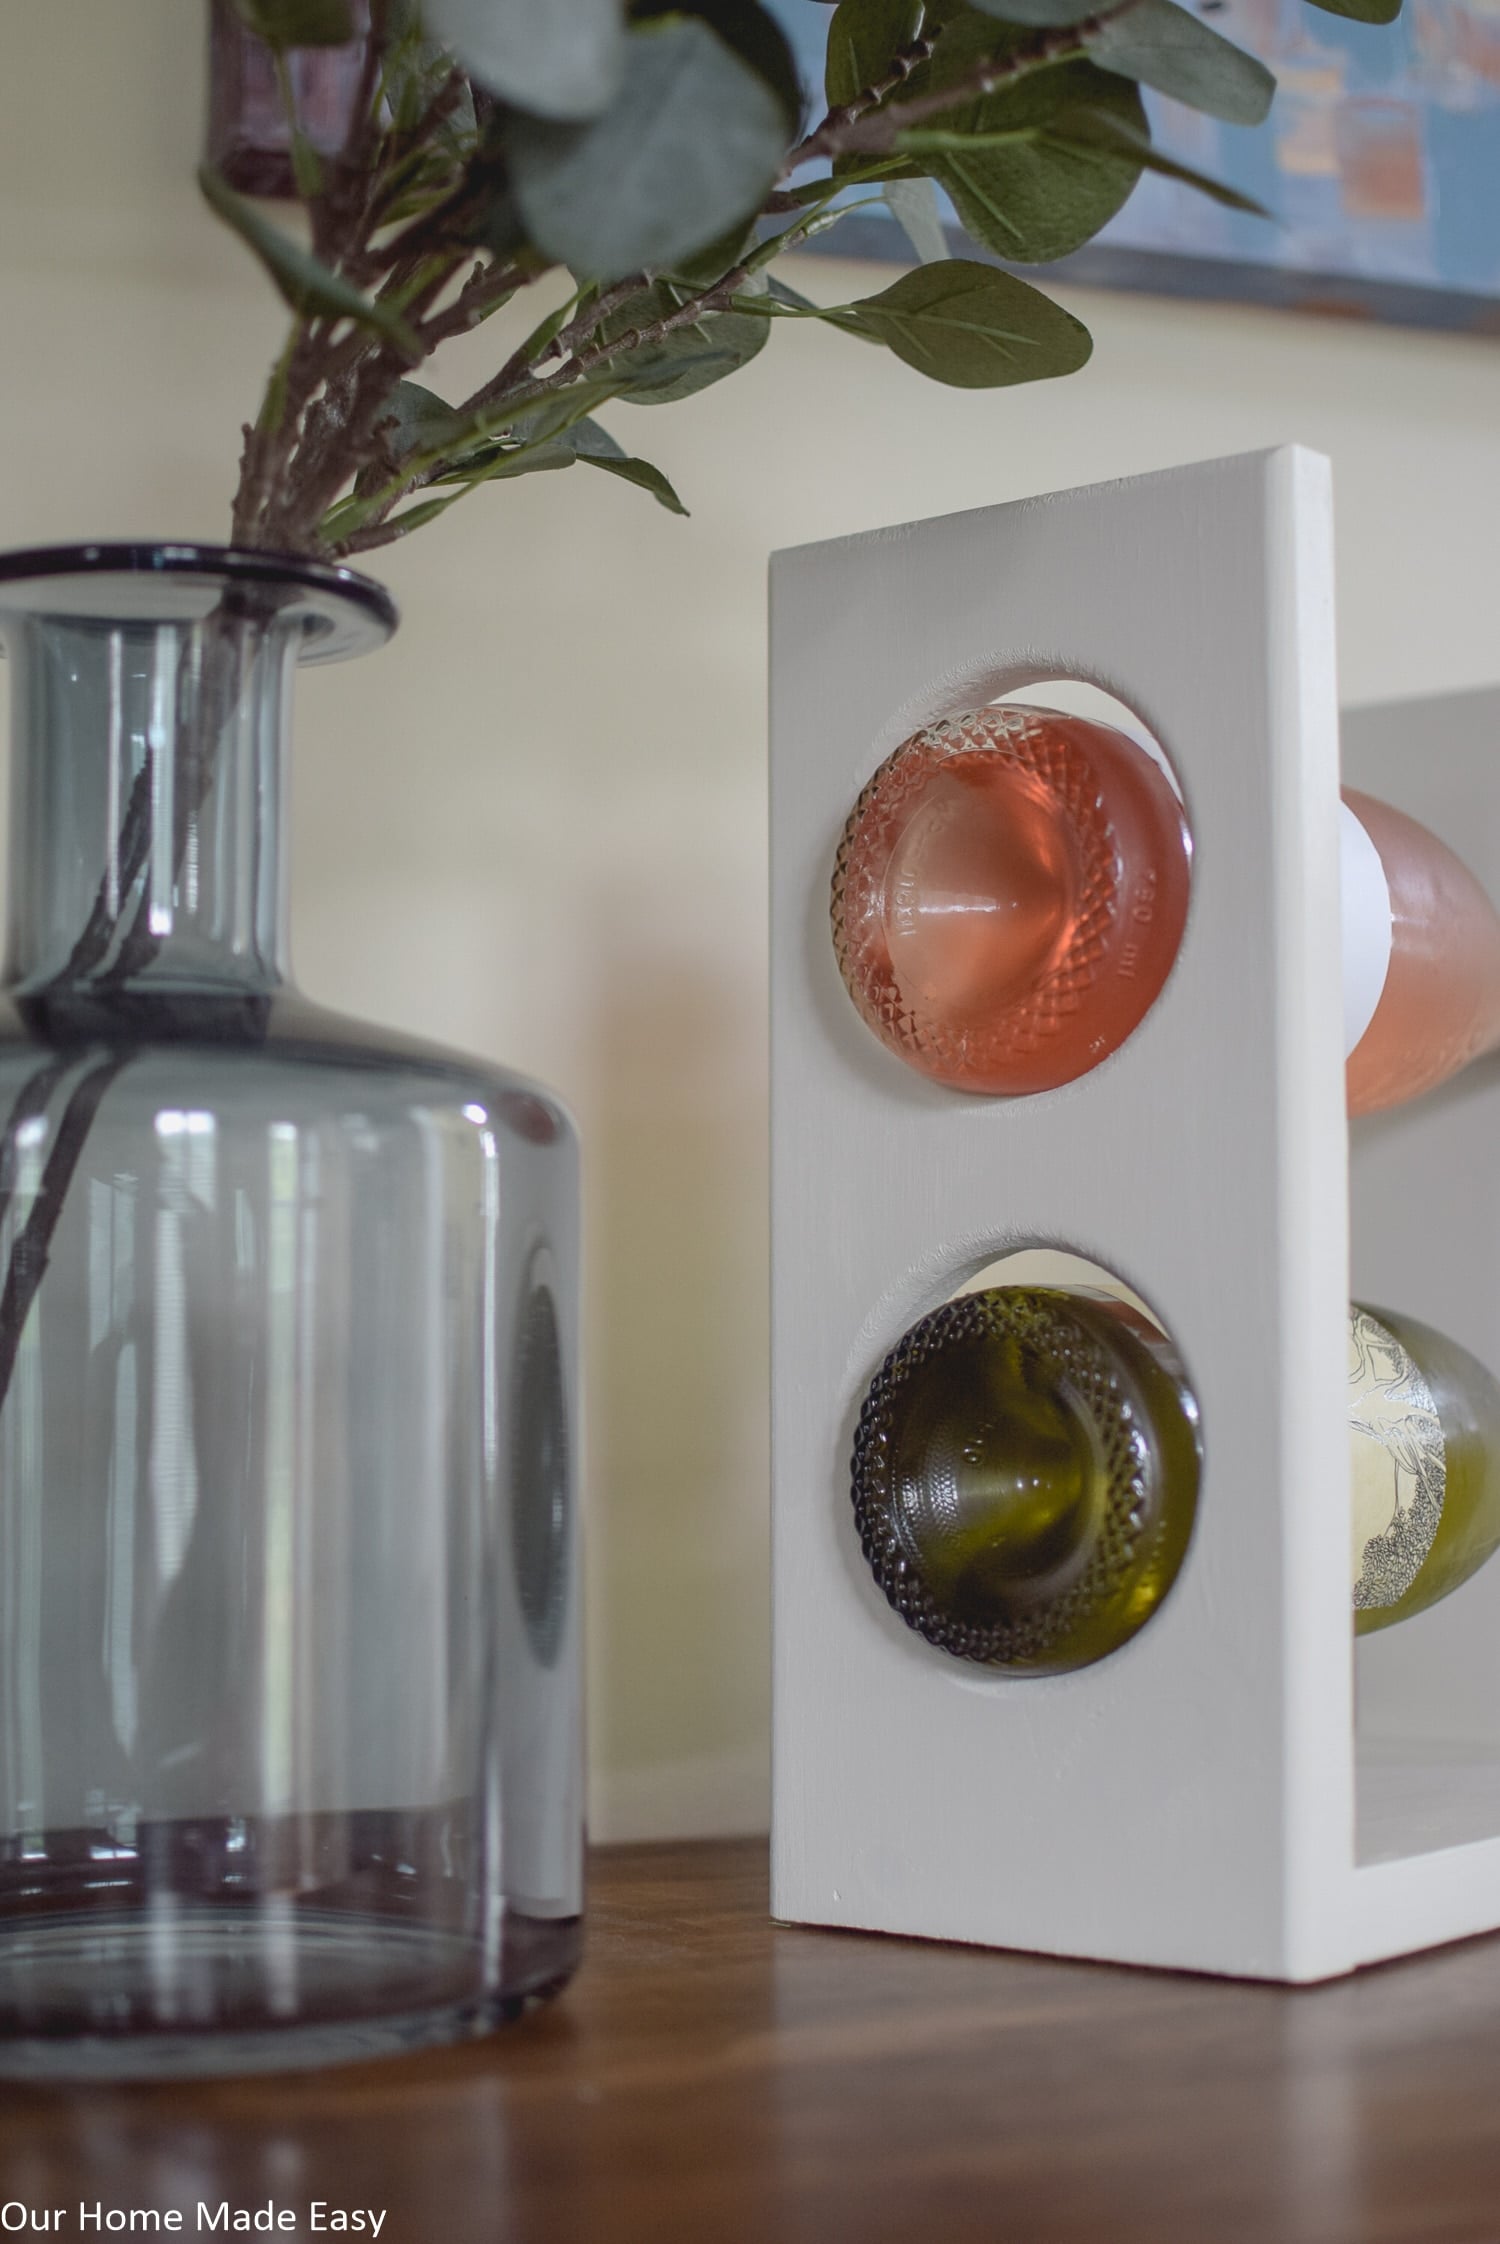
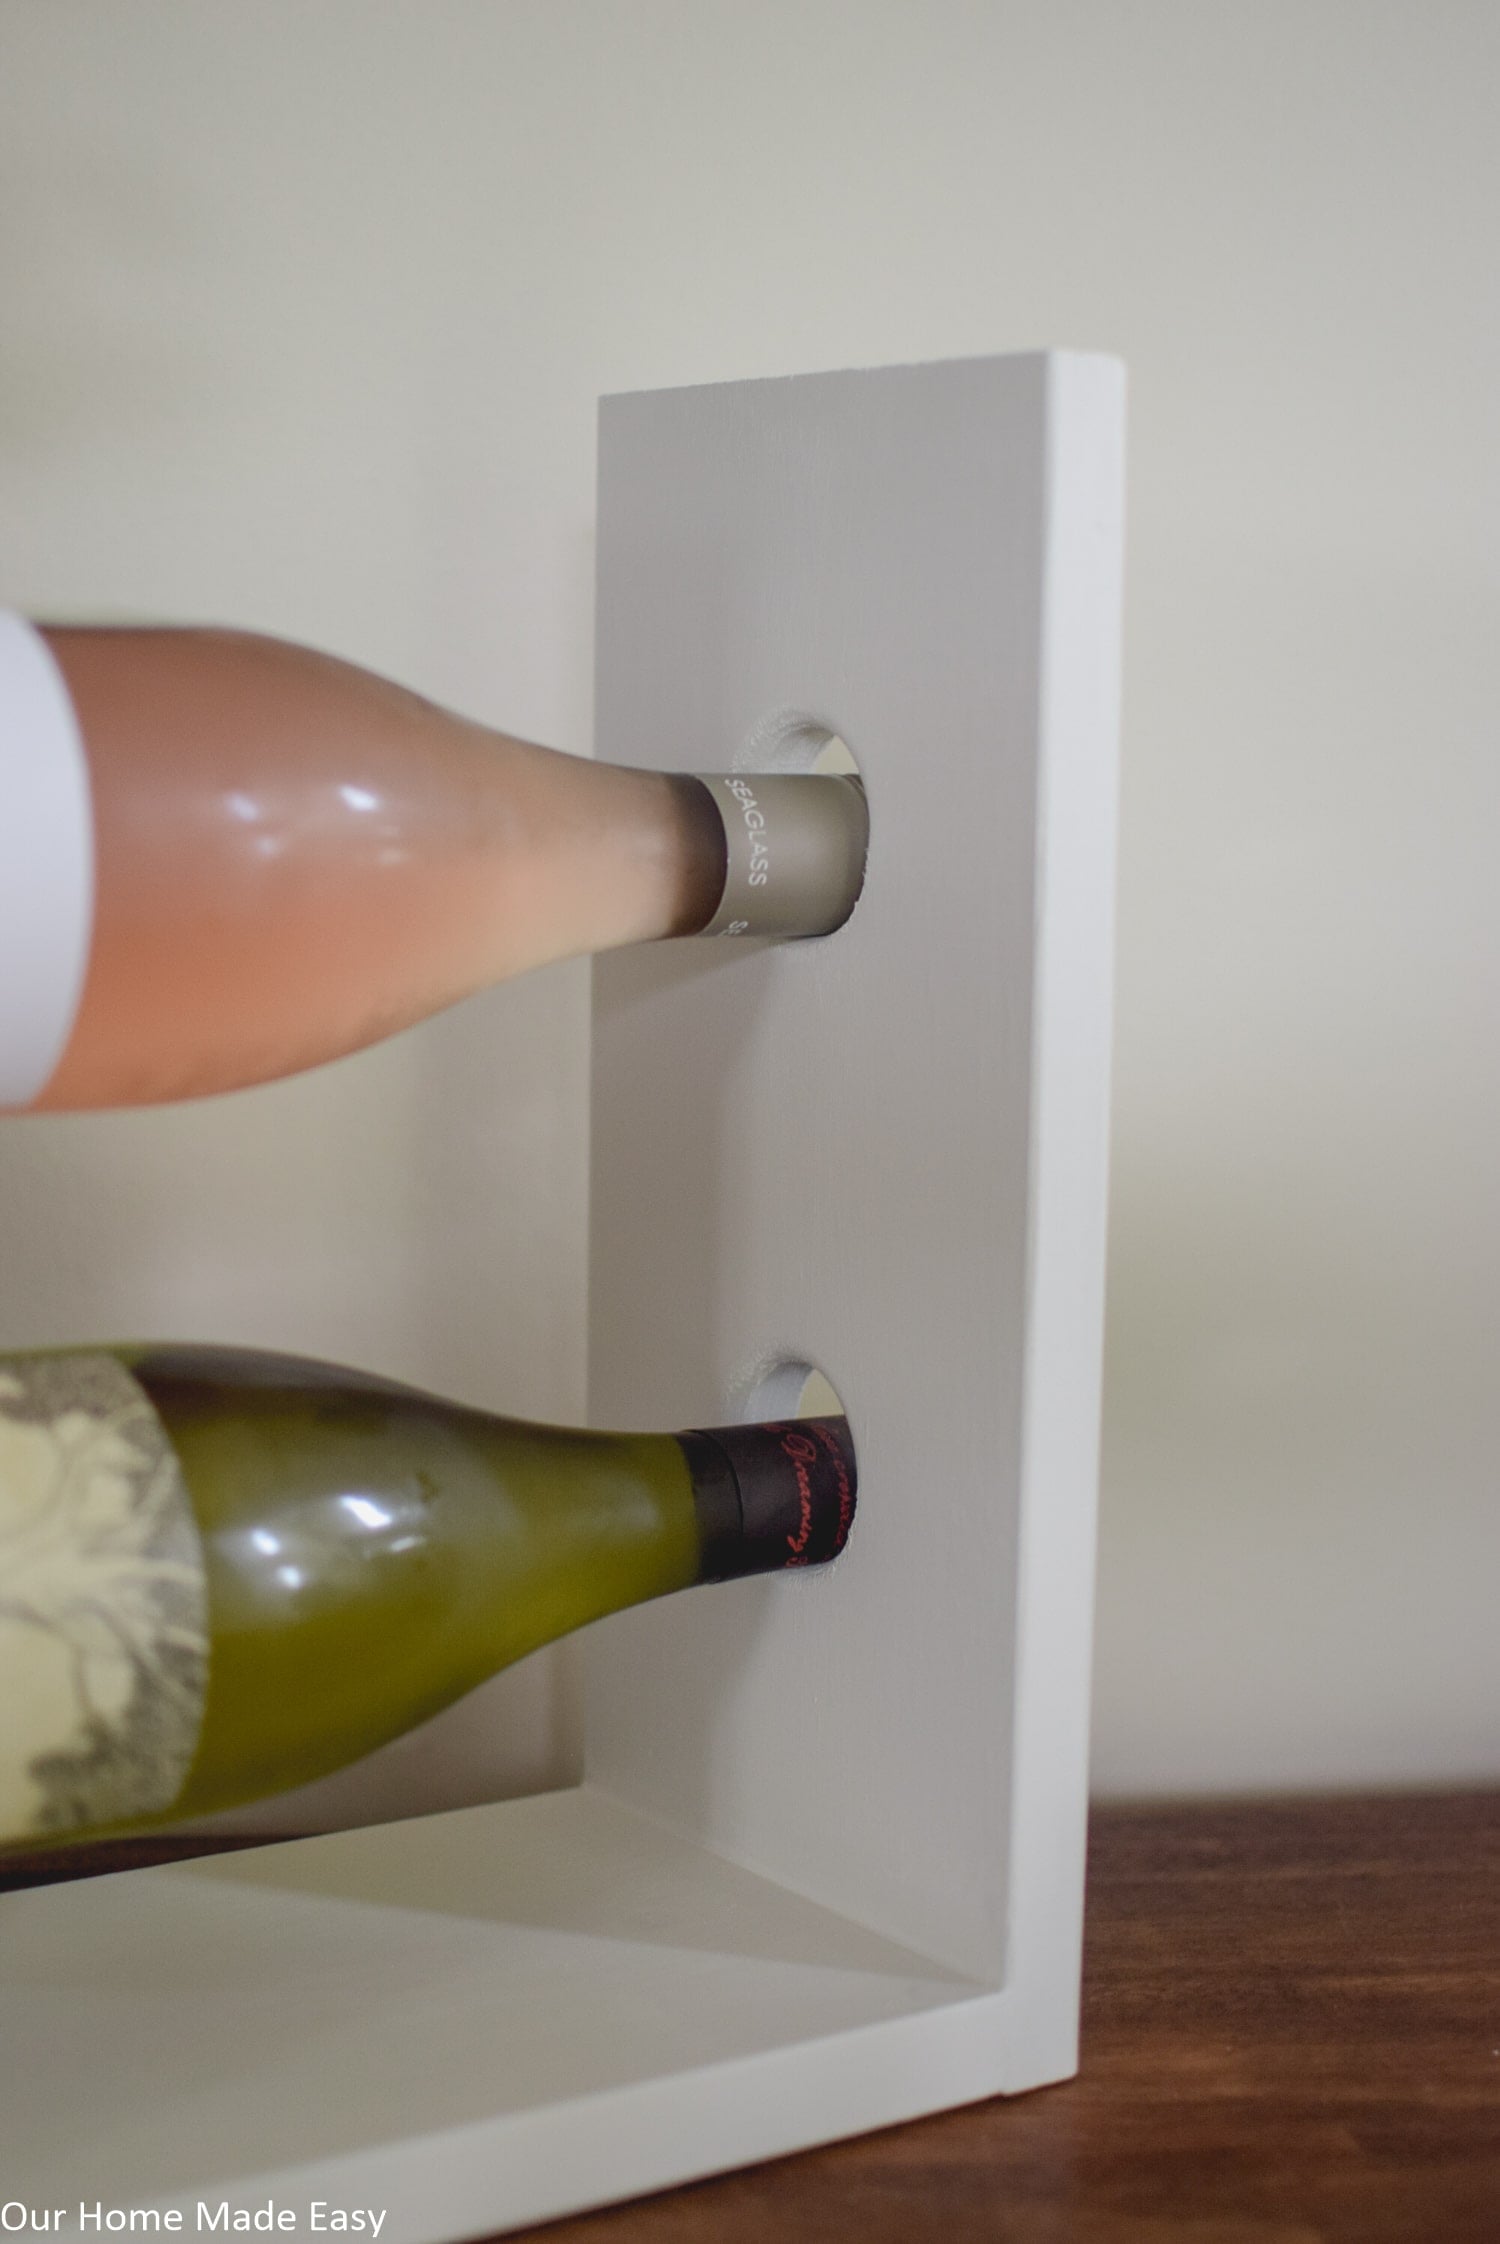
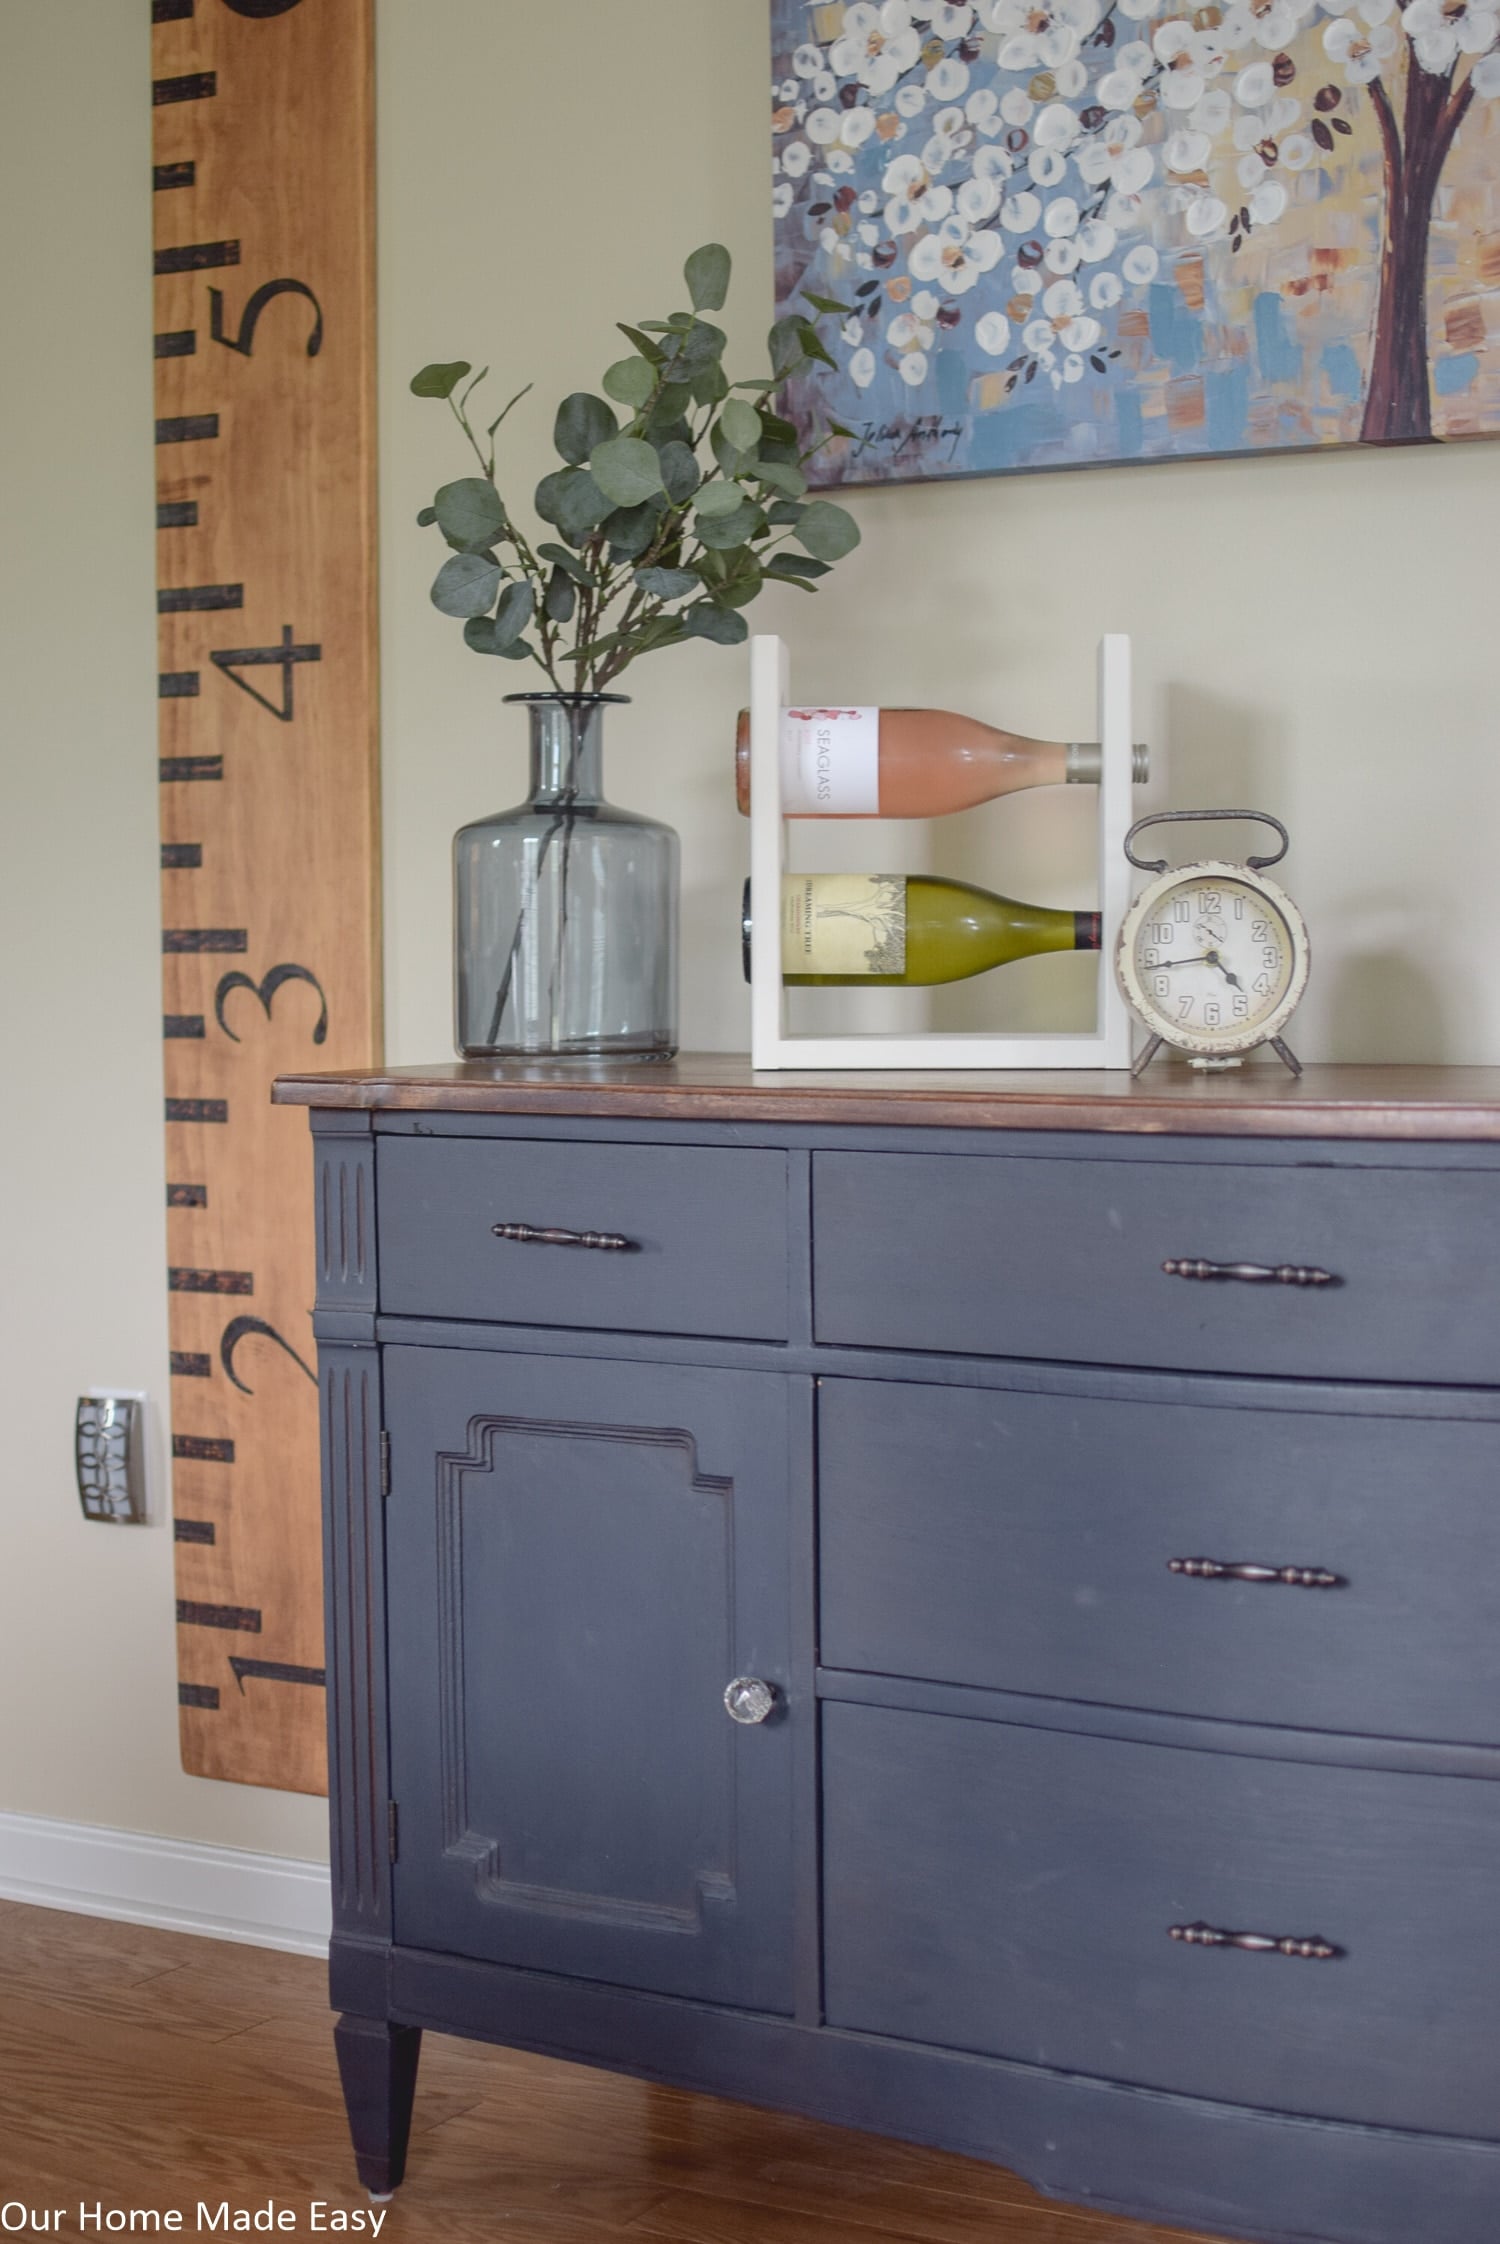
And that is it! It’s a super cute and easy gift for anyone! If you’re feeling especially generous, you could gift it with 2 pretty bottles of inexpensive wine OR you can keep it all for yourself!
Love a great DIY project? Be sure to grab your list of my favorite weekend warrior projects below!
Easy DIY Wine Rack for a Tabletop
This easy DIY wine rack perfectly holds 2 bottles of wine and fits on a tabletop! This is a simple project that's perfect for the beginner woodworker.
Materials
- 1" x 6" Common Board
- Kreg Screws
- Sand Paper Block
- Paint or Stain
Tools
- 3.5 inch Hole Saw
- 1.5 inch Hole Saw
- Miter Saw
- Kreg Jig
Instructions
- Using your one 1"x6" board, you'll make 3 cuts. You will want two pieces that are 12 inches long. The third cut will be 9 inches in length.
- Now you'll want to use your hole saw and make your cuts for the wine rack. For this rack, the hole cuts are centered / in the same place on both boards. It's just easier that way. We chose 3.5 inches to accommodate just about any size of wine bottle.
- On each board, measure 3.25 inches down. This will be the center of your first hole and the top of your wine rack. On each board, continue measuring down to 8 inches. This will be the center of the second of the hole.
- Place a piece of scrap wood underneath your 12-inch pieces before you cut them. This will prevent tear out.
- Cut out each hole.
- Using your Kreg Jig, create 4 pocket holes on the bottom of your 9-inch piece. This will connect each 12-inch wood board to create a 'U' shape. Once you have it assembled, sand it down to a smooth finish.
- Lastly, it's time to paint or stain your project! We usually stain our wood projects, but in this case, we chose to use a soft white color since we knew it would sit on top a wood surface. Apply one coat of paint or stain and let it dry. If needed, add another coat. Since we used FusionMineral Paint, we didn't need to seal the paint.
PIN FOR LATER:

Hi, I’m Brittany, and I believe life at home should feel easier, not heavier.
I’m the creator of Our Home Made Easy, a space for busy women who want dinner on the table, their homes running smoothly, and a little breathing room at the end of the day.
You won’t find perfection here, just realistic recipes, smart shortcuts, and simple routines that work in real life. The kind that help you feed your family well, stay organized enough, and still have time to actually enjoy it.
If you’re juggling work, kids, schedules, and everything in between, you’re in the right place. I’m so glad you’re here.


Love this idea as I have been looking for a table top wine rack for only two bottles of wine and have not been able to find one I like. I drink the larger bottles of wine though and would need 4 1/2″ holes. I am hoping your plans work and wine rack is stable if holes are larger. Your thoughts on that idea?
I would trace out the holes on the wood ahead of time to see how it would look! If you need a bigger board, I would adjust the plans slightly, but the general process should be the same. Good luck!