The Quick & Practically Free Pallet Wine Rack [Super Easy!]
I have another small confession to make…. I secretly hoard pallets. Our basement has several pretty pallets stashed away for a project. Are you like that, ever? I’ve seen so many pallet wood projects on Pinterest and I’ve always wanted to make something. However wanting and actually having the courage to do something are two very different things! Finally, I found a solution for one the pallets… a DIY Pallet Wine Rack! I’ll step you through how to make one.. in less than 15 minutes. Yes, really!
This post contains affiliate links. If you shop from my blog, I may be compensated for clicks or purchases that you make. Read my disclaimer page for more information.
Supplies Needed for DIY Pallet Wine Rack
-
- 1 pallet of your choice
- Scrap 2″ x 4″ lumber
- Jigsaw
- Nail Gun
- Orbital Sander (Optional to lightly soften edges)
- Stain of Choice (We used this and this one)
- Polyurethane (Optional. We used this one)
- White Cloth for Staining
- Foam Brushes for Stain
- Flush Wood Screws ( We used these ones and this bit)
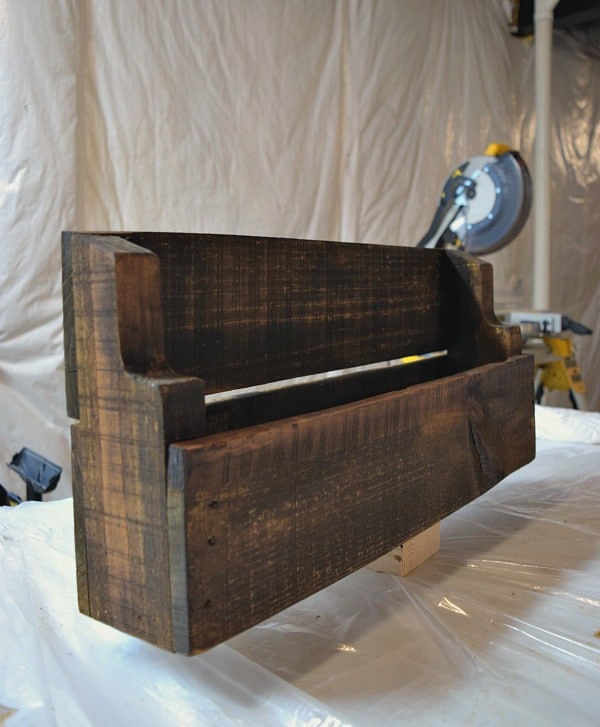
The Pallet Before:
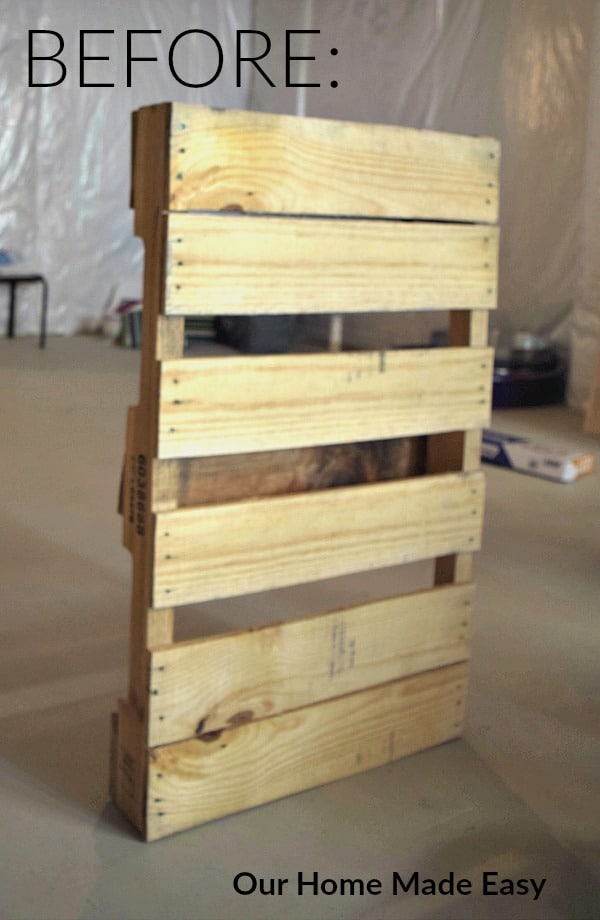
As you can see, it is more narrow than the usual pallets. I chose this pallet for our first pallet project because I wanted to place it in a certain spot of our kitchen and some of the wider pallets wouldn’t have fit as well as this one.
- Related: DIY Wood Tray for less than $10!
Building the Wine Rack
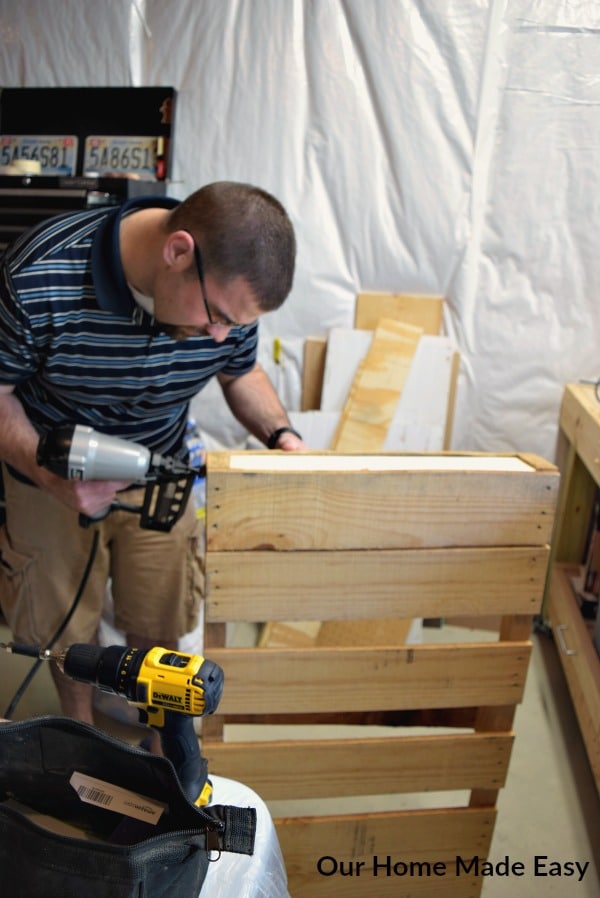
Measure the open space at the end of the pallet. Cut a piece of 2″x4″ to fit in the bottom. We cut two pieces so that we could use each end of the pallet. 2 wine racks on the way for this mama. 🙂
Fit the cut wood into the pallet. Nail into place. Jordan was nice enough to do this for me. *Although I really like using the nail gun.* In less than 3 minutes you have 2 wine racks ready to be cut apart!
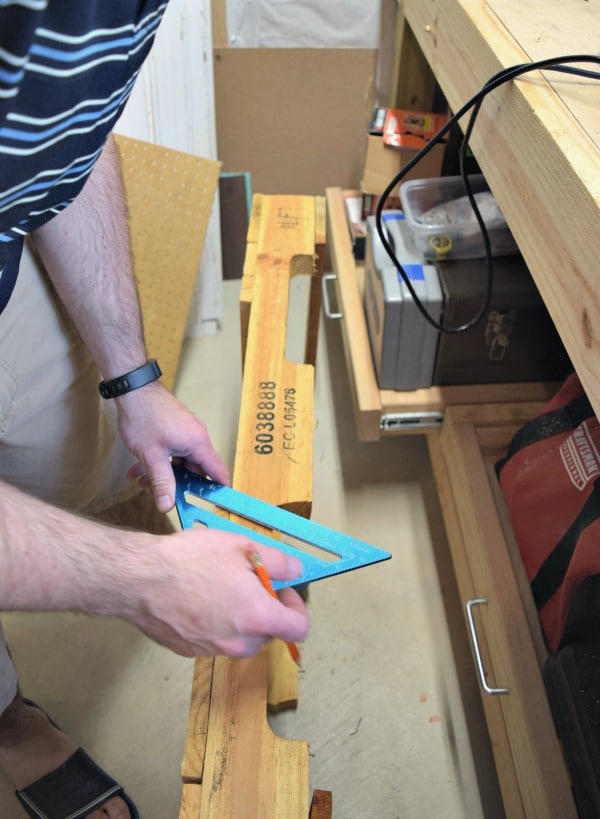
Next, you’ll want to decide how tall the wine racks will be. Look at the ‘before ‘above. if I cut the pallet in half, the wine racks would be taller than the bottles. Could that be pretty cool? Definitely. But I wanted these to be close together in placement, so I chose to cut the pallet under the third board.
Measure and cut the pallet. You’ll see that we cut on an angle purely for aesthetics. If you prefer a more rustic look, cut straight across.
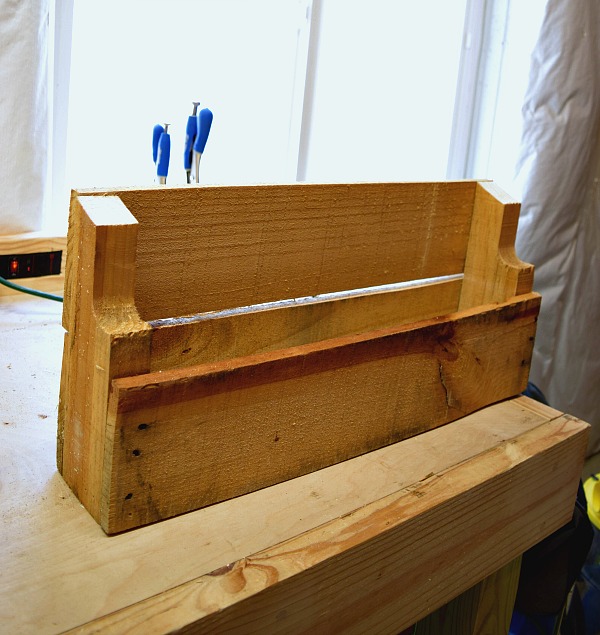
And voilà! You have a wine rack in less than 5 minutes. To soften the pallet wood, lightly sand the wine rack. This eliminates any burrs and rough corners.
- Related: DIY Wooden Ruler Growth Chart
Finish the Pallet Wine Rack
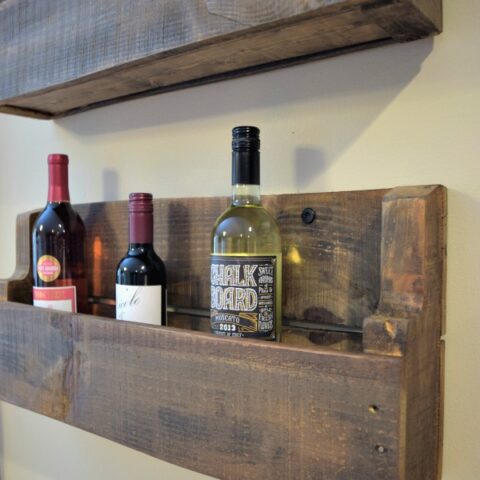
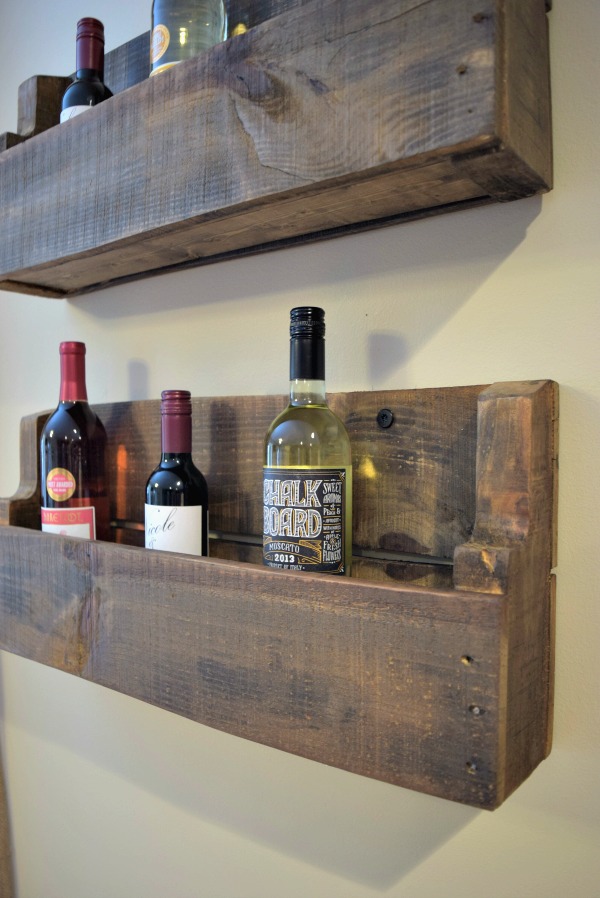
Lightly rub in your favorite stain. We have acquired a large stain selection in our basement, so I chose something we already had on-hand. For this project, I chose to do a light-colored first coat and a darker second coat. Pallets are extremely porous and suck up the stain. You’ll need to be quick when you rub it into the pallet. There won’t be a need to rub it off after several minutes, like a traditional wood stain. Use a foam brush to quickly get in any nooks or crannies.
Finish your work with a poly coat. I prefer the satin finish for a less shiny look. If you are purchasing Polyurethane, be sure to check out the finish options. Semi Gloss is extremely shiny and Satin is not. The extra Poly step may be optional, but I thought it gave it a nicer finished appearance.
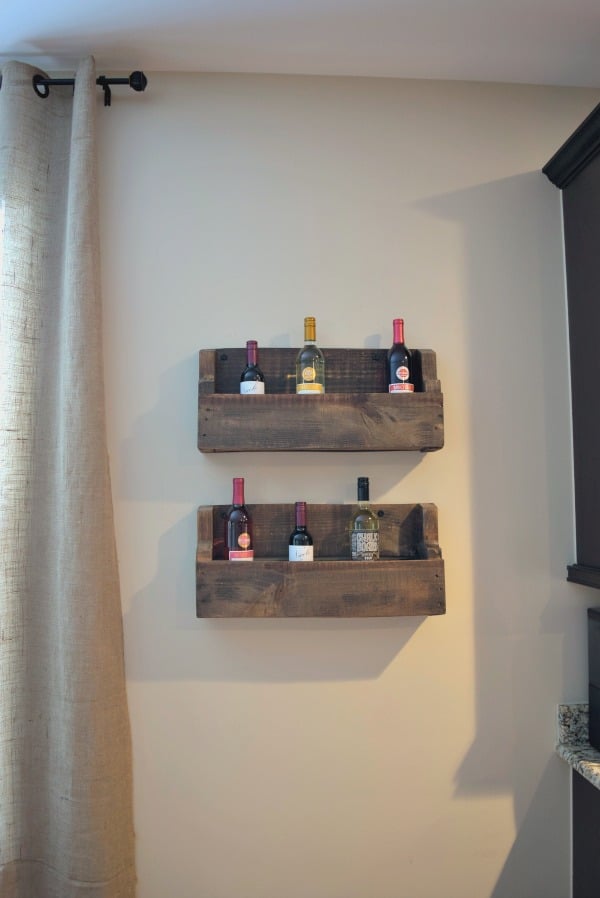
Hang the Pallet Wine Rack
And now it’s time to show off your hard work! (And no one will know you made it so easily!) We used two spider screws to install the wine racks. Jordan chose the spider screws because they would be flush (no worry about knocking a bottle) and were the perfect length he needed. When installing, find your wall studs and drill in the screws. If you cannot find the wall studs for both ends, drill in the screws into the studs and hang the other end with an appropriate wall anchor.
How to Make a Quick Pallet Wine Rack
Make this quick and easy (and practically FREE) pallet wine rack in less than 30 minutes!
Materials
- 1 pallet of your choice
- Scrap 2" x 4" lumber
- Jigsaw
- Nail Gun
- Orbital Sander (Optional to lightly soften edges)
- Stain of Choice
- Polyurethane
- White Cloth for Staining
- Foam Brushes for Stain
- Flush Wood Screws
Instructions
Building the Wine Rack
Measure the open space at the end of the pallet. Cut a piece of 2"x4" to fit in the bottom. We cut two pieces so that we could use each end of the pallet. 2 wine racks on the way for this mama. 🙂
Fit the cut wood into the pallet. Nail into place. Jordan was nice enough to do this for me. *Although I really like using the nail gun.* In less than 3 minutes you have 2 wine racks ready to be cut apart!
Next, you'll want to decide how tall the wine racks will be. Look at the 'before 'above. if I cut the pallet in half, the wine racks would be taller than the bottles. Could that be pretty cool? Definitely. But I wanted these to be close together in placement, so I chose to cut the pallet under the third board.
Measure and cut the pallet. You'll see that we cut on an angle purely for aesthetics. If you prefer a more rustic look, cut straight across.
And voilà! You have a wine rack in less than 5 minutes. To soften the pallet wood, lightly sand the wine rack. This eliminates any burrs and rough corners.
Finish the Pallet Wine Rack
Lightly rub in your favorite stain. We have acquired a large stain selection in our basement, so I chose something we already had on-hand. For this project, I chose to do a light-colored first coat and a darker second coat. Pallets are extremely porous and suck up the stain. You'll need to be quick when you rub it into the pallet. There won't be a need to rub it off after several minutes, like a traditional wood stain. Use a foam brush to quickly get in any nooks or crannies.
Finish your work with a poly coat. I prefer the satin finish for a less shiny look. If you are purchasing Polyurethane, be sure to check out the finish options. Semi Gloss is extremely shiny and Satin is not. The extra Poly step may be optional, but I thought it gave it a nicer finished appearance.
Hang the Pallet Wine Rack
And now it's time to show off your hard work! (And no one will know you made it so easily!) We used two spider screws to install the wine racks. Jordan chose the spider screws because they would be flush (no worry about knocking a bottle) and were the perfect length he needed. When installing, find your wall studs and drill in the screws. If you cannot find the wall studs for both ends, drill in the screws into the studs and hang the other end with an appropriate wall anchor.
What do you think? Aside from the short drying time, we have less than 15 minutes in these beauties! I recommend making them one night after the kids go to bed and then hang them the next evening!
Love a great DIY project? Be sure to grab your list of my favorite weekend warrior projects below!

Hi, I’m Brittany, and I believe life at home should feel easier, not heavier.
I’m the creator of Our Home Made Easy, a space for busy women who want dinner on the table, their homes running smoothly, and a little breathing room at the end of the day.
You won’t find perfection here, just realistic recipes, smart shortcuts, and simple routines that work in real life. The kind that help you feed your family well, stay organized enough, and still have time to actually enjoy it.
If you’re juggling work, kids, schedules, and everything in between, you’re in the right place. I’m so glad you’re here.


