How to Install a Pedestal Sink [ORC Week 3]
Hi there! I am so excited that you are joining me for week # 3 for the One Room Challenge! I cannot believe we are at the halfway point! Eeek! If you’re new here, I am Brittany. I am passionate about sharing time saving tricks around the house and easy projects any busy parent can finish over a weekend! We are working on updating our builder grade powder room using easy projects and a budget friendly plan. Let’s see what is new for week #3…. I’m going to show you how easy it is to install a pedestal sink!

If you’re not familiar with the One Room Challenge, it’s a biannual event hosted by Linda at Calling it Home. She hosts hundreds of guest bloggers each Thursday who link up the progress of their room makeovers. When we reach week #6, there is a final reveal of each room!

If you can’t remember, here is the before of our small 6′ x 6′ powder room.

(This post contains affiliate links. If you shop from my blog, I may be compensated for clicks or purchases that you make. Read my disclaimer page for more information.)
![]()
And here is the design plan!
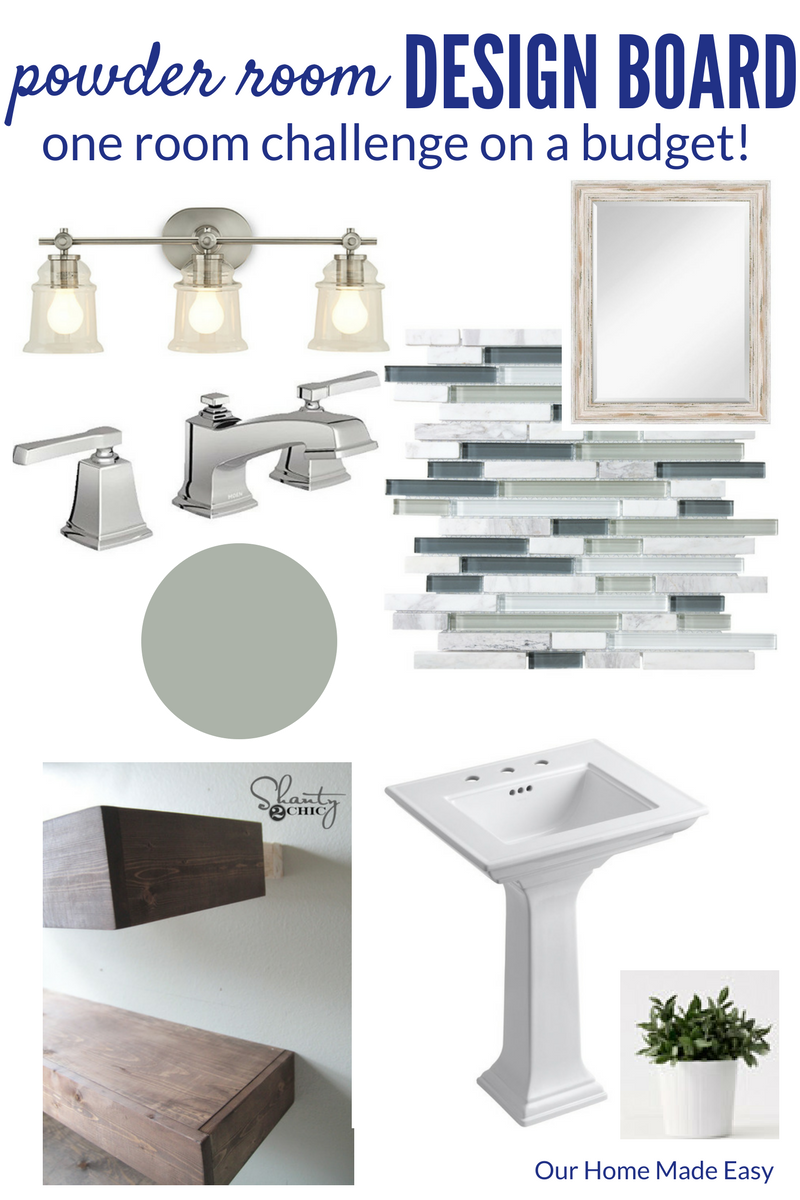
Board Inspiration Pedestal Sink | Vanity Lighting | Paint Color (Gracious Gray) | Faucet | Floating Shelving | Fresh Greenery | Mirror | Mosaic Tile
This week I can’t wait to share our progress with installing a new pedestal sink and installing a new faucet. Why the change in sink? In order to create a tile backsplash (hoping for next week!), we needed to line up tile against the back of the sink. Unfortunately, our original sink had a slope downward that didn’t allow for an even line of tile. If we had tile go across the back, only the middle half would’ve touched the tile and then there would’ve been a gap between wall & tile. [You can see the problem in the BEFORE picture above]
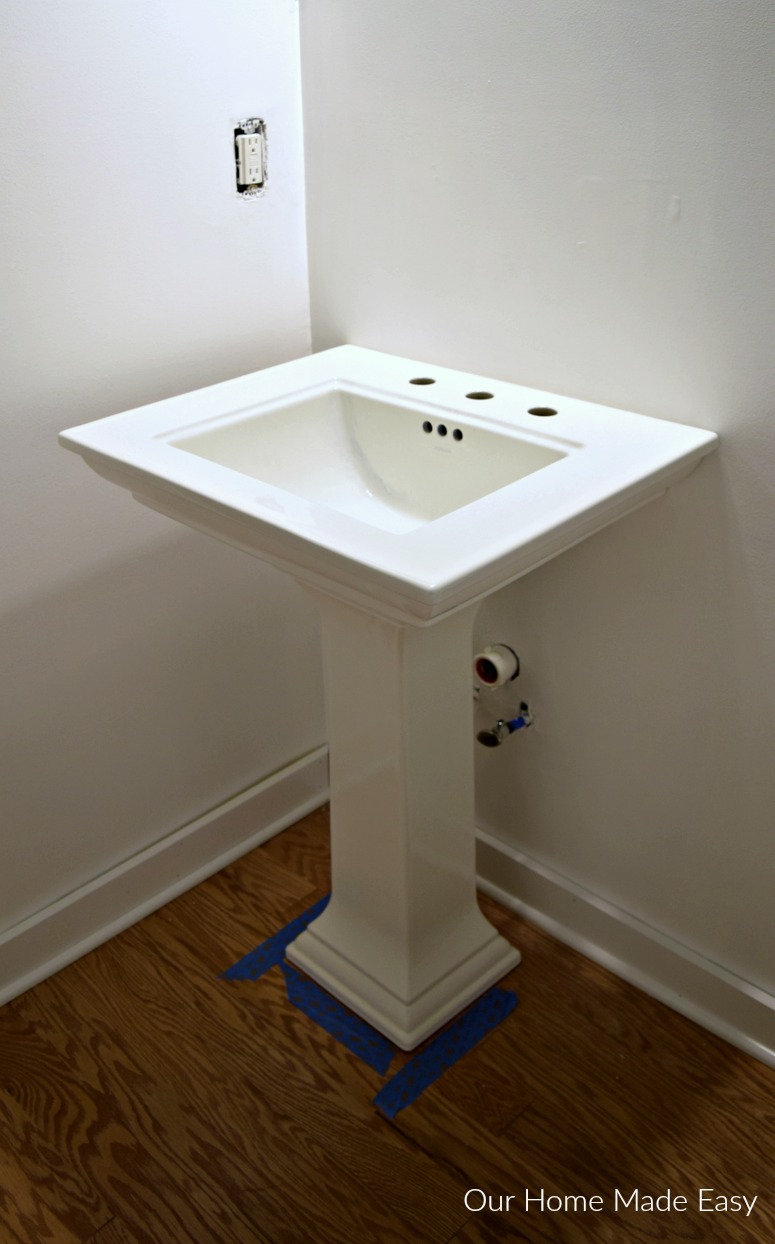
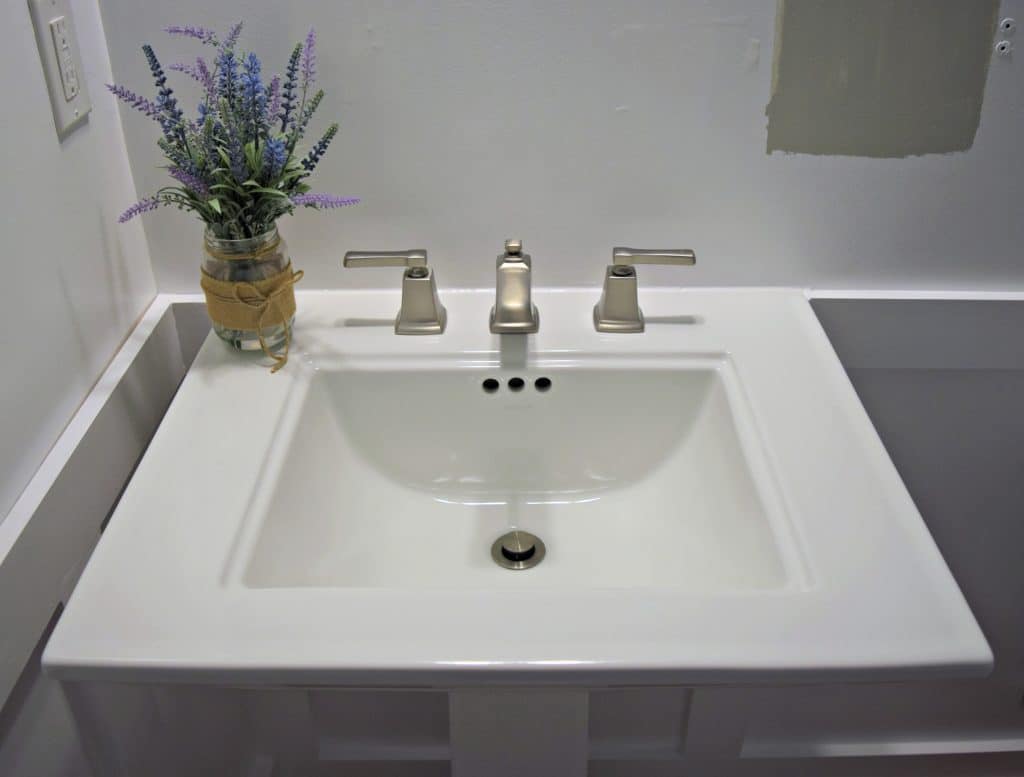
Here is the new sink!
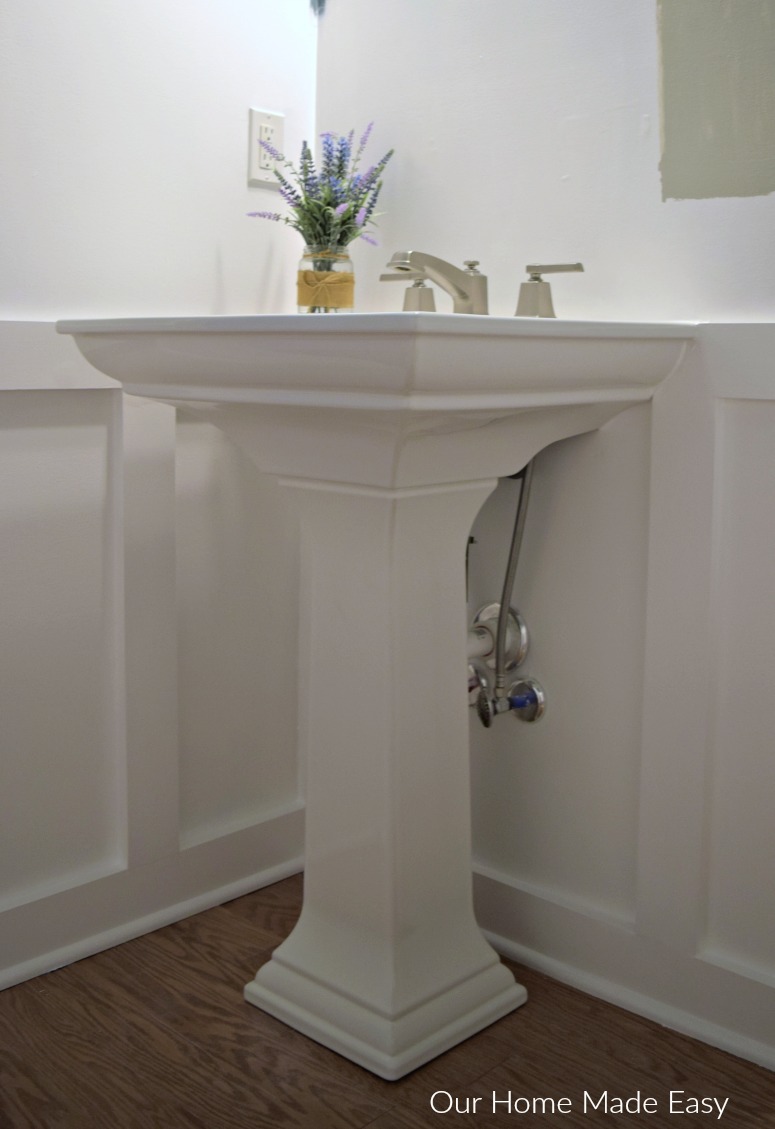
So Jordan thought we should change out the pedestal sink before we did the tile work. If you’ve ever thought about changing out an old vanity (or one that isn’t super functional!), I wanted to share the easiest way to DIY it. You don’t need to spend the hundred of dollars big box stores offer for installation!
We had to rough in the sink while simultaneously build the board & batten walls. So there has been a lot of action in this little room over the past few weeks! Luckily our future weeks are purely aesthetic, but no less expensive. 🙁 I am really trying to maintain a budget. The sink was a splurge, but everything to come will total up to be about the cost of the sink itself.
Supplies Needed for Installing a Pedestal Sink
- New Sink (We bought this one)
- New Faucet (We bought this one) << Refer to your new sink to see if you need widespread, centerset, or a deck plate faucet
- Pipe Thread Sealant
- White Caulk (Kitchen & Bathroom Rated)
- Clear Caulk
- Wrenches (Crescent, Wide End, Basin)
- Plumbers Putty
How to Install a Pedestal Sink
1. Turn off the Water Supply
Start by placing an empty bucket under the existing sink. Then disconnect your water supply lines. Lastly, disconnect the p-trap.
2. Separate the Existing Pedestal Sink (Or Any Sink) from the Wall
Next, you’ll want to cut away the existing caulk around your sink basin. Jordan used a razor knife to do this. Then, you’ll want to any bolts or screws that are connecting the basin to the wall. Check for any screws on the floor securing your sink to the floor.
Lift and remove the sink basin, the pedestal may be removed at the same too if caulked together, but be careful to support fully so they don’t separate and damage your house.
3. Clean Up
Once you have the pedestal and sink removed, clean up the area. Patch up any existing holes in your drywall with some simple spackling. Sand down the spackling. Paint the entire area with your new paint color. Even if you aren’t changing paint colors, you’lll still want to paint the entire uncovered area. Doing this will ensure the entire area is well covered and you wont need to try and squeeze in and paint once your new sink is installed!
4. Trace the Outline for Molding (Optional)
Since we wanted the molding to match up against the sink, we needed to trace the profile of the basin. It was much easier to do this while the basin was sitting on the floor, rather than against the wall. Jordan traced it quickly and used a jig saw to trace out a well fitting molding.
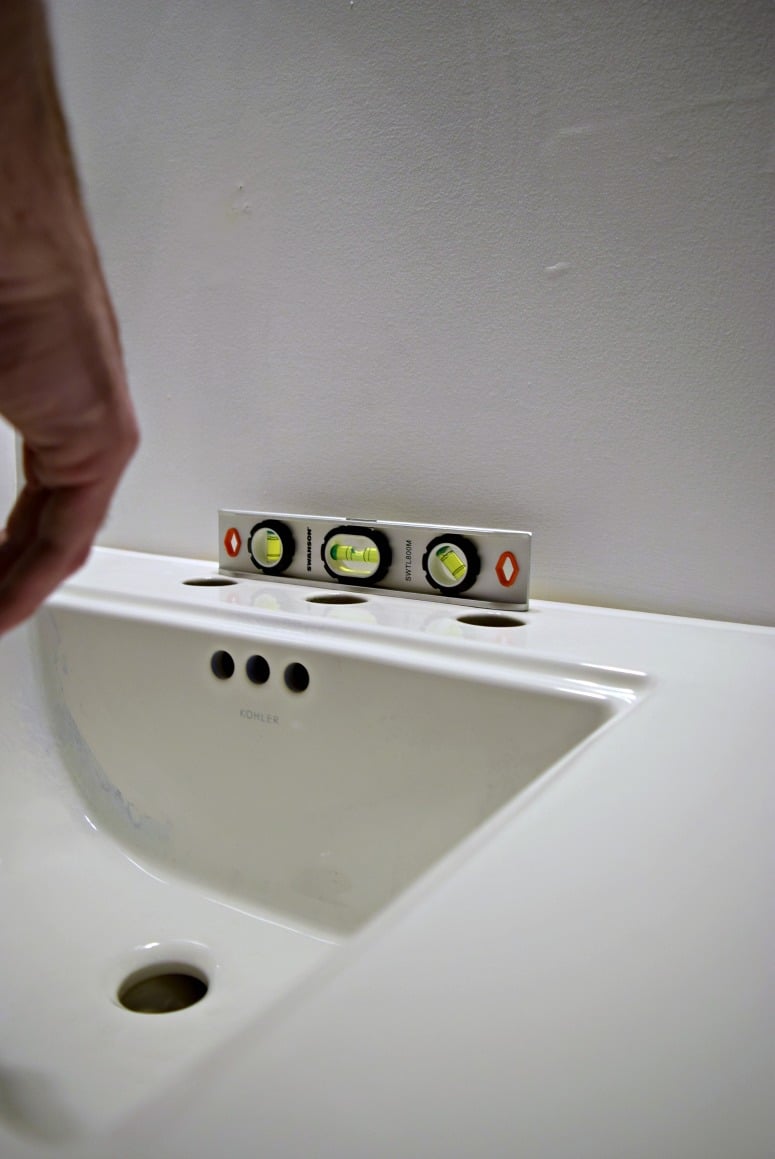
5. Dry Fit the Sink
Next, you’ll want to dry fit the pedestal sink in place. I helped Jordan at this point to make sure nothing was damaged / ensure it was in the right position. Check for levelness, mark new mounting holes on the walls, and mark any mounting holes for the floor.
Follow your manufacturer’s guidelines for any additional steps. Double check to make sure that your p-trap is at the right height, etc…
Once the marking holes were traced, we marked off the base for the final install using painter’s tape. This made the final steps much easier! Then we double checked that our supply lines were the correct length (varies by sink) and checked for a mounting brace to secure that the sink inside the wall.
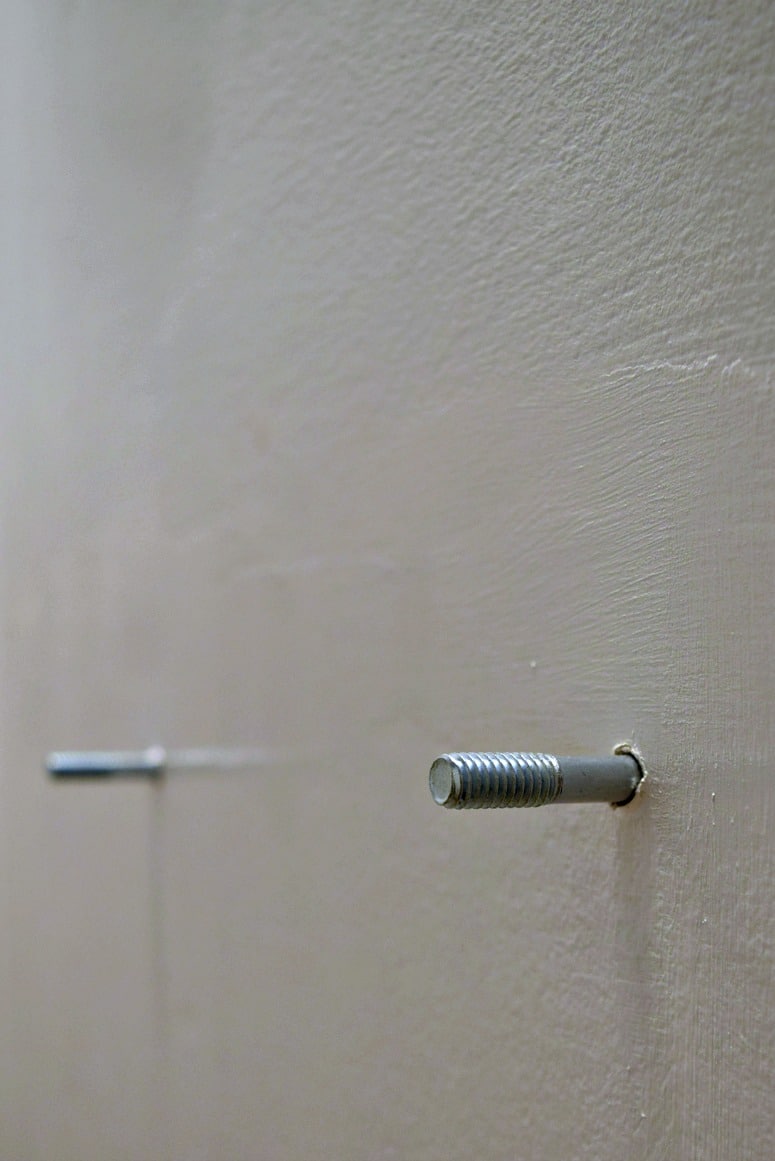
 Remove the sink and pedestal away from the wall. Then, you’ll start drilling your mounting holes with the bolts supplied by your new sink. Again, refer to your manufacturer’s install guide if you have specific questions.
It’s okay to dry fit the sink again to ensure that your holes and sink are in the correct position.
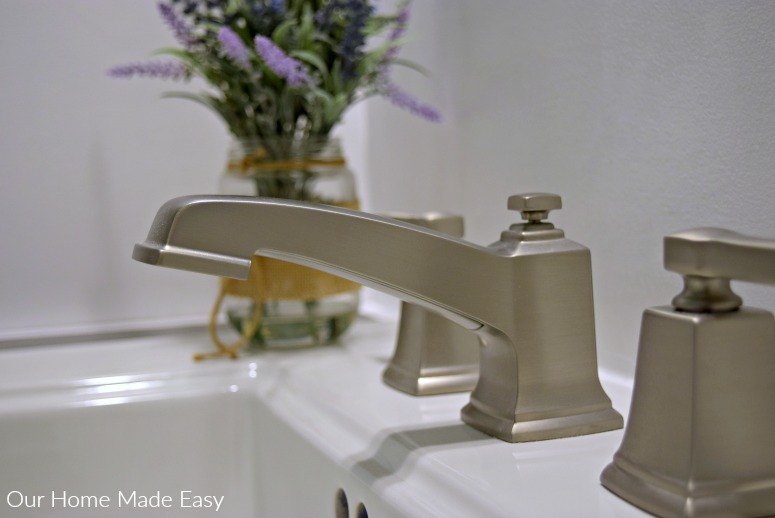
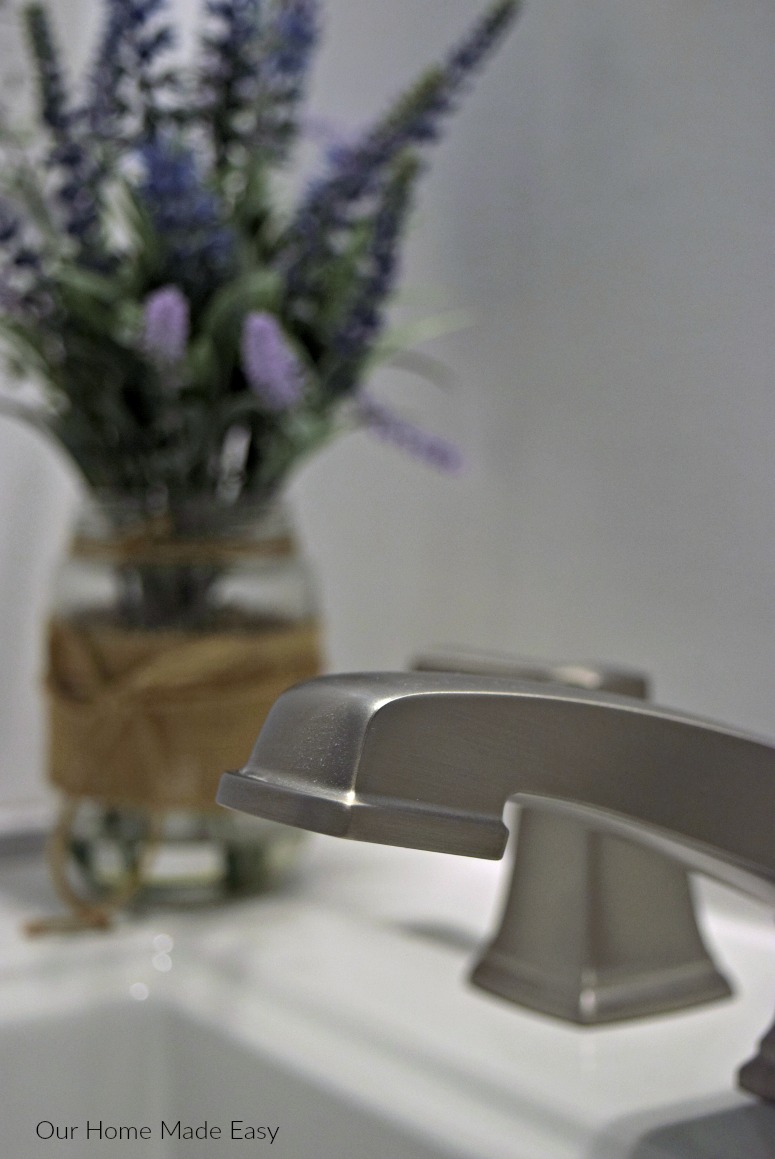
6. Installing the Faucet
Next, you’ll want to lay a large towel on a solid surface, like a counter top. Take the wash basin and lay it on the towel upside down, with the faucet area over hanging the edge. I held on to the sink (justincase!) while Jordan installed the faucets. When you install the faucets ahead of time, you’re saving yourself so much work! It can be incredibly difficult to install a faucet once the sink is installed, especially if it’s in the corner, like ours is.
Jordan’s advice: You will not regret doing this! Don’t forget, you’re installing this upside down so check twice to ensure hot & cold are in the correct orientation!
Install the faucets, handles, and drain stop.
7. Prep the Sink for Installation
Once the faucet is installed, use the shims provided by your manufacturer and apply them to the sink basin. Use a small amount of clear caulk to the area to avoid any future wobble.
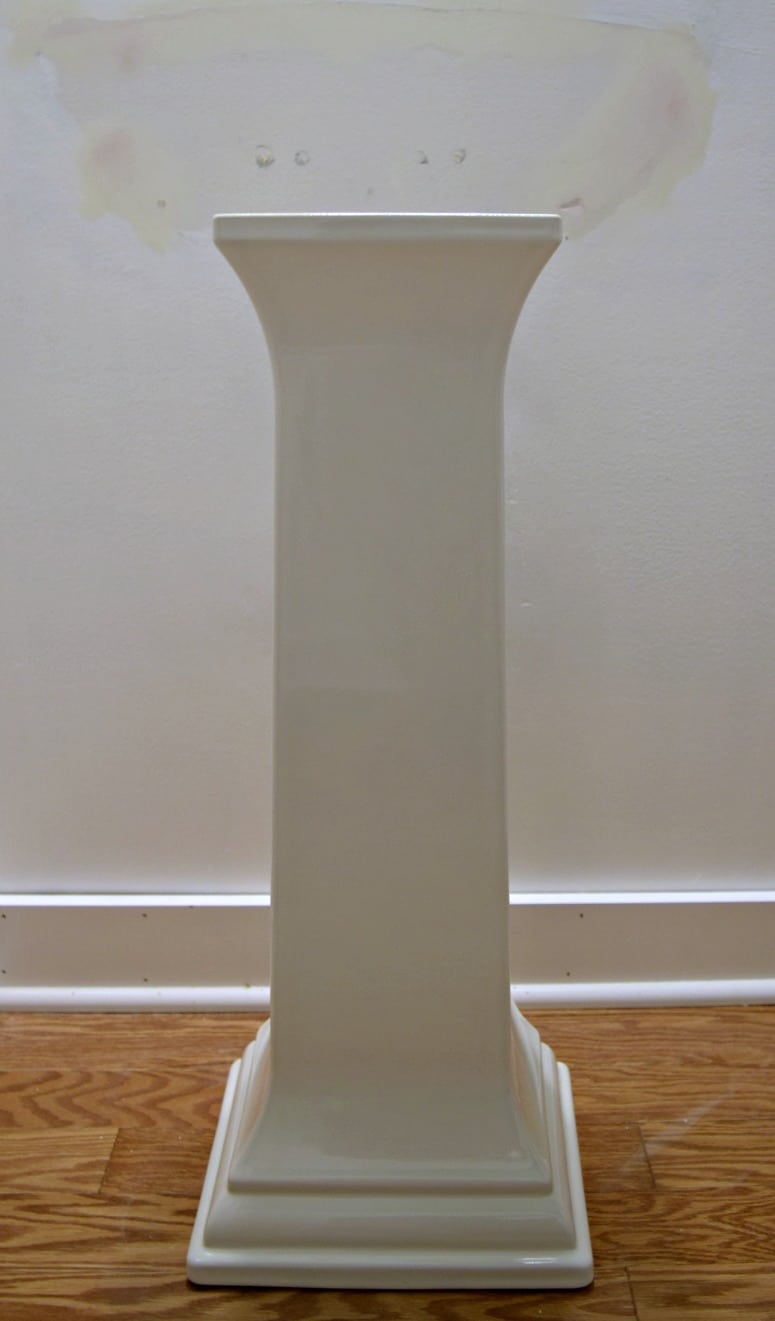
8. Install the Pedestal & Sink
Using the painter’s tape as a guide, slide your pedestal into place. Then use clear caulk to set it in place.
Next, gently set the sink basin a top the pedestal. Again, I was there to help as needed. Finish mounting the sink using the bolts and hardware supplied by your manufacturer. You’ll want to check for levelness one more time. Install any floor screws if needed.
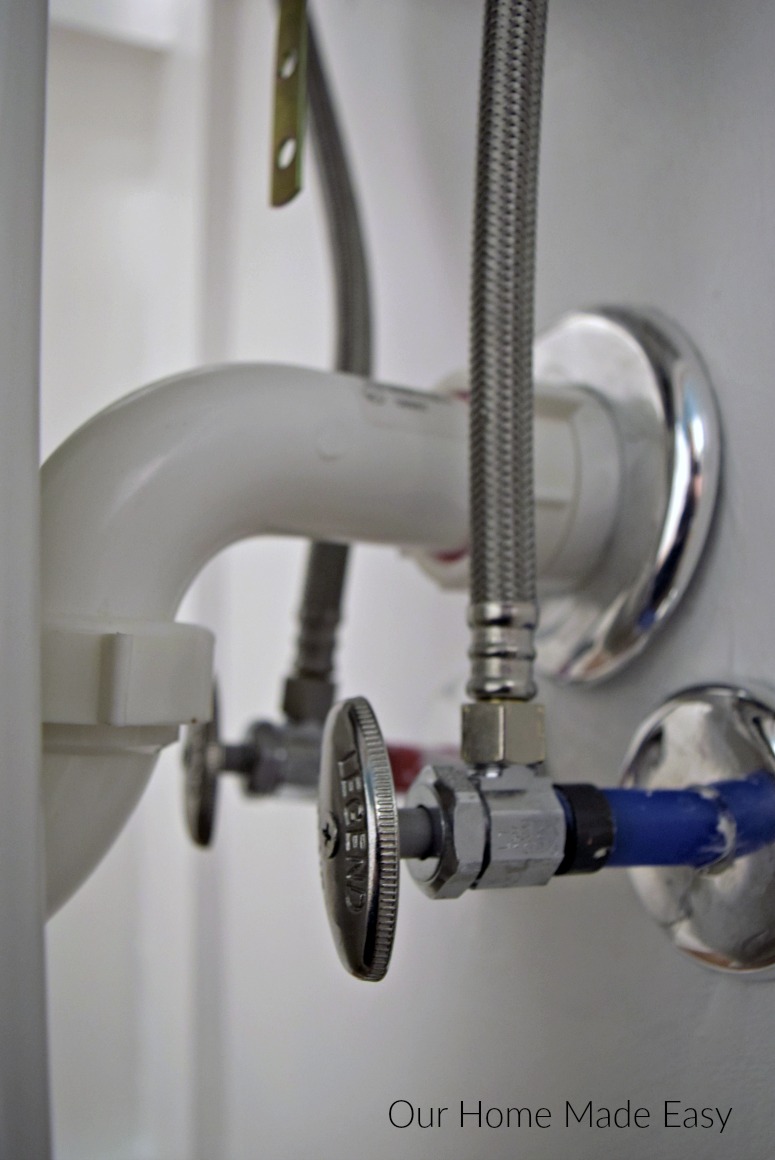
9. Install Water Supply Connections
Now, you’ll want to make the connections between the drain and p-trap & the supply lines to the faucet. Turn your water supply back on. Slowly turn on your faucet to ensure that there aren’t any leaks in your supply lines and drains.
10. Finishing It Up
One of the last steps is to place a bead of white caulk along the sink and the wall to ensure that water doesn’t drip behind the sink. Jordan wanted me to mention that he prefers to use this type of caulk because it’s mildew and mold resistant.
For aesthetics, place a bead of white caulk between the pedestal and sink basin. Place a bead of clear caulk on the floor along the pedestal and the floor.
And whew, that is it! Once we had the time to devote to the sink (after bedtime), the installation took off quickly. This is rather simple enough to do yourself and can save you hundreds on the install! I am so excited with the new look of the sink and am happy that it will work well with the upcoming tile work. Ahhh…. this is getting exciting!!!! Stop back next week to see more progress!
Take a look at the Powder Room progress here:
Week One: Powder Room Makeover Design Plan
Week Two: 11 Things You Need to Know Before Making Board & Batten Walls
Week Three: How to Install a Pedestal Sink [You’re here!]
Week Four: Adding Accent Mosaic Tile
Week Five: Over the Toilet Storage Ideas
Week Six: The Final Powder Room Reveal!

Hi, I’m Brittany, and I believe life at home should feel easier, not heavier.
I’m the creator of Our Home Made Easy, a space for busy women who want dinner on the table, their homes running smoothly, and a little breathing room at the end of the day.
You won’t find perfection here, just realistic recipes, smart shortcuts, and simple routines that work in real life. The kind that help you feed your family well, stay organized enough, and still have time to actually enjoy it.
If you’re juggling work, kids, schedules, and everything in between, you’re in the right place. I’m so glad you’re here.


WE have two pedestal sinks and they were easy to install.
Great guide Brittany! I’m gonna tuck this away for the future, we have such a tiny bathroom, a pedestal sink might be the best choice.
Thank you Karen! -Brittany
I love the pedestal sink and your design plan for this space! I can’t wait to come back and see it all finished.
Julie @ Love My Simple Home
I love the new sink! It’s style really complements the board and batten! Looking good!
Nice sink! Your room is coming together so well.