Easy Applique on Your Sewing Machine
Not everyone has the ability (or time!) to hand make their own homemade baby gifts for friends. That’s where applique comes in. Think of it as adding a semi-homemade touch for your friends! Applique on an item makes a gift extra special by being personalized to the recipient AND letting them know that you wanted to make their item perfect.
Have you ever tried appliqueing? It’s super easy! This post will show how to applique with your sewing machine. I am not using the machine embroidery hoop, it’s purely completed through the zig-zag stitch.
In other words, anyone with a sewing machine can do it! And who doesn’t love that? 🙂
Supplies Needed
(This post contains affiliate links. If you shop from my blog, I may be compensated for clicks or purchases that you make. Thank you for supporting ‘Our Home Made Easy!’ Read my disclaimer page for more information.)
- Fun fabric for the main piece and the applique! (I love the adorable snuggle flannel fabric from Jo-Ann Fabrics and Fabric.com
)
- Iron -On Adhesive
- Pencil
- Applique Shape Printed Out on Regular Computer Paper
- Paper Scissors
, Fabric Scissors, Micro Scissors
- Iron
- Tear-Away Stabilizer
- Straight Pins
- Quality Coordinating Thread
If you are a new beginner, check out my post here of must-haves for new sewers.
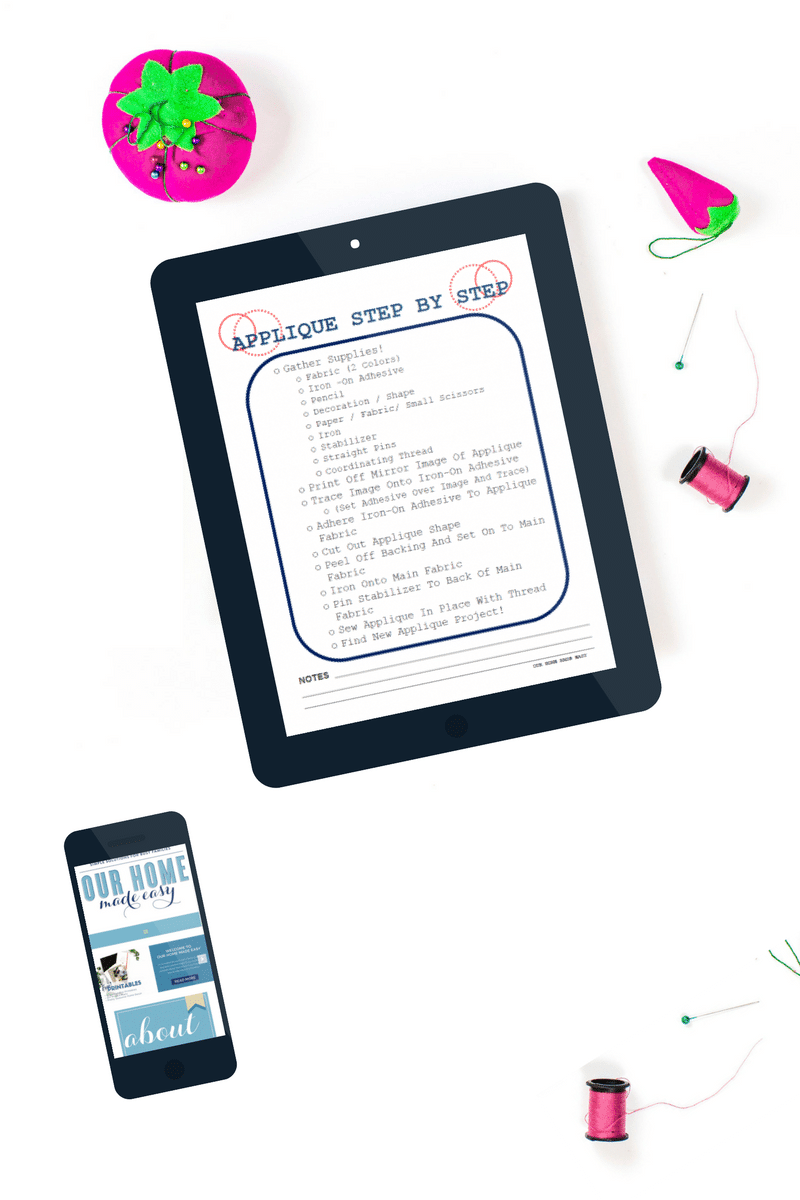
If you love this tutorial, don’t forget to obtain your own copy of my Applique Step by Step checklist. It’s at the bottom of this post!
Print off Your Applique (Mirrored)
Now that you have everything to begin applique, let’s start! Begin by designing your applique item.
In this example, I have two blankets that need initials placed on them. I made the last initial a little larger in font and wanted to feature it on the center of the design.
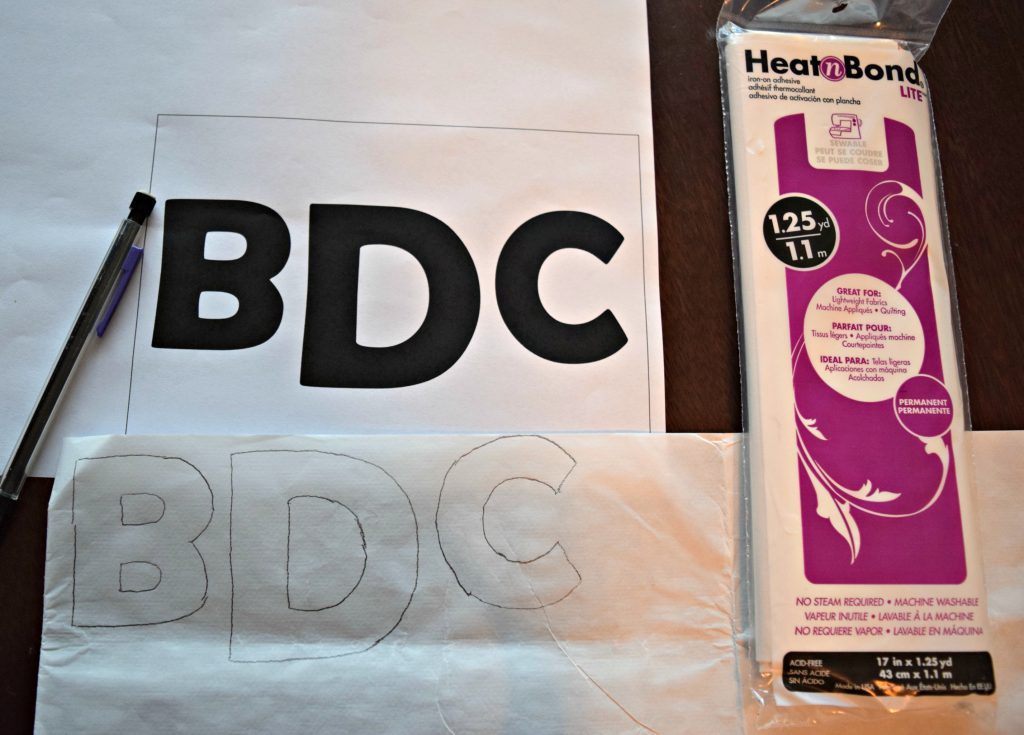
Once I chose the design and font size, I flipped it horizontally. You will see why in a minute!
Apply the Adhesive
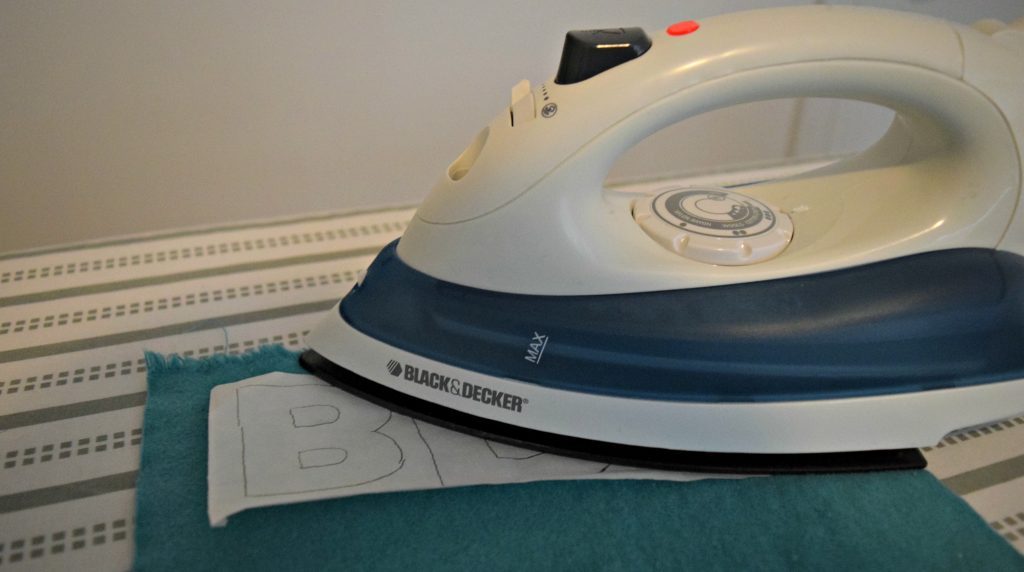
Place an iron-on adhesive over your letter paper. Lightly trace the letters the onto the iron-on adhesive. I used Heat n’ Bond Iron-On Adhesive.
Note: In the photo below, this paper is actually upside down. I should’ve turned the paper over so you could’ve seen the proper orientation of the printout. But, in any case, choose your design and flip horizontally in your Word document.
Next, I cut the adhesive as close to the letter as possible. I try not to waste the adhesive as it starts to add up quickly $$.
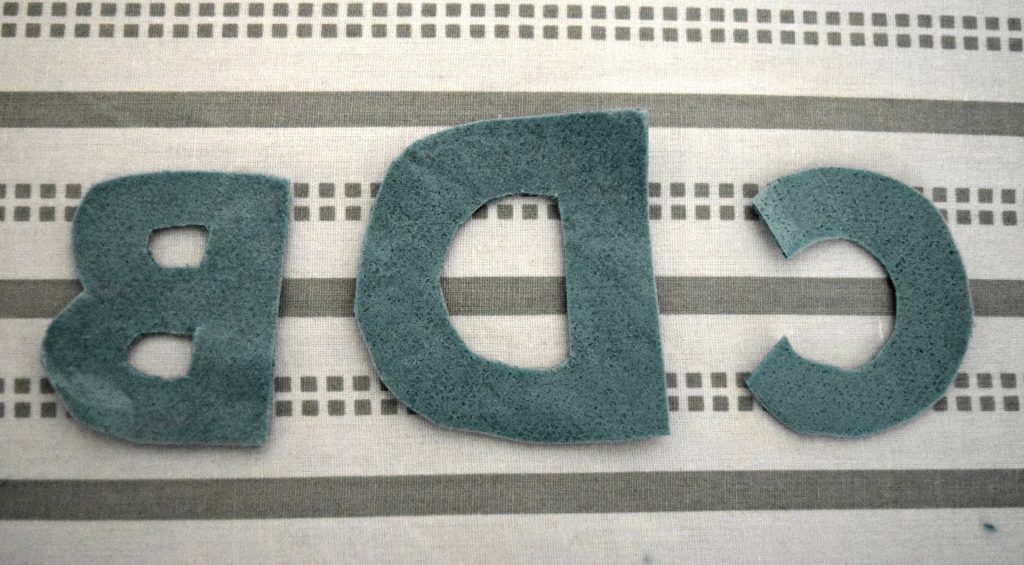
Place your fabric that will be the letters face down. The wrong side should be facing you. Now, you can see why you want the letters to be backward! Follow the adhesive instructions and lightly press (not move) over the letters.
- Related: 30 Minute Handmade Baby Blankets
Once cooled, trim the letters out of the adhesive. Once the letters are trimmed, light peel off the backs of the adhesive. Here you are left with backward appliques with a shiny residue on them. It’s exactly what you want!
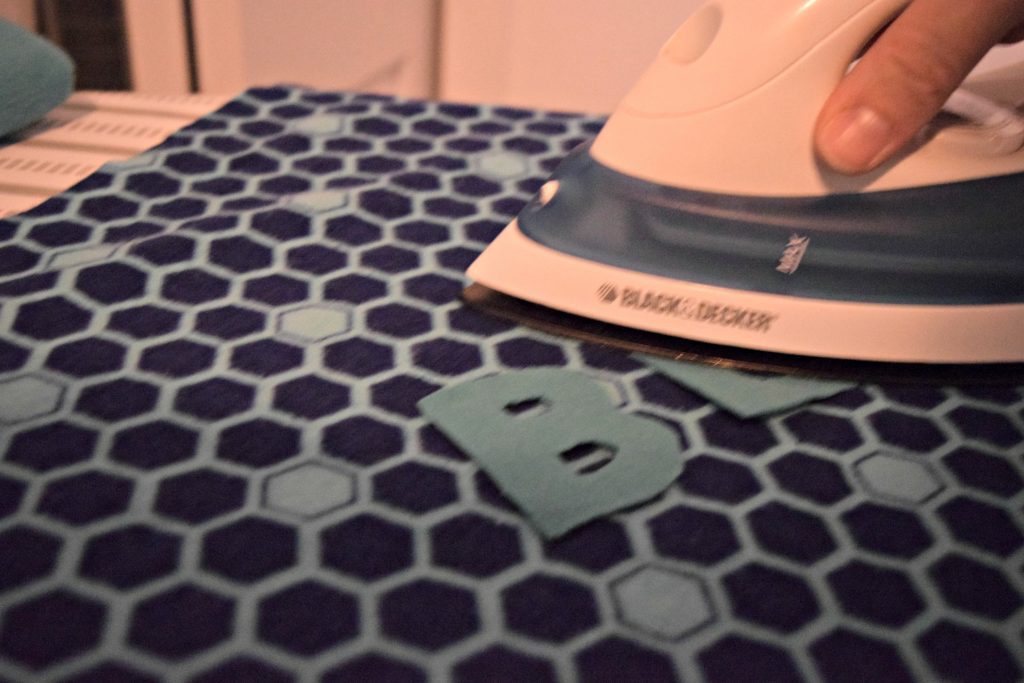
Bring out your background material and lay it right side up. My favorite items to applique are blankets and kids clothing! Position your letters where you would like them on your item.
The shiny side should be facing down. Next, gently press down with the iron. Do not move the iron around. In sewing, always lift and press.
Now, your applique should be set in place on your item. And they look great! In fact, if your items won’t be getting a lot of washes, some adhesives feature “no-sewing needed” options.
Bonus for moms who love the look of applique but don’t love to sew!
Attach the Stabilizer
For those who want to continue sewing, you’ll need to add a stabilizer. A stabilizer helps the applique keeps its shape and makes the item lay better and look more professional.
Trust me, use the stabilizer. For this example, I used the Pellon Tear-Away Stabilizer. Any tear-away stabilizer for appliqueing will suffice.
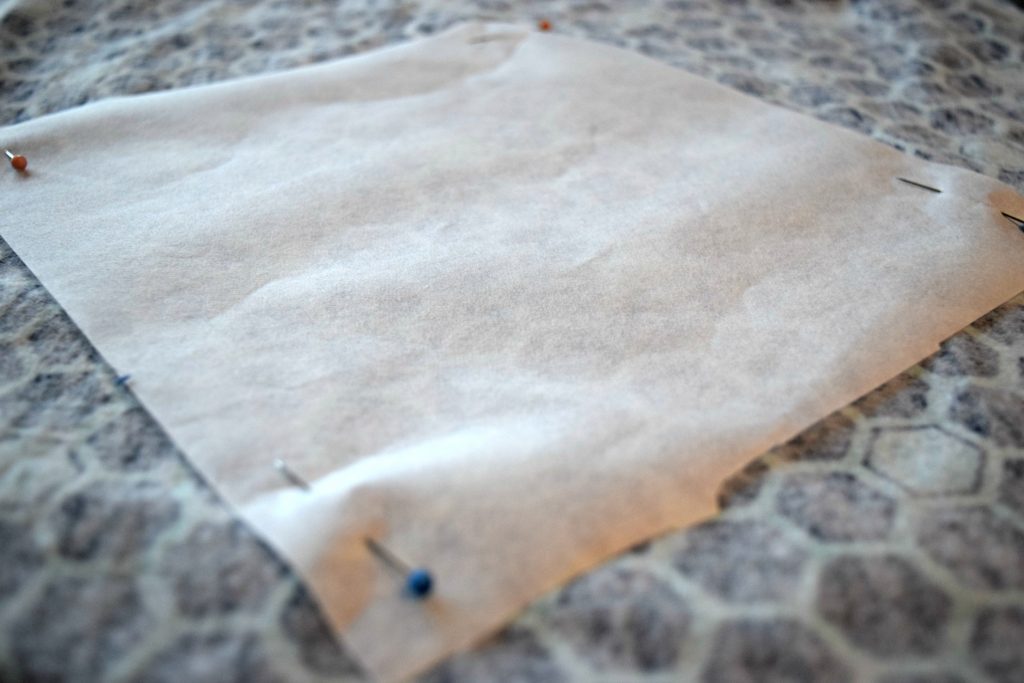
I cut a rectangle that more than covered the applique area. I wanted to make sure the pins would not impede my sewing. I put the smooth side down and pinned the corners of the stabilizer. I did not opt to iron it on.
If you begin regularly appliqueing, you’ll find there are different techniques that work for other items. In this case, 4 pins will do. 🙂
Setup Your Sewing Machine
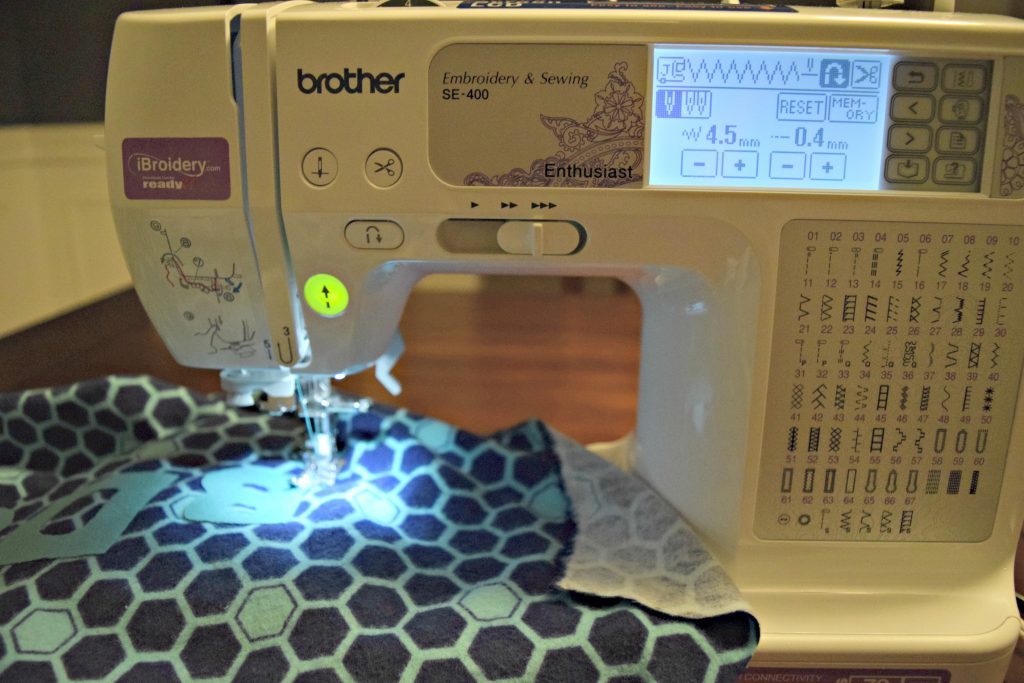
Next, you will want to set up your machine. My machine is a Brother SE400. I’ve found that it’s perfect for beginners and is robust enough to handle lots of Pinterest inspired projects!
Appliqueing typically uses a satin stitch. You can also choose a straight stitch that will allow some fraying or a blanket stitch. In these examples, I choose the satin stitch.
The satin stitch is the zig-zag stitch on your machine and its an extremely tight stitch that no longer looks like a zig-zag. Use a scrap piece of fabric and find the stitch width & length that you like the best.
Traditionally I do not like to spend a lot of money on the thread, however, when I do appliques, I splurge since it’s so important that the designs look nice. 99% of the time, I’m always using a Gutermann spool of thread.
- Related: Must Haves for New Sewers!
Begin Sewing your Applique
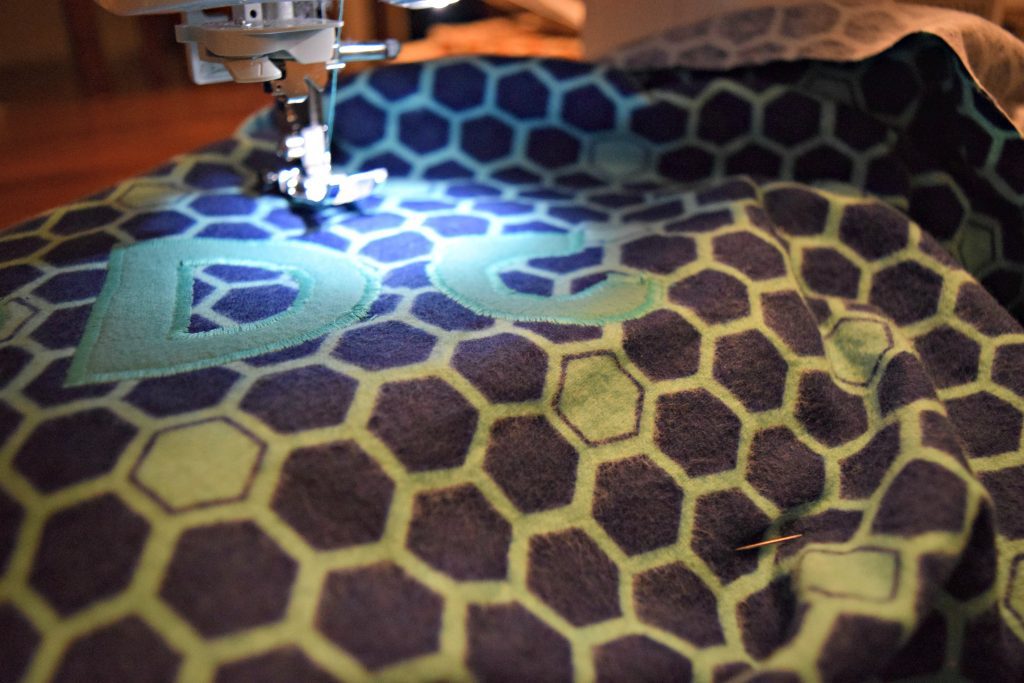
Once you’ve set your stitch settings, take a practice line of sewing. Its important in applique to ALWAYS know where your next stitch is hitting.
When you need to make a turn or go around a curve, you’ll need to be aware of which side of the item you are sewing onto. This idea, you will learn quickly.
A quick tip of advice, when on a curve or angle, leave the needle IN the fabric and raise your foot to pivot.
I try to sew 4/5 on the applique, 1/5 off. You’ll want to try to catch the border of the applique to create a nice line. Here are two of the letters done so far.
After each segment, back sew to keep your applique in place. Trim any loose threads as you go so that they don’t get caught up in another line later.
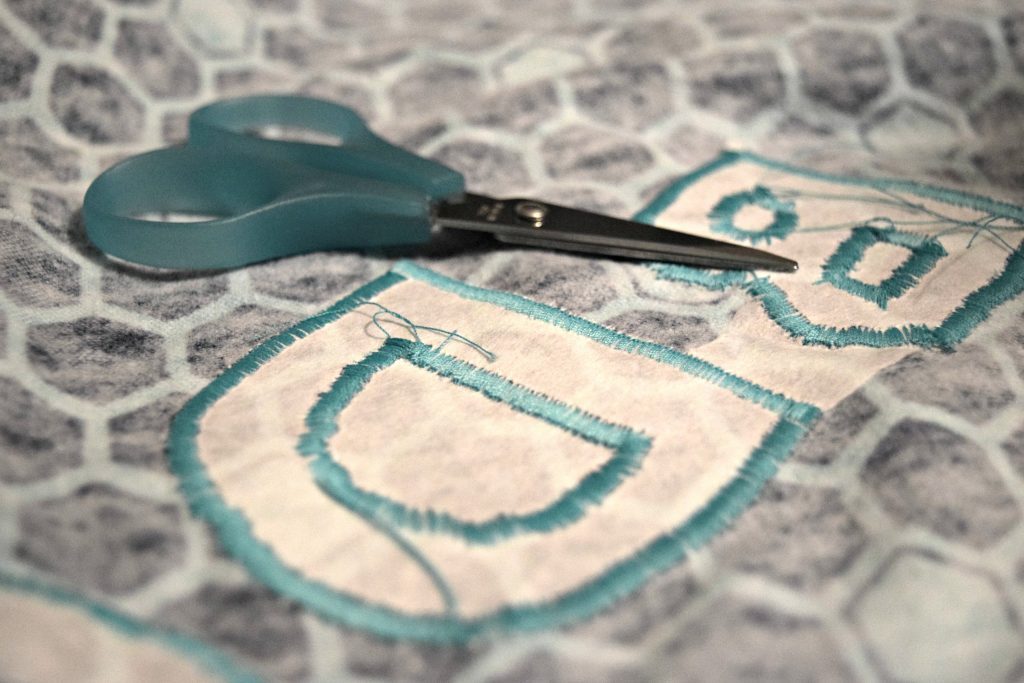
Once you have completed your applique, turn over the fabric and tear-away the stabilizer.
Be gentle, you don’t want to tug on the thread too much. For small areas, I use my little scissors to cut the excess away.
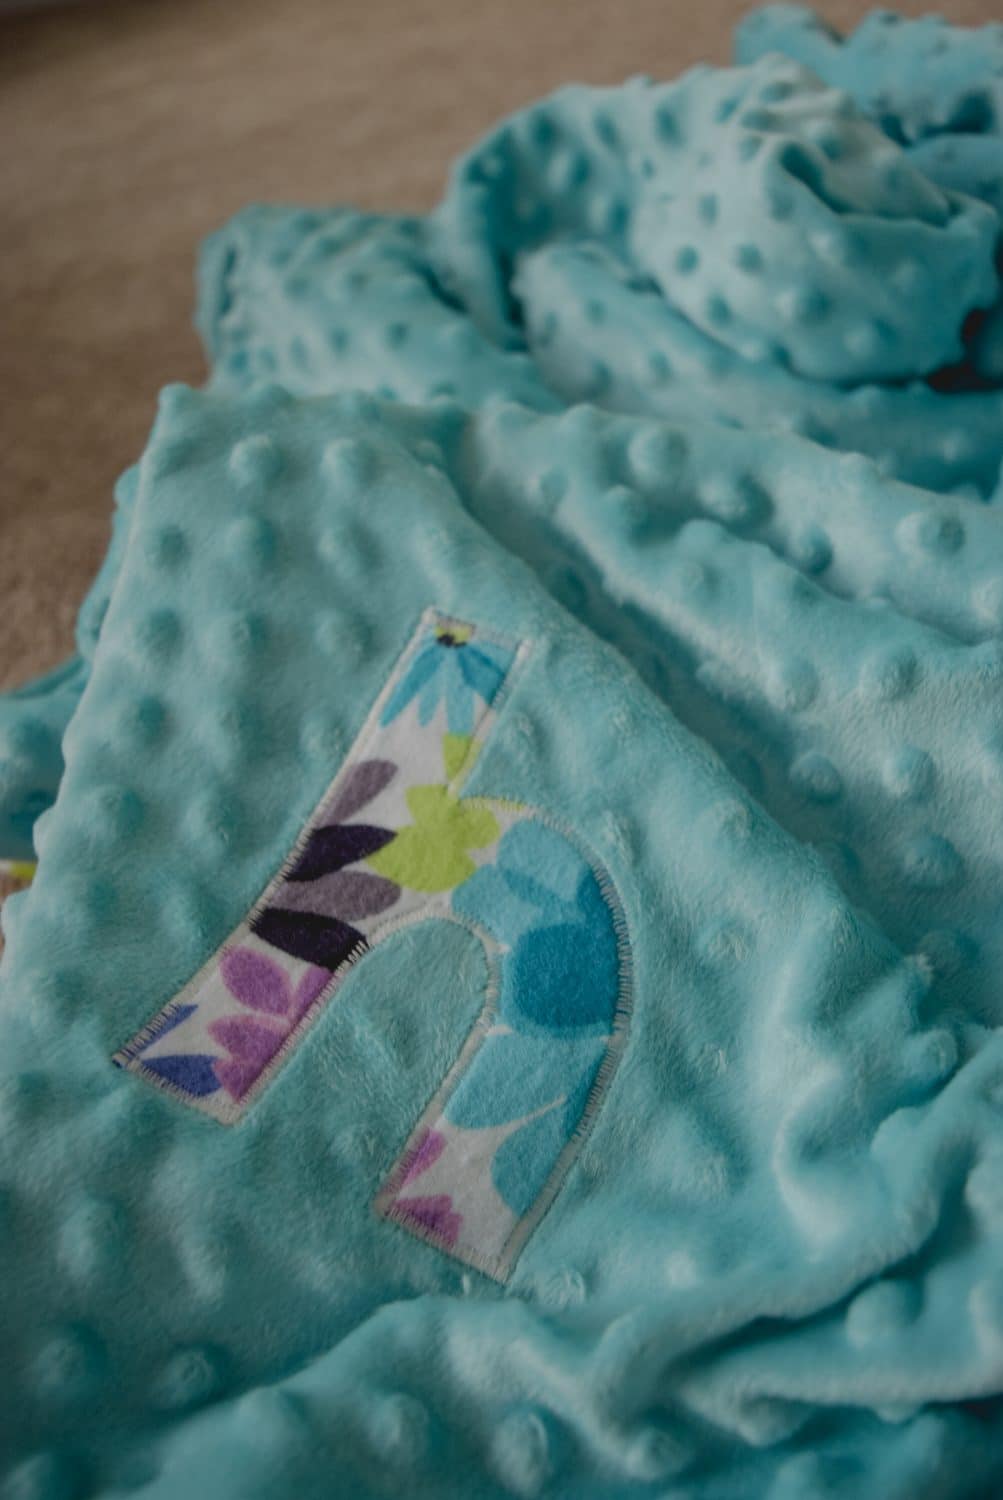
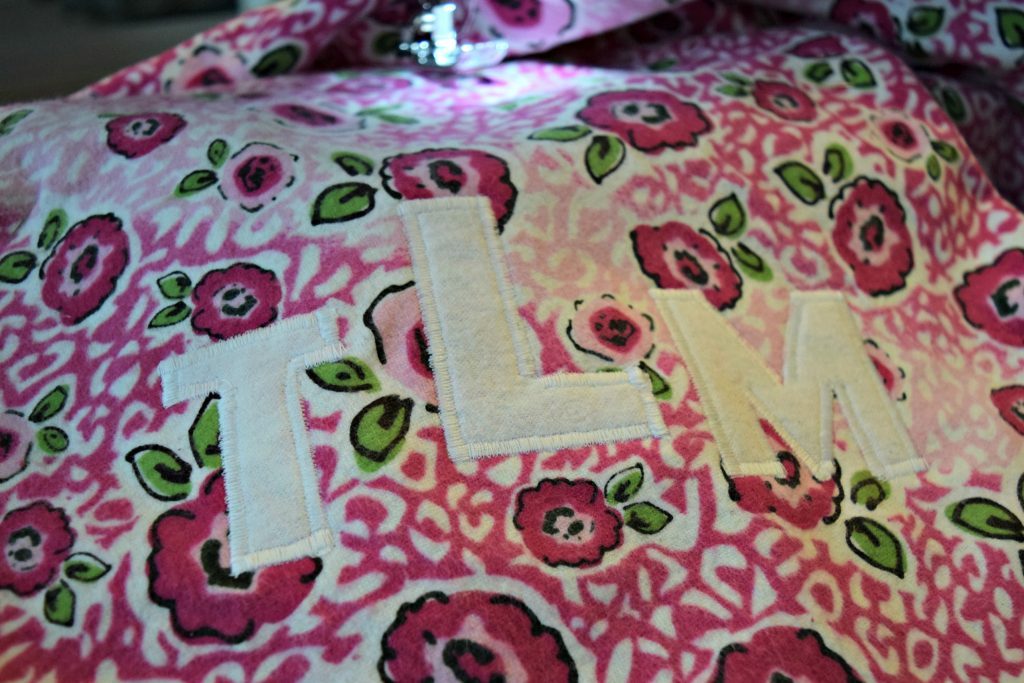
Now congratulate yourself! You’ve finished an applique! In this example, I did simple letters.
But you’ll find lots of use for images, school sports, and favorite teams. My favorite ones to do are appliques that have multiple layers.
You treat them the same as above, except that you iron the second layer and sew accordingly! You can see how to do this in my t-shirt applique tutorial.
An applique looks adorable on these baby blankets. The examples above were both used on baby blankets. Once I finished the applique, I placed the fabric right sides together and continued the sewing process.
Applique may look overwhelming at first, but you’ll find it’s an easy project for any busy mom! Each step can be performed on its own and you can jump back in as you have time (or the kids nap 😉 ). If you want to ease into applique, buy the no-sew adhesive and iron on your pieces!
Get Your Step By Step Applique Print Here
Want to Remember this Post? Pin for later!

Hi Brittany, Lovely appliques and very clear instructions on how to do this! I was wondering what type of fabric you used for the applique – it looks like terry cloth in the photos. Well done! Blessings, Janet
Hi Janet! All of the fabric was snuggle flannel. Thank you for the comment, they are always appreciated. -Brittany
Hello. I also have a brother and when I try and do satin stitch my machine gets stuck. I did test on straight away but when I put to applique my needle gets jammed
Perhaps your fabric or thread is too thick. Maybe change needle size to a 14 or 16. Adjust the density if your satin stitch to allow more space between stitches.
I had no idea this could be so easy! Thanks So Much for the clear instructions. I can’t wait to try it.
It really is! I use the satin stitch for most of my appliques. I think my next project will use a straight stitch which will allow for some fraying at the edges for a cool look. Good luck on trying it out! -Brittany
Thank you for such Clear Instructions very helpful , BTW I Have the same Sewing Machine.
Thank you, Melanie! I love this sewing machine. It’s paid for itself several times over 🙂 🙂 -Brittany
A good tutorial. I did the same with sweatshirts for my daughter and some of her friends. Heck, I didn’t have a printer at the time so I made my own patterns from graph paper. Old school! They turned out really nice. I used cotton. I scorched a grey sweatshirt trying to attach the hounds tooth initials. Heck, I just took a pc of red fabric, ironed the letters on it, trimmed around the the outside and stuck it on the sweatshirt. It was fabulous. And, yes, I am an Alabama fan. 🙂
As soon as you mentioned houndstooth, I knew! 🙂 Thank you for stopping Debbie! – Brittany
I thought I had to cut my fabric 1/4 inch in order to turn under to keep it from fraying. But after looking at your technique I see all I have to do is satin stitch around edges. Makes it a whole lot easier.. Can’t wait to try thanks Marcella
It does make it so much easier! I like to try out a few different satin stitch settings before I start to find the one that works best. Good luck – Brittany
Great post. Really helpful instructions. Thank you very much Brittany for share this.
Thanks Sarah! -Brittany
Thank you for your well-detailed post especially the graphics make it easy to catch.
Brittany, have you written any guide for beginners to get started with sewing? Can you mention the post link here?
Thank you Emiley!
hi brittany,
now i can know the applique is so easy and very beautiful to do. but the supplies are quite rare. we really need a guide for it
Hi Brittanny,
your tips were so great and so much leaning from it. we can do some great applique from your tricks. thanks a lot
Thanks Silvia!
thanks for a great help Brittanny. the applique you made is really beautiful. this tutorial helps me doing some amazing applique on the cloth. thanks for the tutorial. which thread you recommend most?
Thank you! For applique, I really like the Gutterman thread.
Could you give me a tip as to what you set your machine to for satin stitch!
Hi Judy! 4.5 &0.4
Brittany, thank you so much. I have been sewing for 67 yrs and have steered clear of appliqué because I was never satisfied with the way it looked (I am a perfectionist). I tried it with the edges turned under and cutting on the sewing line and never liked it. You have shown me more than I learned in yrs. Leaving the needle down helps a lot. I am sure that my gr-grand babies will like the results! Thanks again and a God Bless. Glenda
Thank you Glenda! Stay healthy and best of luck on your next project!! –Brittany
Thank you for this wonderful project. I have been sewing for 50 + years and have always shied away from using satin stitch appliqué in case it would be bulky but yours is not.
I will try this as I have my nephew’s name to appliqué to boxing shorts. Thank you again.