
Easy DIY Flannel Blanket with Batting
Make a cozy flannel blanket with this easy sewing tutorial. I’ll show you how to layer flannel and batting, sew the edges and add simple hand ties.
(This post contains affiliate links. Read my disclaimer page for more information.)
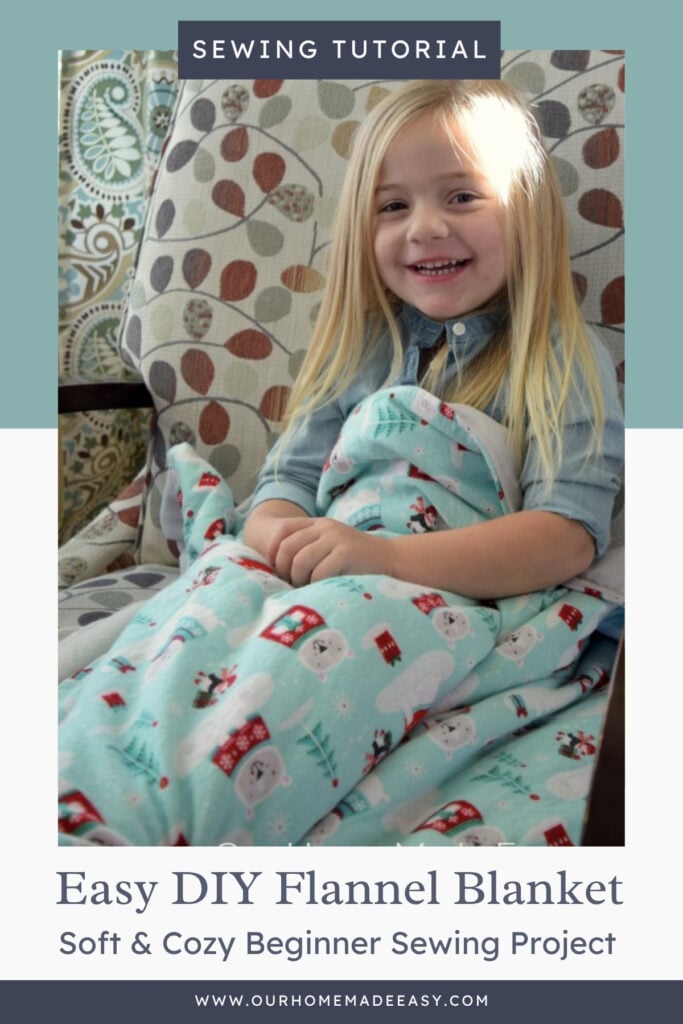
I originally made these cozy flannel blankets for Aubrey and Owen when they were little, and this remains one of my favorite simple sewing projects from those years.
I wanted each of them to have a warm blanket in a fabric they picked themselves, but I also wanted something thicker than a basic two-layer flannel blanket. So I adapted my easy baby blanket method and added a layer of polyester batting in the middle.
The result is a soft, cozy DIY flannel blanket that’s surprisingly simple to sew. You don’t need quilting experience, and the hand-tied knots help keep the batting from shifting when the blanket gets washed.
The exact fabrics I used years ago are no longer available, but that’s actually one of the best things about this project: you can choose any coordinating flannel prints and colors you love.
This idea is based on my 30 Minute Baby Blankets but I changed it up by adding a layer of thick batting to make these super cozy, thick, and warm!
Why This Flannel Blanket Is So Easy to Make
Supplies You’ll Need
My Go-To Sewing Basics

Where to Buy Flannel Fabric
When I originally made these blankets, I bought the fabric during a big seasonal fabric sale. Those exact prints and retailers have changed since then, but there are still plenty of places to find soft flannel by the yard.
Before ordering, check the fabric width and fiber content. Flannel widths vary, and that will determine the finished width of your blanket. I generally like cotton flannel for a project like this because it’s soft, washable and easy to sew.
- Walmart – A good place to check locally for basic cotton flannel and seasonal prints. Walmart currently sells flannel by the yard and pre-cut flannel options.
- Michaels – Now carries cotton flannel, including solid colors, with some options available for store pickup.
- Stash Fabrics – Online flannel selection.
- Hawthorne Supply Co. – Large online collection of current flannel fabrics.
- Harts Fabric – Another online source for flannel by the yard.
- Fabric Mart Fabrics – Online flannel selection that changes as fabrics sell through.
Find the step-by-steps and full tutorial below!
How Much Flannel Do You Need for a Blanket?
Remember that the width of your finished blanket will depend on the width of the flannel you buy, so check that measurement before ordering your fabric.
For the original blankets, I used the full bolt width (about 42 inches) and 2 yards of length. They turned out very long, roughly 7 feet, which was more than I really needed for kids’ blankets.
If I were making these again, I’d use about 1.5 yards per side for a child-sized throw.
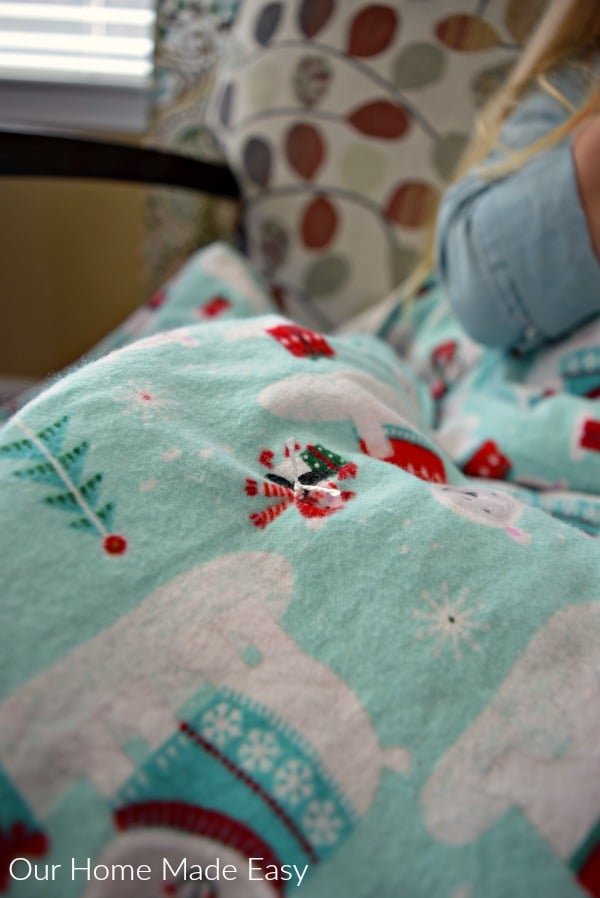
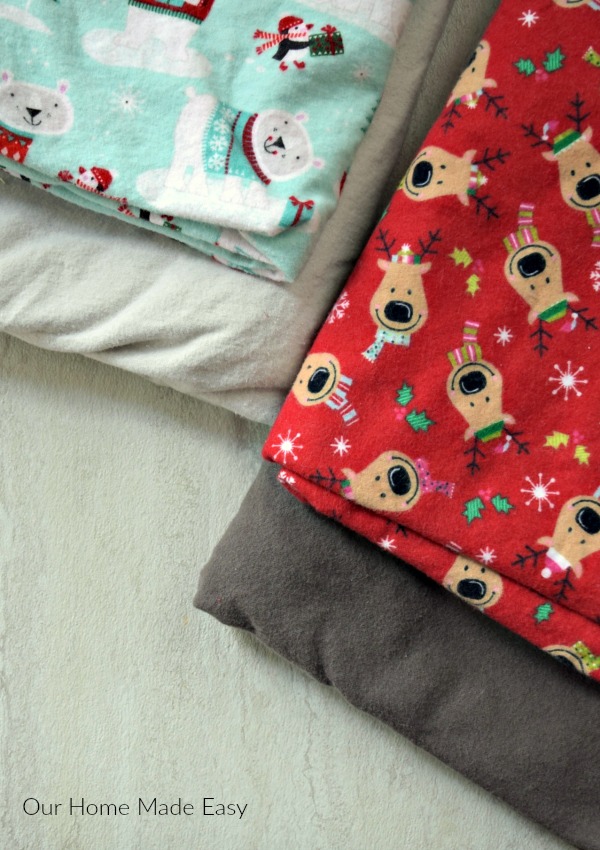
Since these were for the kids, Aubrey chose the print fabric for her & Owen. Owen agreed by enthusiastically hugging the bolt. Luckily, I found this fabric for 50-60% off and picked them up for less than $2.50 a yard!
- Related: Handmade Baby Burp Cloths
Prep the Fabric
Start by pre-washing your flannel. I always do this as soon as I get home with the fabric. This allows me to start working on the blankets when I have free time. Otherwise, I’d have a few minutes (aka naptime) and then realize I couldn’t do anything because they hadn’t been pre-washed. So to save that wasted time, I like to get it out of the way!
Once your fabric is pre-washed, quickly clip off any hanging threads. You don’t have to get them all, but get the larger ones out of your way.
Choose to Personalize your Flannel Blanket
For an extra special touch, you can quickly add an initial or simple image to your fabric. If you need a step-by-step tutorial, check out my Easy Applique for Beginners post! << It tells you everything!
Assemble Your Blanket
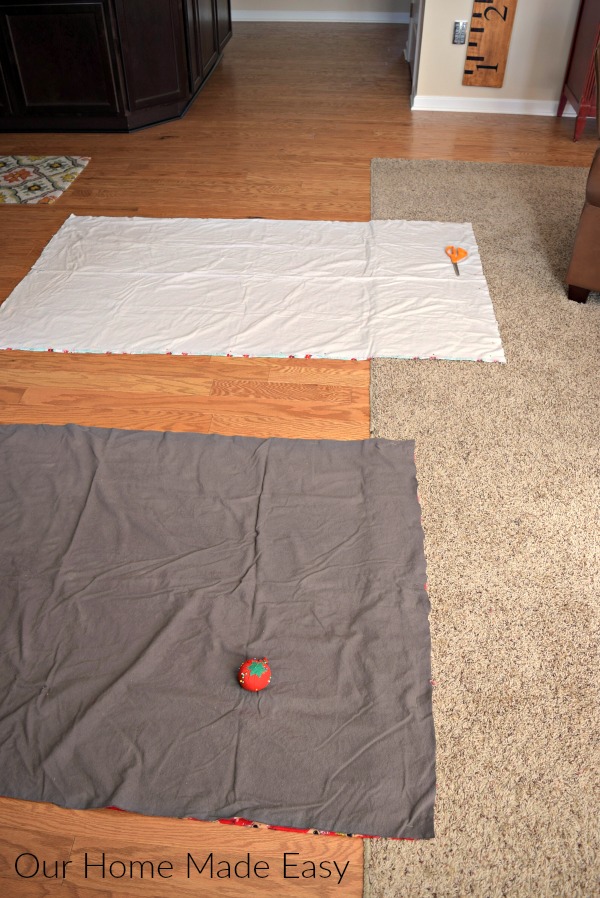
Take your flannel and match right sides together. Quickly pin them in place. Make sure to leave plenty of room to insert the batting by leaving a very large opening.
Sew around the outer perimeter with thread. I use an inexpensive white thread and use my straight stitch at its default settings. Snip off the 4 corners to help the blanket lie better. Anytime you can remove excess fabric, it’s a wonderful thing.
Turn the blanket inside out so that now, it looks like your blanket! Make sure to push out the corners.
Insert the Polyester Batting
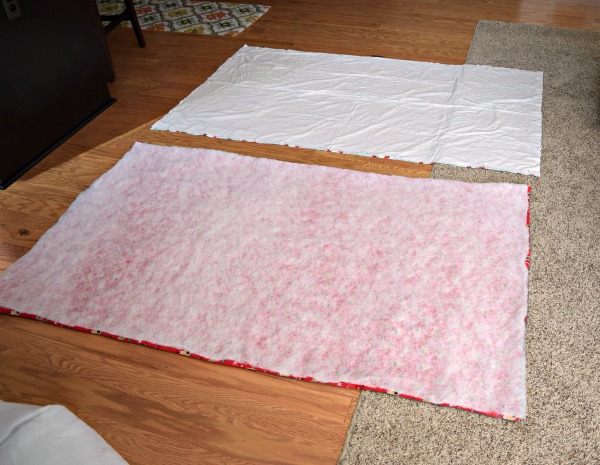
With your blanket assembled and turned out correctly, lay your batting over the blanket. Trim the batting so that it fits within your blanket. If you cut it too large, the batting will scrunch up.
Next, stuff your batting inside the blanket. I found the easiest way to do this is to insert the batting in slowly and not crumple it up.
Once the batting is inside, line it up with the two corners closest to the opening and pin it in place. Then slowly smooth the batting toward the opposite end of the blanket, adjusting and pinning as you go. This keeps it flat and prevents bunching inside the flannel layers.
As you move down, or away from your top pins, adjust the batting to be flush against the inner edges. I pinned as I went so that it didn’t move after I adjusted it.

Press the Blanket
To help keep everything in place before the last sewing, quickly run a hot iron over the blanket and edges. I found it helped keep the batting in place and smoothed it out as I applied pressure. Press close to your blanket opening.
Top Stitch the Flannel Blanket
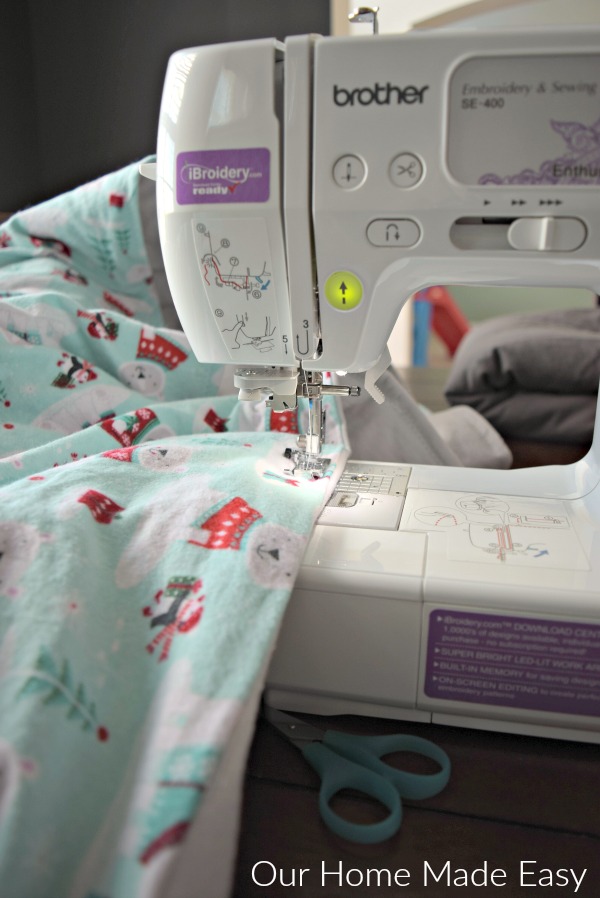
Close up the blanket opening with a straight stitch. Some people prefer to catch the opening in their top stitch, but I’m not that good. And I wash my blankets every week, so durability is a must. Therefore, an inconspicuous straight stitch it is.
Next, sew a decorative stitch, in a coordinating thread, over the top of the flannel blanket. I always choose a zig-zag stitch because it’s super quick and uses minimal amounts of thread. I found that the batting shifted slightly during the process, even if it was pinned. Overall, it stayed in place, didn’t bulk up anywhere and laid flat throughout the entire process.
Hand Tied Knots
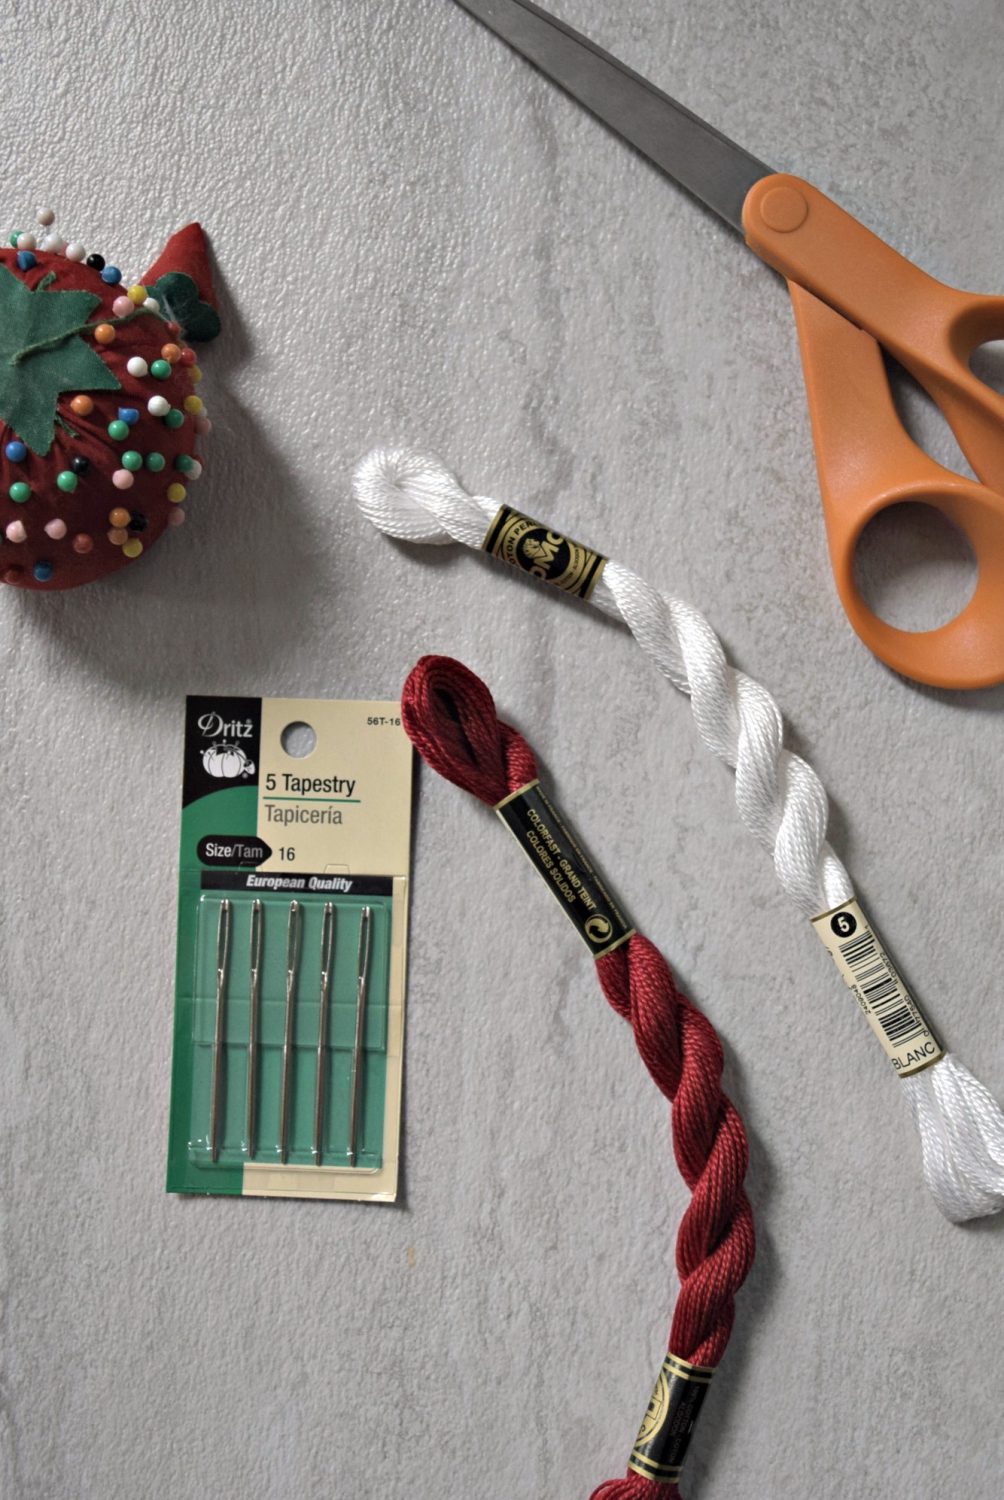
To keep the batting from moving– ever, add several hand-tied knots with inexpensive embroidery floss. It’s super easy. I referenced this hand tie tutorial because it explains it so well.
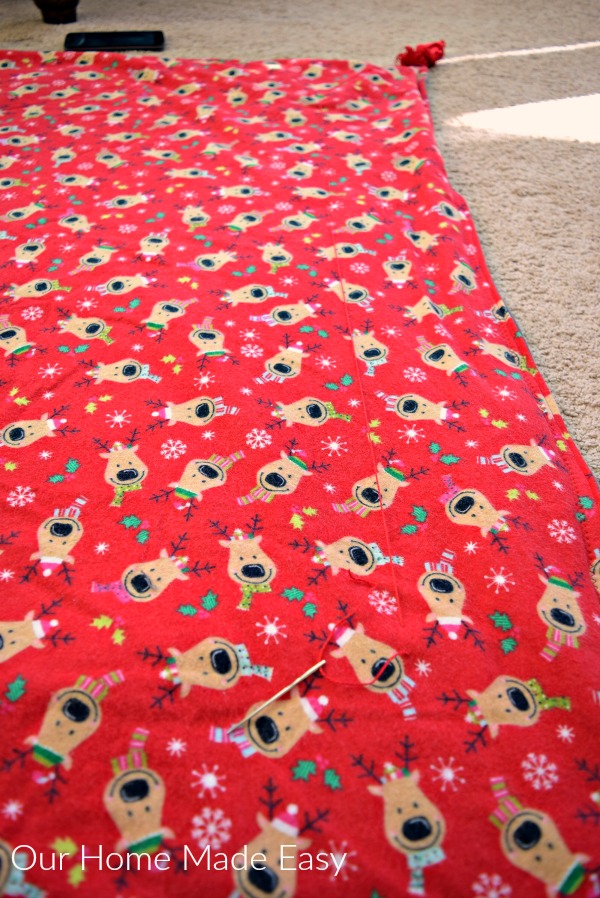
I simply undid my embroidery floss and threaded 3 knots per row and repeated it 4 -5 times. The polar bear was super easy, the pattern repeated just often enough that I knew where I needed to hit next.
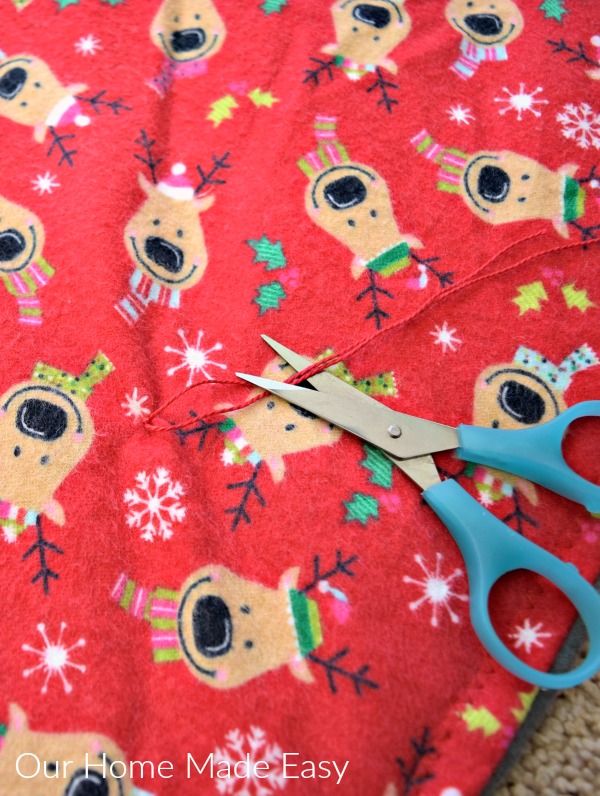
And that is it! How cute is this easy winter blanket? Best of all, with coupons, I pulled both out for less than $20. Yay!
My Favorite Sewing Supplies
DIY Flannel Blanket FAQs
Should I prewash flannel before making a blanket?
Yes. I prewash and dry my flannel before cutting or sewing because cotton flannel can shrink. Doing it first means any shrinking happens before you’ve assembled the blanket.
Can I make this blanket without batting?
You can sew two layers of flannel together without batting, but you’ll end up with a much lighter blanket. The batting is what gives this version its extra thickness and warmth.
Can you make a tie blanket with flannel?
This is where I’d clarify terminology:
You can make different styles of blankets with flannel, but this tutorial is a sewn blanket with batting, not the cut-and-knot style commonly used for fleece tie blankets. The small hand ties in this project are added after sewing to help hold the batting in place.
Do you think they like their new blankets?
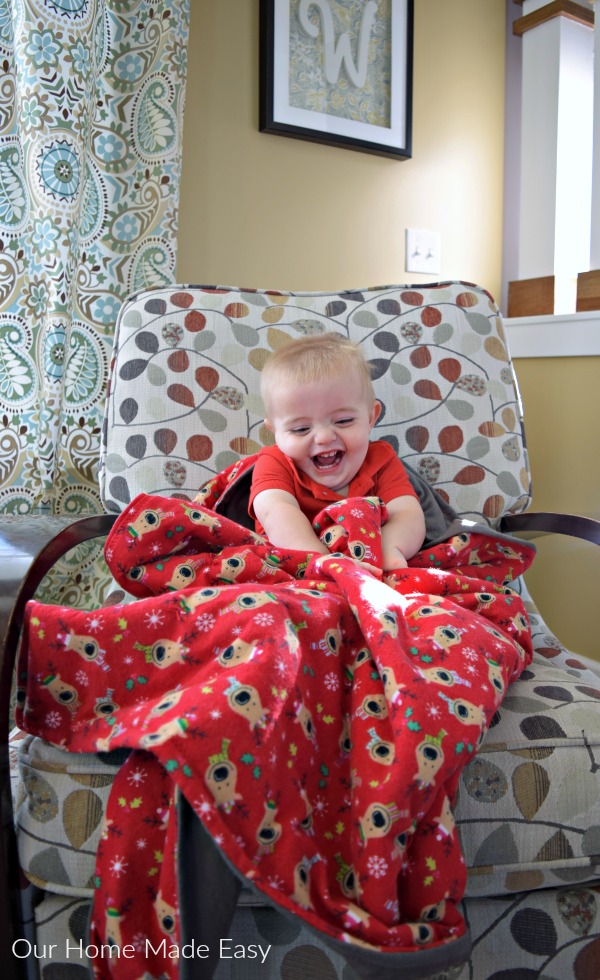
and older sister couldn’t be left out either!
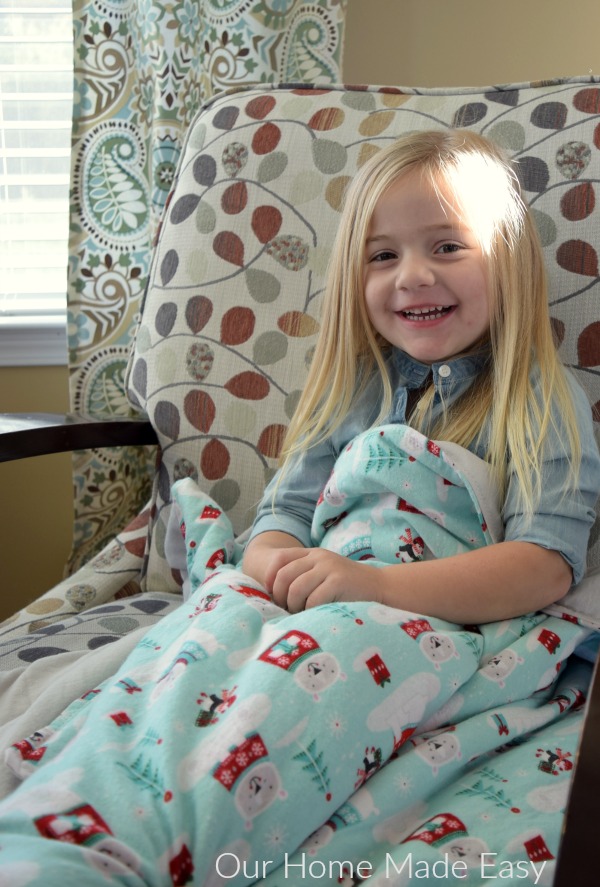
It’s hard to believe I originally made these blankets for Aubrey and Owen when they were little. That’s one of the things I love about simple handmade projects like this. The fabric they chose made each blanket completely their own, and the finished blankets were cozy enough to use for years. If you’re making one for a child in your life, let them help choose the flannel. It makes an already simple project feel a little more special.
Super Soft & Cozy Winter Flannel Blankets
These super soft and cozy DIY flannel blankets are such an easy sewing project! Perfect for kids to cuddle up with in the colder months.
Materials
- Flannel Fabric – 1.5–2 yards for each side of the blanket. Choose two coordinating flannel prints or colors you love.
- Polyester Batting – One piece large enough to fit inside your finished blanket. This adds the extra warmth and cozy thickness.
- Coordinating Thread – Choose a thread color that blends well with your flannel, especially since some of the stitching will be visible.
- Optional Fabric for Appliqué – A small piece of coordinating fabric if you'd like to personalize the blanket with a letter or simple design.
- Pearl Cotton or Embroidery Floss – Used to create the small hand-tied knots that keep the batting from shifting inside the blanket.
- Large Hand-Sewing Needle – Choose one with an eye large enough to accommodate your pearl cotton or embroidery floss.
Tools
- Sewing Machine – You'll only need basic straight and zig-zag stitches for this project.
- Straight Pins – You'll use these to hold the flannel layers together and later to keep the batting in place.
- Fabric Scissors – For trimming the flannel, batting and loose threads.
- Iron + Ironing Board – Pressing the blanket helps flatten the seams and makes the final topstitching much easier.
Instructions
Prep the Fabric
Start by pre-washing your flannel. Once your fabric is pre-washed quickly clip off any hanging threads. you don't have to get them all, but get the larger ones out of your way.
Choose to Personalize your Flannel Blanket
To add a special extra touch, you can quickly add an initial or simple image on your fabric.
Assemble Your Blanket
Take your flannel and match right sides together. Quickly pin them in place. Make sure to leave plenty of room to insert the batting by leaving a very large opening. Like super large. 😉
Sew around the outer perimeter with thread. I use an inexpensive white thread and use my straight stitch at its default settings. Snip off the 4 corners to help the blanket lie better. Anytime you can remove excess fabric, it's a wonderful thing.
Turn the blanket inside out so that now, it looks like your blanket! Make sure to push out the corners.
Insert the Polyester Batting
With your blanket assembled and turned out correctly, lay your batting over the blanket. Trim the batting so that it fits within your blanket. If you cut it too large, the batting will scrunch up.
Next, stuff your batting inside the blanket. I found the easiest way to do this is to insert the batting in slowly and not crumbled up. Then, take a straight pin and pin one corner flush in the top corners by your opening. By doing this is the corners closest to you, you can smooth out the rest of the blanket. It's super simple this way.
As you move down, or away from your top pins, adjust the batting to be flush against the inner edges. I pinned as I went so that it didn't move after I adjusted it.
Press the Blanket
To help keep everything in place before the last sewing, quickly run a hot iron over the blanket and edges. I found that it helped keep the batting in place and smoothed it all out as I applied the pressure. Press close your blanket opening.
Top Stitch the Flannel Blanket
Close up the blanket opening with a straight stitch. Some people prefer to catch the opening in their top stitch, but I'm not that good. And I wash their blankets every week, so durability is a must. Therefore, an inconspicuous straight stitch it is.
Next, sew a decorative stitch, in a coordinating thread, over the top of the flannel blanket. I always choose a zig-zag stitch because it's super quick and uses minimal amounts of thread. I found that the batting shifted slightly during the process, even if it was pinned. Overall, it stayed in place, didn't bulk up anywhere and laid flat throughout the entire process.
Hand Tied Knots
To keep the batting from moving-- ever, add several hand tied knots with inexpensive embroidery floss.
Want to remember this post? Pin for later!


Hi, I’m Brittany, and I believe life at home should feel easier, not heavier.
I’m the creator of Our Home Made Easy, a space for busy women who want dinner on the table, their homes running smoothly, and a little breathing room at the end of the day.
You won’t find perfection here, just realistic recipes, smart shortcuts, and simple routines that work in real life. The kind that help you feed your family well, stay organized enough, and still have time to actually enjoy it.
If you’re juggling work, kids, schedules, and everything in between, you’re in the right place. I’m so glad you’re here.





My kids would love these. Whenever I go to the fabric store, there are so many awesome flannel fabrics. Of course, here in Arizona, it’s never cold for long but it’d be nice for each kid to have their own little blanket when they watch TV. Visiting from Friday Favorites party.
They were super easy to make and the kids still curl up in them (surprising given their short attentions spans)! My parents live in Glendale… so I suppose you could just turn up the AC and turn on some Christmas music?! 🙂 Thanks for stopping by! -Brittany
These are great! We’re in Chicago, so it’s cold here MOST of the year. My girls would really enjoy picking out their own fabric to make blankets! Hand made is SO much better than store bought! Thanks for the tutorial!
I agree! I know they are Christmas themed– but the kids still love wrapping themselves up in them! I think I may have find a more seasonally appropriate print for the rest of the year 🙂 Thank you for stopping by Jamy! -Brit
These are really cute & simple, win win! If you lay the batting as a third layer when you are sewing the perimeter of the blanket it makes it even easier! Sew all sides, trim the excess, flip it right sides out & sew the access point & top stitch the whole blanket. Thank you for the nice clear tutorial 🙂
Oh that is a wonderful idea, too! Thank you for sharing Michelle!
So cute! Love the mint blanket!!! Make it one step easier on yourself and stack your flannels right side together as you said but put the batting as a 3rd layer! Sew em together as you do and turn the whole works right side out…bam! Done! ?. Thanks for the great idea for Christmas!
GENIUS!! Thank you for the tip, Christine!
I love that you are inserting the batting later. Plan to teach my granddaughter to sew this summer and this would be a great project.
That’s wonderful! I hope you two have a lovely time sewing together.
What size would you make this if your wanting to make and adult size one?
The 42 x 72 ( full width of fabric by 2 yards) works great for adults!
Very cute, will definitely make these. I assume the zigzag over the top of the blanket is meant to be around the perimeter, but not exactly specified as that, nor how deep from the edge.
Yes, zigzag along the outer perimeter at your preference!
My grandmother made each day f her grandchildren one of these blankets (I’m 48). She called them cuddle blankets and they are treasured to this day. I’ve been looking at fabric to make each of my brother’s children one for Christmas. ❤️
What a cherished memory. My kids still use these blankets when it gets chilly outside!