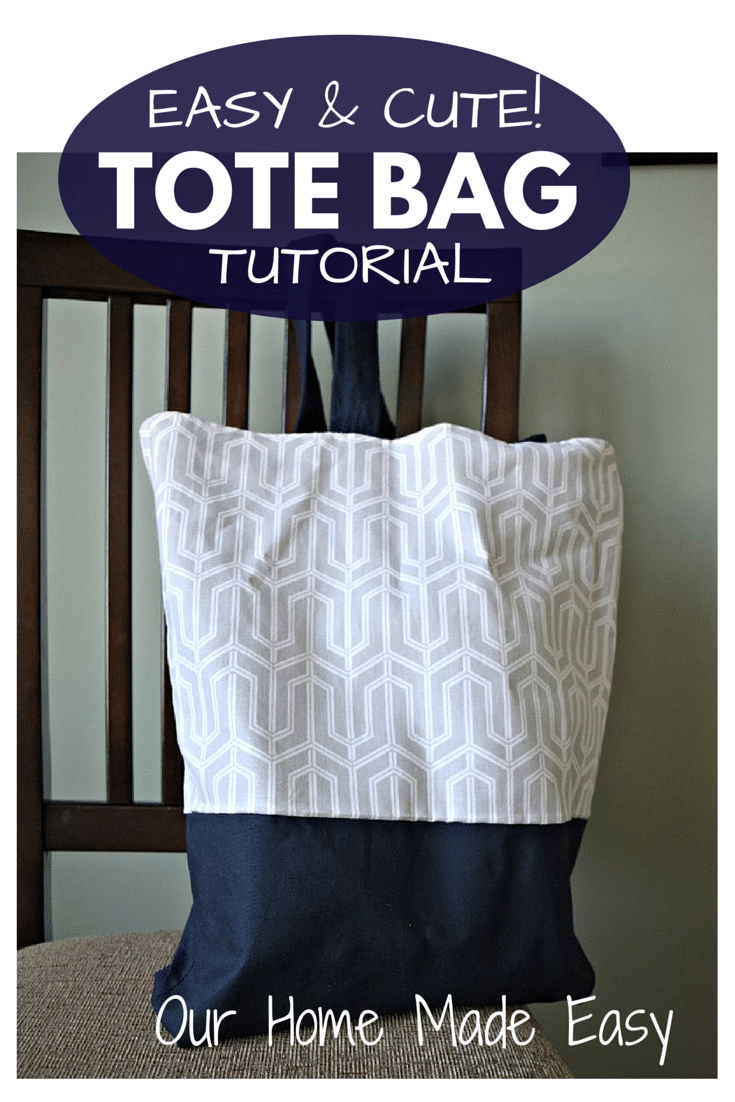
Super Easy & Cute Tote Bag Tutorial
It’s almost springtime! When it’s spring, I love to find a new tote bag to feel festive. Somehow they always look cute and come in so many perfect sizes. Since I am always looking for a new project, I thought that perhaps I’d make something for ME. I started sewing a year ago. Since then, I’ve enjoyed learning how to sew items for my babies, home, and gifts for friends. A cute tote bag would be the perfect thing to try next! Yes, that is right, this Mama is making something for herself.
I am a huge fan of the Crazy Little Projects blog. Amber shows sewing newbies some wonderful (and easy to follow) tutorials. I learned how to sew using her sewing series and I immediately thought of her how-tos when it came to making my tote bag. This tutorial was very easy for a first timer and pretty darn adorable!
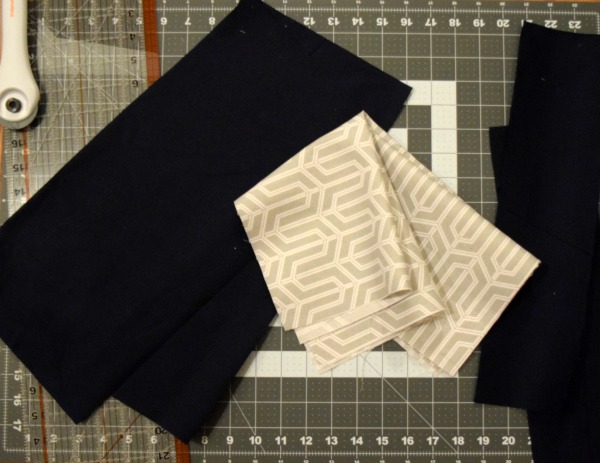
The tutorial called for canvas. I had never sewn with canvas before and I was looking forward to my options! I picked out three coordinating fabrics and started sewing.
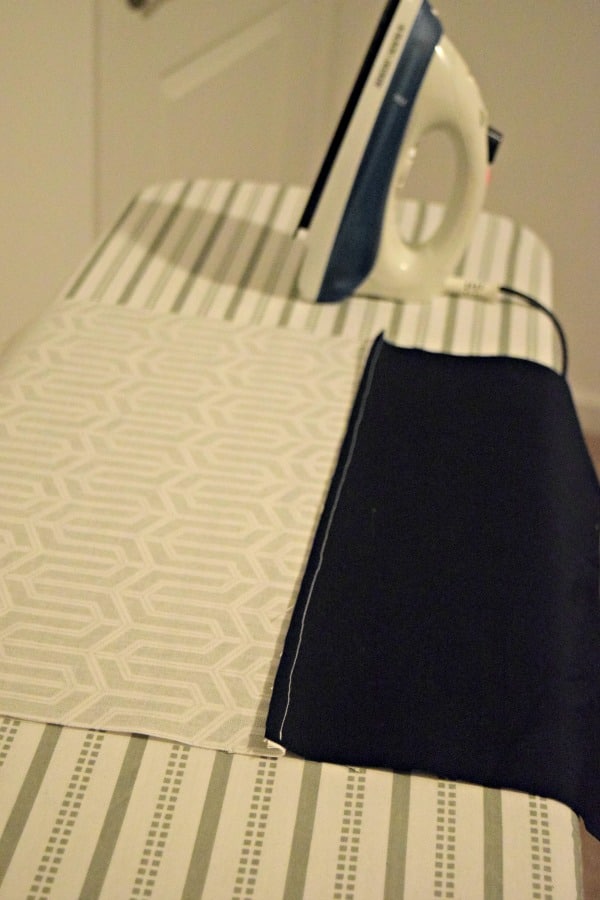
Like any other project that I sew, I make sure to always press the seams. Everything lays so much better when pressed.
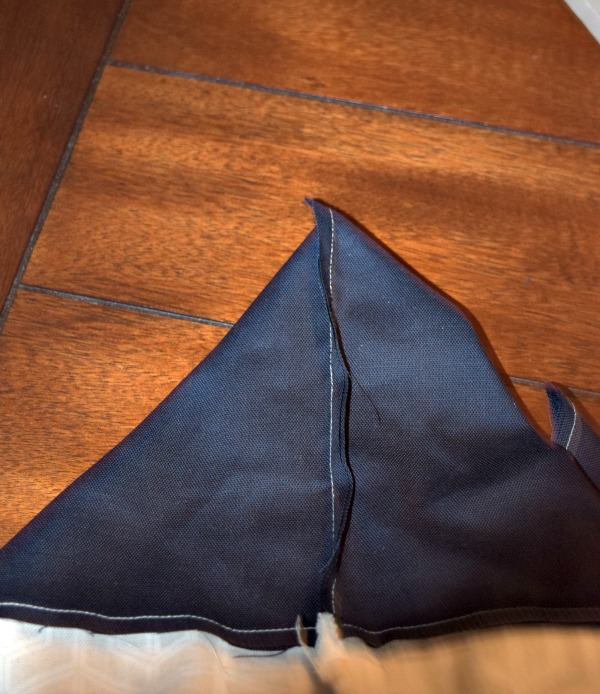
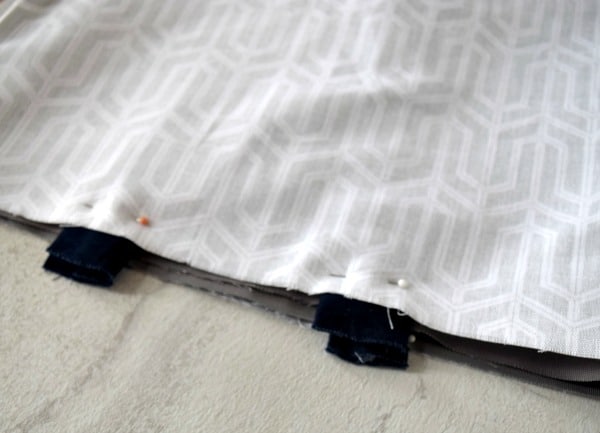
The tutorial called for making squared off box corners. I had never made these before and was a little perplexed! So I took lots of pictures to document my attempt at making box corners. Here I am folding out the corners to a point. Each side is folded out to form a diagonal.
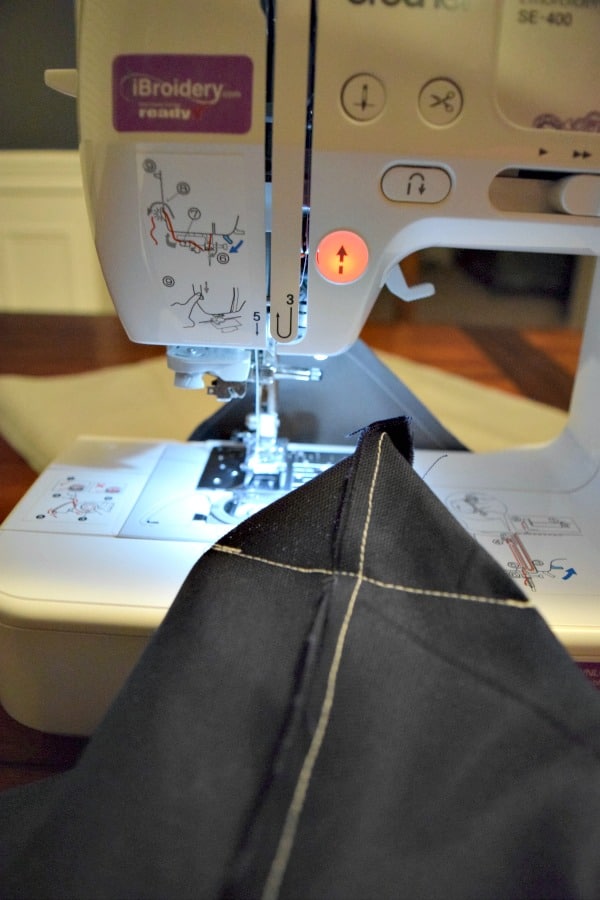
Then, I sewed a straight line across the bag to seal off the corners. I measured in the same distance on both sides. Notice how I doubled up on the ends to reinforce the seams. This may not be necessary, but for my first tote bag, I wanted it to be sturdy!
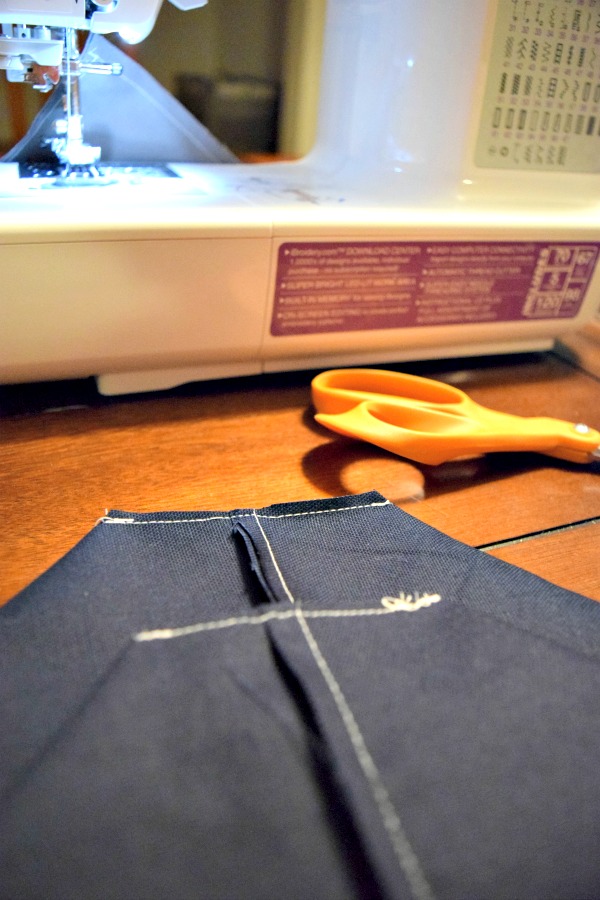
Then, I cut off the corners! This was pretty unnerving. What if I did it incorrectly?!
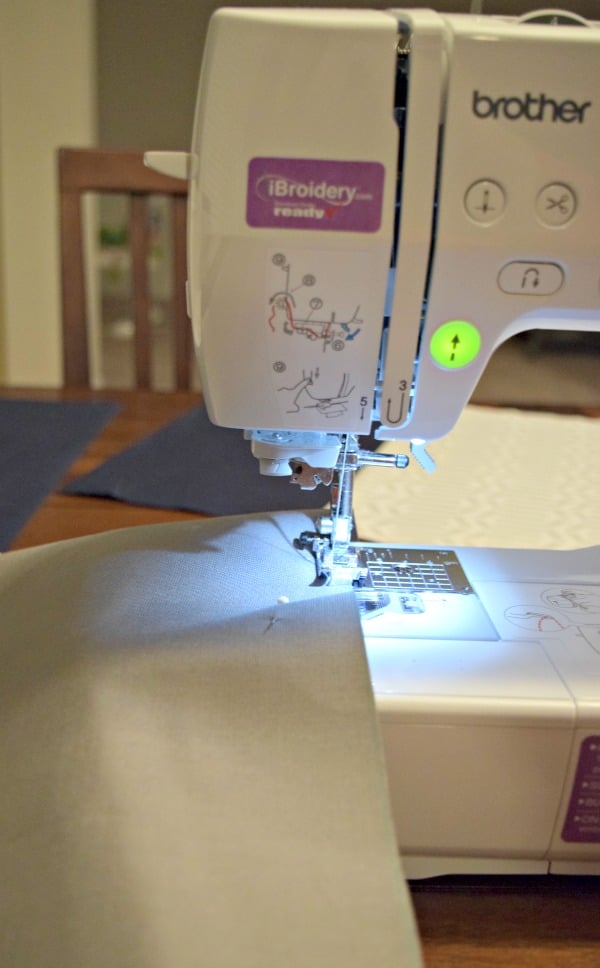
I used a solid gray for my lining. This tote was moving along nicely and easily!
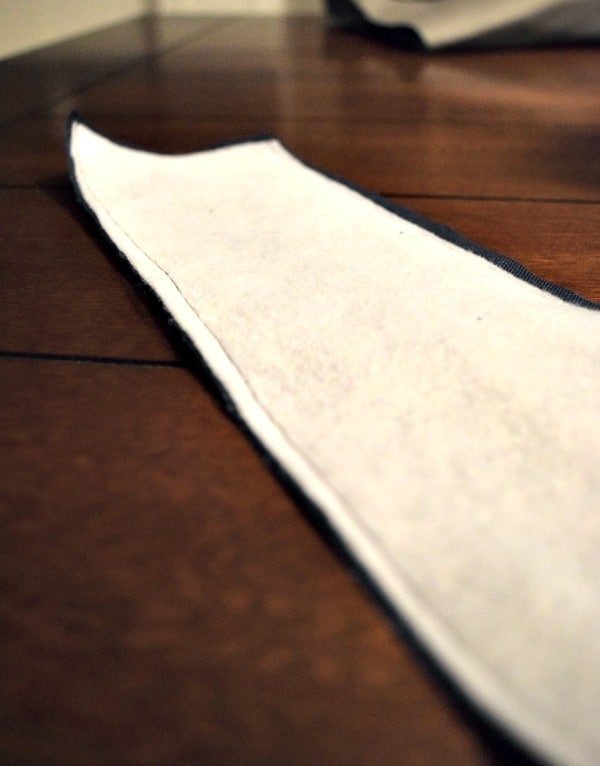
Then, my trouble arrived! These straps were no joke. I used the interfacing and in the end, made the straps feel sturdier than not. My trouble was in turning the narrow straps with the interfacing. I spent too much time trying to do this. Thank goodness I have a husband who is always helping me out. He had them turned in less than 5 minutes! He used the safety-pin method.

Finished straps! I was a little too excited to have them finished and pressed.
By this point I was feeling somewhat accomplished when I slid the outer fabric, straps, and inner linings together. Make sure you leave enough room to turn it out correctly.
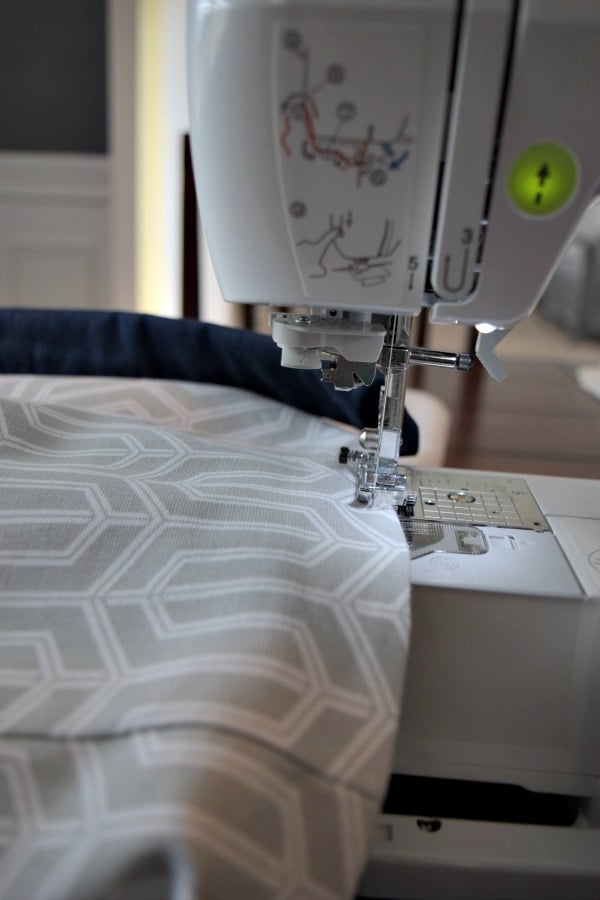
When I turned them right side out, I finished the tote with a quick top stitch across the top.
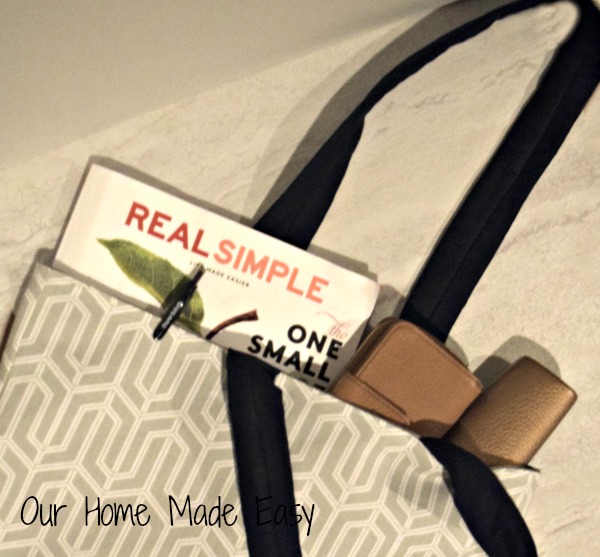
All finished! I am loving the fun nautical colors and have already used it a few times. Do you have a go-to tote that you love?

Hi, I’m Brittany, and I believe life at home should feel easier, not heavier.
I’m the creator of Our Home Made Easy, a space for busy women who want dinner on the table, their homes running smoothly, and a little breathing room at the end of the day.
You won’t find perfection here, just realistic recipes, smart shortcuts, and simple routines that work in real life. The kind that help you feed your family well, stay organized enough, and still have time to actually enjoy it.
If you’re juggling work, kids, schedules, and everything in between, you’re in the right place. I’m so glad you’re here.


Super cute bag! I also love the nautical colors! Thanks for sharing tutorial!
Happy Easter to you and family!
Hugs and love from Portugal,
Ana Love Craft
http://www.lovecraft2012.blogspot.com
Thank you! I hope that your family has a wonderful Easter as well!
Love the fabric you used to make this practical tote–very pretty indeed!
–G
Thanks, Ginger! It’s perfect for spring. Bring on the sunshine! 🙂