How to Replace an Old Light Like a Pro!
I have a new home builder secret…. they give you the same lights for the entire house. Yes, the lights that are above our kitchen island and are intended for hanging pendants are the same fixtures as the light attached to the two story ceiling. And they are not beautiful as a sea of continuity. When we moved in, we had 12 of the same lights on the first floor. In addition to those lights, we also had 2 coordinating chandeliers. What is a family to do? Replace them of course! Here is an easy step by step method of replacing your old light with something wayyyy more modern ( and your style)!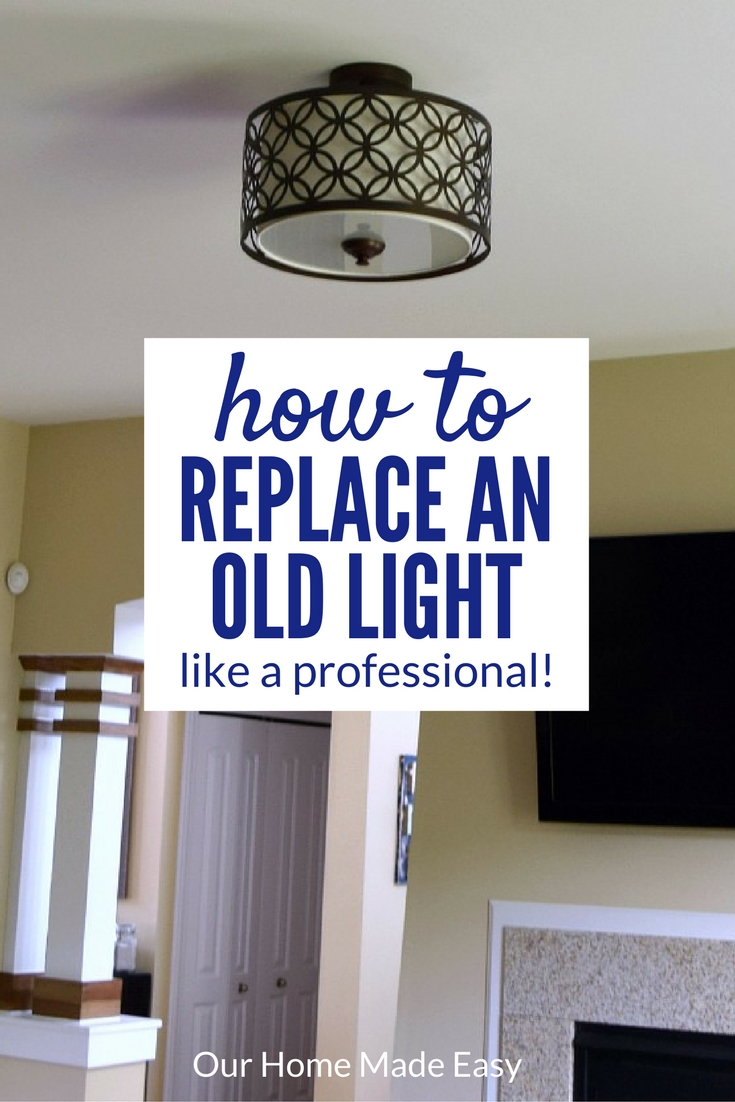
Remember, typically, your hot wire is black, neutral is white, and or bare is your ground. Your color scheme may be different based on where you live or when your home was built. Always consult with a licensed electrician if you are unsure!
The Home Builder’s Light
First, we need to take a look at the before. This particular light is in our Hearth Room. The home builder intended for us to use the room as a dining space and gave us this chandelier to ground the space. I didn’t have any intention of actually using it as a dining space. You can read the story of Hearth Room vs. Eat – In Kitchen.
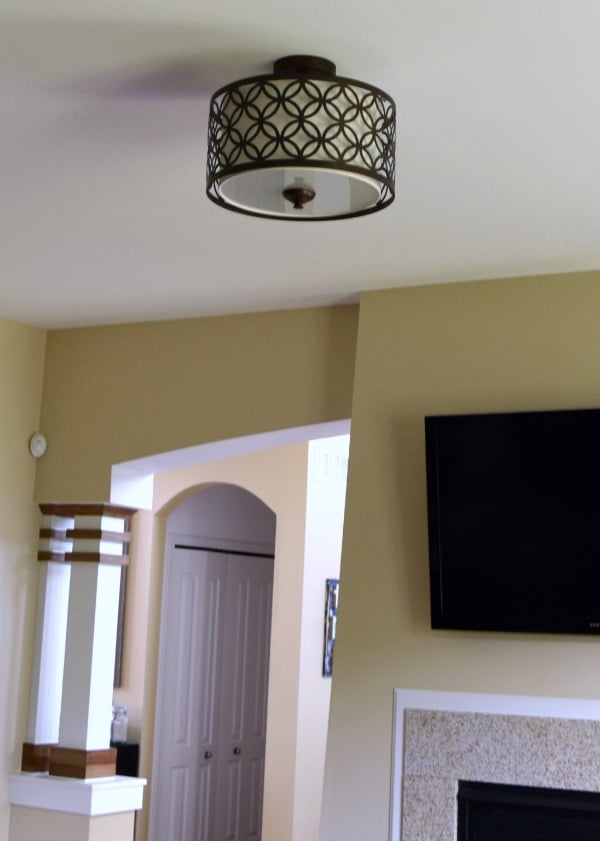
We chose this particular light because I enjoy watching the morning news when I get lunches and coffee ready in the mornings. My only requirements to Jordan were the new light fixture needed to be any color but polished nickel AND sit high enough to maintain eyesight with the TV (it’s mounted on the fireplace).

Welp, the best before photo included an ‘on-the-run’ toddler. In case you haven’t already noticed, A + O are always at our toes “helping” with our DIY projects. That includes the super messy, super loud, and generally great tasting projects.
This post contains affiliate links. If you shop from my blog, I may be compensated for clicks or purchases that you make. Thank you for supporting ‘Our Home Made Easy!’ Read my disclaimer page for more information.
Supplies Needed for Replacing an Old Light (* aff. link)
-
- A fun new light! ( I used this one *)
- Extra Wire Nuts*
- Electrical Tape
- Drill*
- Wire Strippers
Optional: For things around the house, we rely heavily on this little platform. It raises us 3 feet in the air and then we can reach everything! Definitely not needed for this project (Jordan used it), but just one of those nice to haves that we never expected to use so much.
Remove the Old Light
Let’s get to it! First you need to cut the power to the source. This seems like such common sense, until you forget it. Do not forget turning off the power! That is one thing I love about living with an engineer, he always remembers these silly steps that I sometimes forget about!
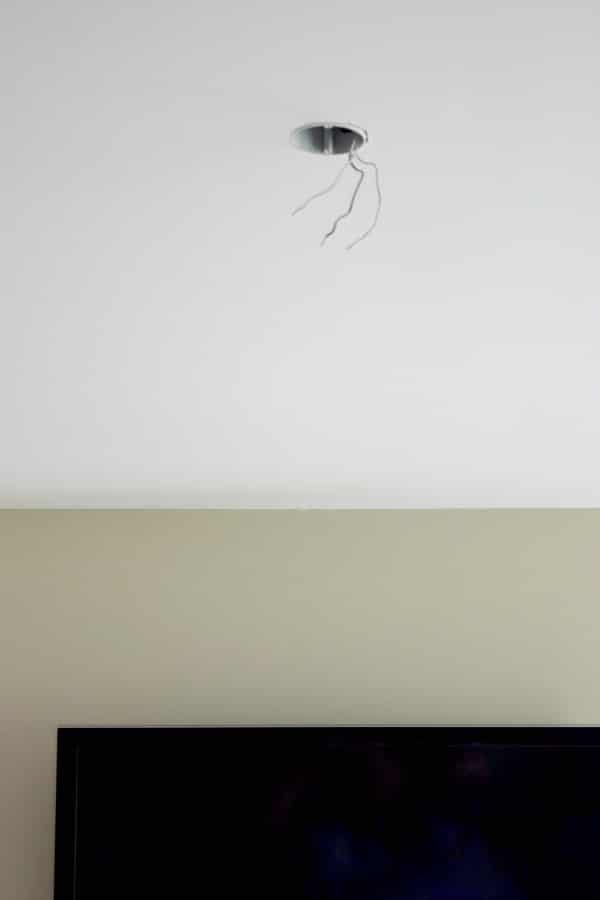
Next, remove the current light. This is easier than you think! Start by loosening the screws of your current light. Then, twist the fixture slightly until is comes loose from the ceiling (your model may require removing the screws completely). Then, remove the current installed mounting bracket (the small flat rectangular piece) and keep all the brackets and screws with the light in case you need it later for another project. Once the light is physically separated from the ceiling, carefully lower the fixture. Now you will want to remove the electrical connections. Be careful to support the light so that when you remove the connections, the light does not fall to the floor.
Remember, typically, your hot wire is black, neutral is white, and or bare is your ground. Your color scheme may be different based on where you live or when your home was built. Always consult with a licensed electrician if you are unsure!
Install Replacement Light
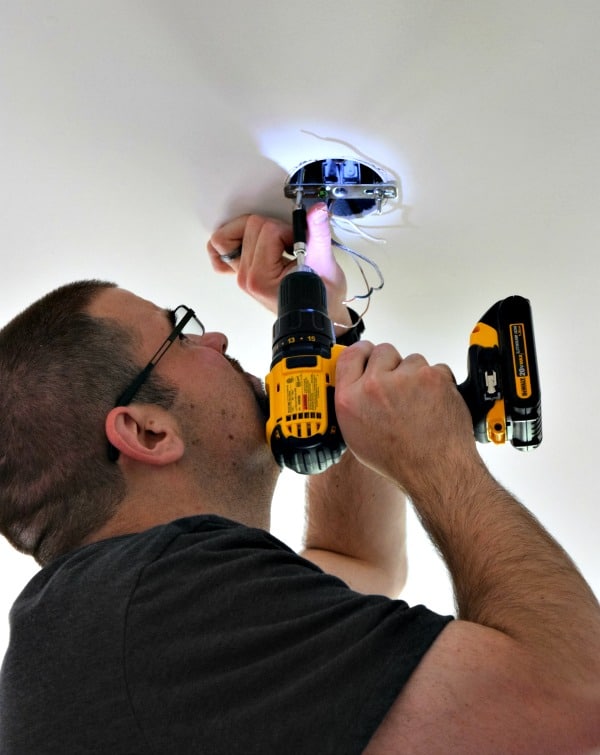
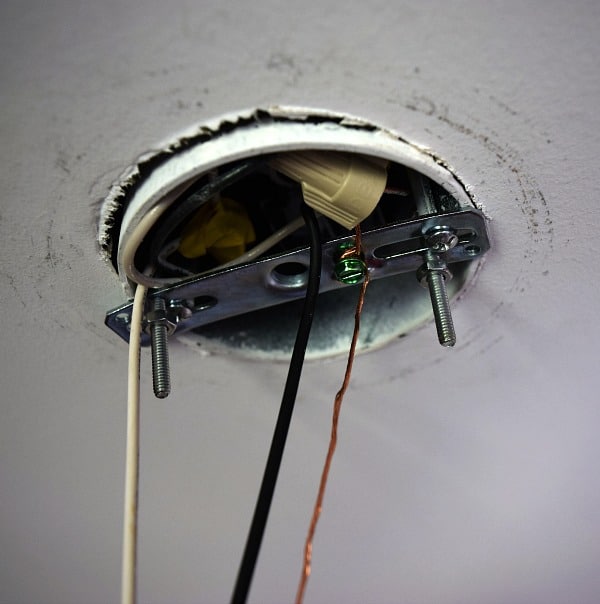
Now it’s time to install the bracket that will physically hold your new light in place. This should arrive with your new light. Screw in the new bracket into the ceiling electrical box.
Next you will need to connect the new light fixture wiring to the wiring coming from the ceiling. Remember, connect white to white, black to black, and green/bare to green/bare. Use the wire nuts provided, ensuring that you have the correct size. Each light has different recommendations for the ground so it a great idea to consult the instruction manual. As an extra layer of protections from any electrical shorts, wrap the separate colored groups of wire nuts and wires with electrical tape
Once the wiring is connected and secure, tuck them up into the ceiling electrical box. You’ll want to do this carefully so that you aren’t pulling the wiring on the new light fixture without already supporting it.
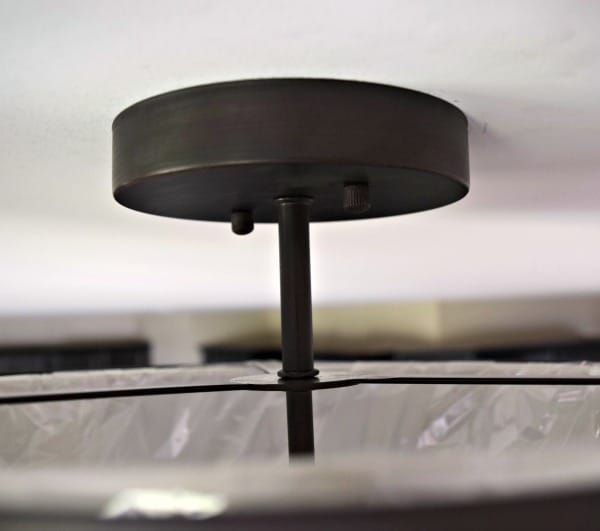
Next, carefully raise the new mounting and secure it to the ceiling. Each light fixture is different, but it should include some sort of cap nut that threads on to support screws coming from the mounting bracket. Take the time here to check if the light fixture is level. This is usually when Jordan yells for my approval.
Lastly, install the approved light bulbs and admire your hard work! Doesn’t this look so much better than the original? And it was an easy and inexpensive update that any one can do themselves!
Love a great DIY project? Be sure to grab your list of my favorite weekend warrior projects below!

Hi, I’m Brittany, and I believe life at home should feel easier, not heavier.
I’m the creator of Our Home Made Easy, a space for busy women who want dinner on the table, their homes running smoothly, and a little breathing room at the end of the day.
You won’t find perfection here, just realistic recipes, smart shortcuts, and simple routines that work in real life. The kind that help you feed your family well, stay organized enough, and still have time to actually enjoy it.
If you’re juggling work, kids, schedules, and everything in between, you’re in the right place. I’m so glad you’re here.


