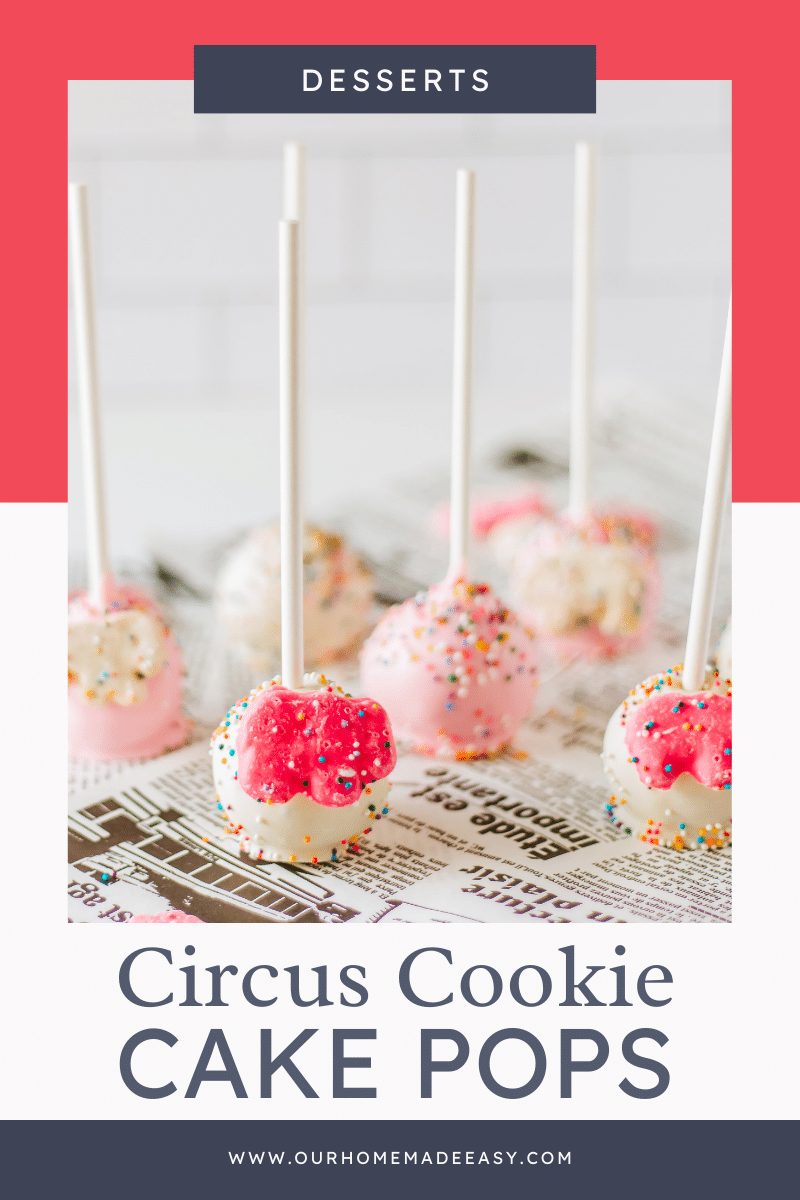
Frosted Animal Cookies Circus Cake Pop Recipe
Enjoy the nostalgia of frosted animal cookies with this yummy cake pop recipe. Create a fun and tasty treat for any occasion!
(This post may contain affiliate links. Please see my Disclaimer for more information.)
Do you remember the frosted animal cookies of your childhood?
These sweet, colorful treats have been a favorite of many for decades. Whether you enjoyed them as an after-school snack or at a birthday party, the nostalgia associated with these cookies is undeniable.
Admittedly, my kids haven’t enjoyed them nearly as much as I did when I was a kid. And I’d like to introduce them to one of my childhood favorites.
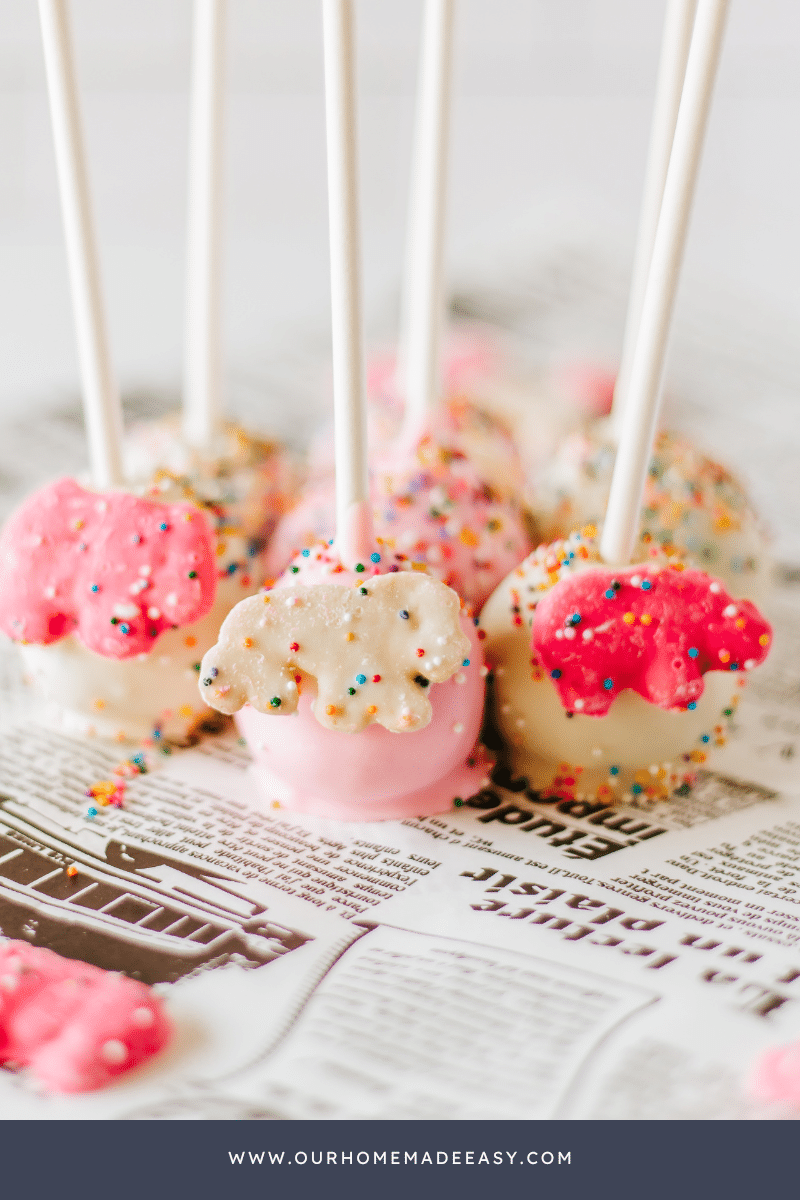
Frosted animal cookies are a type of shortbread cookie that is often shaped like different animals, such as lions, tigers, and bears. The cookies are then coated in a layer of sweet, colorful frosting, making them delicious and downright adorable.
For many people, frosted animal cookies are more than just a tasty snack. They are a reminder of simpler times when the biggest worry was whether or not you would get the pink or white cookie. In recent years, there has been a resurgence in the popularity of these cookies, with many bakeries even creating cake pops inspired by the classic treat.
But there’s no need to spend too much money buying these. You can make them at home easily!
Circus Cake Pops Nostalgia
How Animal Crackers Became the Stars of our Childhoods
Animal crackers have been a beloved snack for generations, dating back to the late 1800s. The original animal crackers were simple, bite-sized biscuits shaped like various animals. As toddlers turned into kids, they went from being plain crackers for early eaters into something we all know and love…
Evolution into Frosted Circus Animal Cookies
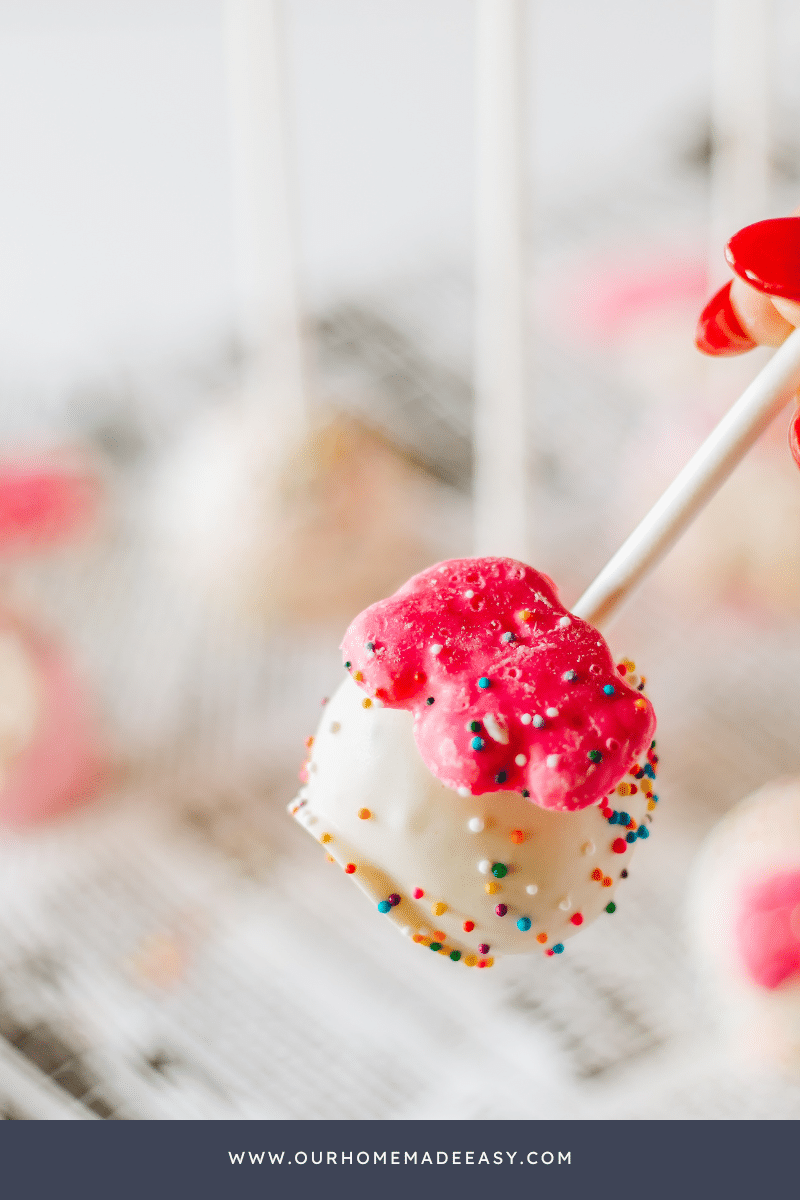
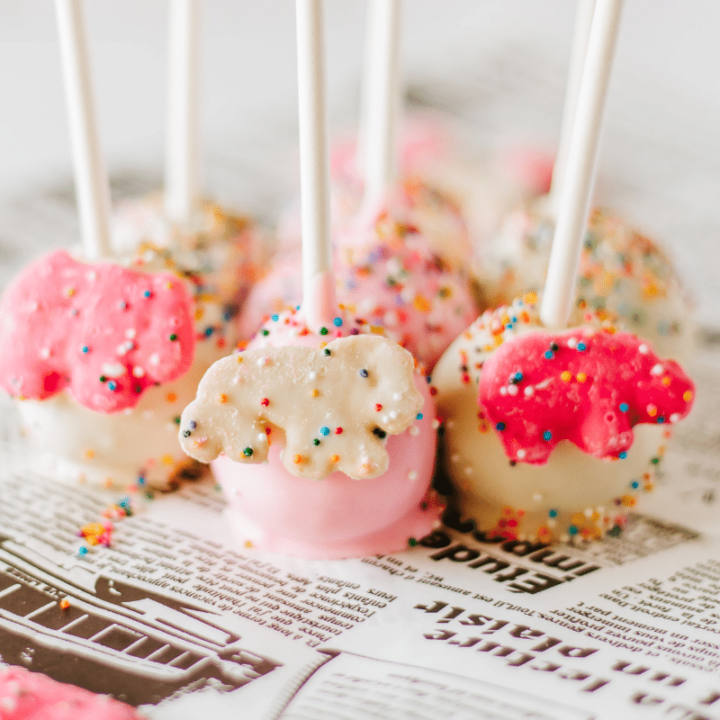
Over time, animal crackers evolved into the frosted circus animal cookies we know and love today. These cookies are larger and more colorful than their predecessors, with a sweet, creamy frosting and sprinkles on top.
Like myself, frosted circus animal cookies are a childhood favorite. They bring back memories of trips to grandmas or visits to our local Belden Village mall, and the fun and excitement of childhood. These cookies are not only delicious but also nostalgic, reminding us of simpler times and carefree days.
Whether you enjoy them as a snack or use them to decorate cakes and desserts, frosted circus animal cookies are a beloved treat that will always hold a special place in our hearts.
Frosted Animal Cookies Cake Pops Ingredients
If you’re looking for a fun and delicious treat to make, Frosted Animal Cookies Cake Pops are a great idea! These cake pops are made with a few simple ingredients, most of which you probably already have in your pantry. Here are the essential ingredients you’ll need to create these sweet and colorful treats.
Frosted Animal Cookie Cake Pop Ingredients
Gather these simple pantry staples before getting started:
How to Make Frosted Animal Cookies Cake Pops
If you love Frosted Animal Cookies and cake pops, then Frosted Animal Cookies Circus Cake Pops are the perfect treat for you. These cake pops are not only delicious but also cute and fun to make. Here’s a step-by-step guide on how to make them.
- Prep Your Cake Pop Dough
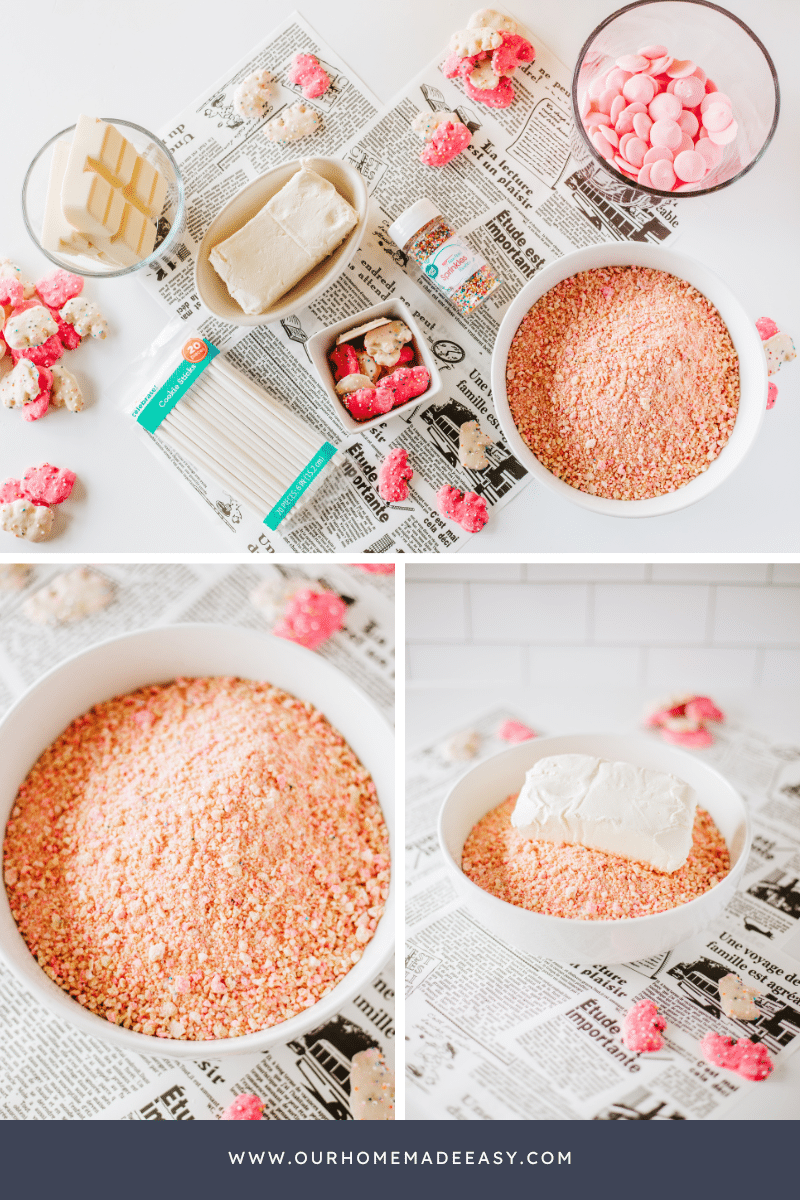
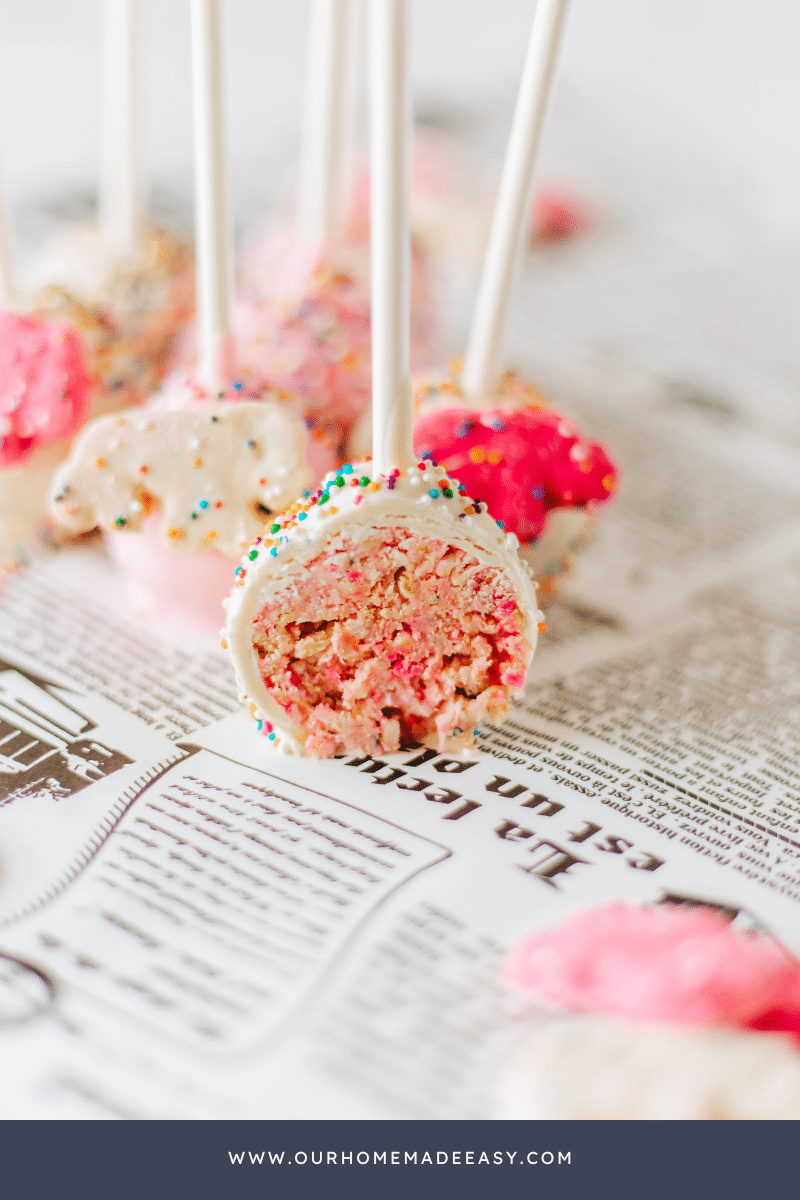
- You will need two bags of Frosted Animal Cookies and one block of cream cheese to make the cake pop dough. Start by setting aside about eight animal cookies and processing the rest in a food processor until they are fine. Combine the processed cookies and cream cheese in a large mixing bowl and make sure they are thoroughly combined.
- Roll Your Cake Pop Balls
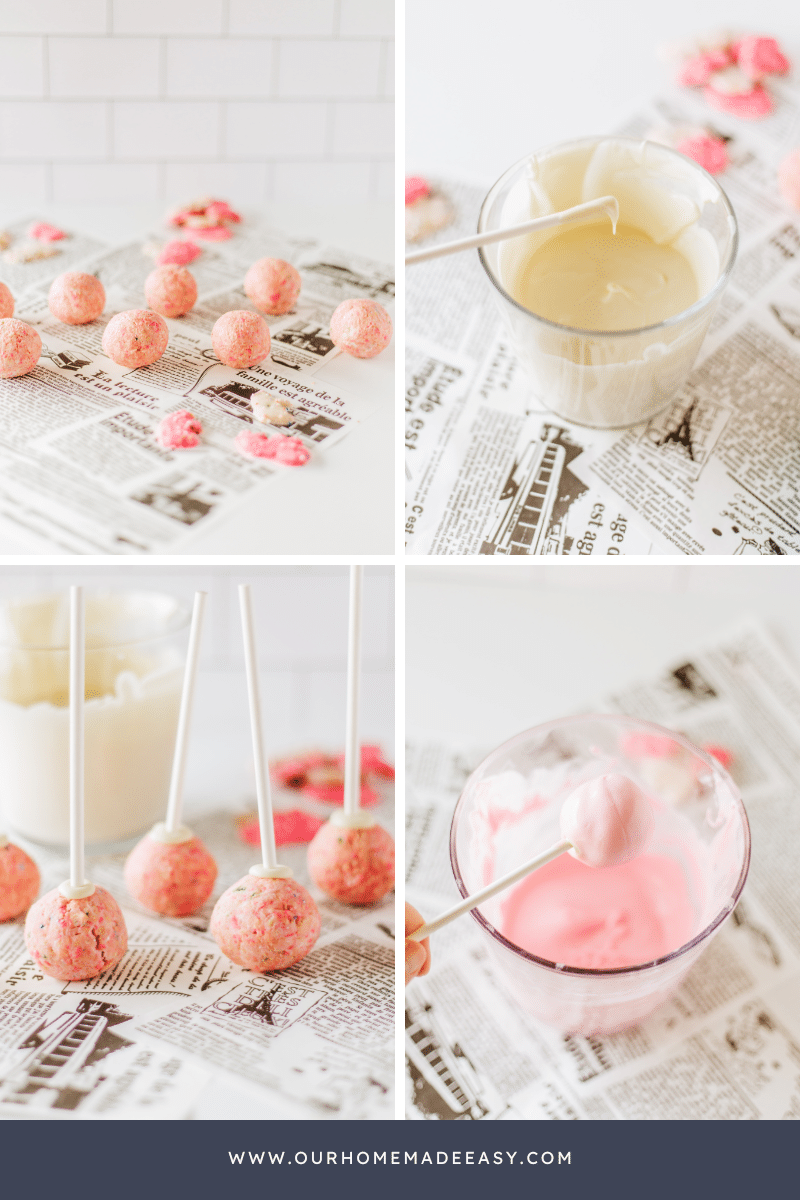
- Roll the mixture into 1-inch balls and place them on parchment paper. Refrigerate them for about an hour. There is no need to bake them since they are not actual cookies.
- Dip Your Cake Pops
- Melt down the pink and white chocolate in separate bowls. You can do this by placing them in the microwave in 45-second intervals, stirring after each interval, until they are smooth. Dip the end of your cake pop stick into the white melting chocolate and gently push the stick halfway through the cake pop. Hold the cake pop in the palm of your hand as you press the stick down into the cake pop.
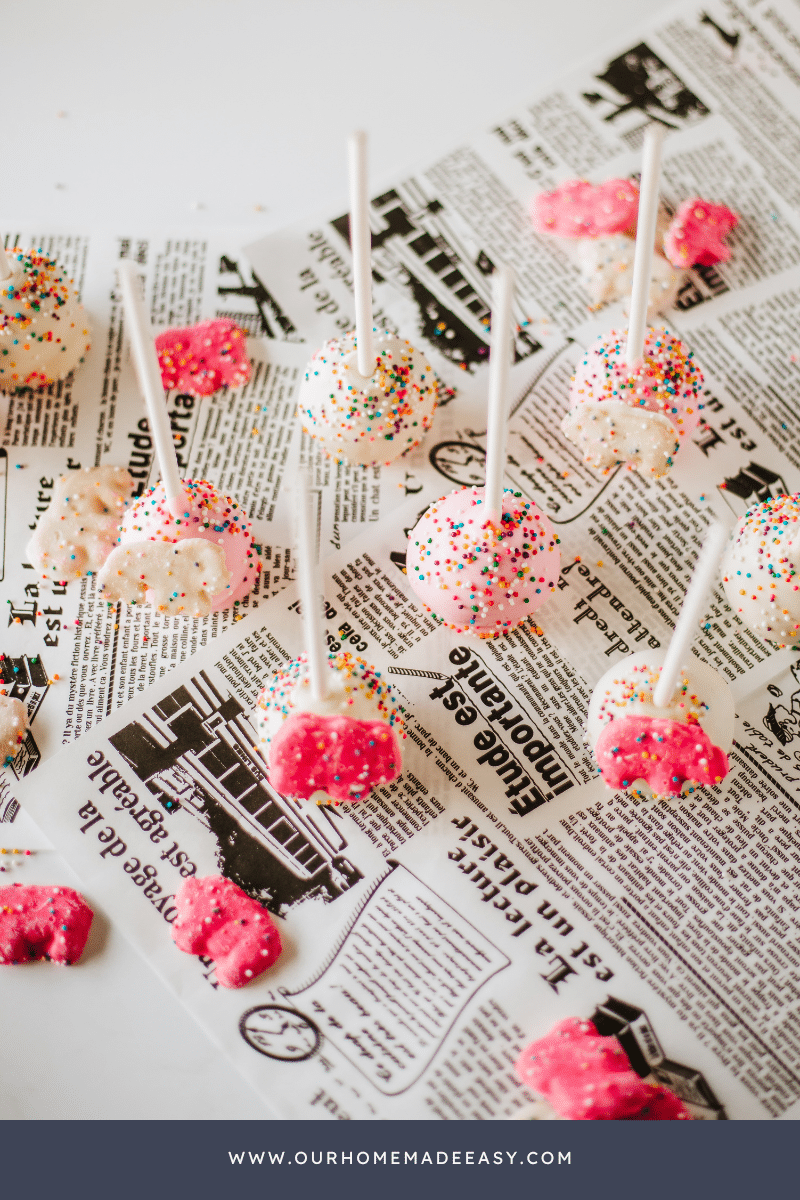
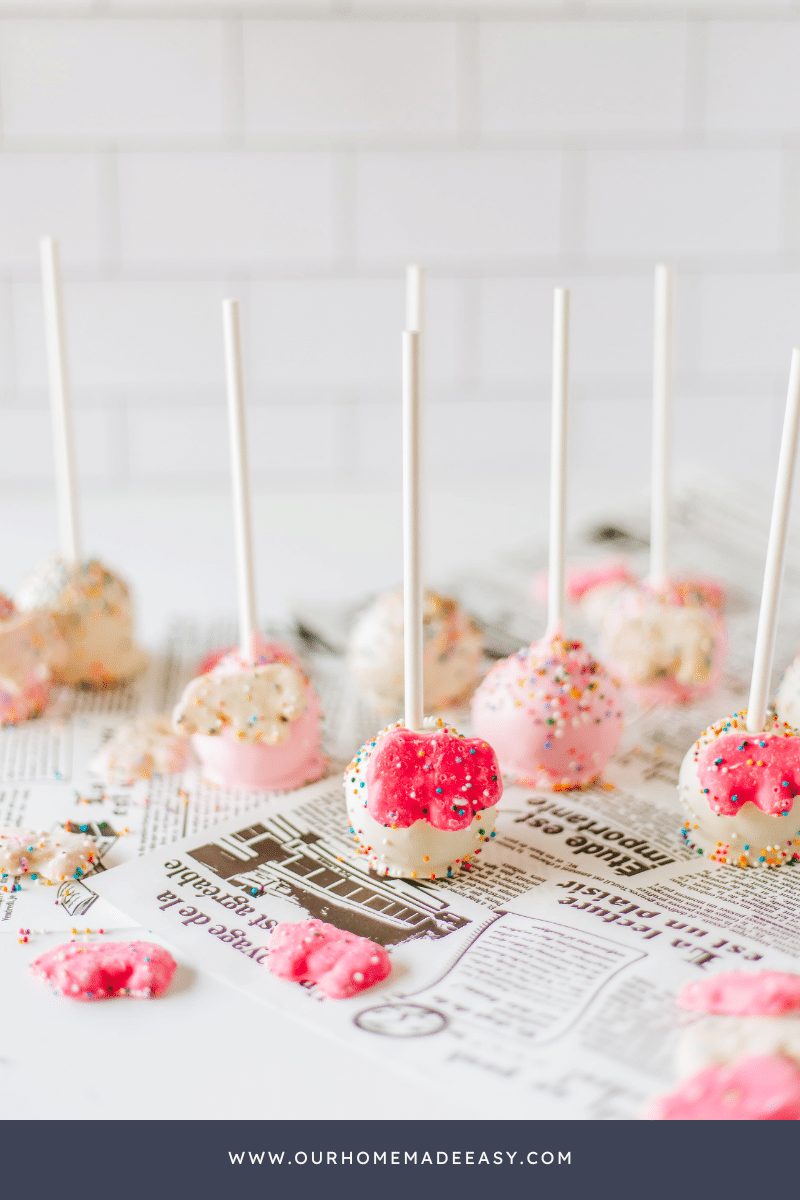
- Place them back in the fridge to set just briefly, then remove them from the fridge. Immediately dip half of the cake pop into the white melting chocolate and the other half into the pink melting chocolate. Shake off the excess chocolate and gently set them down on the parchment paper so the stick stands up straight. Sprinkle them with rainbow sprinkles BEFORE the chocolate sets.
- Decorate Your Cake Pops
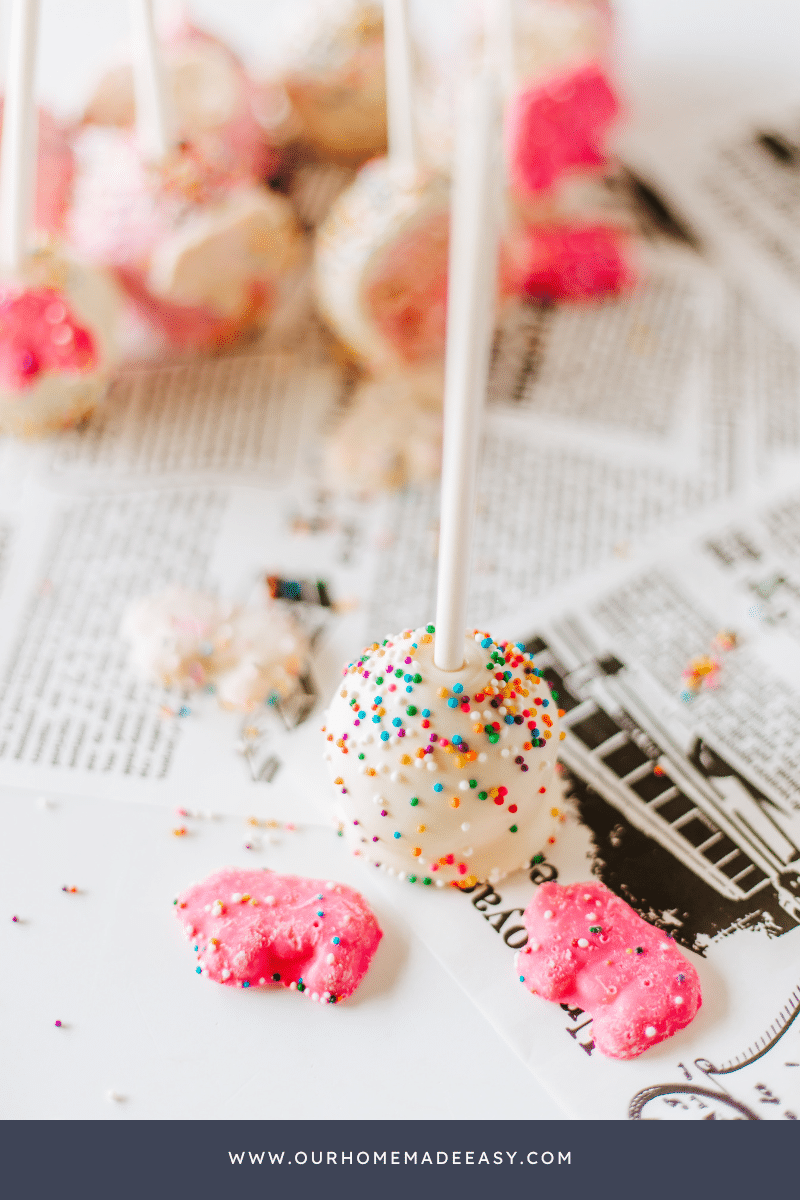
- Once they are set up and hardened, place a small amount of chocolate on the back of the cookies that you set aside. Add them to the side of some of your cake pops.
Find the measurements and full recipe below!
Storing Cake Pops
Once you’ve made your delicious frosted animal cookie circus cake pops, you’ll want to make sure they stay fresh and tasty for as long as possible. Here are some tips for storing them properly:
Keeping Cake Pops Fresh
To keep your cake pops fresh, store them in an airtight container at room temperature. You can also wrap them in plastic wrap to help keep them fresh. If you’re planning on eating them within a few days, this is the best way to store them.
Freezing for Long-Term Storage
If you want to store your cake pops for longer than a few days, you can freeze them. To freeze your cake pops, wrap them individually in plastic wrap and place them in an airtight container. They will keep in the freezer for up to three months.
When you’re ready to eat them, simply remove them from the freezer and let them thaw at room temperature for about 30 minutes before serving.
Remember, the key to keeping your cake pops fresh is to store them properly. By following these simple tips, you can enjoy your delicious frosted animal cookie circus cake pops for days or even weeks to come.
Cake Pops Pro Tips and Tricks
Here are some pro tips and tricks to help you get the best results.
Swapping Out Candy Melt Colors
The beauty of these Frosted Animal Cookies Cake Pops is that you can customize them to your liking and/or event theme. Have a specific baby shower or birthday party? Plan for two or three candy melt colors!
While the recipe calls for pink and white melting chocolates, you can experiment with different colors and flavors of melting chocolates to create a unique look and taste. You can also try different types of sprinkles or even add edible glitter for an extra sparkle.
Techniques for Best Cake Pop Results
To make sure your cake pops turn out perfectly, follow these techniques:
- Make sure your cake pop mixture is thoroughly combined. You do not want any lumps of cream cheese or cookie crumbs.
- Chill your cake pop mixture in the fridge for about an hour before shaping into balls. This will make it easier to handle and shape.
- Dip the end of your cake pop stick into the melting chocolate before inserting it into the cake pop. This will help it stick better.
- Do not leave your cake pops in the fridge for too long after dipping them in the melting chocolate. This can cause the chocolate to crack.
- Sprinkle your cake pops with rainbow sprinkles before the chocolate sets. This will ensure that the sprinkles stick to the chocolate.
- To add the adorable animal cookies to the side of your cake pops, melt a small amount of chocolate and use it as glue. Hold the cookie in place until the chocolate sets.
With these pro tips and tricks, you can make the perfect frosted animal cookie cake pops. Enjoy!
Cake Pops Frequently Asked Questions
How Could I Serve These For Birthday Parties or Baby Showers?
Frosted animal cookies are a fun and colorful addition to any party or gathering. You can display them on a platter or arrange them in a clear treat bag as a giveaway treat for a festive look. Consider using animal-themed decorations or party favors to tie in with the cake pop theme.
How Can I Hold The Cake Pops Upright to Dry?
After dipping your circus cake pops, you have two choices for allowing them to dry.
- You can set the cake pop stick side up to dry (as shown above)
- You can place your cake pop sticks into a foam block to allow them to dry. Either option works well!
Other No Bake Sweet Treats You’ll Love:
- Super Easy Cake Pops [Easter Dessert Recipe]
- The Best Christmas Grinch Cake Pops Recipe
- Grinch Golden Oreo Christmas Balls
- Easy White Chocolate Dipped Oreos (Perfect NYE Treat!)
Frosted Animal Cookies Cake Pops
Enjoy the nostalgia of frosted animal cookies with this yummy cake pop recipe. Create a fun and tasty treat for any occasion!
Ingredients
- (2) 9 oz. bags of Frosted Circus Cookies
- 1 block of Cream Cheese
- (1) 12 oz. bag of White Melting Chocolates
- (1) 12 oz. bag of Pink Melting Chocolates
- Rainbow Sprinkles
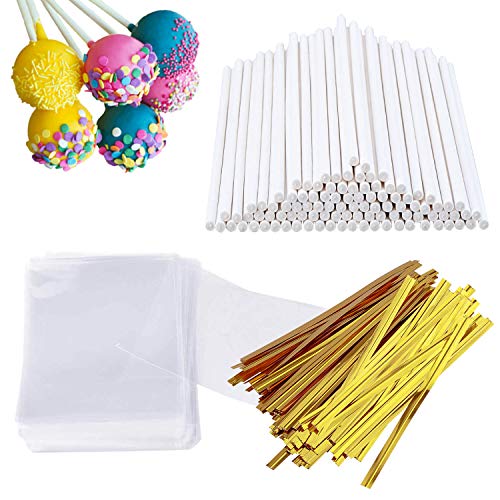
- Cake Pop Sticks
Instructions
- Start by setting about 8 animal cookies aside and process the rest in a food processor until fine.
- Combine your processed cookies and cream cheese in a large mixing bowl. Make sure it is thoroughly combined.
- Roll your mixture into 1 inch balls and place on parchment paper.
- Place in the fridge for about one hour.
- Melt down your pink chocolate and white chocolate in two separate bowls. I place mine in the microwave in 45 second intervals (stirring after each) until nice and smooth.
- Remove your cake pop balls from the refrigerator. Dip the end of your cake pop stick into your white melting chocolate and gently push the stick halfway through the cake pop. You may need to hold the cake pop in the palm of your hand as you’re pressing the stick down into the cake pop.
- Place them back in the fridge to set just briefly, 5-10 minutes
- Remove them from the fridge. Immediately dip half into your white melting chocolate and half into your pink melting chocolate.
- Make sure you shake off the excess chocolate and gently set them down on the parchment paper, so the stick stands up straight. Sprinkle them with rainbow sprinkles BEFORE your chocolate sets.
- Once they are set up and hardened. Place a small amount of chocolate on the back of the cookies that you set aside. Add them to the side of some of your cake pops.
- Serve and enjoy. These are sooo good!
Recommended Products
As an Amazon Associate and member of other affiliate programs, I earn from qualifying purchases.


Nutrition Information:
Yield: 12 Serving Size: 1Amount Per Serving: Calories: 431Total Fat: 24gSaturated Fat: 13gTrans Fat: 0gUnsaturated Fat: 9gCholesterol: 18mgSodium: 127mgCarbohydrates: 50gFiber: 2gSugar: 38gProtein: 6g


Hi, I’m Brittany, and I believe life at home should feel easier, not heavier.
I’m the creator of Our Home Made Easy, a space for busy women who want dinner on the table, their homes running smoothly, and a little breathing room at the end of the day.
You won’t find perfection here, just realistic recipes, smart shortcuts, and simple routines that work in real life. The kind that help you feed your family well, stay organized enough, and still have time to actually enjoy it.
If you’re juggling work, kids, schedules, and everything in between, you’re in the right place. I’m so glad you’re here.


