6 Easy Ways To Decorate Your Front Porch With Color
Feeling overwhelmed about adding color to your home? Here are 6 easy ways to decorate your front porch with color!
Hi everyone! I am super excited to have a great friend join us on Our Home Made Easy today. While I love pinning beautiful home decor every day, I have to share a something with you — sometimes I’m still unsure about how to add color well in our home. I’m always afraid to move out of our comfort zone of 2-3 colors!
Thankfully, my lovely friend Mauri is going to show you today 6 easy ways to decorate your front porch with color!
[Perfect for October, don’t you think?!]
Let’s welcome Mauri!
Hi friends! I’m Mauri from The American Patriette where I share my love of all things home, family, and hospitality. I’m a big believer that some of the simplest things make the biggest impact, so I love sharing easy tips and inspiration to help all of us bring warmth and comfort into our homes, and ultimately to cultivate them as places of gathering with others. I’m so thrilled to join Brittany and all of you on Our Home Made Easy today!
I know Brittany and her readers love beautiful and simple ways to decorate for the season, and I do too! I’m a huge lover of color, so I’m popping by today to offer some tips on how to bring in some seasonal color to your front porch.
Here are 6 easy ways to decorate your front porch with color!
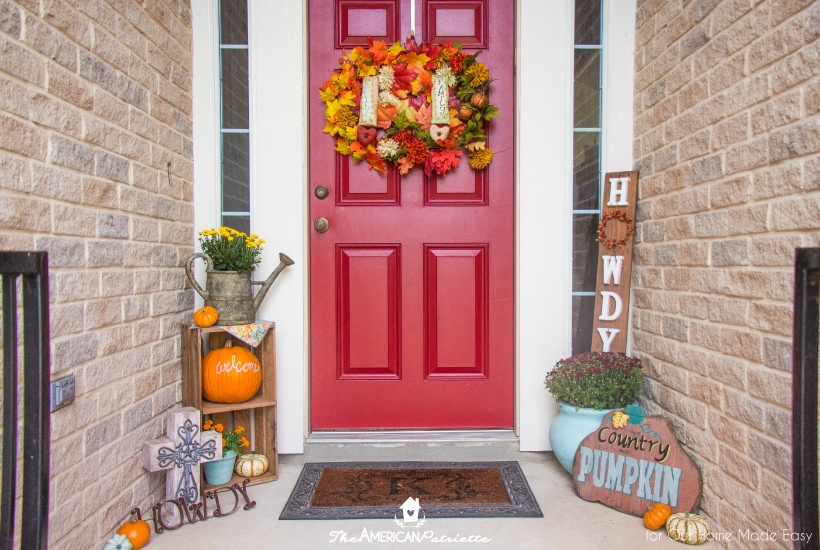
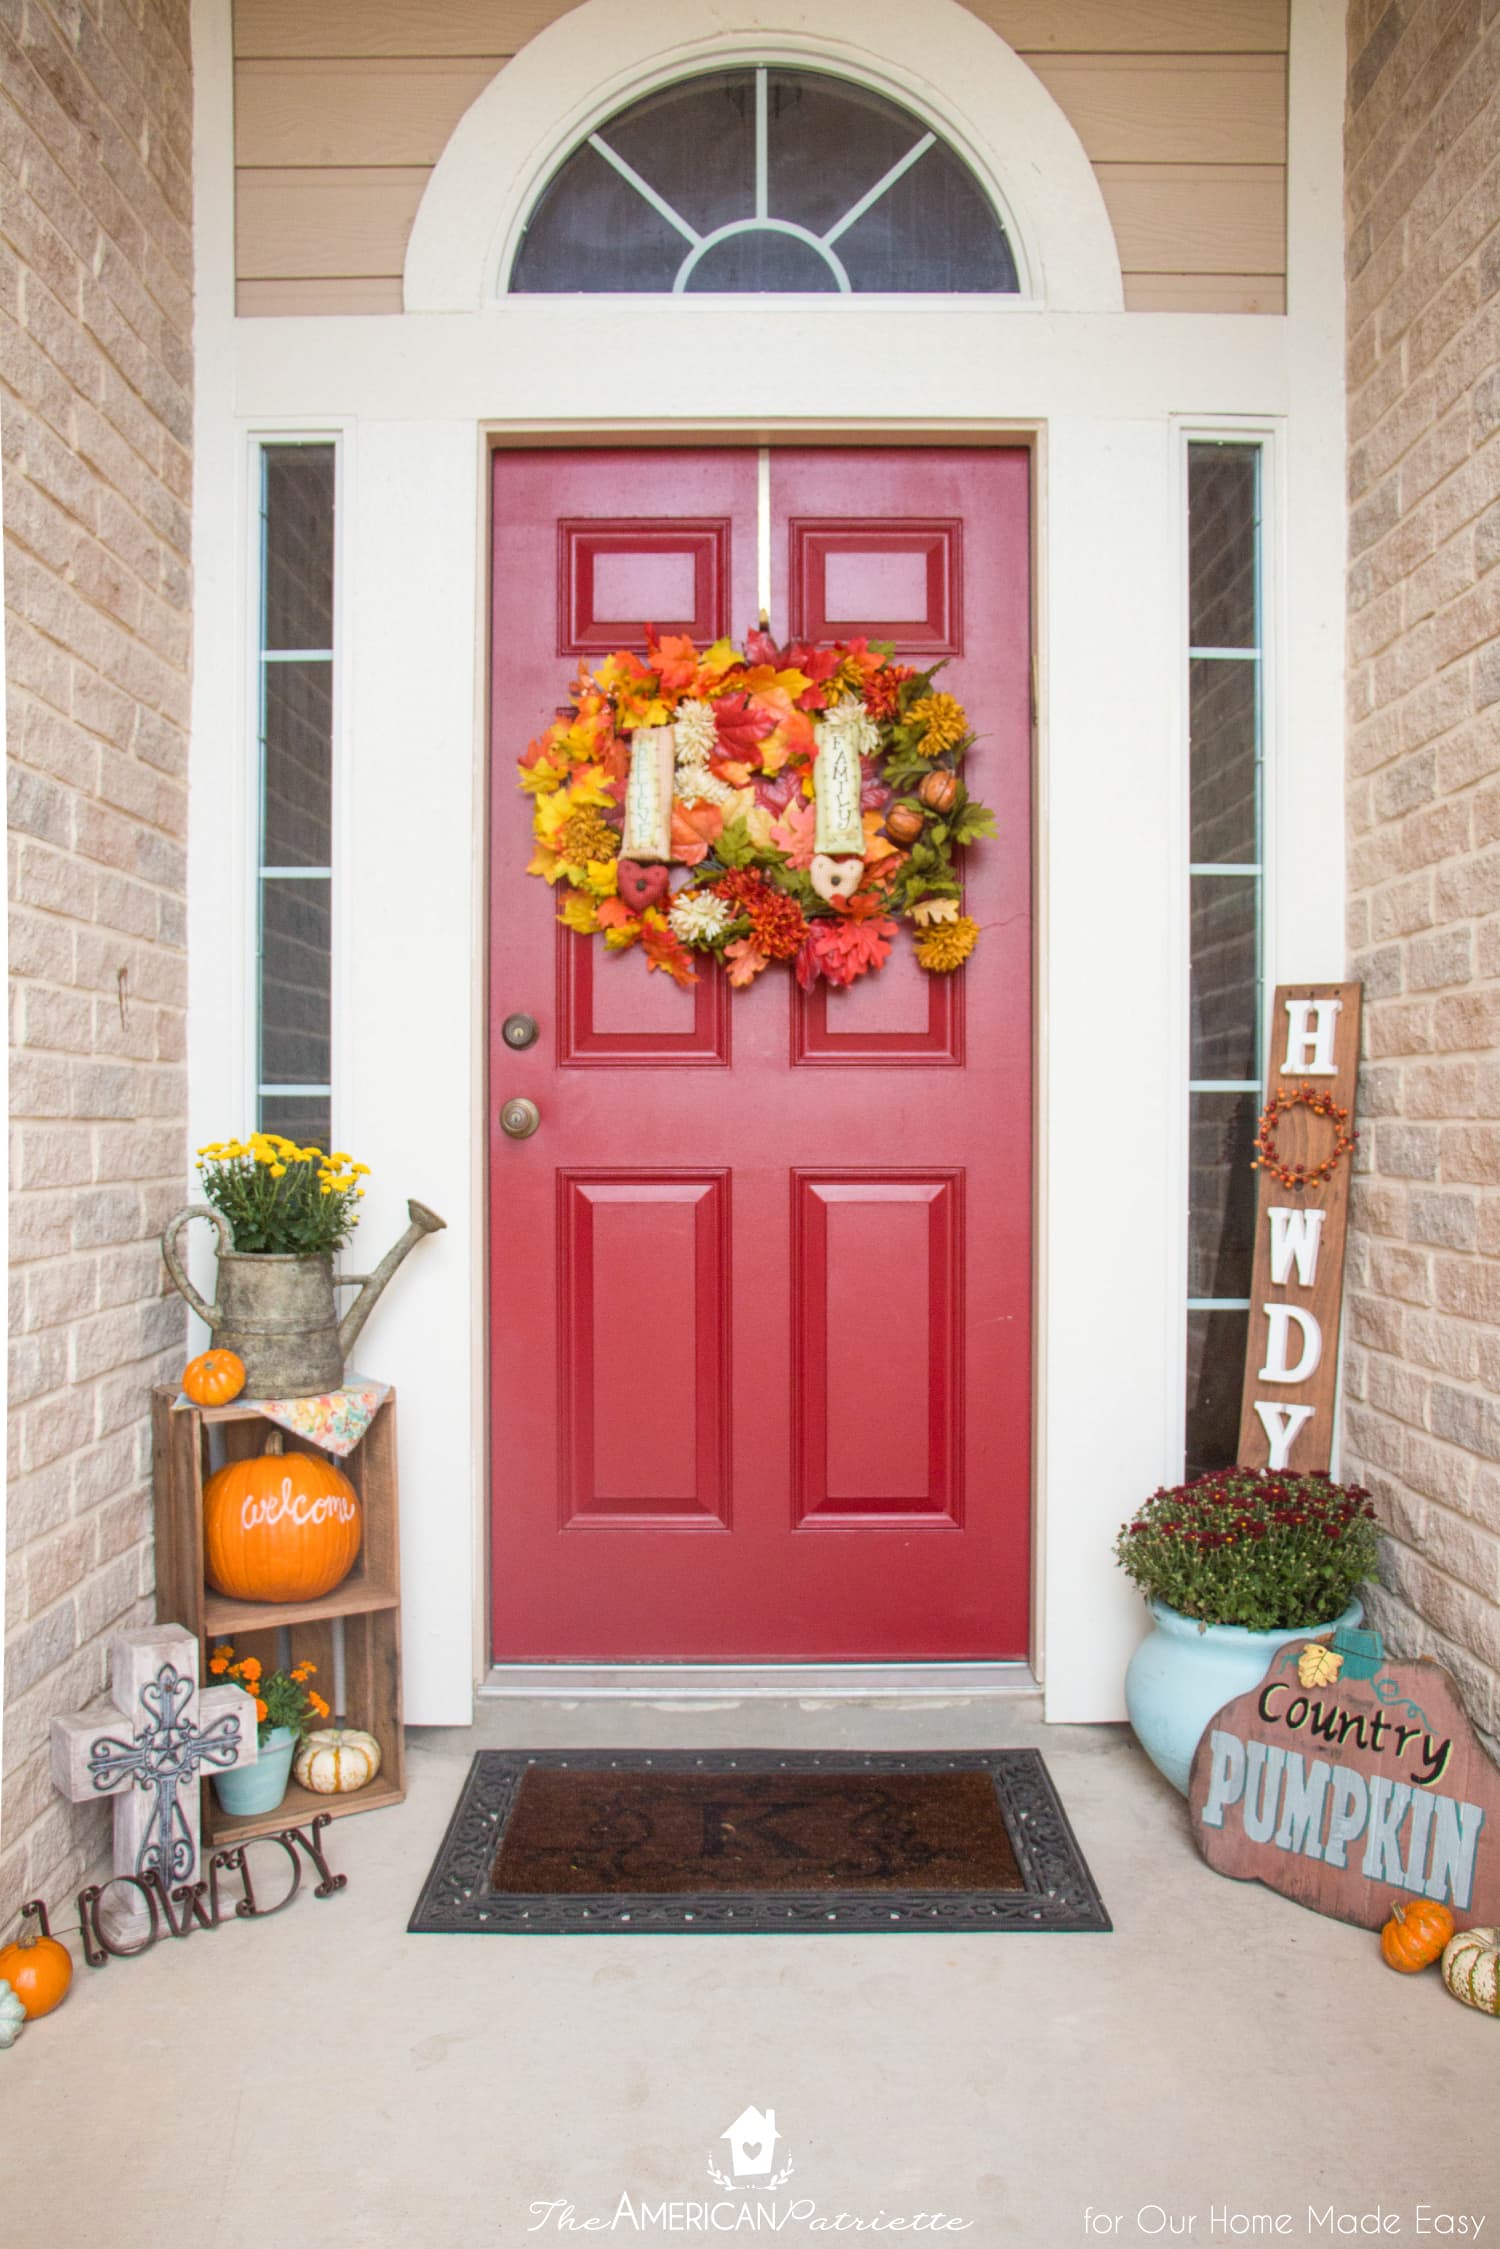
As we prepare our homes for spending time with our families and gathering with others this season, it’s fun to put a focus on the first place we greet our guests. Whether you have a large front porch donning picnic tables, multiple rocking chairs, and baskets of hanging plants, or a tiny front stoop, large enough only to serve as a passageway from the front door to the street, you can add pops of seasonal color to any entryway to make it a welcoming space for all who enter!
1. Add a seasonal wreath to your door
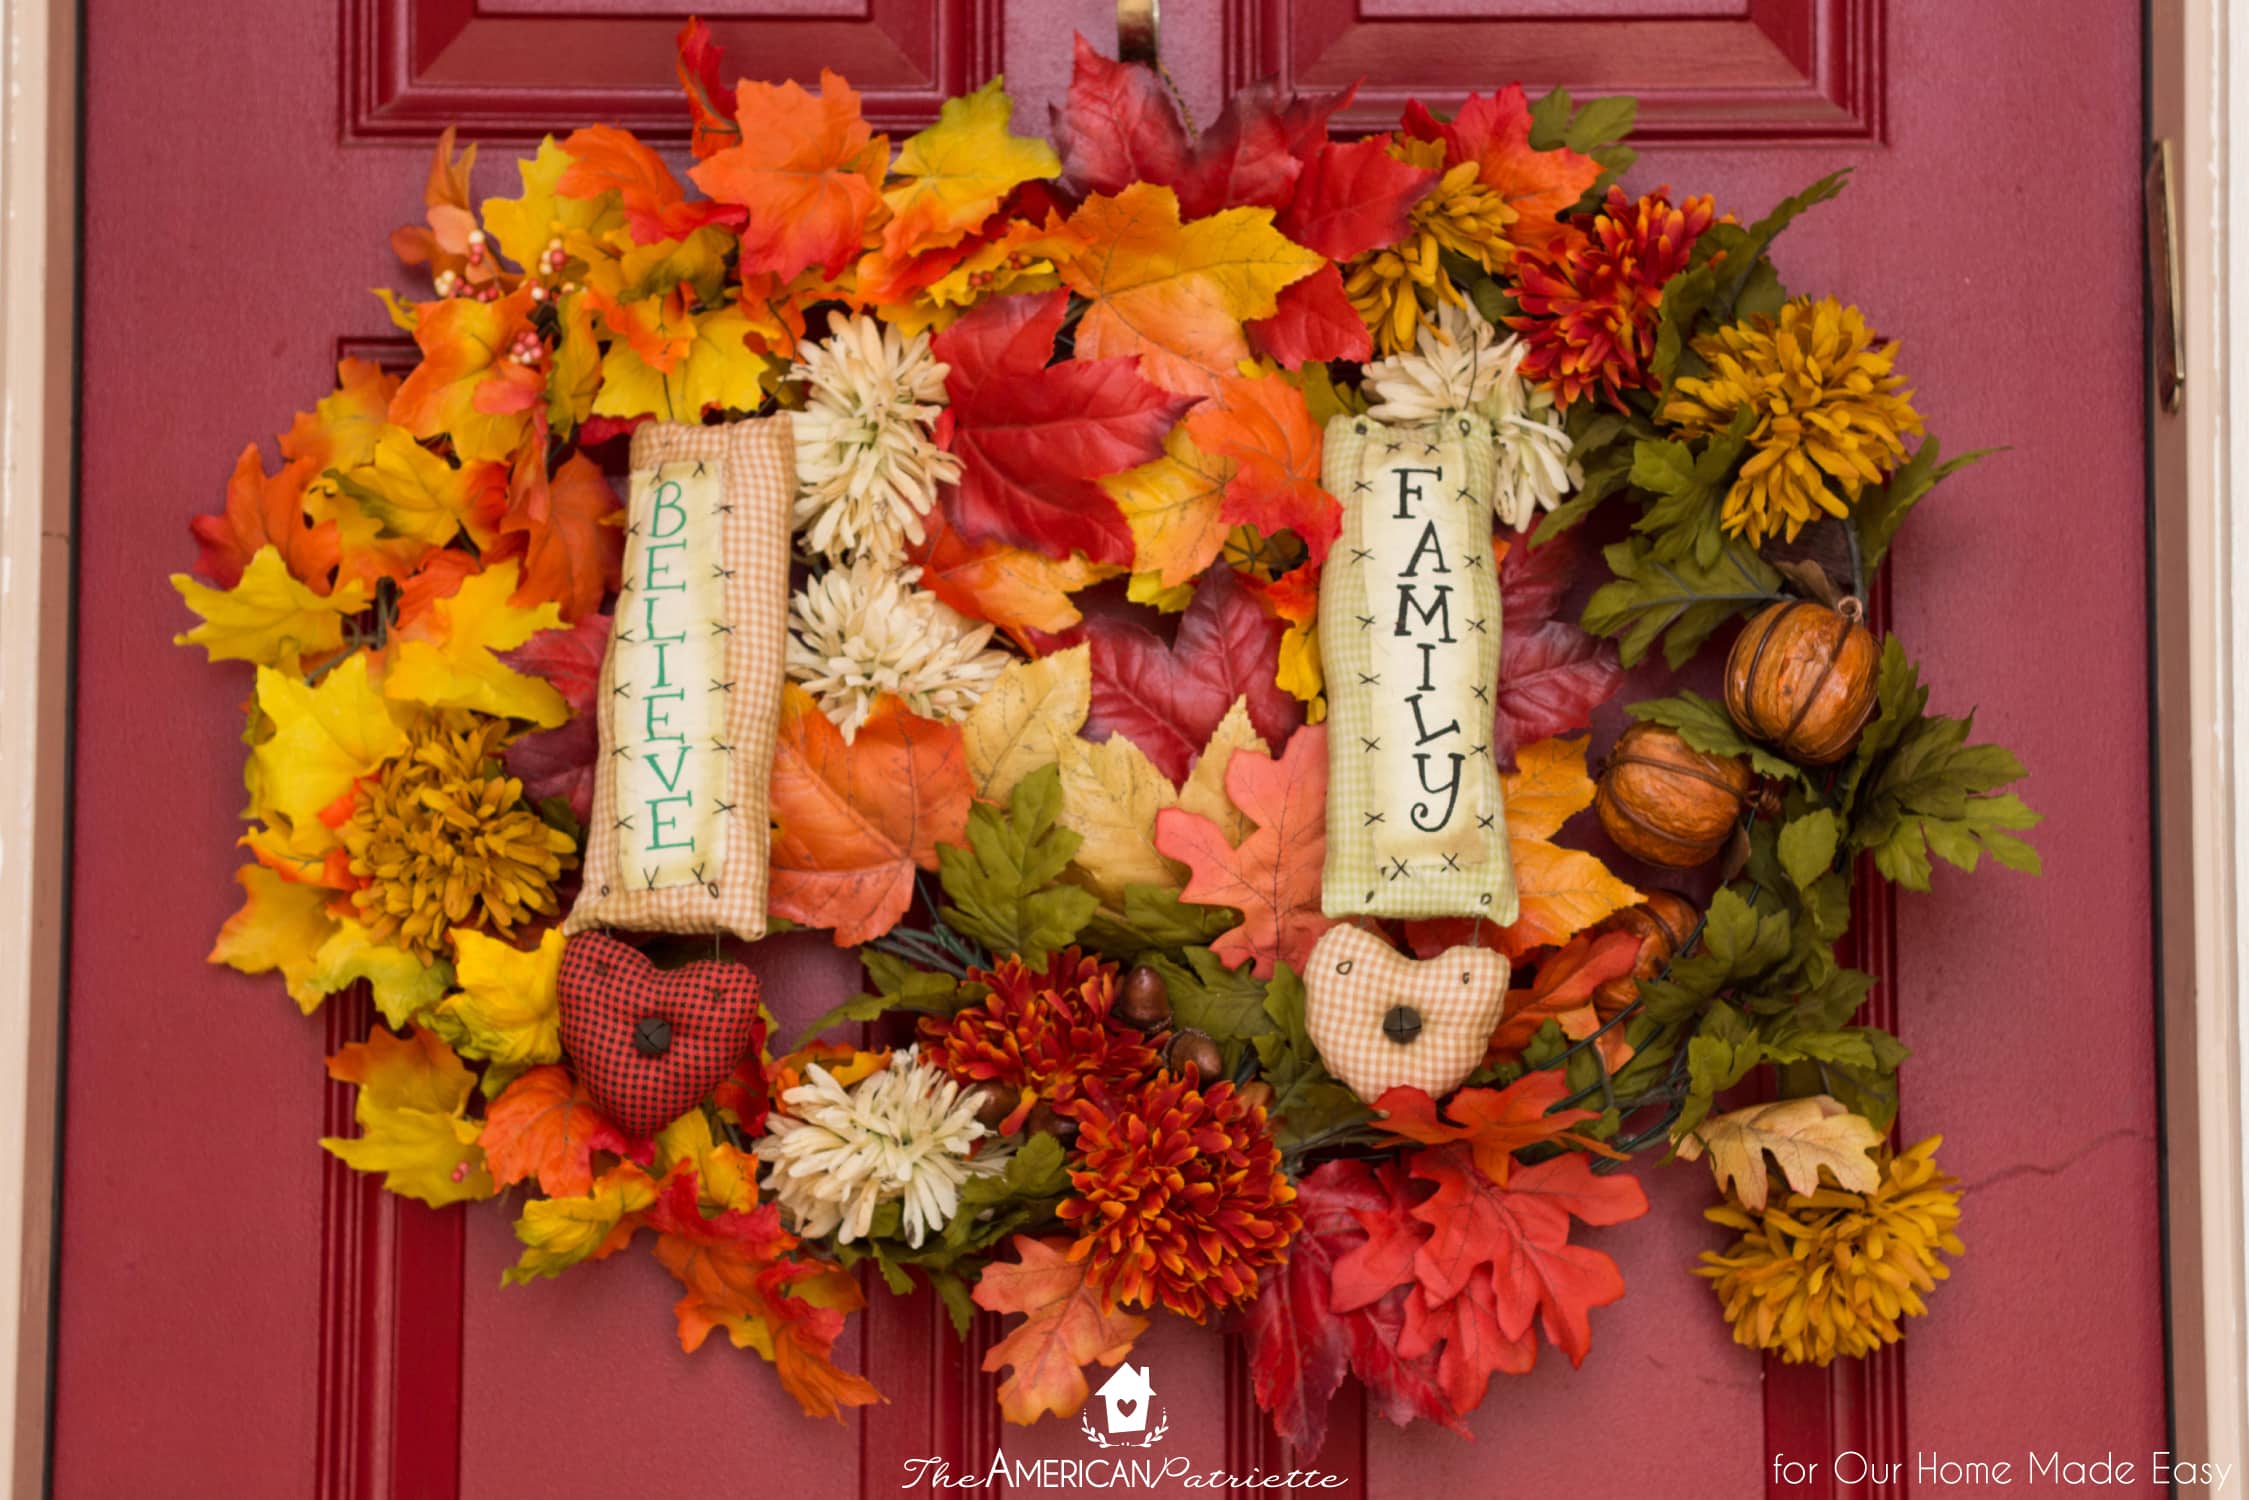
As much as I love to decorate for each season nowadays, I never really considered changing out home decor to reflect the months on the calendar until I got my first non-Christmas wreath. Almost 10 years ago, I won this gorgeous fall wreath at a silent auction, and I honestly think it was this wreath that ignited this joy in me to start changing out some decor and celebrating each season with some simple decorations!
I’ve been using this same fall wreath for years – I look forward to getting it out and hanging it up year after year. Whether you buy a fall wreath or make one yourself, this is such an easy way to add color, spruce up an entryway, and welcome people into your home.
2. Decorate with some seasonal plants
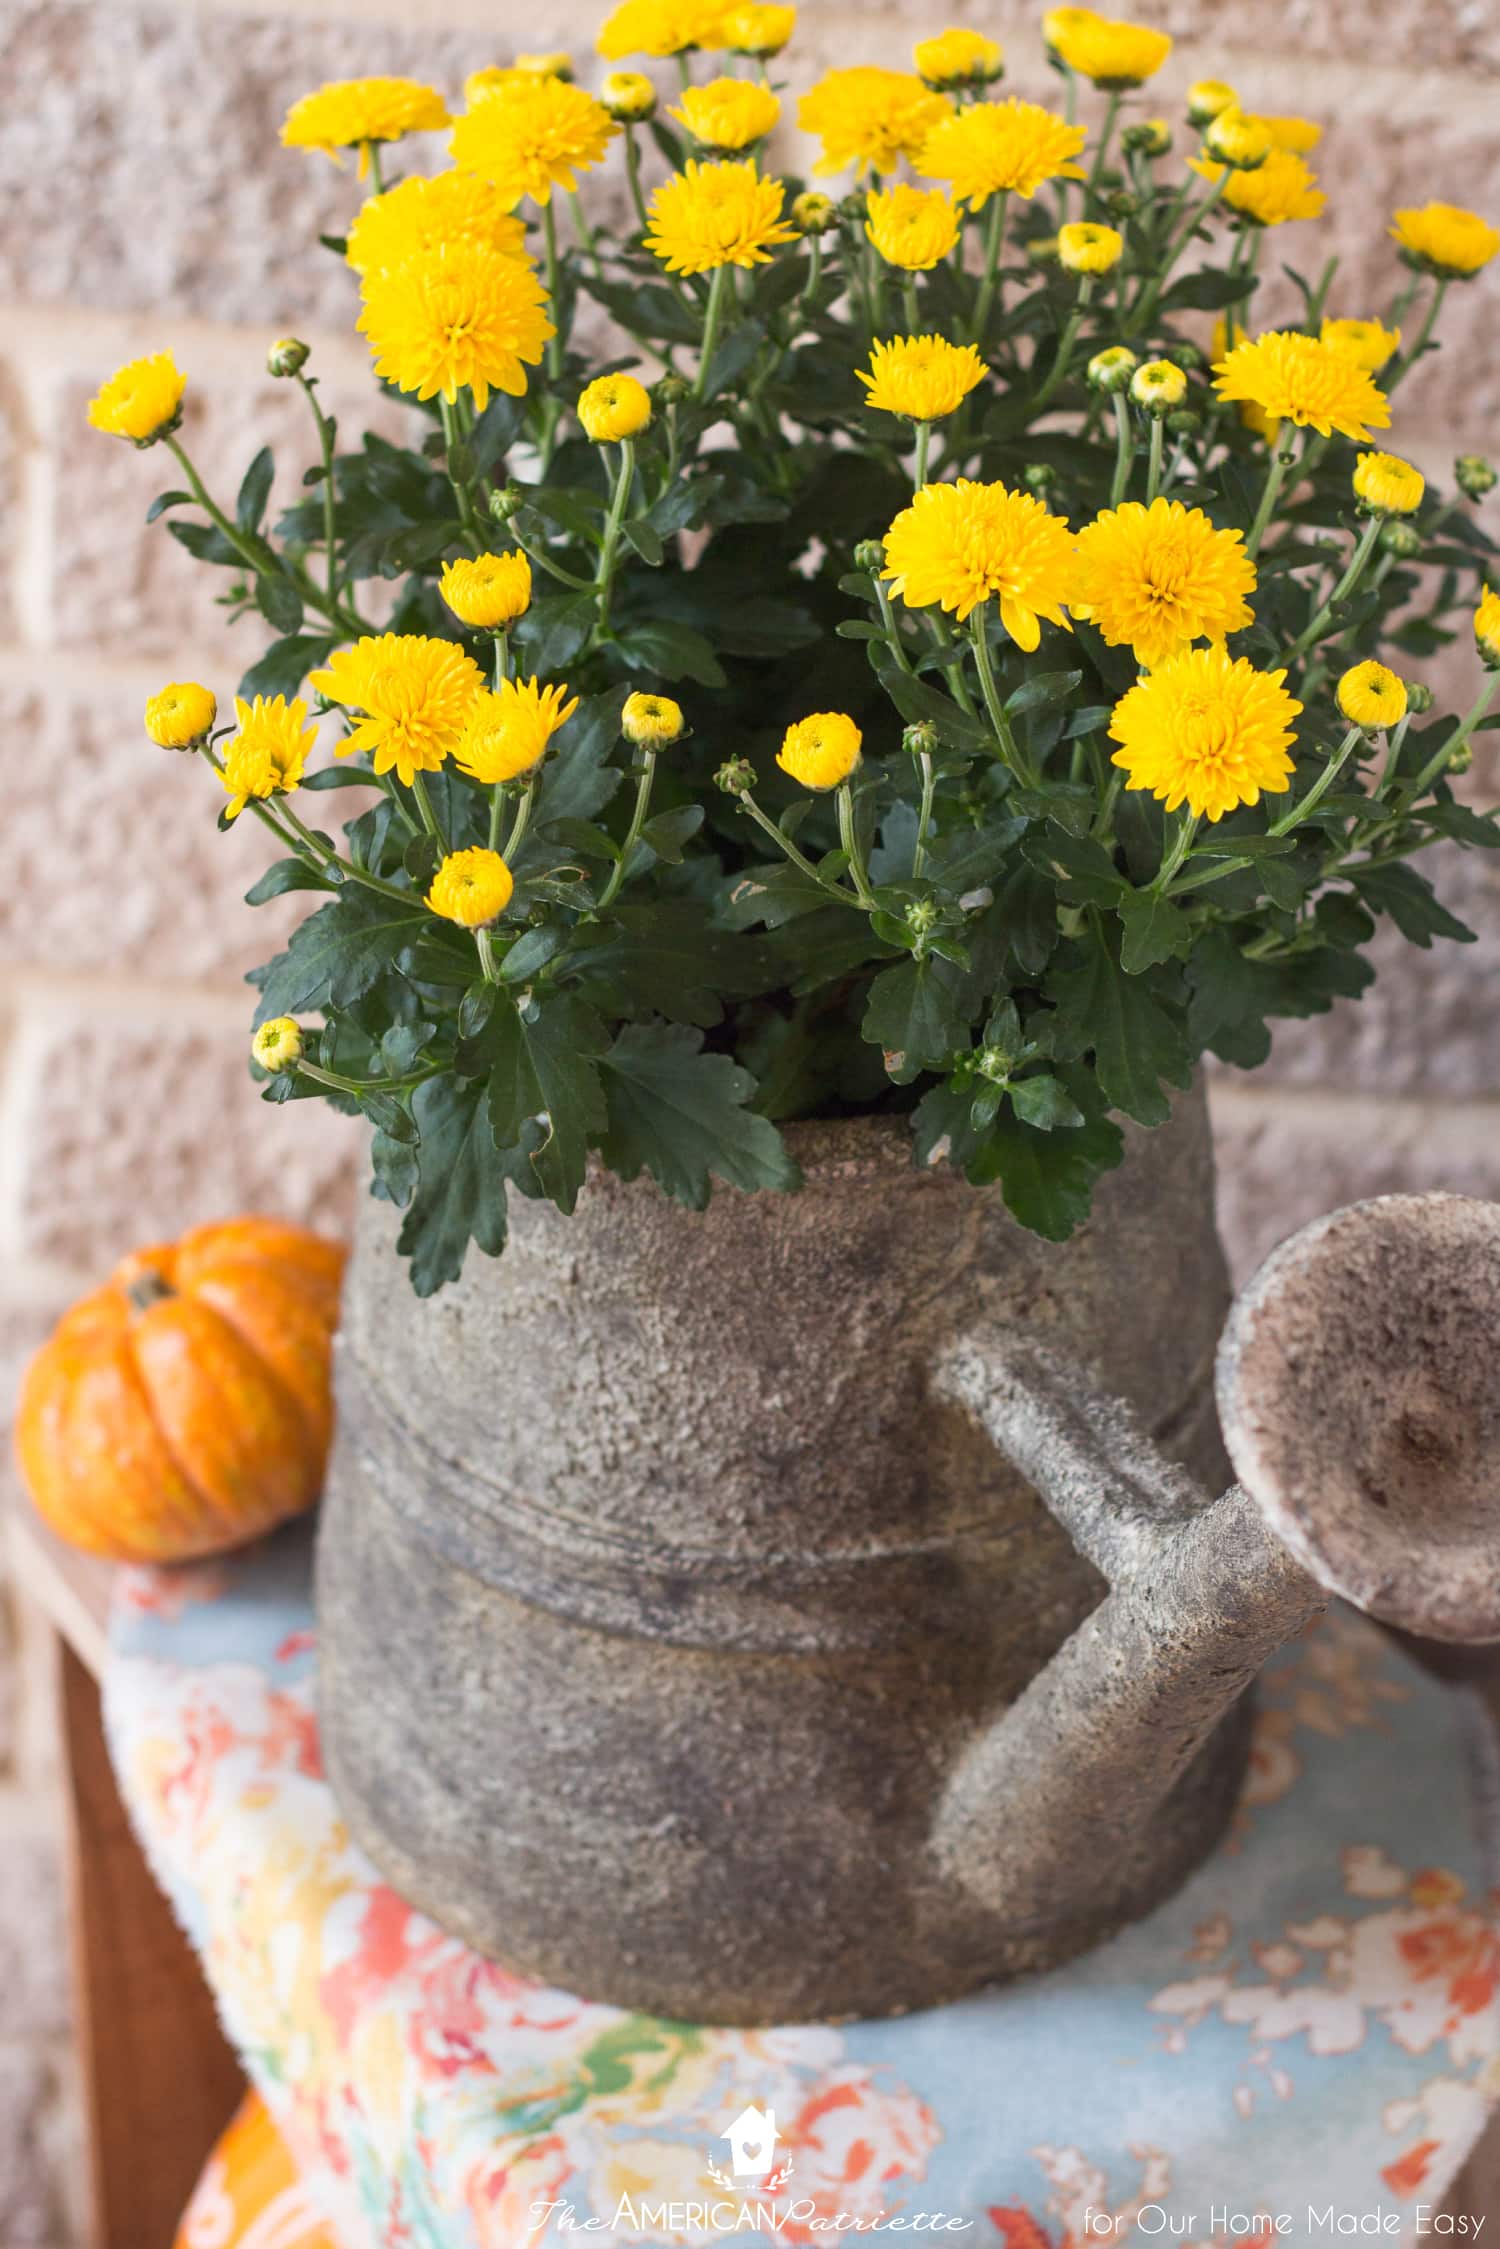
While I do not have a green thumb, I can usually keep a couple of porch plants alive for a couple of months. (Although, all bets are off during the outrageously hot summer months in central Texas!) I dream of having a porch large enough to decorate with hanging baskets and large cascading flower pots, but for now, we make the most of our tiny little front porch and change out a few plants each season.
And, let me just tell you, having a few colorful flowers on there makes all the difference!
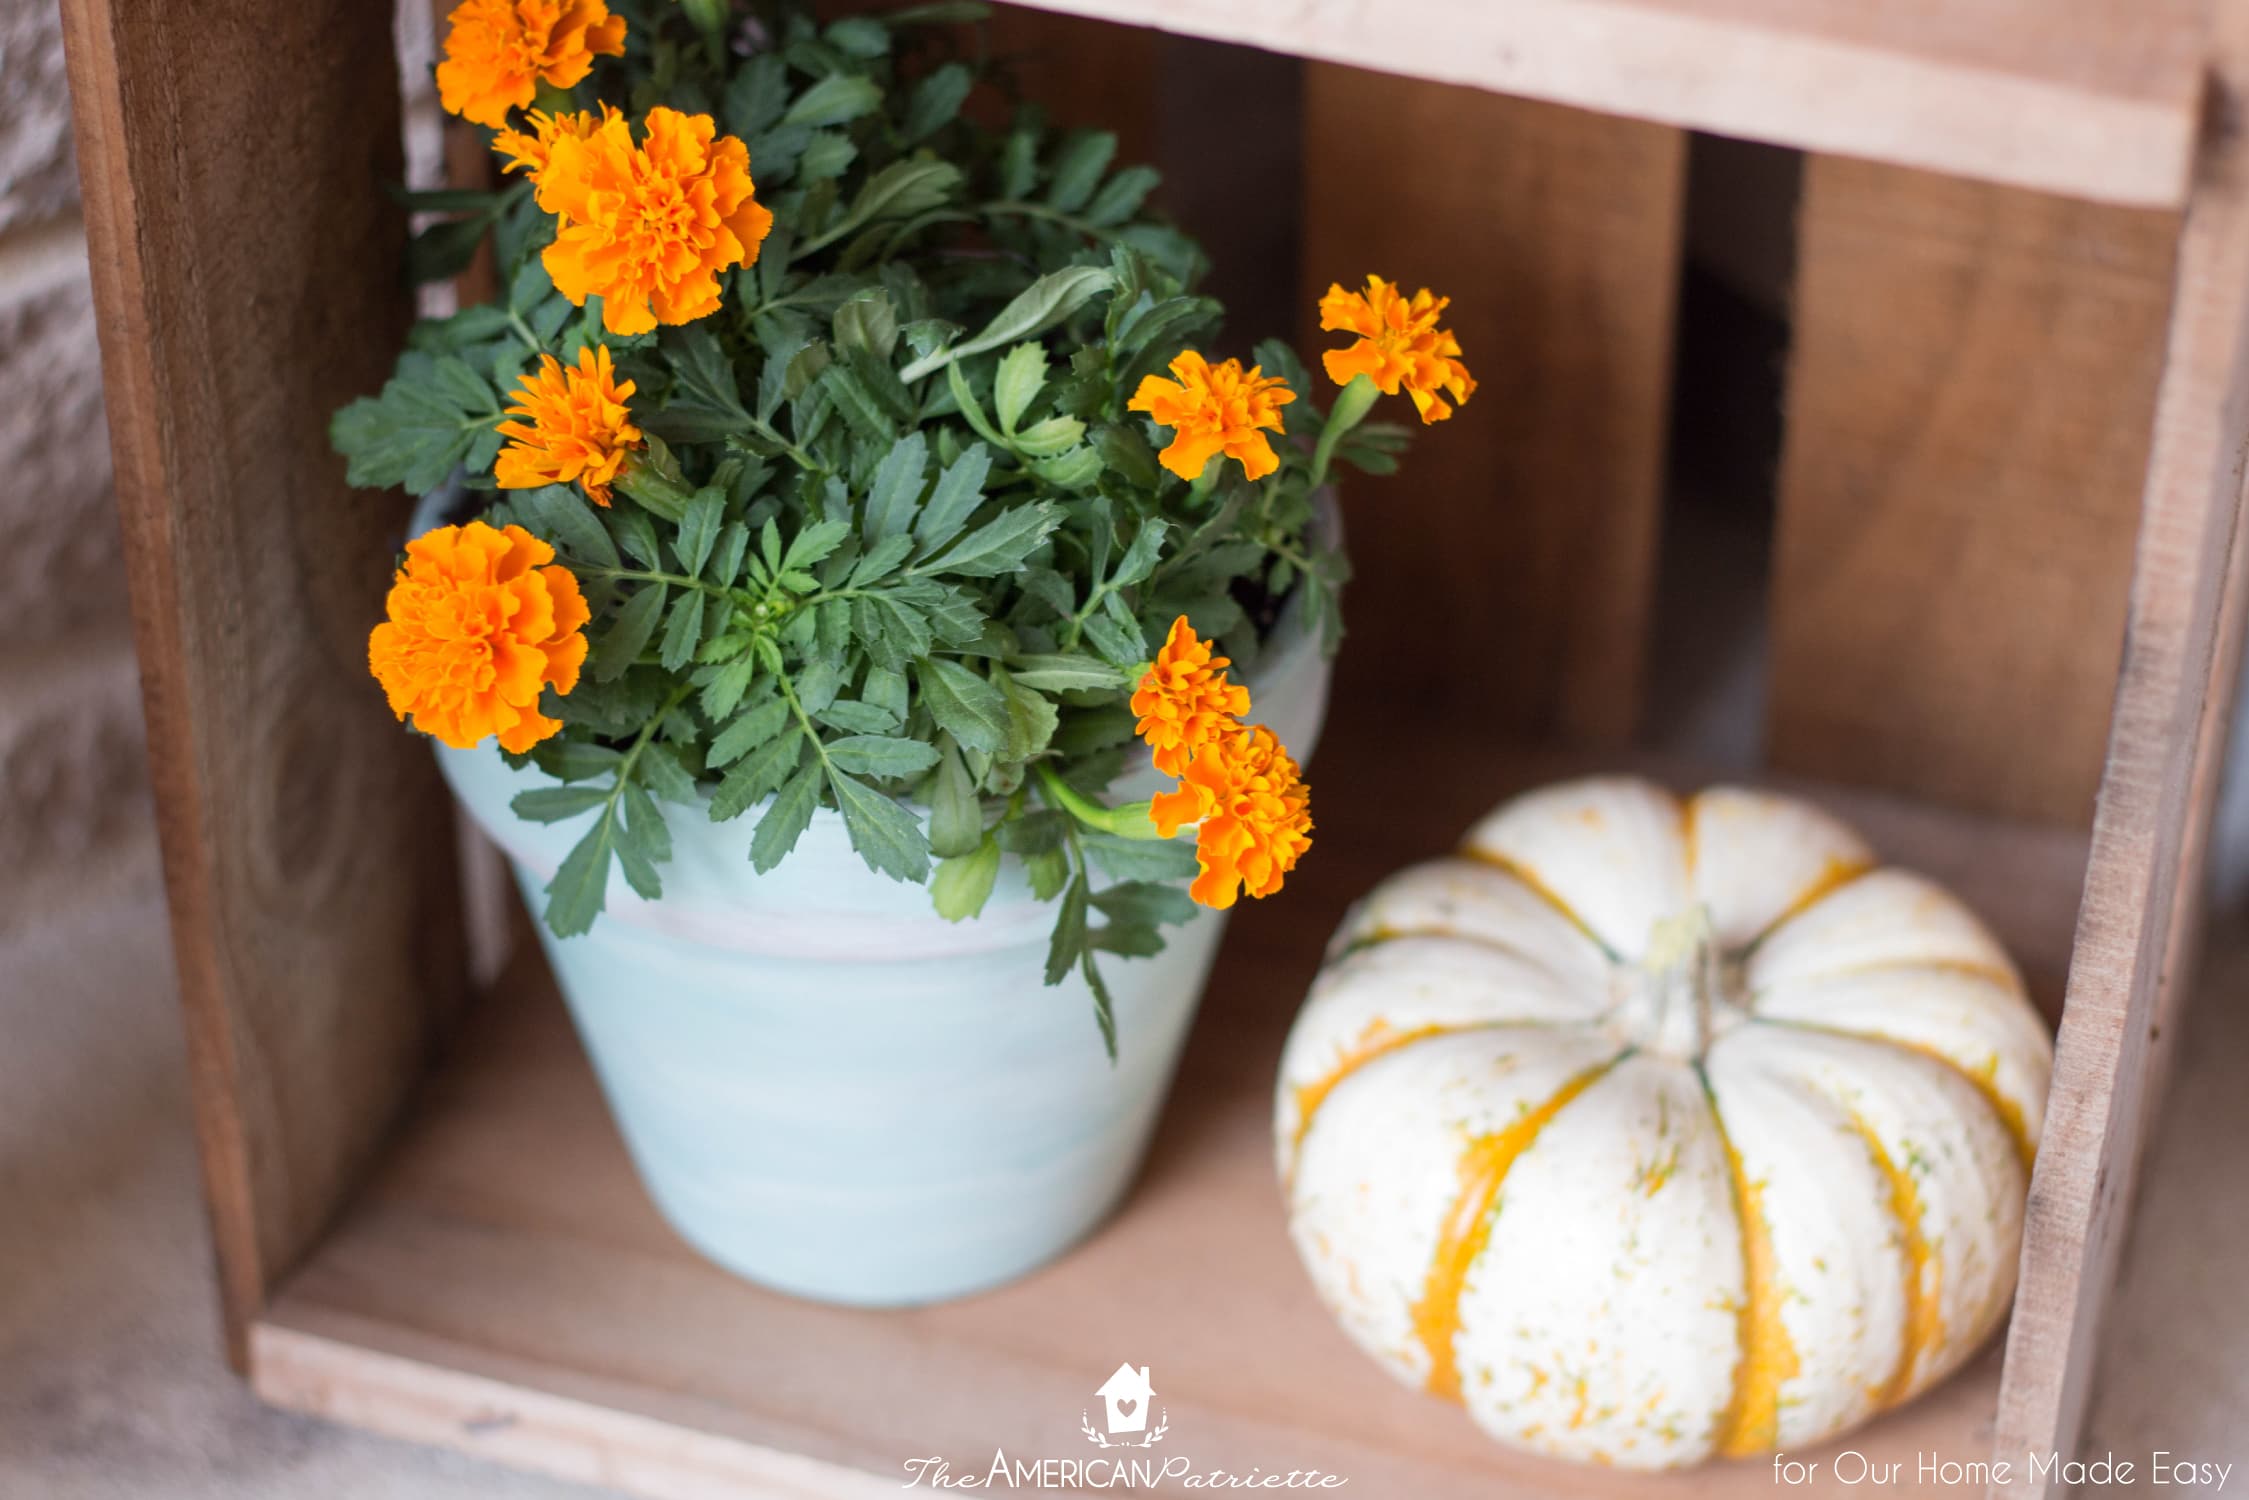
Depending on the size of your porch, get at least 2-3 seasonal flowers, plant them in some colorful pots (I’ll get to that tip next!), and set them out to not only add some color but also add in some freshness to your front porch.
3. Plant your flowers in colorful flower pots
When we first moved into our builder-grade home, it felt like every color inside and outside of our house fell on the tan to brown spectrum. The paint on the walls, the kitchen counters, the cabinets, the carpet, the front door, and the exterior paint.
We joke that even the landscaping was a shade of brown! (It was August, after all…remember what I said about central TX heat?!)
As determined as I was to add color into our house and bring it to life, our small DIY budget didn’t match my determination. But, though our budget was small, I used that determination to stretch it as far as it could go. It’s amazing how creative you can get when you only have a little to work off of!
One of the first things projects we tackled was our tiny porch – for starters, it was one of the simplest ways we could start chipping away at the home’s monotone color palate, and it was also one of the cheapest.
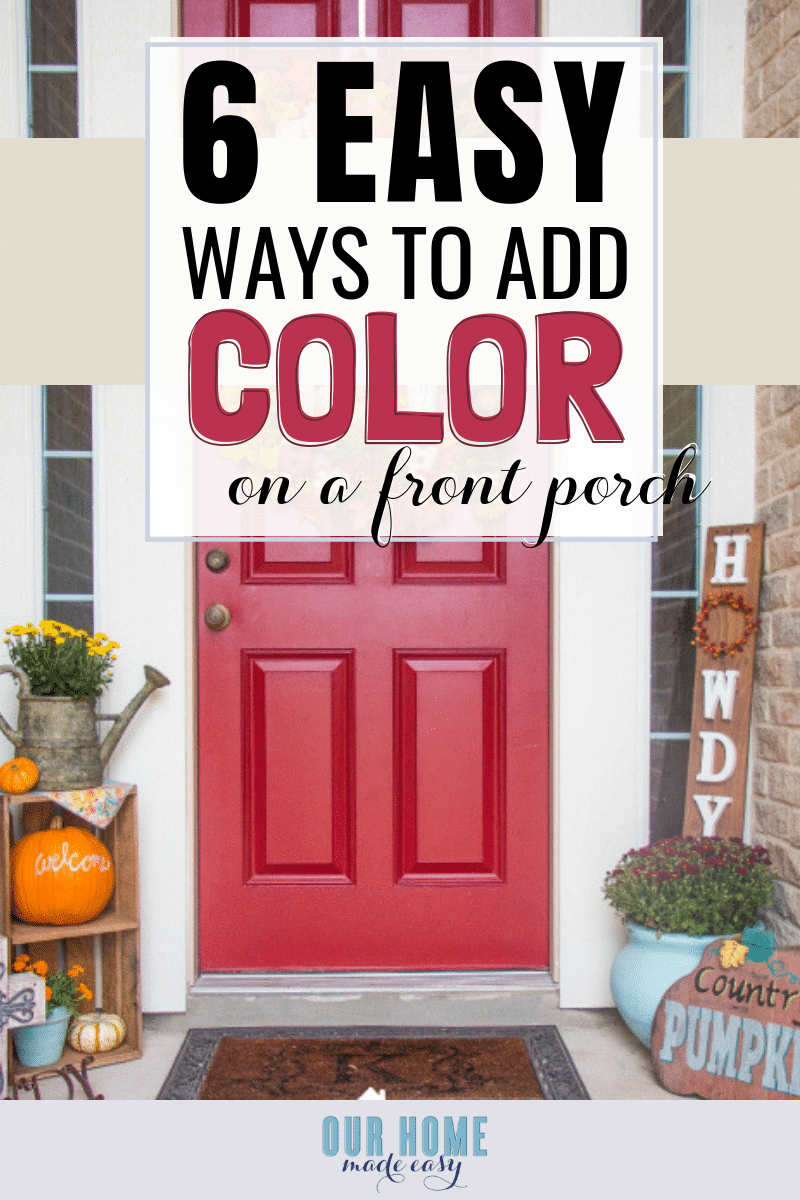
Giving our front door a fresh coat of paint (we switched it from tan to cherry red – how fun is that?!), and covering up some tan (surprise!) trim with some crisp white paint made a huge difference to our droopy little front stoop.
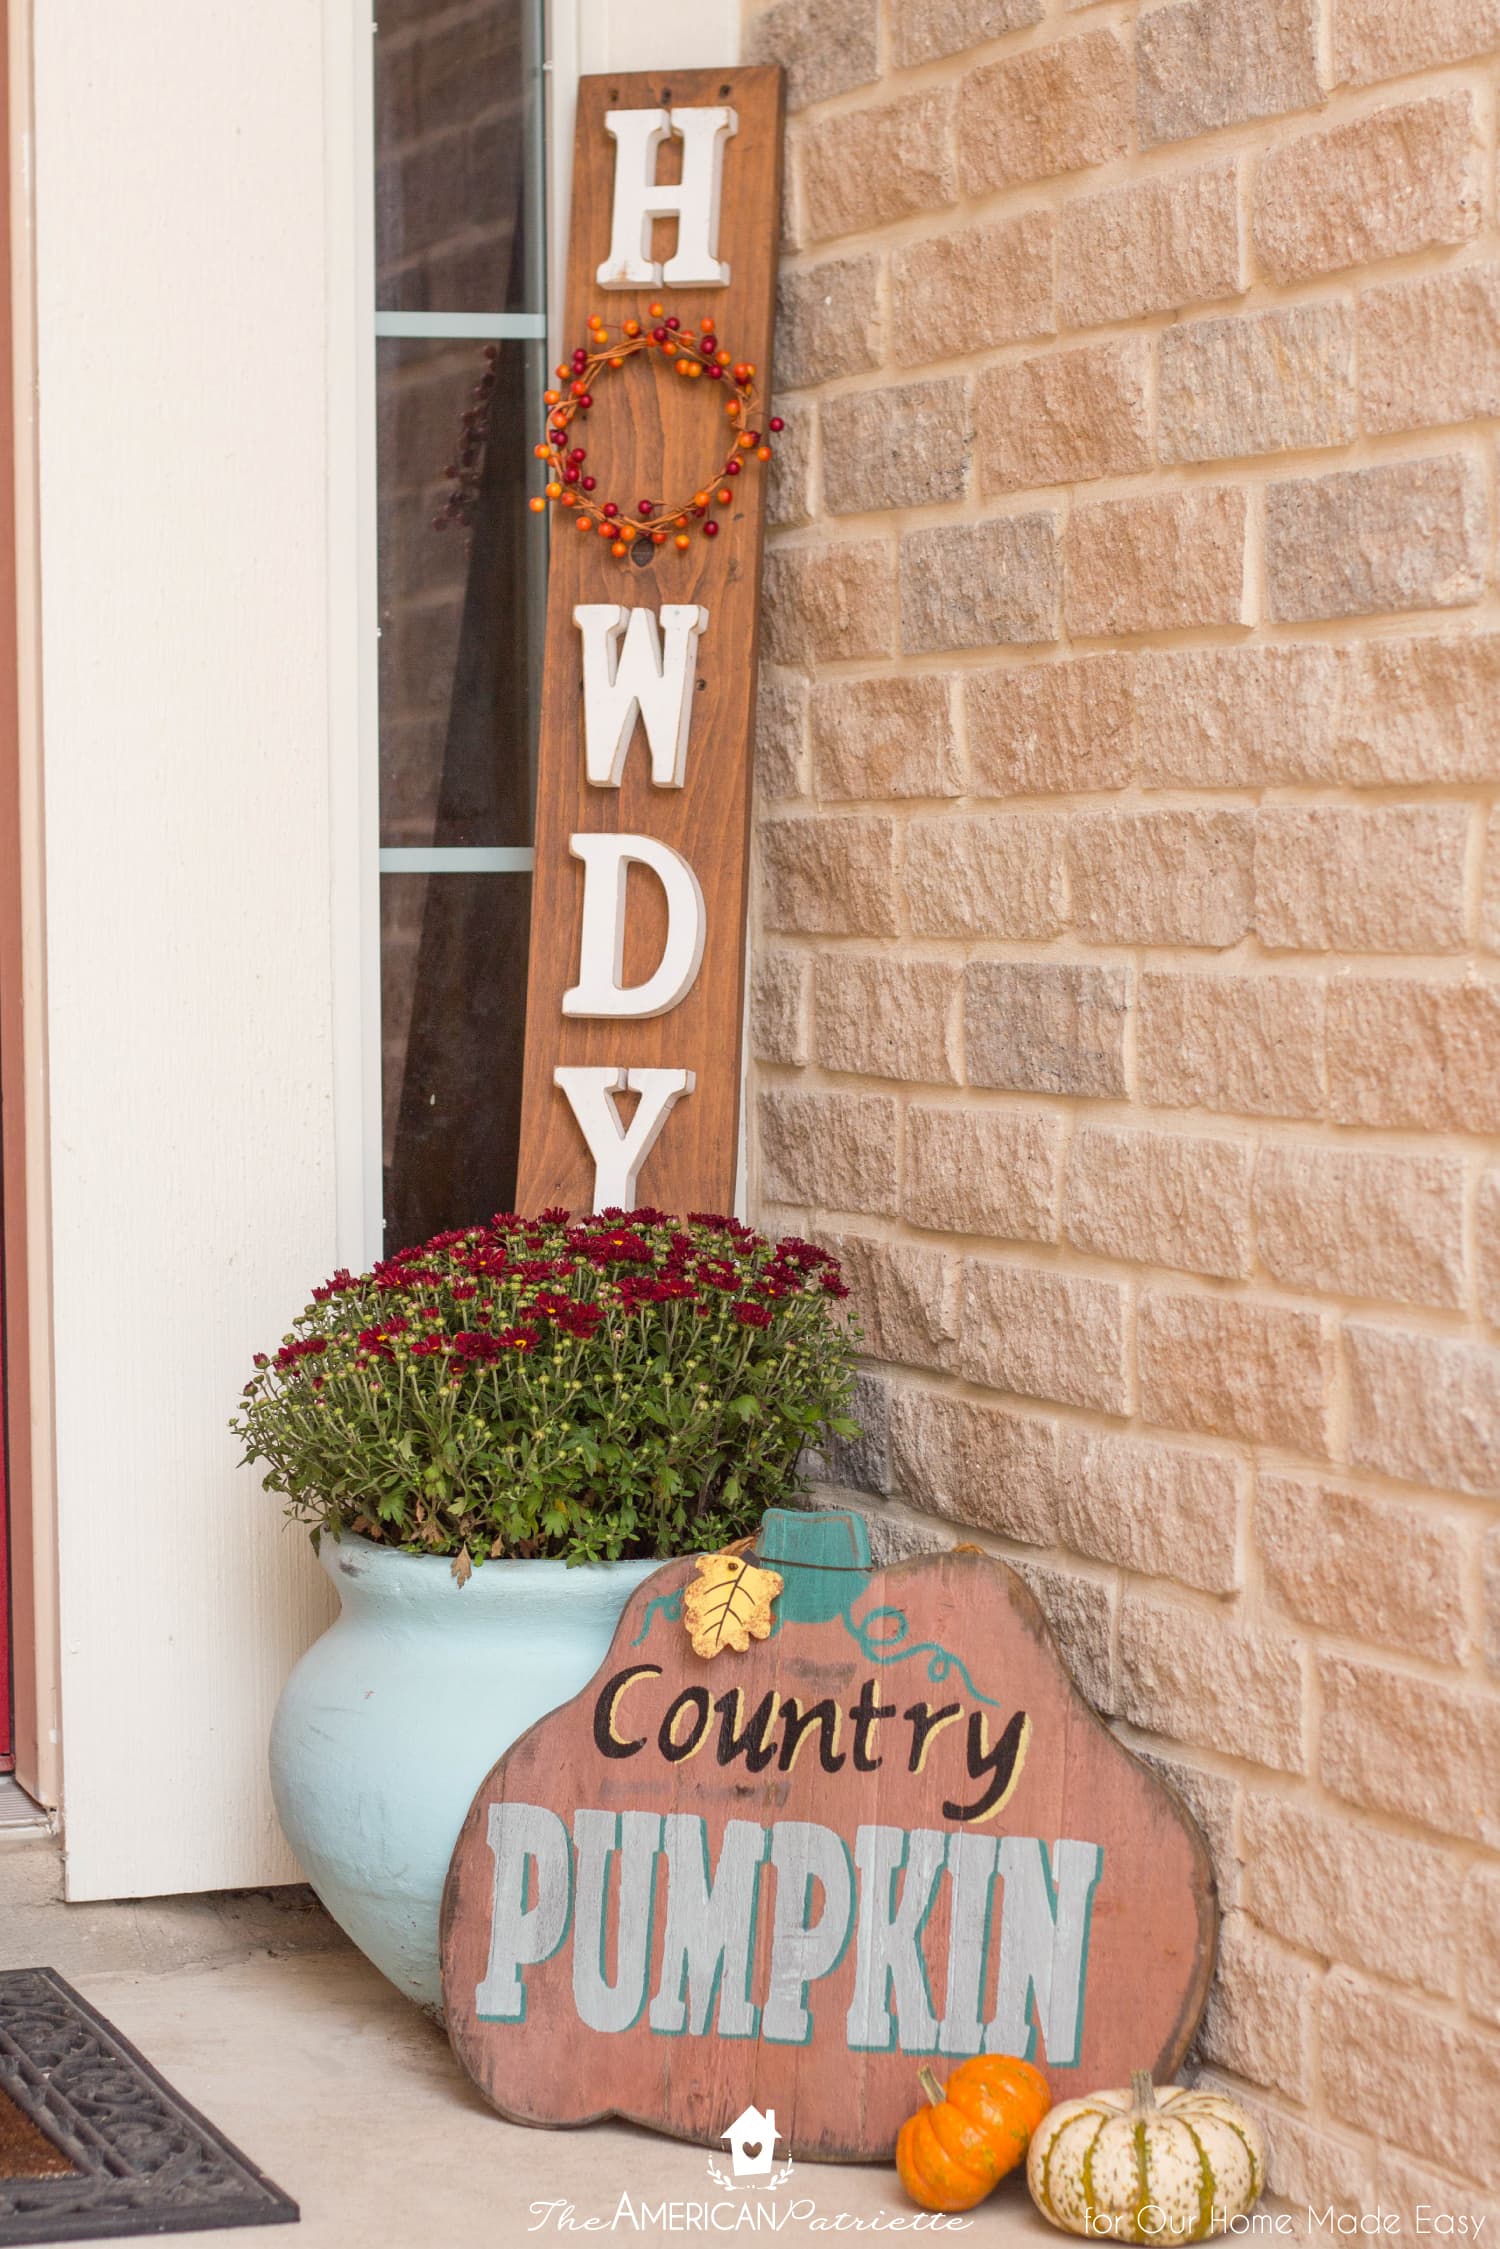
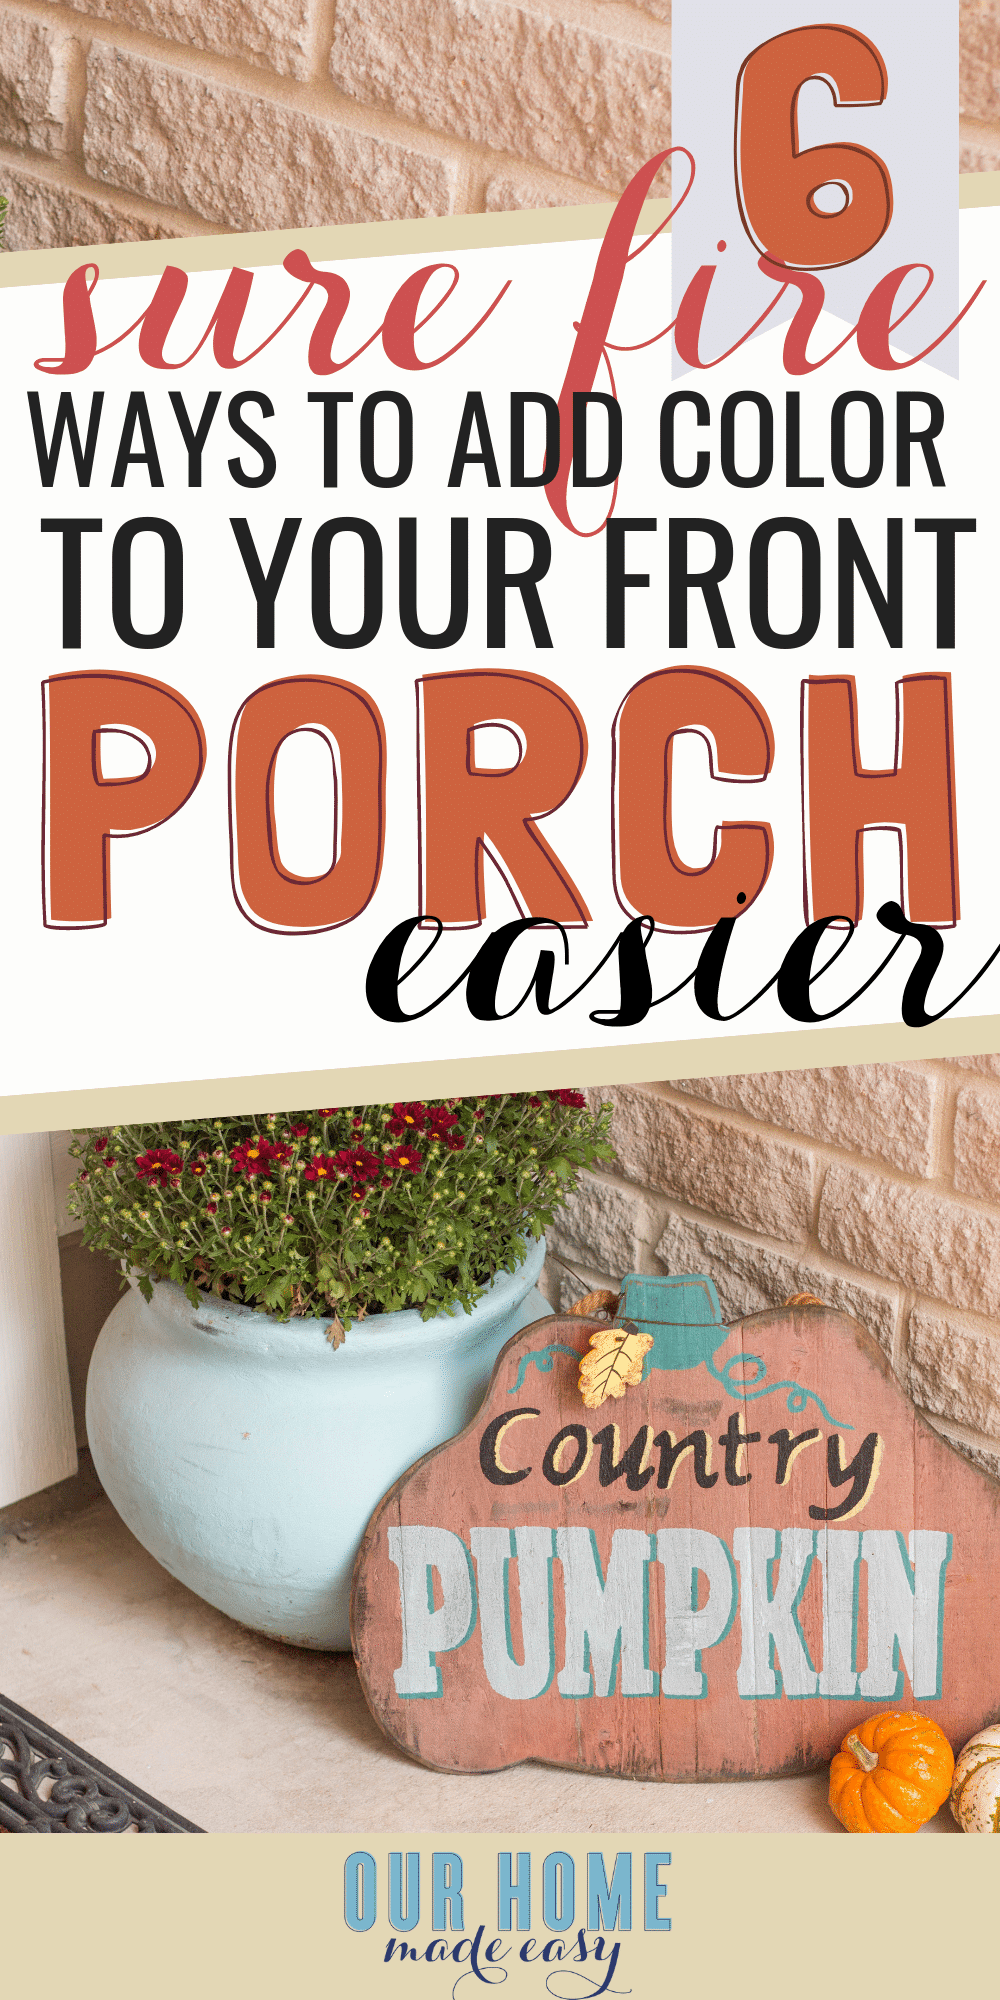
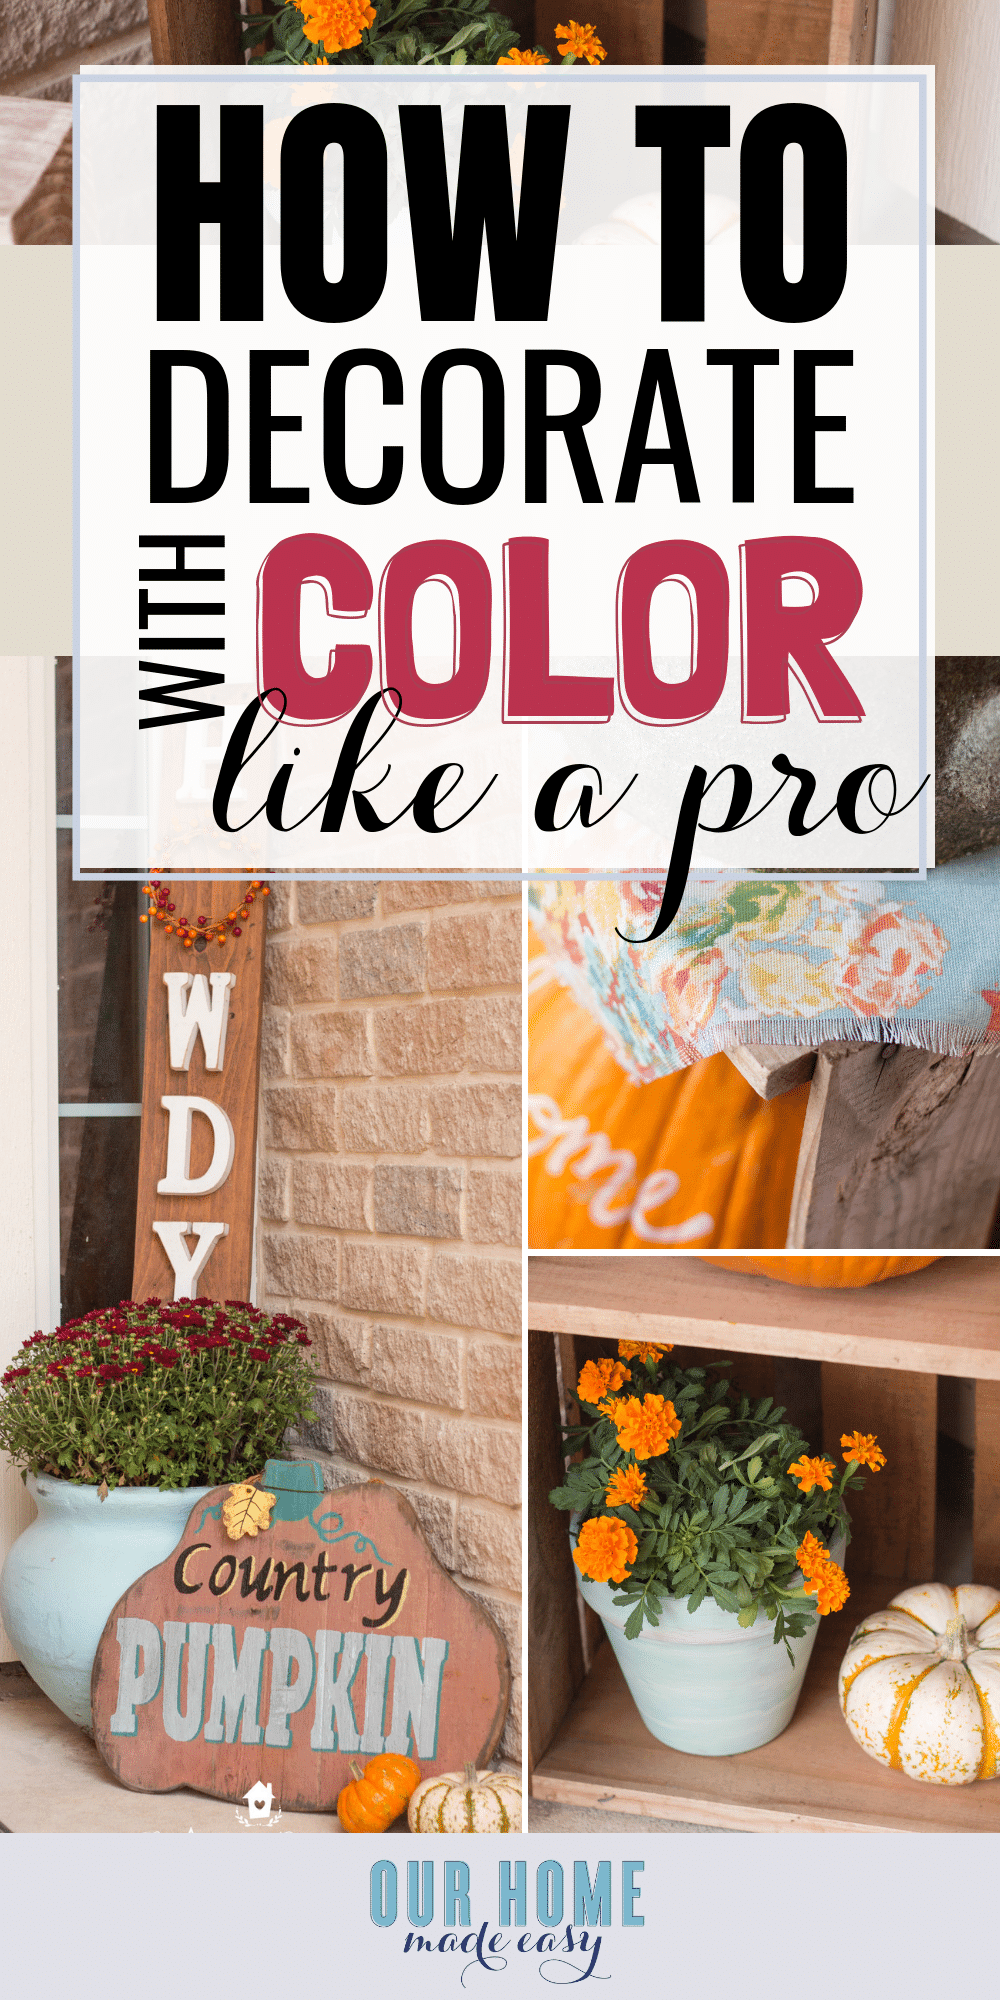
But, one of the other projects we did was to paint some old flower pots to give them a pop of color. Did you know that was possible?! I didn’t know it was possible at the time, but since I already had almost all the materials I needed, I decided to give it a go. We had some old large flower pots that my mom didn’t want anymore, I had primer left from painting our front door (this stuff is the BEST for DIY projects!), and I had an old paint brush.
The only thing left to buy was some colorful paint, and for this particular project, since the flower pot was going to be under the front porch sheltered from most rainfall, I decided to risk it and just use cheap acrylic paint. So, the project of painting a large light turquoise flower pot ultimately cost me about $3. WOW.
Three years later and this light turquoise flower pot is still going strong!
Giving old flower pots a fresh coat of paint is one of the easiest (and least expensive) ways to add some color to your porch – go snag some old pots from a second-hand store, clean them up, and give them some new life with a pop of color.
- Related: $3 Rustic Farmhouse Planters
4. Decorate with some seasonal signs
Just so I’m not reinventing the wheel each year or piling up box after box of decor items in my garage, I tend to add in a specifically seasonal piece here and there with other decor pieces that stay up year-round and easily transition from one season to the next.
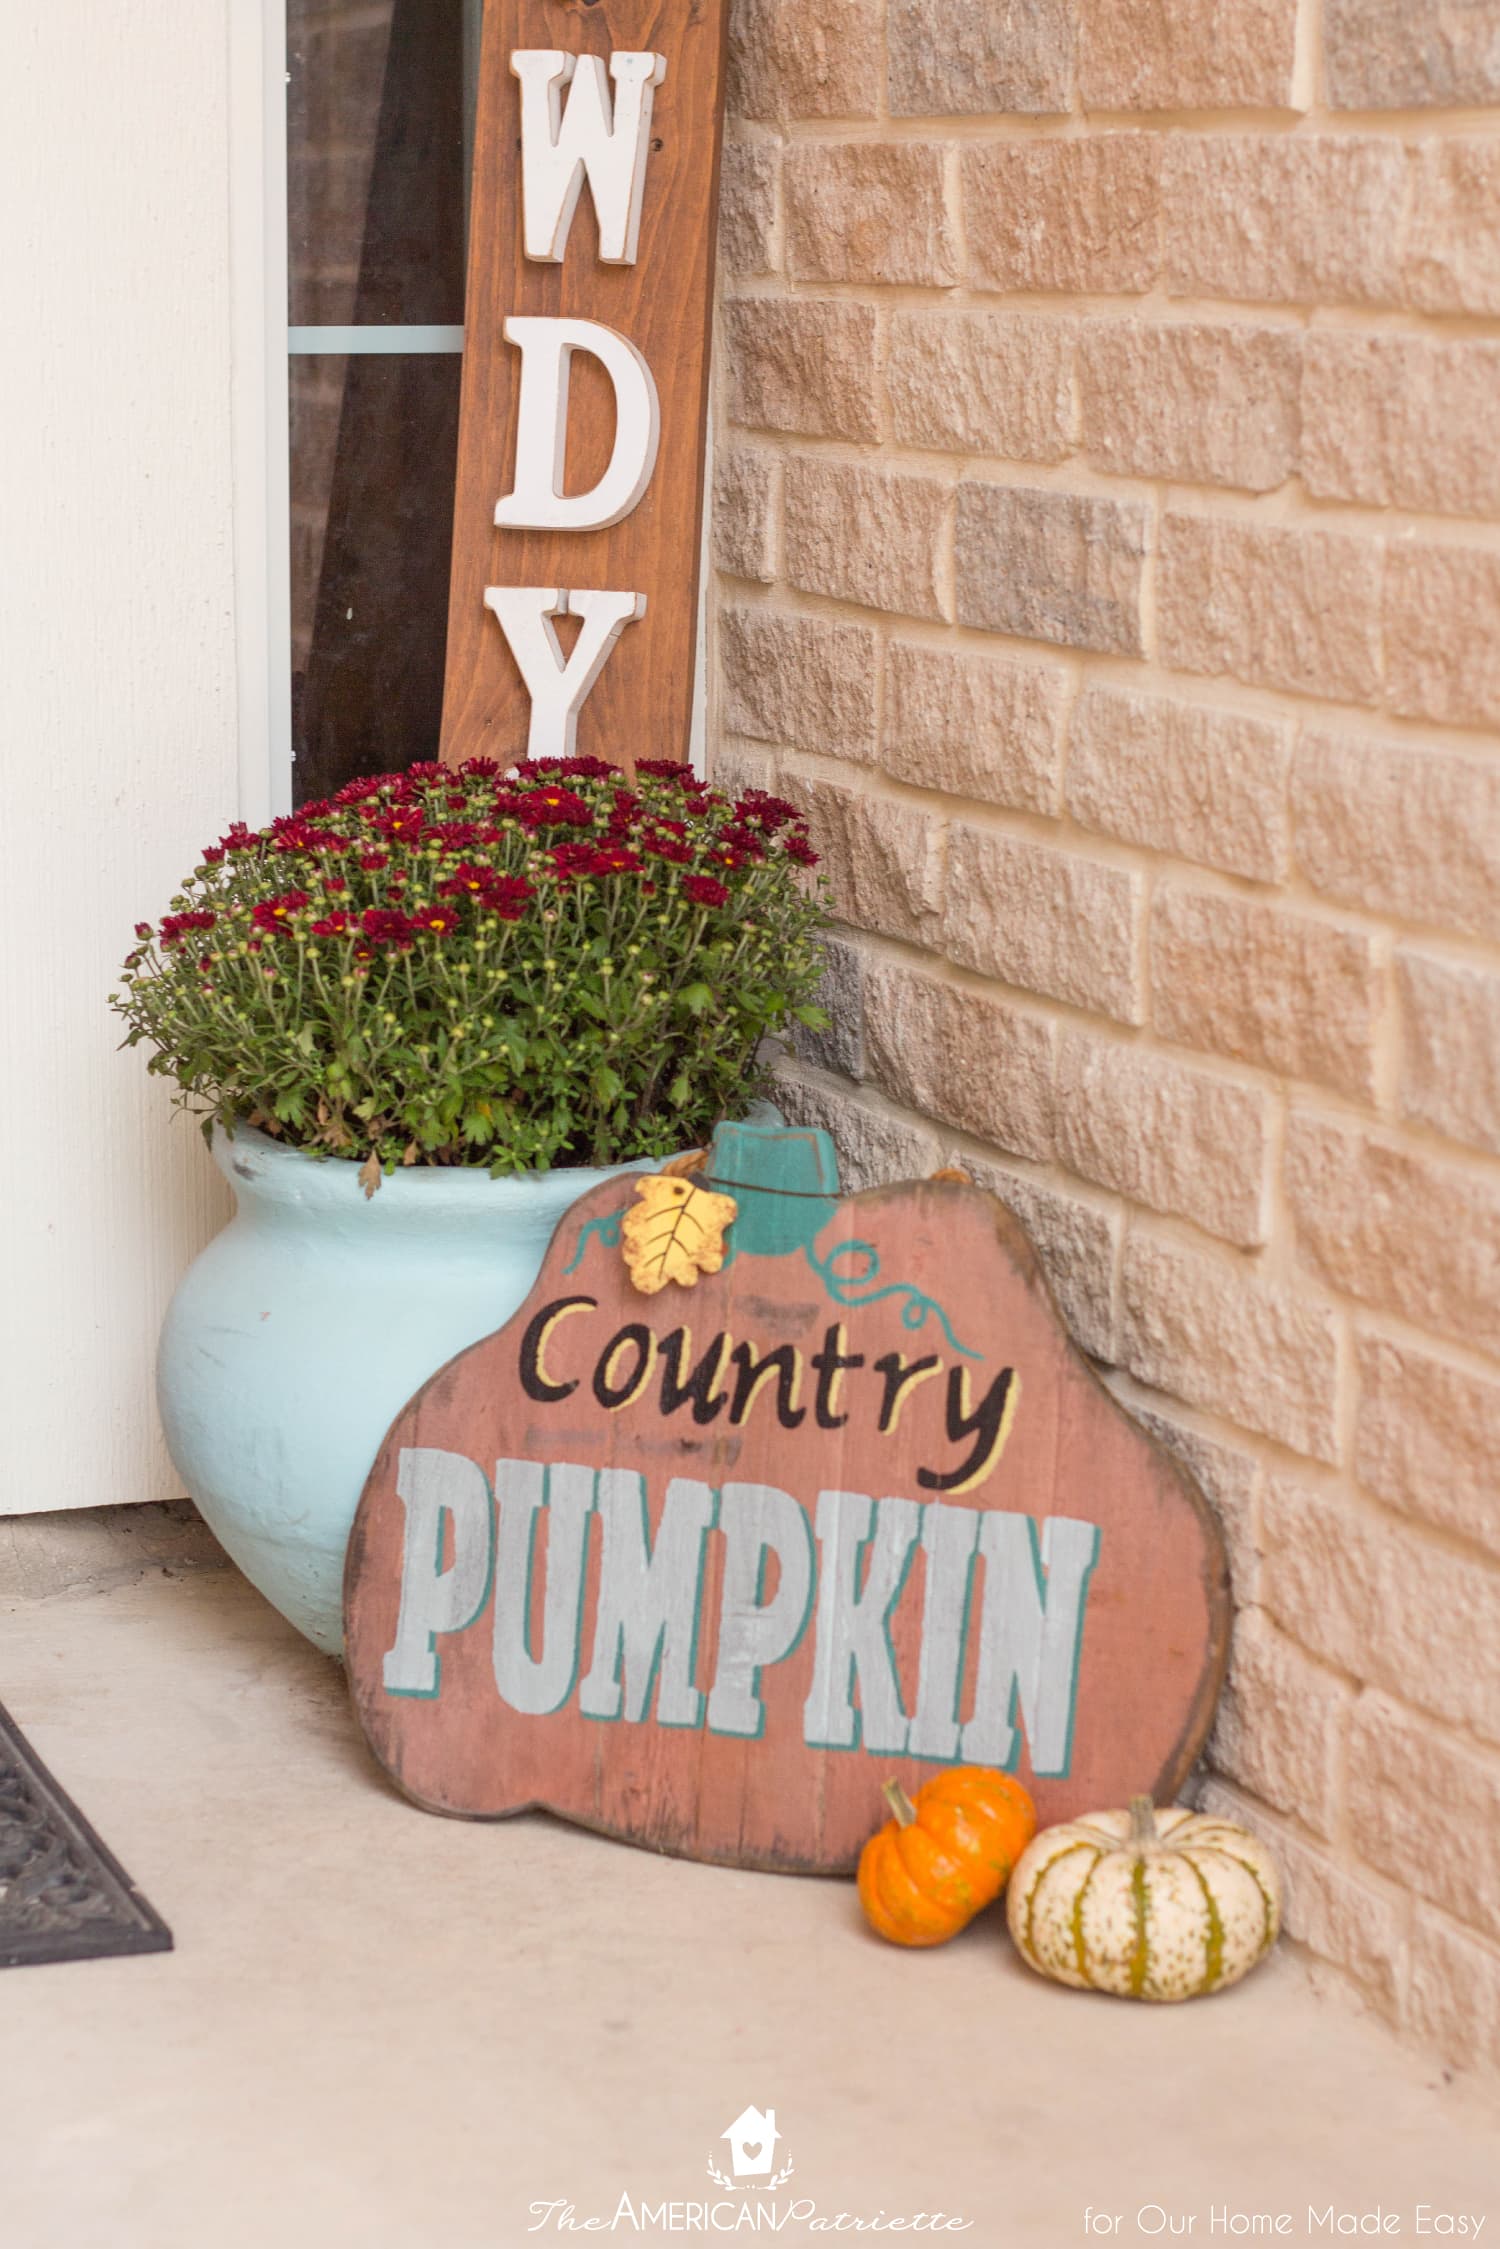
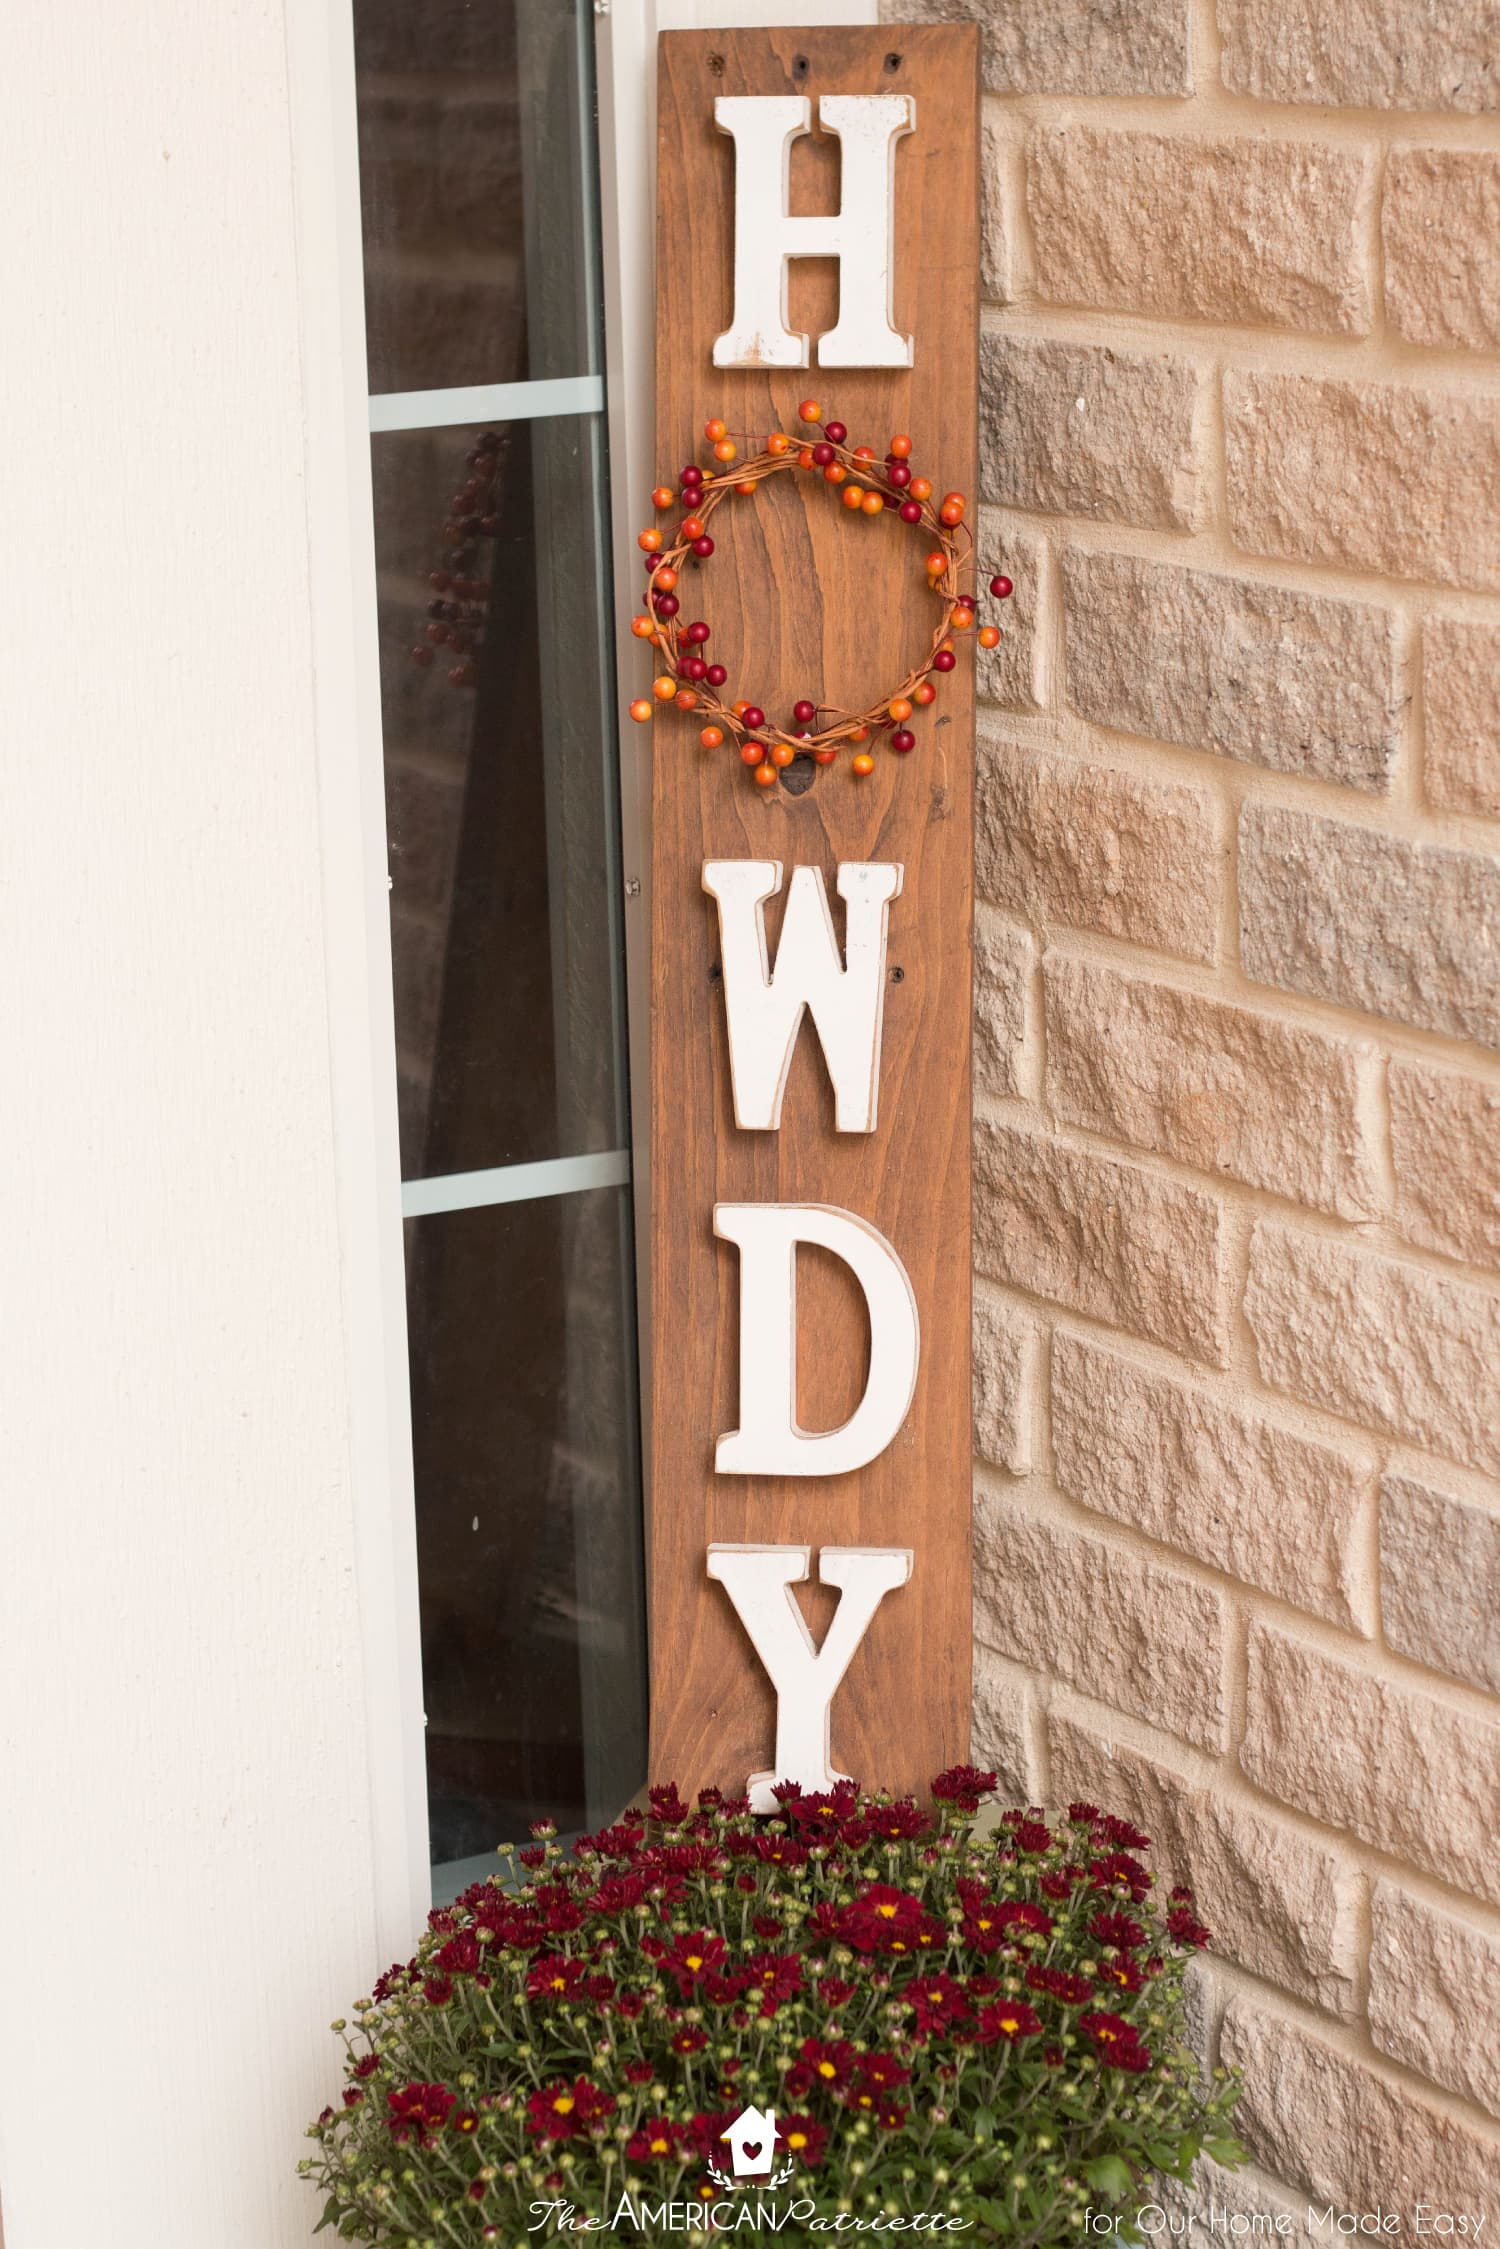
I love this DIY Howdy Pallet Sign – it’s one of my favorite DIY projects to date, simply because I can keep it up year-round, but I can change out that little wreath every couple of months to reflect the calendar. I have a couple of generic wreaths that I can use any time of year – a small boxwood wreath and a small cotton stem wreath – as well as specific ones for Valentine’s Day, Memorial Day/4th of July/Veteran’s Day, Christmas, Easter, and for the fall months.
This is so easy and inexpensive to make, and it’s such a fun piece of decor! You can find the full tutorial and check out the different wreaths for each season here.
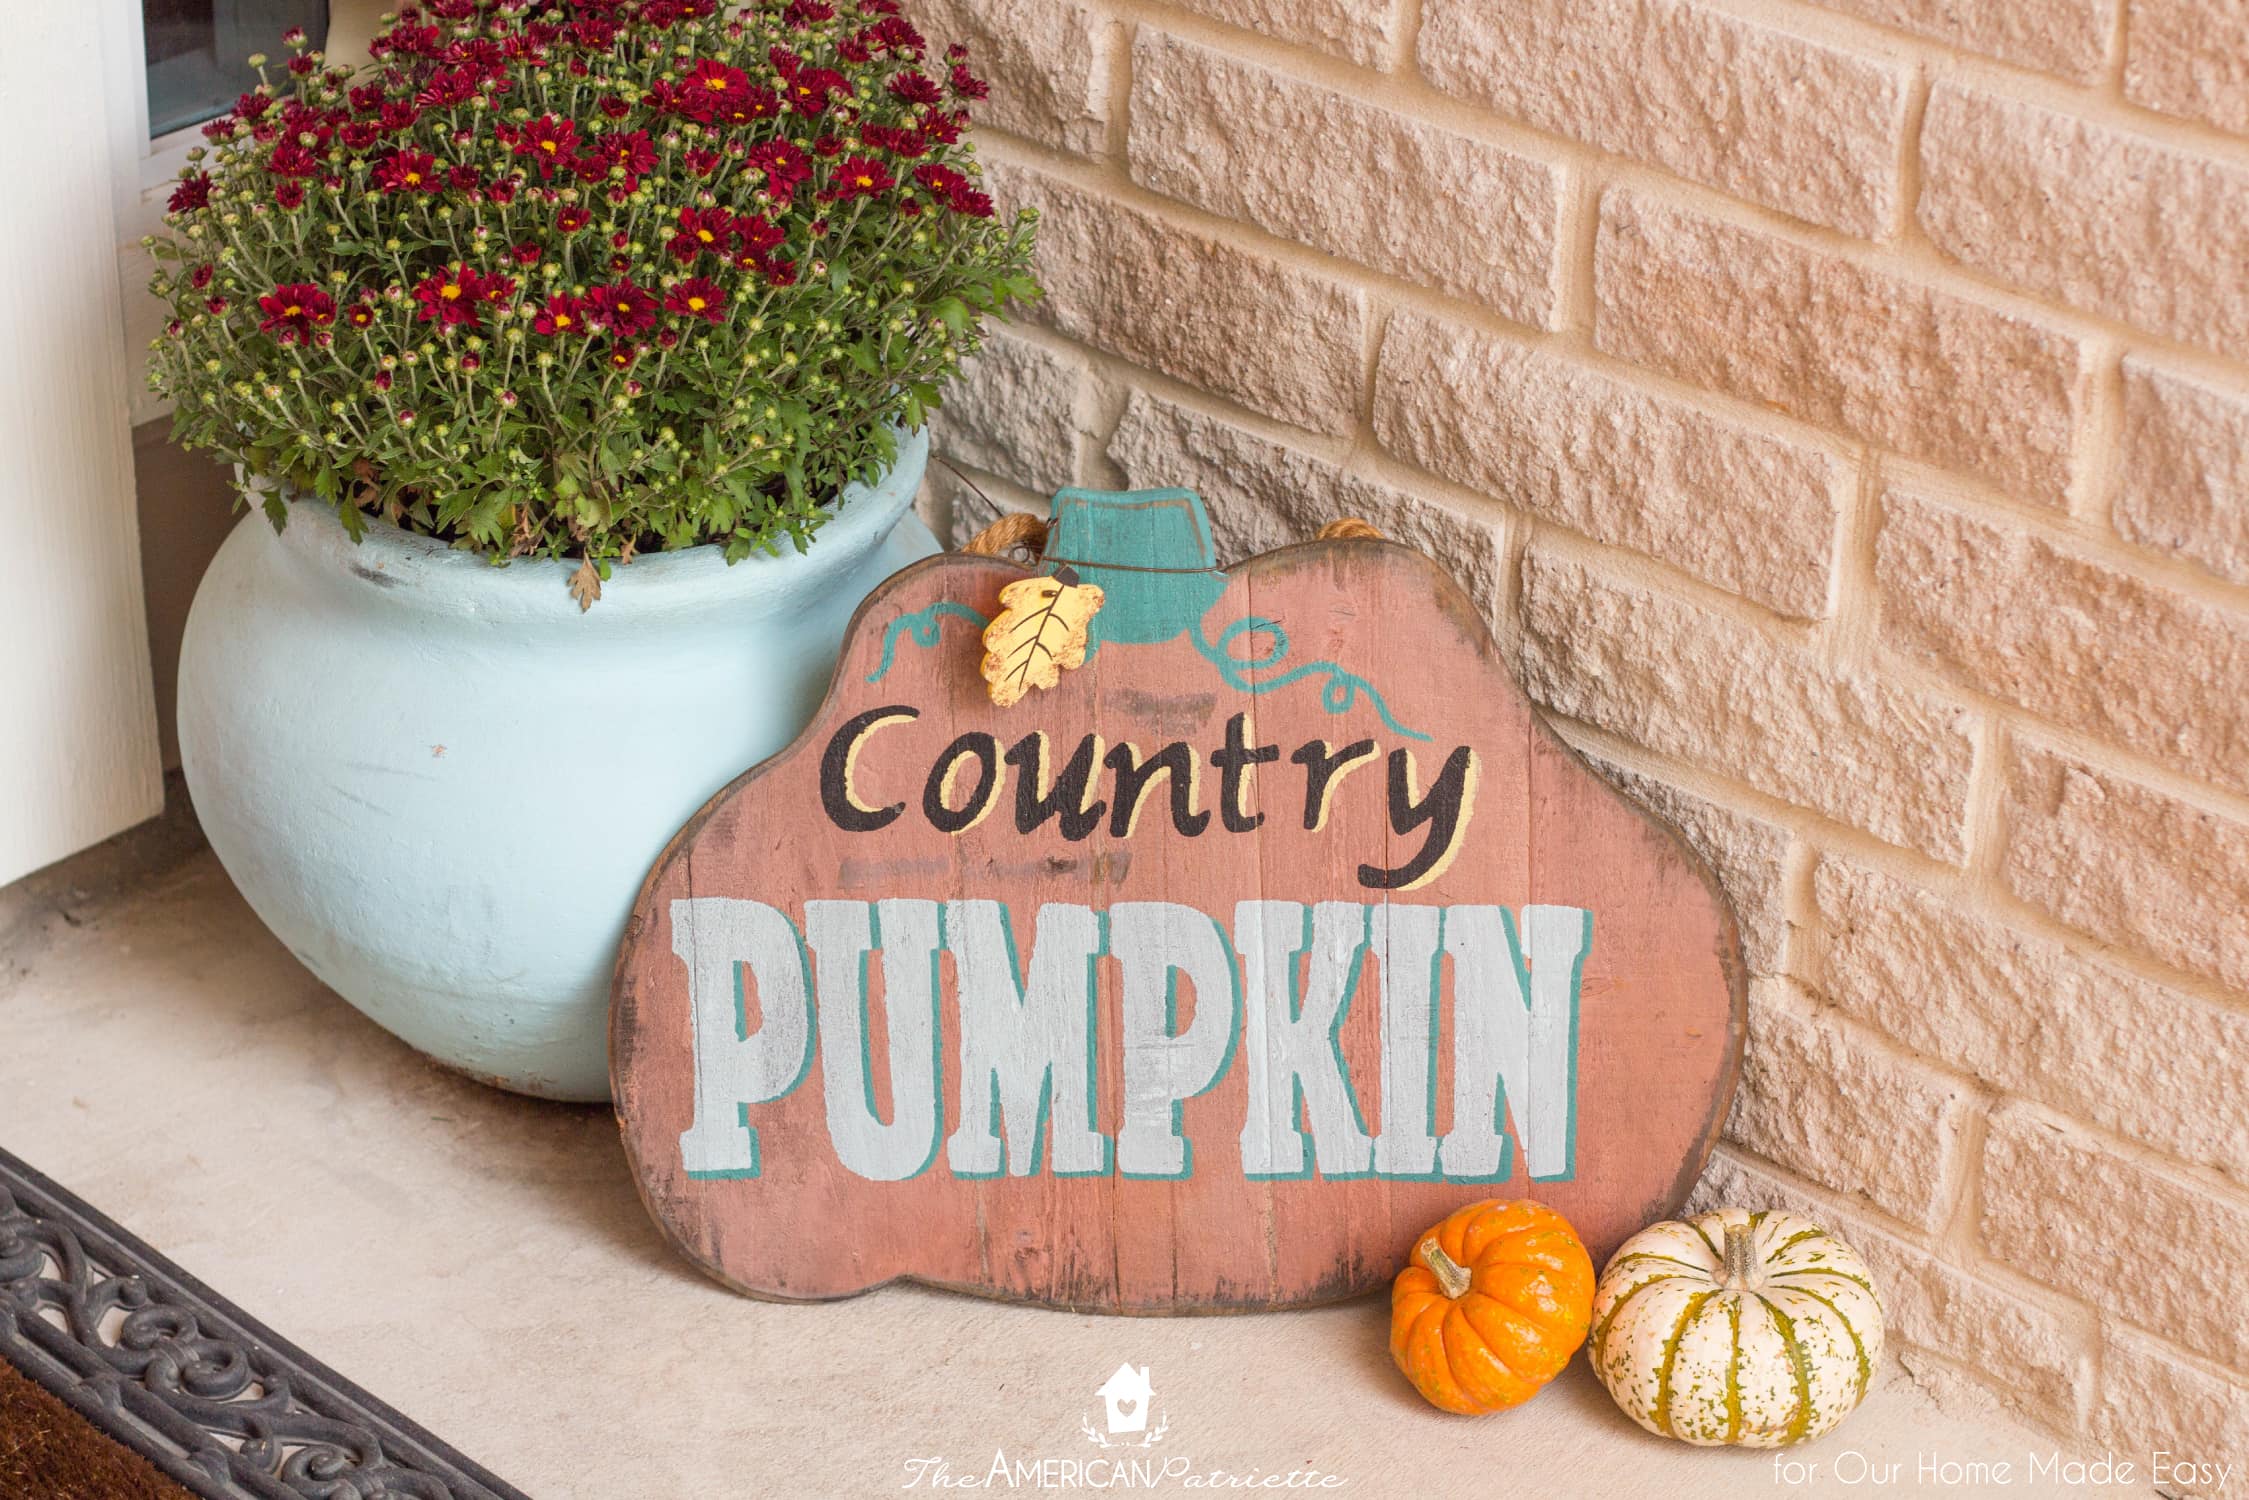
I look forward to putting out that adorable “Country Pumpkin” sign each year, too. I got it at Hobby Lobby a few years ago, and while they don’t have this particular one in stock anymore, they carry so many other beautiful signs that help add a welcoming touch to an entryway! You can also find cute signs like this at local craft fairs, antique shops, and all over Etsy.
- Related: Harvest DIY Sign
- Related: DIY Wooden Fall Sign
5. Add in a piece of colorful fabric
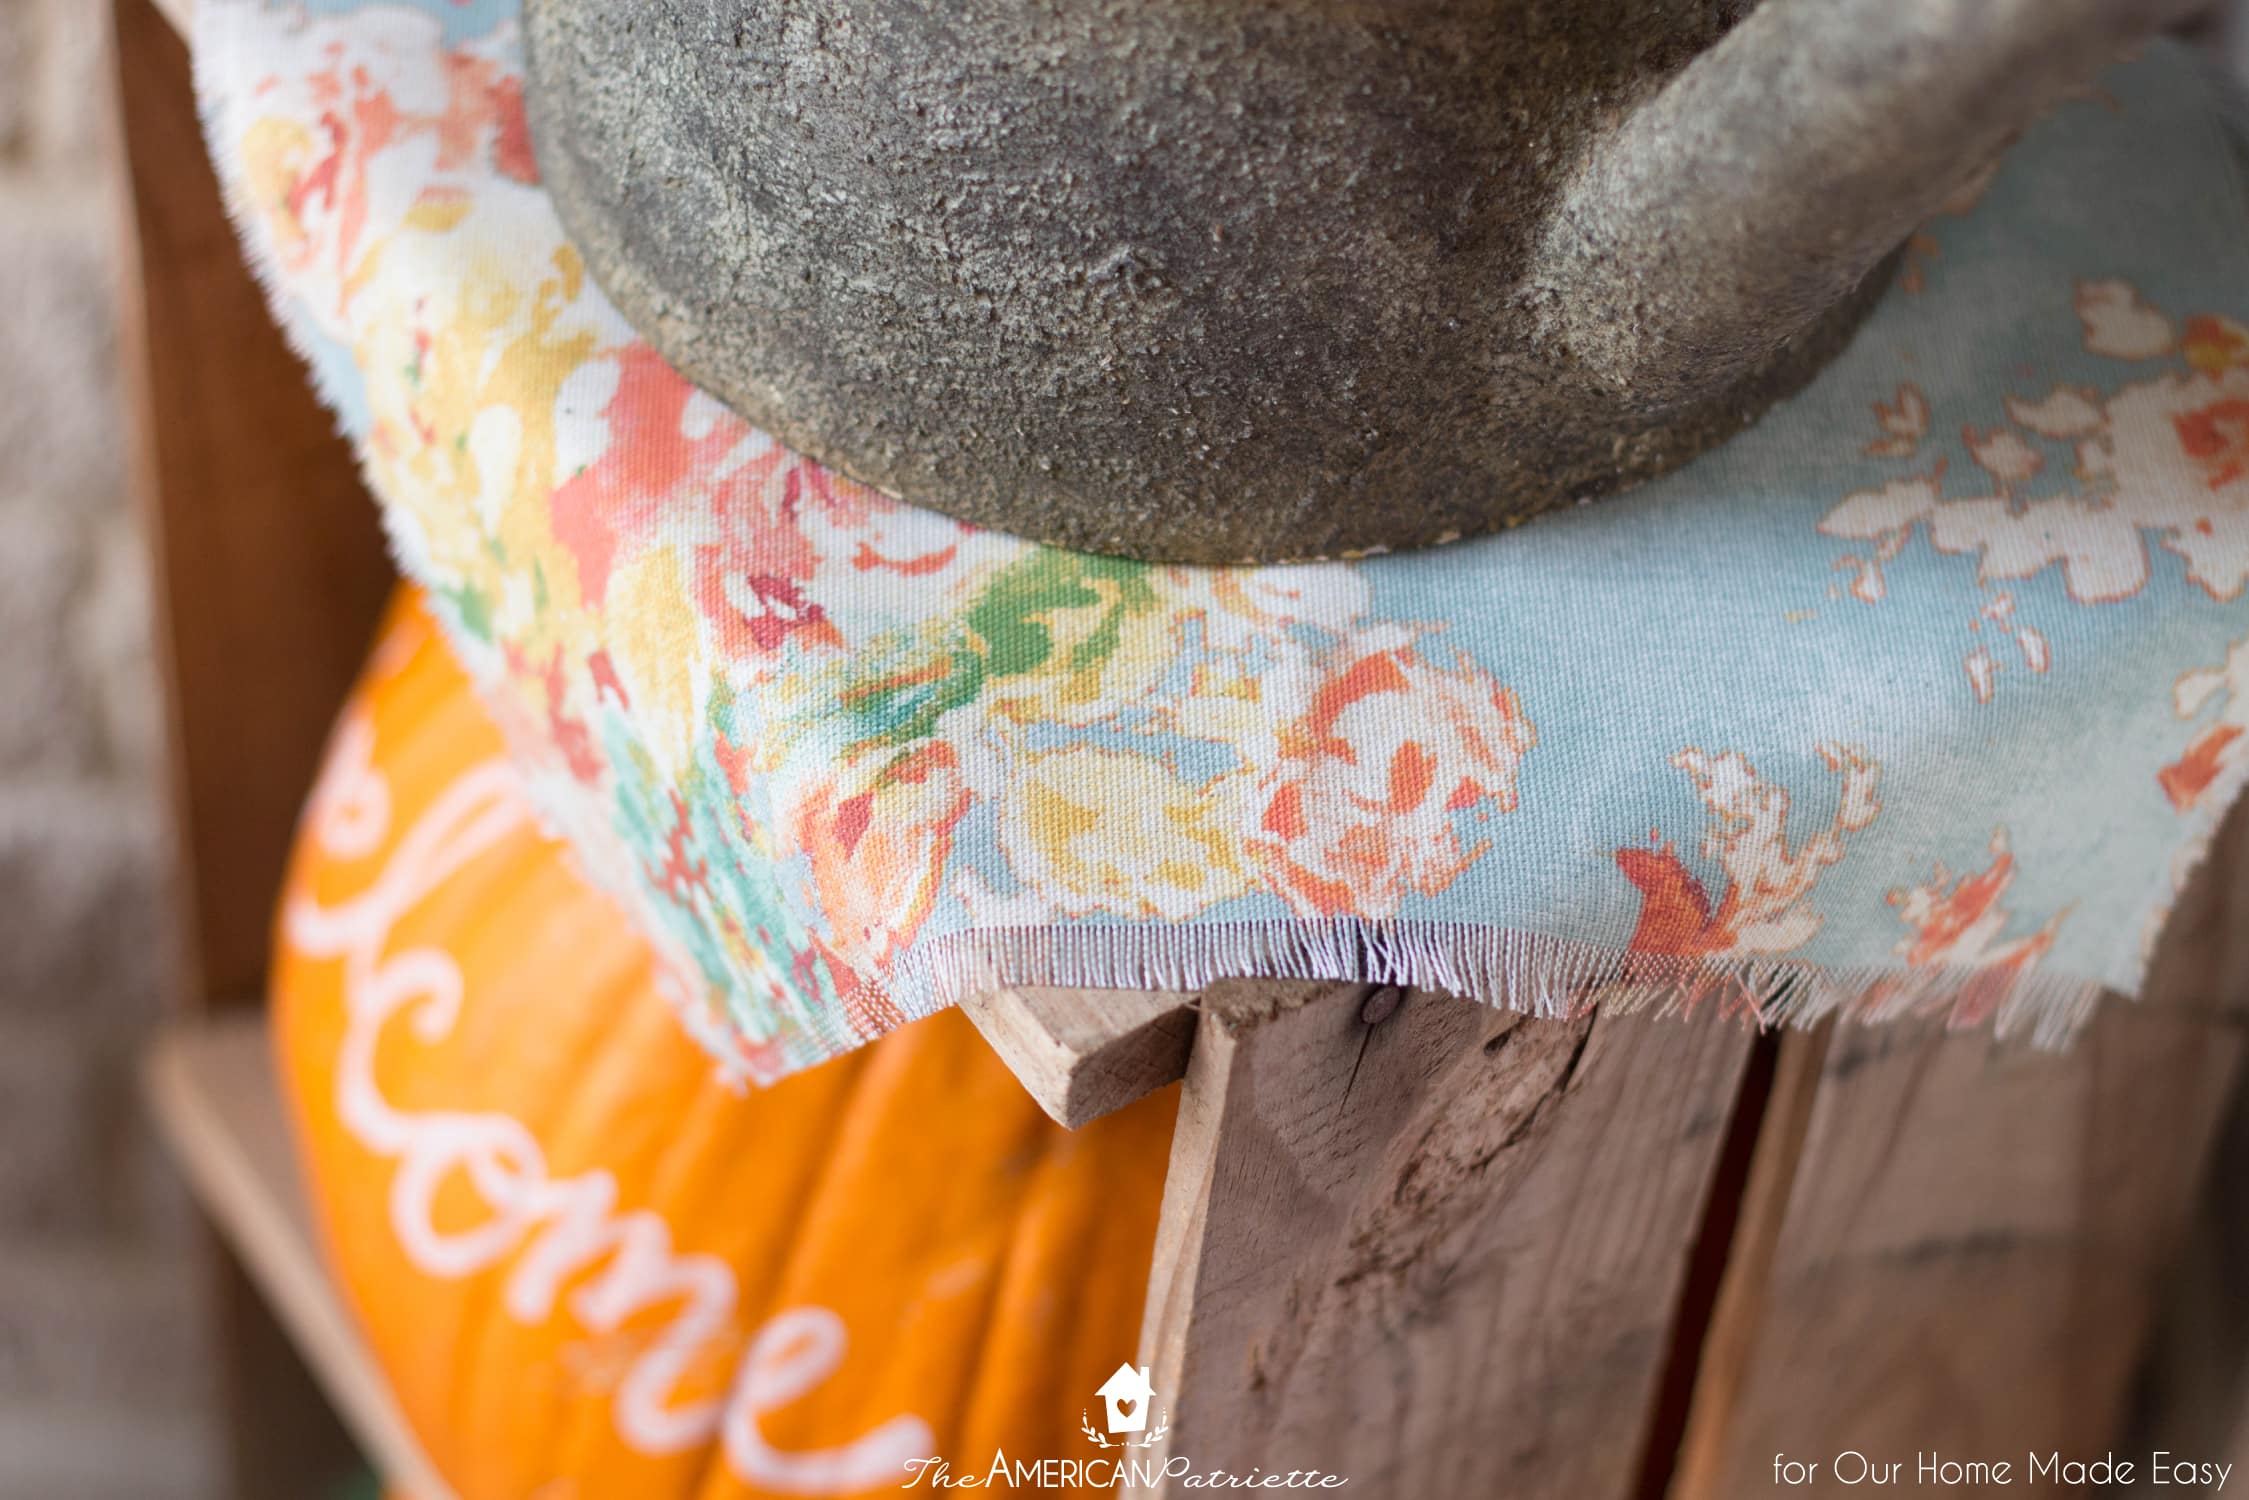
I haven’t ever used fabric to decorate my front porch before, but this year, I decided wanted an additional way to throw in some color. I also wanted to tie some colors together from both sides of my porch, so I decided to look for some inexpensive fabric and just give it a go.
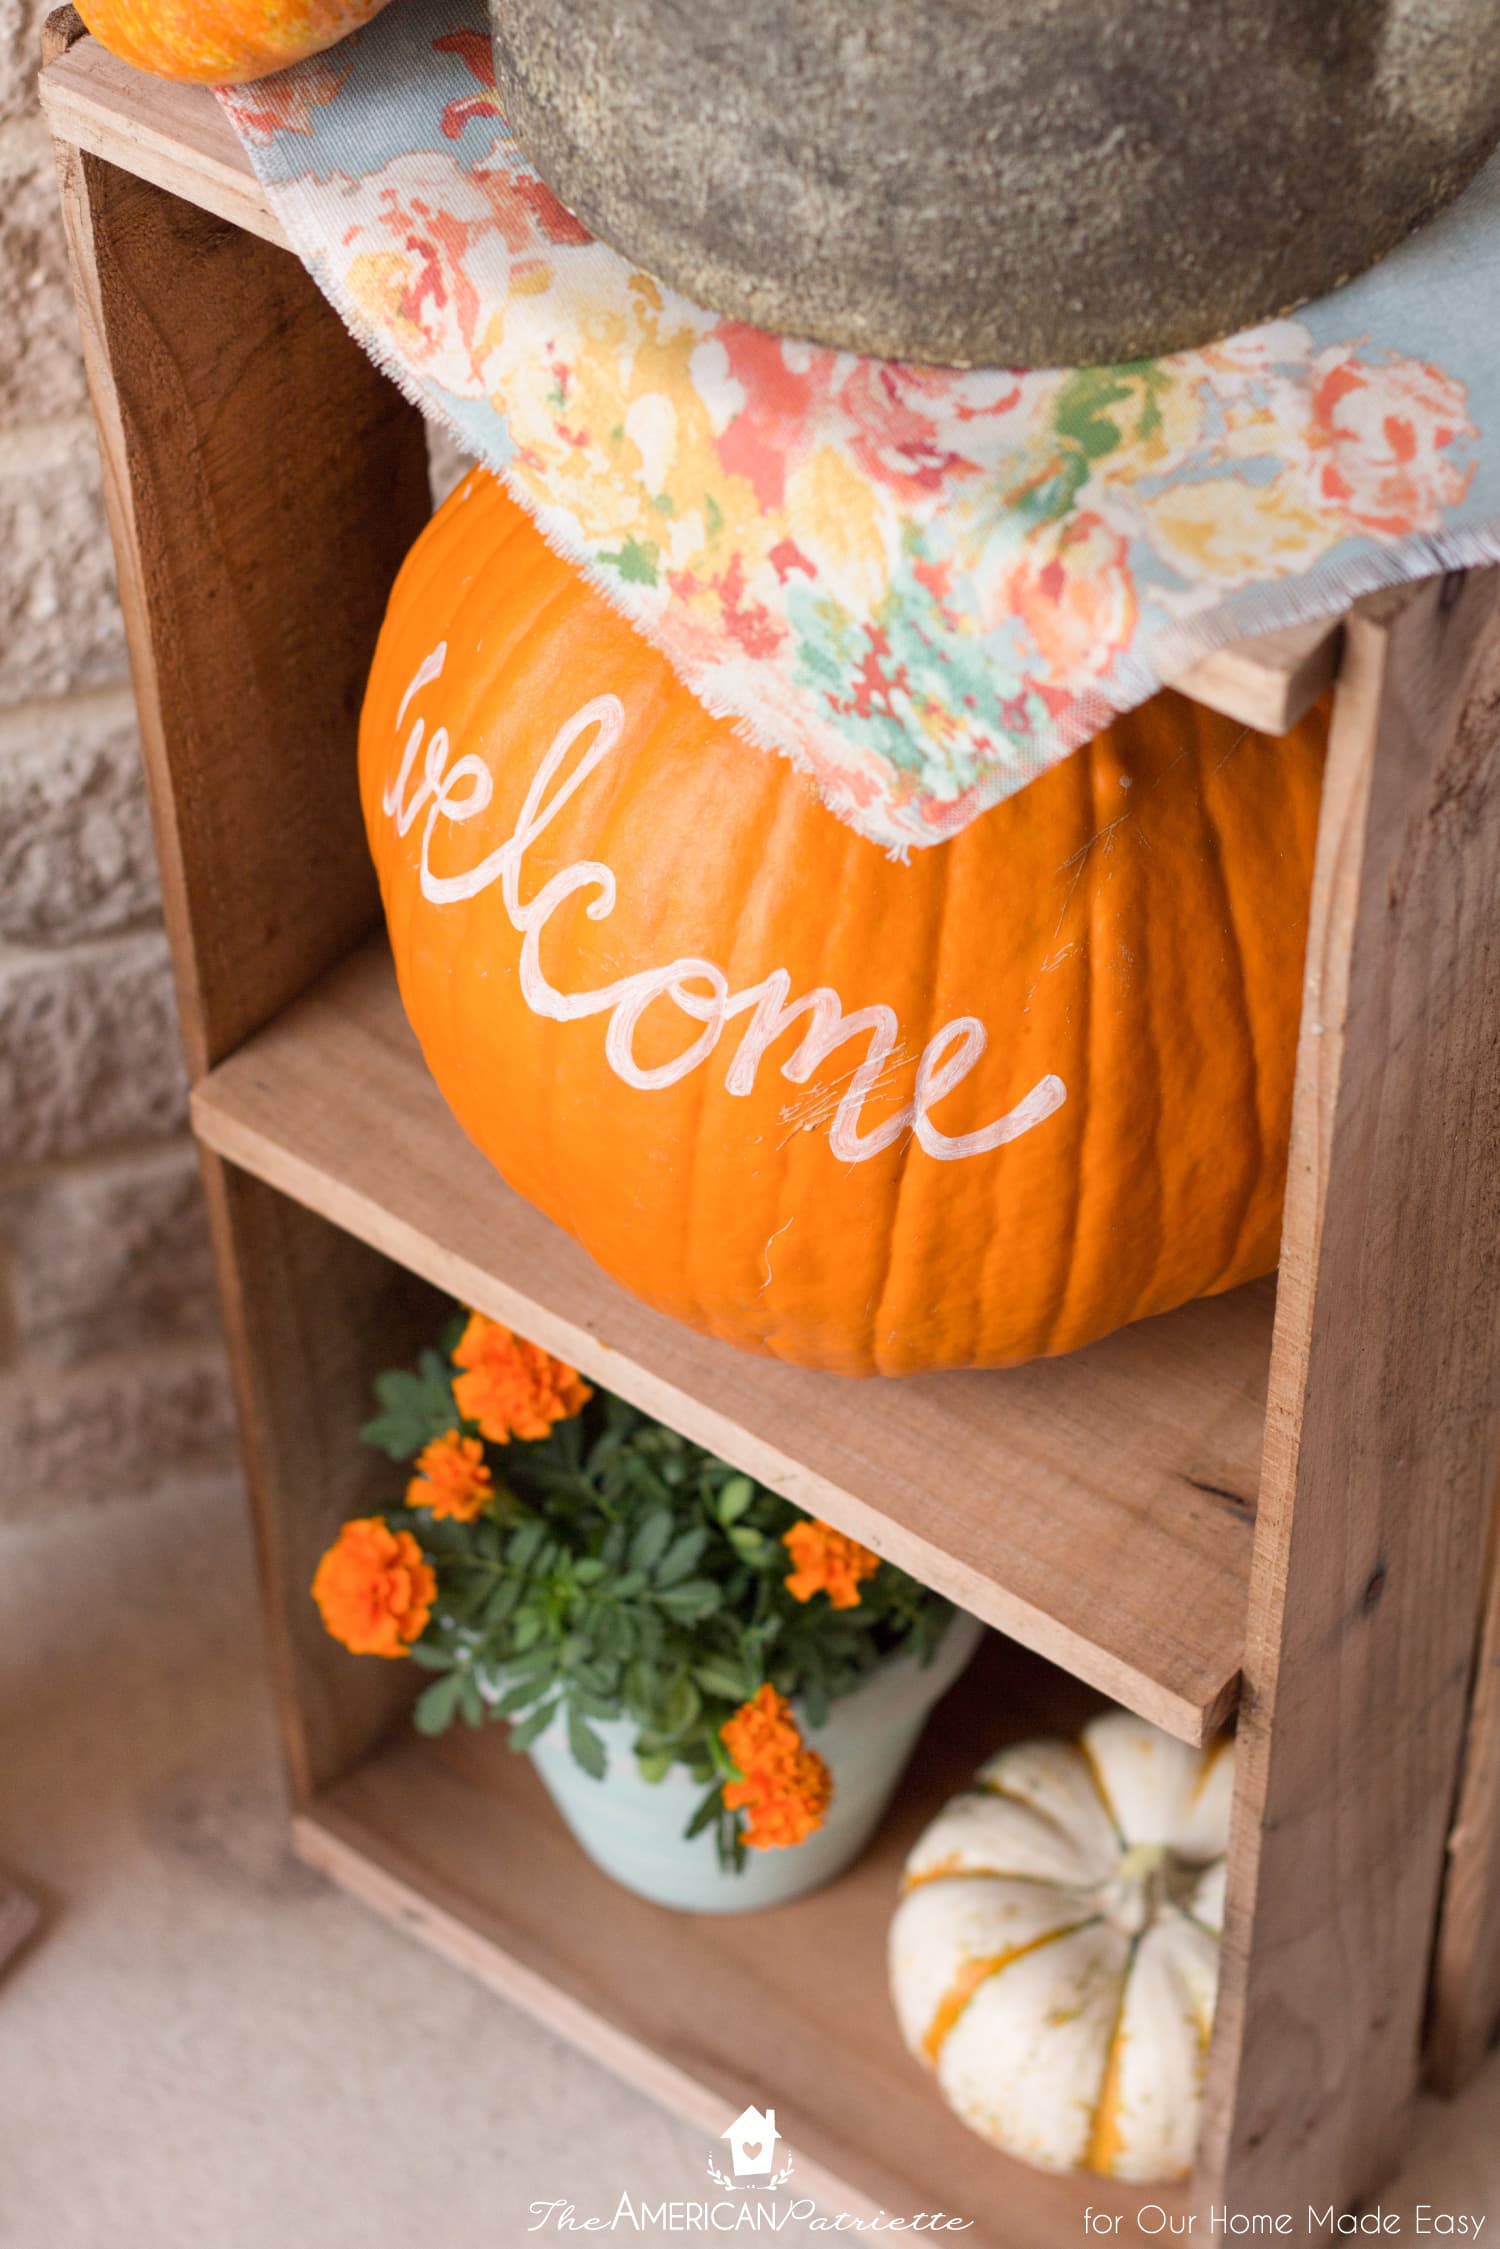
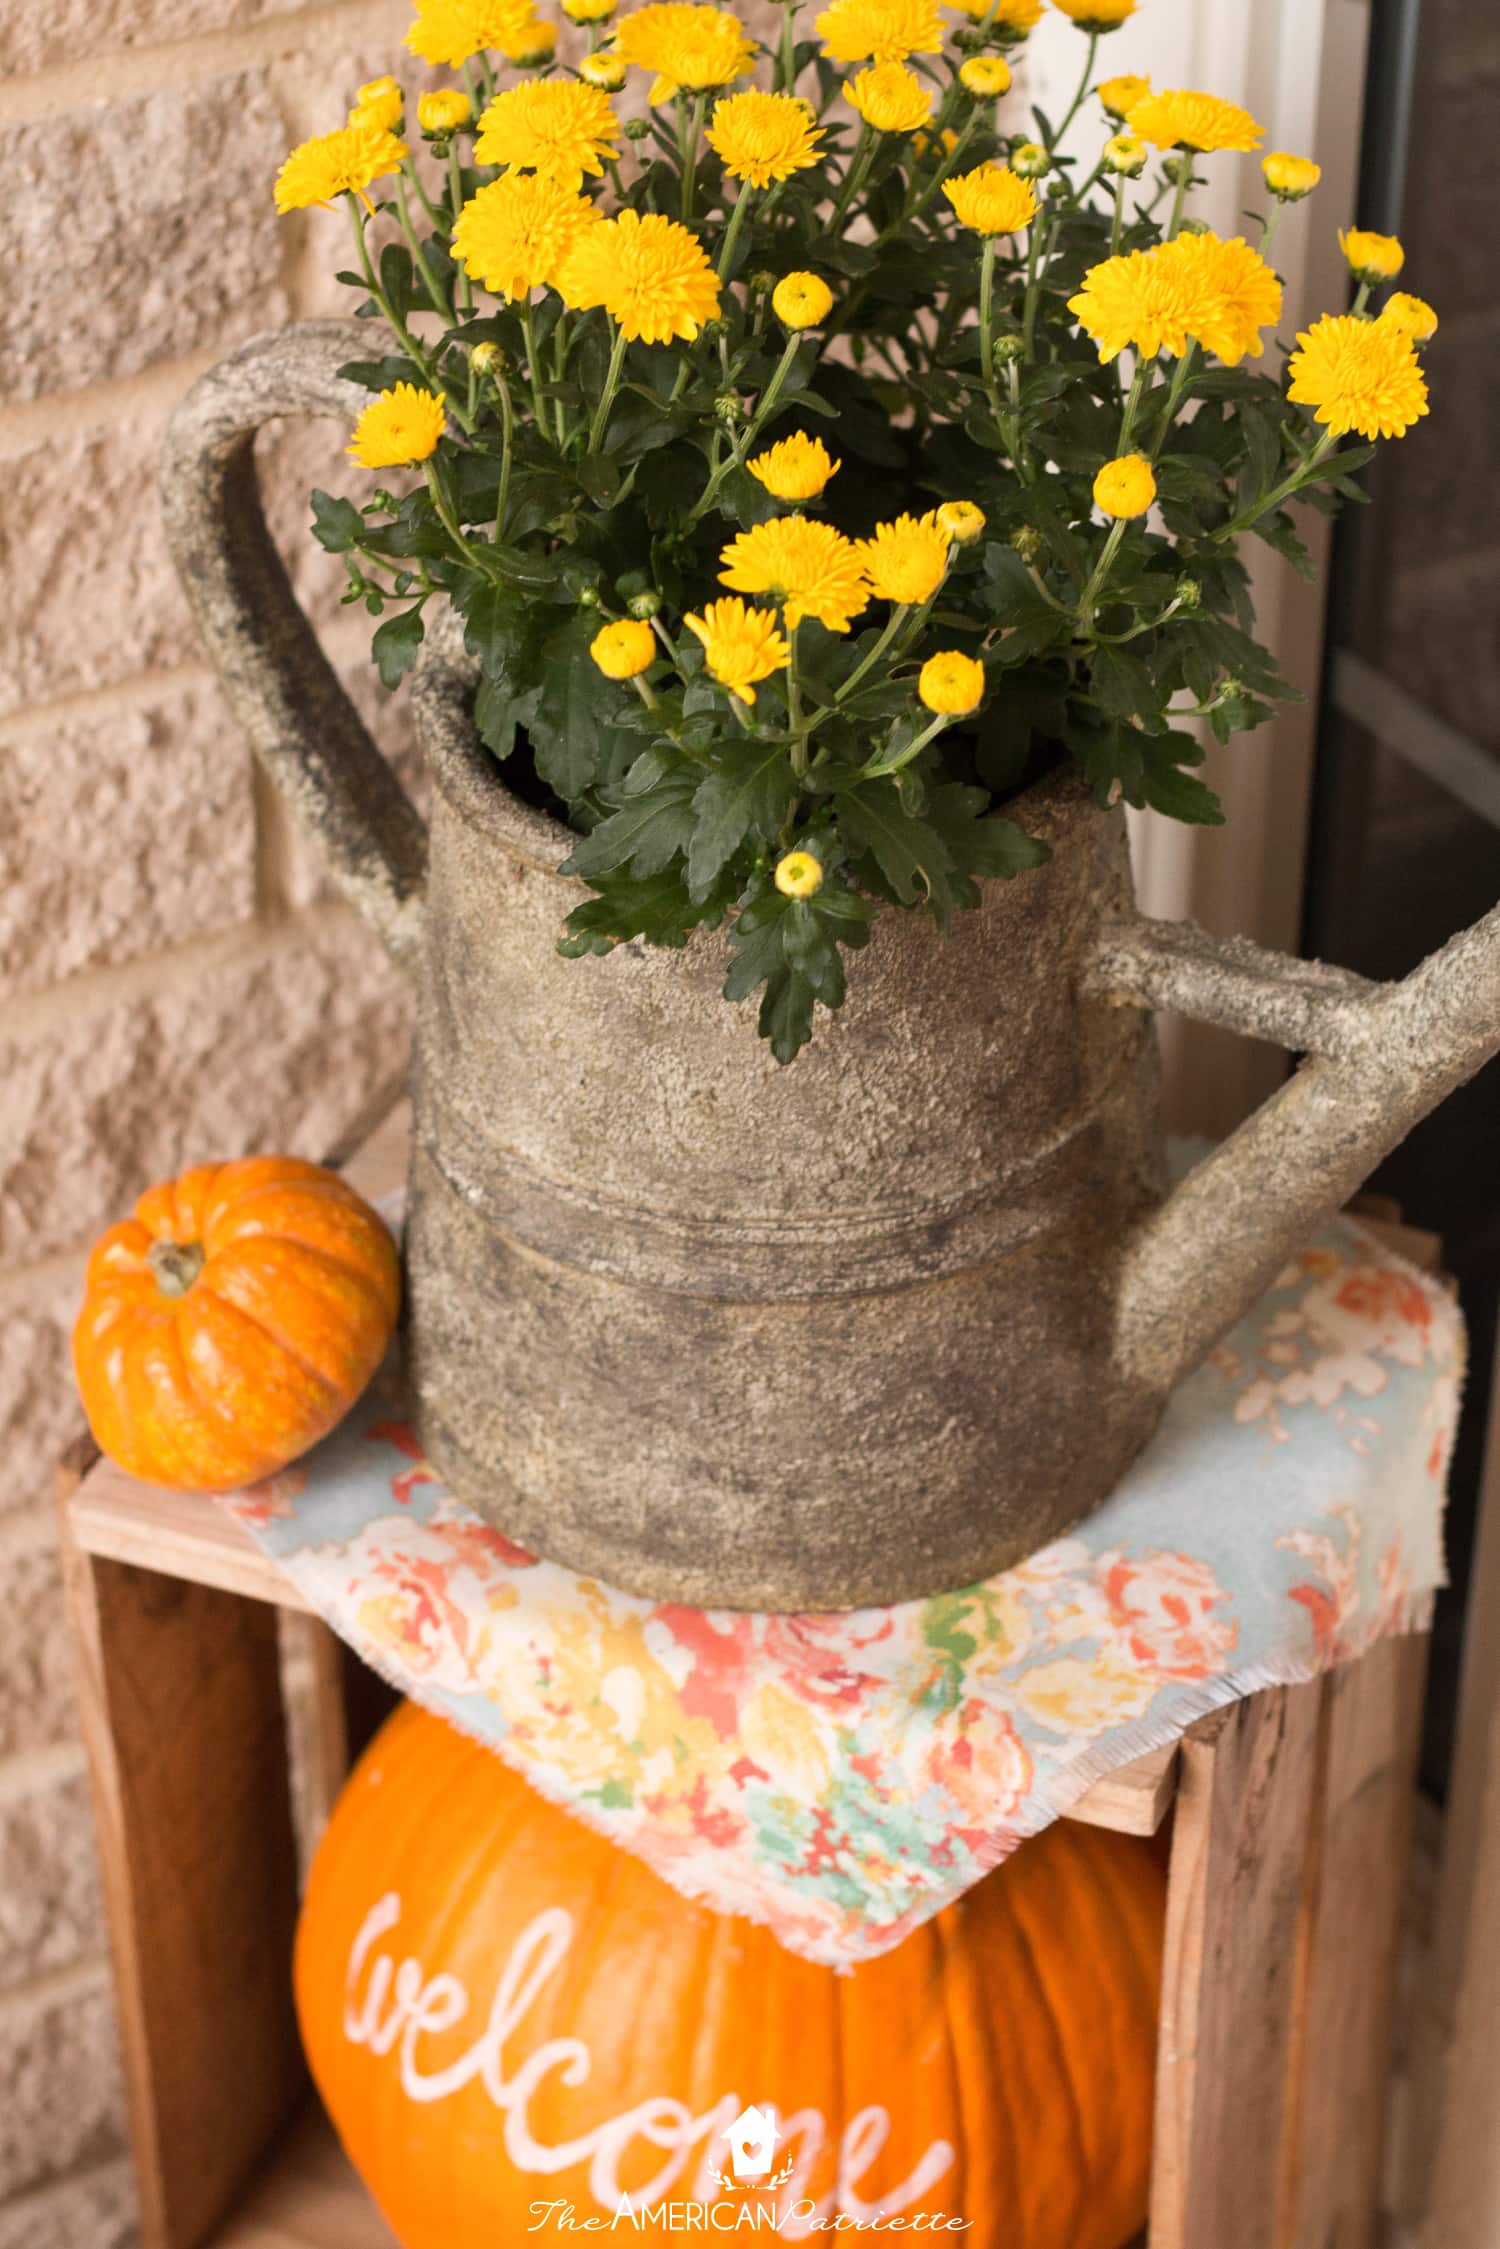
I’m all about colorful floral patterns, so I was thrilled when I found this one at Hobby Lobby on the clearance aisle – it was perfect! It had the fall oranges, yellows, and a bit of maroon, red, and pink shades I was looking for, as well as some pale turquoise to help tie in the color on my flower pots.
Since I like a bit of the rustic look anyway, I decided to fray the edges after cutting the fabric square – such an easy way to give it a finished look without having to do any sewing. To make it, I just cut out the square piece and pulled 4-5 strands off of each side to give it that frayed appearance. Simple!
Tip: If you do choose to go this route, stick with a more durable canvas-like fabric – it’ll hold up a little better outside, it won’t wrinkle as much, and you’ll be able to more easily give it that “polished” frayed look. Try this with a floral pattern like I did, or use some fun gingham or buffalo check fabric.
6. Decorate with pumpkins, of course!
And, naturally, you can’t forget that pumpkins are a great way to add in some fun seasonal fall color to any front porch!
Use a mixture of big and little pumpkins for variety in color, size, and texture. The Cinderella pumpkins – the somewhat flattened blue, white, and coral-colored ones – are so fun to decorate with! (I would’ve had them on my front porch this season, but I was far too impatient to decorate for fall, and our stores didn’t have them in stock yet.)
If you want to personalize a pumpkin like this “Welcome” one, as long as your pumpkin is shielded from the rain, you can easily do this with a chalk marker. These are my absolute favorite markers to use for any DIY project where I need to write with white – they write so smoothly and evenly!
I hope you enjoy doing some simple decorating and getting your home ready for the fall season! As you spruce up your entryway to welcome guests inside, if you’re looking for some yummy recipes to feed them once they arrive, head over here to get some cozy soup and chili recipes, perfect for cool, crisp-weather gatherings!
Thank you so much Mauri for joining us and sharing your knowledge with me ( 😉 ) the Our Home Made Easy community!
GET MY FAVORITE BUDGET SEASONAL DECOR IDEAS HERE!

