
DIY Wooden Fall Porch Sign (Easy Weekend Project)
Make your front porch feel warm and welcoming with this easy DIY wooden fall sign. Follow my simple tutorial and enjoy a fall decoration you can use year after year.
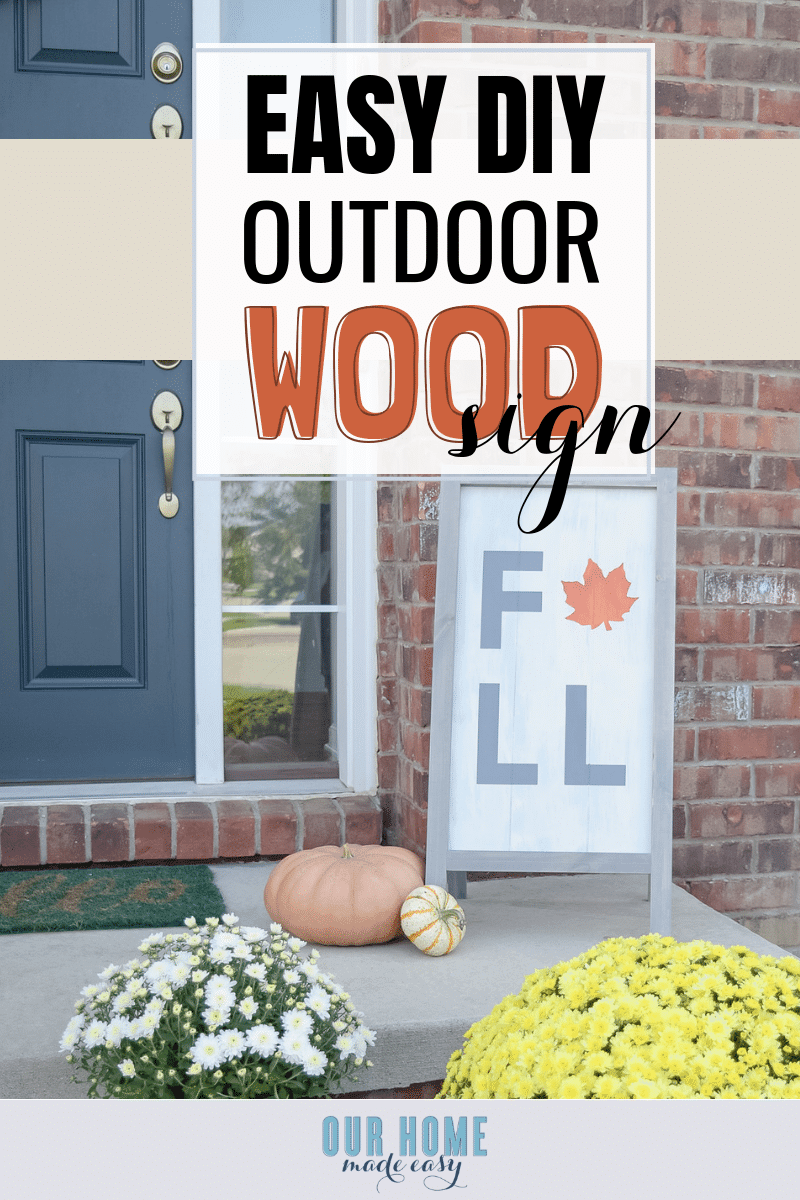
(This post contains affiliate links. Please see my Disclaimer for more information)
There’s just something about decorating for fall that makes home feel a little cozier.
One of my favorite ways to welcome the season is with a simple porch sign that greets family and friends before they even step inside. While you can certainly buy beautiful seasonal signs at craft stores, making your own is surprisingly easy—and it’s a fun weekend project that you can enjoy for years to come.
This DIY wooden fall sign is one of those projects that looks much more complicated than it actually is. With a few basic supplies, a little paint, and an afternoon of crafting, you’ll have a custom piece of fall décor that’s perfect for your front porch, entryway, or even indoors.
Whether you’re making your very first porch sign or looking for a new fall decorating project, I’ll walk you through exactly how I built mine and share a few tips to help make your project a success.
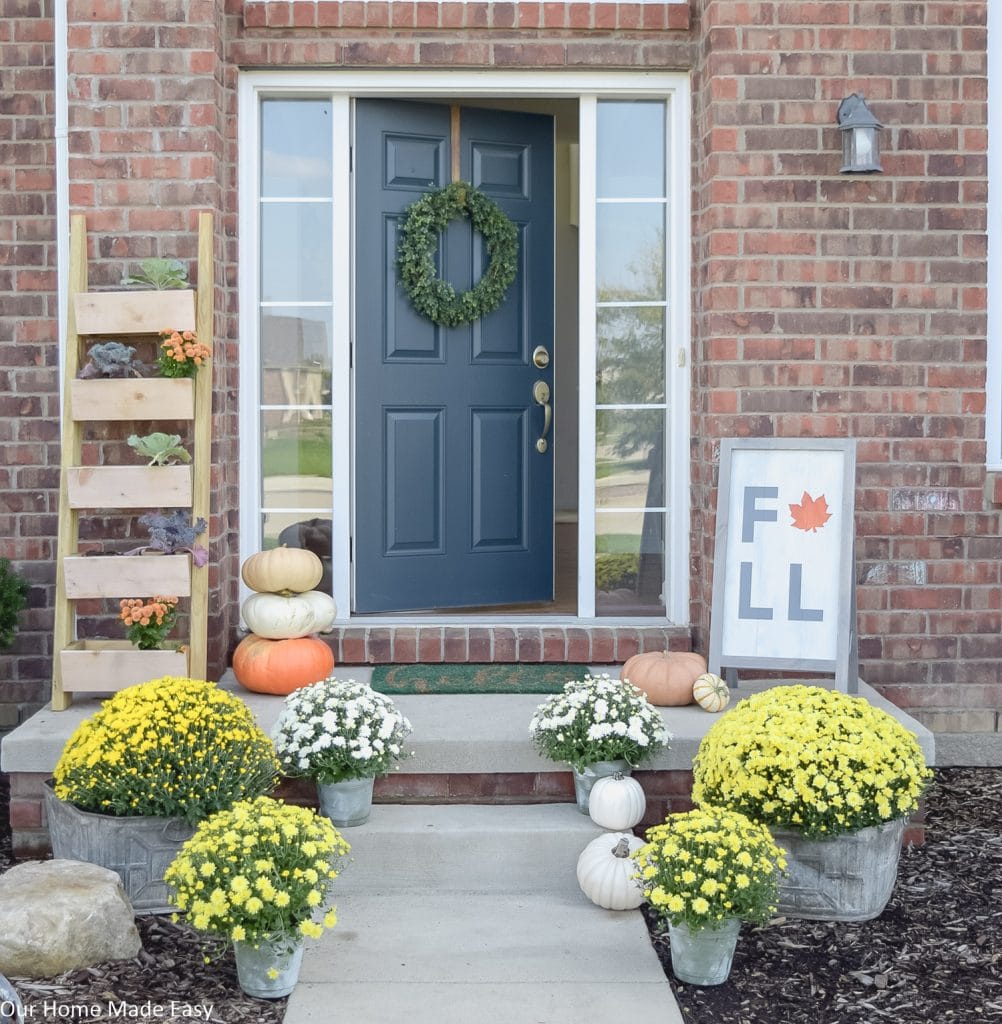
Last week I shared our front porch looking bright for Fall. If you haven’t seen the fall front porch yet, jump over and take a look!
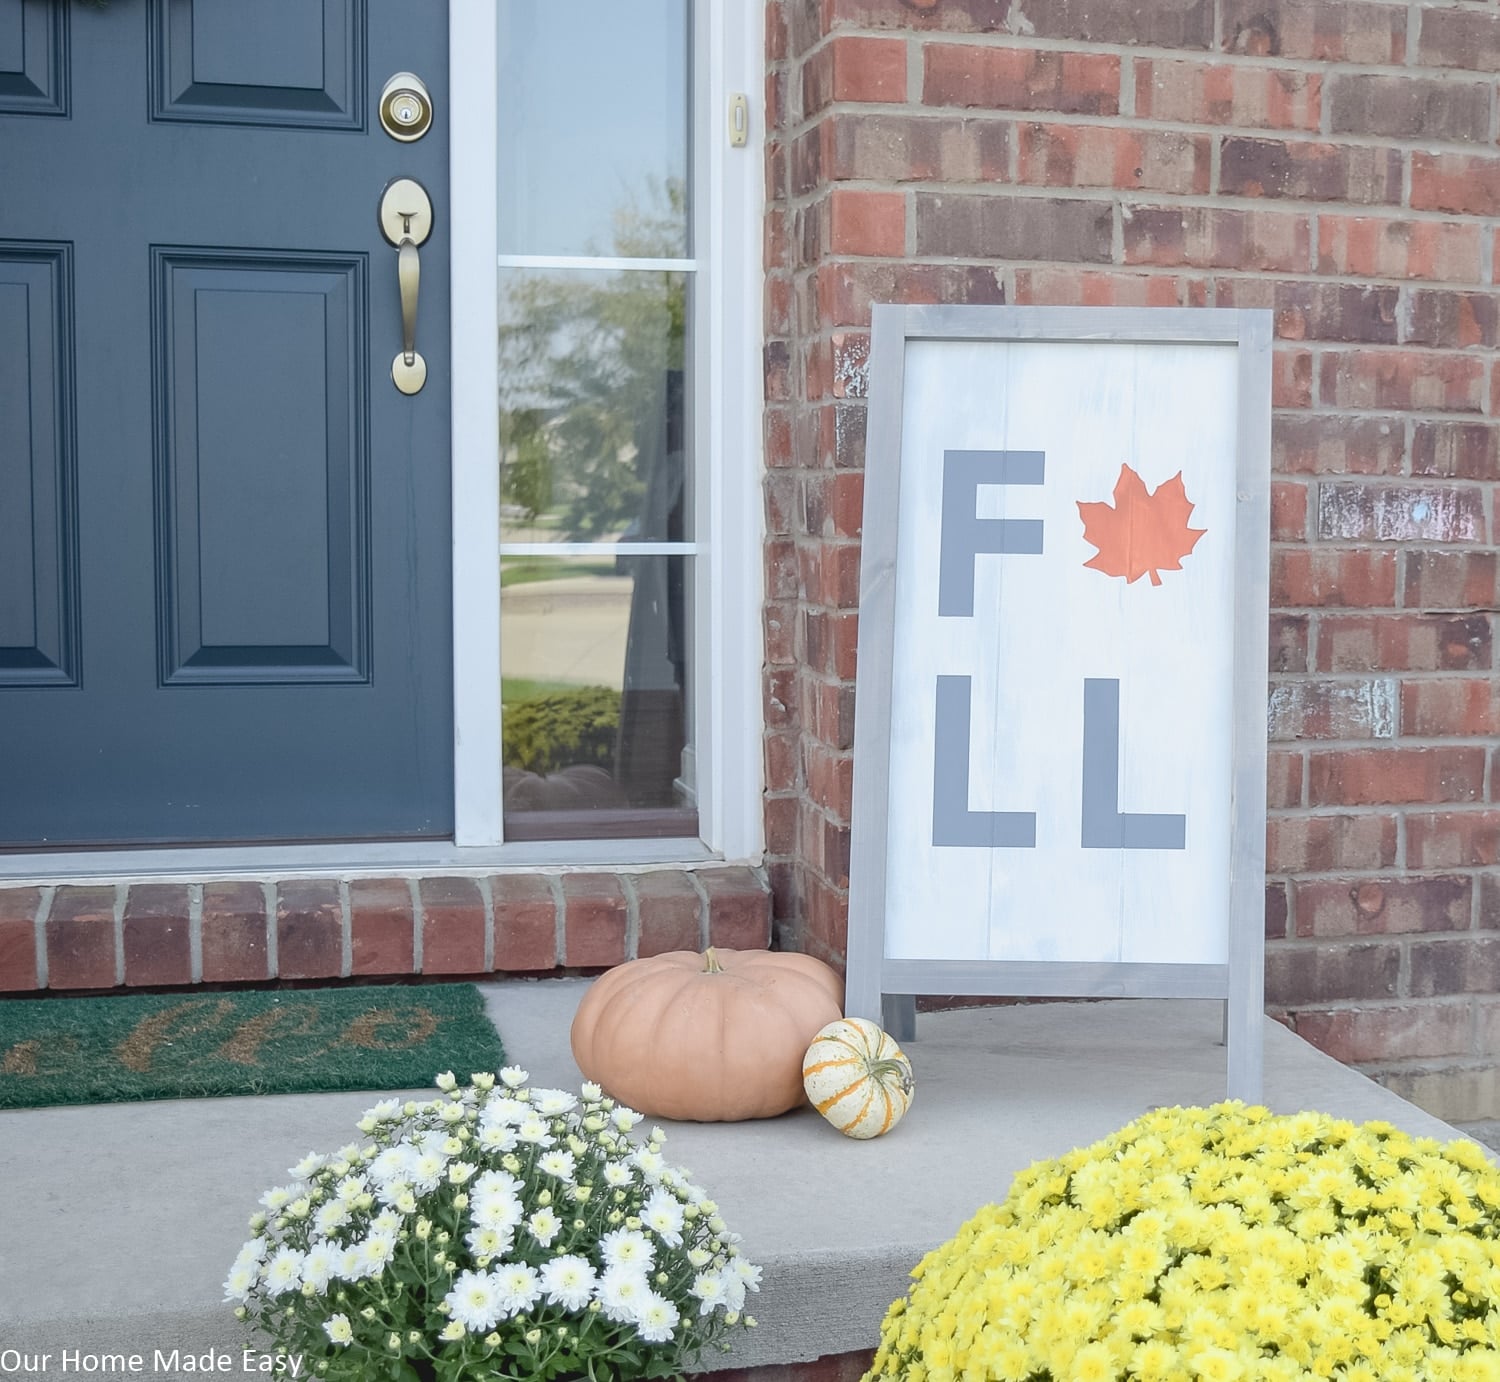
All About This Wooden Fall Sign Tutorial:
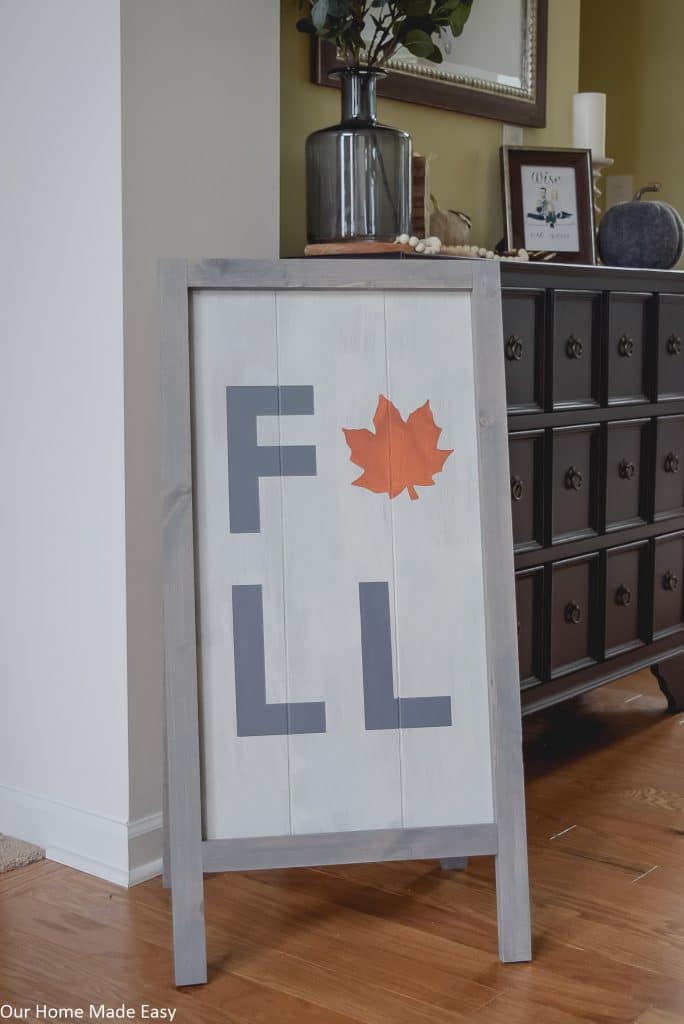
DIY Wooden Fall Sign
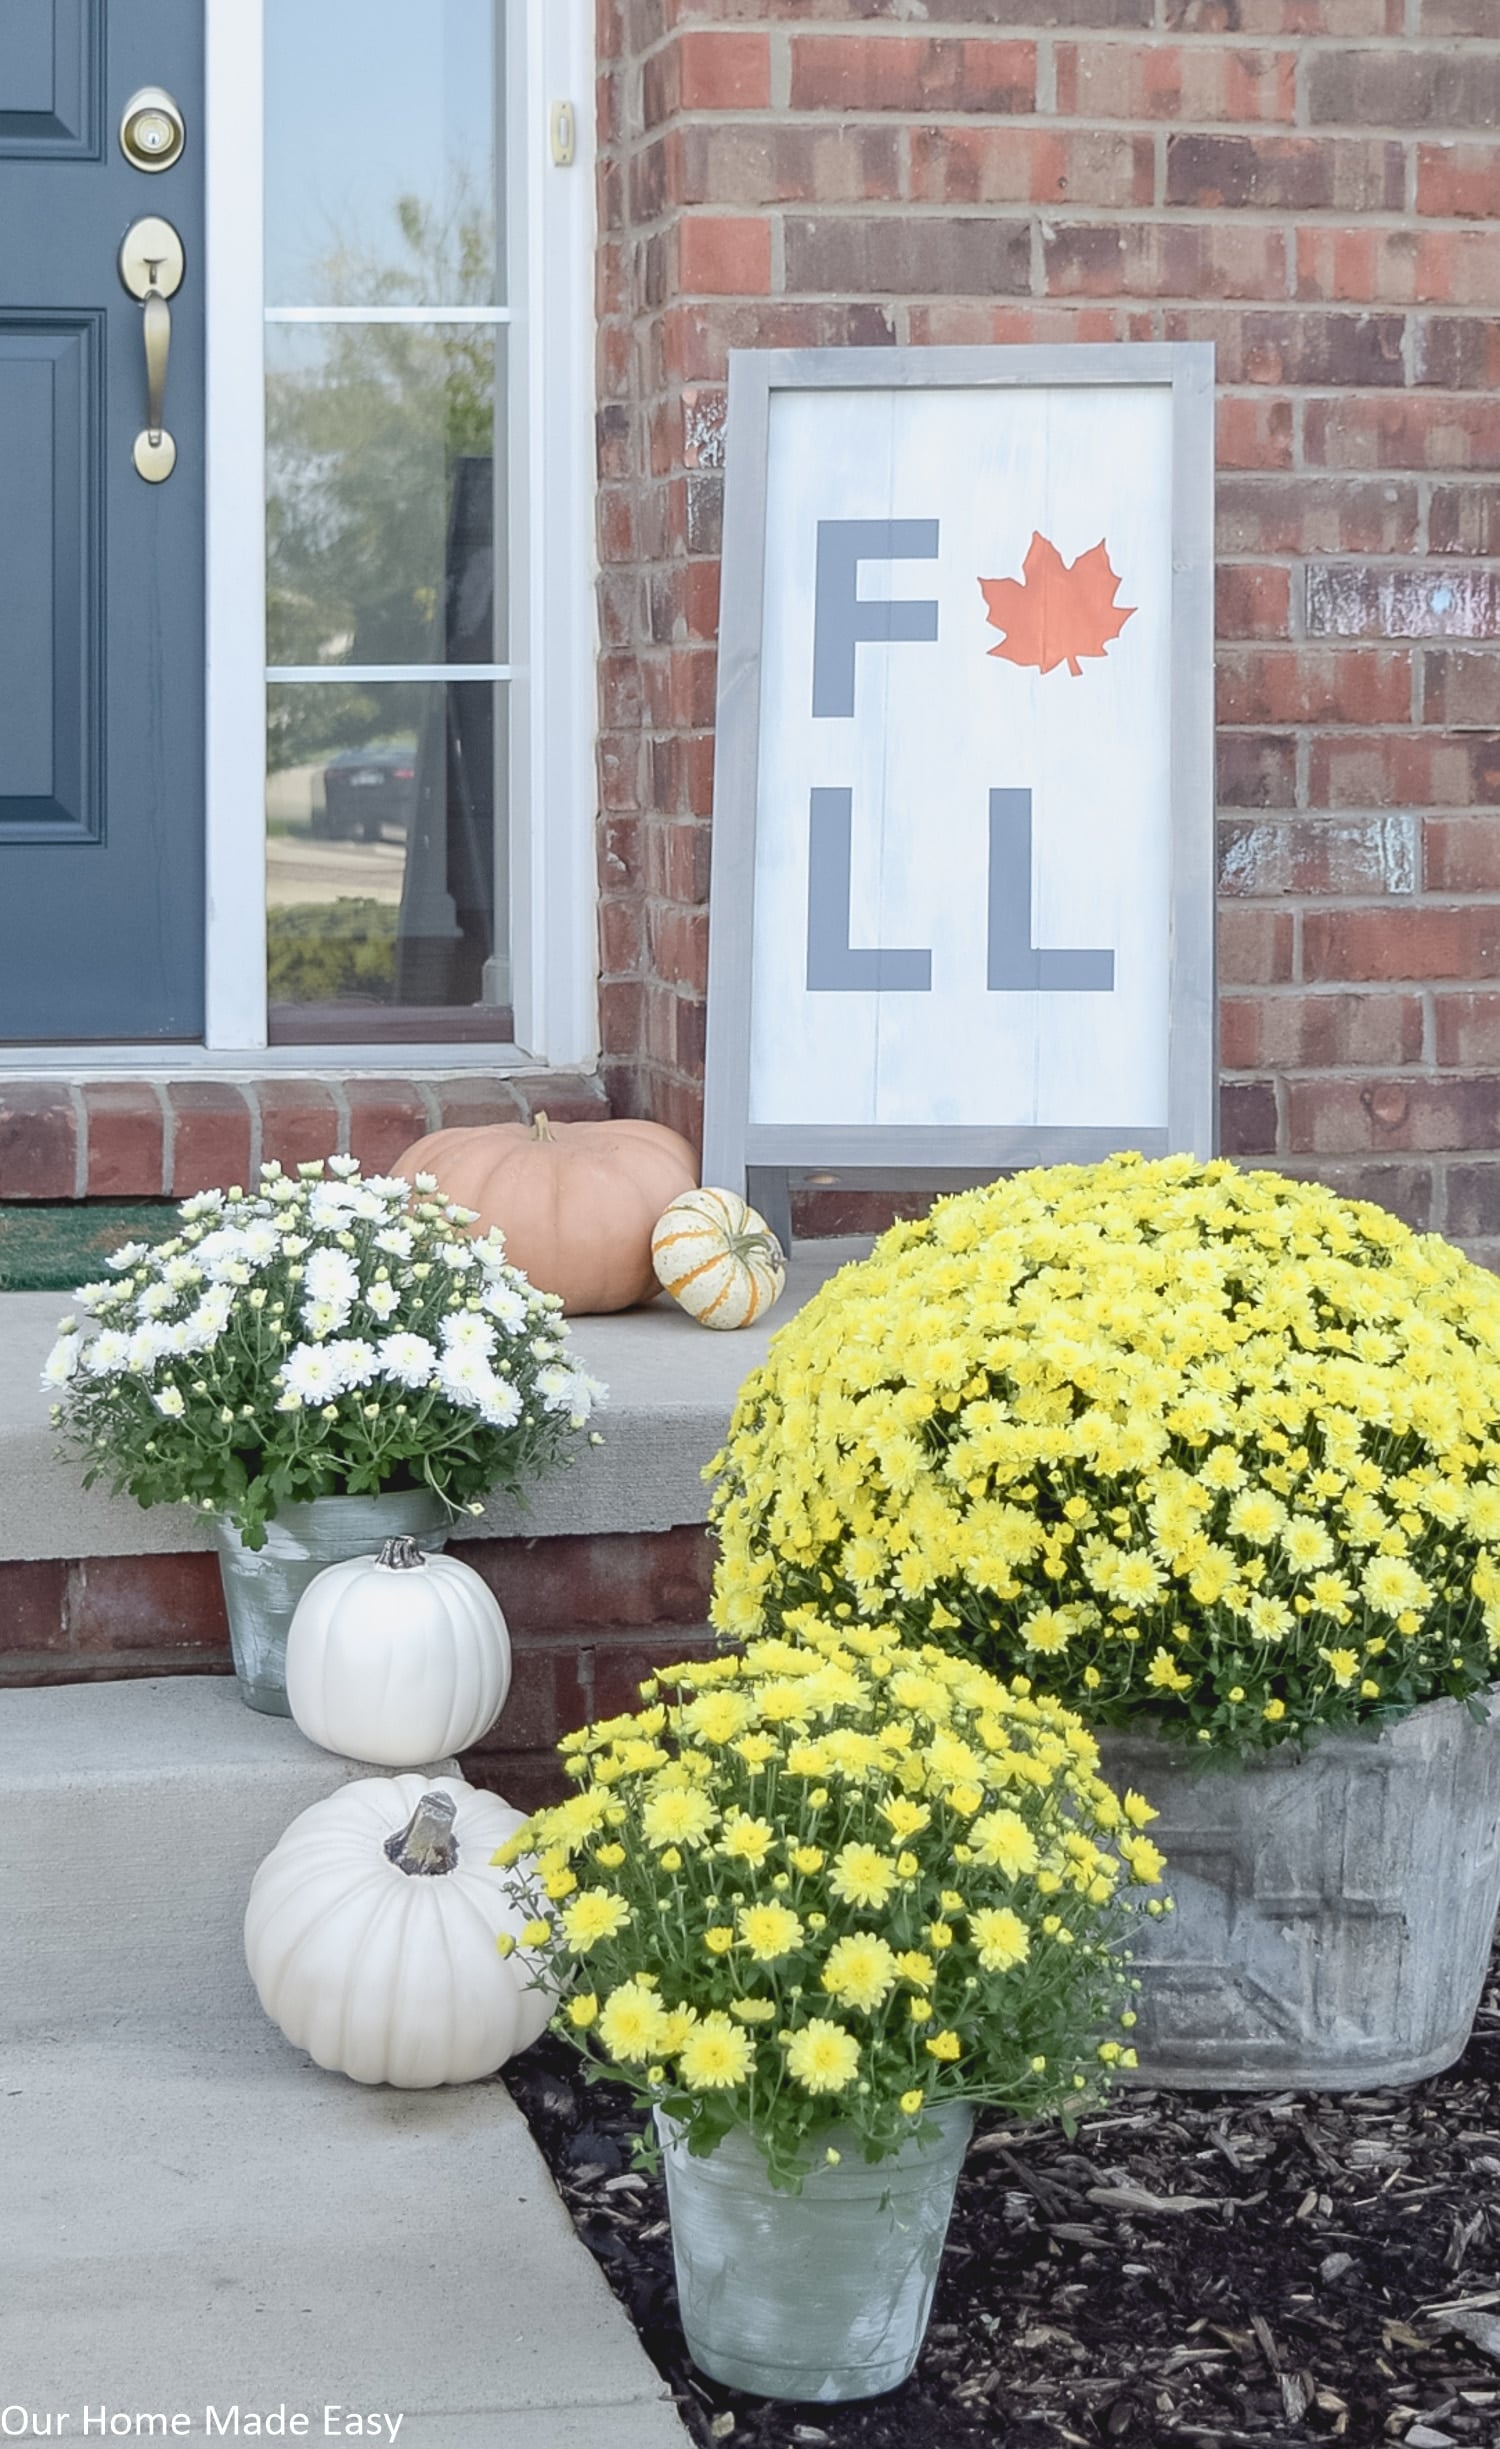
I know that you’ll love making this sign for any holiday! Simply choose a different stencil and make it perfect for your home!
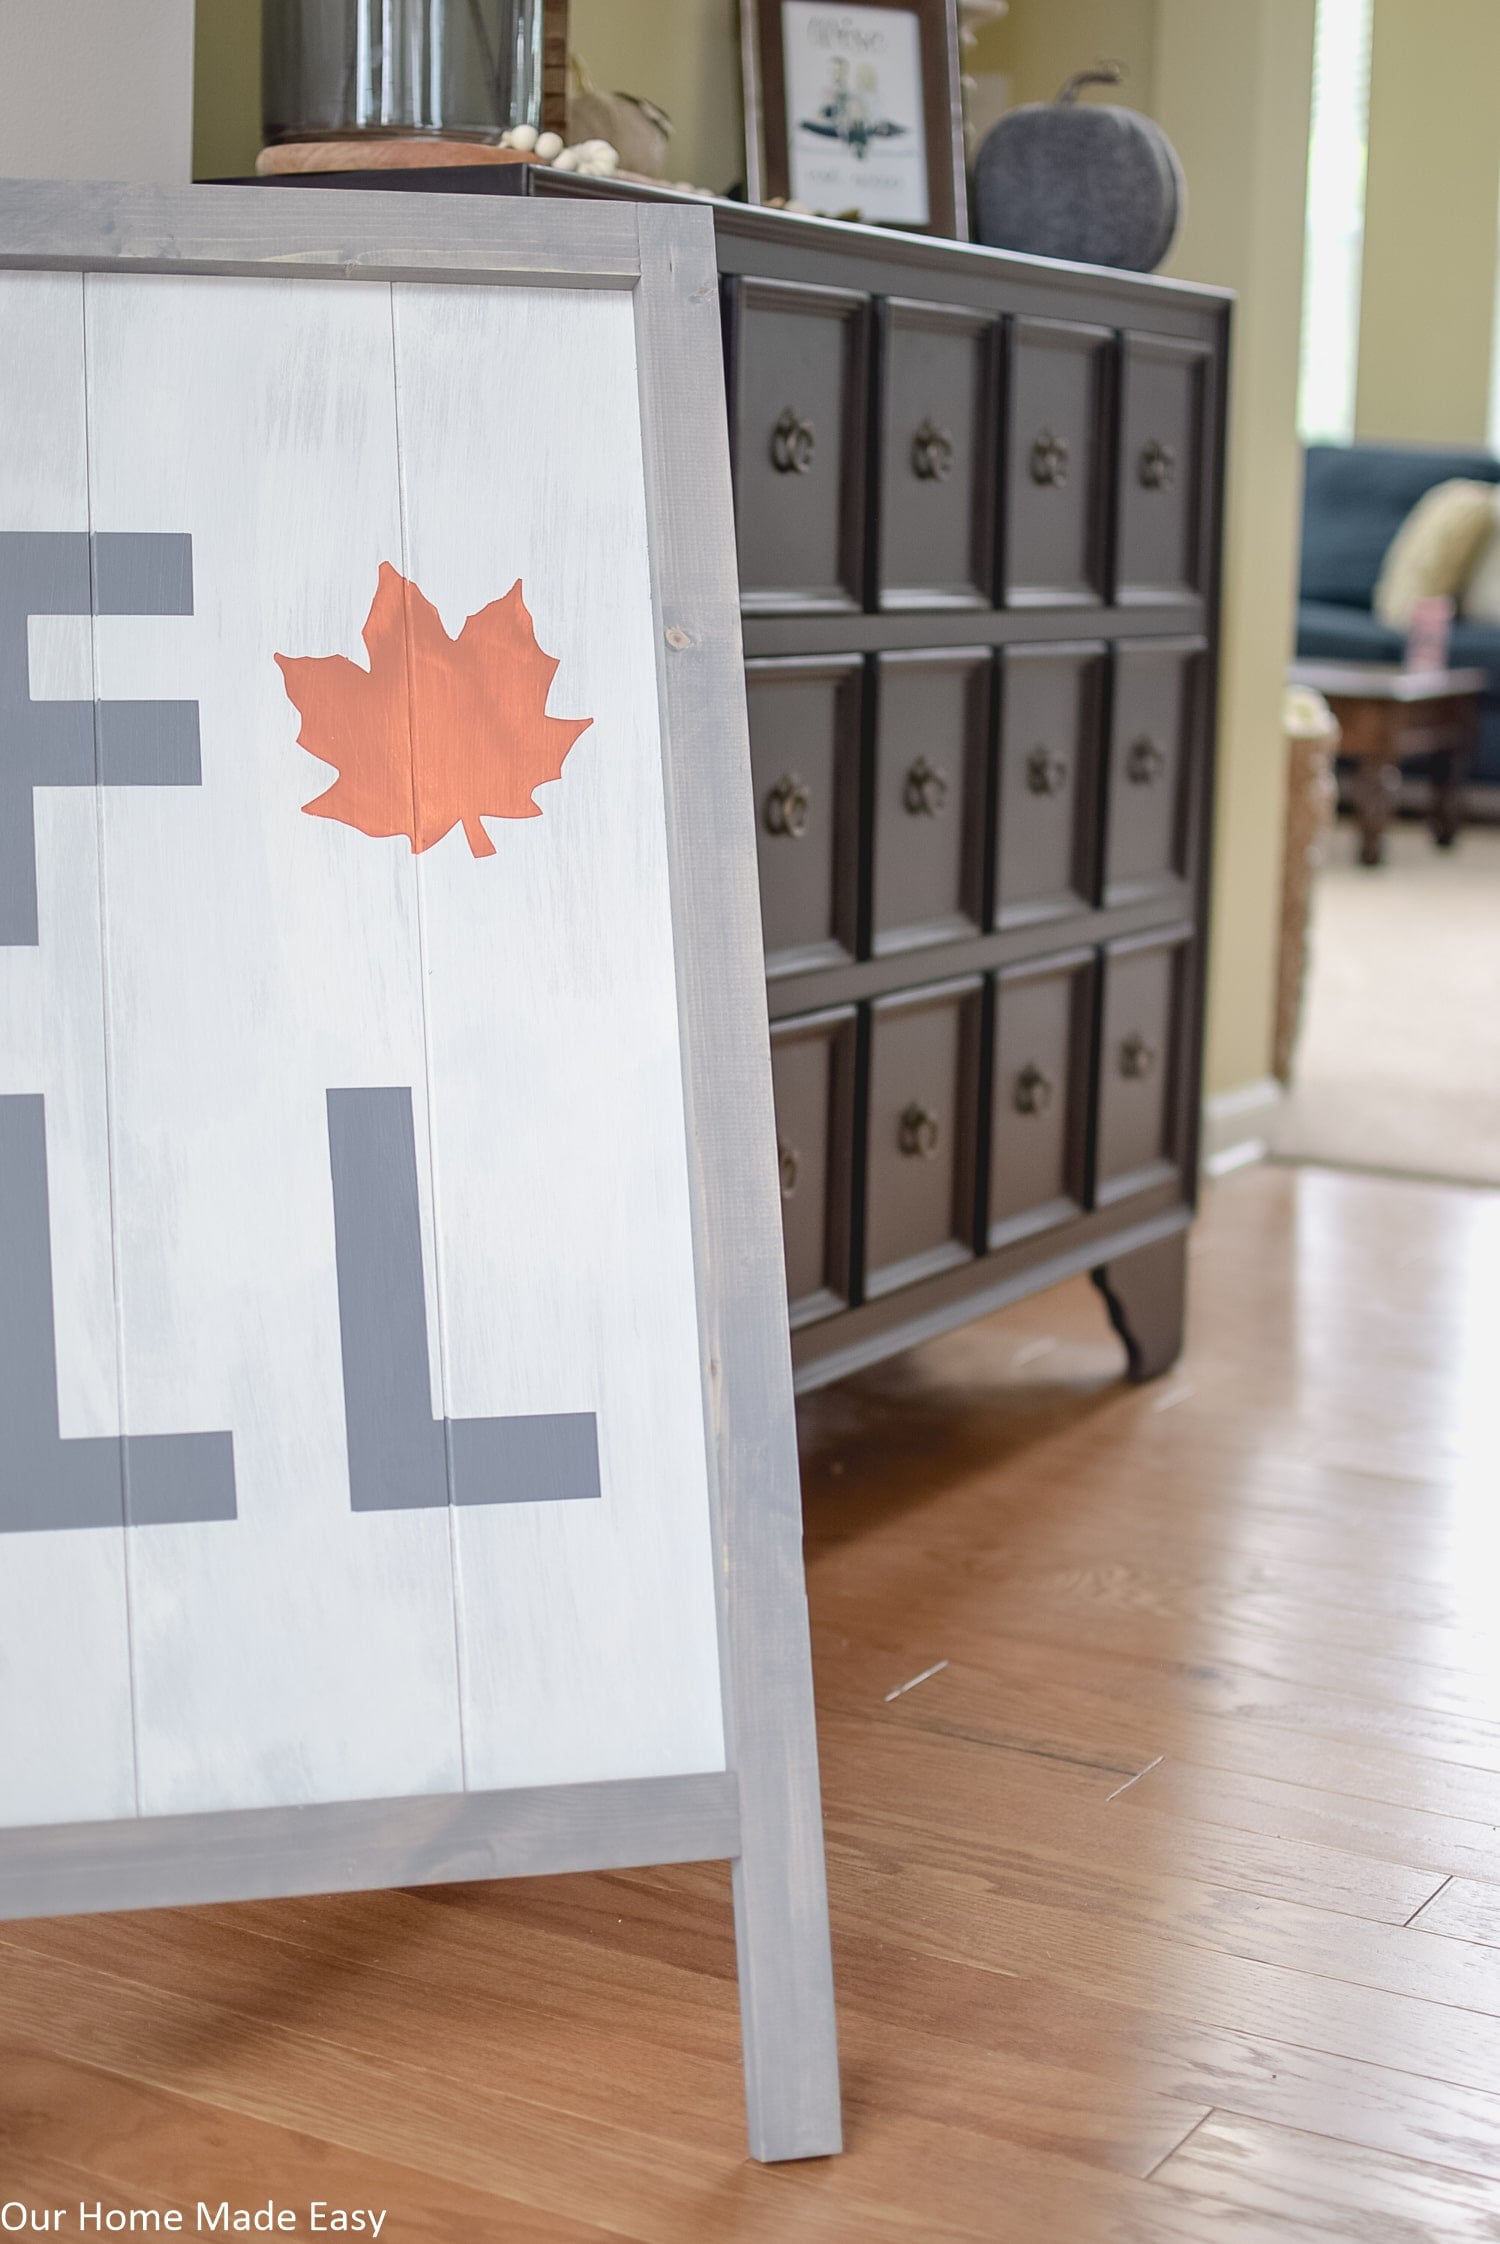
Until I was ready to decorate the front porch, I kept this sign in the fall entryway. Every time I came downstairs from folding another load of laundry, it was there to greet me at the base of the steps. #happy
Supplies Needed for DIY Wooden Fall Sign
- 2 ea 1” x 2” Pine Boards
- 2 ea Hinges
- 10” Jack Chain
- 2 Eye Hooks
- Plywood
- Wood Stain (We used this one)
- Paint for the sign (We used this one & this one)
- Painter’s Tape for Lettering
- Craft Paint for Lettering
Total supplies cost: $21 for a custom sign!
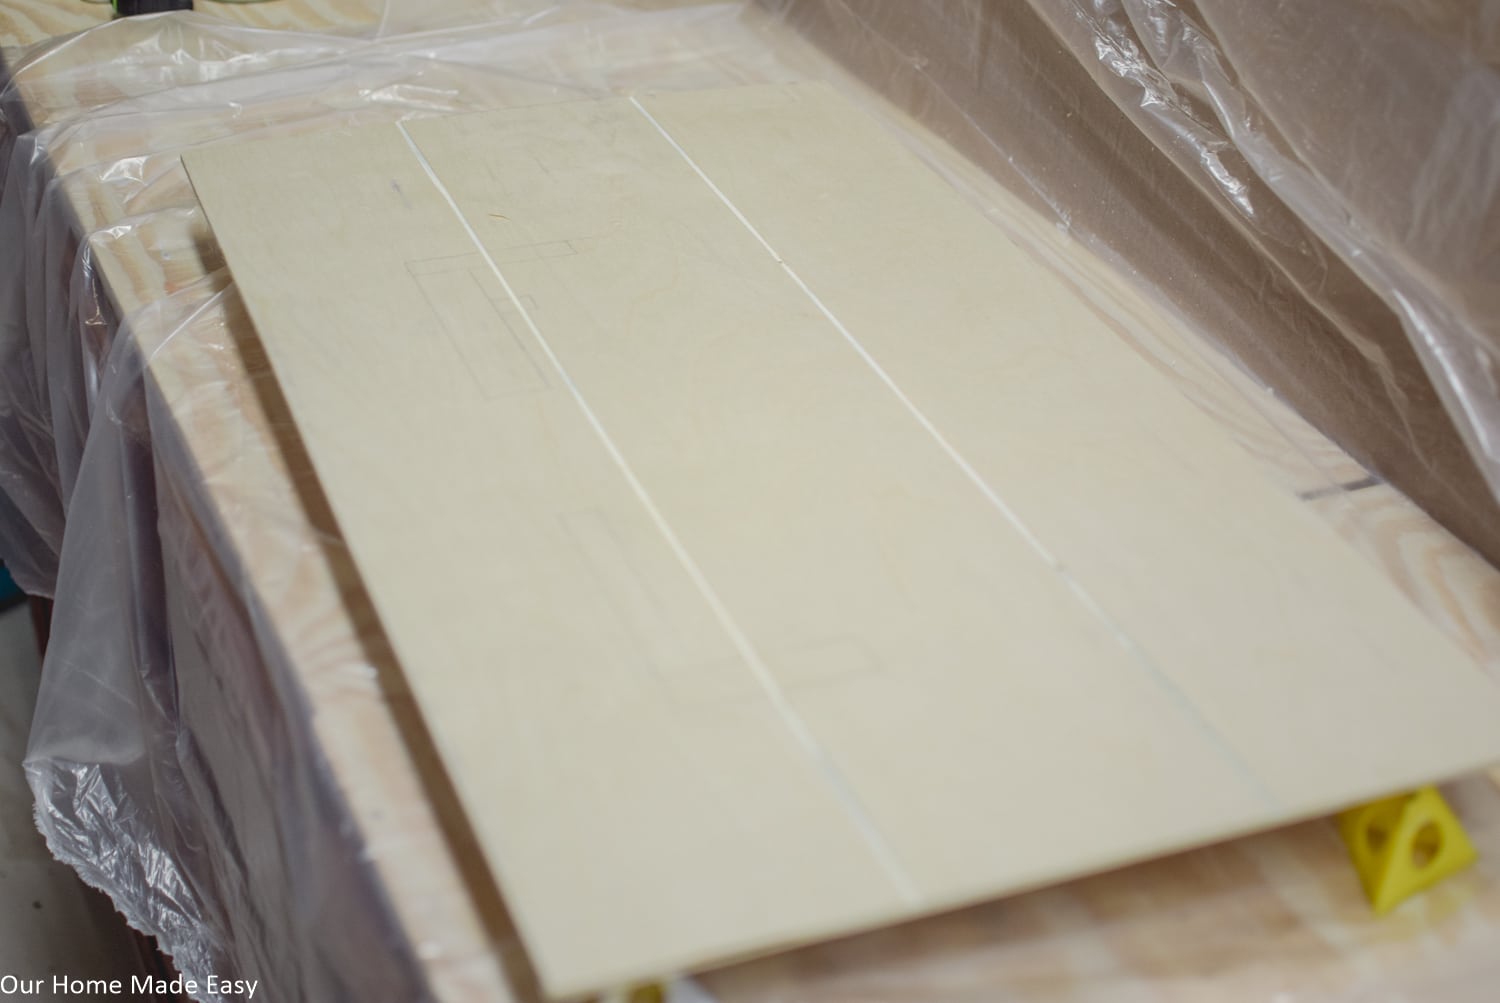
Cut Your Boards
For the frame & legs
Like most of our wooden projects, you’ll start by making a few cuts. Cut 1 of the 1”x 2” into lengths of 36”, 24”, 15”, and 15”. Then, the other 1”x 2” into lengths of 36”, 24”, 15”, and 17 7/8”.
Pull out the three 15″ pieces. Using a Kreg Jig, drill 2 pocket holes on the same side for all the pieces.
Stain all the 1”x2” boards with the weathered gray stain.
For the sign board
Have the store or cut at home your plywood into 28 ¾” x 16”. Home Depot & Lowe’s are great for cutting plywood boards down your preferred size. Easy peasy!
Totally optional: To add some extra interest, we made a small groove, two times on the plywood to have the appearance of planks. If you are doing this, our grooves were 5” from each side and used a table saw.
Keep it simple: Skip to the next step, you don’t need the grooves!
- Related: Harvest DIY Fall Sign
Paint Your Sign Board
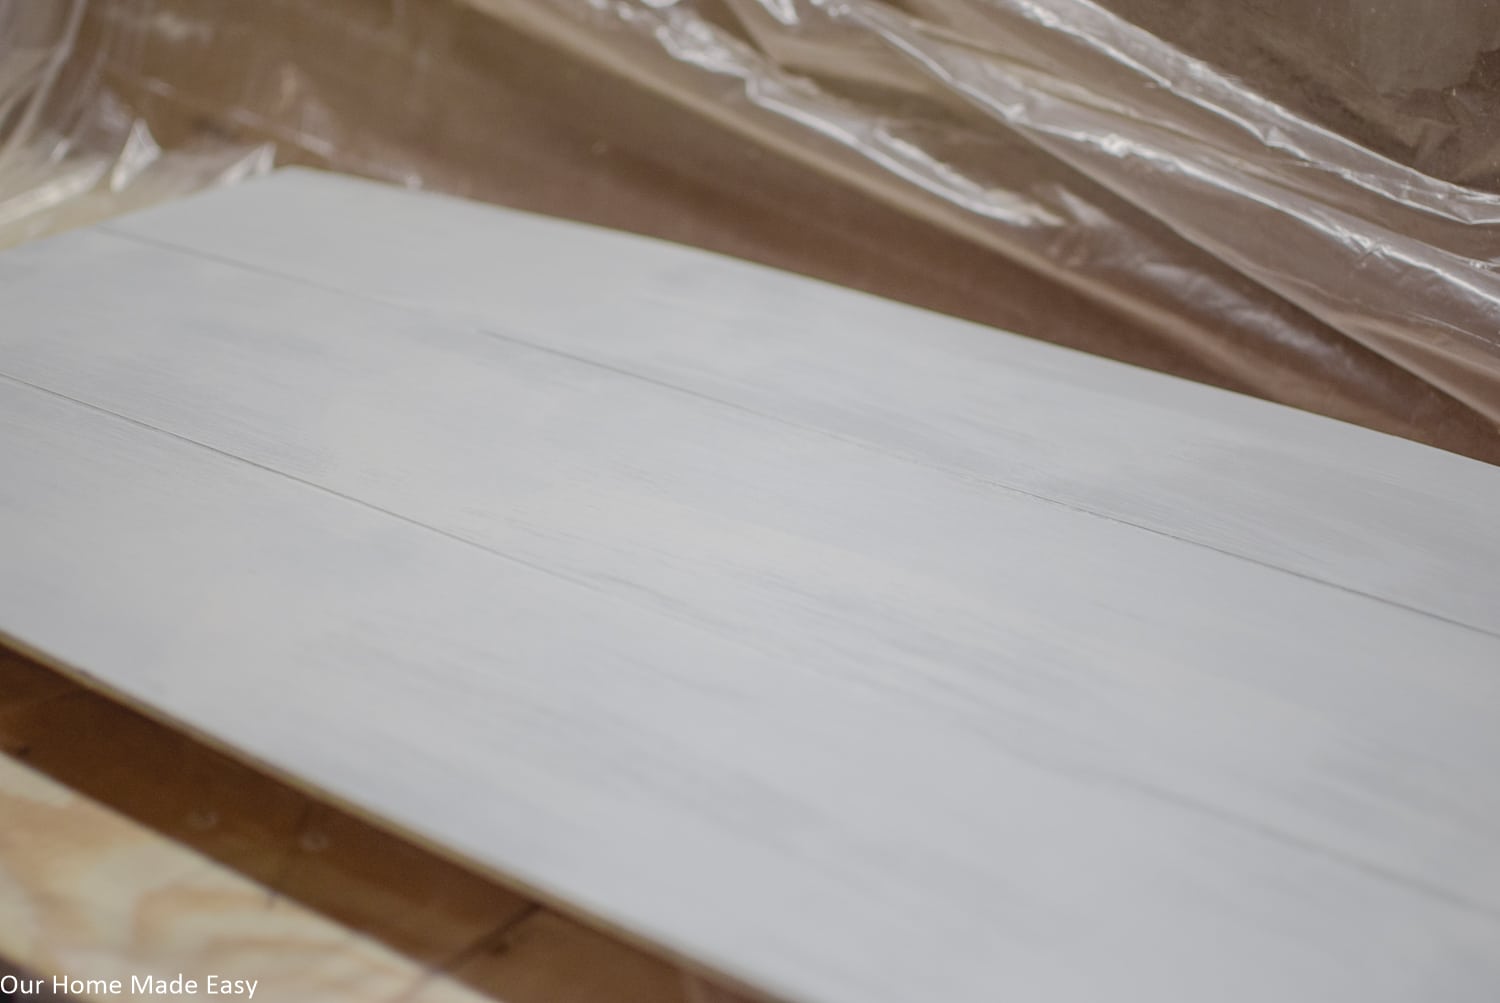
Paint the plywood with a dark gray paint. Once try, whitewash with a chip brush and light gray paint. It shouldn’t be perfectly painted and some of the dark gray should show through.
Once the paint is dry, begin to assemble your sign!
- Related: How to Prepare Your Home For Fall
Assemble Your Sign
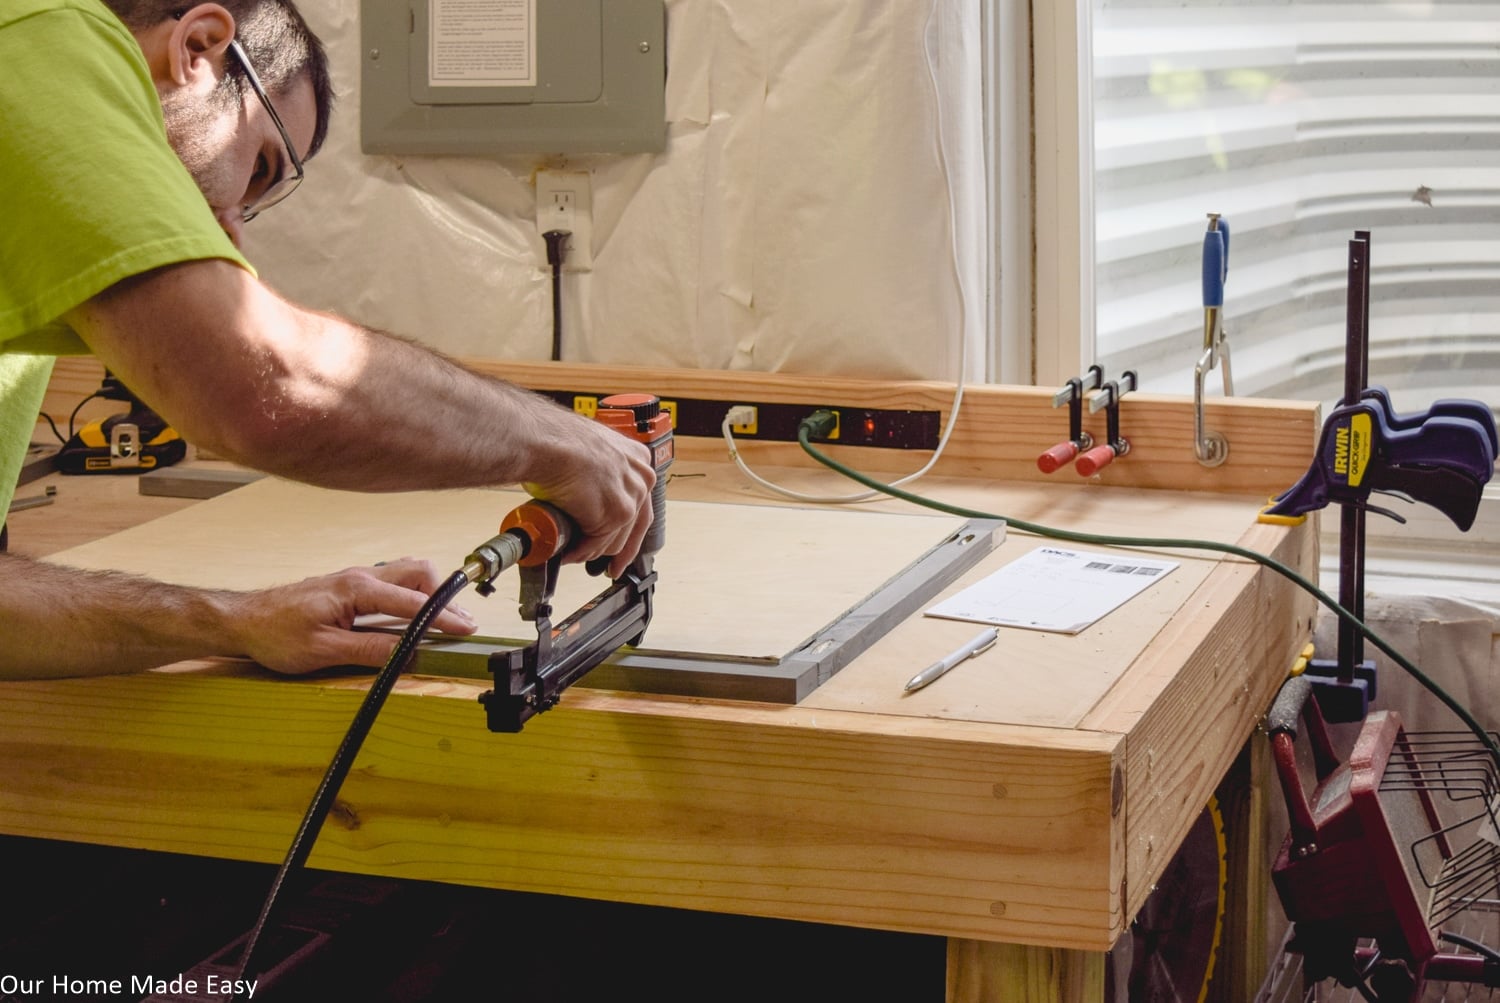
Start by attaching one of the 15” pieces to the two 36” pieces with pocket hole screws. From the opposite end, measure 5 ⅜” up. This is the bottom edge of the bottom support; attach with pocket hole screws.
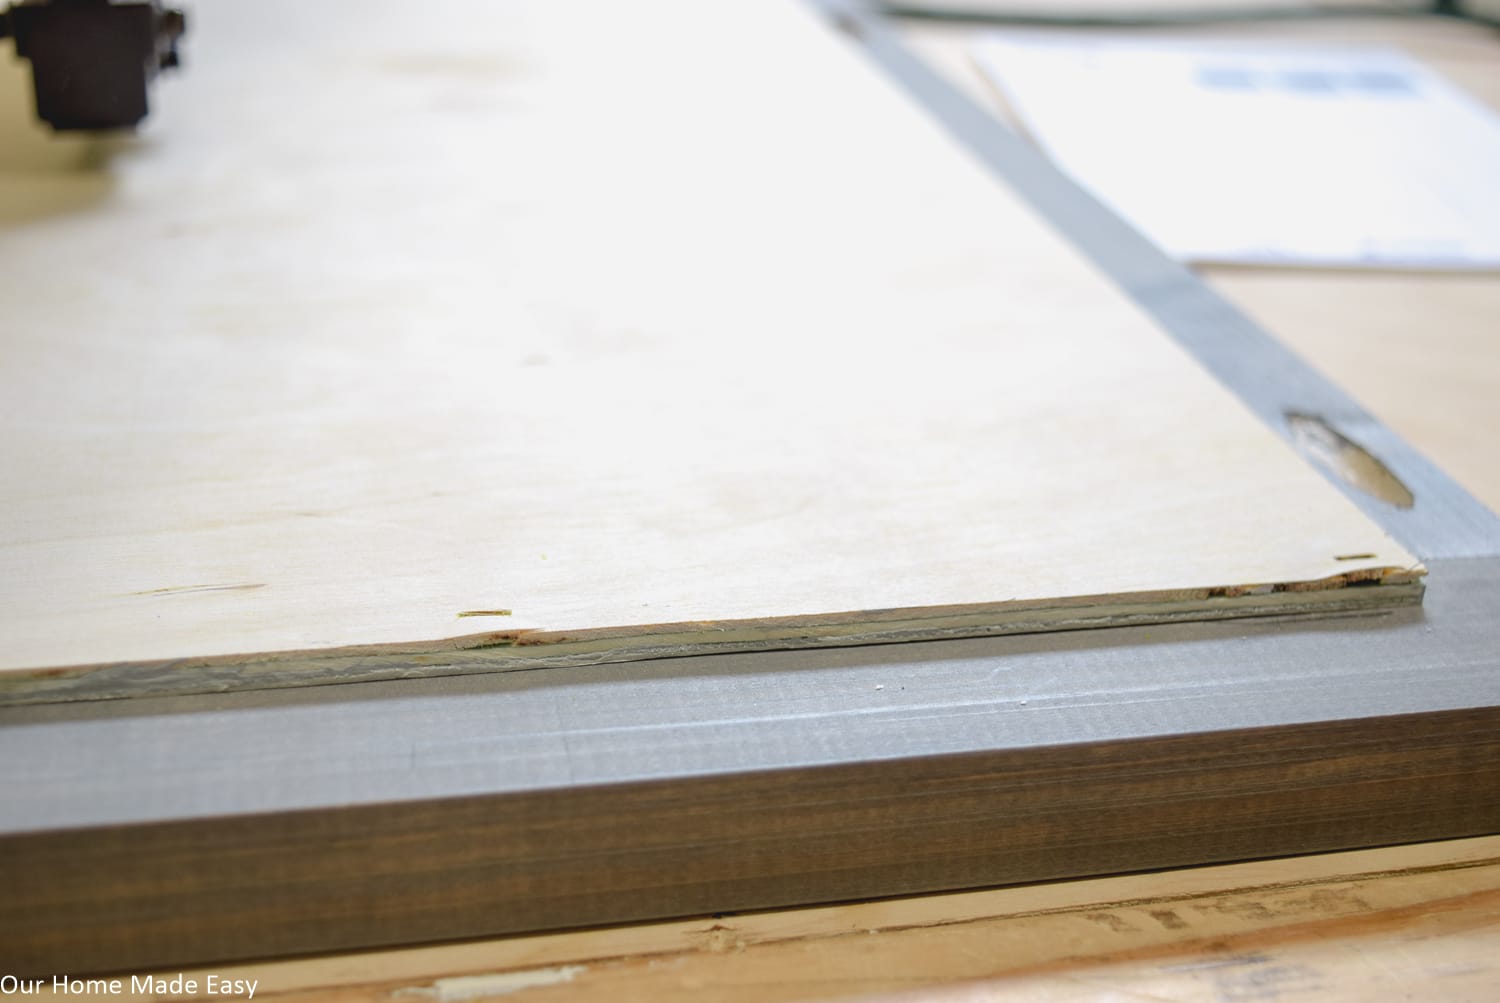
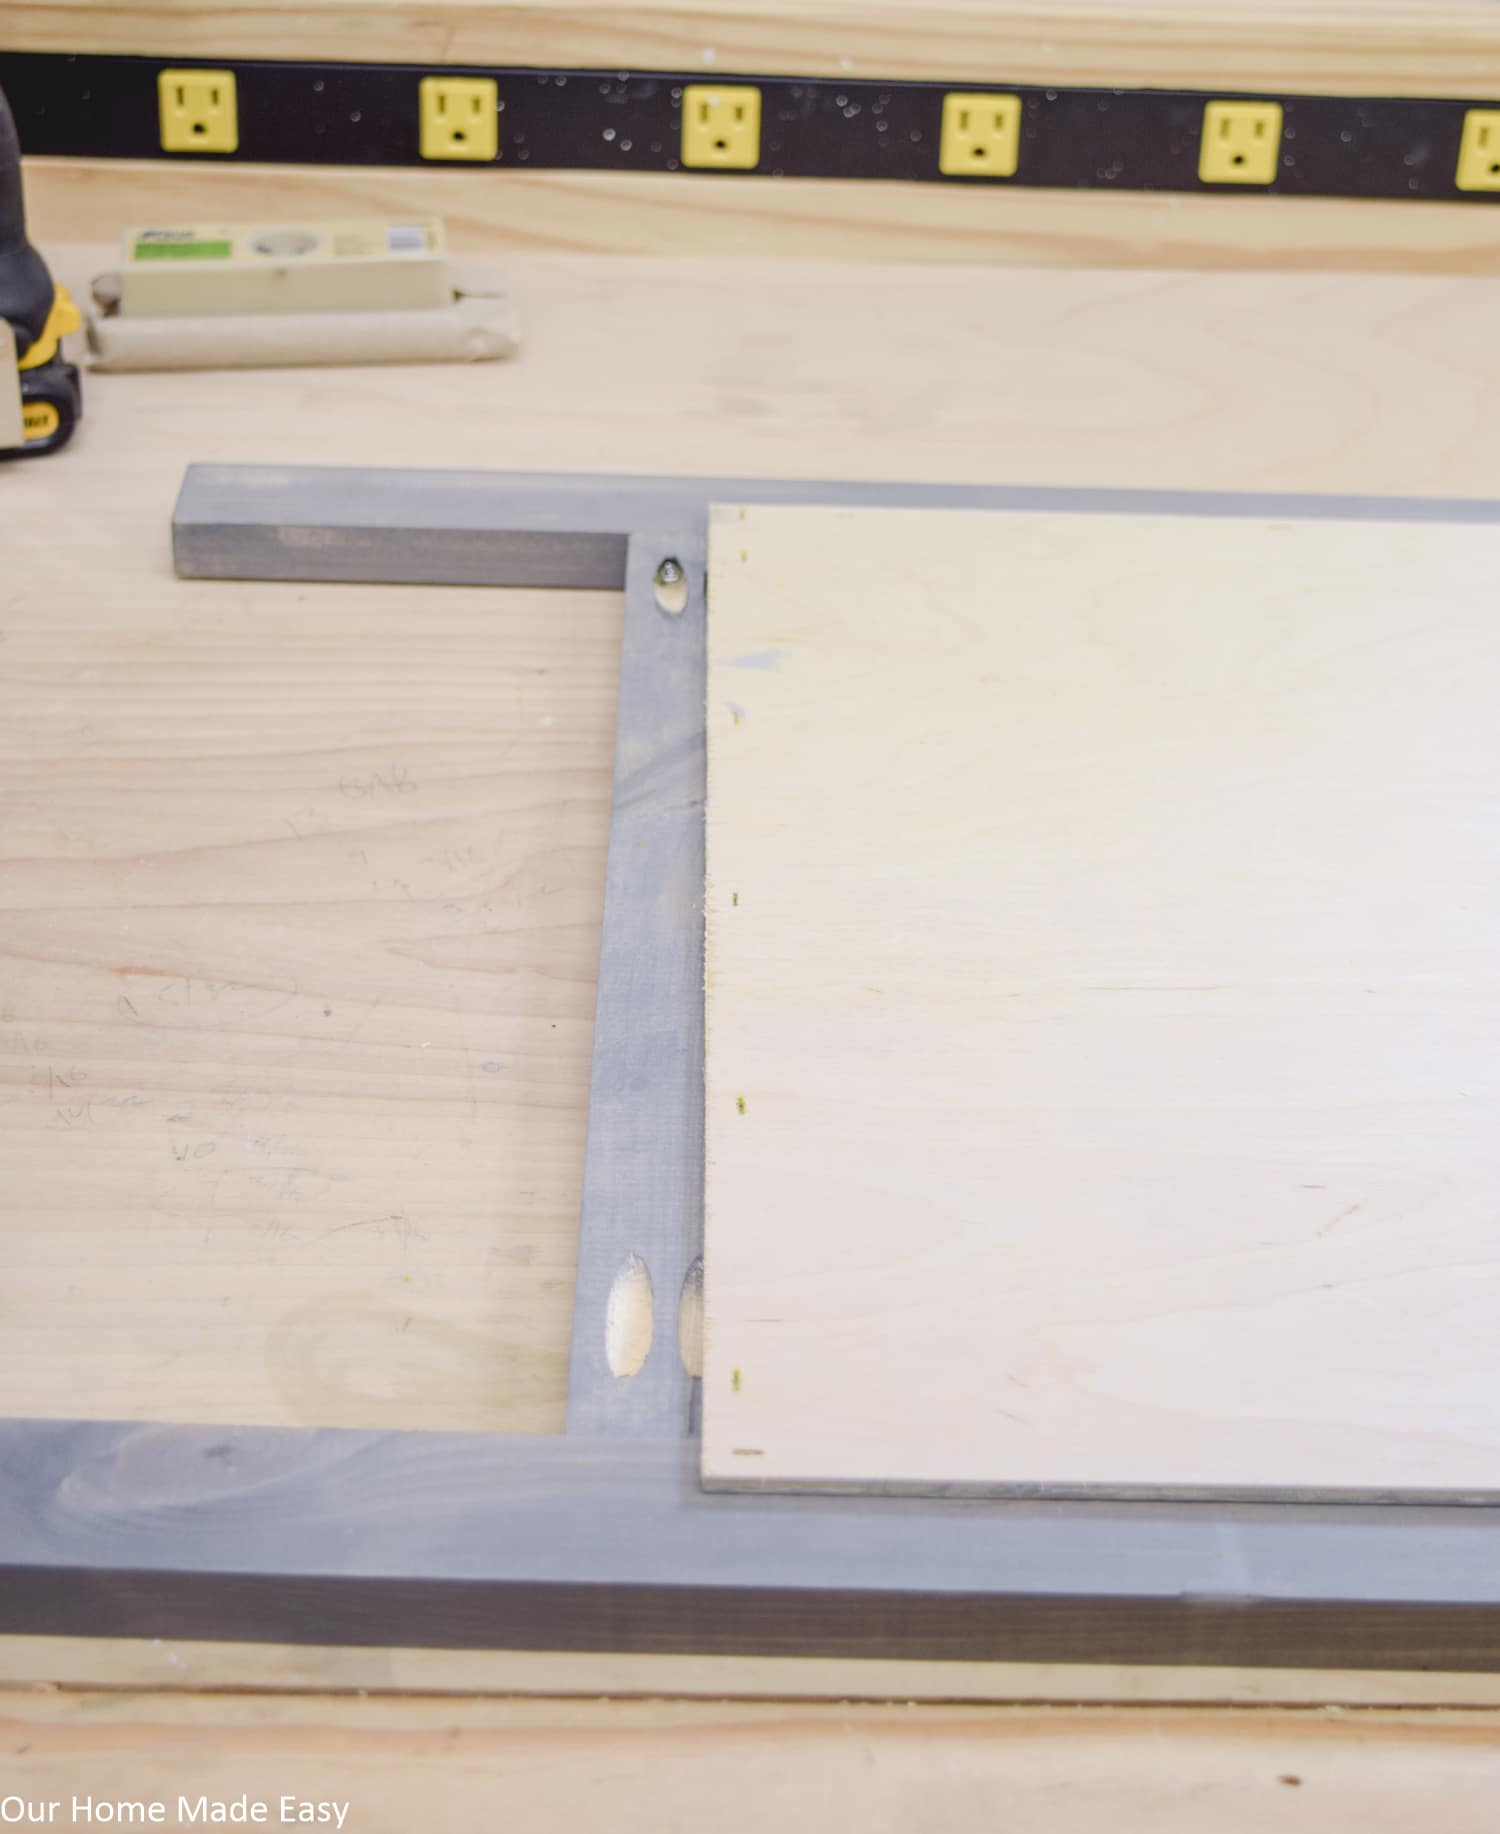
Then nail or glue the plywood sheet to the back of the frame so the painted side faces out.
Lettering The Sign Board
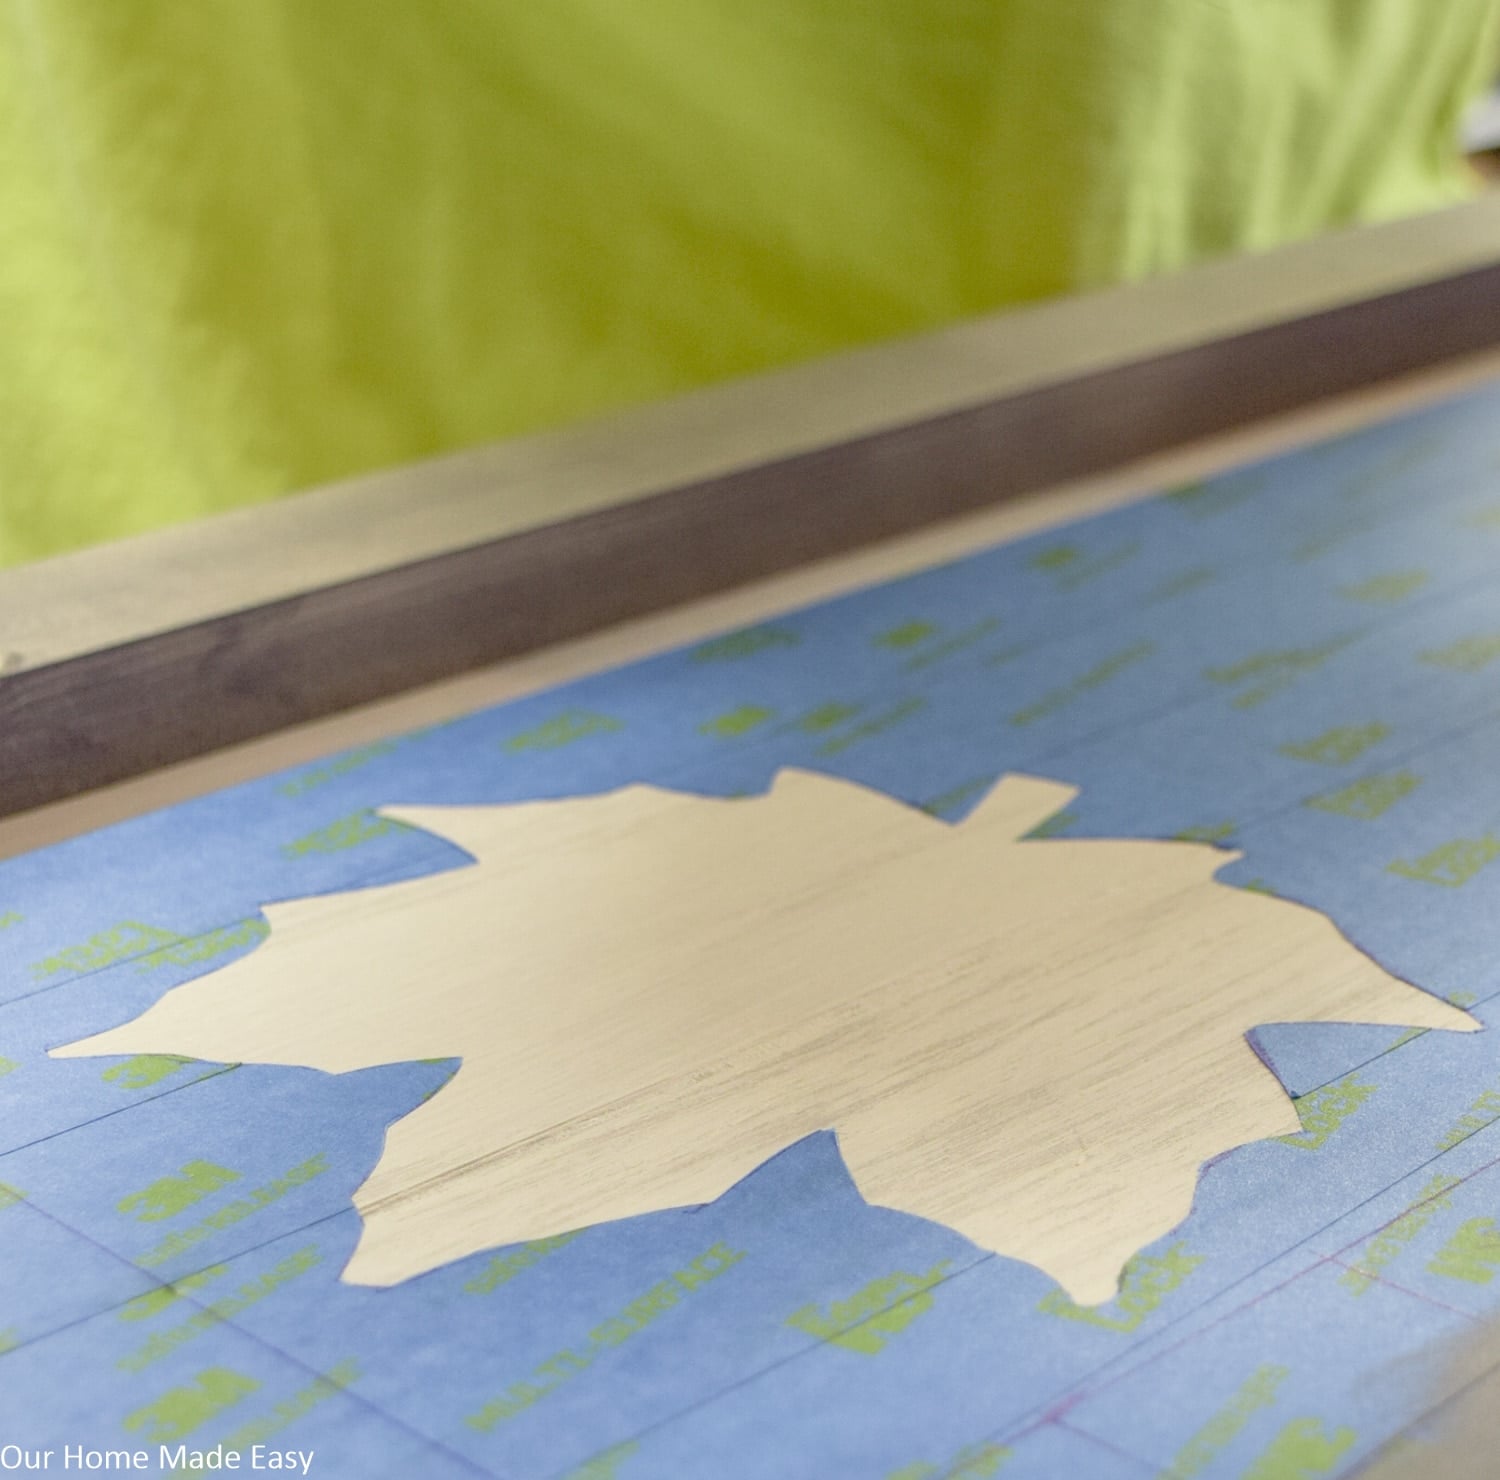
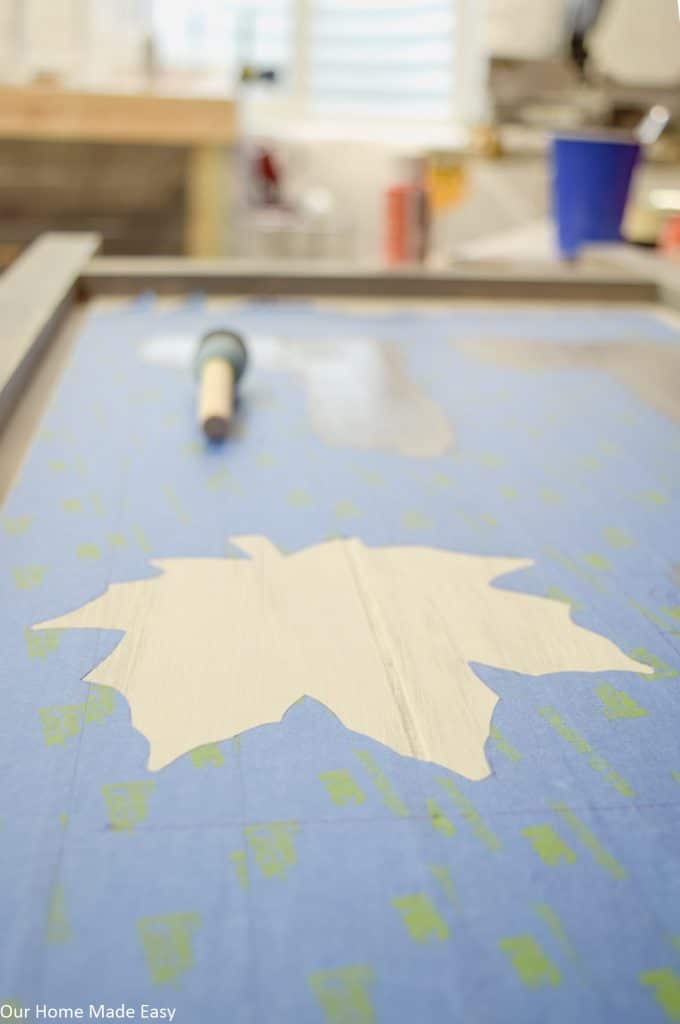
After this, I worked on the lettering. Since we don’t have a Cricut cutting machine, we used the power of painters tape and an Exacto knife.
I promise it’s much easier than you think! I followed the how to stencil without a machine tutorial.
If you want to replicate the ‘Fall’ lettering from Jo-Ann’s, follow these directions:
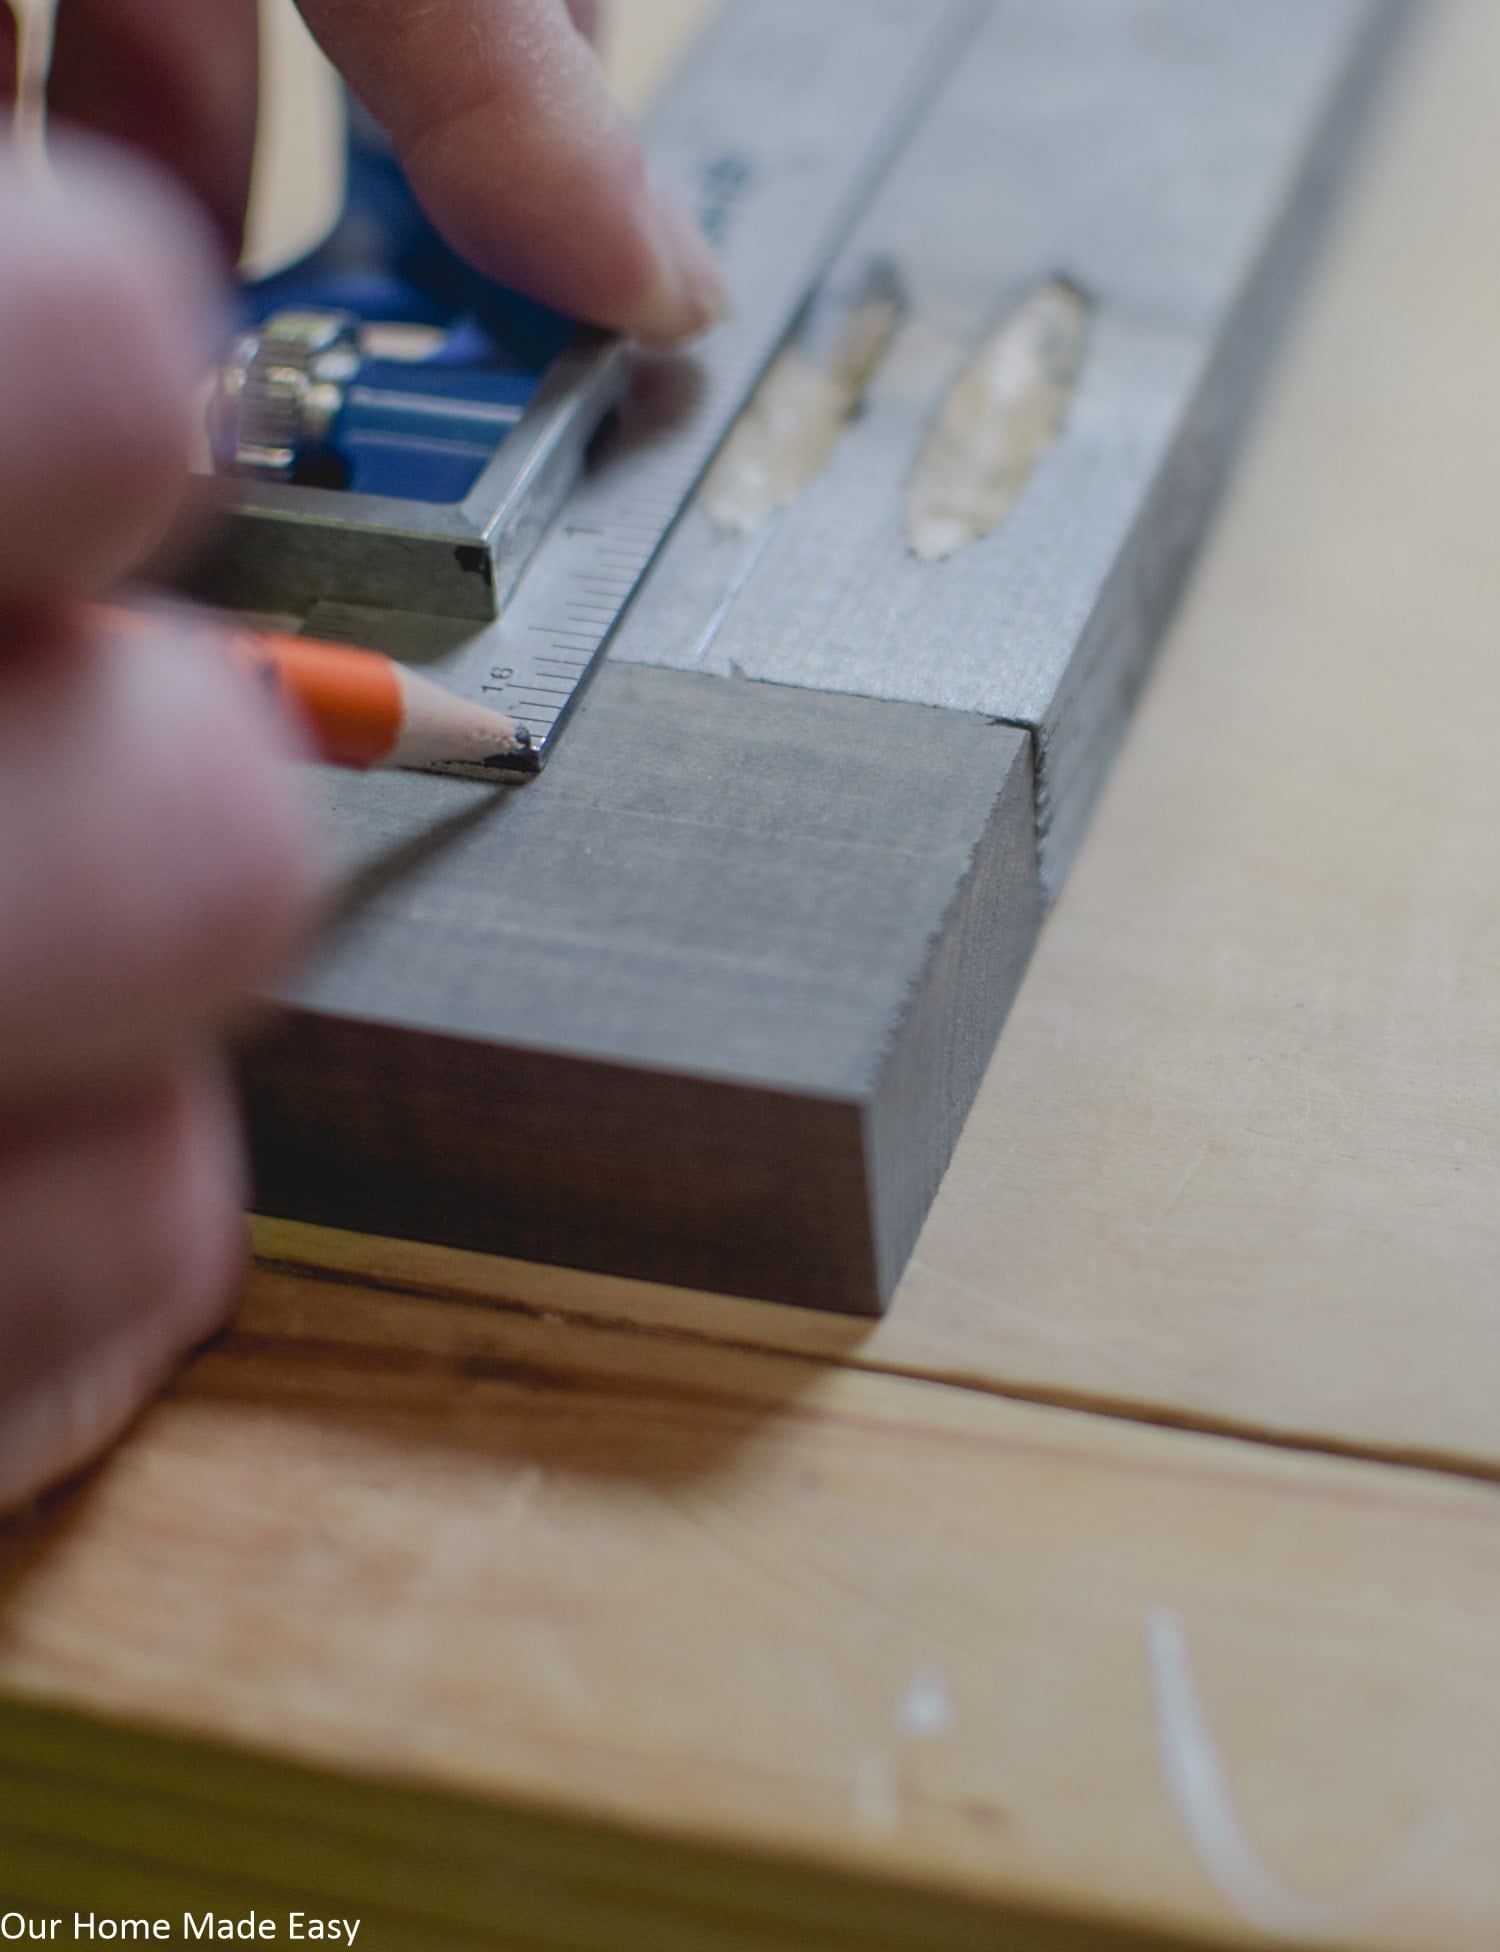
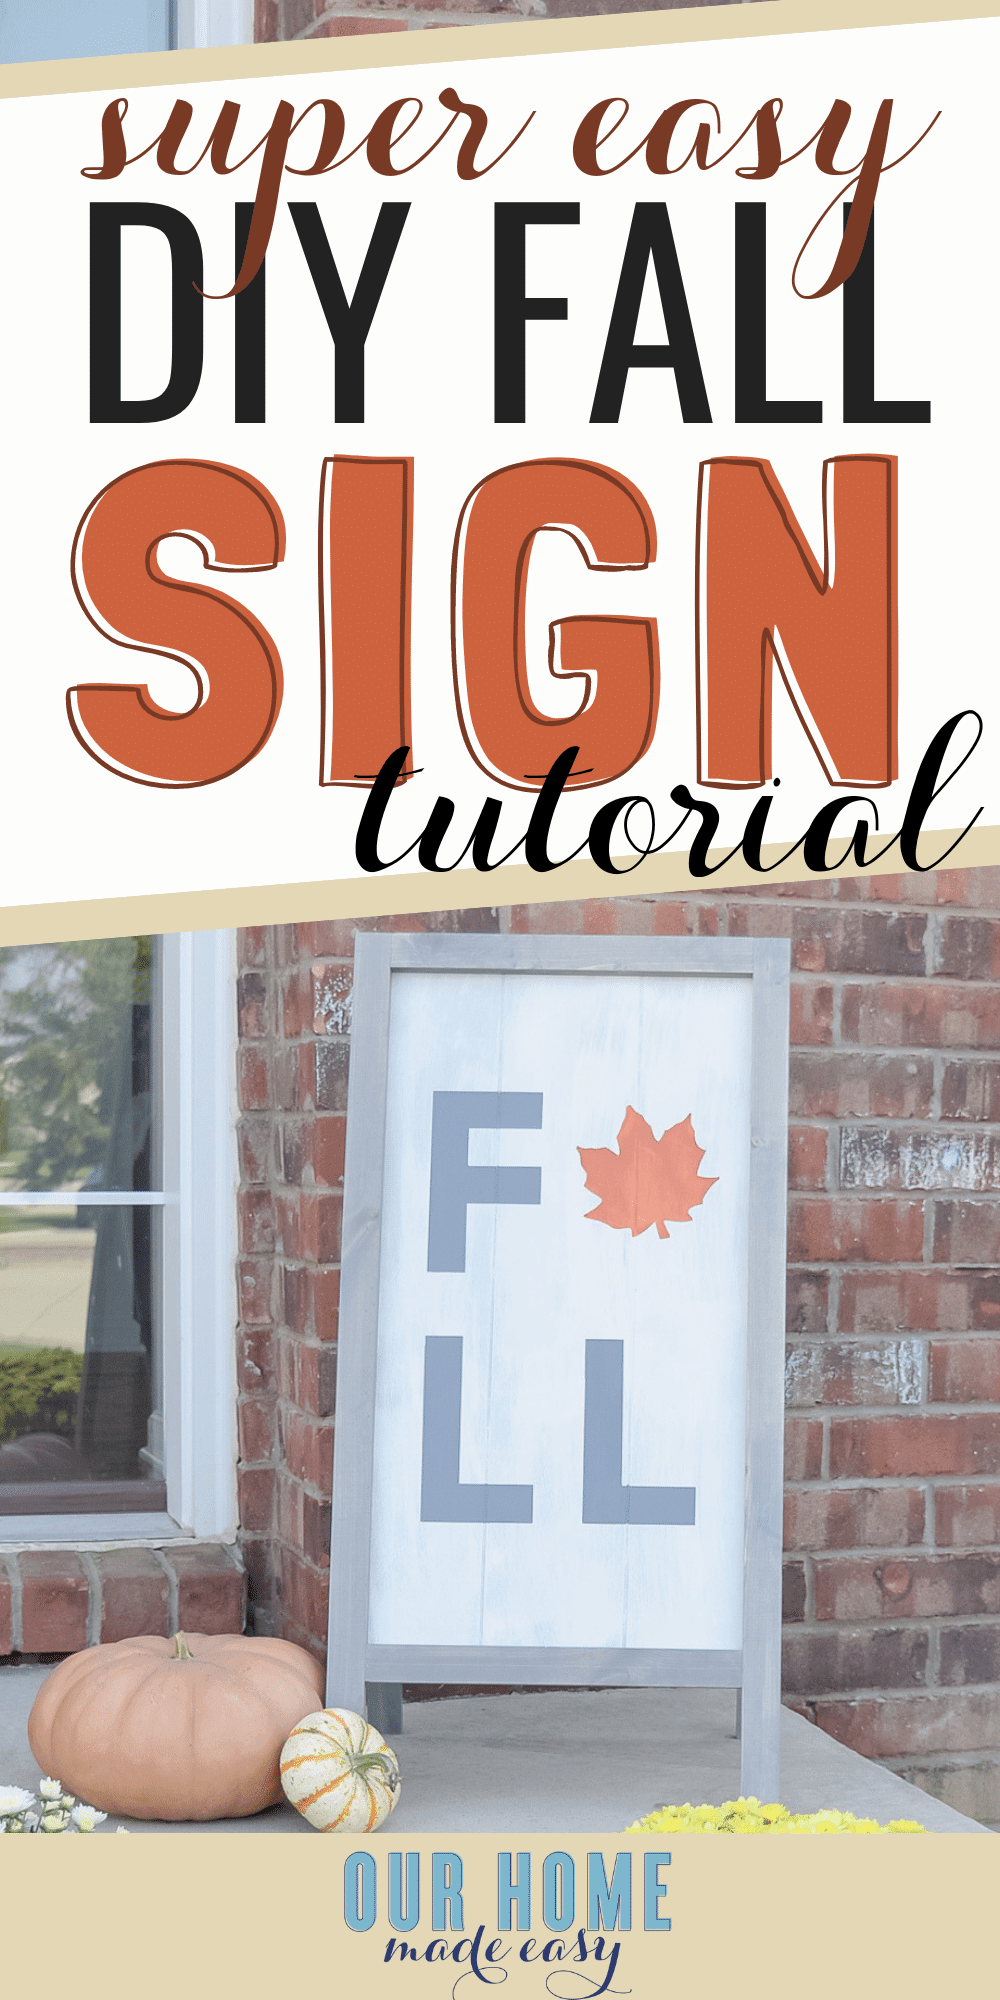
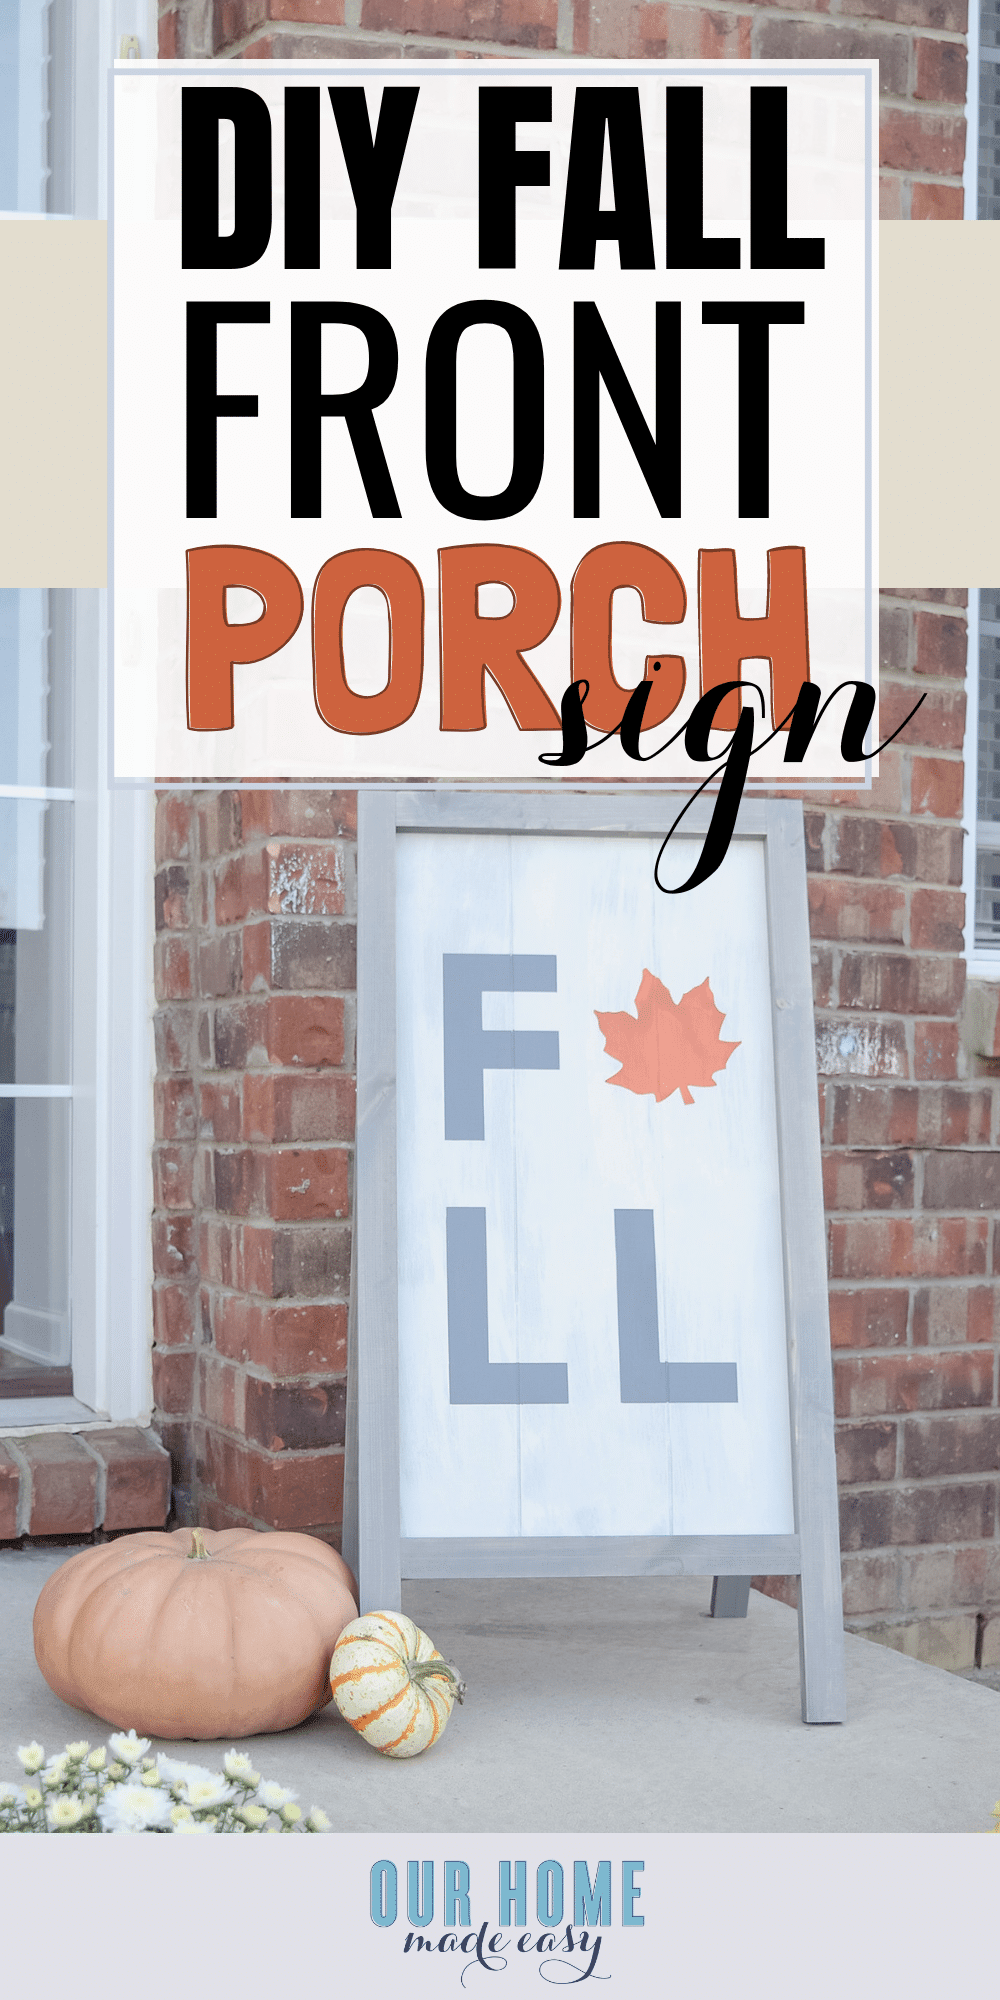
I used a utility square to create the F and L’s. The utility square is great because it is the shape of the F and L’s and is a common thickness. The letters were 1.5” thick. The top of the F and bottom of the L started 5” from the inner edge of the frame. The sides of the letters started and ended approximately 2” from the edge of the frame.
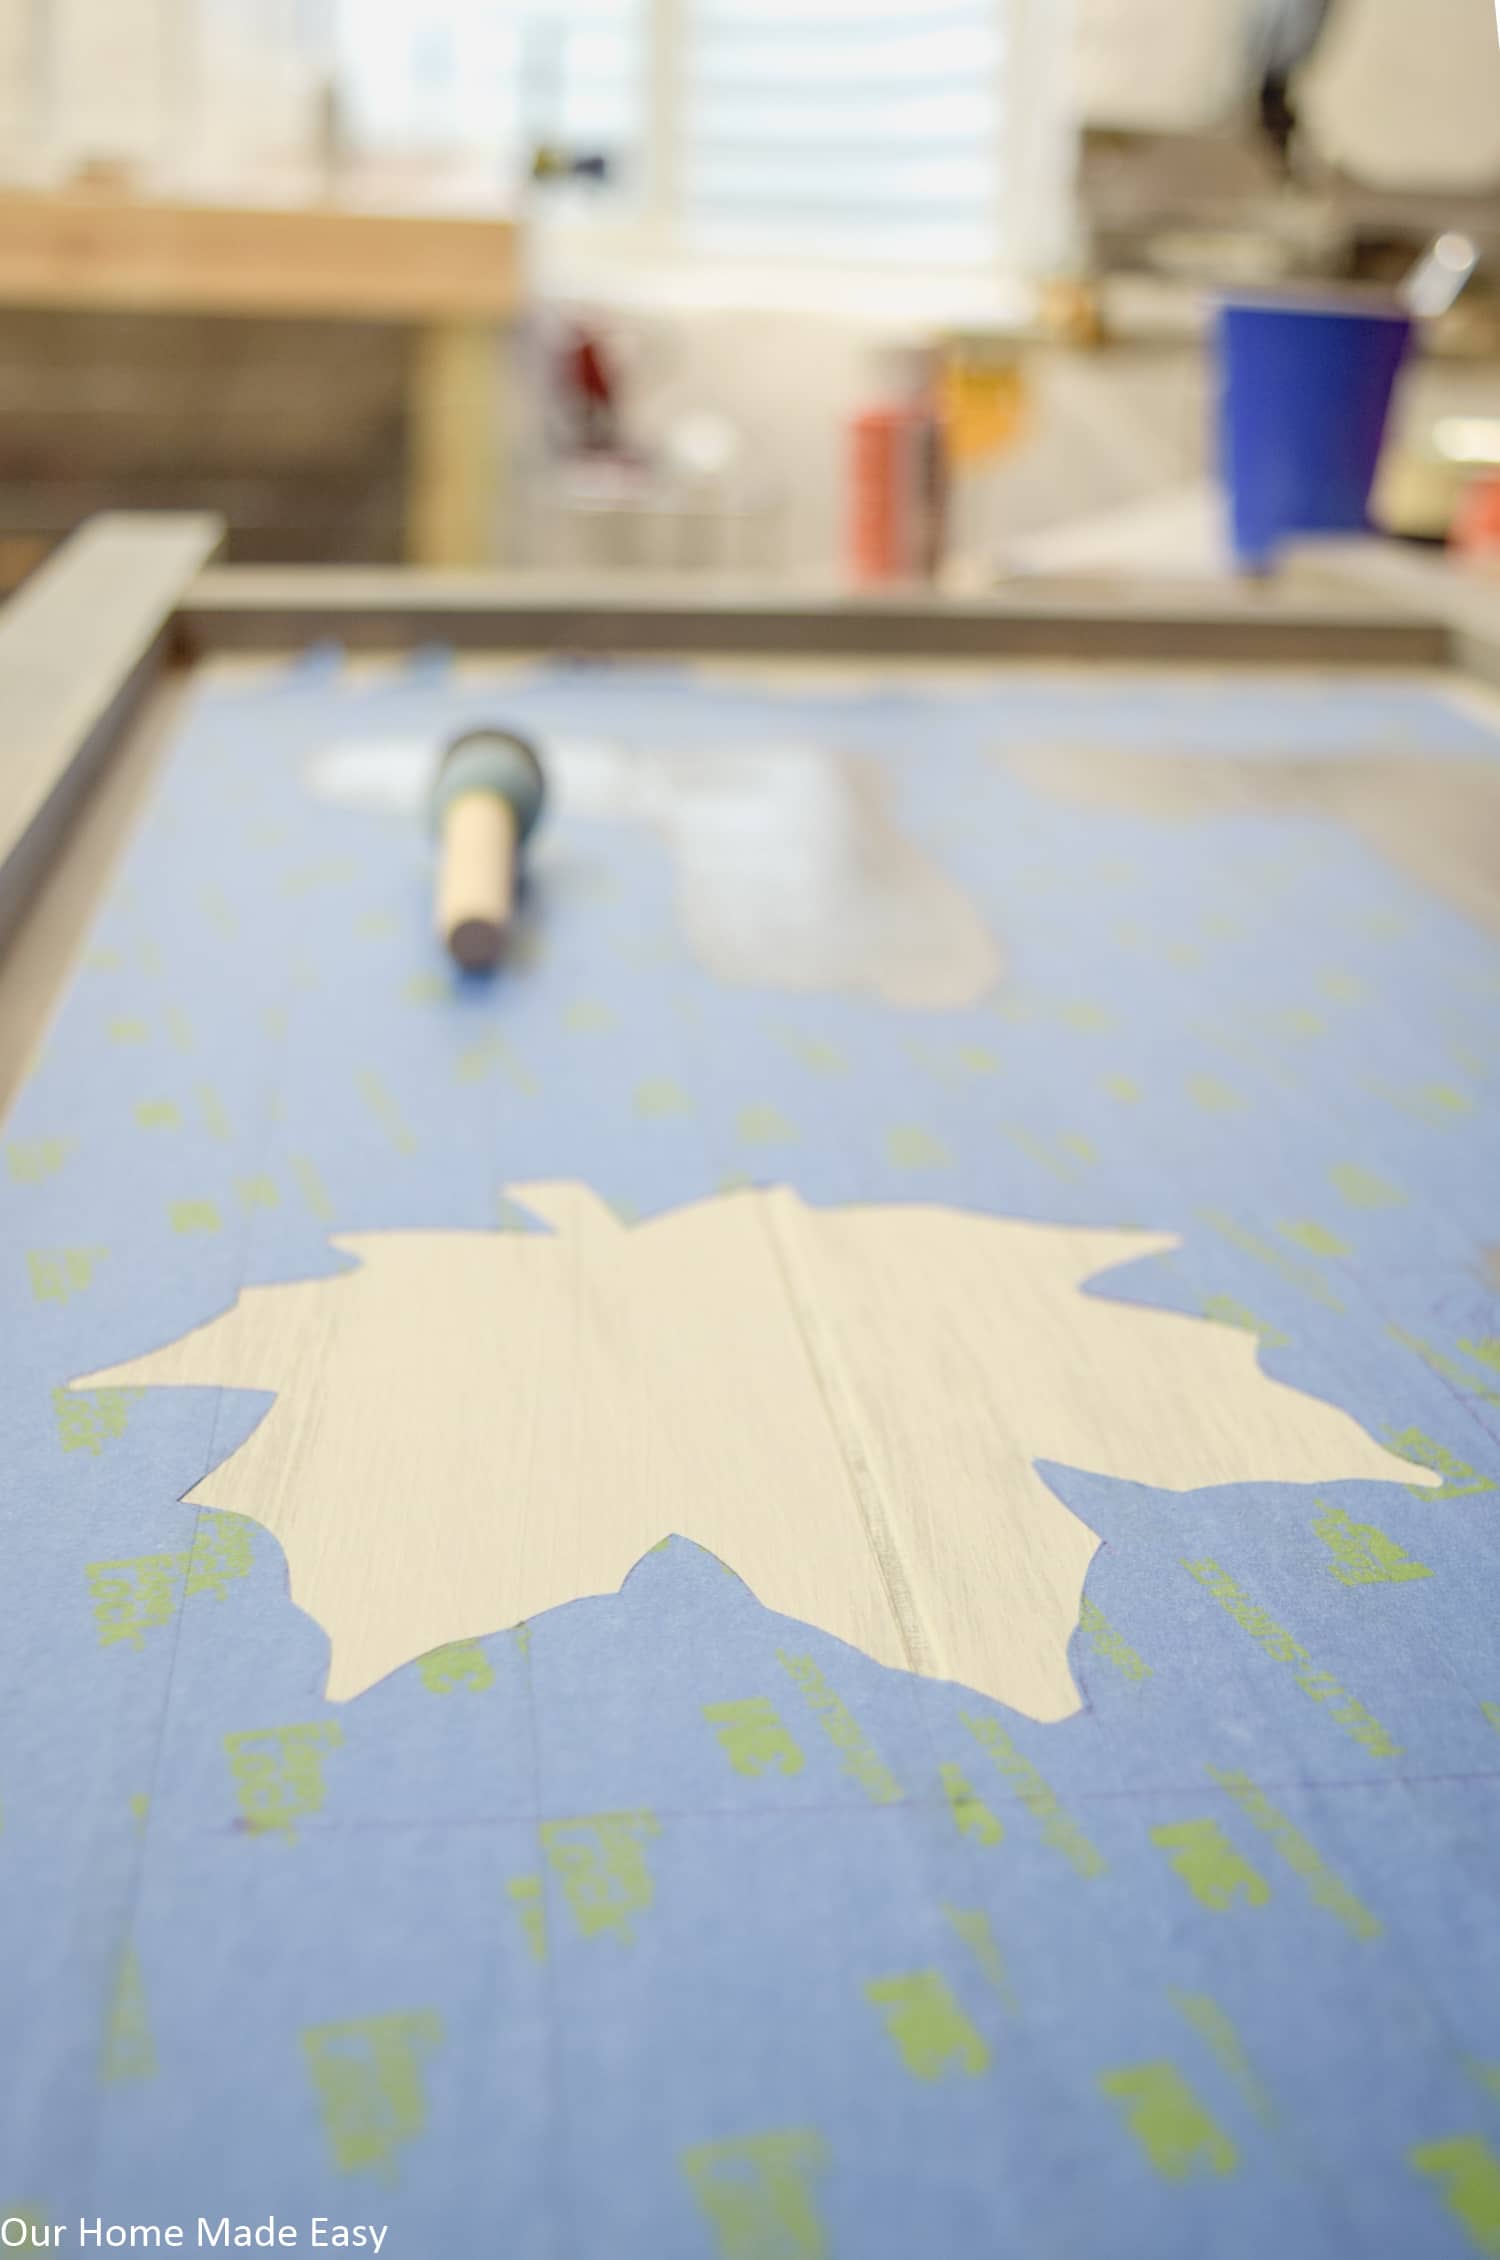
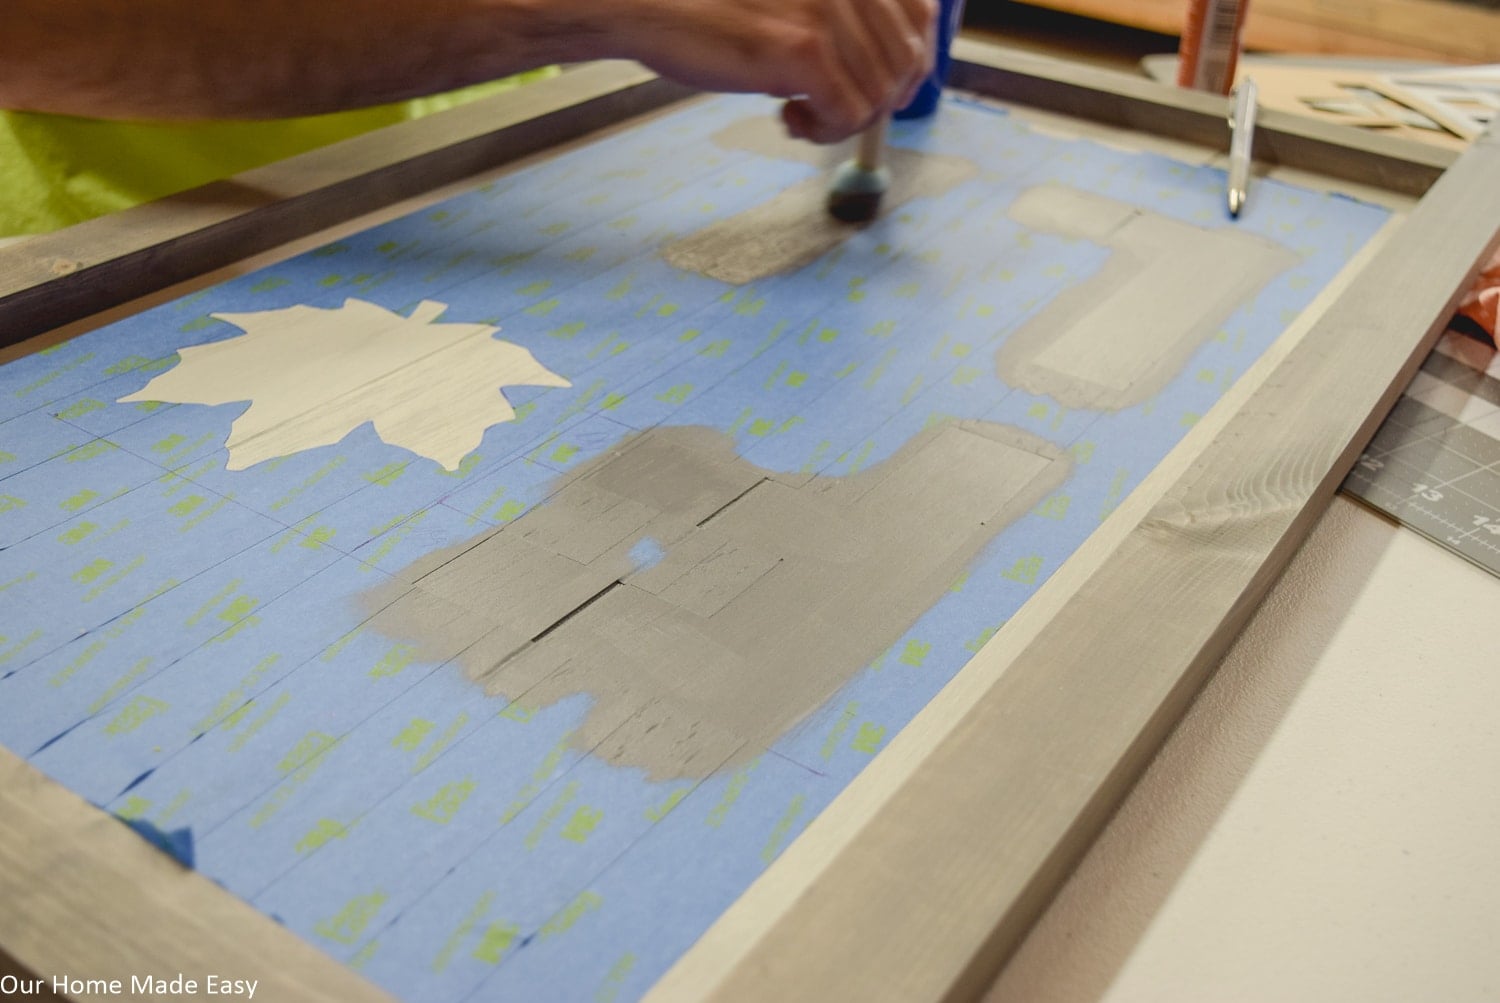
After spacing and tracing the letters with the utility square, I carefully cut away the painters tape where I wanted to paint the letters F and L. Then I painted the F and L’s with the same dark gray paint I painted the back of the plywood panel with. Then I moved on the leaf, or A. Since I couldn’t find a leaf stencil, I just found one online and printed it out.
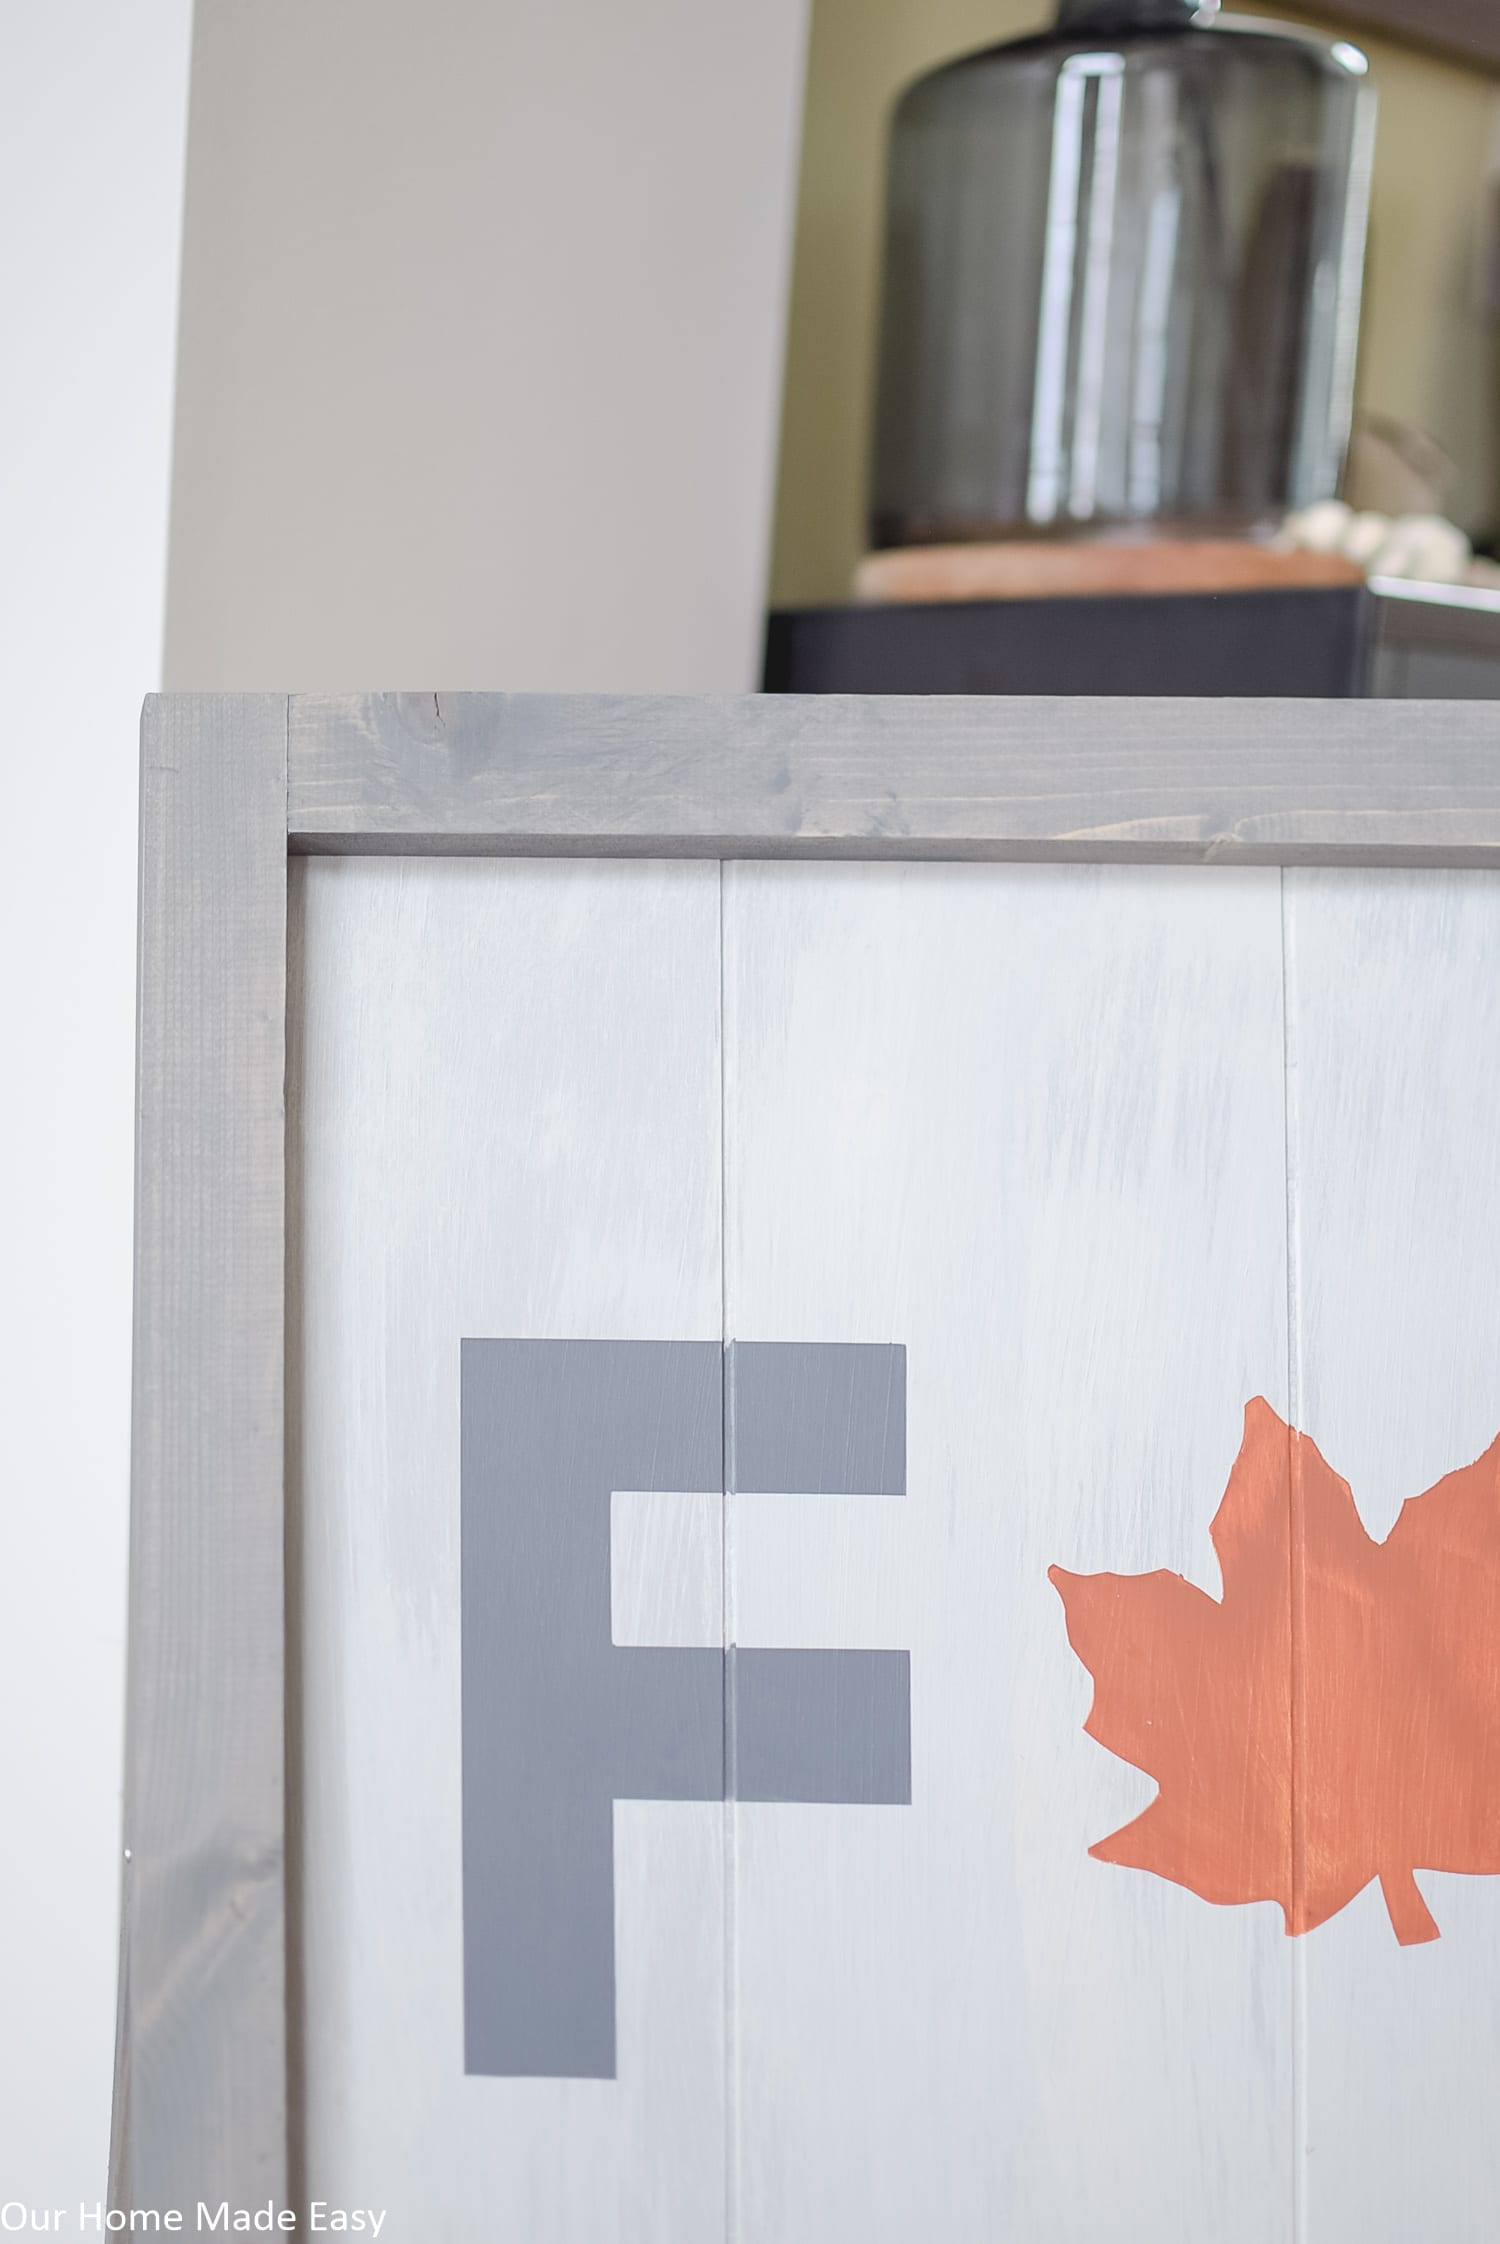
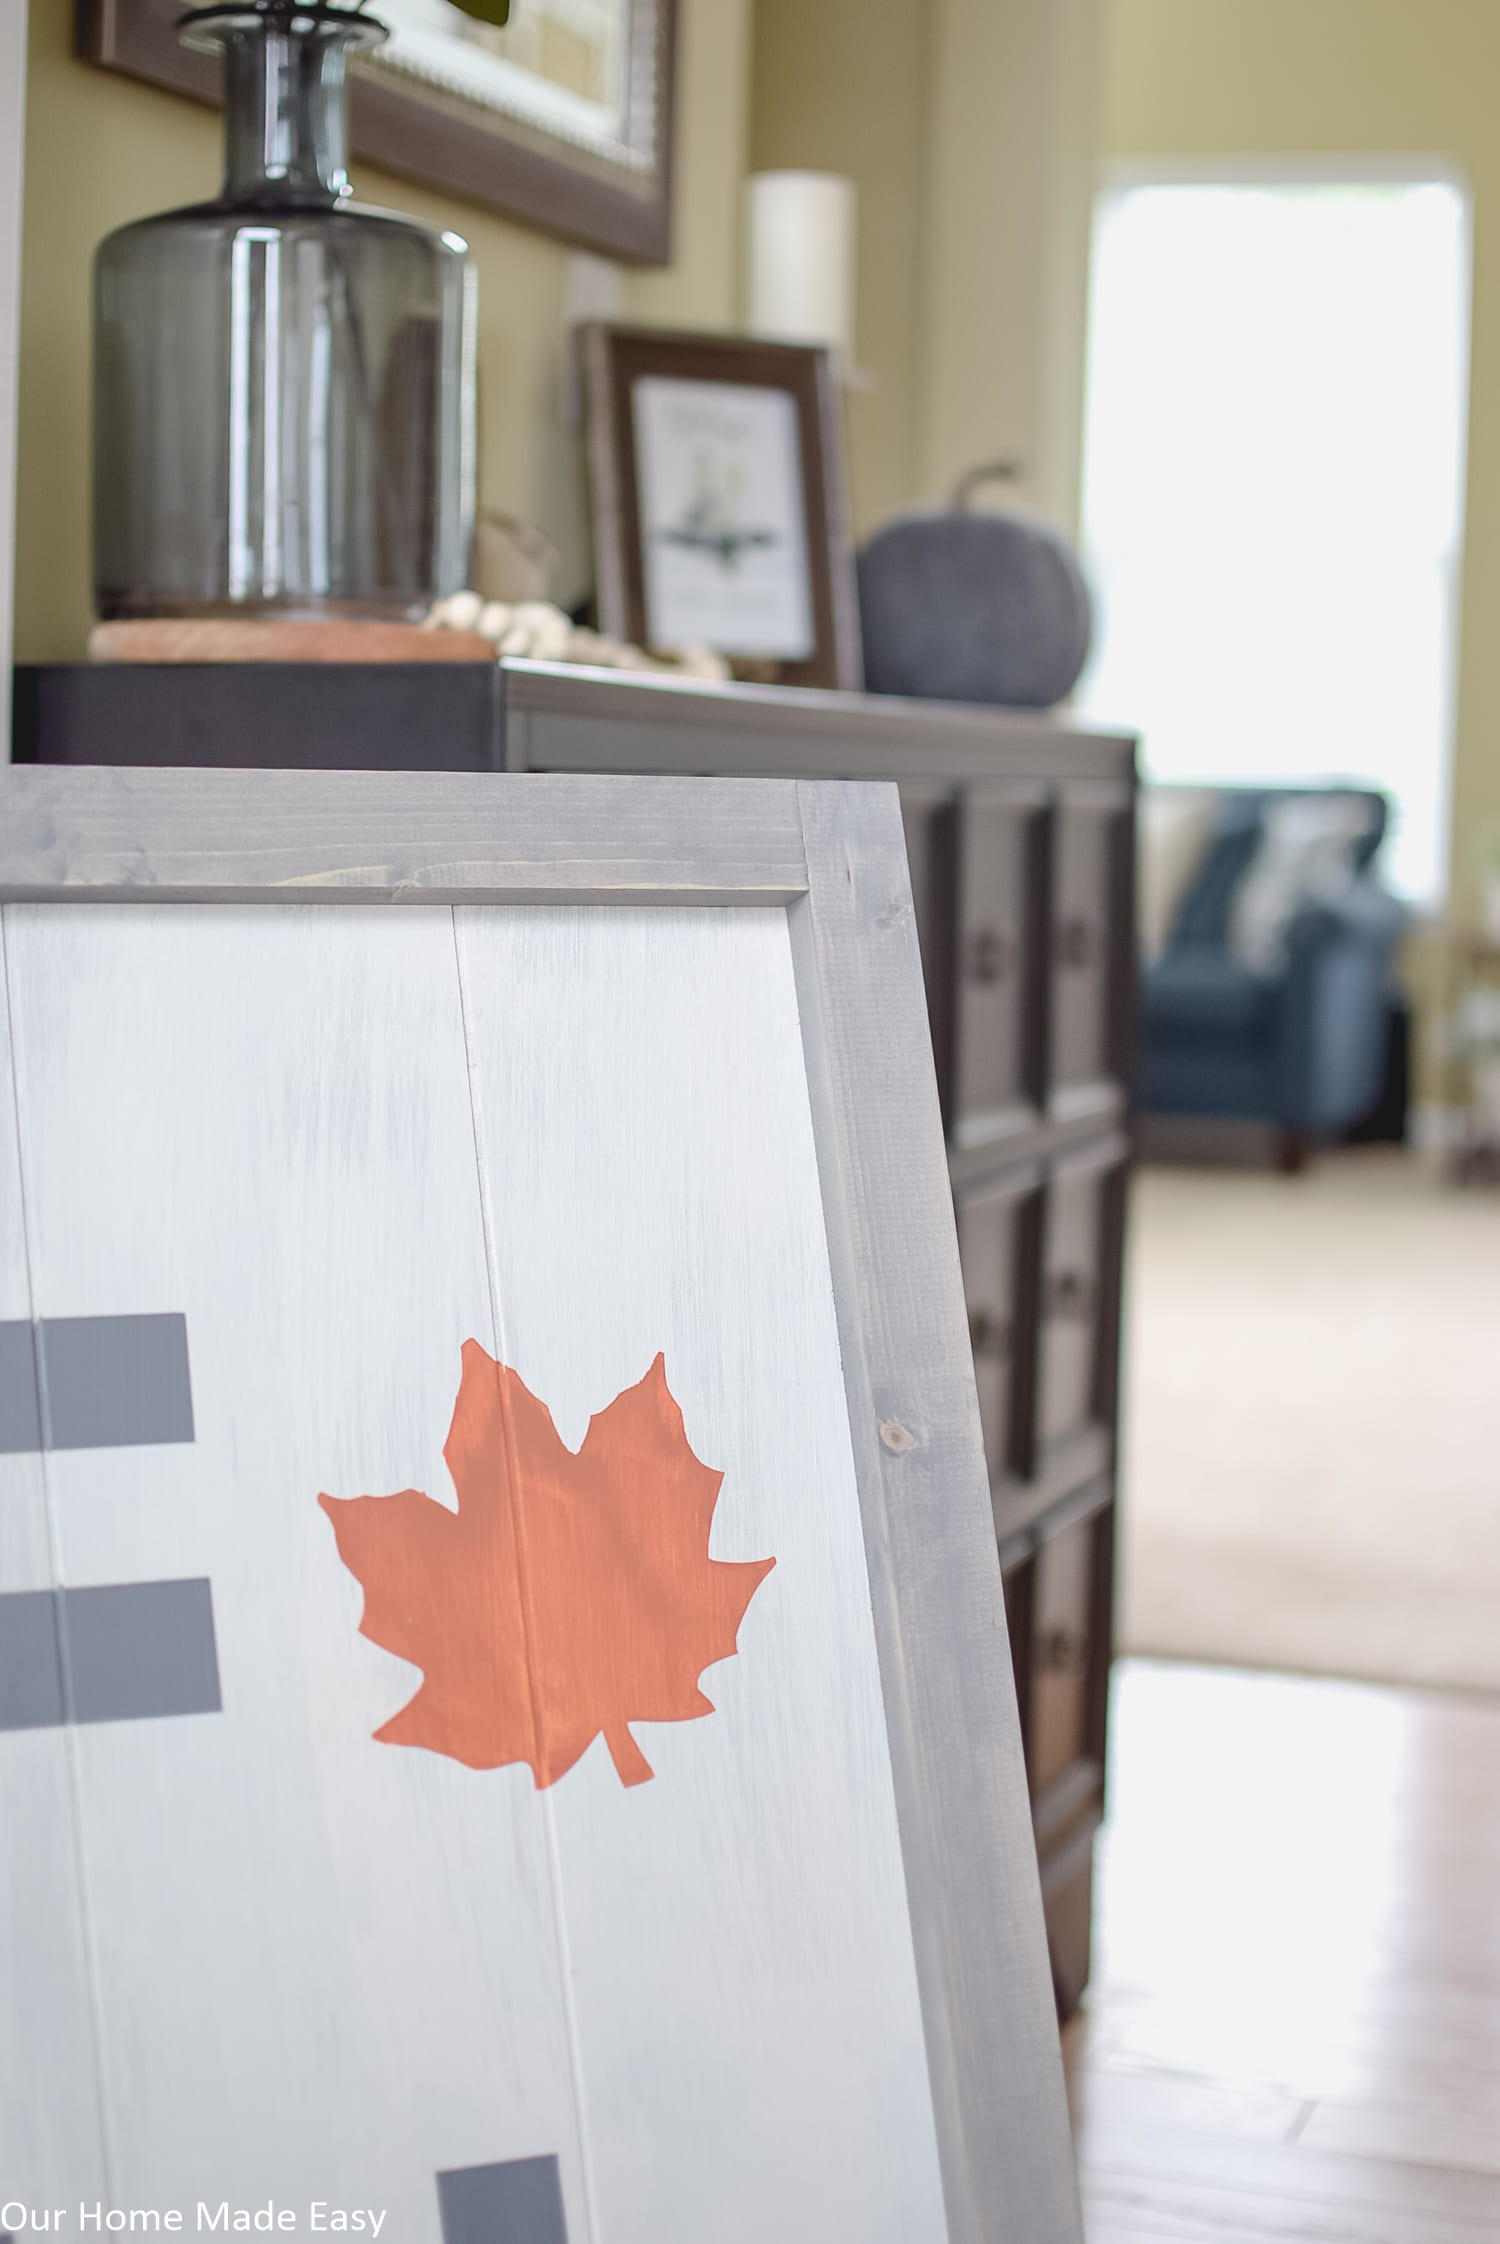
Then I cut the shape out, traced it on the panel and cut away the tape. This time I used an orange color but added a little black. When I mixed it, it didn’t mix fully. When I painted it, it gave a streaky look, which actually turned out neat.
Remove all the painter’s tape as soon as possible.
Building the Support Legs
If you want your sign to be completely self-standing, build your own legs!
However, this is totally optional.
You can stop your DIY wooden fall sign right now and be done! But since I knew this was going out on a porch that has zero protection from wind & rain, I wanted it to have some extra support and stand on its own.
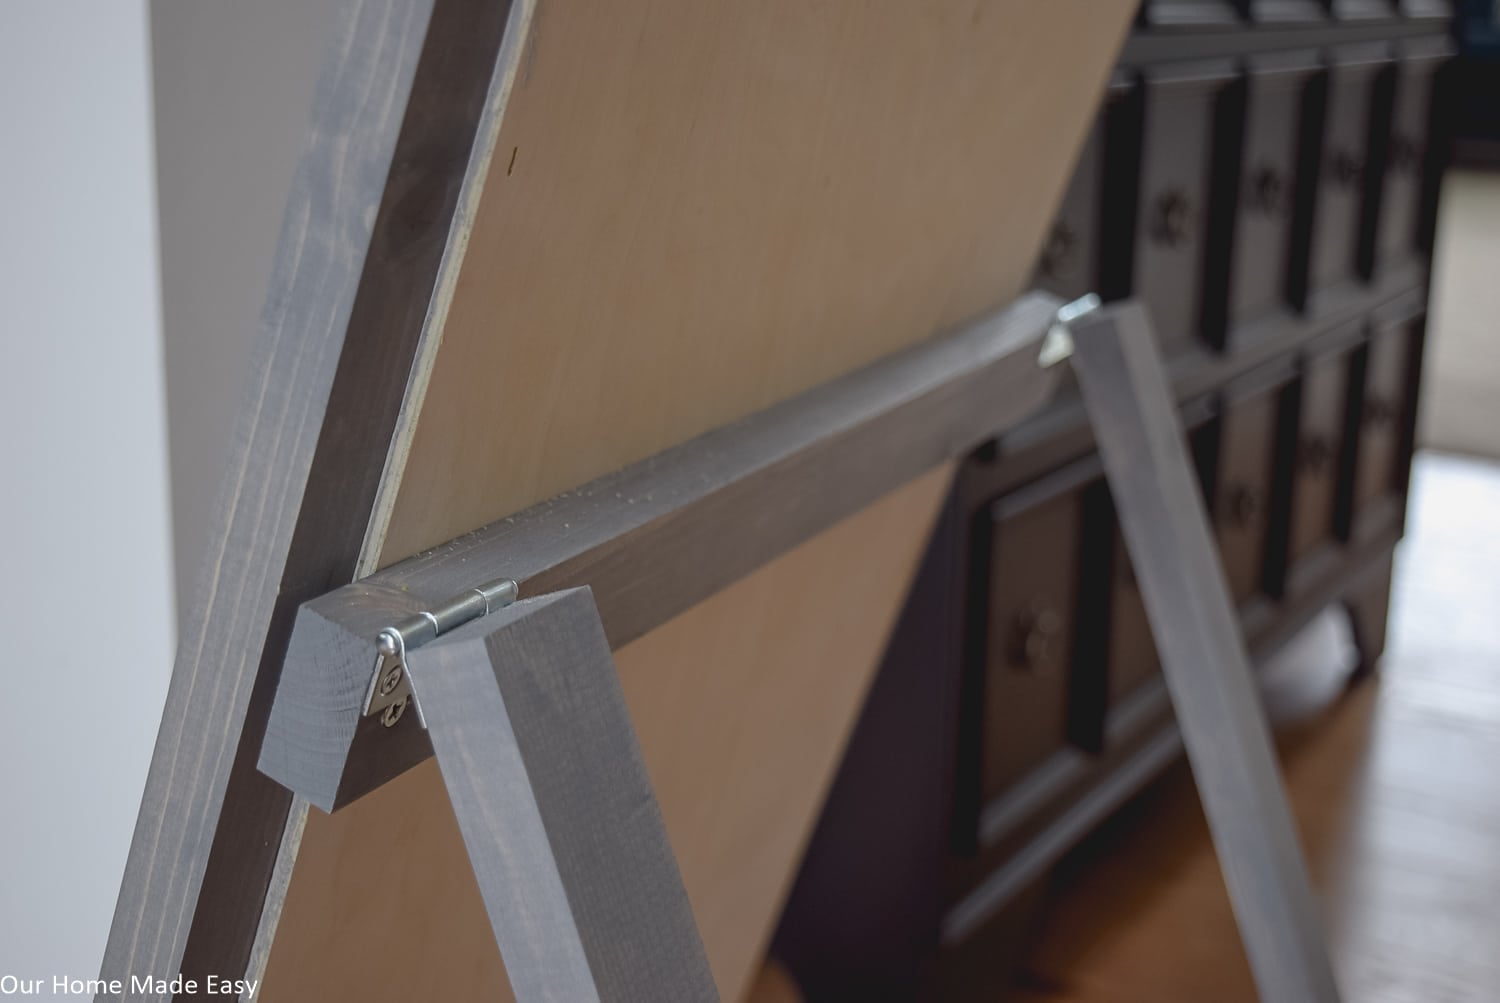
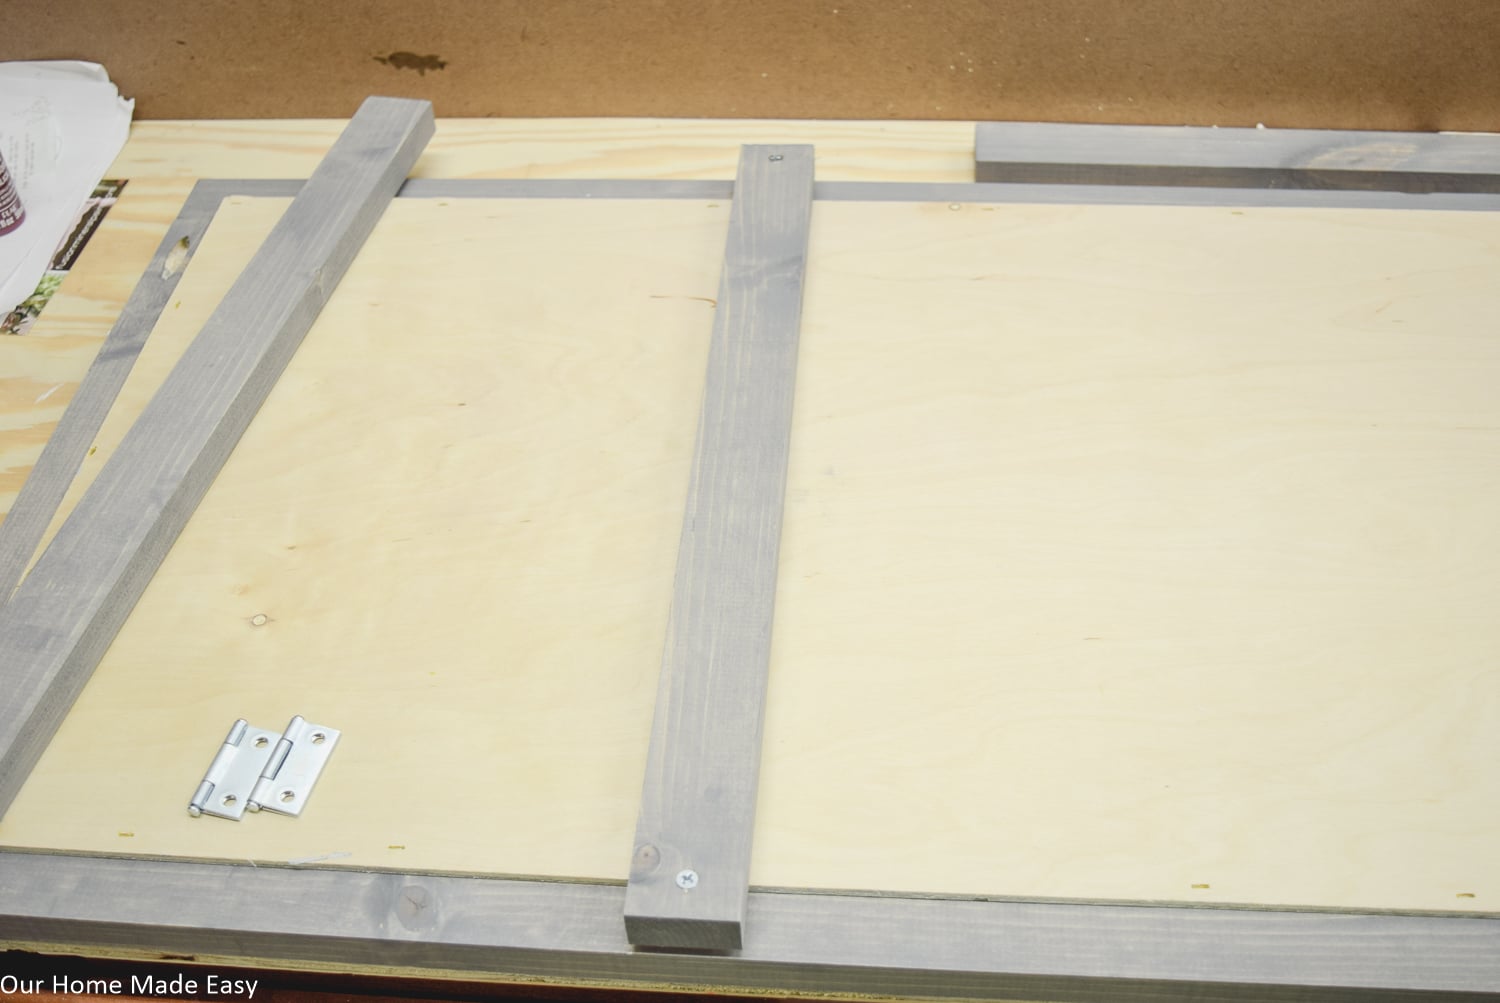
While the lettering was drying, I worked on the support legs. I took the two 24” pieces of 1”x2” and attached them together with my remaining 15” piece. I attached the 15” piece to the bottom of it was about 3” from the bottom of the legs.
I attached the hinges to the side of the support legs where the pocket holes are seen and on the end that doesn’t have a crossbar support. Then, I attached the 17 ⅞” 1”x2” to the other side of hinges.
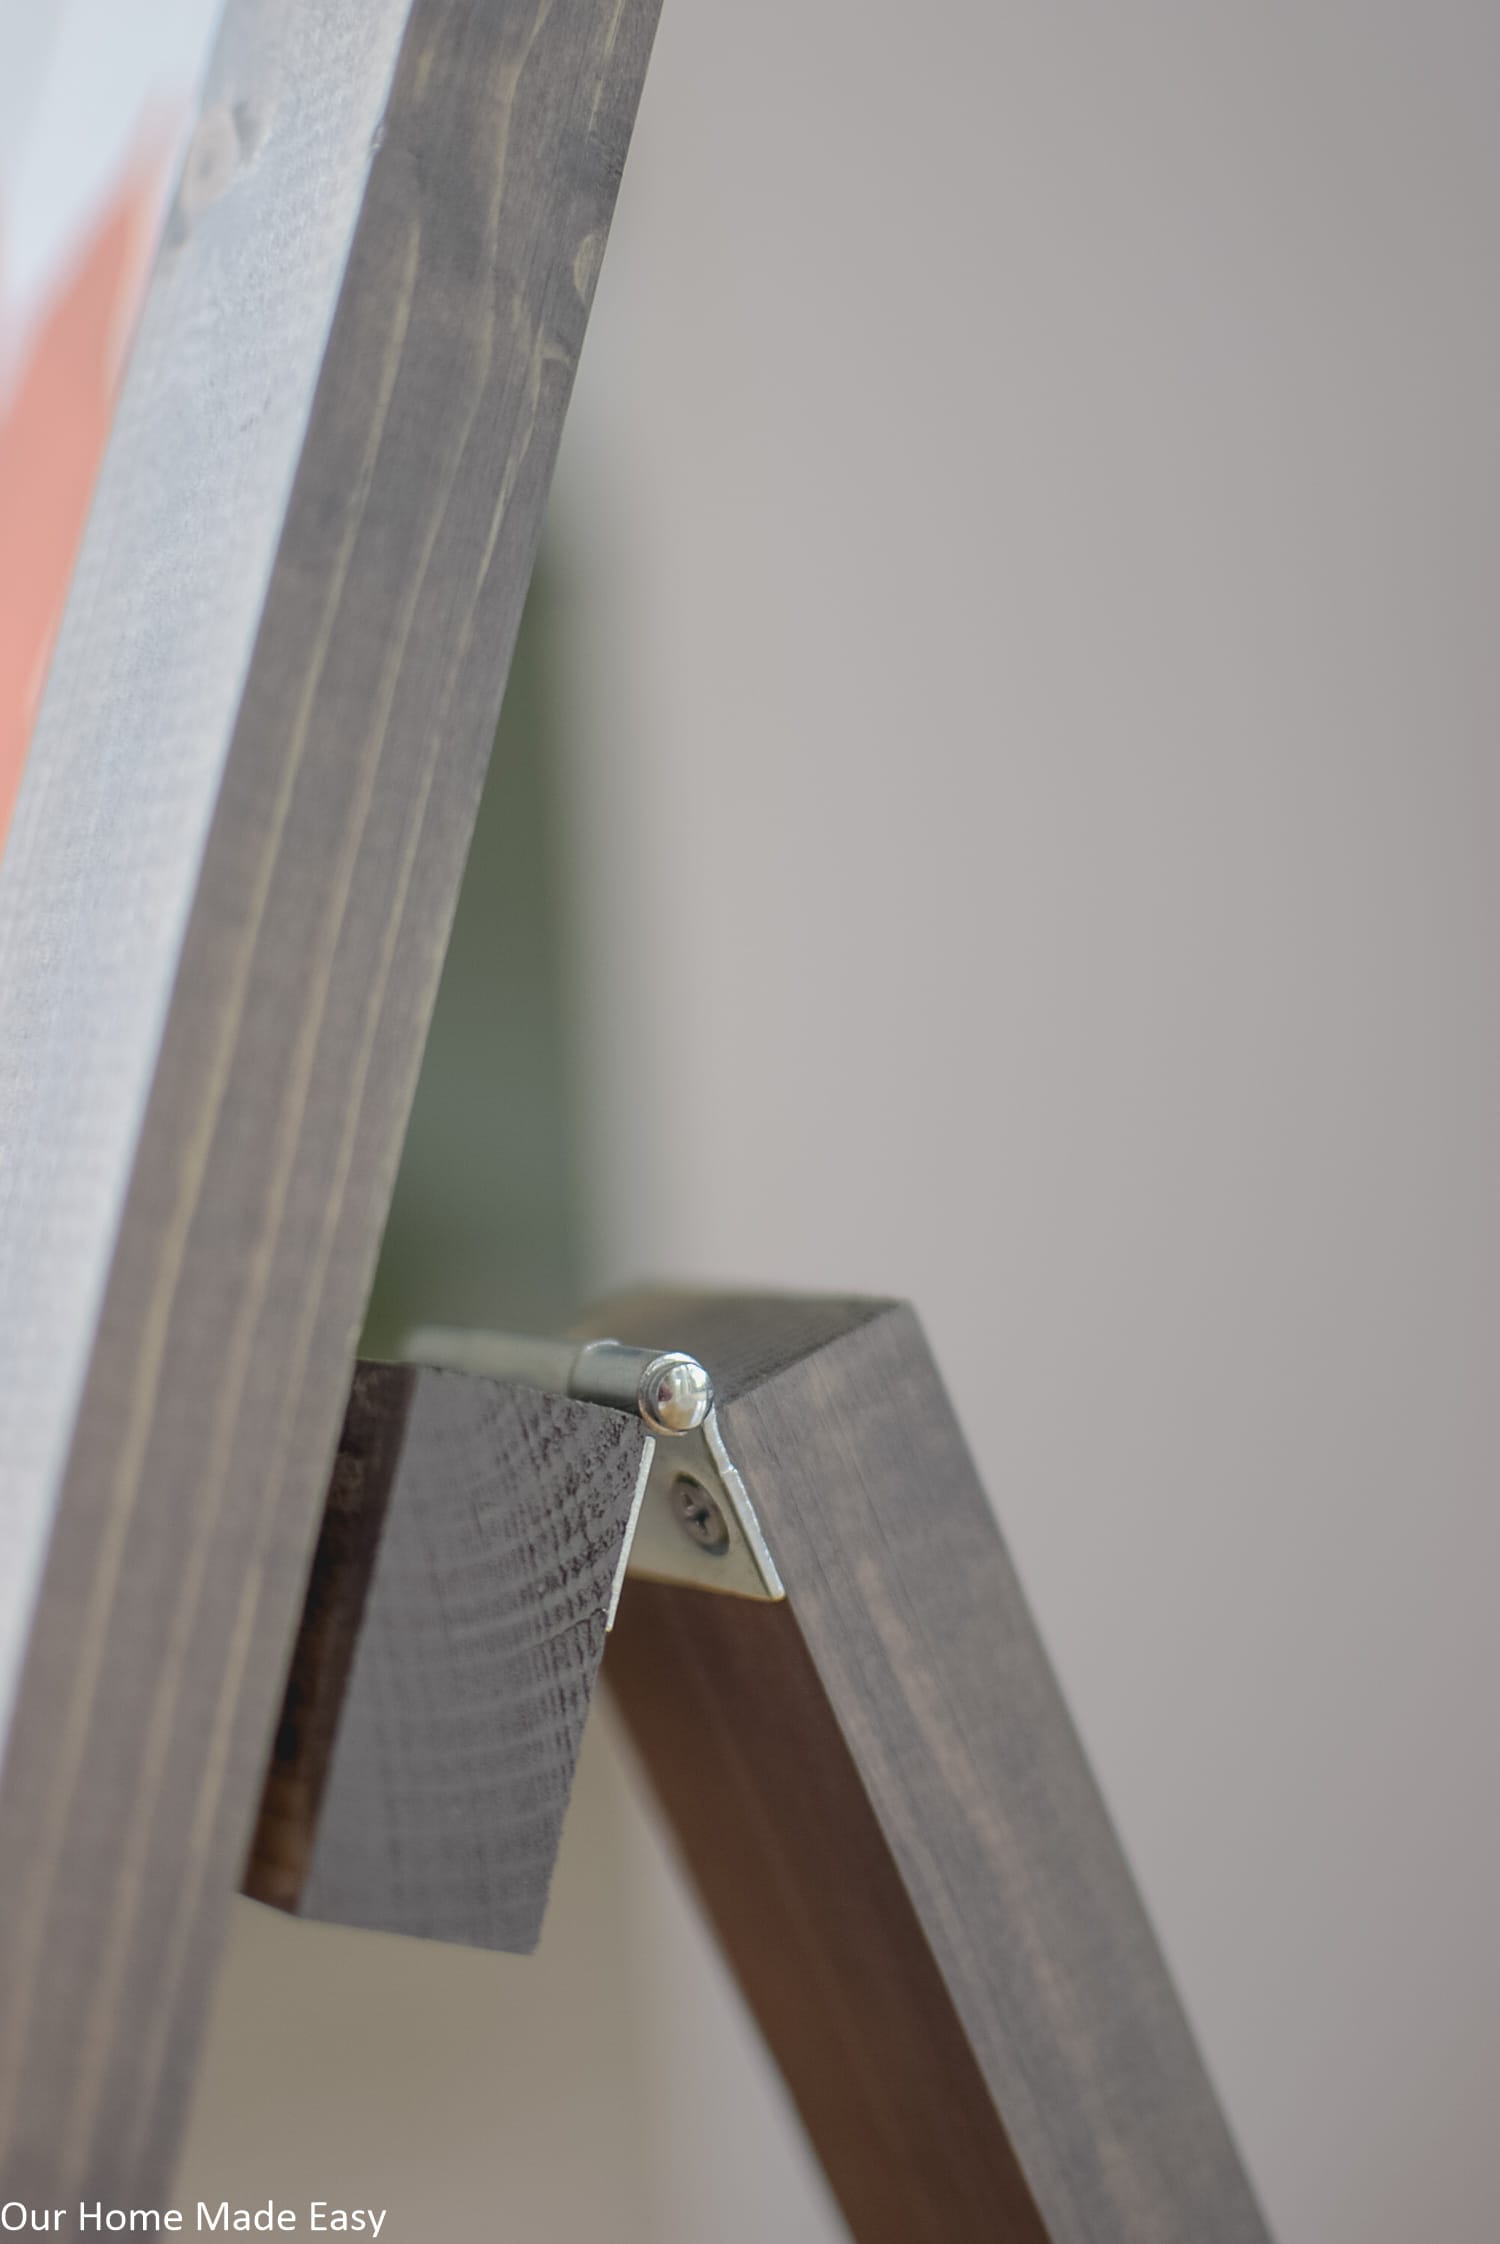
Finally, lay your sign face down. Open the support legs, so you can see the hinges and pocket holes. The legs should be pointed up, towards the top of the sign.
Measure 12” down from the top of the sign; this is where you will screw the 17 ⅞” support to the back of the sign. Screw it into the sign on both sides, ensuring that the screws will not go through the front of the sign (1 ¼” or 1 ½’ will do the trick depending on your thickness of the panel).
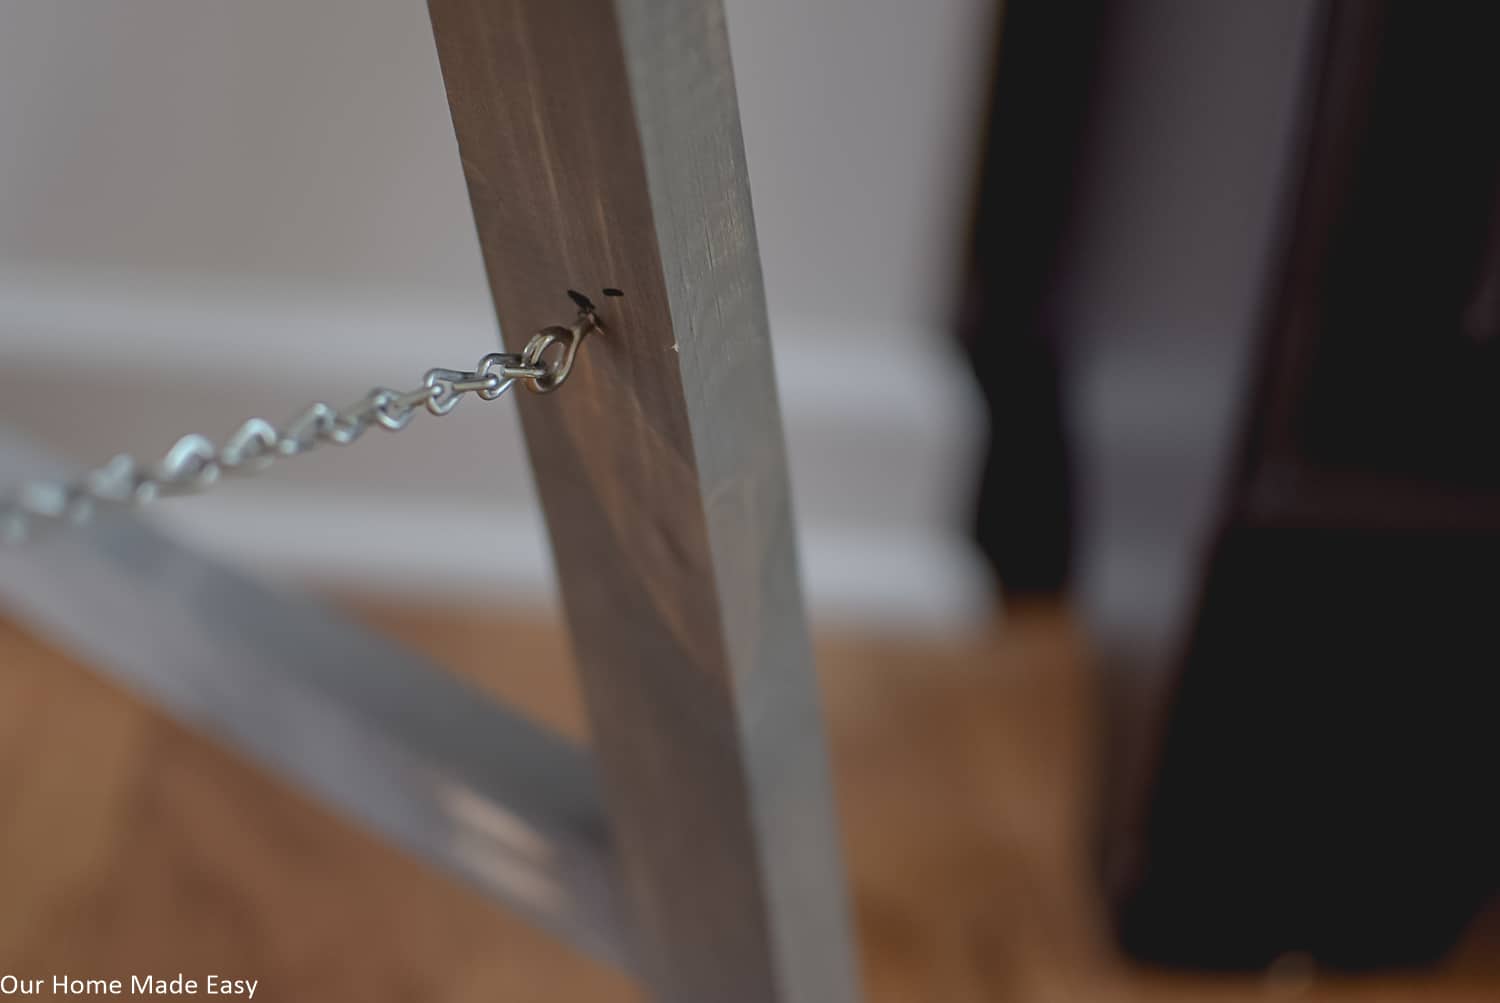
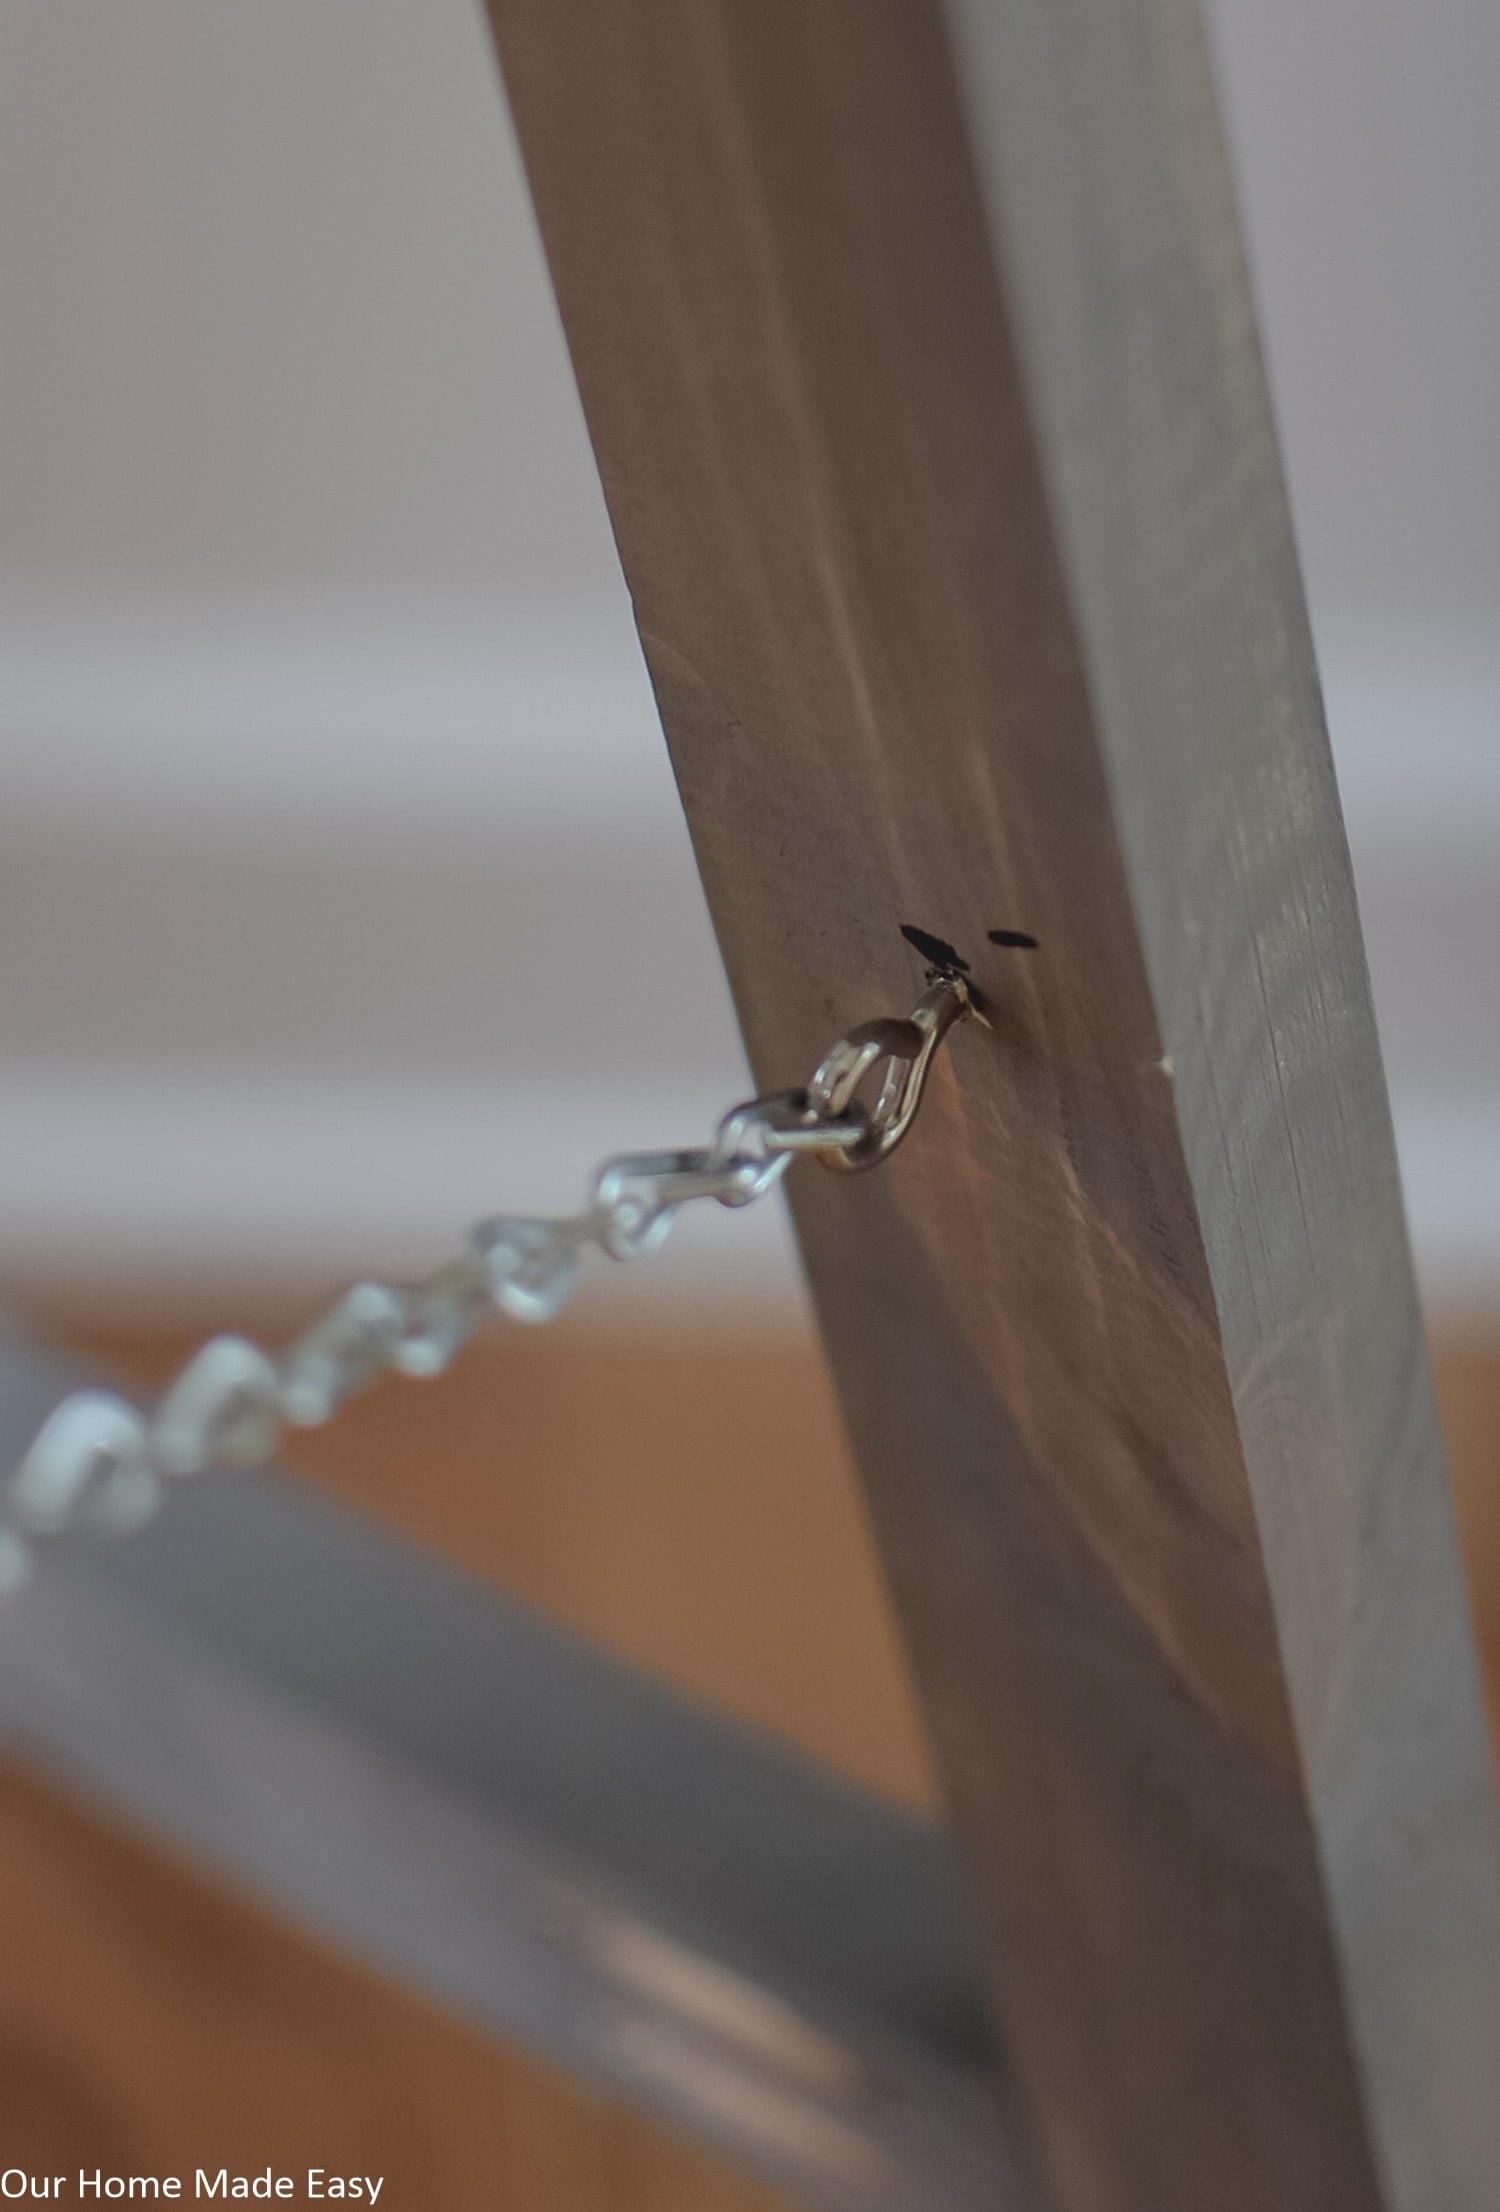
On one side of the sign, drill a pilot hole for the two eye hooks 9 ½” from the bottom of the sign from and support form. Screw in the two eye hooks. With a pair of pliers, carefully separate a link from both ends of the jack chain and attach to the eye hooks.
Use the pliers to close the chain back again.

Tips & Tricks
After putting time into a DIY project, it’s nice knowing you’ll be able to enjoy it for more than one season. A few simple steps while you’re building your sign can help it stay looking great year after year.
Here are a few things I’ve learned along the way:
- Sand the edges before painting so the finish looks smooth and polished.
- If your sign will be displayed outside, choose an exterior paint or add a protective clear sealer to help protect it from the weather.
- Allow each coat of paint to dry completely before adding another color or applying vinyl.
- If possible, place your sign on a covered porch to help protect it from direct rain and harsh sun.
- At the end of the season, wipe the sign clean and store it in the garage or a storage closet so it’s ready to display again next fall.
Taking a little extra time during the project means you’ll be able to pull your sign out year after year without having to start over.
Easy Ways to Customize Your DIY Fall Sign
One of my favorite things about making porch signs is that no two have to look exactly alike. Once you’ve built the base, you can easily change the design to match your decorating style.
Here are a few fun ways to personalize your sign:
- Paint it in traditional fall colors like cream, orange, mustard yellow, or deep green.
- Add a bow made from burlap or plaid ribbon for a cozy farmhouse touch.
- Tuck seasonal greenery, faux leaves, or small florals around the top of the sign.
- Personalize it with your family name or house number.
- Use different fall sayings each year, such as “Hello Fall,” “Gather,” “Harvest,” or “Welcome.”
- Pair your sign with pumpkins, mums, lanterns, or a seasonal doormat to create a warm and welcoming front porch.
The best part is that you can make the design as simple or detailed as you’d like. There’s really no wrong way to make it your own.
Decorating Around Your New Porch Sign
Once your sign is finished, it’s easy to build the rest of your fall porch around it.
I like to keep things simple by adding a few pumpkins, a pot of colorful mums, and a lantern or basket near the front door. Those small touches make the porch feel festive without requiring a complete makeover.
Whether you decorate with neutral farmhouse colors or traditional oranges and reds, your porch sign can become the focal point that ties everything together. Sometimes a few thoughtfully chosen decorations make the biggest impact.
What type of wood is best for a DIY porch sign?
Plywood works well for this project because it’s sturdy, easy to paint, and readily available at most home improvement stores. Just be sure to choose a thickness that provides enough stability if your sign will be displayed outdoors.
Can I leave my wooden porch sign outside?
Yes, especially if it’s displayed on a covered porch. For the best results, use exterior-rated paint or a clear protective sealer to help protect the wood from moisture and sun exposure throughout the season.
How tall should a DIY porch sign be?
Most porch signs are between 4 and 6 feet tall, making them the perfect height to display next to your front door. If you’re following this tutorial, the measurements provided create a sign that’s easy to see without overwhelming your entryway.
Can I use vinyl instead of hand painting the design?
Absolutely! Vinyl lettering made with a cutting machine is an easy way to create crisp, professional-looking lettering. Hand painting also works beautifully if you enjoy adding a more rustic, handmade look to your sign.
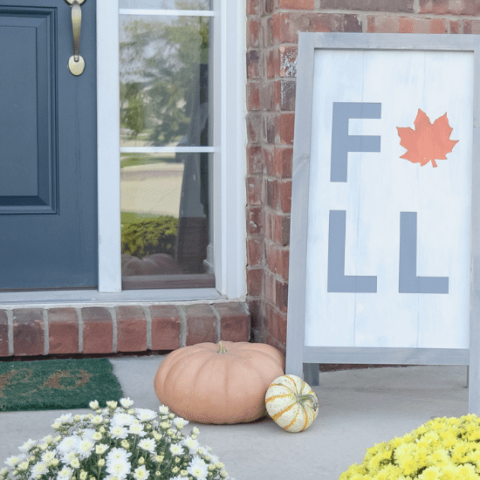
If you’re decorating your porch for fall, this sign looks great paired with mums, pumpkins, lanterns, and a cozy doormat. You don’t need an elaborate setup! A few seasonal touches can make your front porch feel warm and welcoming all season long.
Happy crafting, my friends!

DIY Wooden Fall Sign
This simple Fall front porch sign adds the perfect rustic touch to your Fall front porch decor.
Materials
- 2 ea 1” x 2” Pine Boards
- 2 ea Hinges
- 10” Jack Chain
- 2 Eye Hooks
- Plywood
- Wood Stain
- Paint for the sign (We used this one & this one)
- Painter's Tape for Lettering
- Craft Paint for Lettering
Instructions
Start by making a few cuts. Cut 1 of the 1”x 2” into lengths of 36”, 24”, 15”, and 15”. Then, the other 1”x 2” into lengths of 36”, 24”, 15”, and 17 7/8”.
Pull out the three 15" pieces. Using a Kreg Jig, drill 2 pocket holes on the same side for all the pieces.
Stain all the 1”x2” boards with the weatheredtheweathered gray stain.
For the sign board, have the store or cut at home your plywood into 28 ¾” x 16”. Home Depot & Lowe's are great for cutting plywood boards down your preferred size. Easy peasy!
Painting the Sign Board
Paint the plywood with a dark gray paint. Once try, whitewash with a chip brush and light gray paint. It shouldn't be perfectly painted and some of the dark gray should show through. Once the paint is dry, begin to assemble your sign!
Start by attaching one of the 15” pieces to the two 36” pieces with pocket hole screws. From the opposite end, measure 5 ⅜” up. This is the bottom edge of the bottom support; attach with pocket hole screws.
Then nail or glue the plywood sheet to the back of the frame so the painted side faces out.
Lettering the Sign Board
Since we don't have a Cricut cuttingCricutcutting machine, we used the power of painters tape and an Exacto knife.
I used a utility square to create the F and L’s. The utility square is great because it is the shape of the F and L’s and is a common thickness. The letters were 1.5” thick.
The top of the F and bottom of the L started 5” from the inner edge of the frame. The sides of the letters started and ended approximately 2” from the edge of the frame.
After spacing and tracing the letters with the utility square, I carefully cut away the painters tape where I wanted to paint the letters F and L. Then I painted the F and L’s with the same dark gray paint I painted the back of the plywood panel with.
Then I moved on the leaf, or A. Since I couldn't find a leaf stencil, I just found one online and printed it out.
Then I cut the shape out, traced it on the panel and cut away the tape. This time I used an orange color but added a little black. When I mixed it, it didn't mix fully. When I painted it, it gave a streaky look, which actually turned out neat.
Remove all the painter's tape as soon as possible.
Building the Support Legs
I took the two 24” pieces of 1”x2” and attached them together with my remaining 15” piece. I attached the 15” piece to the bottom of it was about 3” from the bottom of the legs.
I attached the hinges to the side of the support legs where the pocket holes are seen and on the end that doesn't have a crossbar support. Then, I attached the 17 ⅞” 1”x2” to the other side of hinges.
Finally, lay your sign face down. Open the support legs, so you can see the hinges and pocket holes. The legs should be pointed up, towards the top of the sign.
Measure 12” down from the top of the sign; this is where you will screw the 17 ⅞” support to the back of the sign. Screw it into the sign on both sides, ensuring that the screws will not go through the front of the sign (1 ¼” or1 ½’ will do the trick depending on your thickness of the panel).
On one side of the sign, drill a pilot hole for the two eyetwoeye hooks 9 ½” from the bottom of the sign from and support form. Screw in the two eye hooks. With a pair of pliers, carefully separate a link from both ends of the jack chain and attach it to the eye hooks.
Use the pliers to close the chain back again.
GRAB YOUR FREE FRONT PORCH DECOR GUIDE HERE!
PIN FOR LATER:

Hi, I’m Brittany, and I believe life at home should feel easier, not heavier.
I’m the creator of Our Home Made Easy, a space for busy women who want dinner on the table, their homes running smoothly, and a little breathing room at the end of the day.
You won’t find perfection here, just realistic recipes, smart shortcuts, and simple routines that work in real life. The kind that help you feed your family well, stay organized enough, and still have time to actually enjoy it.
If you’re juggling work, kids, schedules, and everything in between, you’re in the right place. I’m so glad you’re here.