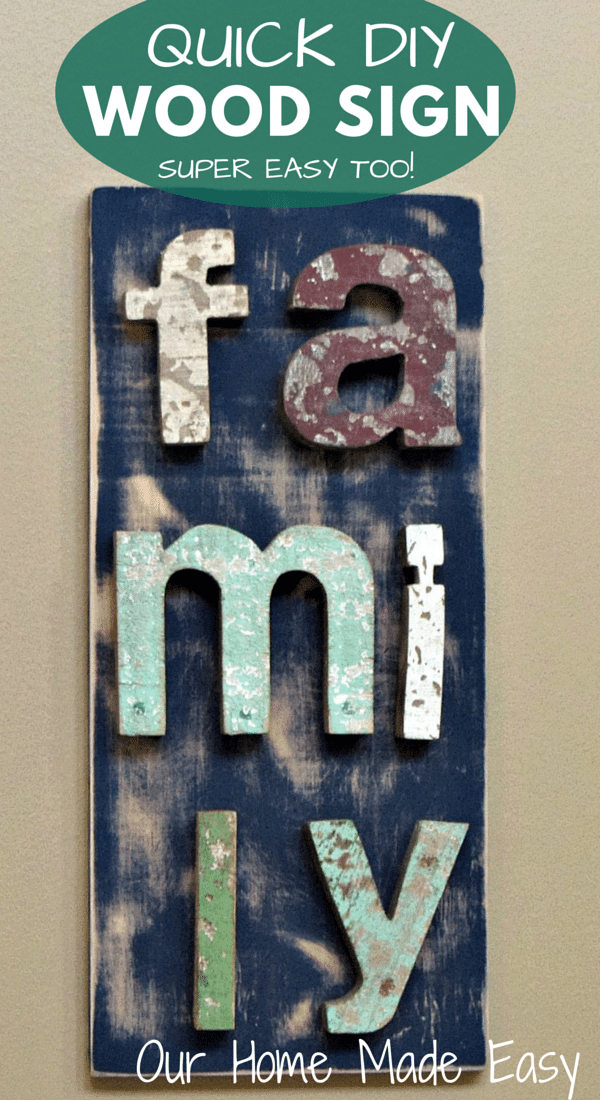
DIY Wood Wall Art Sign
Have you ever found something at the craft store that you’d knew you could totally do something with? Do you have sample after sample of wall paint packed away in the basement? No, you don’t keep those $3 pots of ‘let’s try it out and see…” in a box somewhere? Well, maybe it’s just me then. But if you do have a problem buying items that you know you’ll use someday and have leftover art supplies, you can definitely make this DIY wood wall art!
So this project can be done for uber cheap, like less than $10. Seriously. Use whatever you have on-hand. I found the letter at Jo-Ann’s on clearance one Saturday. I think they were 60-70% off end of season and then I was able to pick them up for an extra 20% off with a coupon. Score! Cute and affordable. Fast forward six months and they are still tucked away in my buffet just waiting to be used.
Jordan had some extra pine board in the basement and I had the perfect spot to hang this board. Now, all I needed to do was think how I was going to fit the letters on this board and what color I should paint it!
It turns that before we had our wall colors picked out, we bought lots of samples for experimenting around the house. No surprise if you know us. A few of the little pots were pretty colors, similar to what we ended up with, and would complement our existing decor. High five to using what we have!
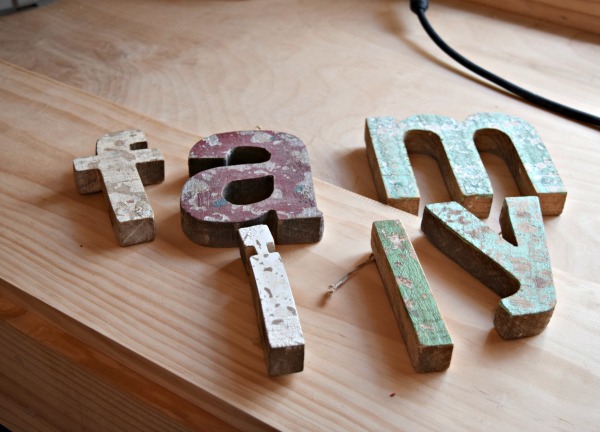
See, I couldn’t turn down those letters! They are super cool, chunky, and already distressed. I think I picked up all six for less than a few dollars apiece.
(This post contains affiliate links. If you shop from my blog, I may be compensated for clicks or purchases that you make. Thank you for supporting ‘Our Home Made Easy!’ Read my disclaimer page for more information.)
Supplies Needed for DIY Wood Wall Art Sign (* aff. link)
-
- Scrap piece of Board ( I used 1″ x 10″ select pine)
- Orbital Sander* or Sand Paper (100 Grit)*
- Paint in colors of choice
- Foam Brushes
- Wood Letters*
- Wood Glue
- Wall Hanging Bracket
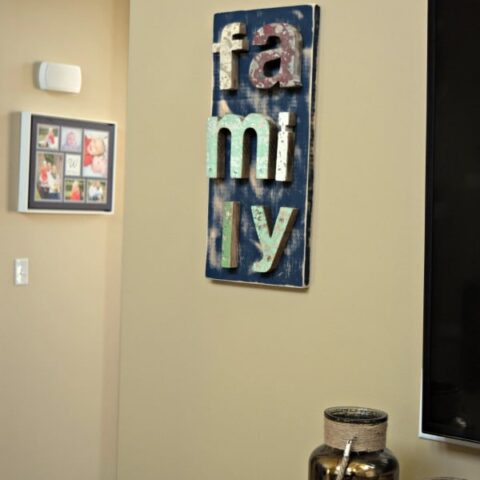
Start off by cutting your board to the right length for your letters. You may want a short, but wide piece, or narrow and vertical. In my case, I knew exactly where I wanted this board to go. I wanted it to fit next to my TV on the wall and be the first piece on that wall. Hopefully there is WAYYYY more art to follow….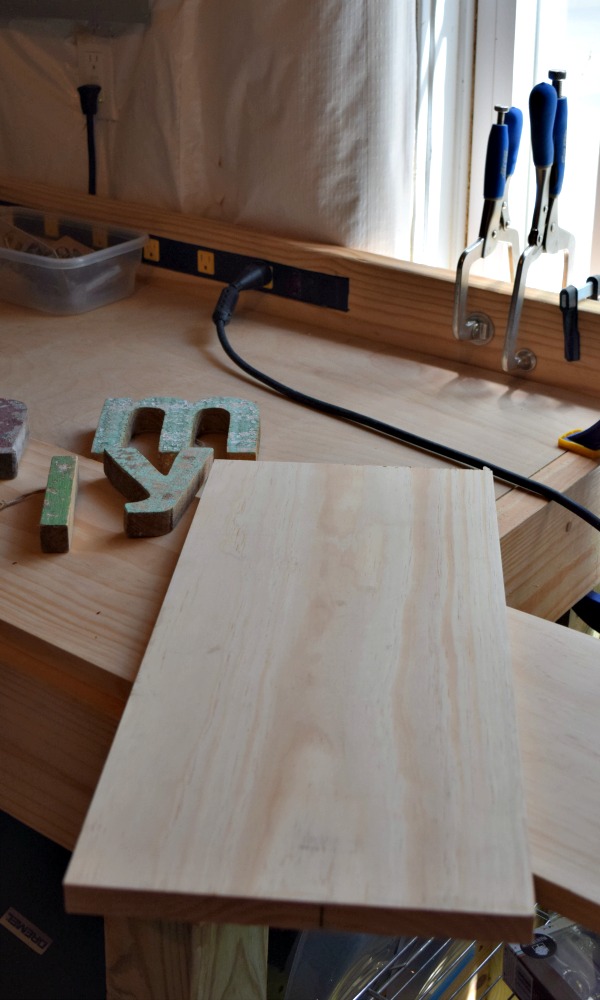
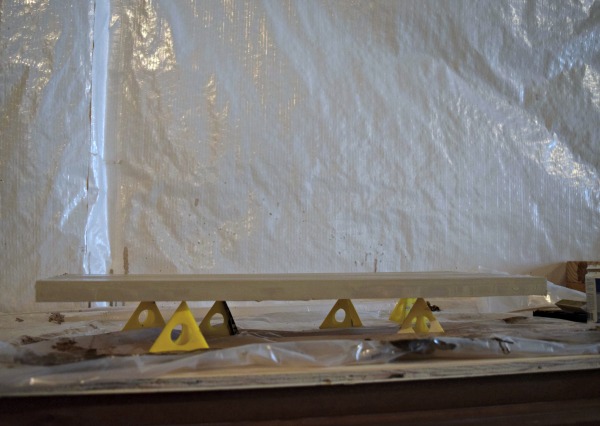
Next, lightly sand down your board before painting. You may be able to skip this step. I did not need to sand the board as it was already butter soft. Sorry, pretty board, you’re about to get distressed. Once the board is semi-smooth and dust free, it’s time to build up the paint! We had some light tan paint on hand and I coated the board with two coats. It’s just a bit darker than the wood. I was hoping that it’d blend well once we started sanding the final product.
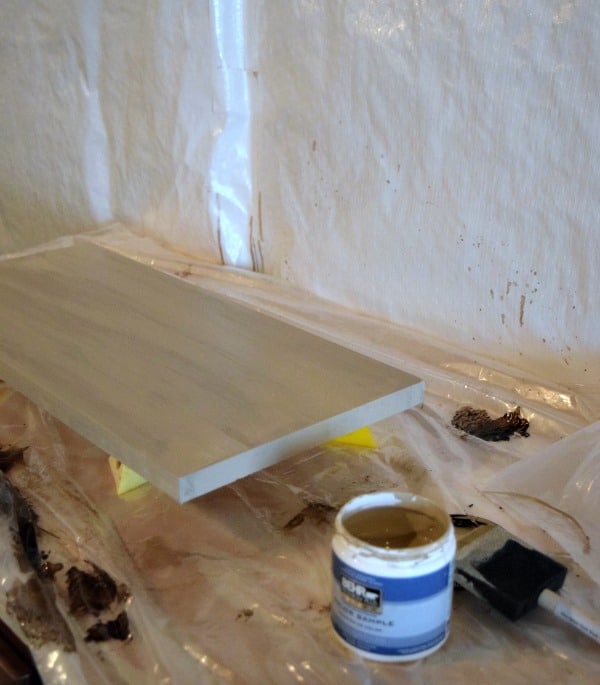
In order to speed up this process, I used these awesome little paint stands. I don’t know about you, but I was always the person who would paint 3 .75 sides of something because I always needed to hold it somewhere. These little plastic guys do the hard work for you. Best painting hack I’ve ever discovered. They’ve saved mine ( and Jordan’s) time tremendously. Another trick to avoid paint lines is to use foam brushes. I used one for each paint color. It’s less mess in clean up AND they don’t leave ugly brush strokes. Another time saver for this project.
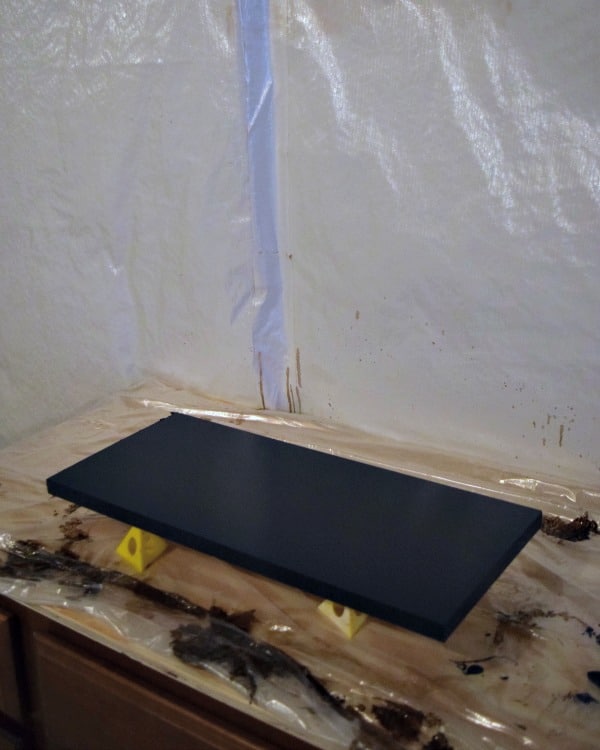
Once the two coats of tan were dried, I added two coats of this pretty midnight blue. The midnight blue matches our sectional. In small doses, I’m in love! By now the A+O team have already woken up from their naps and are zooming around the basement as Momma literally watches paint dry.
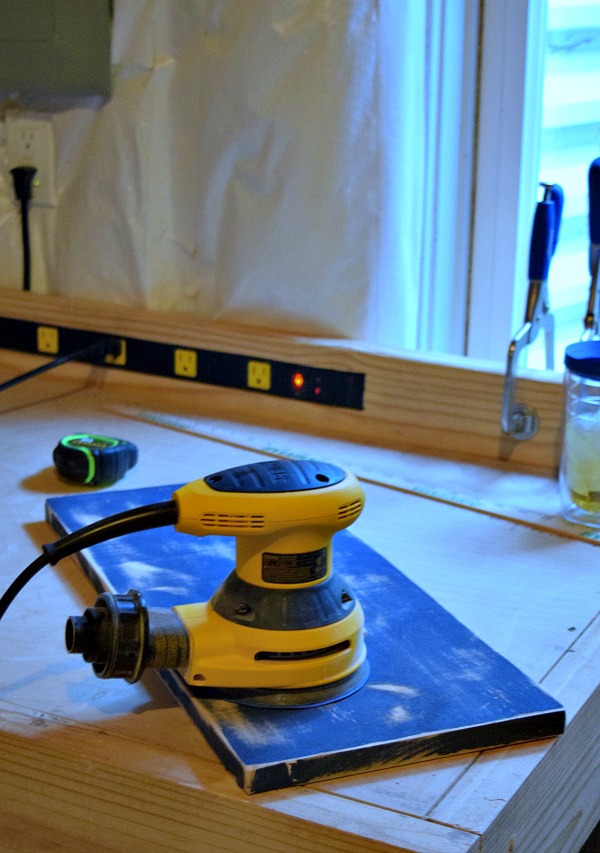
It looks so pretty. Did I really need to distress it? No you don’t need to. Without any brush strokes, it’s ready to have something added to it. But in this case, I wasn’t done. Bring on the orbital sander! It took 100 grit sand paper to really bring out the light tan and natural wood. I tried to do this by sanding by hand and it was taking too long. The orbital sander took just a few seconds and it was fun. I enjoyed rounding out the corners to soften them and the edges. If you do distress the sign, don’t forget about the sides. You don’t want them looking too perfect.
I kept sanding until spots of the natural wood peeked through. The pictures don’t show it well, but the tan color flows well between natural wood and the blue. In some places you only see tan, others tan circles the wood. What I love the best is doing a little sanding, backing off and determining if I need to do more. You don’t have to press hard and sand forcefully. Go at your own pace.
Next, you’ll want to install a wall hanging bracket. It’s easier to do this now in less than 2 minutes, than worry about the sign once letters are added to it. Jordan usually keeps a small box of hanging brackets in his tool box when ideas like these spring up. 🙂 Now is the even more fun part, placing your letters! I had fun arranging mine 2 to a line. Since it’s your project, make it work best for your home. You don’t have to worry about making something fit your decor.
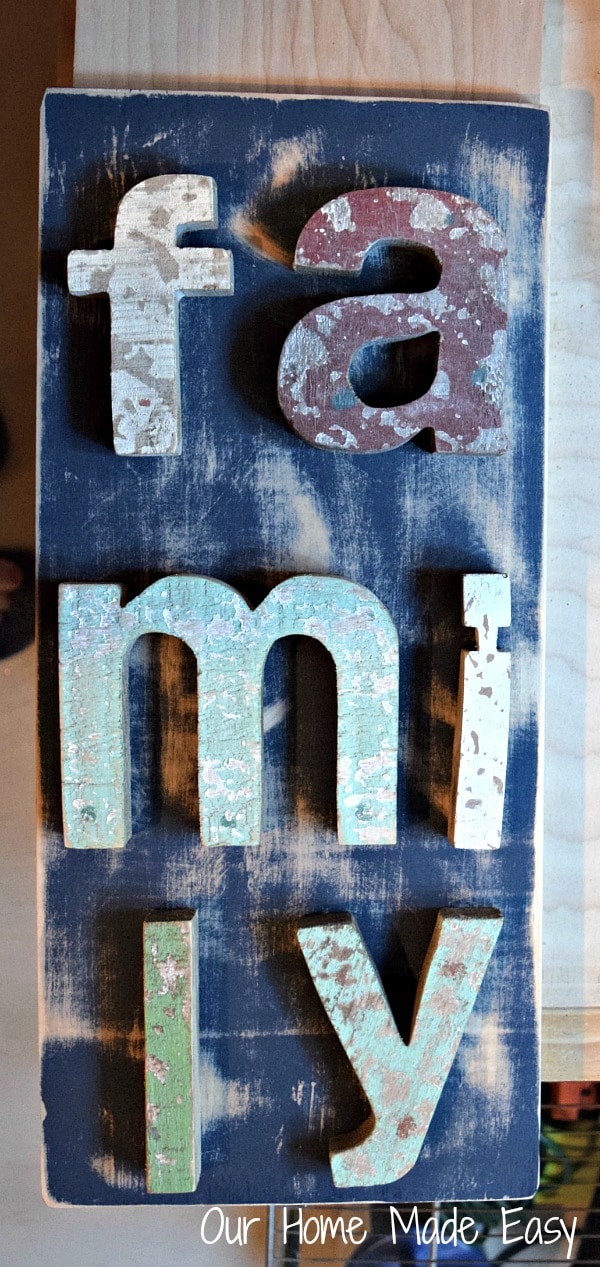
My only wish is that we would’ve found any one of the ‘m/l/y’ in one other color. It’s more green than I would’ve preferred to grouped together. Thankfully green is prevalent through the house. Once you have them set where you’d like them, place a small amount of wood glue on each letter. Go sparingly. If you do a solid bead line down the entire letter, it will spread out and make a mess on your board.
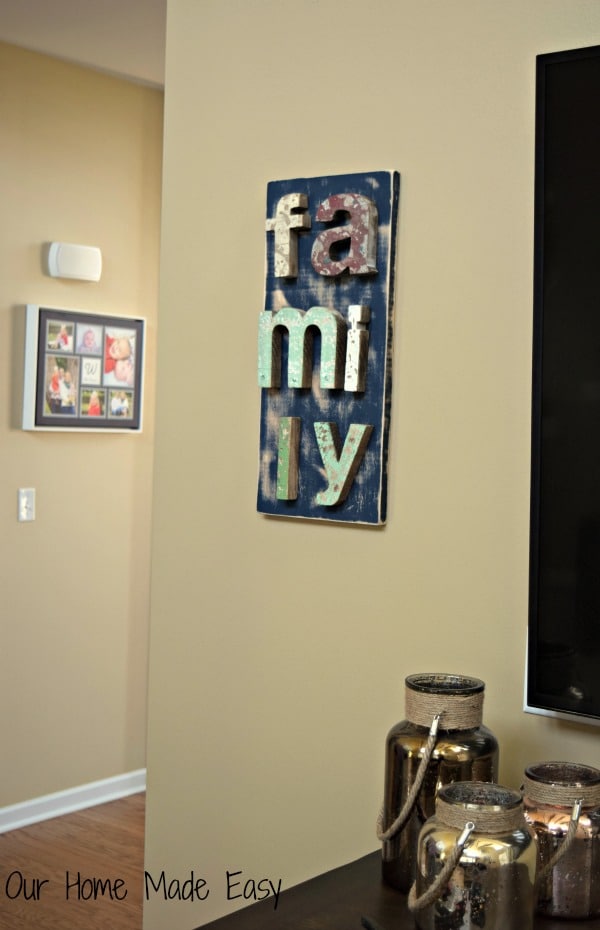
Hang your new artwork and enjoy! Jordan told me tonight, “that actually looks like something you’d buy for our house.” I’ll take it! 🙂
DIY Wood Wall Art Sign
I made this simple wood sign in one short afternoon with some leftover letters and paint! It's a super easy DIY that adds a personal touch to your home.
Materials
- Scrap piece of Board (I used 1" x 10" select pine)
- Orbital Sander or Sand Paper (100 Grit)
- Paint in colors of choice
- Foam Brushes
- Wood Letters
- Wood Glue
- Wall Hanging Bracket
Instructions
Start off by cutting your board to the right length for your letters. You may want a short, but wide piece, or narrow and vertical.
Next, lightly sand down your board before painting. Once the board is semi-smooth and dust free, it's time to build up the paint!
Once the two coats of tan were dried, I added two coats of this pretty midnight blue.
Next, you can distress the paint (you don’t have to if you don’t want to). It took 100 grit sand paper to really bring out the light tan and natural wood. I tried to do this by sanding by hand and it was taking too long. The orbital sander took just a few seconds to get the look I wanted.
Next, you'll want to install a wall hanging bracket. It's easier to do this now in less than 2 minutes, than worry about the sign once letters are added to it.
Now is the even more fun part, placing your letters! I had fun arranging mine 2 to a line. Since it's your project, make it work best for your home.

Hi, I’m Brittany, and I believe life at home should feel easier, not heavier.
I’m the creator of Our Home Made Easy, a space for busy women who want dinner on the table, their homes running smoothly, and a little breathing room at the end of the day.
You won’t find perfection here, just realistic recipes, smart shortcuts, and simple routines that work in real life. The kind that help you feed your family well, stay organized enough, and still have time to actually enjoy it.
If you’re juggling work, kids, schedules, and everything in between, you’re in the right place. I’m so glad you’re here.


