
9 Easy Ways to Update Old Furniture (DIY Makeover Ideas)
Have an old dresser, table, or chair that needs a refresh? These 9 easy furniture makeover ideas will help you update old furniture with paint, hardware, refinishing, and other budget-friendly DIY projects.
(This post contains affiliate links. Please see my Disclaimer for more information)
You don’t have to buy new furniture to give your home a fresh look! There are plenty of easy ways to update old furniture, even if you’re a beginner or working with a small budget.
Over the years, Jordan and I have tackled our fair share of furniture makeovers. He loves building things, while I’m usually the one looking for something to paint. I’m always finding old furniture that could use a little love, and Jordan knows another project is probably coming home with me!
The good news? You don’t need to be an experienced DIYer to make a big difference.
From painting an old dresser to swapping hardware or refreshing a tired chair, these nine furniture makeover ideas will help you decide what to do with pieces you already own or find secondhand.
Sometimes, all a piece needs is a good cleaning!
Easy Ways to Give Old Furniture a Fresh Look
What to Check Before You Redo Furniture
Before embarking on your furniture redo journey, it’s crucial to assess the current state of your pieces. Start by closely inspecting the structural integrity; ensure there aren’t any loose joints or major repairs needed.
Evaluate the surface for any existing finishes, such as paint or varnish, and consider how they might impact your chosen redo technique. Take note of unique features or intricate details that could be enhanced or highlighted during the transformation process. This initial assessment will guide you in selecting the appropriate redo method and set realistic expectations for the level of refurbishment needed.
Remember, the key is to identify the potential in your furniture, whether it’s a solid wood dresser or a charming vintage chair, and envision the possibilities before diving into the redo process.
Old Furniture Pieces that You Can Update
Looking to modernize or outfit your home on a budget? Be on the lookout for these types of items the next time you are on Facebook Buy/Sell/Trade or OfferUp apps.
- Wooden Coffee Table:
- Potential for sanding and staining or a creative paint makeover.
- Dining Room Chairs:
- Ideal for beginners to practice basic upholstery or a fresh coat of paint.
- Laminate Dresser:
- A great candidate for painting or decoupage to transform its appearance.
- Wicker Chair:
- Perfect for experimenting with spray paint or updating the cushions for a modern look.
- Metal Bar Stools:
- An opportunity to explore metal-friendly paint techniques or change the seat material.
- Bedside Tables:
- Small enough for a quick makeover, such as a stylish paint color or decoupage.
- Old Bookshelf:
- Transform with a bold color, decorative wallpaper backing, or a distressed finish.
- Vintage Sideboard:
- Explore advanced techniques like two-tone painting or intricate stencil designs.
- Mid-Century Modern Desk:
- A classic piece that can be revitalized with a sleek paint finish or new hardware.
- Upholstered Bench:
- Practice reupholstering with a simple bench, and experimenting with fabric patterns.
- Cane-backed Chair:
- Update with a contemporary paint color or replace the cane for a modern twist.
- Antique Vanity:
- Ideal for more advanced beginners, with the potential for intricate detailing or a distressed finish.
These furniture items offer a range of styles and materials, providing beginners with diverse opportunities to experiment with different redo techniques, from basic painting to more advanced upholstery and intricate detailing.
9 Easy Furniture Makeover Ideas for Old Furniture
The next time you find scroll past an ugly piece in Facebook’s Marketplace, a Buy/Sell group, or even if you’ve been meaning to finally do something about a piece in your home, I wanted to share nine ways you can update a piece of furniture!
And all are relatively easy. They’ll cost you your time and muscle power, but that’s about the extent of it.
1. Strip the Paint and Add a Clear Wax
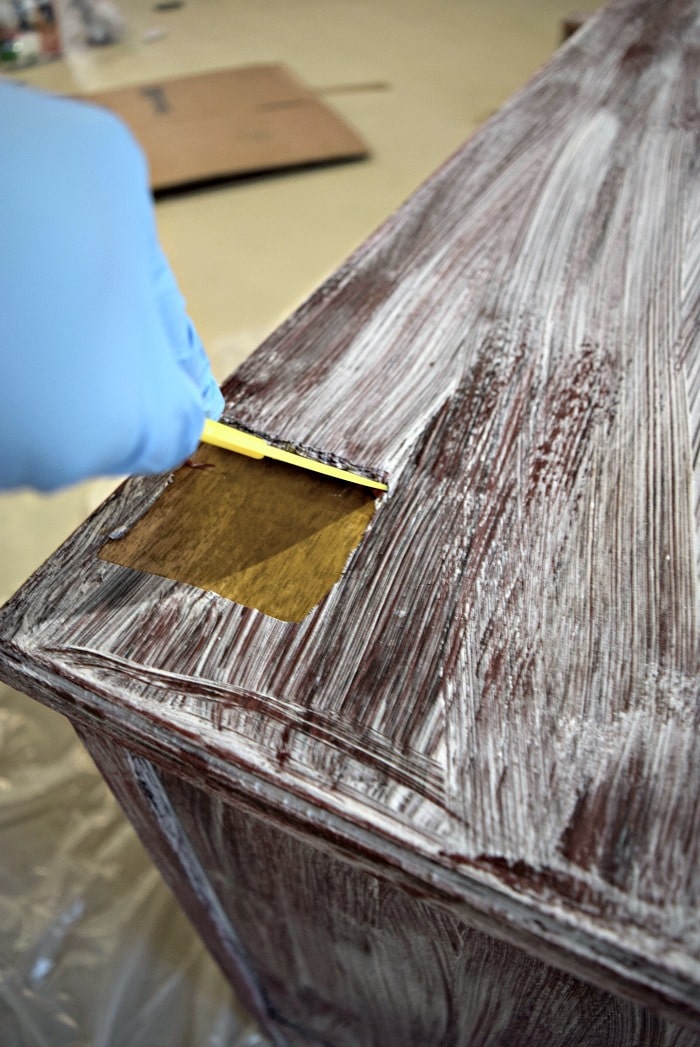
If you’re a complete lover of all things wood, this may be your best option. Skip if your piece of furniture isn’t real wood, or is made of particle board. For our buffet makeover, I stripped the entire piece using this paint stripper.
Once you have your entire piece stripped, use a natural wax to bring it back to its best days. I like to use clear wood wax because not only does it protect the wood, but it shows off its natural colors. Keep reading below if you want to add a darker color.
2. Paint It
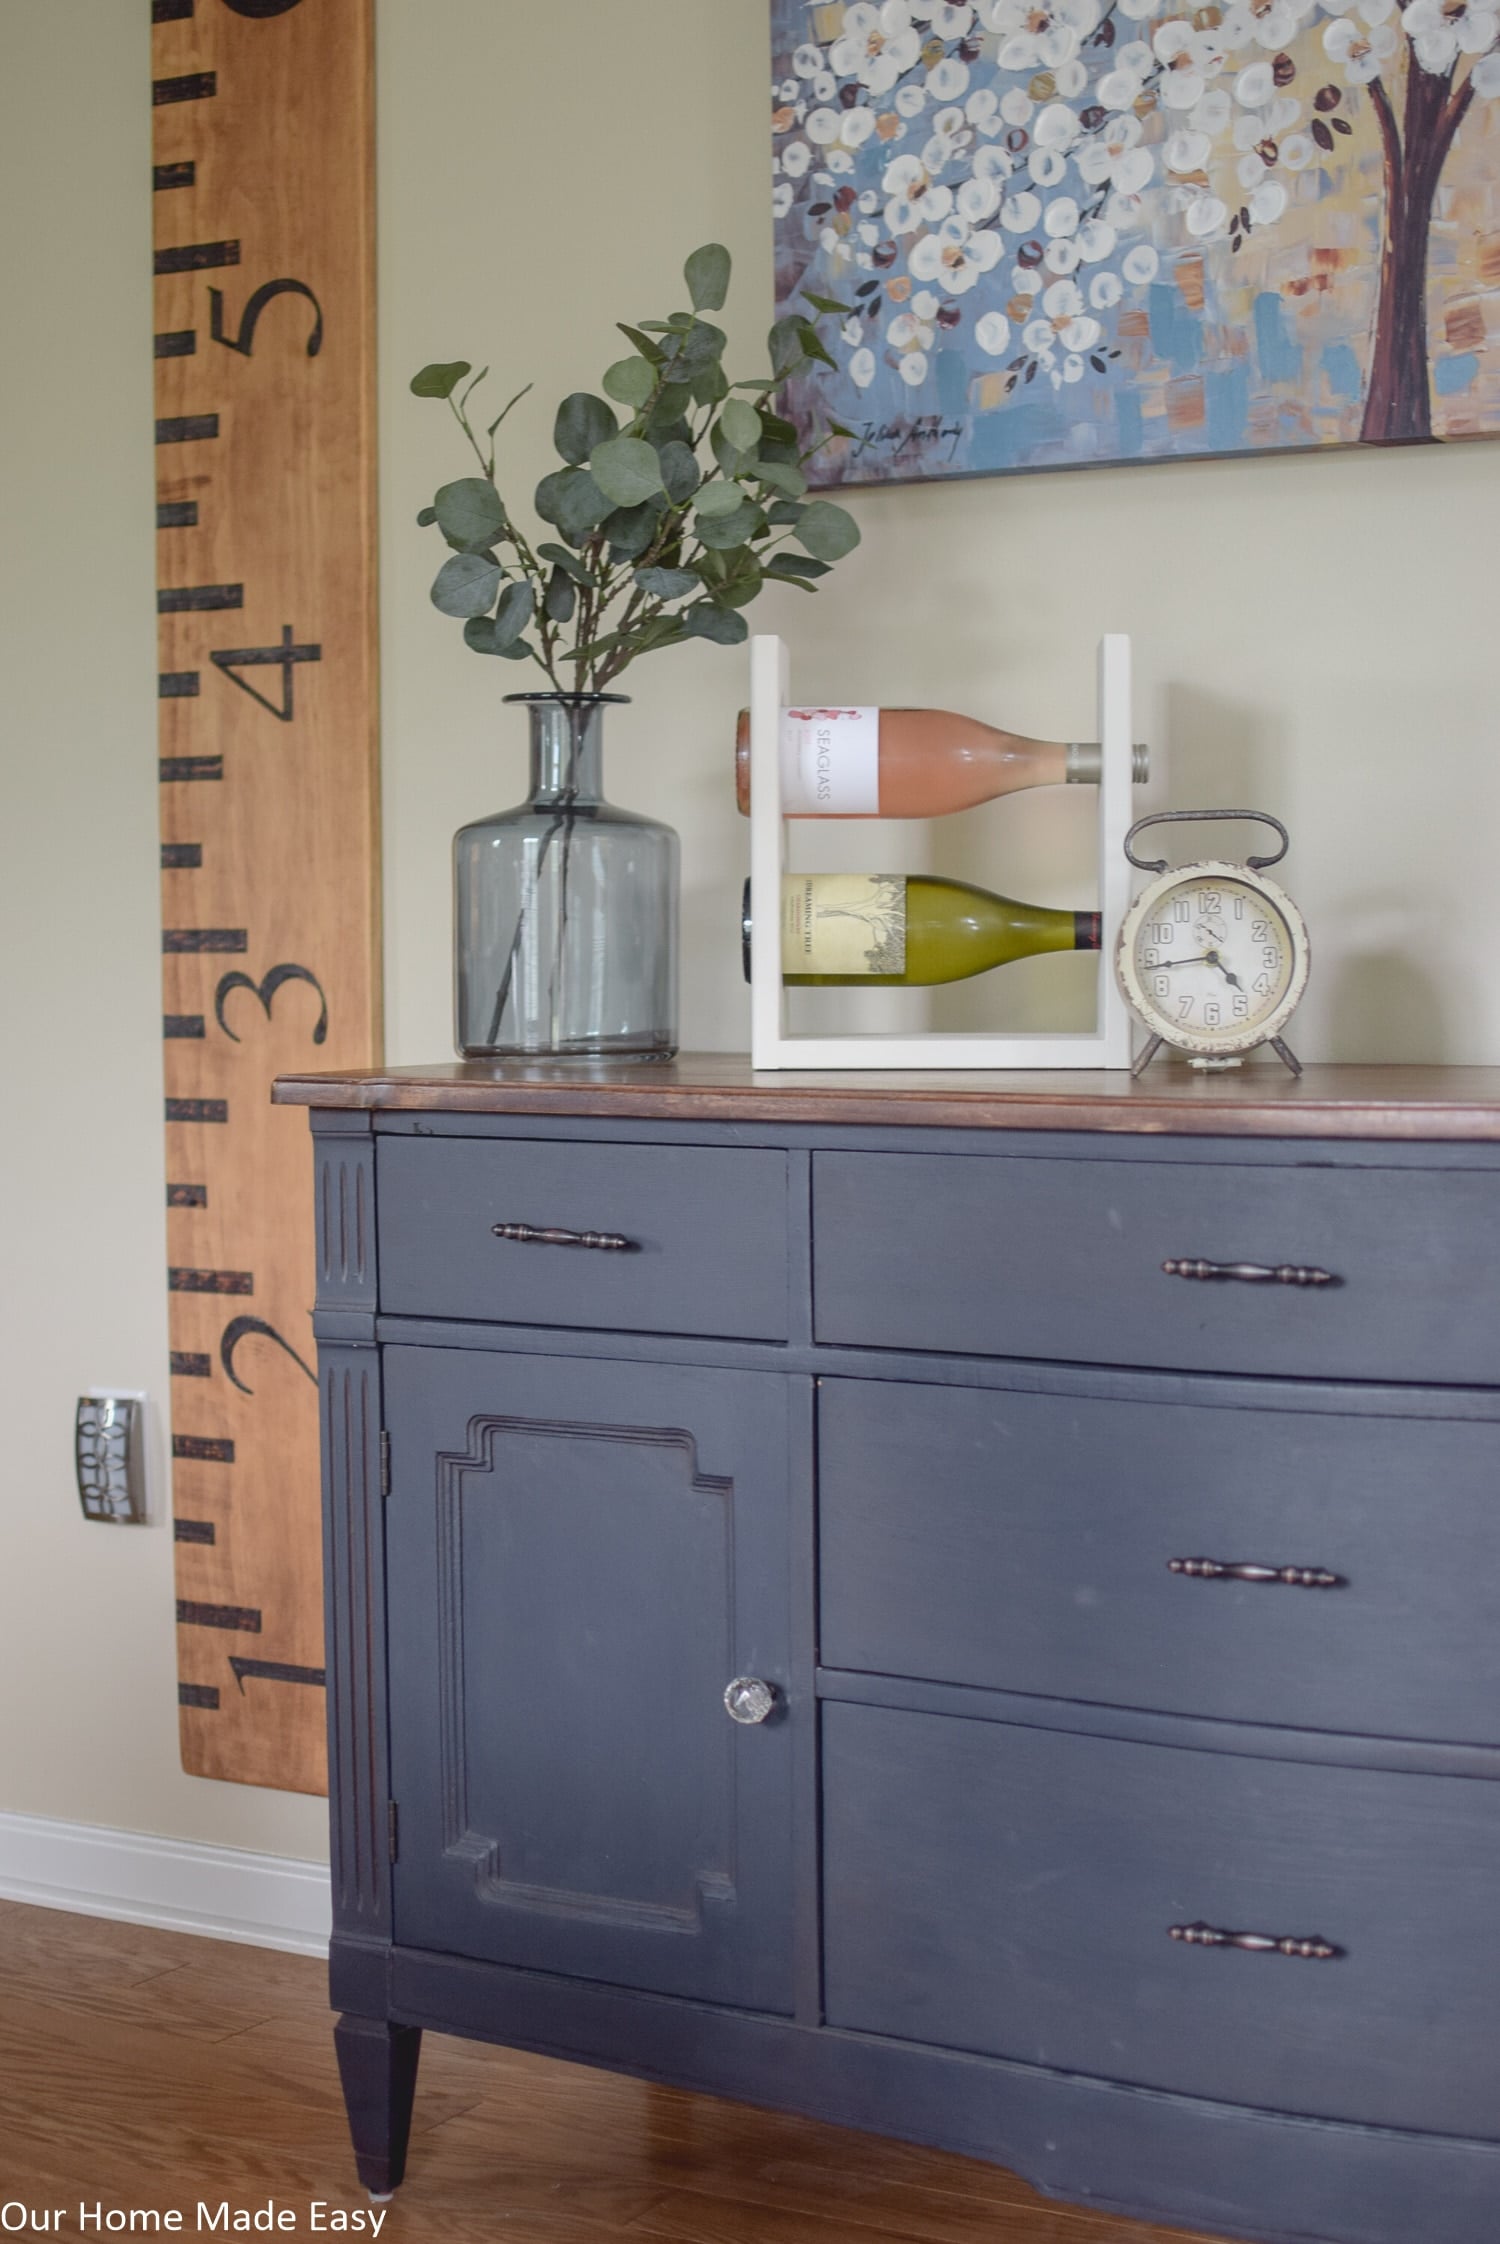
Jordan will probably roll his eyes at this one, but I love painting everything I can get my hands on. My go-to paint is always Fusion Mineral paint. It makes beginners like me have projects that look amazing. I used FMP for the bottom of my beloved buffet makeover in Midnight Blue.
Related Fusion Mineral Paint Posts You Might Like:
- Fusion Mineral Paint: Is it Worth Your Money and Time?
- A Side by Side Comparison of Neutral Fusion Mineral Paint Colors
- Easy How To DIY Your Own Perfect Two Tone Furniture
You can read all about my Fusion Mineral paint review above and also see 13 Fusion neutrals next to each other if you’re debating between colors!
3. Stain It
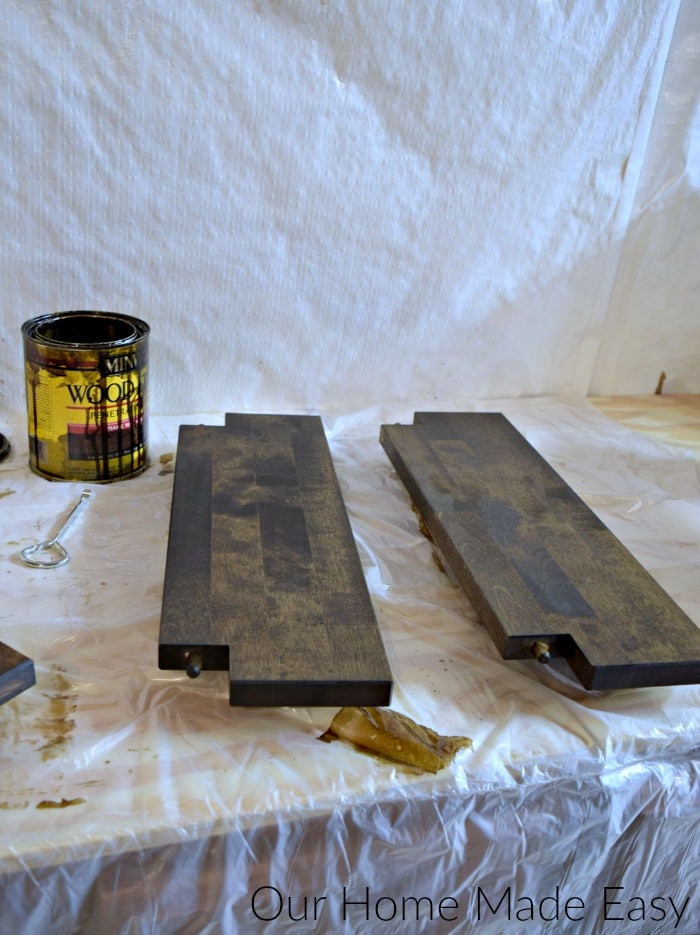
Right behind painting, I love making over the furniture with stain. But be warned— test out your stain in a small spot to see how the stain takes to your piece.
While we have a favorite stain, we know that it can look very different on different types of wood. To overcome this, we will stain our piece 2 different colors to give the shade we love so much.
You can choose to buy your stain from any big box retailer or you can make your own! I’ve never made my own recipe, but you can find several great ideas here.
Staining a piece versus painting furniture is definitely a personal preference! You can find warmth and modern tones of stain, just like you can go classic all-white paint or something bright like yellow.
Have I mentioned how much I love restoring furniture?
It’s the easiest way to make a custom piece that is for you– and you can do it in one weekend!
Download your furniture refinishing shopping list right here! You can keep track of supplies and planning your step all in one place!
4. Add Furniture Wax
If you have a piece that is stripped already or just could use new wax, consider adding a darkened wax to it. First, clean your piece and follow any prep directions for your wax.
When I painted my buffet a few years ago, I topped it off with Espresso Wax from Homestead House. It made the entire piece look a little darker and less perfect. I wiped wax across the entire piece and wiped it off. I left a little extra wax where it would naturally ‘age.’
5. Clean It!
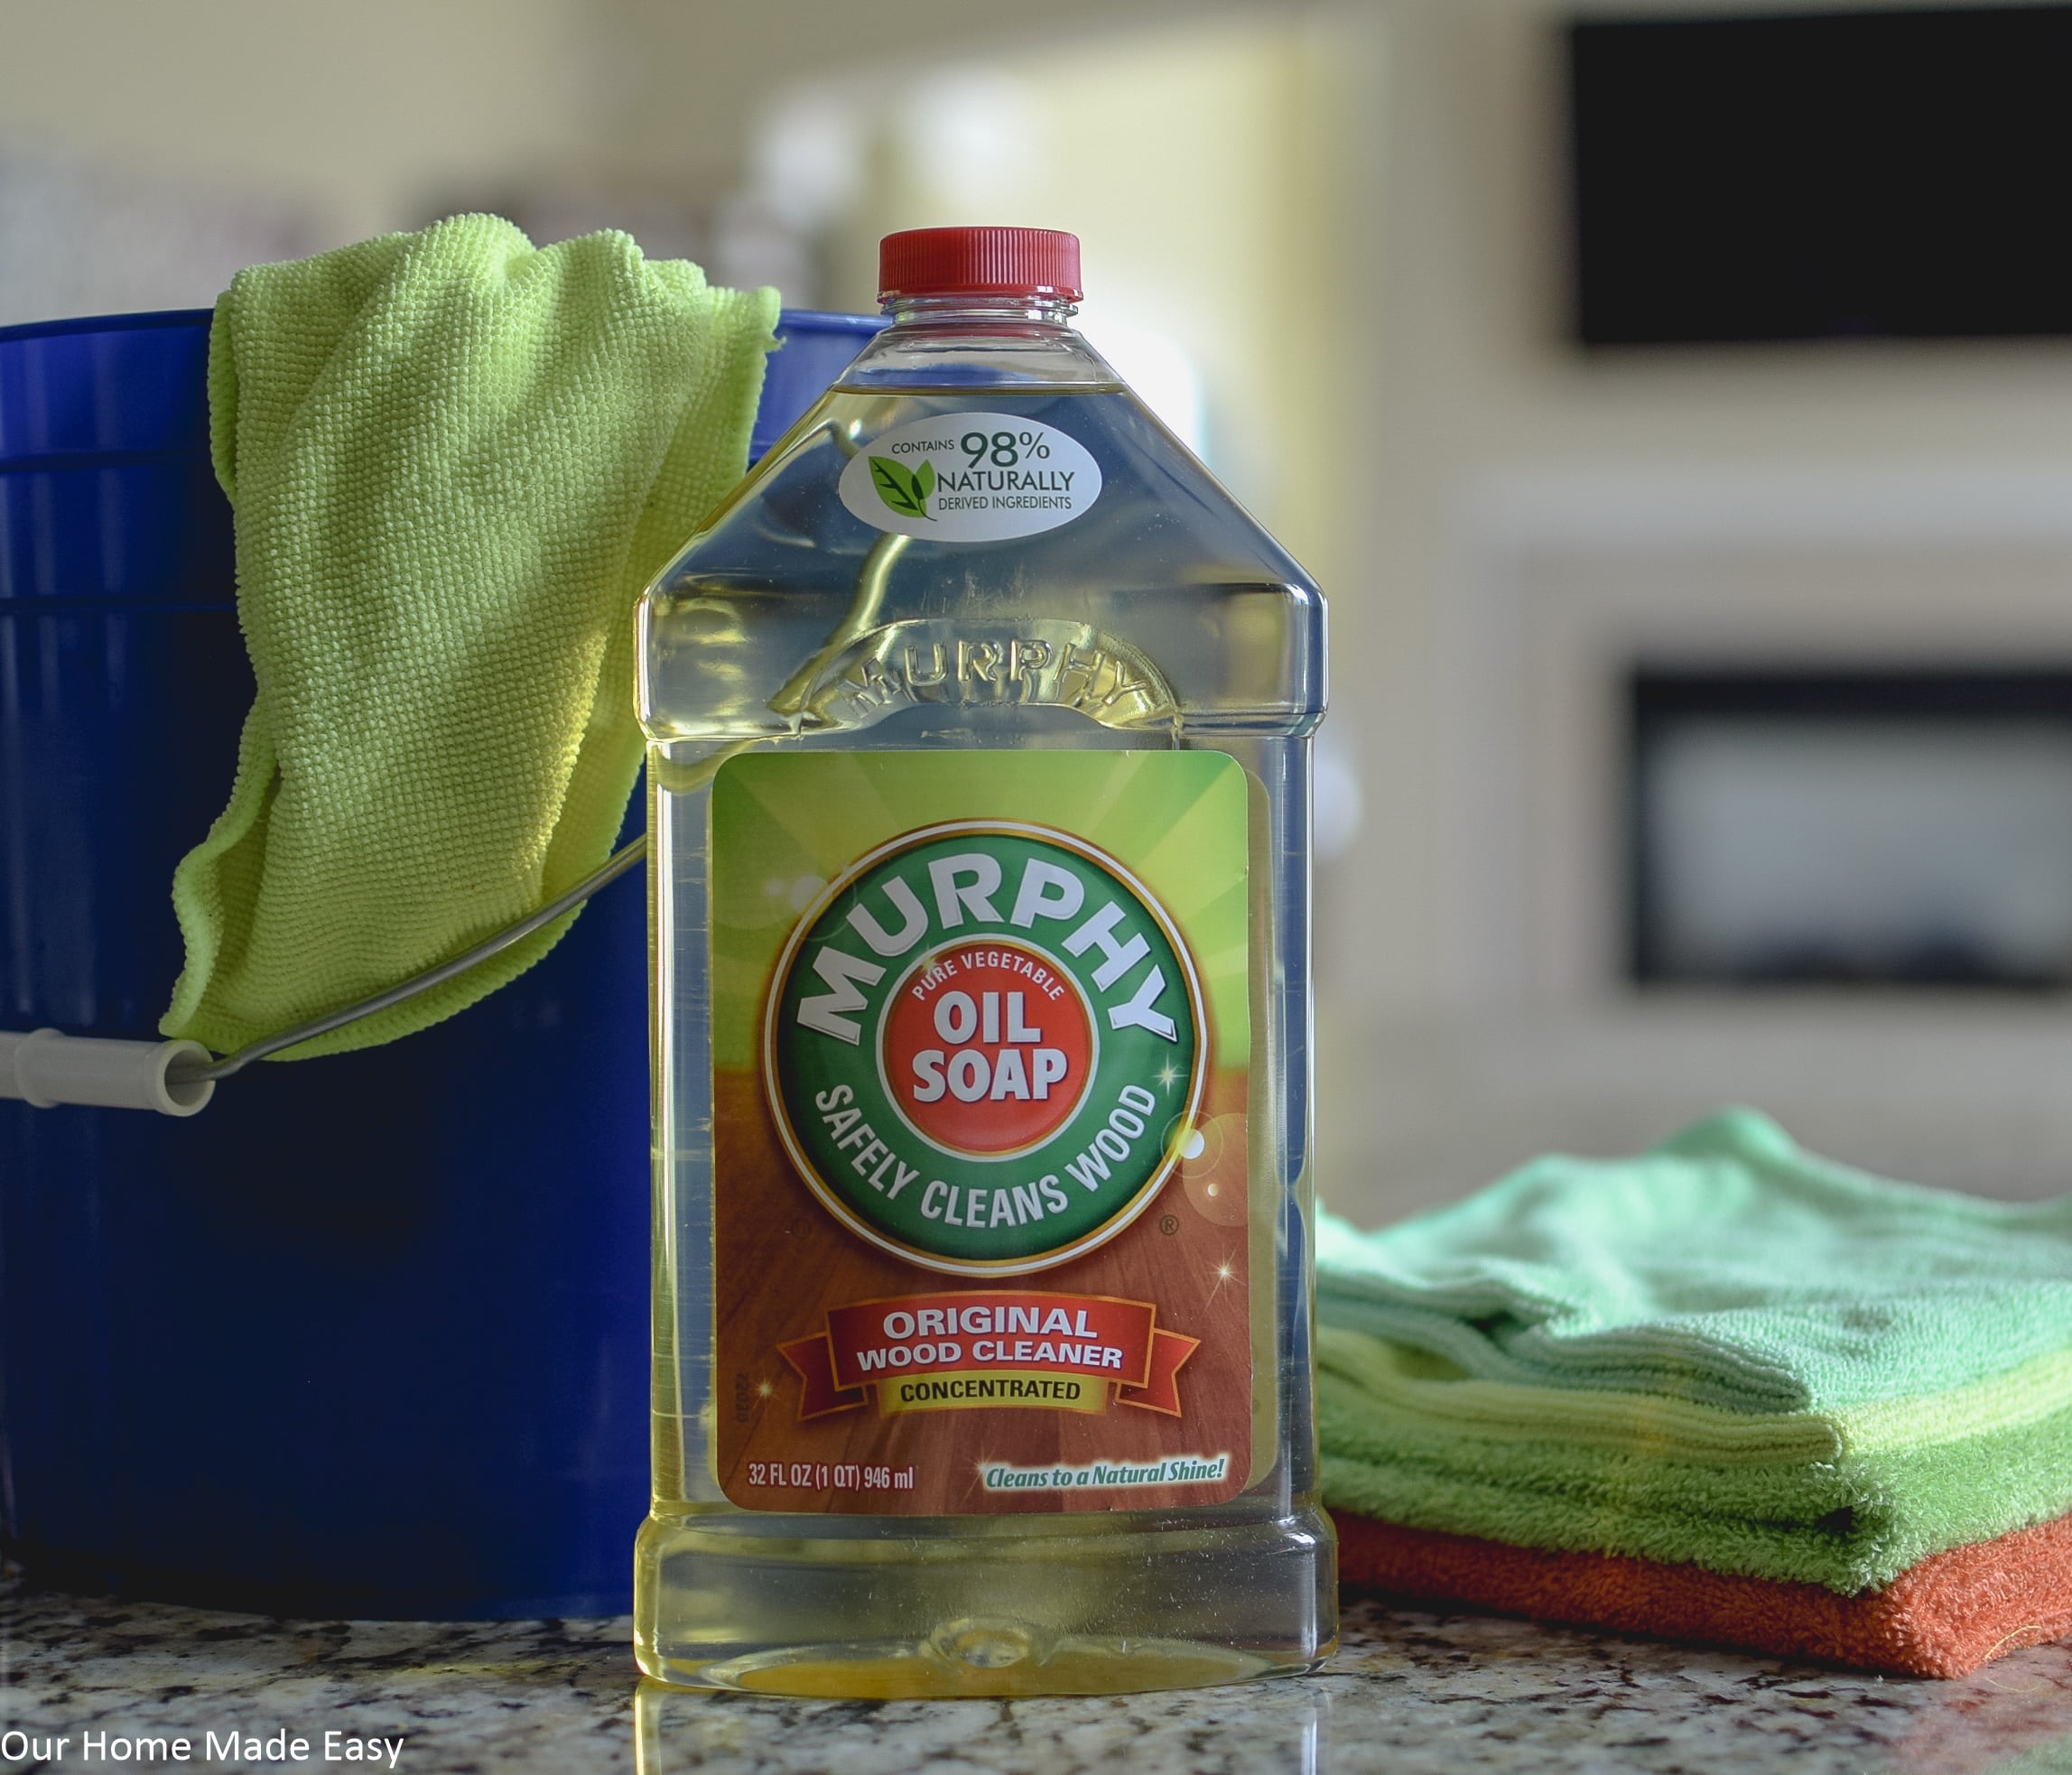
Sometimes, all your next project needs is a good scrubbing.
You may already have a favorite cleaner, but I like using Simple Green for most outdoor / non-wood furniture. Lauren from Bless’er House showed pretty impressive results when she cleaned her new trash to treasure find!
If you have a power washing system, you may be able to get even better results (on the stuff that can handle it of course).
The next time you see a buy/sell post with old furniture, think of the possibilities with just some elbow grease! No paint or wax needed!

6. Spray Paint Secondhand Furniture
I think of spray paint as being the final option for making over great furniture. The biggest reason? While it’s incredibly cheap, I struggle to avoid the drip lines. And honestly, Jordan is way better at being patient with spray painting than I am.
However, a can of spray paint can do wonders to the furniture you already have on-hand! You can choose to make a piece bright and shiny statement piece, or you can even use matte spray paint to make it look aged.
The fun part about spray paint is that there is usually minimal prep work and you can be finished in an afternoon. Pick a punchy color for small pieces like tables and plant stands! Wouldn’t this color look great all year long?
Spray paint options are so large that this isn’t your dad’s bright red color anymore.
If you’re ready to tackle a big spray painting project, I’ve found this How to Flawlessly Paint Spray Furniture tutorial super helpful.
7. Add New Hardware
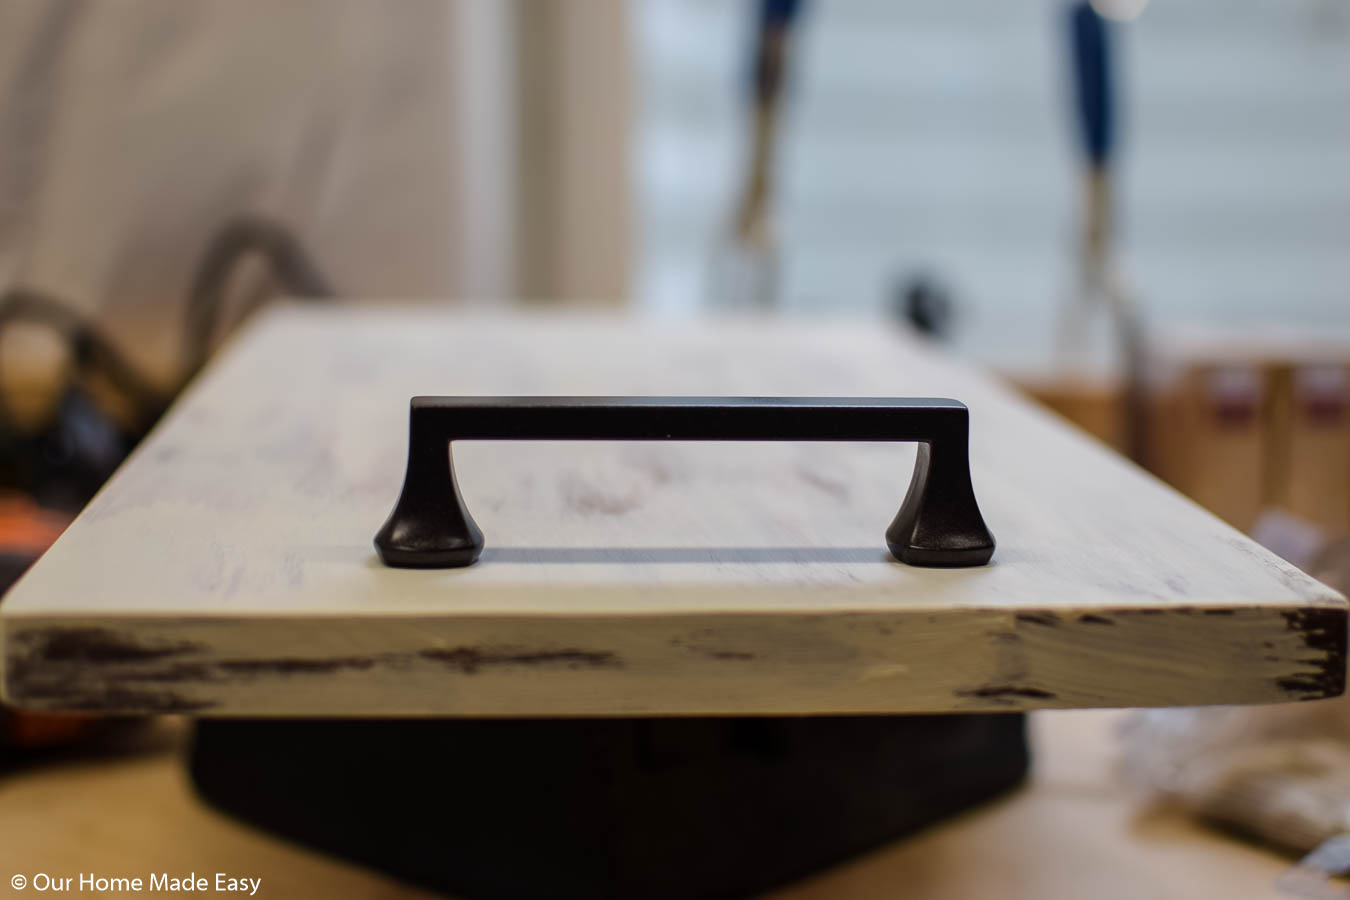
If you find yourself liking the color of a piece already, but think there’s something about it that seems outdated, consider swapping out the hardware.
You can add lots of personality from stores like IKEA, Amazon, Restoration Hardware, Crate & Barrel, or even Lowe’s.
For less than a few dollars a pull, swapping out hardware can make a big impact without taking too much work.
8. Swap Out the Legs
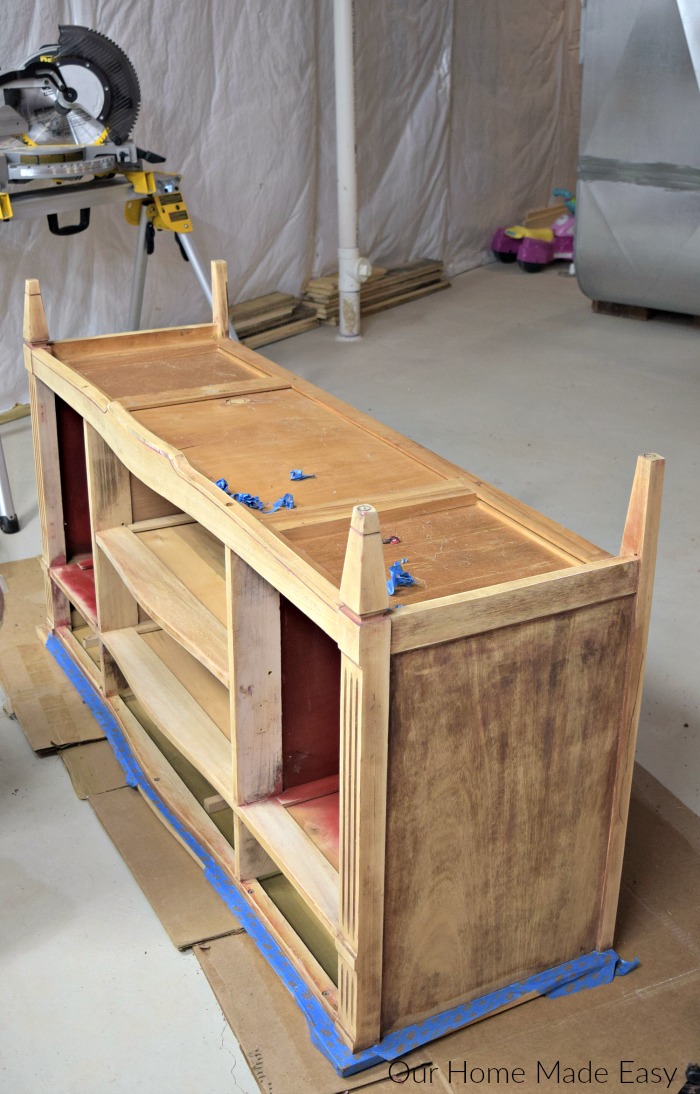
Add a little extra pizzazz by changing out your piece’s legs. Before you do this, turn your piece on its side to see what it would take to remove the current legs. If it looks simple enough, you can buy fun hairpin legs, modern legs, or even some craftsman style legs online. Take this opportunity to change up the piece’s height to make it fit your space.
Need more convincing? This article shows 19 Before & Afters to show how much impact swapping out furniture legs can do for your piece!
9. Reupholster Your Favorite Pieces
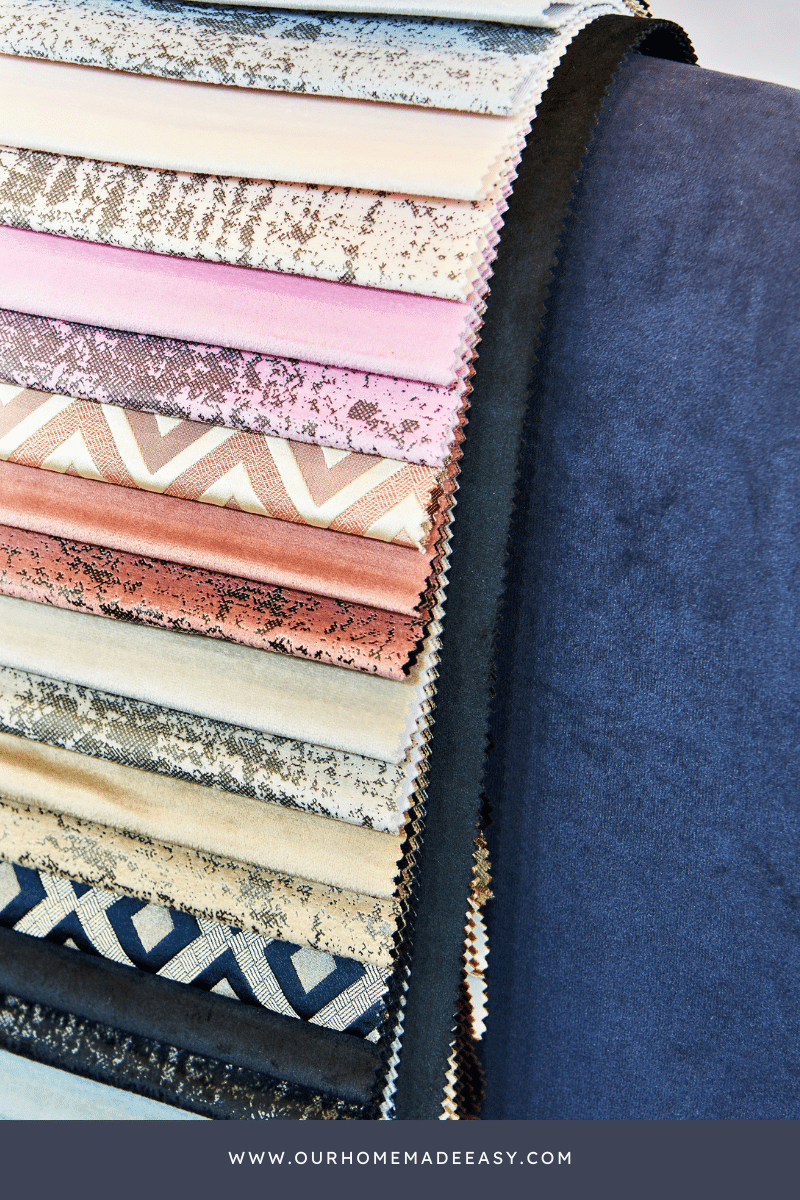
Modernize existing furniture by re-covering the fabric on the furniture you already own. Older pieces have terrific bones, but designs from the 80s or 90s may not fit your decor style. This tutorial on beginner guide on upholstery is really helpful. If you have a bigger project, I recommend asking for a local upholstery reference in your local Facebook groups!
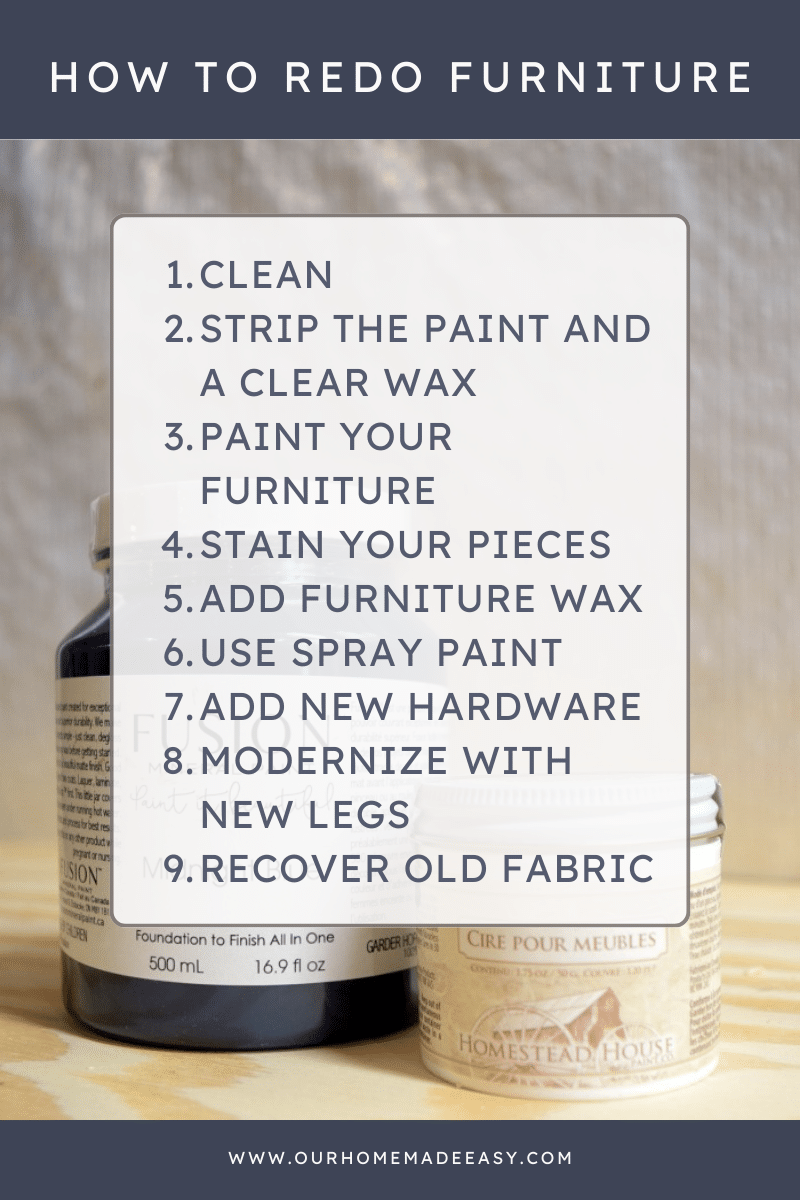

How to Update Old Furniture Without Stripping It
One of the biggest misconceptions about furniture makeovers is that you have to strip off the old finish before you can do anything else.
That’s not always necessary!
If your furniture is still in good condition, there are several ways to give it a fresh look without completely stripping it down:
- GIVE IT A GOOD CLEANING: Sometimes removing years of dirt and grime is enough to make a piece look better.
- PAINT IT A NEW COLOR: A fresh coat of furniture paint can completely change the look of an old dresser, table, or bookshelf. Just make sure you follow the paint manufacturer’s prep instructions.
- SWAP THE HARDWARE: New drawer pulls and knobs can modernize furniture without changing the original finish.
- TRY FURNITURE WAX: Depending on the existing finish, an appropriate furniture wax can help refresh the appearance of a piece.
- CHANGE THE LEGS: Replacing dated furniture legs can make an old table, desk, or cabinet feel more modern.
If you want to stain bare wood or remove a damaged finish, you may need to strip or sand the piece first. Always check whether you’re working with solid wood, veneer, or laminate before getting started.
Easy Dresser Makeover Ideas
An old dresser is one of my favorite pieces to update because even a small change can make such a difference.
If the dresser is structurally sound, start by deciding what you actually want to change. Does it need a completely new color, or would updated drawer pulls be enough?
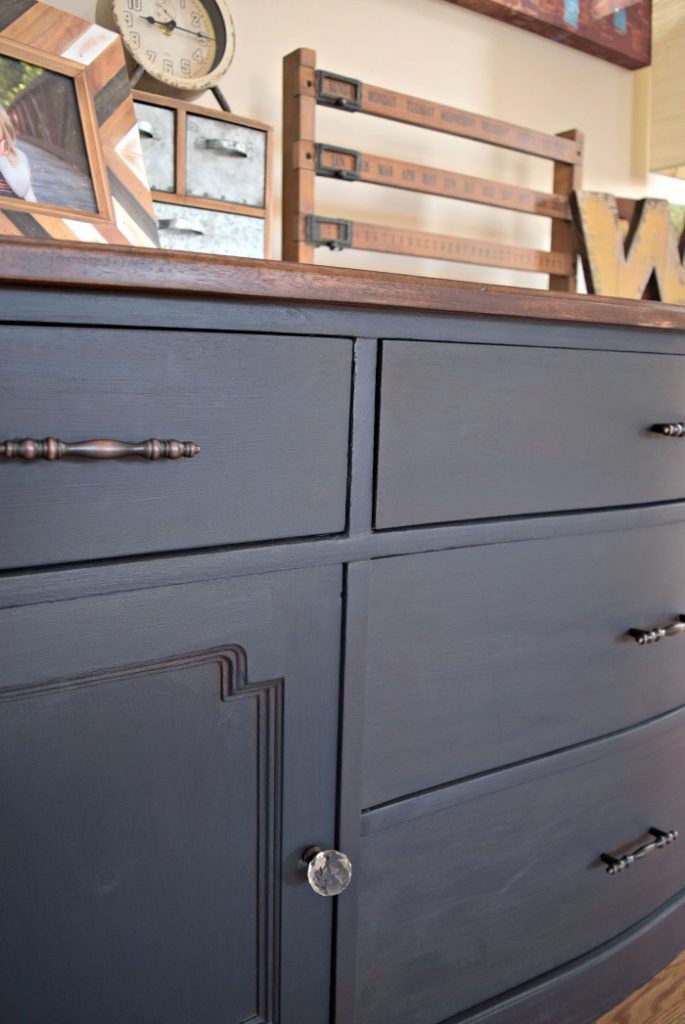
For a simple makeover, you could paint the dresser and replace the hardware. If you’re working with solid wood and love the natural grain, stripping an old finish and applying a new stain or wax might be a better choice.
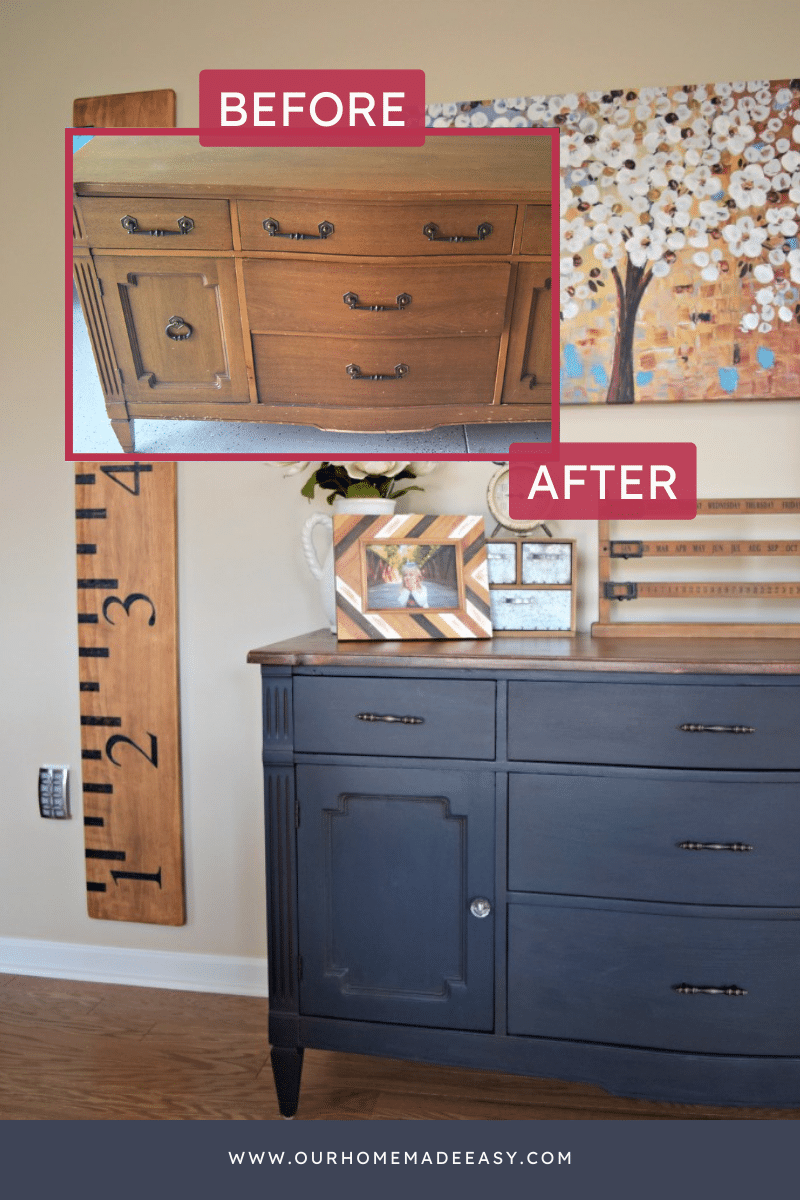
You can also combine techniques! I used paint and wax on our two-tone buffet makeover, and it’s a great example of how mixing finishes can give an older piece a completely different look.
Before you start, check that the drawers work properly and that any loose hardware or damaged areas are repaired.
How to Redo Furniture FAQs for Beginners:
Can I redo furniture without any DIY experience?
Absolutely! Many projects cater to beginners. Start with simple techniques like painting before progressing to more advanced methods.
Do I Need to Repair Furniture Before Painting It?
Yes, it’s worth checking for damage before starting a furniture makeover. Tighten loose hardware, check for wobbly joints, and repair small holes or dents with an appropriate wood filler when needed.
Once the repairs are complete, clean the surface and follow the prep instructions for your chosen paint or finish. Fixing those little issues first can make the finished project look better and last longer.
What tools do I need to get started?
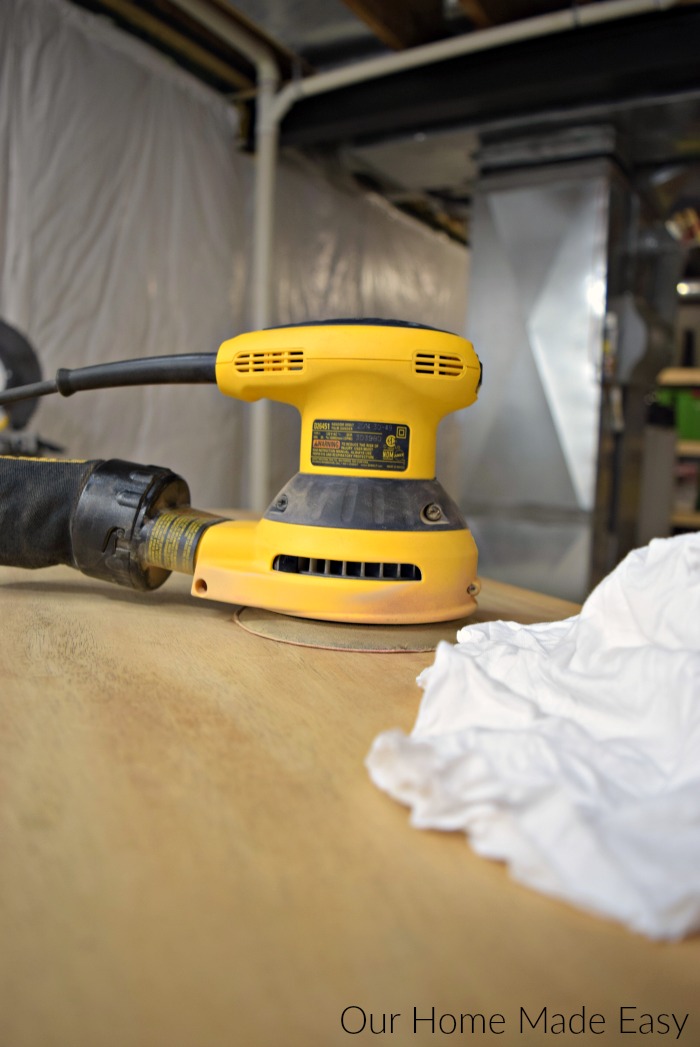
Basic tools include sandpaper, paintbrushes, and a staple gun. As you progress, you can invest in additional tools based on the techniques you want to explore.
Our DIY favorites:
- Orbital Sander
- Paint Brushes
- Staple Gun
- Nitrile Safety Gloves
- Chemical Strippers (this one is our favorite, always spot-check on furniture, first!)
- Putty Knife
- Wood Filler
- Fine Grit Sandpaper | Coarse Sandpaper
Is it possible to redo upholstered furniture without professional help?
Absolutely! Tutorials and step-by-step guides make reupholstering accessible. Choose a simple project like a dining chair to start and build your skills from there.
How do I choose the right color or finish for my furniture?
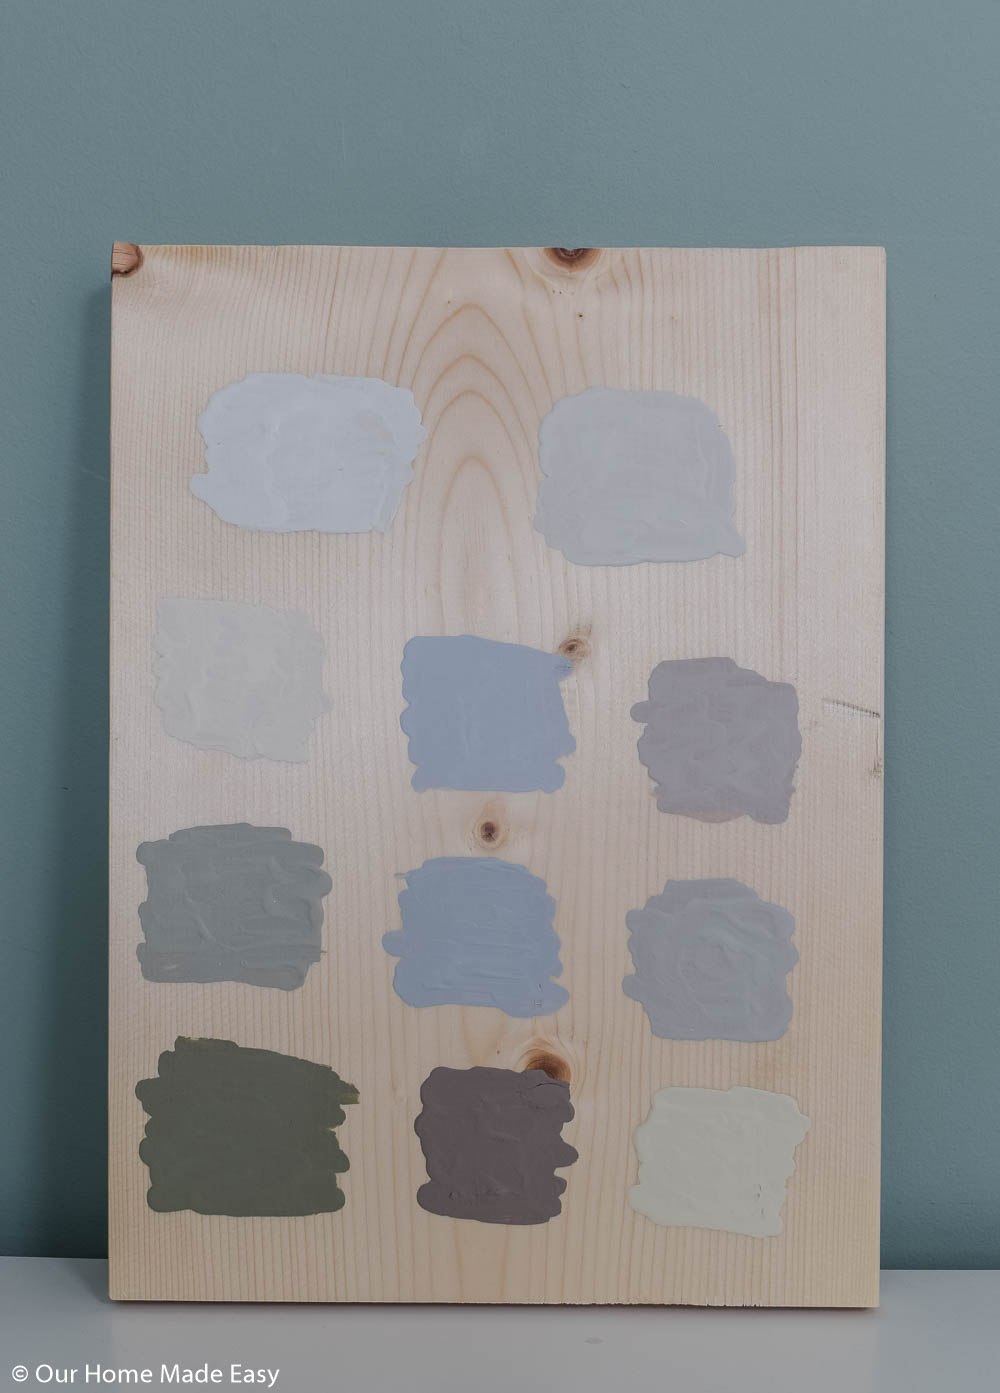
Consider your existing decor and personal style. Neutral colors are versatile, while bold choices can make a statement. Experiment with paint samples before committing.
Can I redo furniture on a tight budget?
Absolutely! Thrift stores, garage sales, and online marketplaces offer affordable furniture. Additionally, DIY supplies can often be found at budget-friendly prices from Amazon, Lowe’s, Home Depot, and Wal-Mart.
The next time you spot an old dresser, table, or chair that needs a little love, don’t assume you need to replace it.
Sometimes a fresh coat of paint, new hardware, or even a good cleaning is all it takes to make old furniture feel new again.
Start with a smaller project if you’re new to DIY furniture makeovers, and don’t be afraid to try something different. Some of my favorite pieces in our home started as furniture that just needed a second chance!
Don’t forget to download your furniture refinishing shopping list right here! You can keep track of supplies and planning your step all in one place!


Hi, I’m Brittany, and I believe life at home should feel easier, not heavier.
I’m the creator of Our Home Made Easy, a space for busy women who want dinner on the table, their homes running smoothly, and a little breathing room at the end of the day.
You won’t find perfection here, just realistic recipes, smart shortcuts, and simple routines that work in real life. The kind that help you feed your family well, stay organized enough, and still have time to actually enjoy it.
If you’re juggling work, kids, schedules, and everything in between, you’re in the right place. I’m so glad you’re here.










It’s great you talked about the many different ways to be able to give old furniture a second chance at life, like giving it a new coating of paint or otherwise refinishing it so that it looks like new again. Another thing to watch out for while refinishing furniture is that you can practically get away with redecorating it without having to worry if it’s going to look ugly or not. If I had the chance to get some refinished furniture then I wouldn’t mind scattering some around the house to give it a much more homey look.
I agree, Adrian! Thanks for stopping by!
Great tips!! Thanks for sharing!!
I love this idea of updating old furniture with new fabric and paint! It’s a great way to update a room without having to spend a lot of money.
Great ideas! I love the idea of repurposing old furniture and giving it new life with some simple DIY projects. It’s a great way to save money, reduce waste, and add your own personal touch to your home decor. Thanks for sharing these easy-to-follow tutorials!
I absolutely loved this post! The DIY ideas are so creative and accessible. I can’t wait to try the chalk paint technique on my old dresser. Thank you for the inspiration!
I absolutely loved this post! The DIY ideas are so creative and inspiring. I can’t wait to try out the chalk paint technique on my old dresser. Thank you for sharing these easy tips to transform furniture!
I absolutely loved this post! The DIY ideas you shared are not only creative but also super easy to follow. I can’t wait to try out the paint techniques you suggested on my old dresser. Thanks for the inspiration!
I absolutely loved your DIY ideas for updating furniture! The step-by-step guides are super helpful, and I can’t wait to try the fabric paint technique on my old chairs. Thanks for the inspiration!