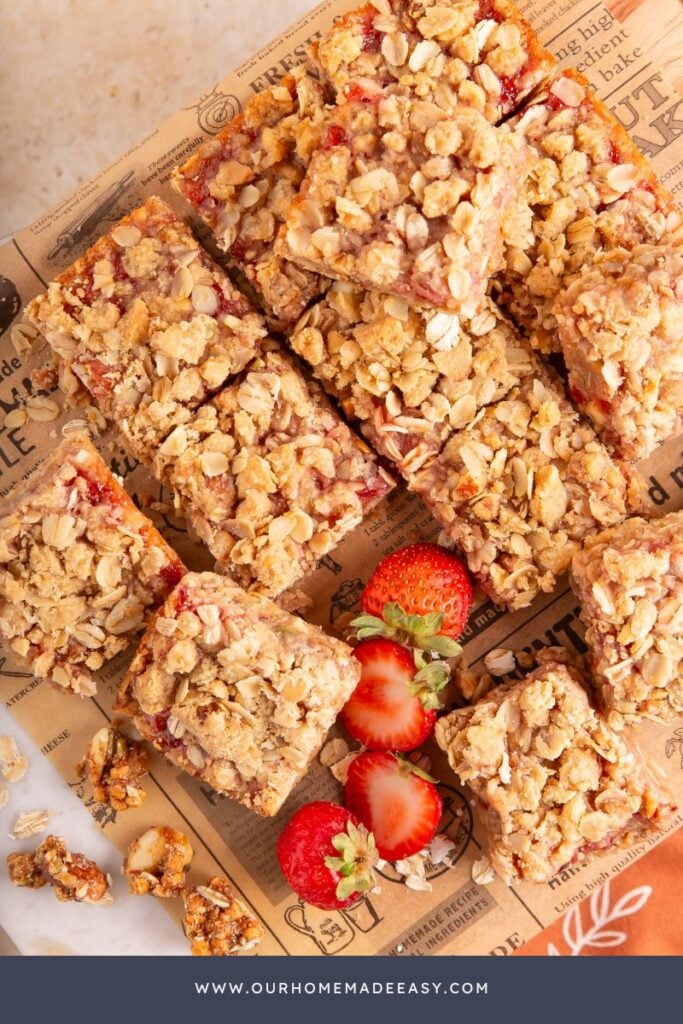
Peanut Butter & Jelly Snack Bars (Easy Make-Ahead Recipe)
These peanut butter jelly bars are quick to prep, freezer-friendly, and perfect for weekly snacks or lunchboxes.

(This post contains affiliate links. Please see my Disclaimer for more information.)
These peanut butter jelly bars are everything we love about a classic PB&J, baked into an easy, slice-and-go bar that’s perfect for busy weeks. If you’re looking for a make-ahead snack that works for lunchboxes, after-school cravings, or even a casual dessert, this recipe checks all the boxes.

What You’ll Love About These PB & J Snack Bars:
What Makes These Peanut Butter Jelly Bars Different
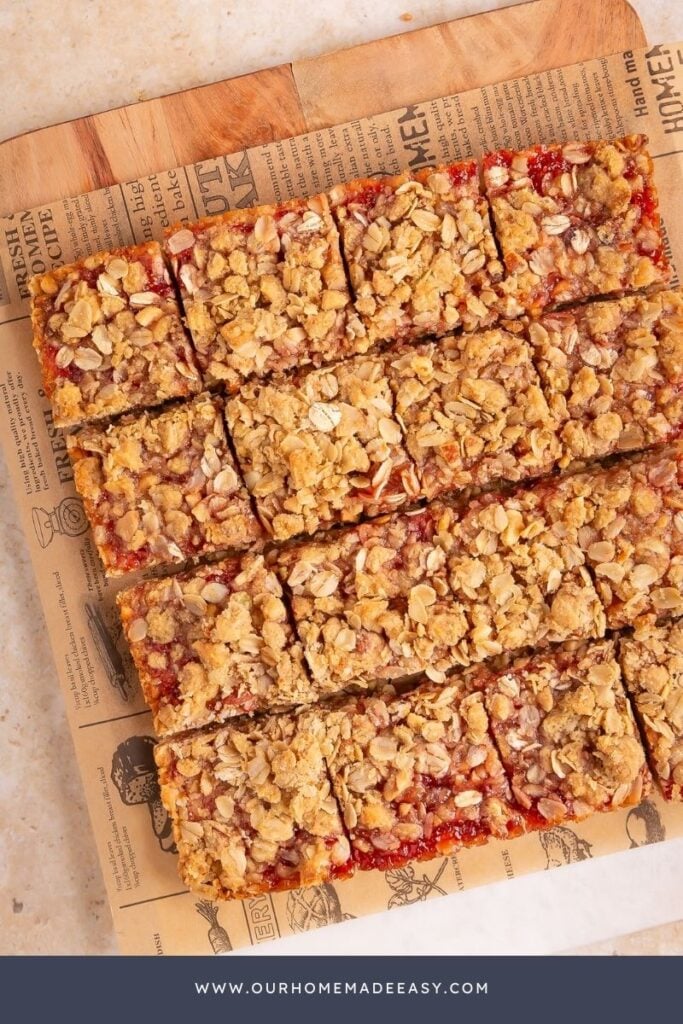
Unlike cake-style bars, these peanut butter jelly bars have a soft, sturdy oat base with a lightly crunchy topping. The trail mix adds texture and flavor, while the jam layer keeps them classic and kid-friendly. They feel nostalgic, but just elevated enough to feel like something you actually enjoy packing and eating too.
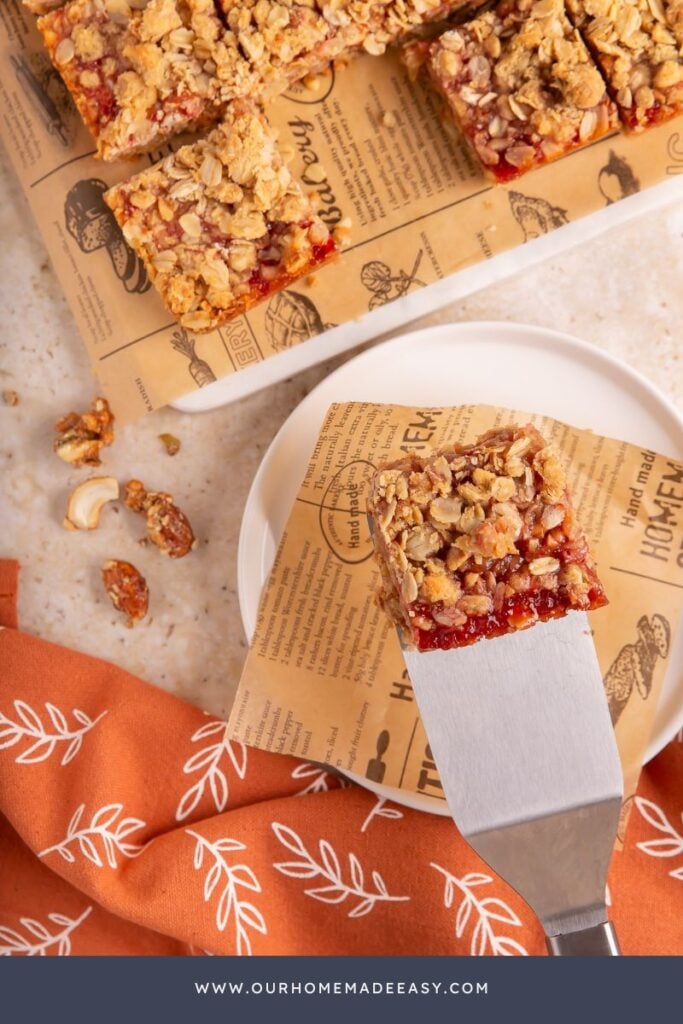
They’re sweet, but not overly so, and hold their shape beautifully once cooled, which makes them ideal for slicing and storing.
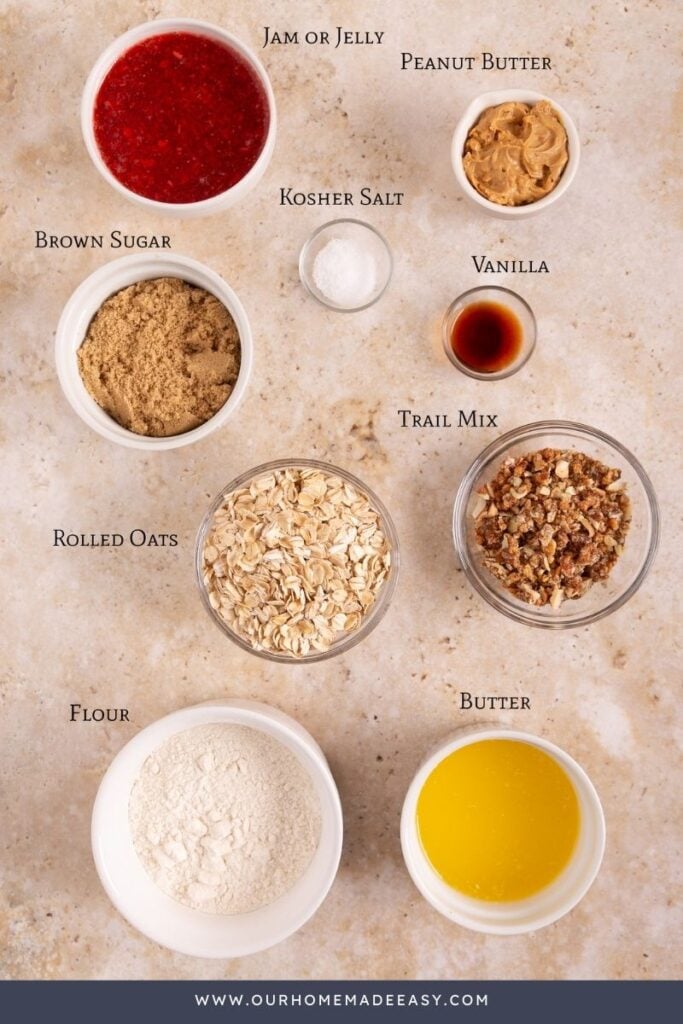
Ingredients You’ll Need
Shop this post

How to Make Peanut Butter Jelly Bars
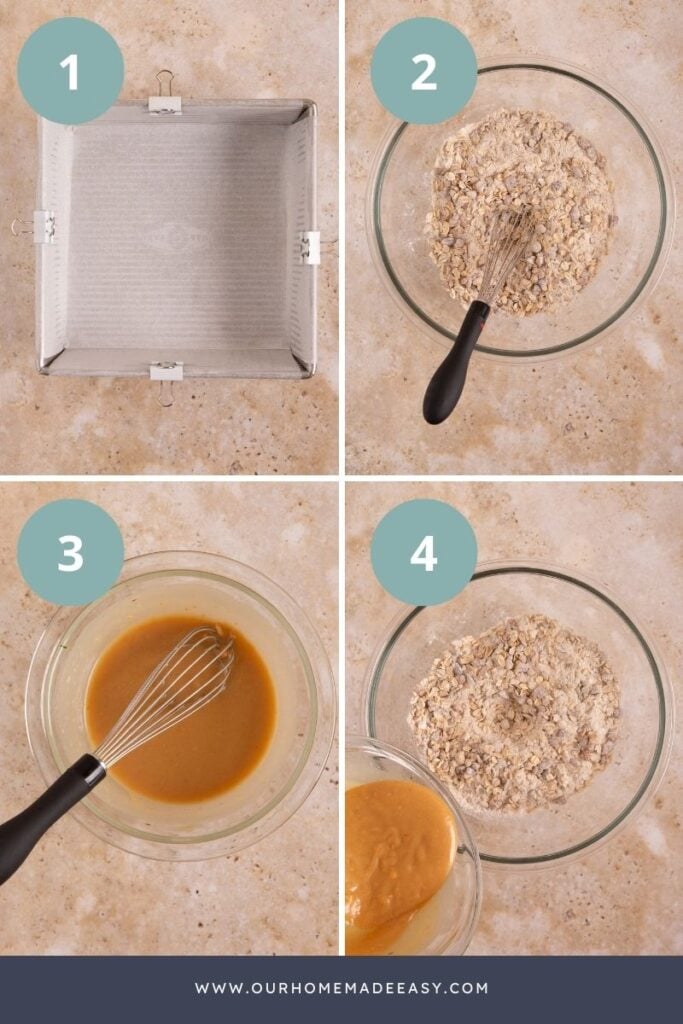
- Start by preheating your oven and preparing an 8×8 baking pan with parchment paper. Using a parchment “sling” makes lifting and slicing the bars much easier later.
- In a large bowl, mix the oats, finely chopped trail mix, flour, brown sugar, and salt until evenly combined. In a separate bowl, stir together the melted butter, peanut butter, and vanilla until smooth.
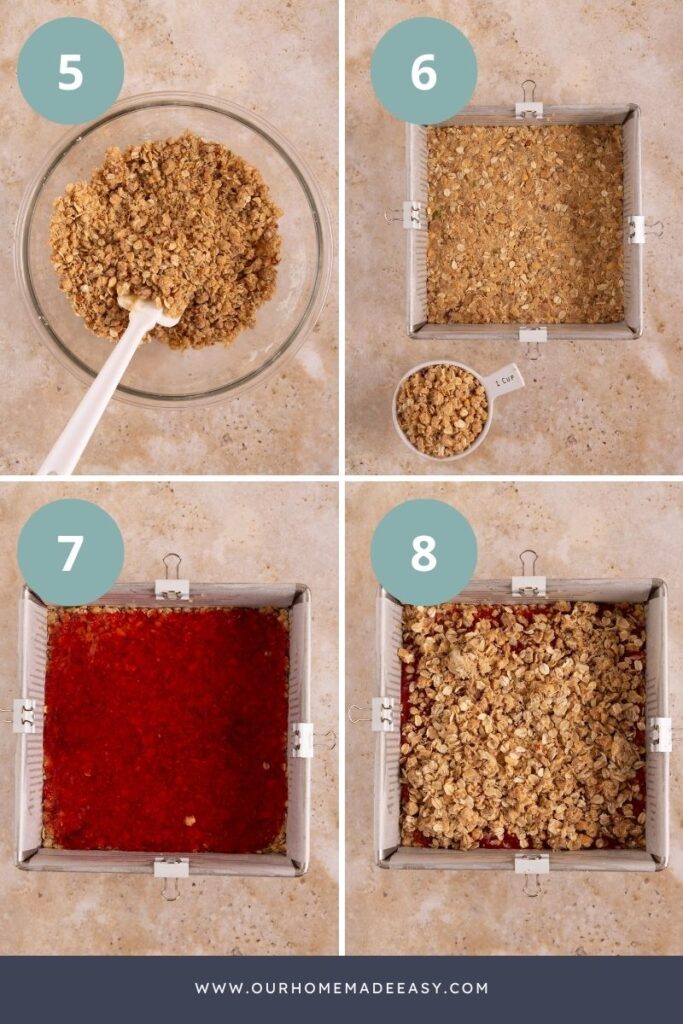
- Pour the wet mixture into the dry ingredients and stir until fully incorporated. Set aside one cup of the dough for the topping.
- Press the remaining dough firmly into the prepared pan. A flat-bottomed measuring cup works well for creating an even, compact layer. Bake the crust for 10 minutes.
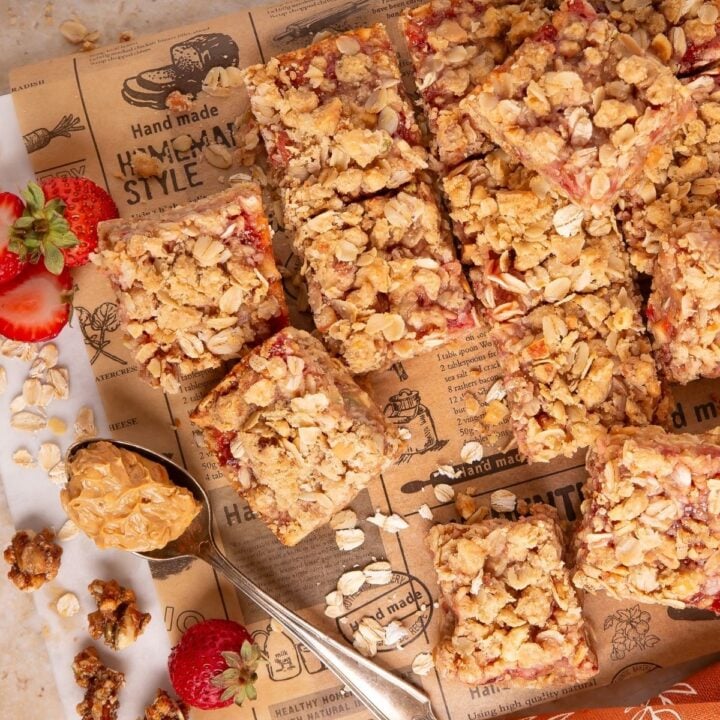
- While the crust bakes, mix the reserved dough with the remaining oats. Once the crust comes out of the oven, spread the jam evenly across the surface. Crumble the oat topping over the jam, gently squeezing pieces together for texture.
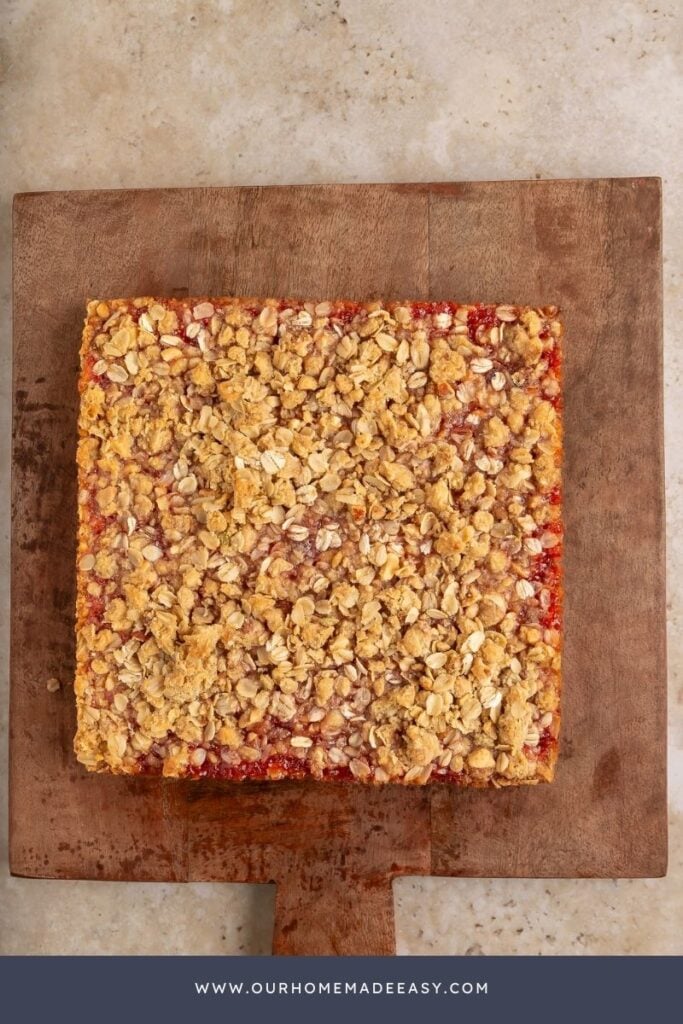
- Return the pan to the oven and bake until golden and set. Let the bars cool completely before slicing.
Find the measurements and full recipe below!
For even more delicious after school snack ideas, you will like these:

Tips for the Perfect Snack Bars
- Press the crust firmly so the bars don’t crumble when sliced.
- Warm the jam slightly to make it easier to spread.
- Cool completely before cutting or refrigerate briefly for cleaner edges.
- Double the crumble topping if your family loves extra texture.

Serving Suggestions
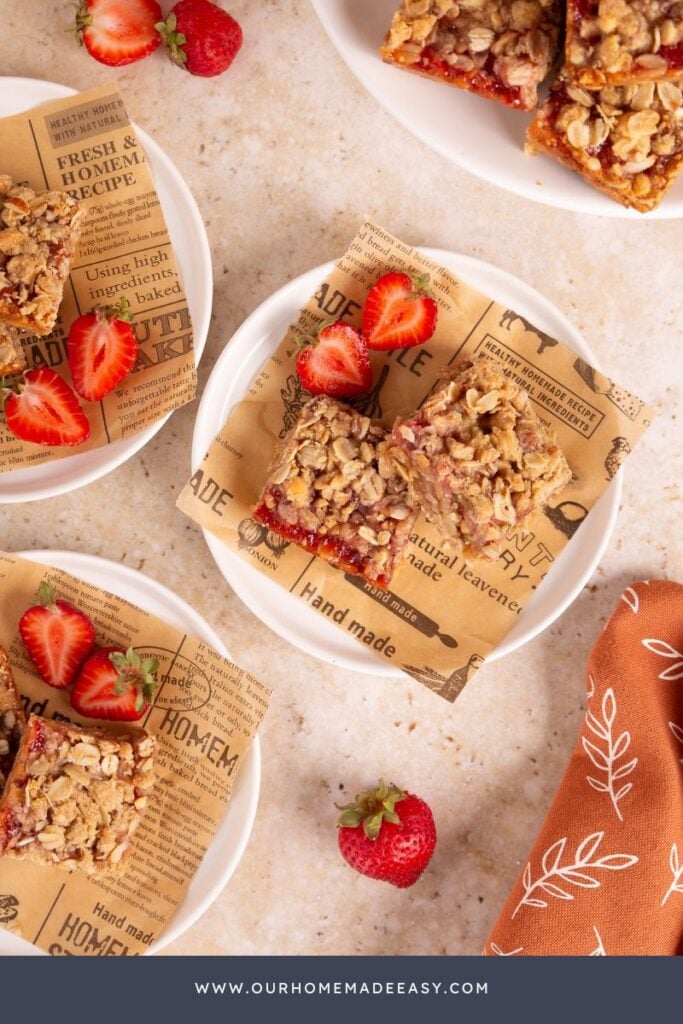
These peanut butter jelly bars are great on their own, but they also pair well with a few simple sides to make a more filling snack or lunchbox option. A cold glass of milk is a classic choice and balances the sweetness perfectly. For something lighter, add a side of fresh fruit like apple slices, grapes, or berries. If you’re packing these for a longer day, a small dollop of yogurt on the side adds protein and helps round things out without much extra effort.
Variations and Creative Twists
Once you’ve made these peanut butter jelly bars once, they’re easy to customize based on what your family likes or what you already have on hand. Stir a tablespoon or two of chia seeds into the crust for extra texture and a nutrition boost.
Swap peanut butter for almond butter or sunflower seed butter to change the flavor or make them school-safe. You can also use homemade jam or chia jam for a less-sweet option that still spreads beautifully. These small tweaks keep the recipe fresh while still making it easy to prep ahead for the week.
- Chocolate PB&J Bars: Replace jam with chocolate or swirl both.
- Cheesecake Layer: Spread cream cheese mixture under the jam.
- Extra Crumble: Double the reserved topping for more streusel.
- Breakfast Bars: Swap half the flour for protein powder and reduce sugar.
- Swirled Version: Gently swirl the jam into the crust instead of layering it.
Storage and Make-Ahead Tips
These bars are ideal for meal prep. Store them in an airtight container at room temperature for a few days, or refrigerate for a firmer texture that slices cleanly. They also freeze nicely. Wrap individual bars and freeze for grab-and-go snacks later in the month.
FAQs
Can I make these gluten-free?
Yes. Use certified gluten-free oats and oat flour or a gluten-free baking blend.
Can I reduce the sugar?
Absolutely. Reduce the brown sugar and use a lower-sugar jam.
Why are my bars crumbly?
The crust likely wasn’t pressed firmly enough, or the bars were sliced before cooling completely.
Tips & Tricks
Can you use a different kind of pasta? A different spice? Make it mild or spicy? Offer some alternative ways to mix up the recipe to make it fit their family.
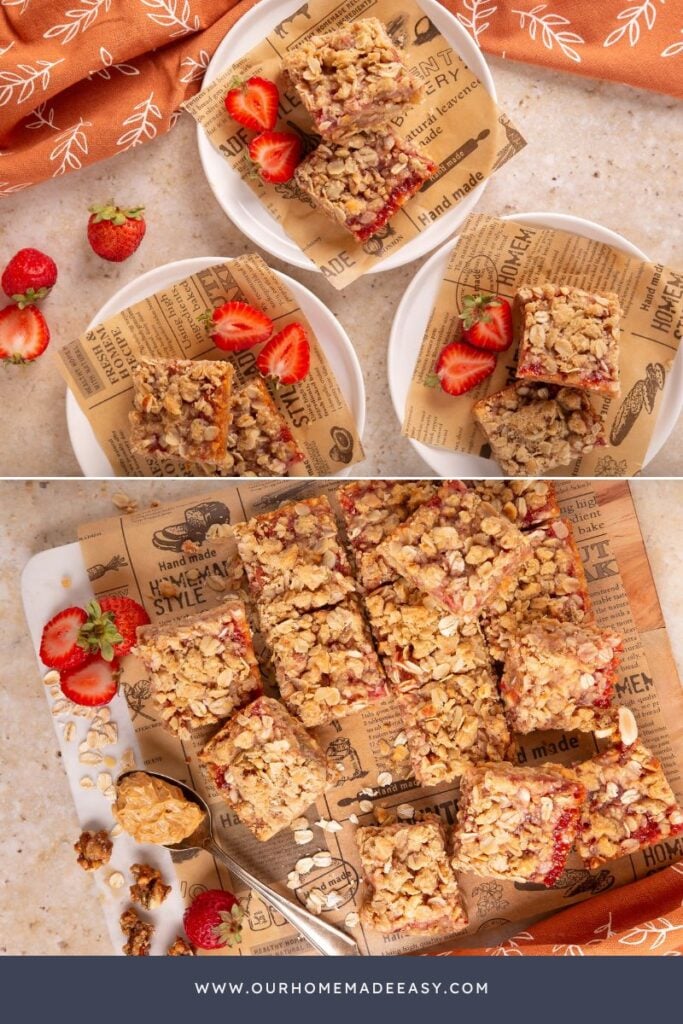
If you’re looking for a simple, reliable snack you can prep once and enjoy all week, these peanut butter jelly bars are it. They’re nostalgic, practical, freezer-friendly, and genuinely delicious. Make them on a Sunday afternoon, cut them into squares, and enjoy one less thing to think about during the week.
Baked Peanut Butter & Jelly Snack Bars
Bake, slice, and store these peanut butter jelly bars at the start of the week for an easy grab-and-go lunchbox snack kids recognize and love.
Ingredients
- 1 cup Rolled Oats (plus ¼ cup for topping)
- 1 cup Trail Mix, finely chopped
- ½ cup Packed Brown Sugar
- 1 cup All-Purpose Flour
- 1 teaspoon Kosher Salt
- ½ cup Butter, melted and cooled
- ¼ cup Extra Crunchy Peanut Butter
- 1 teaspoon Vanilla Extract
- ¾ cup Strawberry Jam or Jelly
Instructions
- Preheat oven to 350°F. Spray an 8x8 baking pan with baking spray. Line with parchment paper in a sling (two pieces, one horizontal, one vertical) with overhangs for easy lifting. Spray parchment; use binder clips if needed.
- Mix oats (1 cup), trail mix, flour, brown sugar, and salt in a large bowl.
- Combine melted butter, peanut butter, and vanilla in a medium bowl.
- Pour the wet mixture into the dry and stir until fully incorporated. Remove 1 cup of dough and set it aside.
- Press the remaining dough firmly into the prepared pan (use a flat-bottomed cup for evenness).
- Bake 10 minutes.
- Add the reserved ¼ cup of oats to the dough you set aside, mixing well.
- Remove crust from oven, spread jam evenly over crust.
- Crumble the reserved oat mixture on top, squeezing into small clumps.
- Bake another 20–25 minutes until golden and set.
- Cool completely before cutting into 16 bars.
Notes
- Press crust firmly so bars hold shape.
- Warm jam slightly for easier spreading.
- Don’t skip the oats in the topping, it adds crunch.
- Cool completely before cutting; chilled bars cut cleaner.
- Refrigerate before slicing for perfect squares.
Recommended Products
As an Amazon Associate and member of other affiliate programs, I earn from qualifying purchases.


Nutrition Information:
Yield: 16 Serving Size: 1Amount Per Serving: Calories: 333Total Fat: 14gSaturated Fat: 5gUnsaturated Fat: 9gCholesterol: 17mgSodium: 234mgCarbohydrates: 47gFiber: 3gSugar: 18gProtein: 7g

Did you make this recipe?
Mention us @ourhomemadeeasy or tag us using #ourhomemadeeasy so we can see your dish!

Hi, I’m Brittany, and I believe life at home should feel easier, not heavier.
I’m the creator of Our Home Made Easy, a space for busy women who want dinner on the table, their homes running smoothly, and a little breathing room at the end of the day.
You won’t find perfection here, just realistic recipes, smart shortcuts, and simple routines that work in real life. The kind that help you feed your family well, stay organized enough, and still have time to actually enjoy it.
If you’re juggling work, kids, schedules, and everything in between, you’re in the right place. I’m so glad you’re here.


