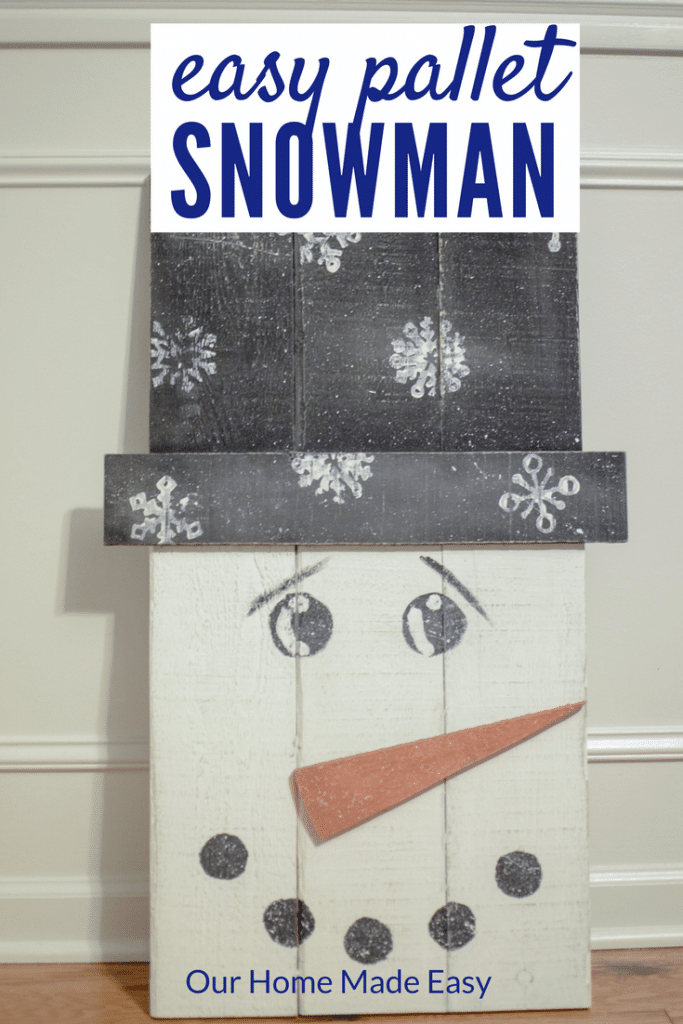
How to Make a Pallet Snowman!
Make this super easy pallet snowman! Use some leftover paint and wood to build this easy DIY snowman. No fancy tools needed!
Pallet projects are infamous. They are super easy to create and practically free when you find pallets from around town! Since I am itching to welcome in Christmas already, it only made sense that I share a new project that combines a love for easy, practically free, and full of Christmas cheer!
This pallet snowman is so much fun to make.
Growing up my mom always collected snowmen. So they are as synonymous with Christmas decorating as our Christmas stockings. While she is in Arizona and doesn’t need more Christmas cheer, this little guy is great for adding some fun to your own home.
How to Make a Pallet Snowman
Affiliate links provided for convenience. Please see my Disclaimer for more information.
Supplies Needed for a Pallet Snowman
- Old Pallet (the Rougher ones are better!)
- Craft /Acrylic Paint (Black, White, Orange)
- Stencils (We used this Snowflake Foam Stamp and Sponge Stippler)
- Chip Brushes
- Wood Glue
- Sand Paper (100 grit)
- Staples / Pneumatic Nail Gun [Linking similar item]
Cut Your Pallet Pieces
Disassemble your pallet. Take 3 pieces and cut them to the same length. Line them alongside one another. Measure the width across. Add 4” to the width. Cut to size. This is your ‘hat.’ If you prefer, trim your hat piece to make it thinner than the other pallet sections.
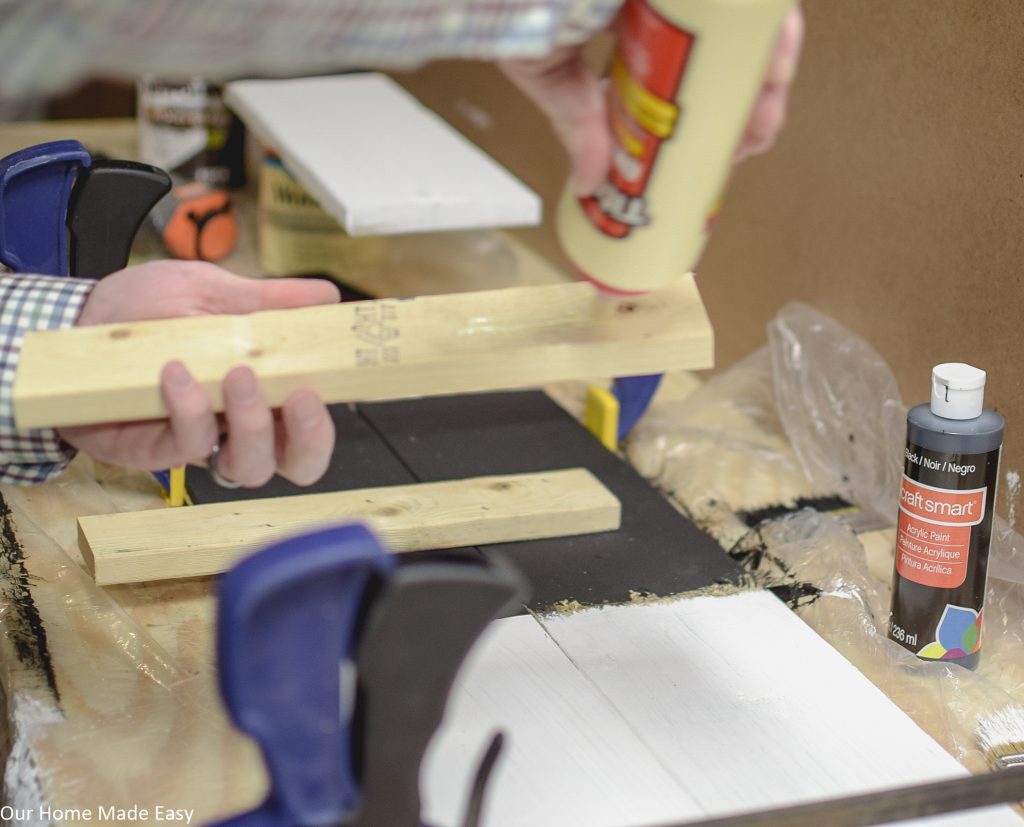
Paint Your Wood Pieces
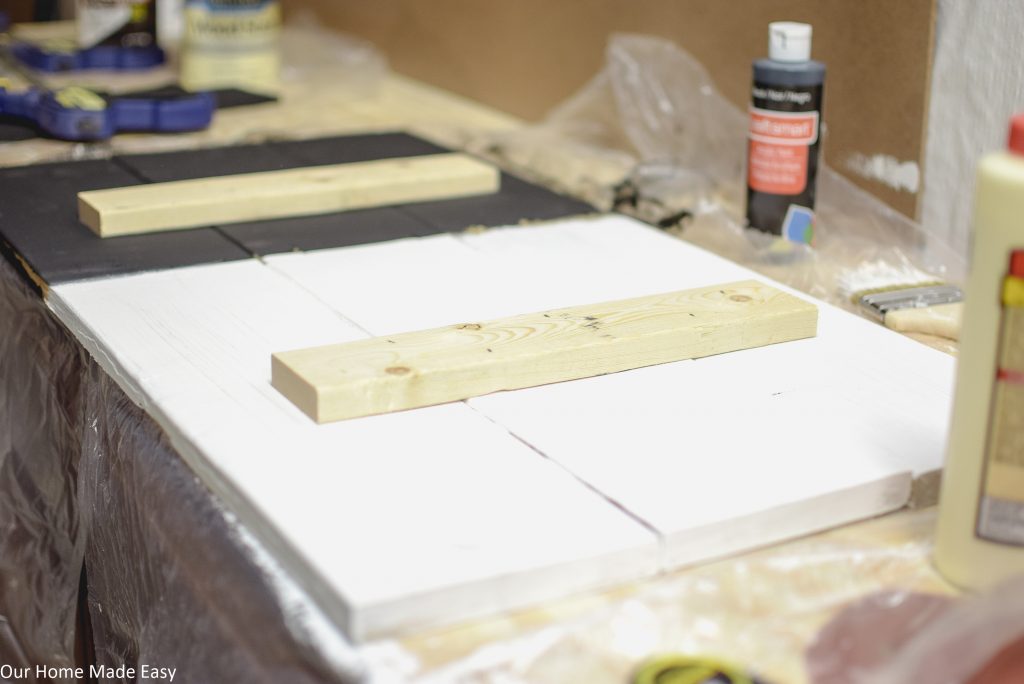
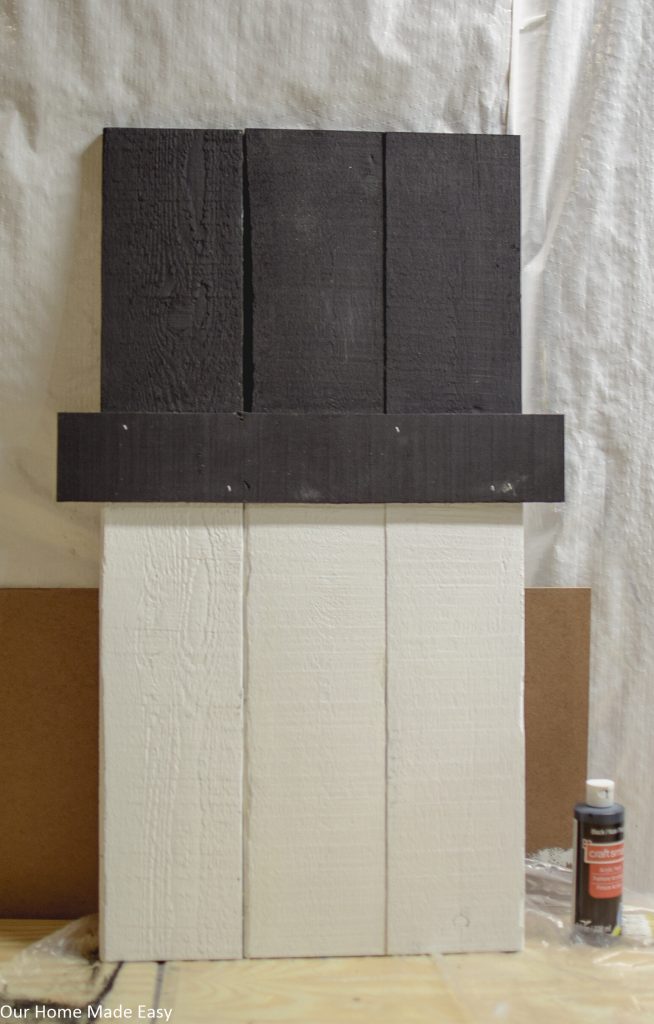
Line up your three boards alongside one another. Make sure the rough sides are together and the smooth sides are facing together. Lightly draw a line about 1/3 of the way down the boards. Paint everything above the line, black. Paint everything below the line, white.
Tip: We tried to cover the nail holes in the pallet with the hat brim. The bottom of the brim is right where the nail holes are. Thus, that is what dictated our hat line.
Repeat by painting the other sides of the boards. Allow to dry.
While you are waiting for the boards to dry, paint all sides of the hat brim black.
Other Posts I Think You’ll Enjoy:
- How to Make Easy Pallet Christmas Trees
- My Favorite $10 Trick For Updating Our Christmas Tree
- The Easiest Christmas Homemade Gifts
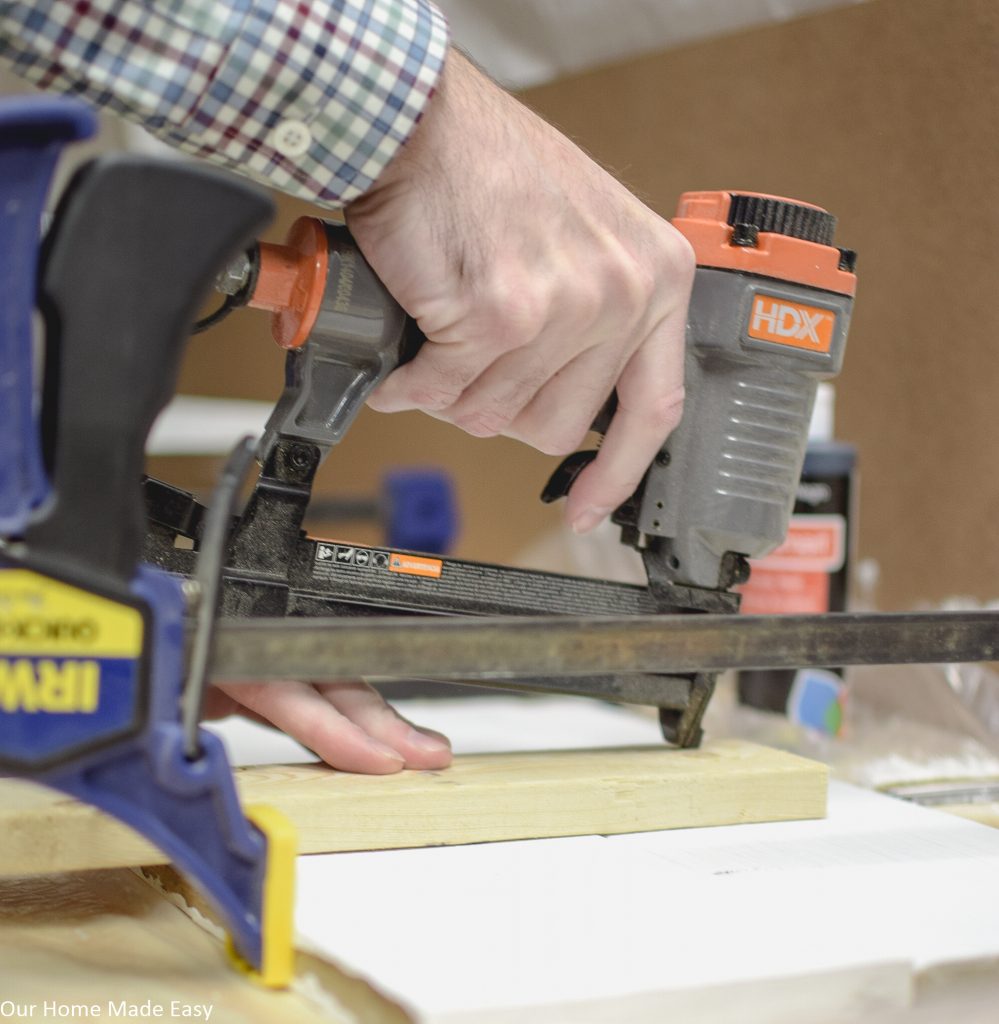
Cut Support Cross Pieces
Using some leftover wood, cut two pieces to cross the back of your snowman pallet project. We used some leftover 1” x 3” furring strips from another project. Make the pieces the same size, but about 3” shorter than the width of the snowman.
Once your snowman pieces are dried, lay them rough side down, on your table. Place a thin line of wood glue on the inside of the boards and glue them together. To help secure your glue, you could use a vise to hold the boards together. Allow them to dry.
Then, place each furring strip about 1/3 of the way down and the other 2/3 of the way down. Staple them into place.
Tip: If you don’t have a nail gun, you could easily hammer in a few small nails.
Rough Up Your Boards
Turn over your snowman. Use a 100 grit piece of sandpaper and lightly go over your entire front face. This will allow some of the natural roughness of the pallet to really shine through. We didn’t use an orbital sander for this, just ran over the piece with some leftover sandpaper!
Add Your Hat Brim
Center your brim across your snowman. Apply a thin layer of wood glue and set it in place. Then, add a few staples to keep it from falling.
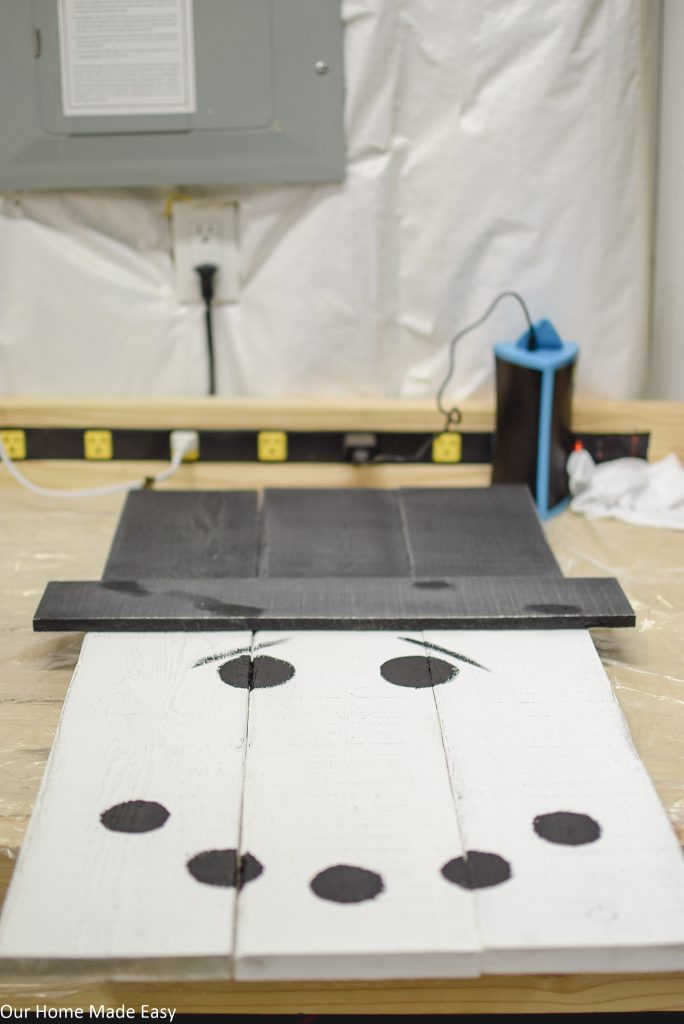
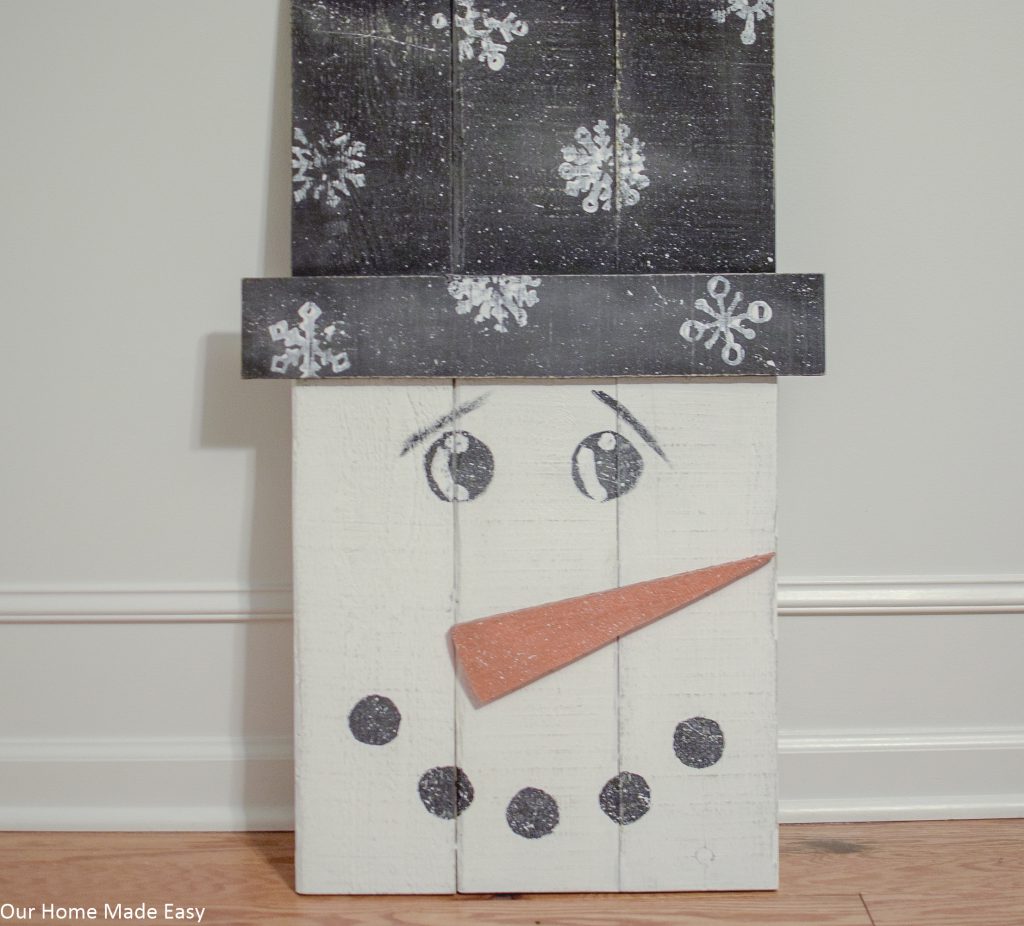
Paint Your Snowman’s Face
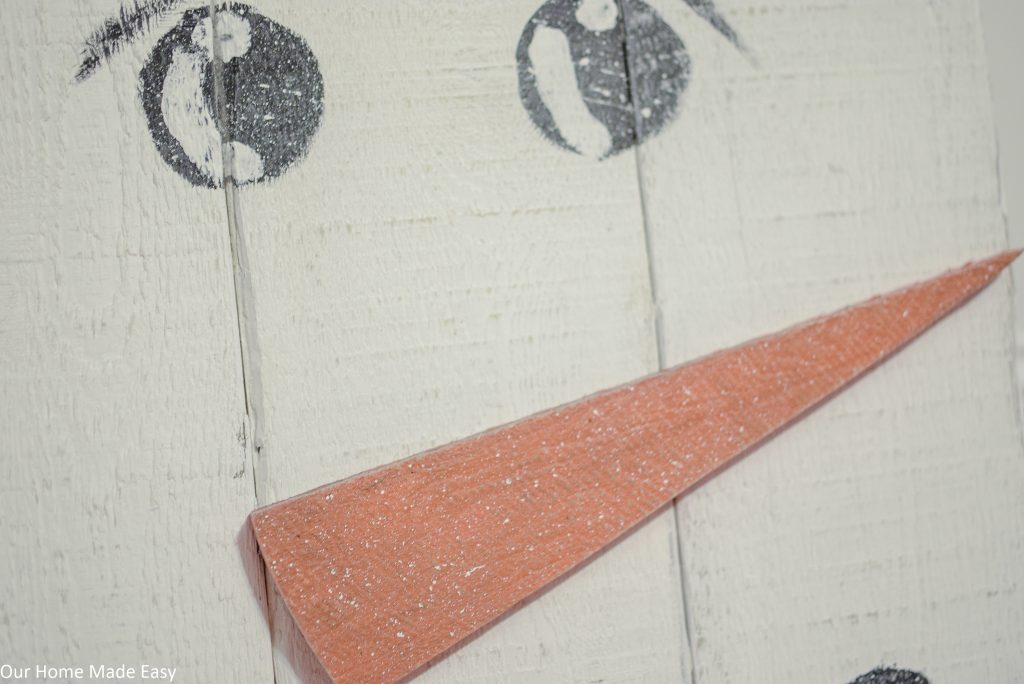
Using your foam stipples or a pencil, lightly sketch out two eyes and coal circles for a mouth. Paint the eyes and mouth with a very small amount of paint. You want them to be visible, but not a thick coat of paint.
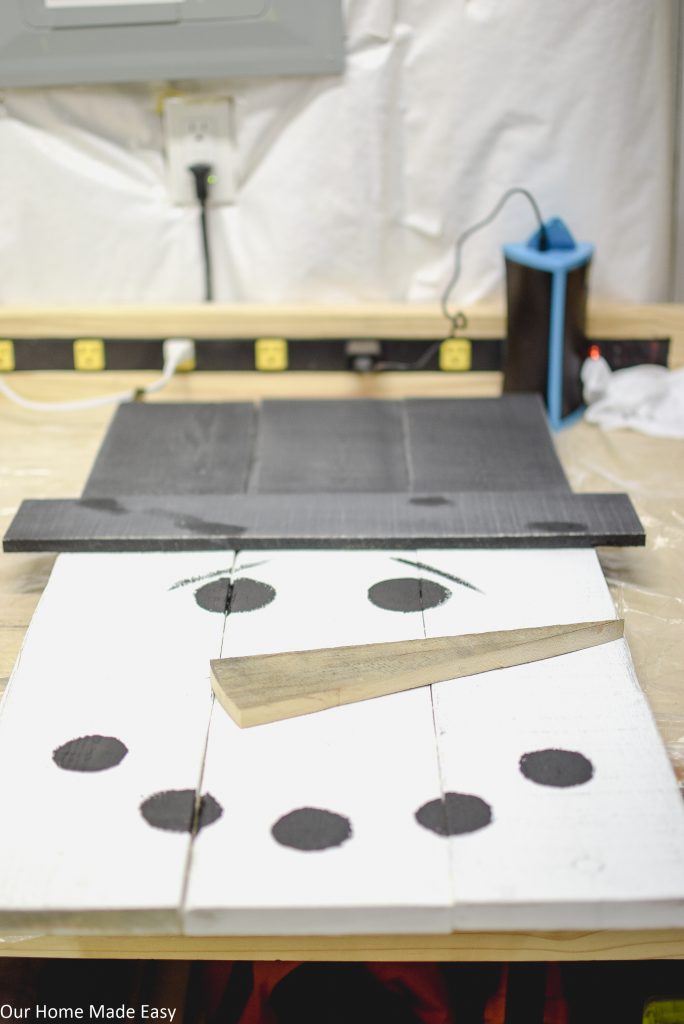
How to Make the Snowman’s Nose
Then, take another pallet pieces and outline a nose. The easiest way to do this is by looking at your board, start drawing from the upper right corner. If you aren’t overly crafty, think about it as drawing a skinny, but upturned triangle coming down towards the center of the board. Rather than have two sharp corners, round your corners to make a carrot-like nose.
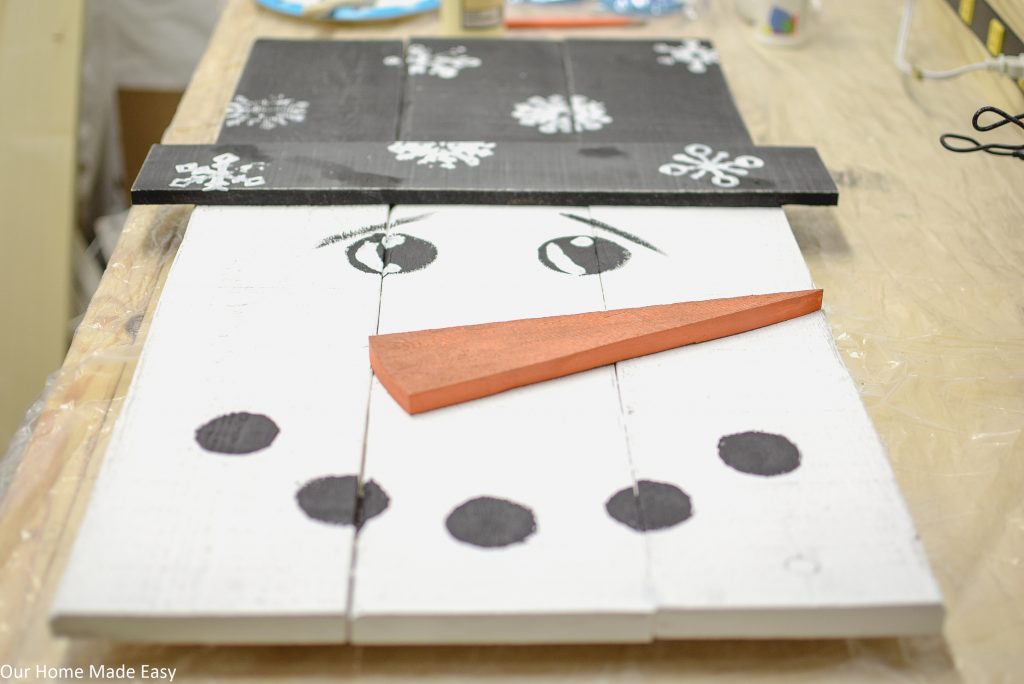
Using a jigsaw, cut out your nose outline. Place it on your snowman to make sure you like the look. Once you like its size, paint it orange.
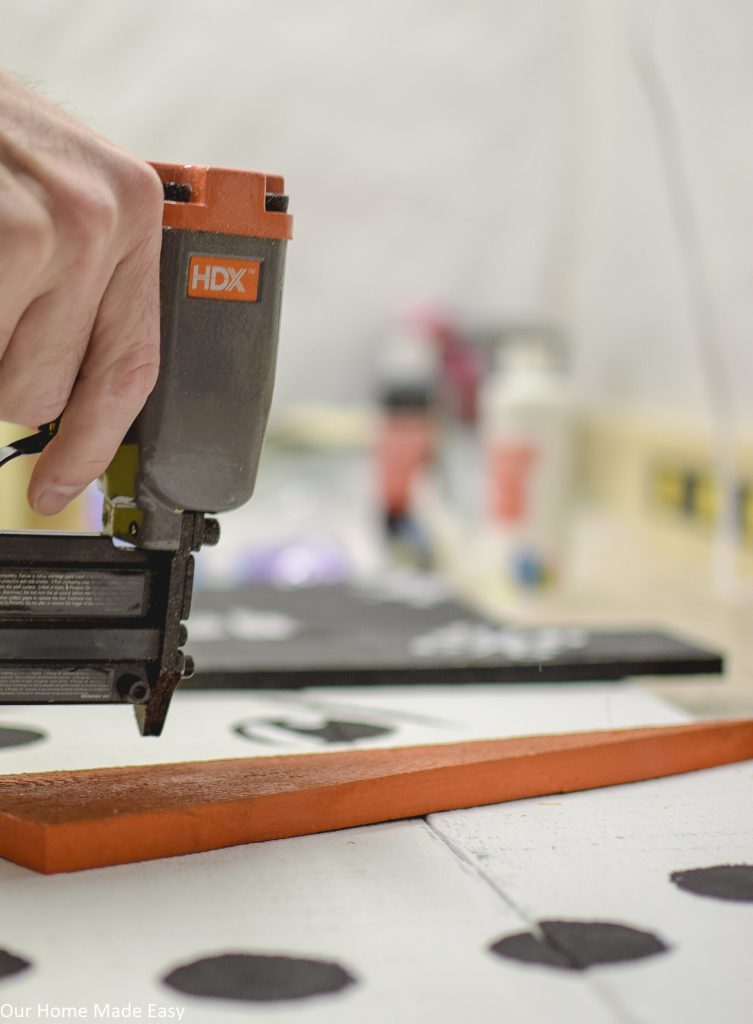
Then, attach it to the snowman with some wood glue. Once it’s in place, staple it in place.
Add Some Snow
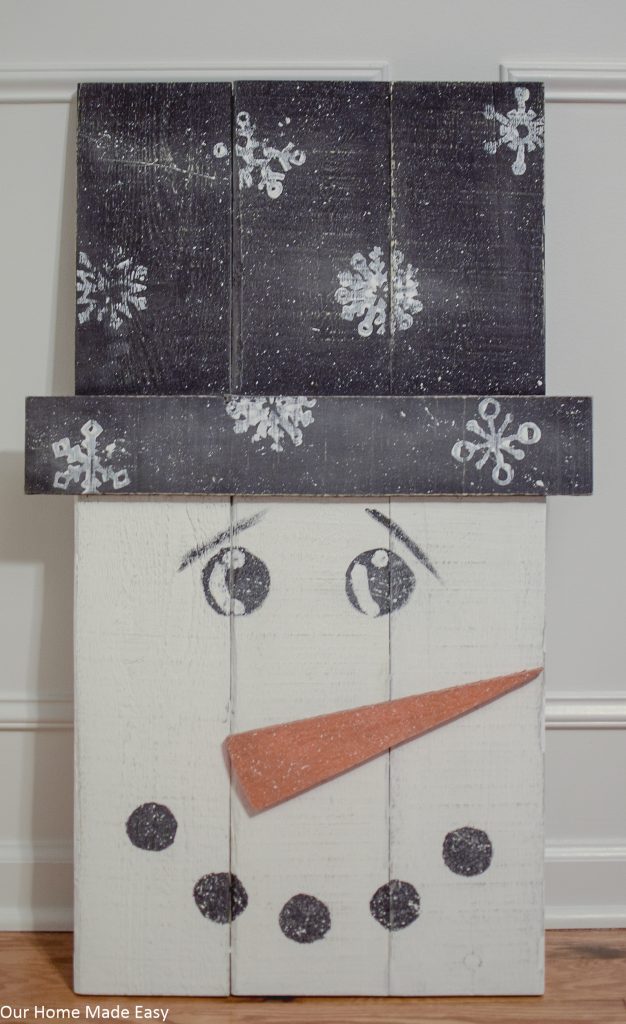
One of the best parts of this project is adding some snow! Lightly paint white craft paint of your snowflake foam stamps. Lightly press them onto your hat. Use a few different designs, or allow them to fall off your hat to add some interest.
Once you have your snowflakes in place, it’s time to add snow to the entire snowman!
Take a chip brush and apply some white paint. Very carefully, flick the paint across your entire project. If you are unsure, err on the side of too little paint and keep adding more!
Allow your project to dry.
Finish the snowman pallet project by quickly running your sandpaper over the entire project to give it a uniform rustic look!
While it seems like several steps, it’s a very easy project to make one weekend! Start by cutting your pieces and painting them one evening and then spend the next morning assembling and decorating the snowman!

This is so cute. This will add a fun addition to my front door entry decor this Christmas! Thanks for the easy tutorial.
Thanks Amanda!