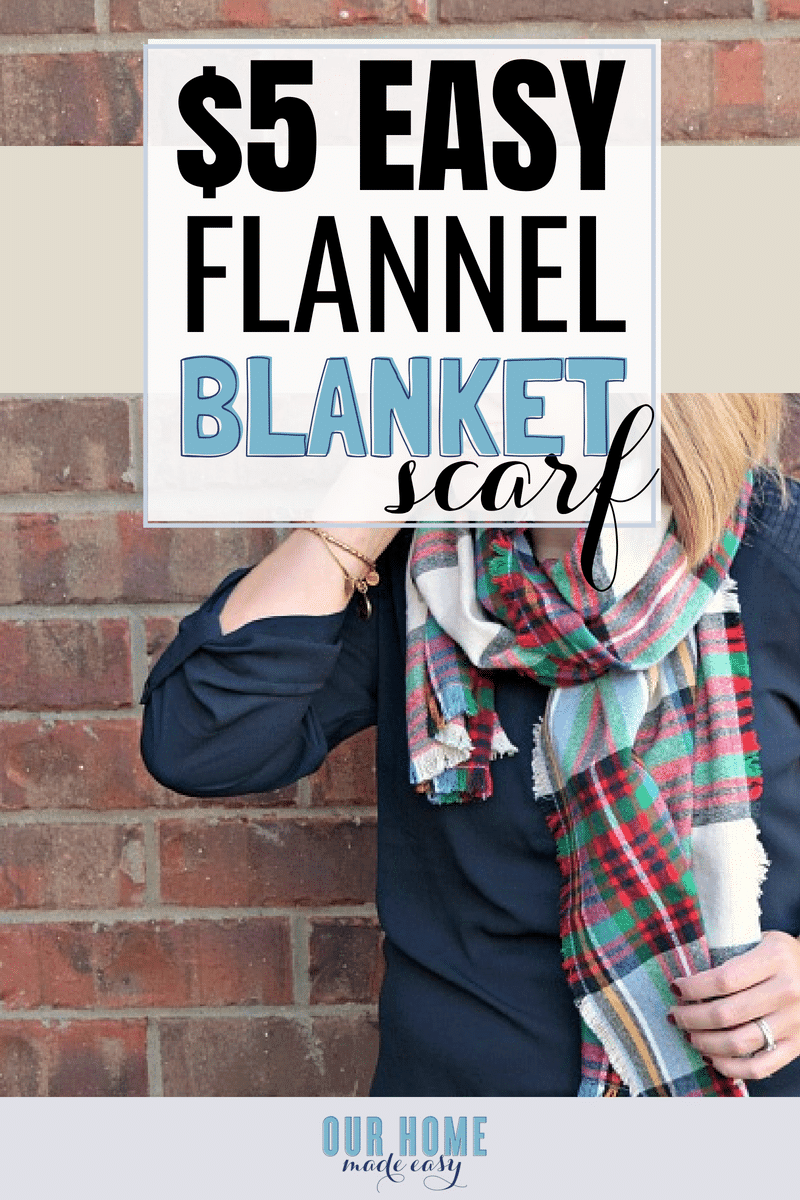
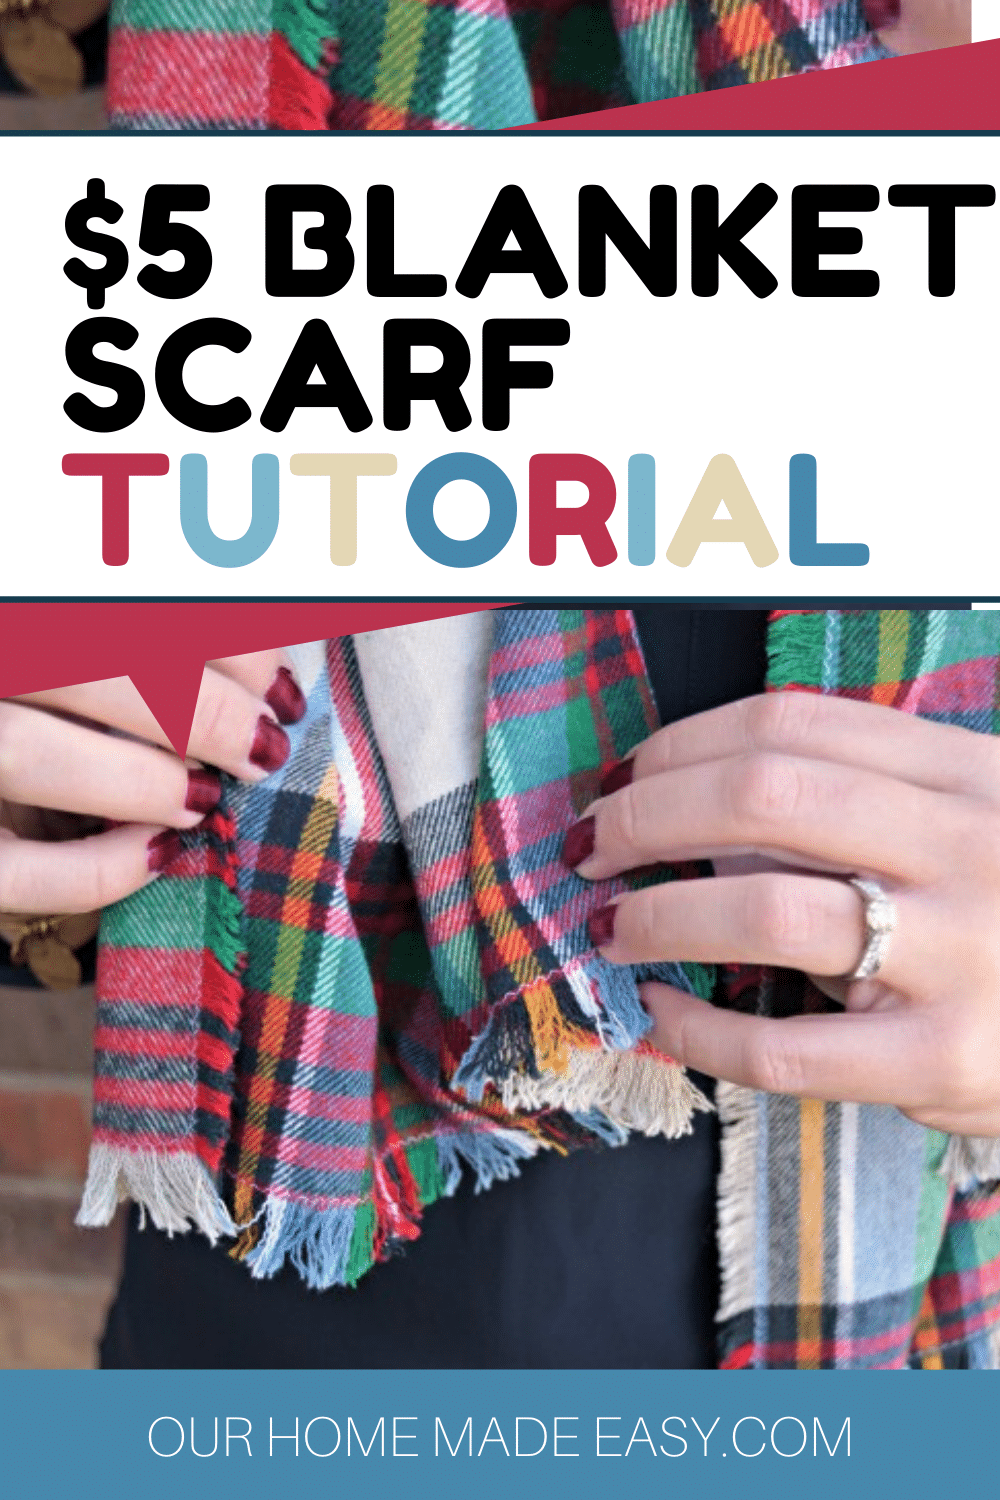
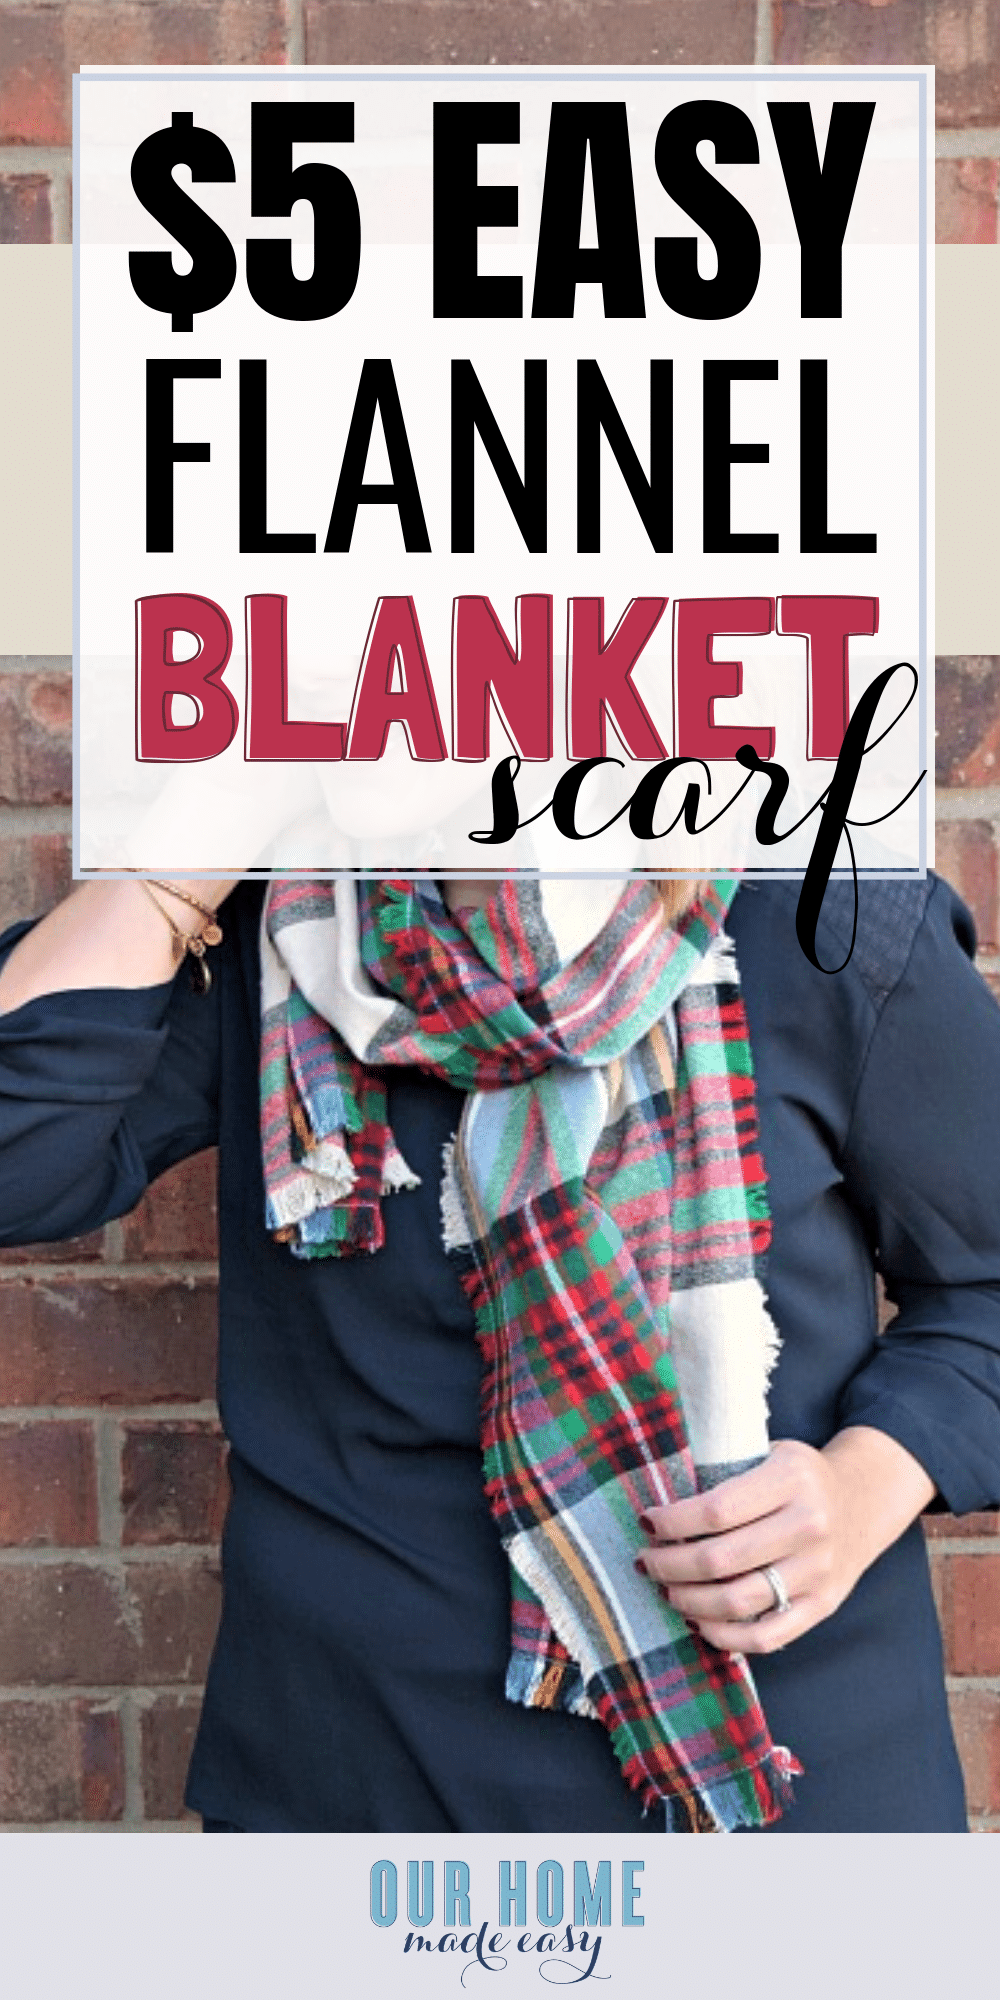
Make a $5 Blanket Flannel Scarf!
An easy how-to in making your own $5 flannel blanket scarf! You can adjust the size & choose your favorite pattern.
Good morning friends!!! So I am changing it up this morning. You know I usually only blog about easy DIY projects around the house or easy recipes…. but today…. it’s all about an easy project for this busy mama!
We all know I am definitely not a style blogger (gahh… my closet) but I saw a DIY opportunity and thought, I could do that! So here we are, you are looking at my face in the next few images, rather than my house. I promise we’ll be back to regularly scheduled blogging next week. 😉
(This post contains affiliate links. Read my disclaimer page for more information.)
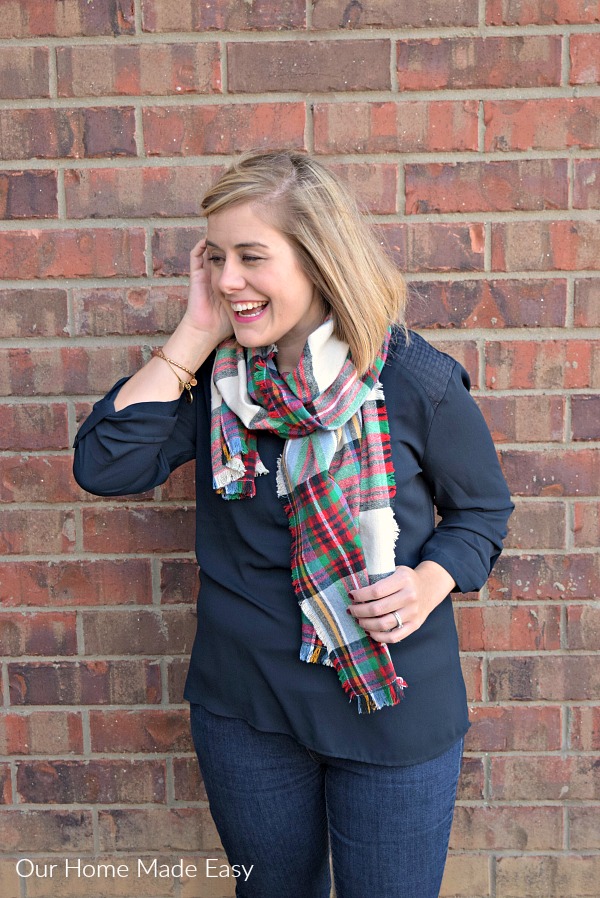
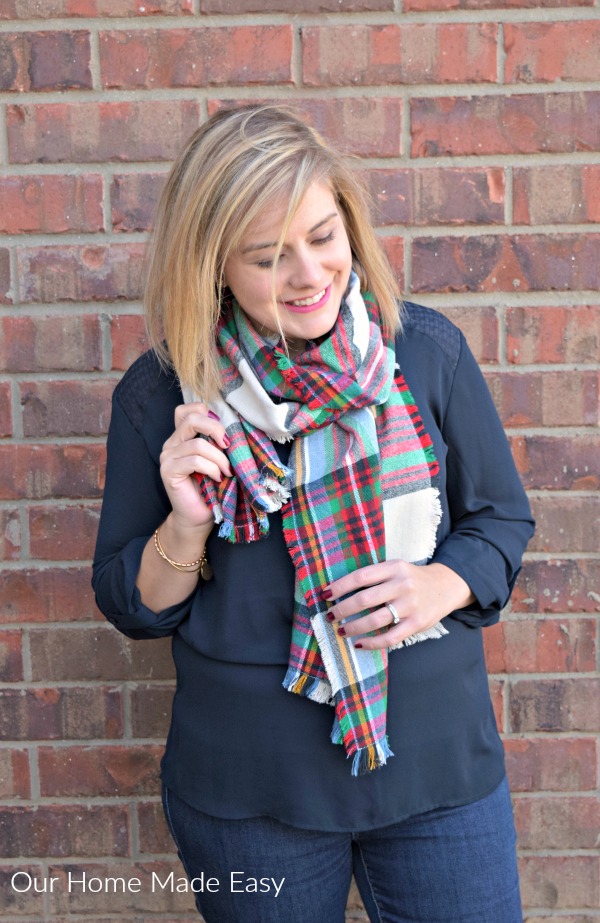
So what do we have today? Well, I’ve fallen in love flannel blanket scarves… they are everywhere again this year. You can find them at Target, ModCloth (a perennial favorite), and even handmade ones on Etsy! The scarves are perfect for cold Mid-Western falls and Winters. Plus, I feel like I look a little more put together when I toss on a scarf over a plain shirt and jeans.
However, I can’t justify spending a lot of money on myself. It’s amazing, I don’t blink when it comes to buying clothes for the kids or Jordan, but I always hesitate for myself. ALWAYS. So you can imagine my excitement when I realized I could make my own for less than $5! Shoot at that price, maybe I’ll even make a few plaid scarves for myself. 🙂
I felt empowered to make my own from Back to Her Root’s No Sew Flannel Blanket Scarf. Cassie’s tutorial is no sew and easy to do. But I needed to adjust a few things from her scarf to fit my life better. For this mama, I needed to reinforce mine for washing (so I needed to sew) AND I needed to make the fringe quickly!
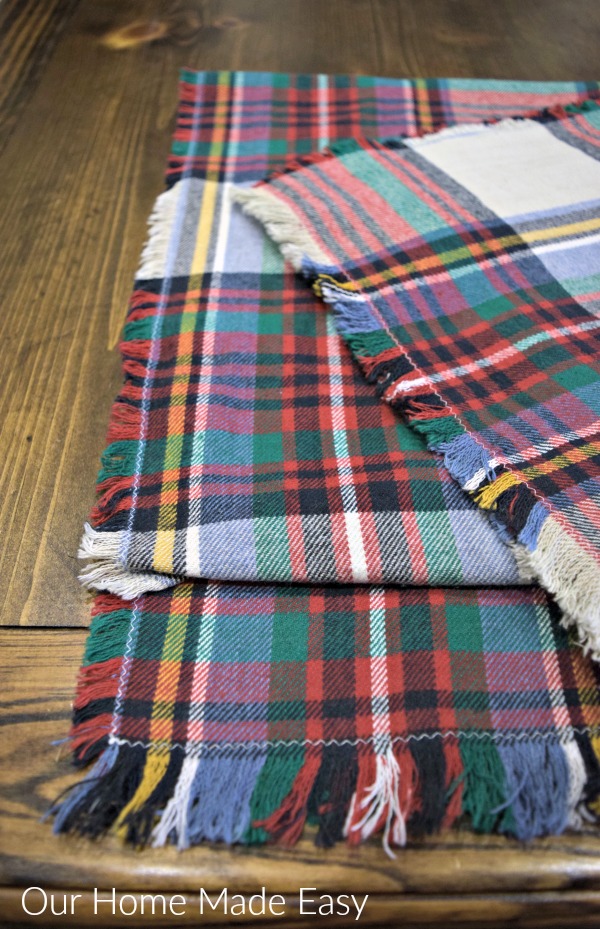
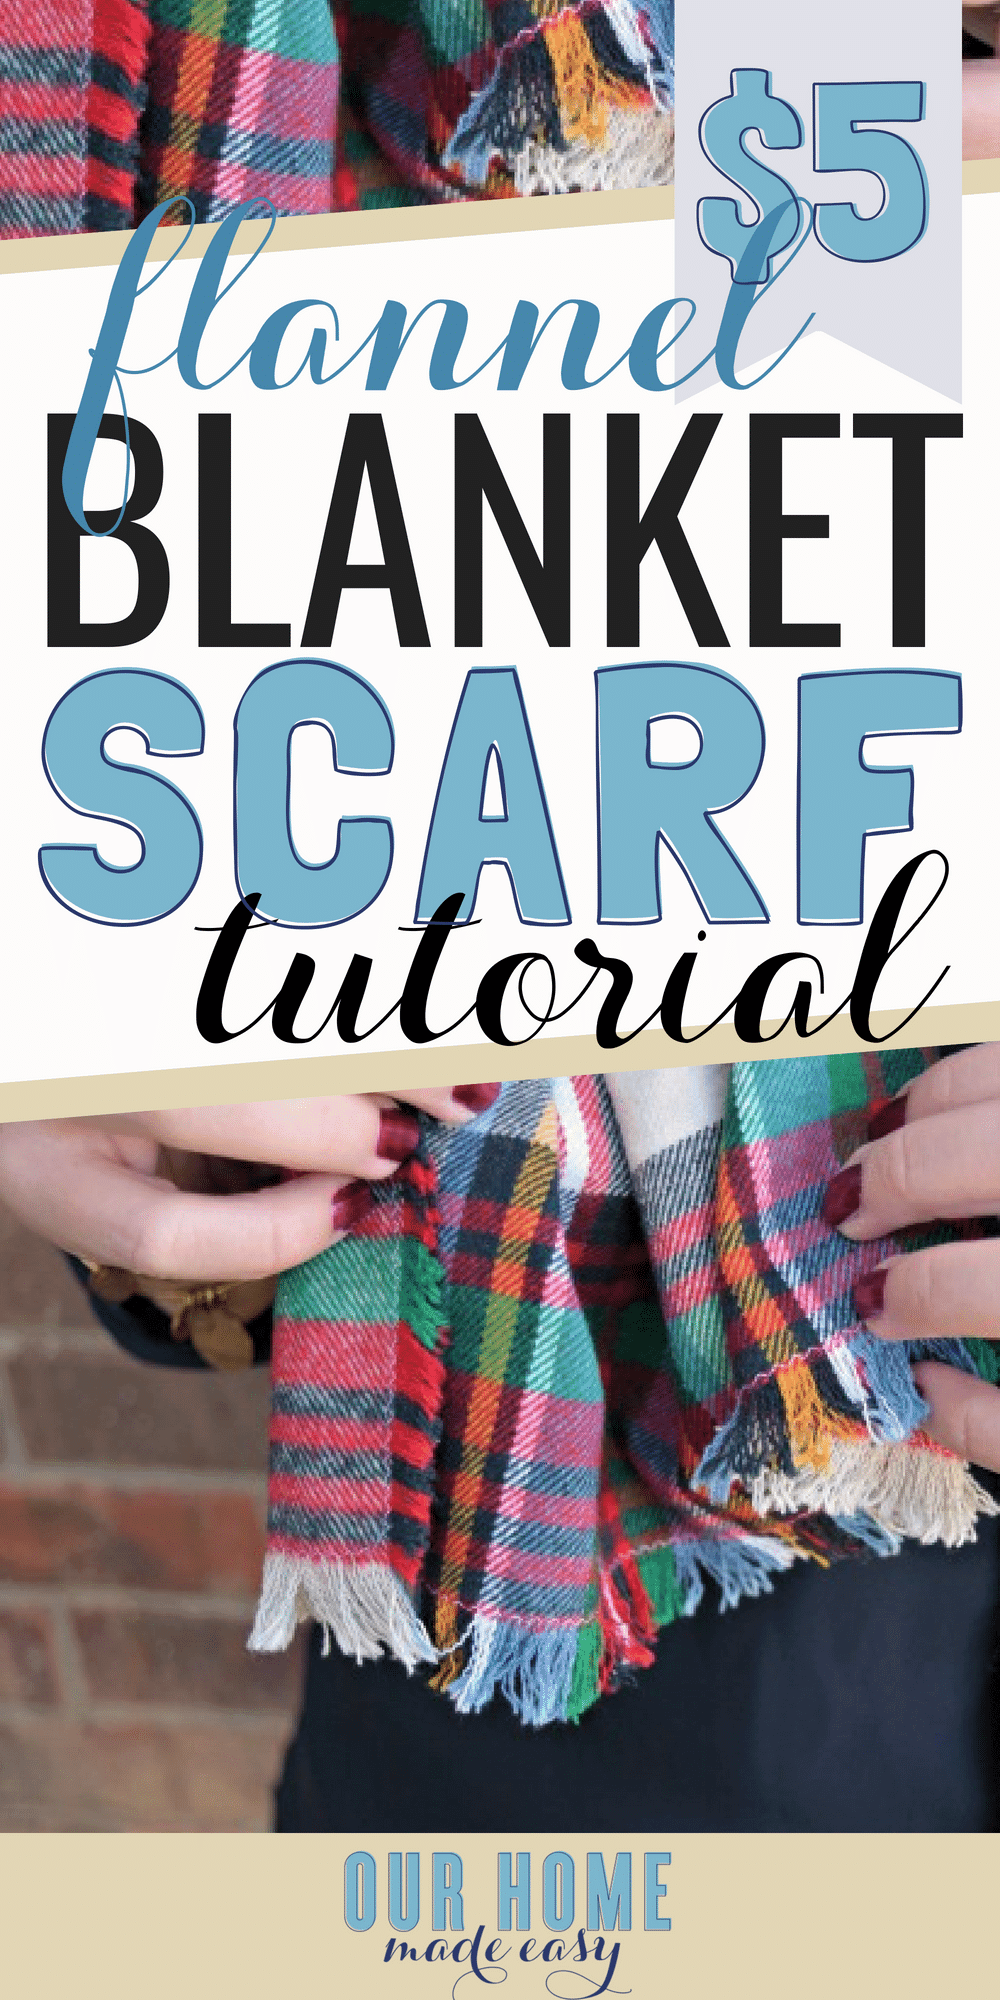
I bought the fabric at Jo-Anns from their Platitudes line. When you are shopping for flannel, look for apparel flannel bolts. The flannel is normally $10 a yard. For this project you’ll need 2 yards, but then you’ll get 2 scarves out of the deal. By using a 50% coupon (always use those coupons!), I paid $10 for the fabric, aka. $5 a piece for the scarves. Pretty fabulous, right?
So let’s get this scarf started!
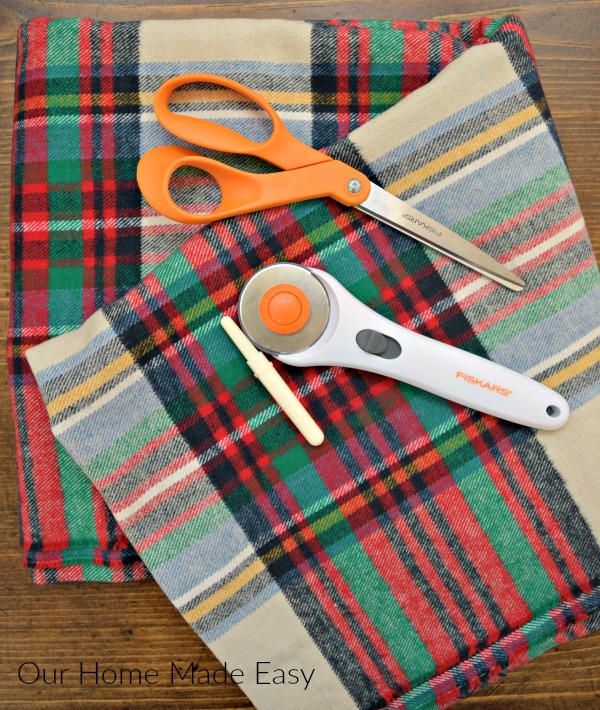
Supplies Needed for DIY Blanket Flannel Scarf with Fringe
-
- 2 yards of Flannel Fabric (I used this print)
- Thread
- Fabric Scissors
- Thread
- Seam Ripper
Prep the Scarf
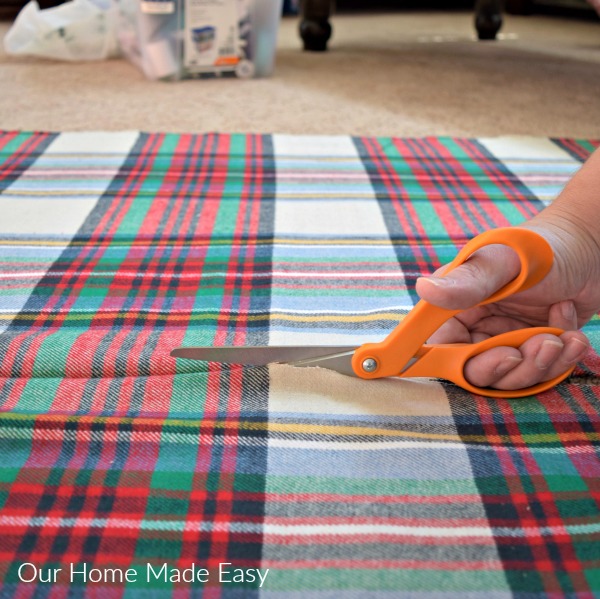
First, you will want to lay out your two yards and cut the fabric down the middle, giving you two long pieces of fabric. If you are looking for a square scarf, do not cut it down the middle vertically, cut it horizontally. Now you should have 2 pieces, about 20″+ in width and 72″ long. Here you can choose to cut down your vertical length to your preference. I left mine at the full length.
Sewing Reinforcement

Okay, this step can be totally skipped for those who detest sewing! BUT…. if you don’t sew, you really shouldn’t wash and dry your scarf once you start manually fringing it. Skip down to finishing it off if you are choosing not to sew it.
I needed to sew mine because I know that I have messy toddlers (heck I’m pretty messy, too) and I wanted to really speed up the fringing process.
Learn from my mistake… do as I say and not as I originally did. Along the long sides of your scarf, run a zig-zag stitch 1/4″ from the edge. This will allow you to fringe some, but not get too aggravated about the time it takes (learn from me, folks). Along the short edge, make the same zig-zag between 1/2″ and 3/4″ in to give you some long fringe to play with.
I was a little too gung-ho and started off with 1″ wide fringe all the way around. That quickly changed before I threw it in the washer for the next step. I trimmed down the scarf accordingly.
First Pass Through
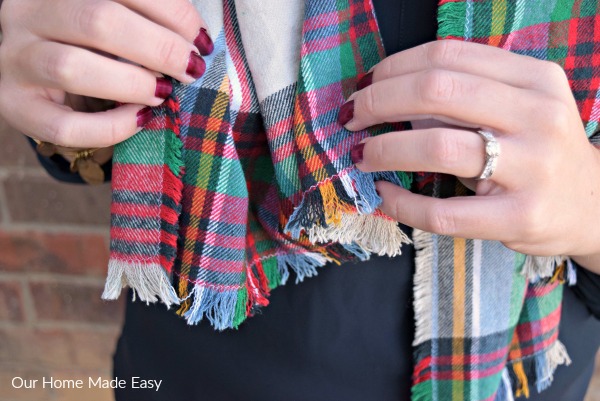
Now with your scarf stitched, lay it out completely flat on the ground. I found it really goes quickest when completely laid out. Kneeling over the fabric, use your seam ripper to take one pass at removing the first layers of the fabric. Voila! It’s beginning to look like fringe. I say one pass because you won’t want to take too long doing this. As you move, occasionally you may be able to pull the fabric just right, so that you can take out large pieces at a time.
Wash & Dry
Next, you’ll want to wash and dry your scarf. I chose the quick wash option on our machine. This allows the washer & dryer to do some work too. Not only does the flannel become super soft and cozy, but it really starts to break up some of those loose threads that you started pre-washing. If you sewed your scarf anyways, you would’ve washed it regardless. Why not allow it do make this project a little easier on you?
Now you can see why we needed that washing, right? Fringing can be some work! 🙂
Finish it Off!

And lastly, the fun part! Let’s finish this thing. Once again, lay the scarf flat out on the floor. Kneel over the fabric and quickly work to remove the threads. I’d say the best time to do this is post-bedtimes. Then you can work quickly without having to constantly get up and retrieve snacks, juices, read three books twice, and find a toy.
Tips: Complete your fringe on the short sides, then do the long sides. Start each side by opening up several layers on each end. Then move to the middle and pull up one piece and pull away. You should be able to pull out very long pieces doing this and save yourself LOTS of time! My second scarf was completed in a fraction of the time as my first.
Once you have the fringe removed to the zig-zag stitch, press your scarf with a very warm iron. This will set the fringe and make your scarf look perfect.
- Related: Must Have Items for Sewing Beginners
When I look at this picture, I think the kids were advising my posing in this picture. Perfect? Absolutely not, but this pretty much sums up our lives at this time now. 🙂
What do you think? Well worth the $5 investment?

PIN THIS FOR LATER:

Hi, I’m Brittany, and I believe life at home should feel easier, not heavier.
I’m the creator of Our Home Made Easy, a space for busy women who want dinner on the table, their homes running smoothly, and a little breathing room at the end of the day.
You won’t find perfection here, just realistic recipes, smart shortcuts, and simple routines that work in real life. The kind that help you feed your family well, stay organized enough, and still have time to actually enjoy it.
If you’re juggling work, kids, schedules, and everything in between, you’re in the right place. I’m so glad you’re here.


Hi Brittany, just found your site, love it, thank you! Silly question, I’m sure, but on this fringed flannel scarf, am I washing prior to sewing, then washing again after fringing? Thank you for your time!
Hi there Heidi! I washed it post “beginning fringe.” I’d rather have the washing machine do some of the work, too. Once its washed & dried, I completely fringe it and then run a quick iron over it. After wearing, I’ve washed my scarf without any issues, but in my slight OCD tendencies, I re-ironed it for pure aesthetic. 😉
Thanks for stopping by! -Brit
I don’t have a zigzag setting on my old sewing machine. Do you think a straight stitch would work for holding the fringe?
Hi Katie! Yes, I think a straight line would work. If you wanted extra reinforcement, you could do 2 straight lines next to one another. Thank you for stopping by!
I think i just found my “make one for everyone” Christmas gift. Thanks for such clear instructions!
Thanks Steff! ‘Force’ yourself into sitting in front of the TV watching Christmas movies and pull threads! [And don’t forget the part about pre-washing them to help you get those threads undone. It’s a HUGE timesaver. ] Thanks for stopping by! –Brittany
Is the fabric doubled and sewn together or did you make 2 scarves?
Hi Deanna! You’ll get 2 scarves out of the fabric. 🙂 –Brittany
Great instructions. Been making these for years. Only thing I’d add is if you make all sides only 1/4 inch and sew then wash it, it mostly fringes itself! Straight out of the washer just trim a little and most of it will be good. I’ve found usually 1/2 inch or more tangles a lot each time you wash it.
Purely a choice of preference.