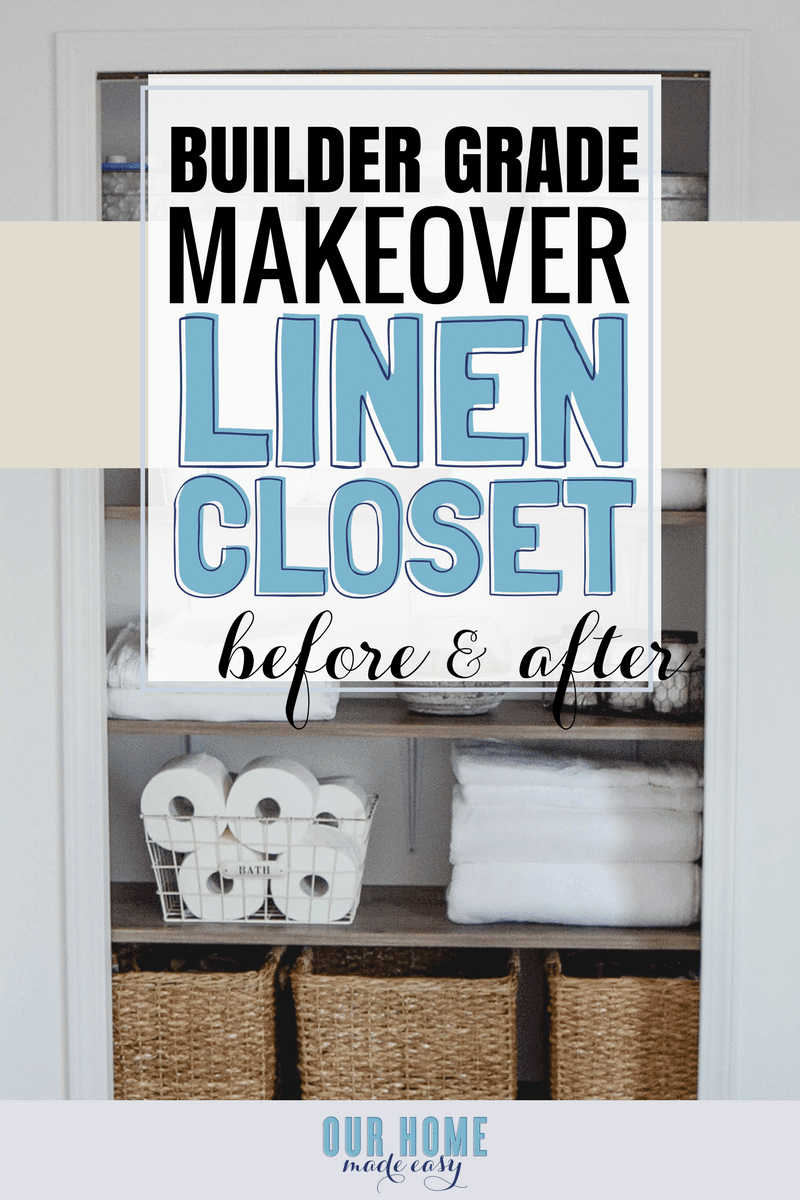
Bathroom Linen Closet Reveal
A DIY but custom shelving system for a linen closet makeover. Check out the organizational ideas and how to DIY your own shelves!
This post contains affiliate links. Please see my Disclaimer for more information.
Whew, talk about a post that is long time coming! I feel like I posted a sneak peek of our bathroom linen closet plans so long ago…. and today I am super excited to share with you how we decluttered and organized our own bathroom closet!
Wondering what is making me declutter? Join us in the Free 6 Week Decluttering Challenge! You’ll catch the decluttering bug too! 🙂
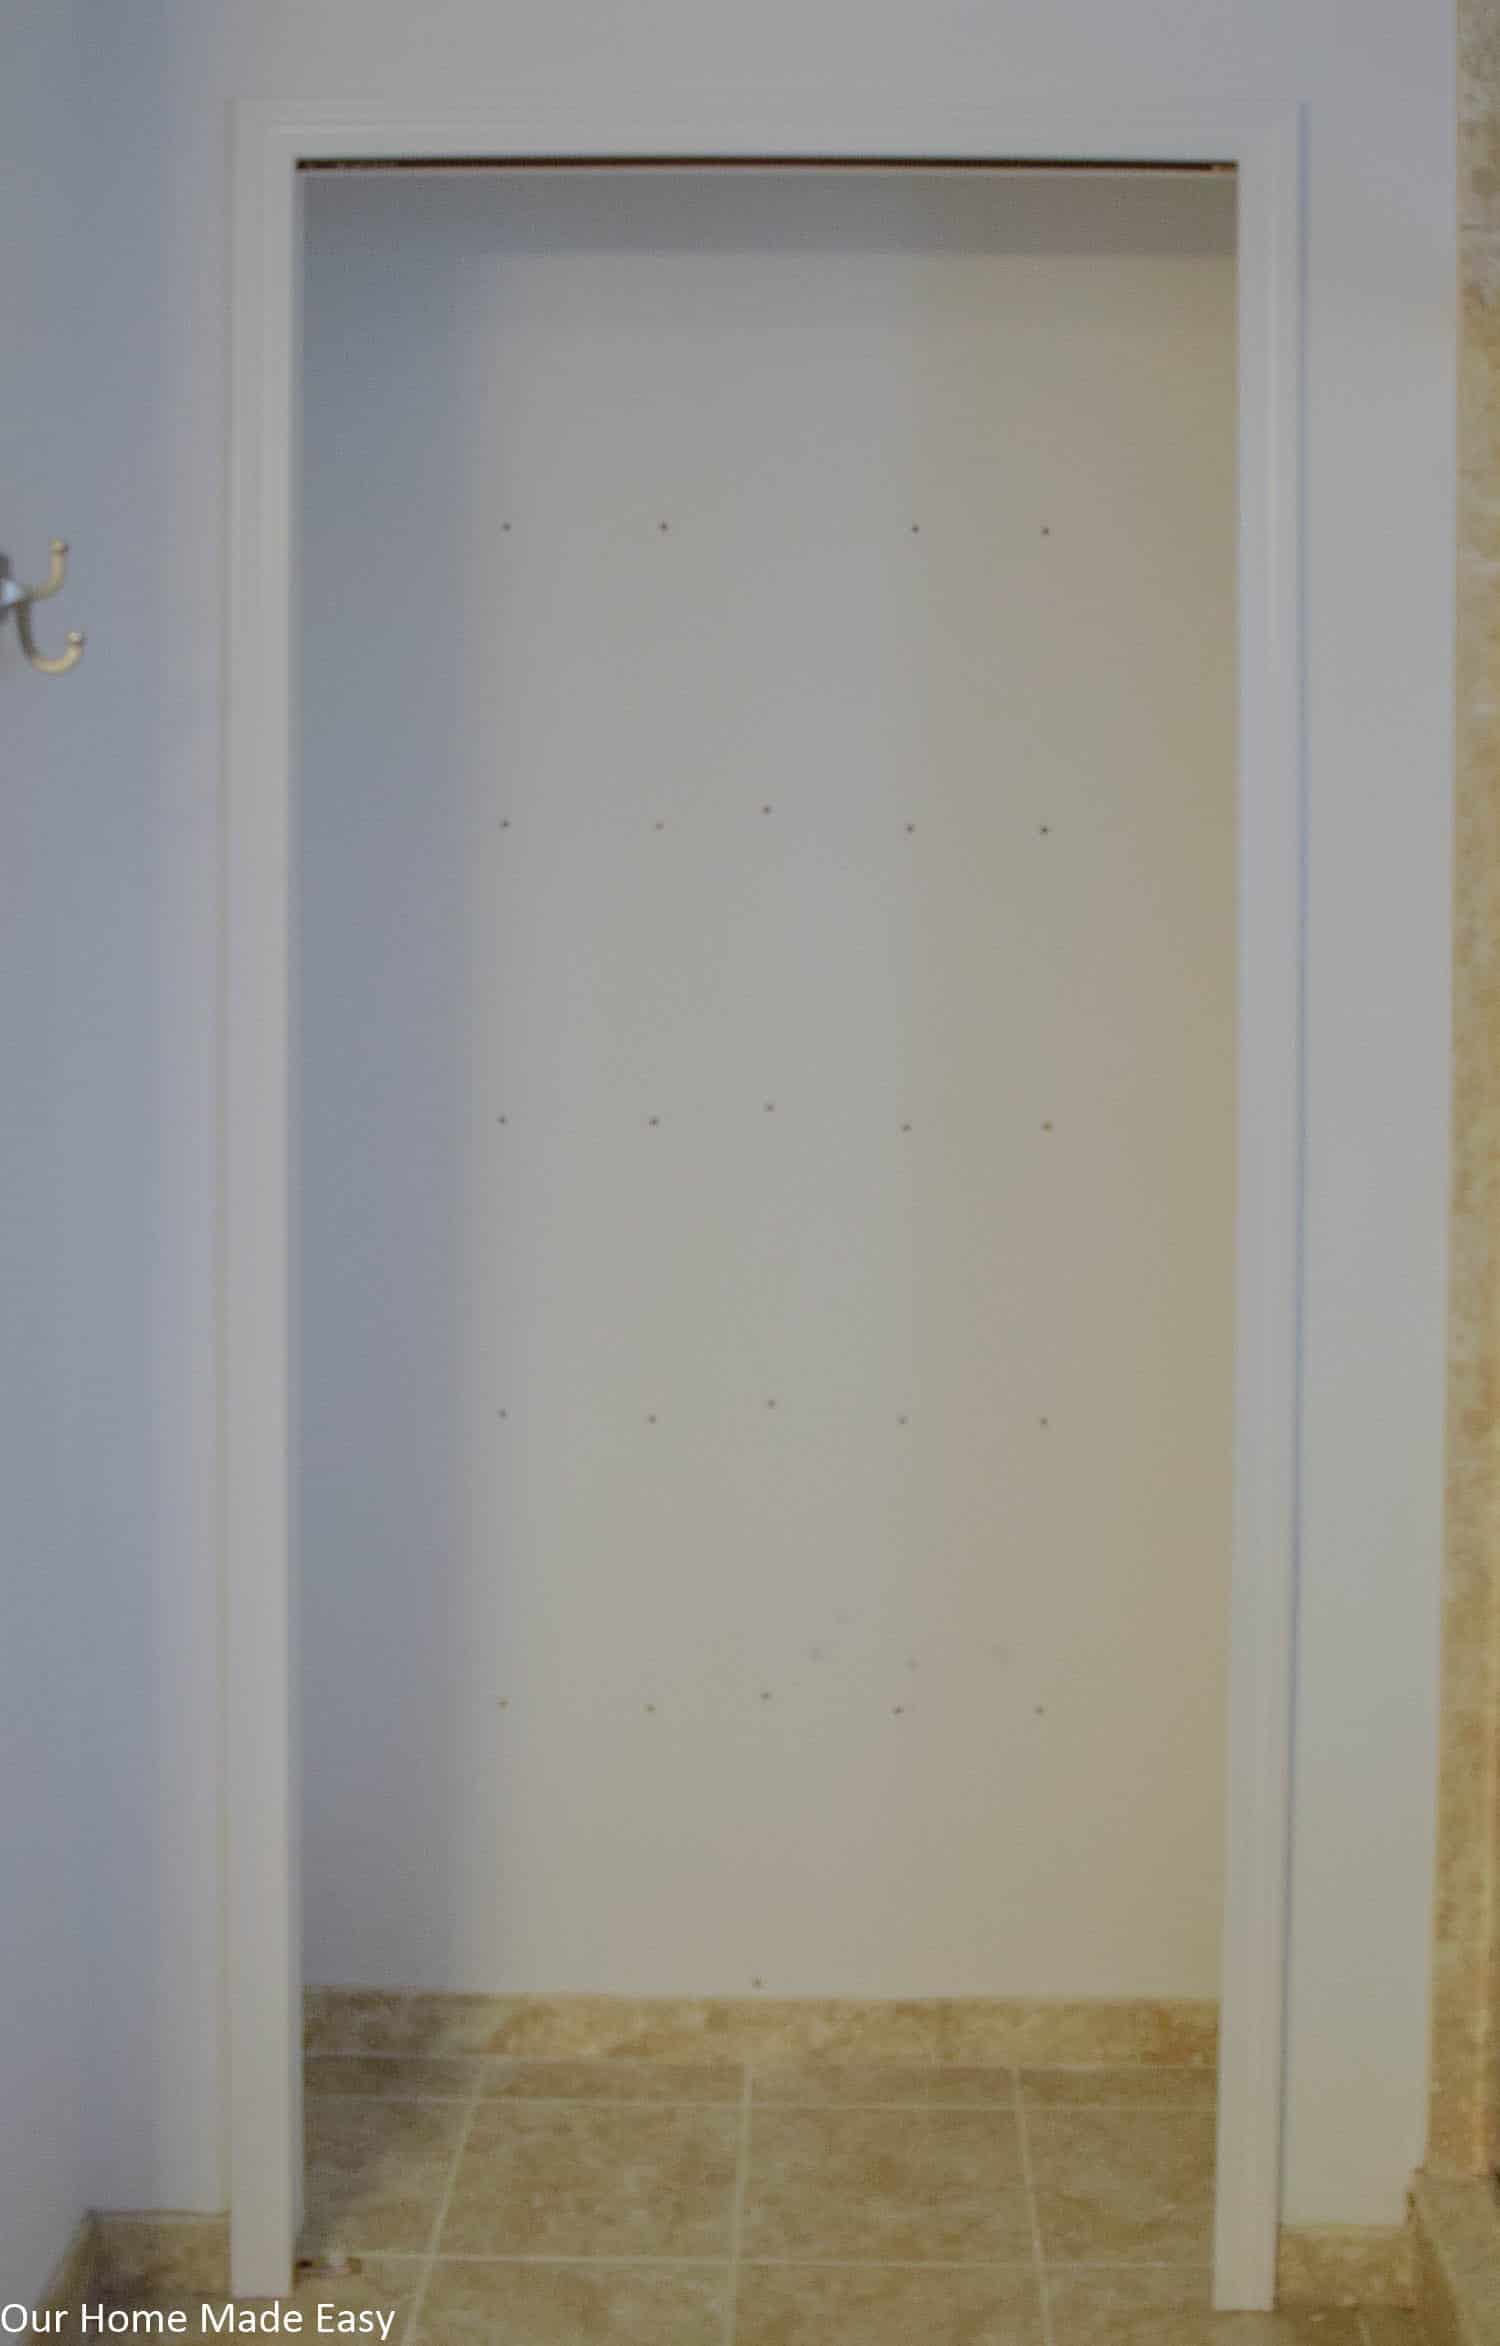
The Linen Closet Before
But first, let’s take a look at the ‘Before.’ We built our home about 4 years ago and our bathroom hasn’t received any love. And it looks like it. Every single day. 🙁
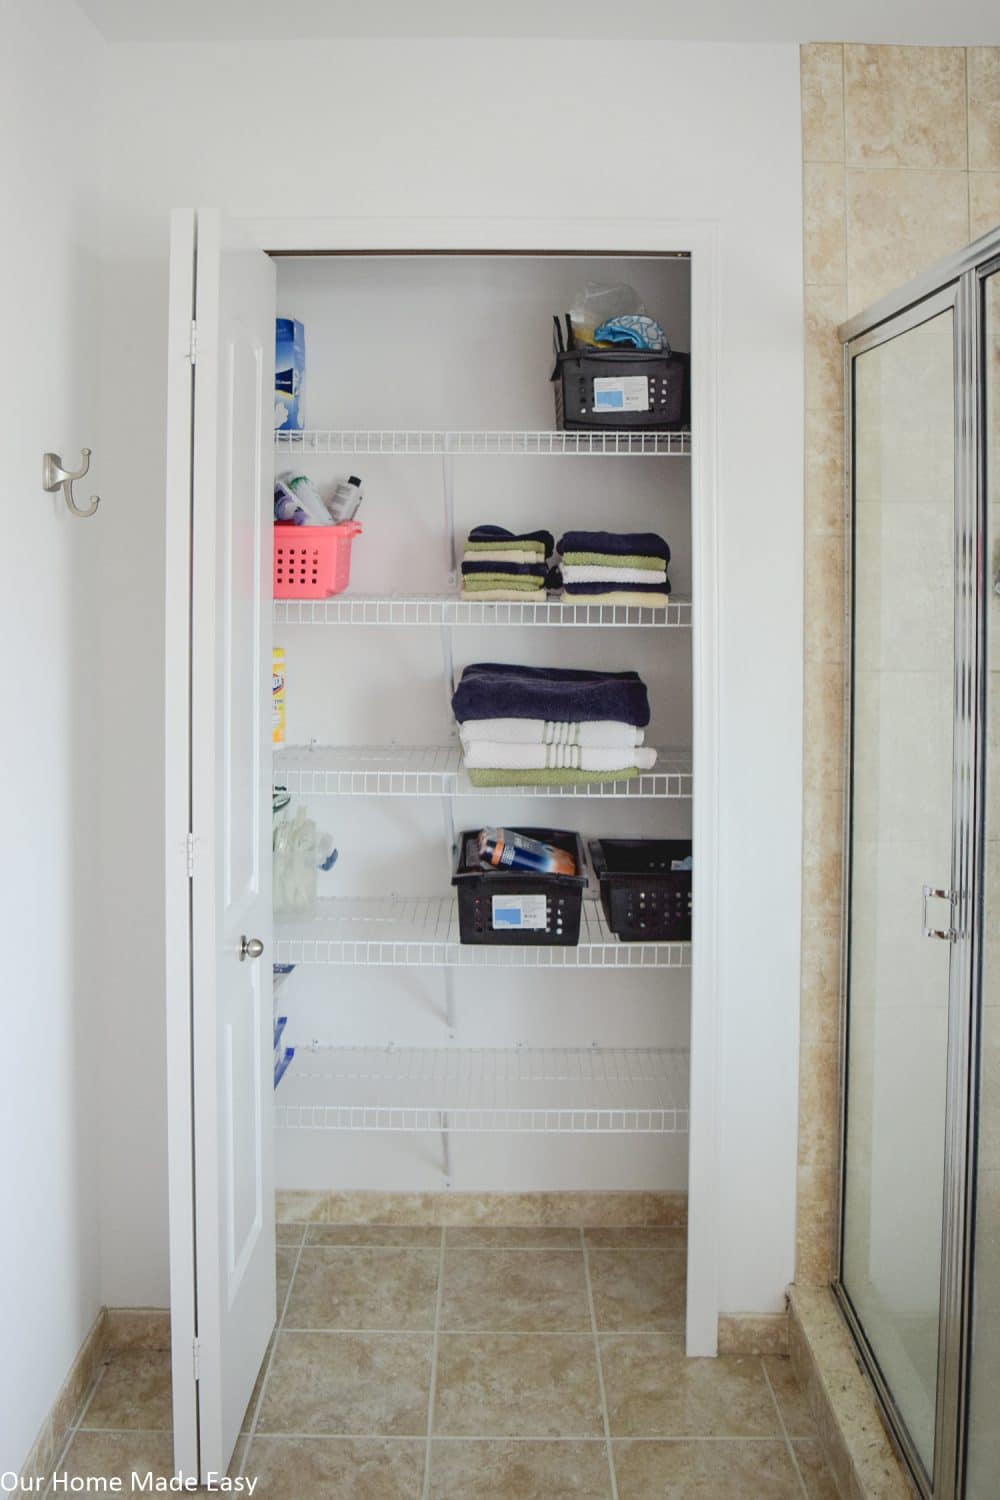
This linen closet is weirdly shaped in our master bathroom. It’s 14 inches deep by more than 50 inches wide. The shelves extend behind the door frame over towards the left wall and then end by the shower tile.
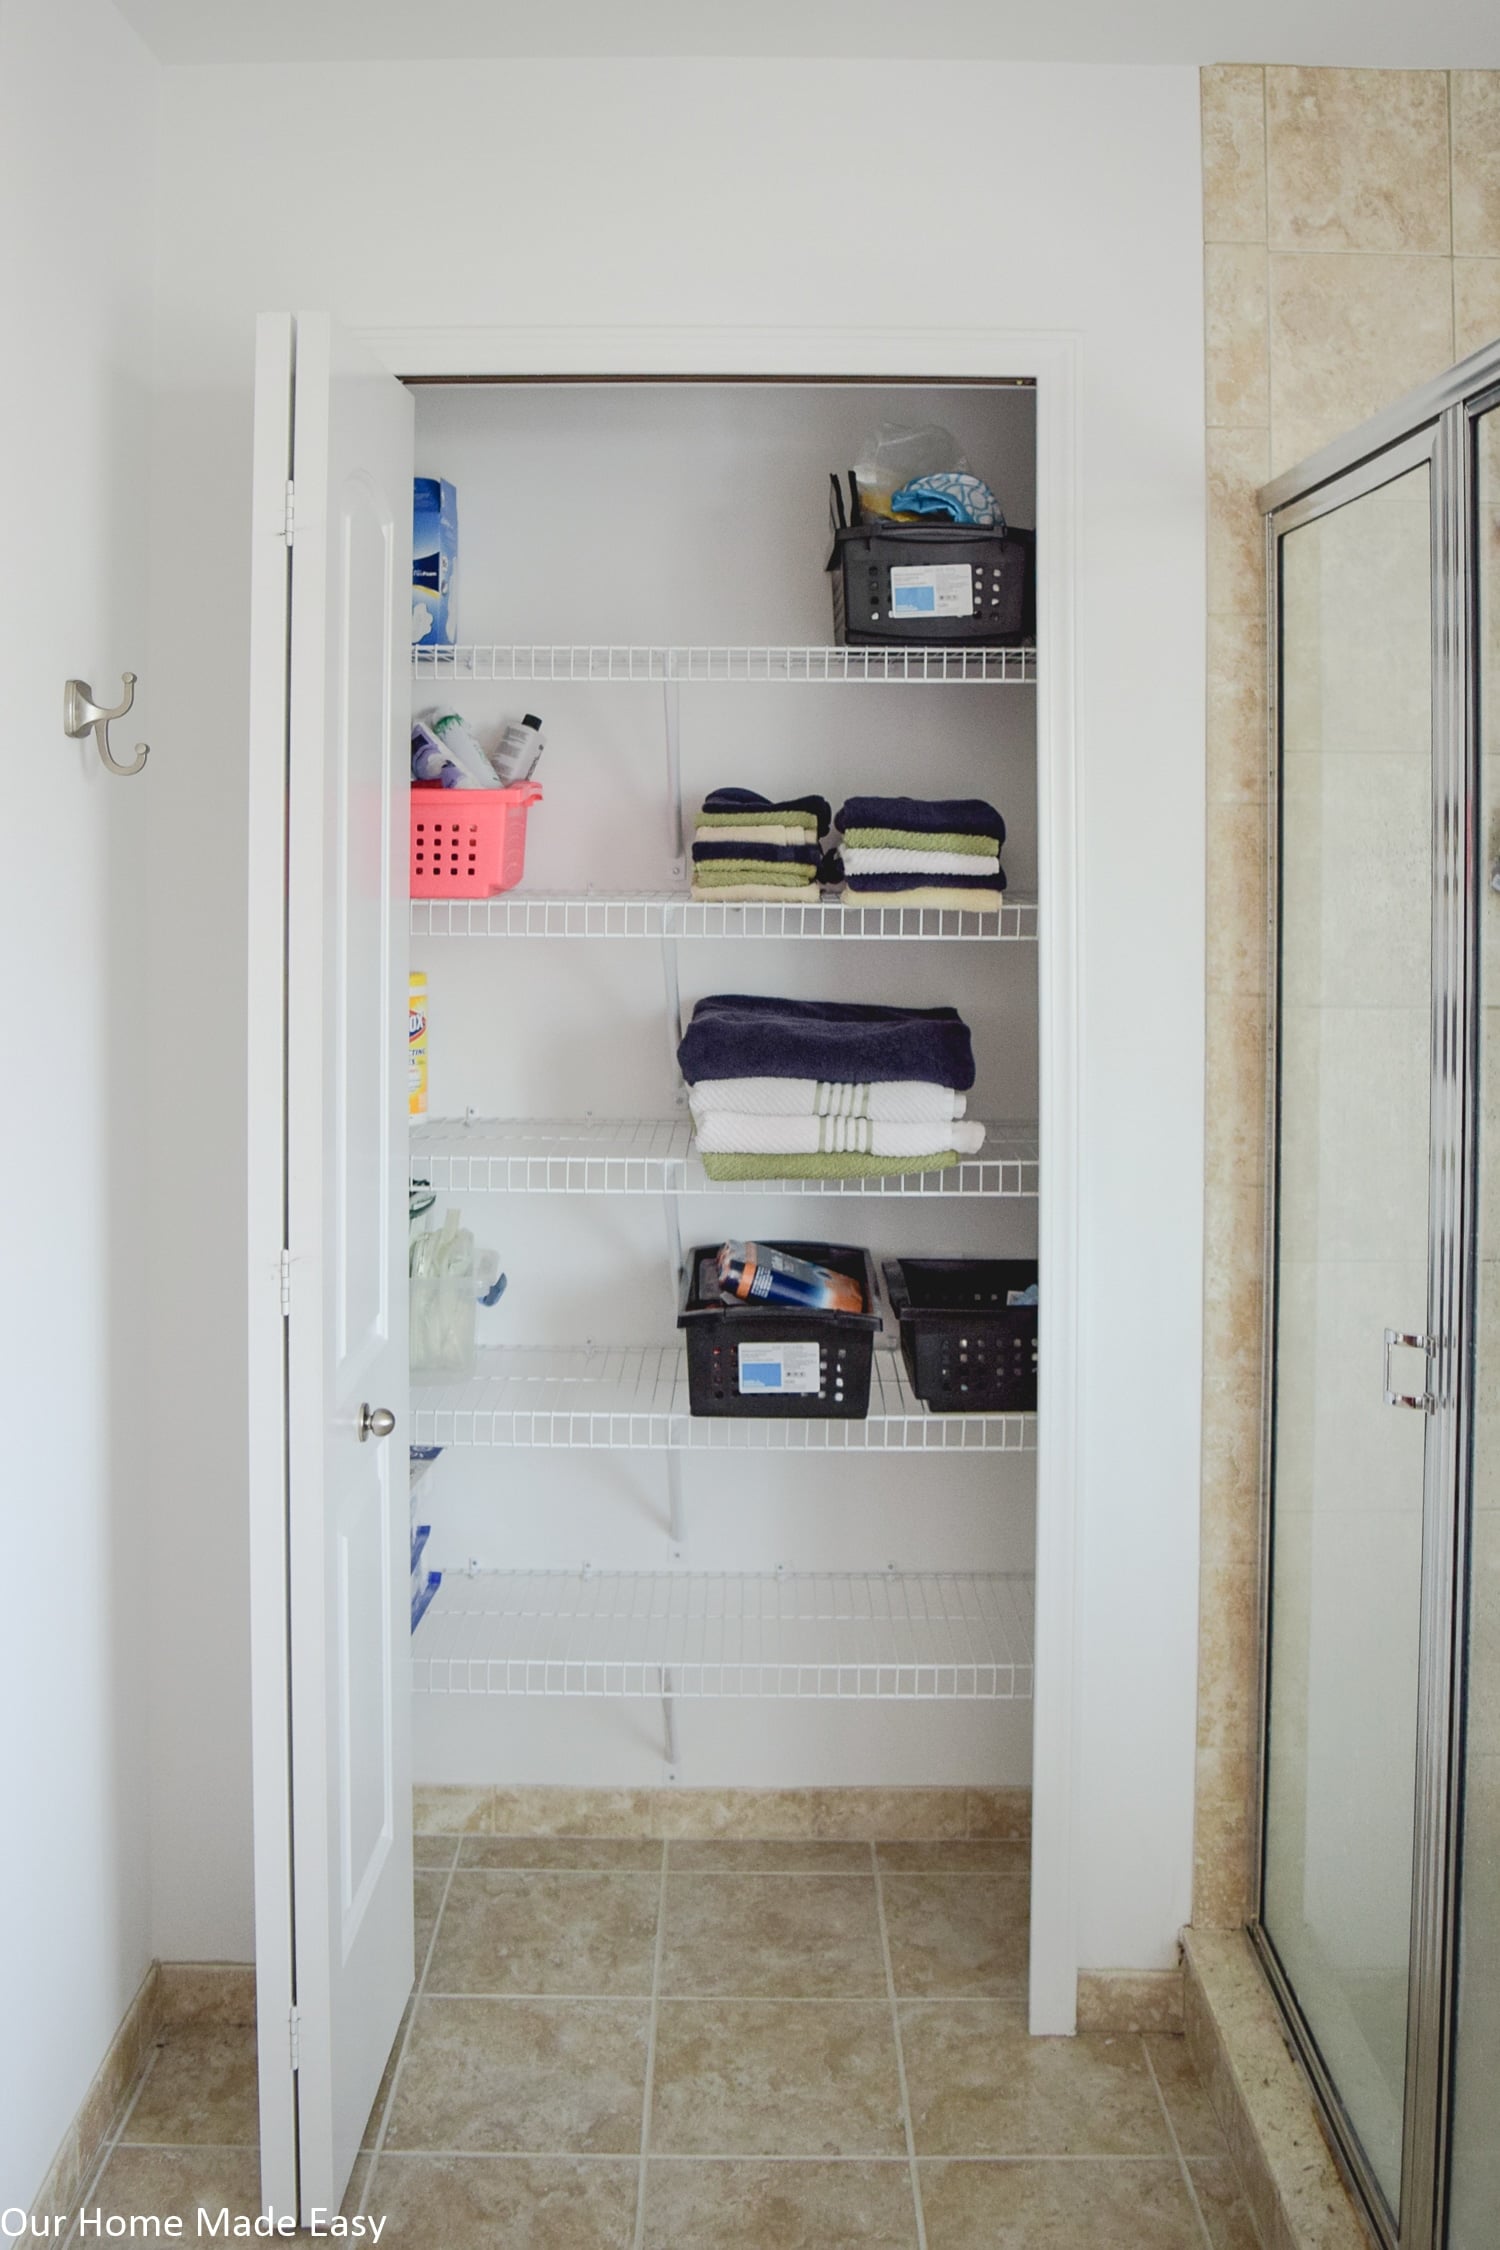
The basic wire racks had supports that came down and pretty much left most of the surface area useless. We couldn’t place anything wide in the closet because the supports would get in the way.
I struggled keeping anything standing upright since the wire was just far enough apart to make sure all my spray bottles fell over.
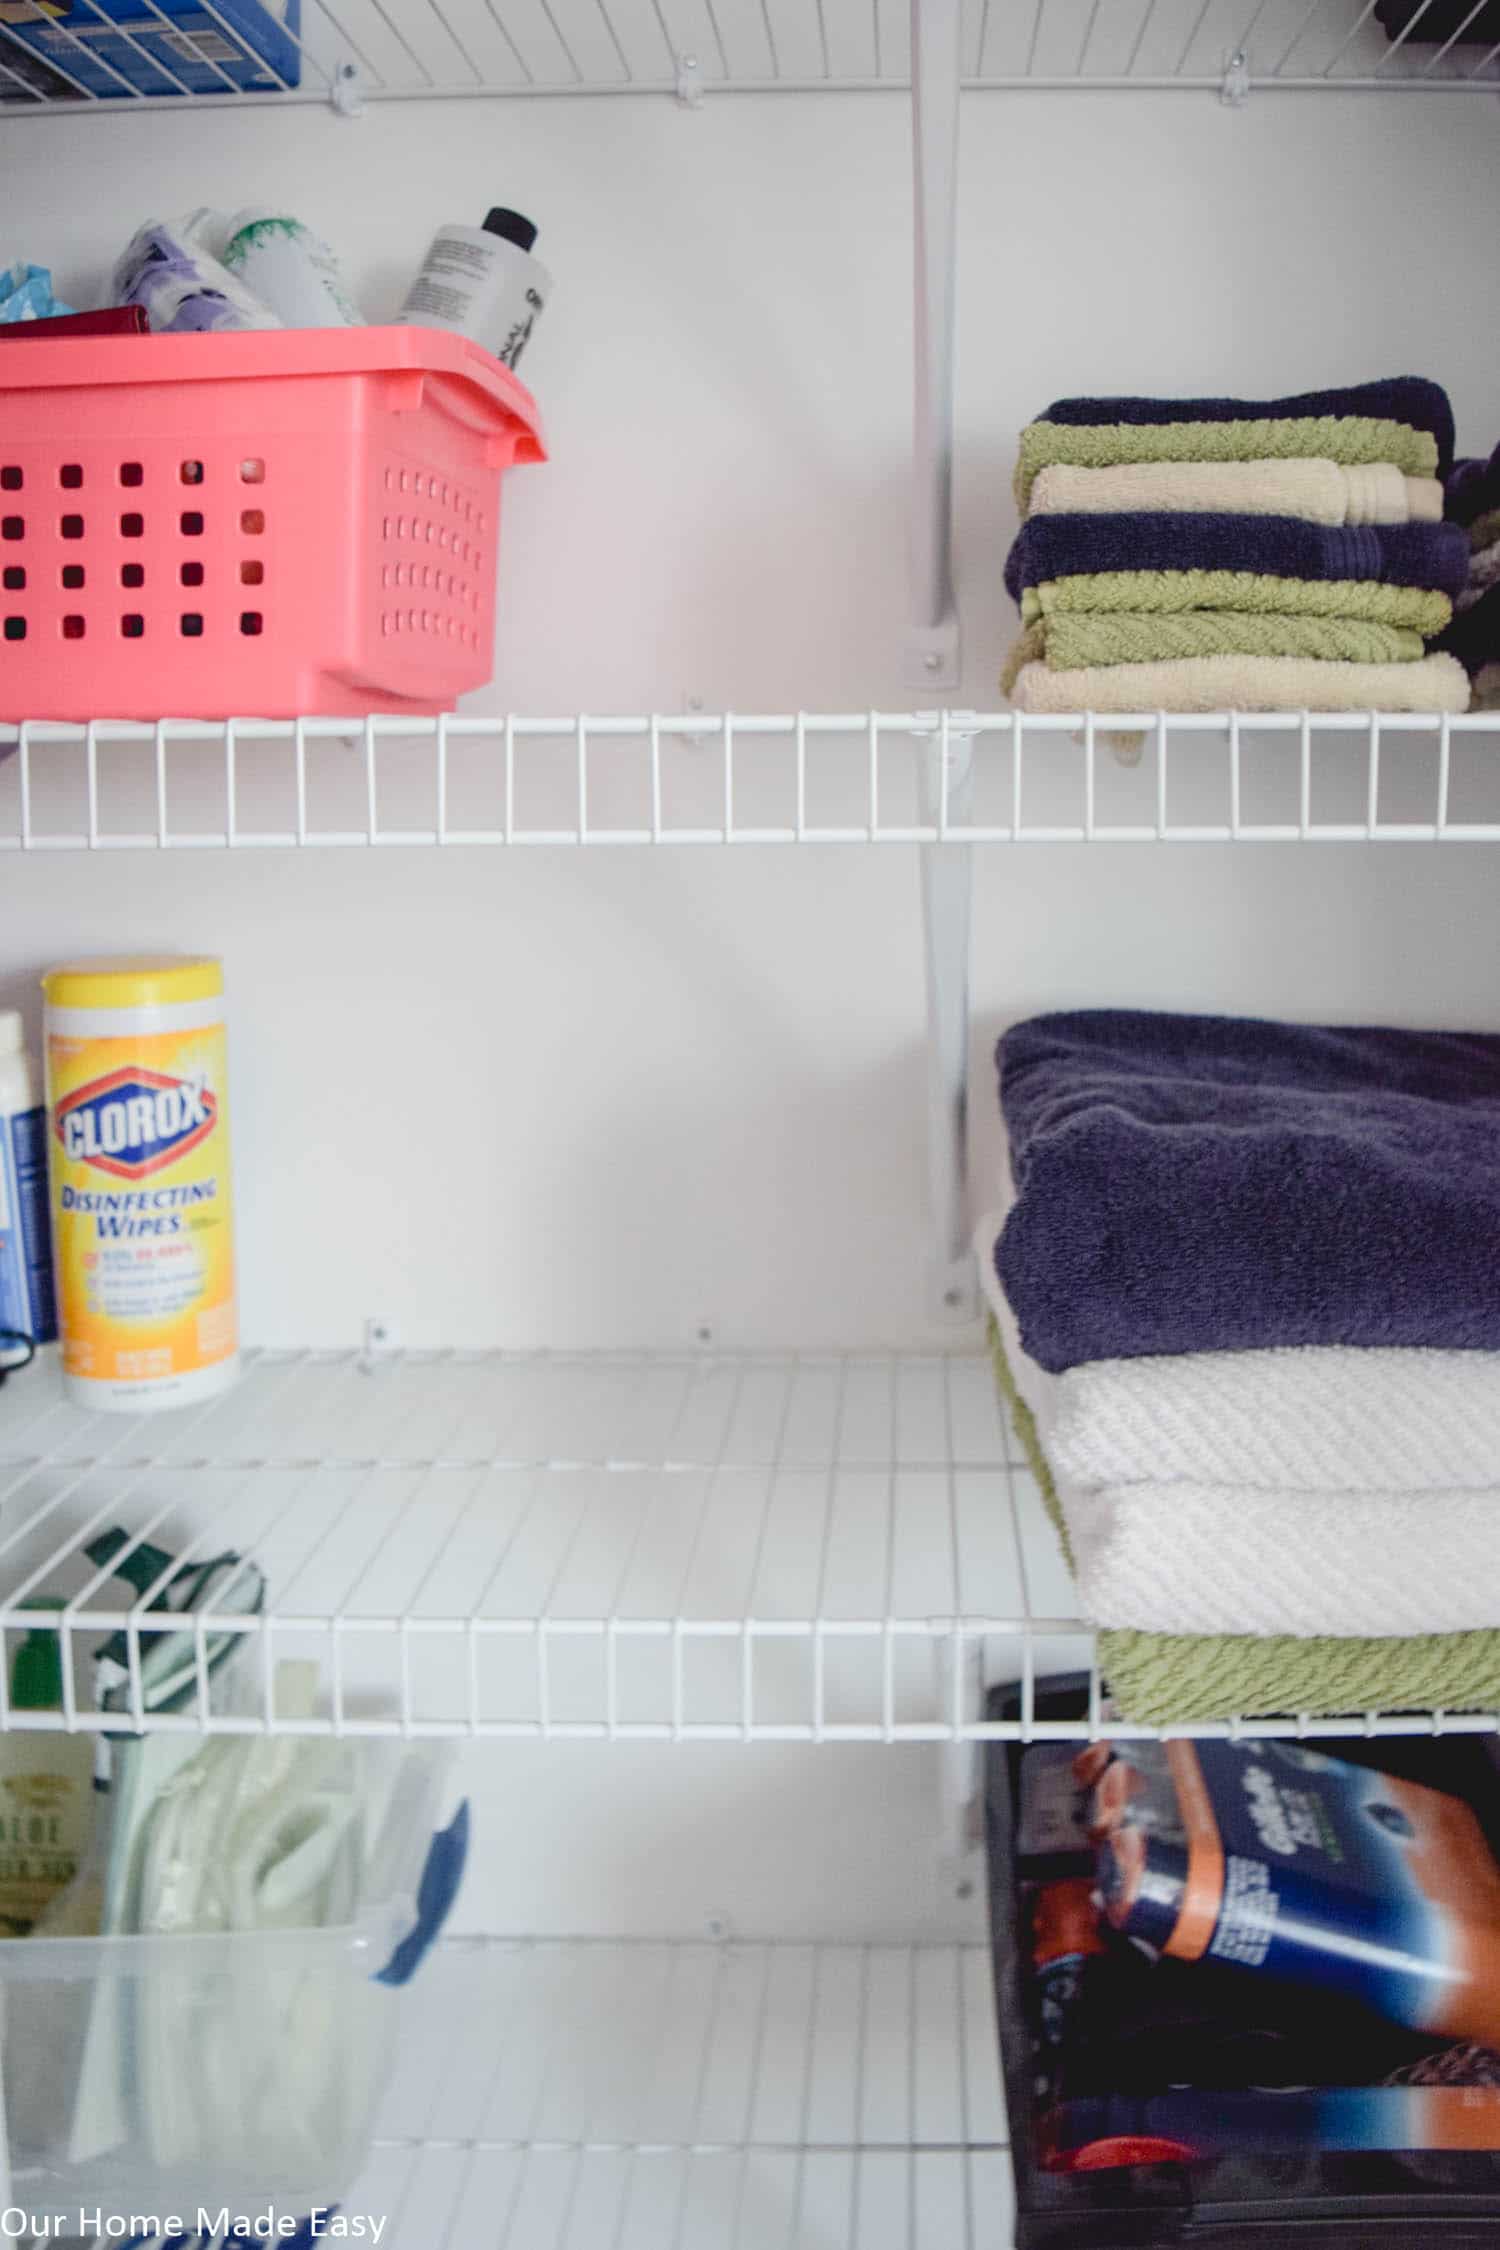
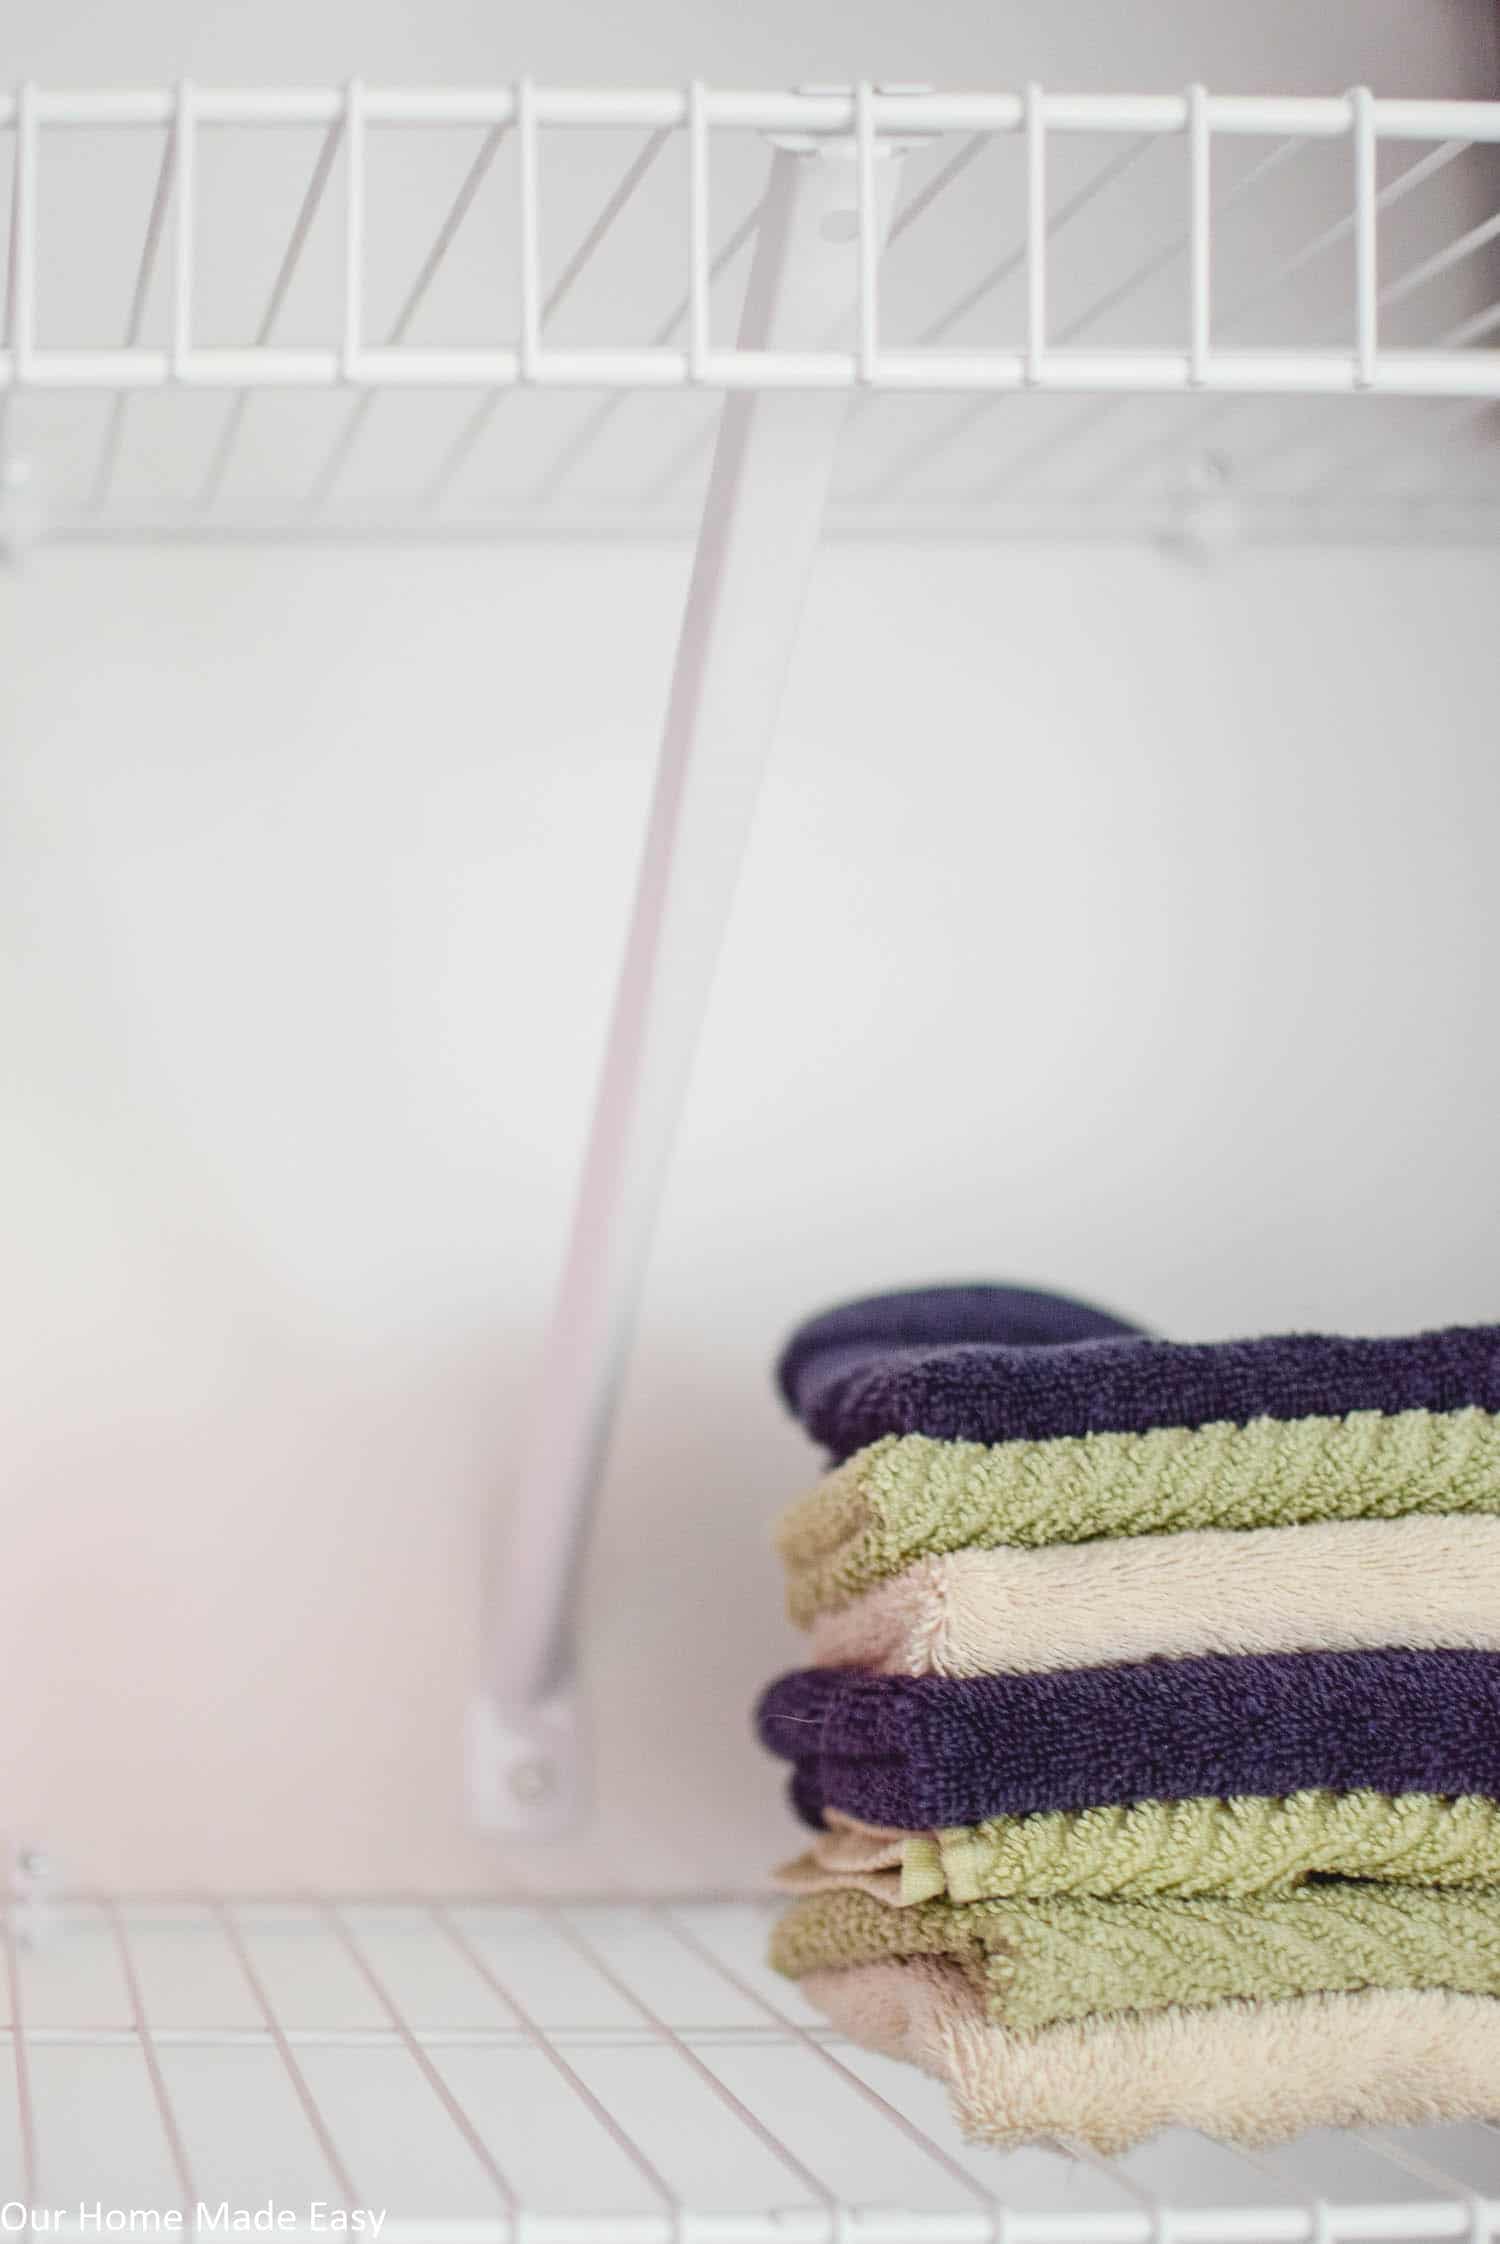
And those towels? They are from our wedding and from previous moves around the country. We’ve loved them, but they were starting to show some major wear. I was hoping that we’d have enough money in the budget to sneak in a small set of new towels, too!
The current wire racks were about 12 inches deep and our towels hung awkwardly off the front of the lip. It wasn’t a deal breaker, but just one of those things that would’ve been nice to fix up since we were already planning to organize.
DIY Linen Closet Shelving for $60
We ended up building custom shelving for the closet for less than $60!
And here is how we did it.
First, we removed all the existing wire racking and supports. Then we filled in the existing anchor holes. Once they were filled, Jordan sanded and painted the closet a bright white.
Next up it was time to find shelving that fit the entire space and would allow us to use the entire shelf, not have supports in the way. We didn’t want to pay for custom shelving from a shelving store, so we decided to DIY this part.
Jordan bought 15 inch deep by 8 foot wide MDF shelves. We found them at a local hardware store, Menard’s. They cost about $11 apiece! We picked up 5 shelves to replace the 5 levels we were already using.
Using both a table saw & circular saw, he cut them down to fit into the depth of the closet and the width needed.
When you are going to do this, measure each shelving level’s dimension to account for any measurement changes. While you may think your levels should be the same dimensions, you’ll be surprised at the variability.
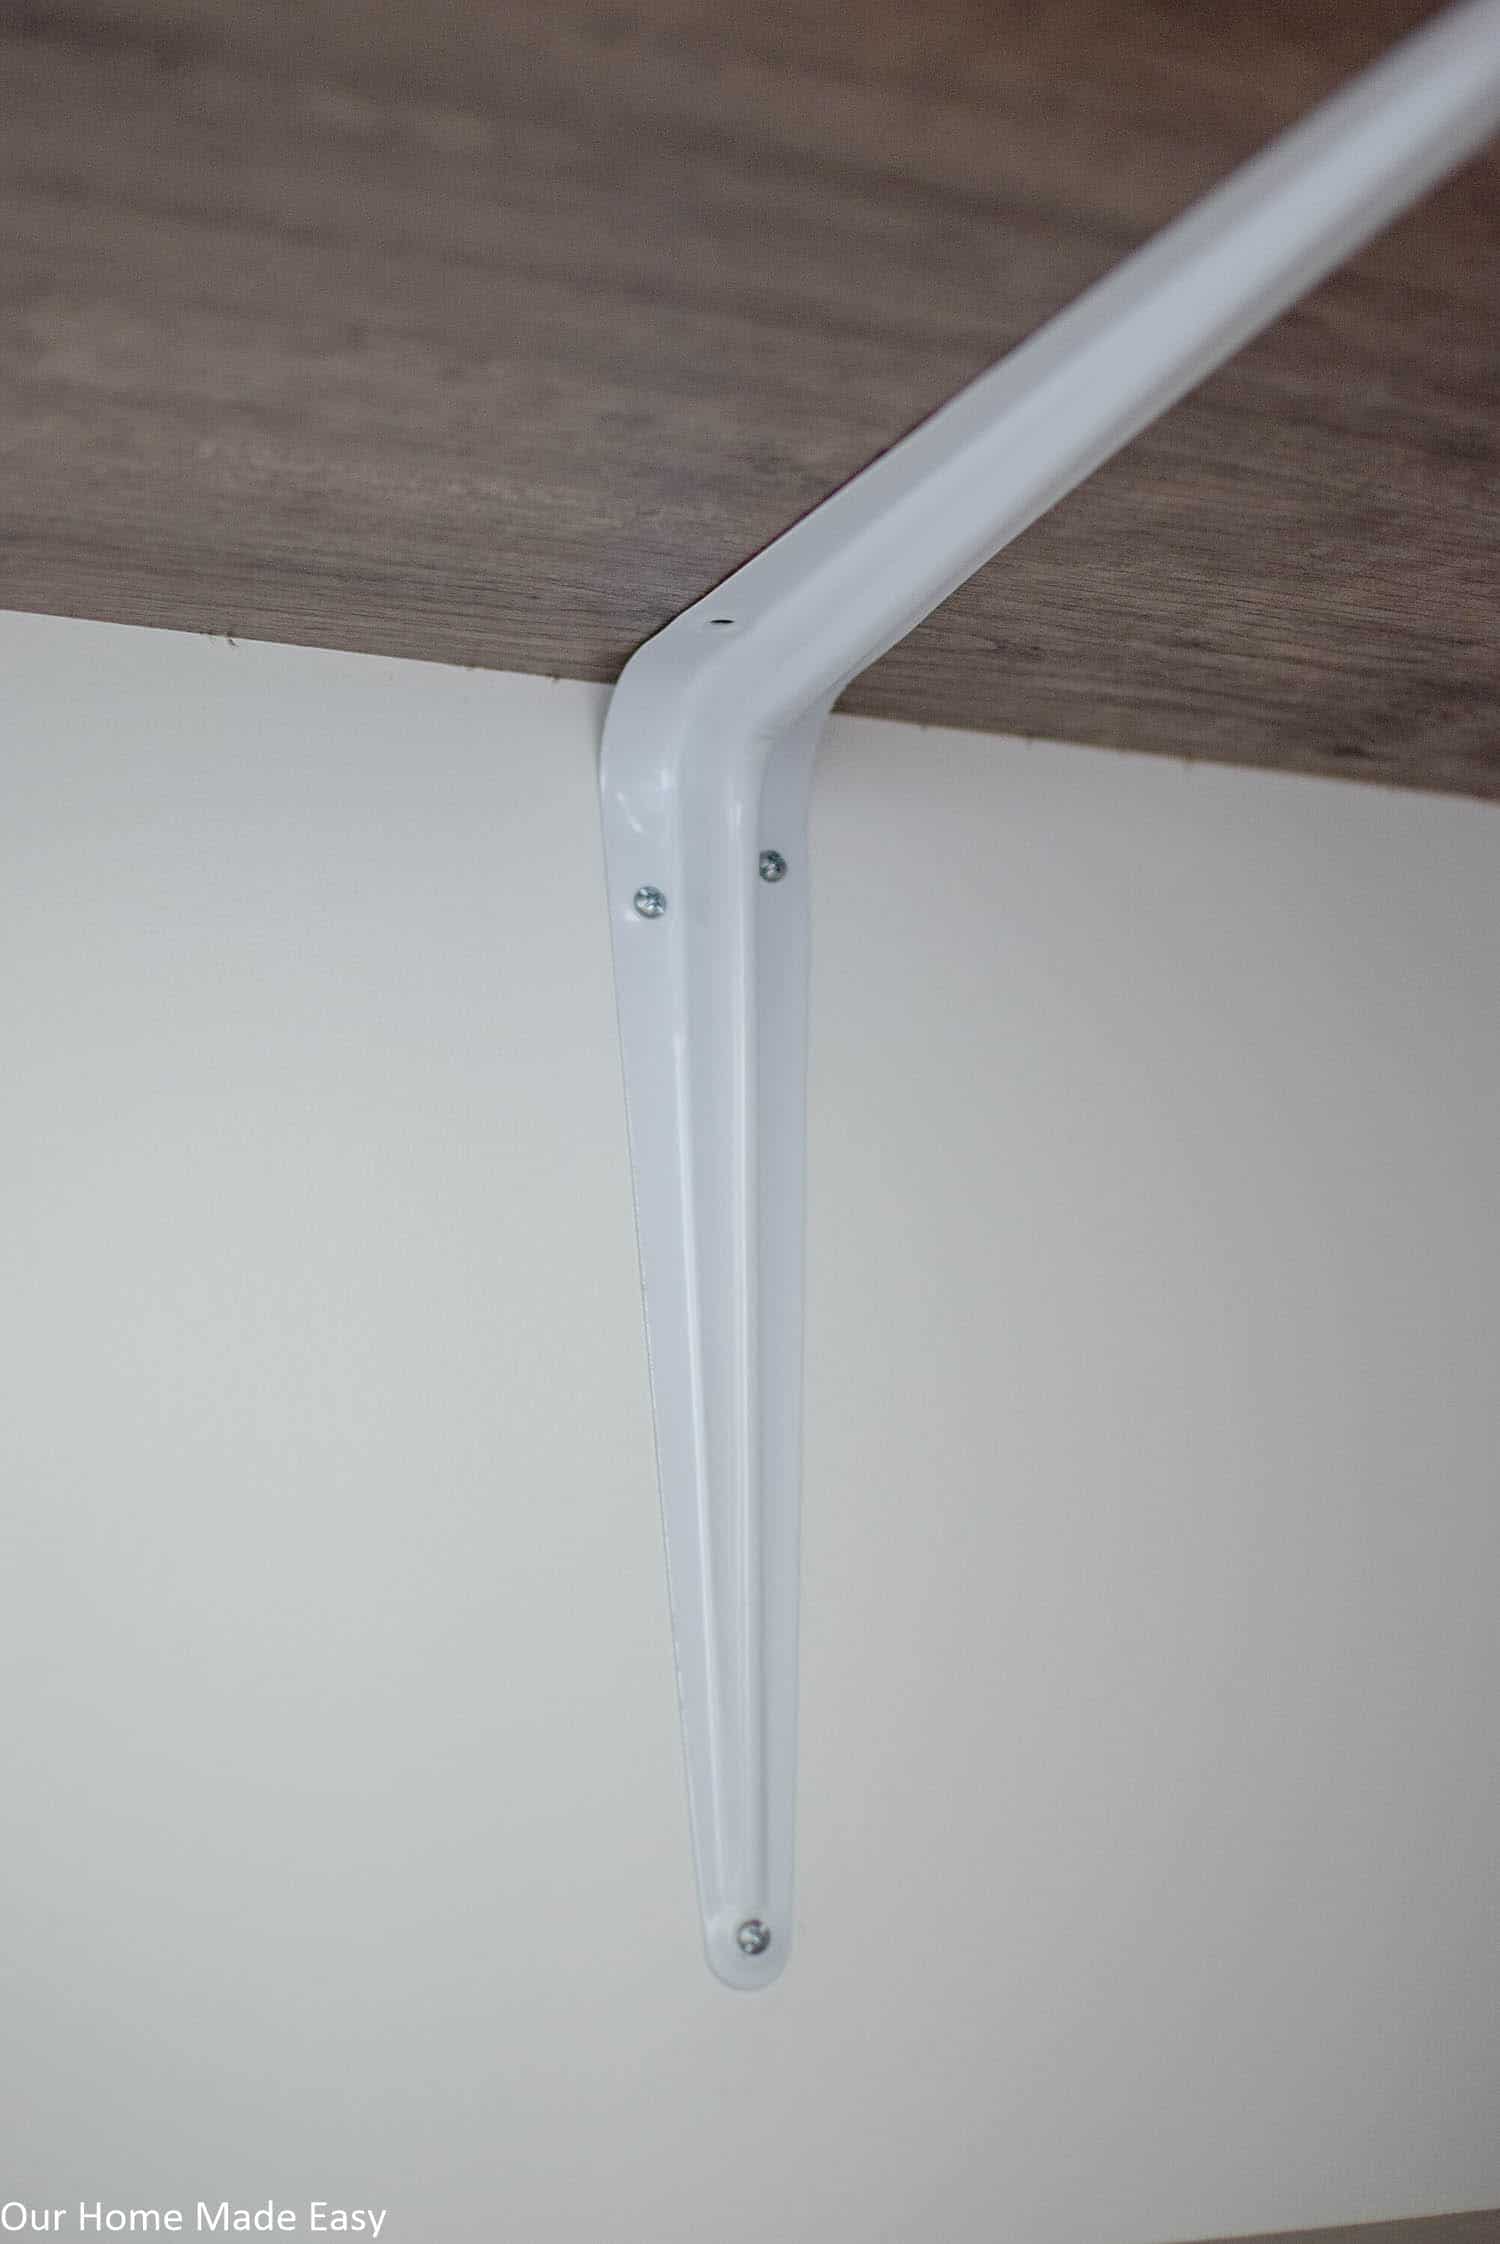
He then installed these brackets across the levels to support the shelves but without taking any space.
Wondering what the linen closet looks like now?
The Linen Closet Before….
and
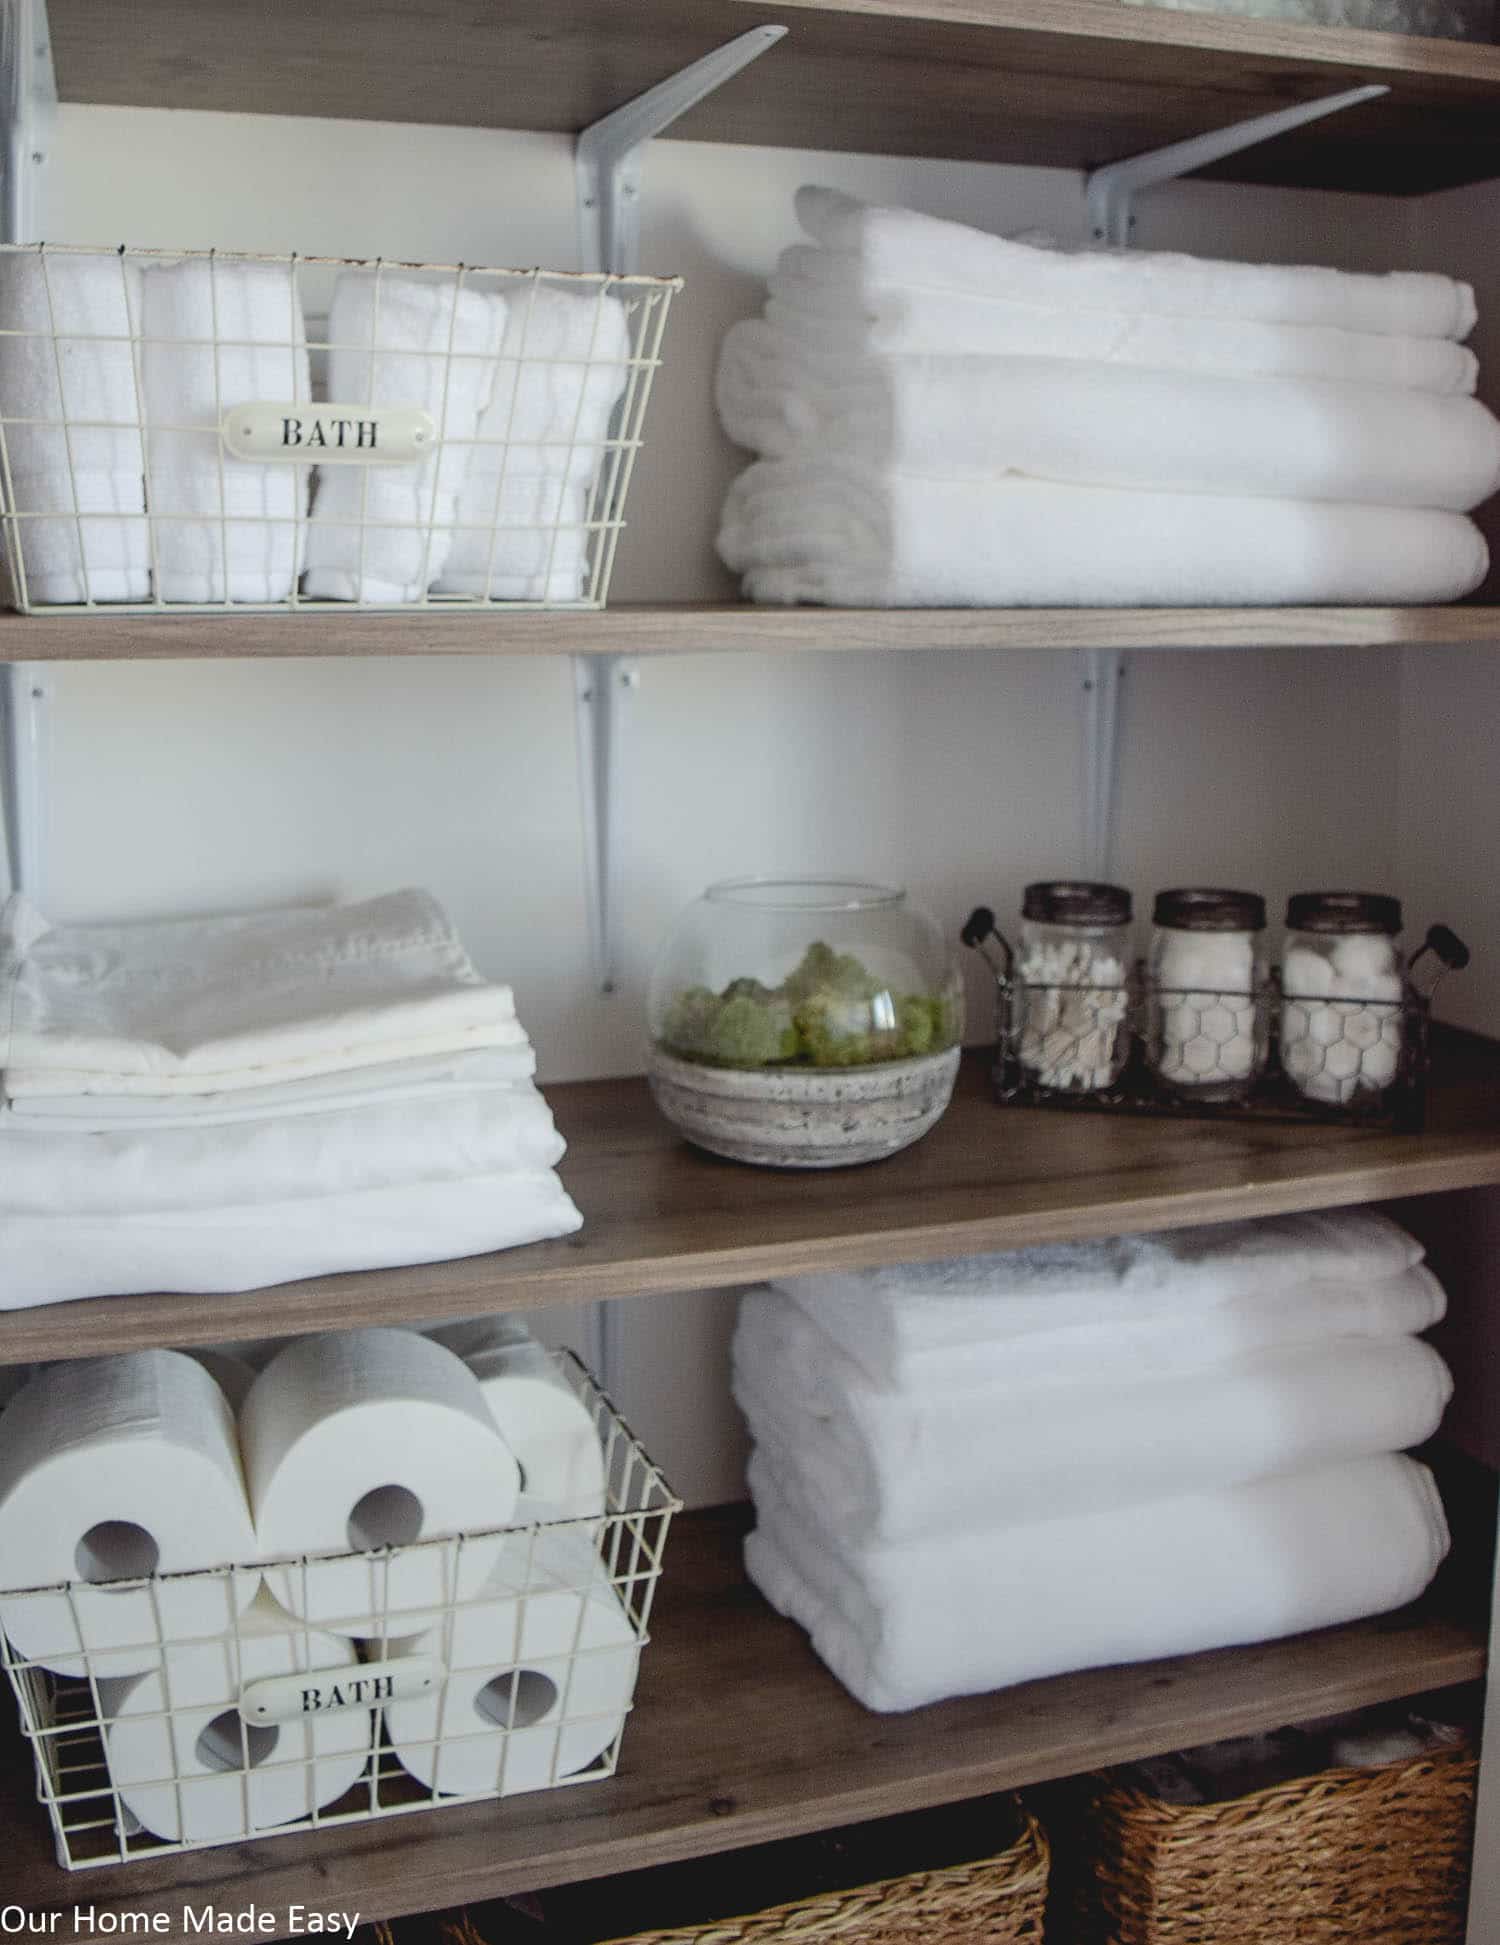
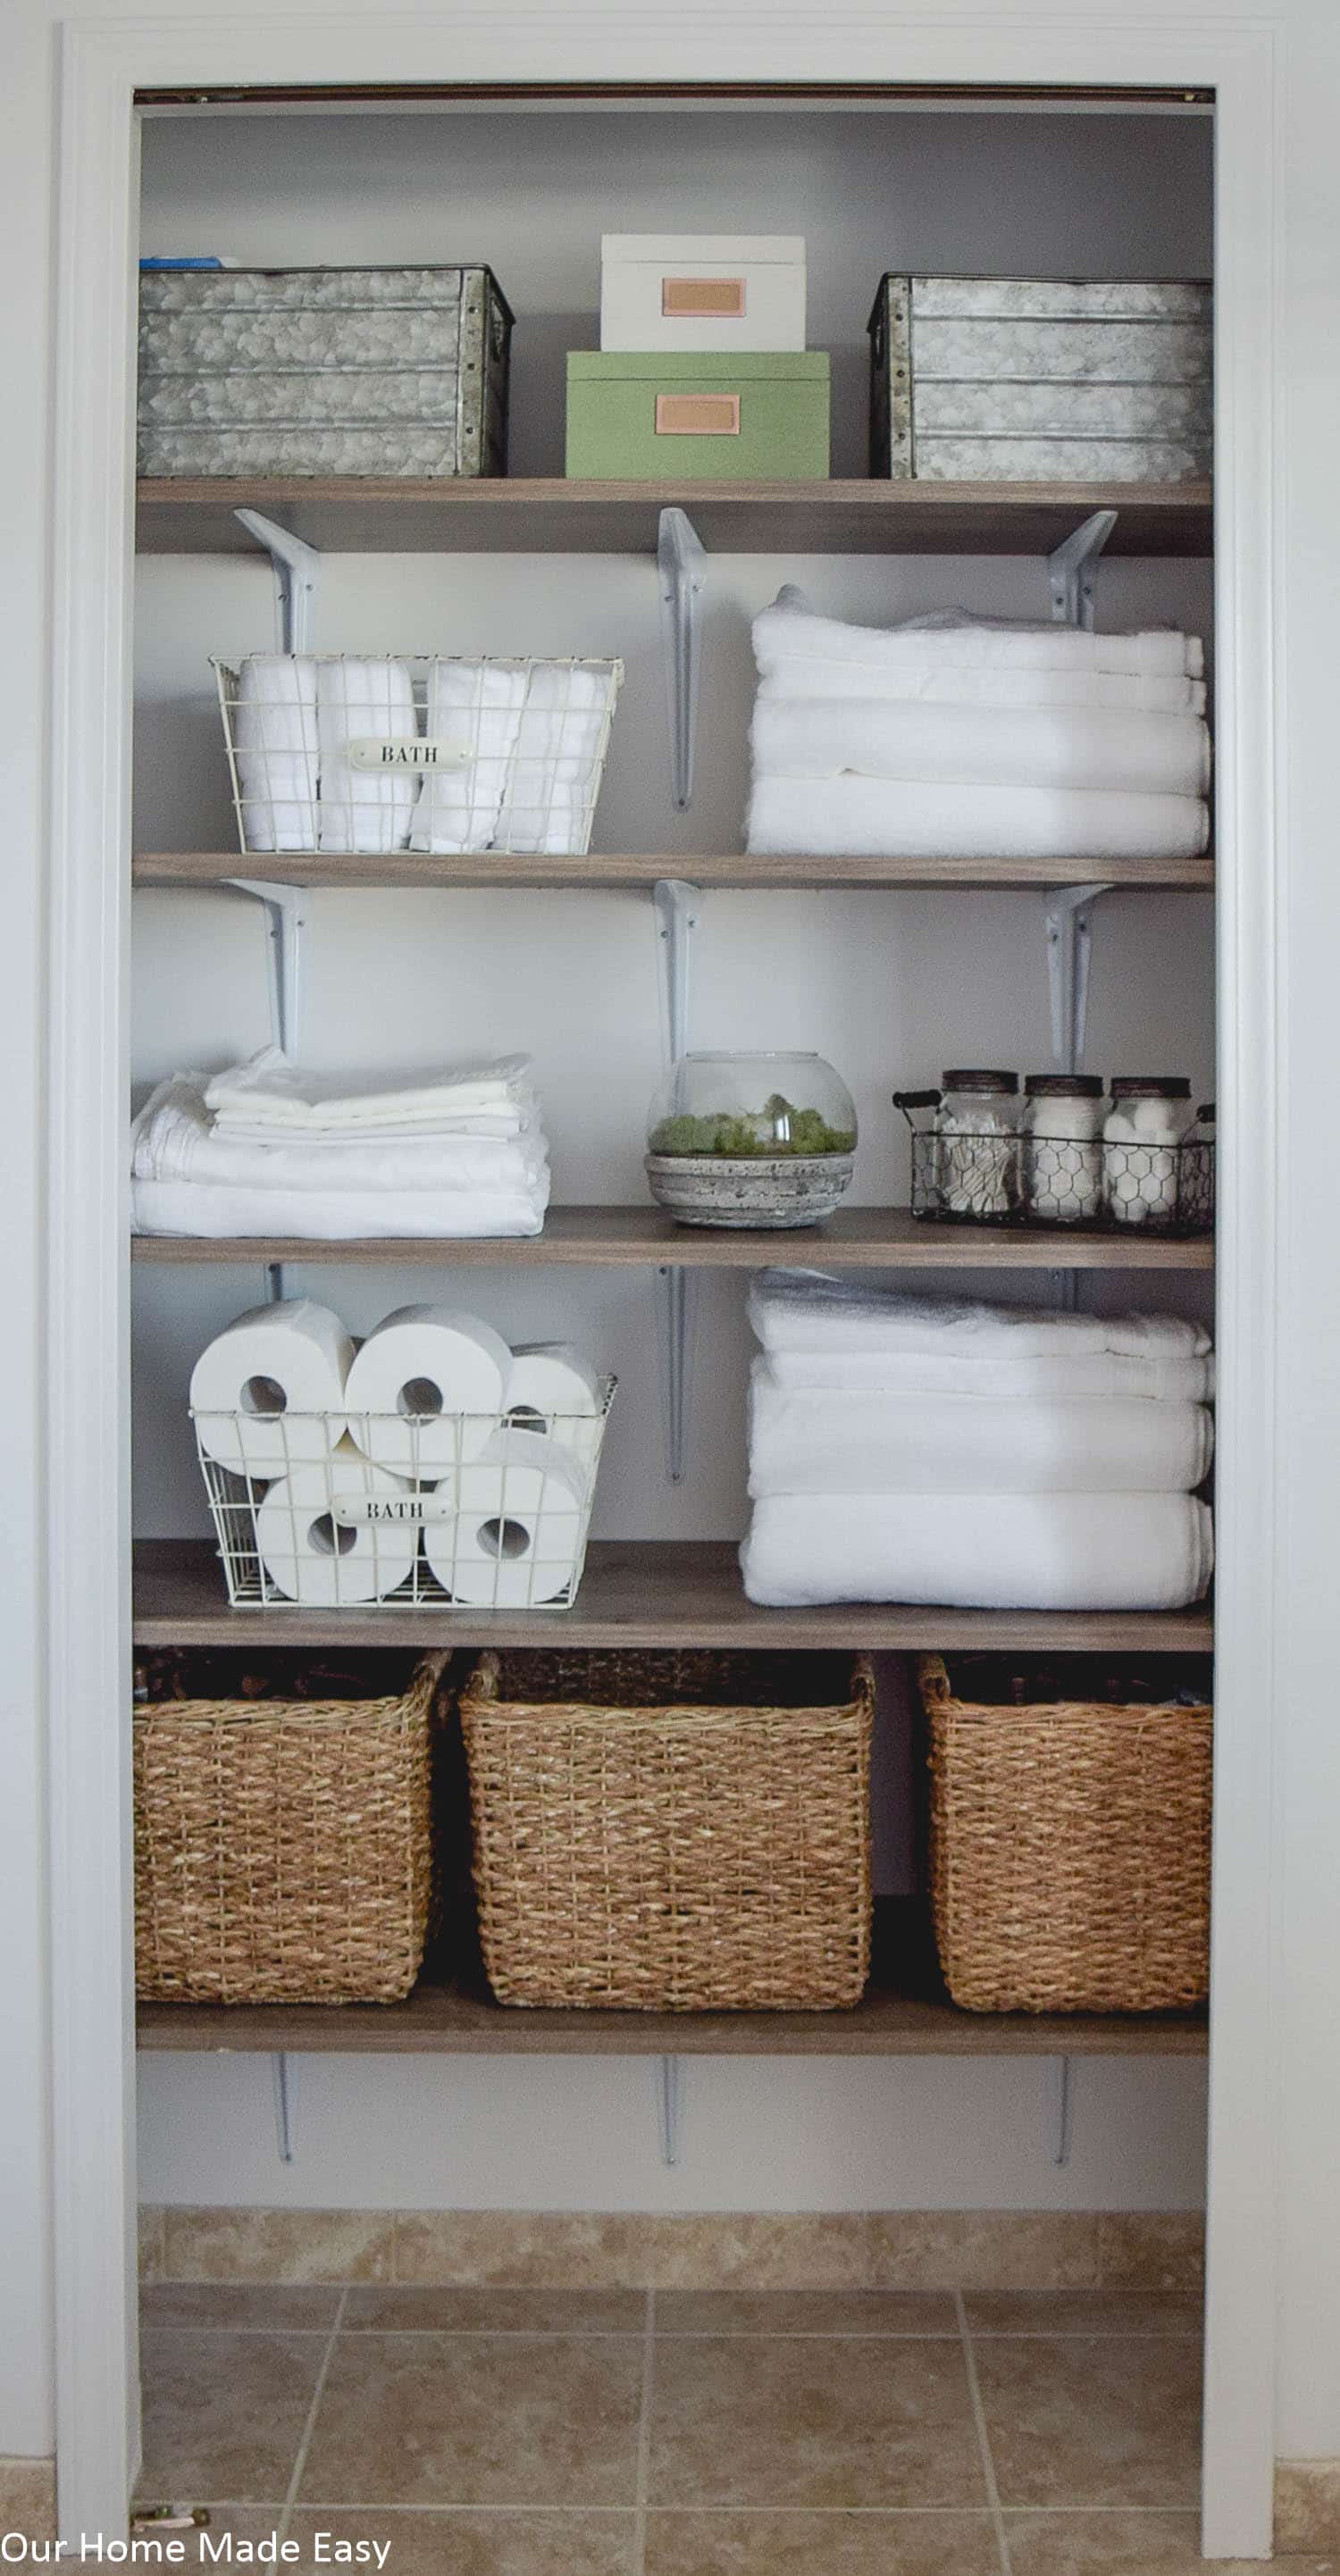
After!
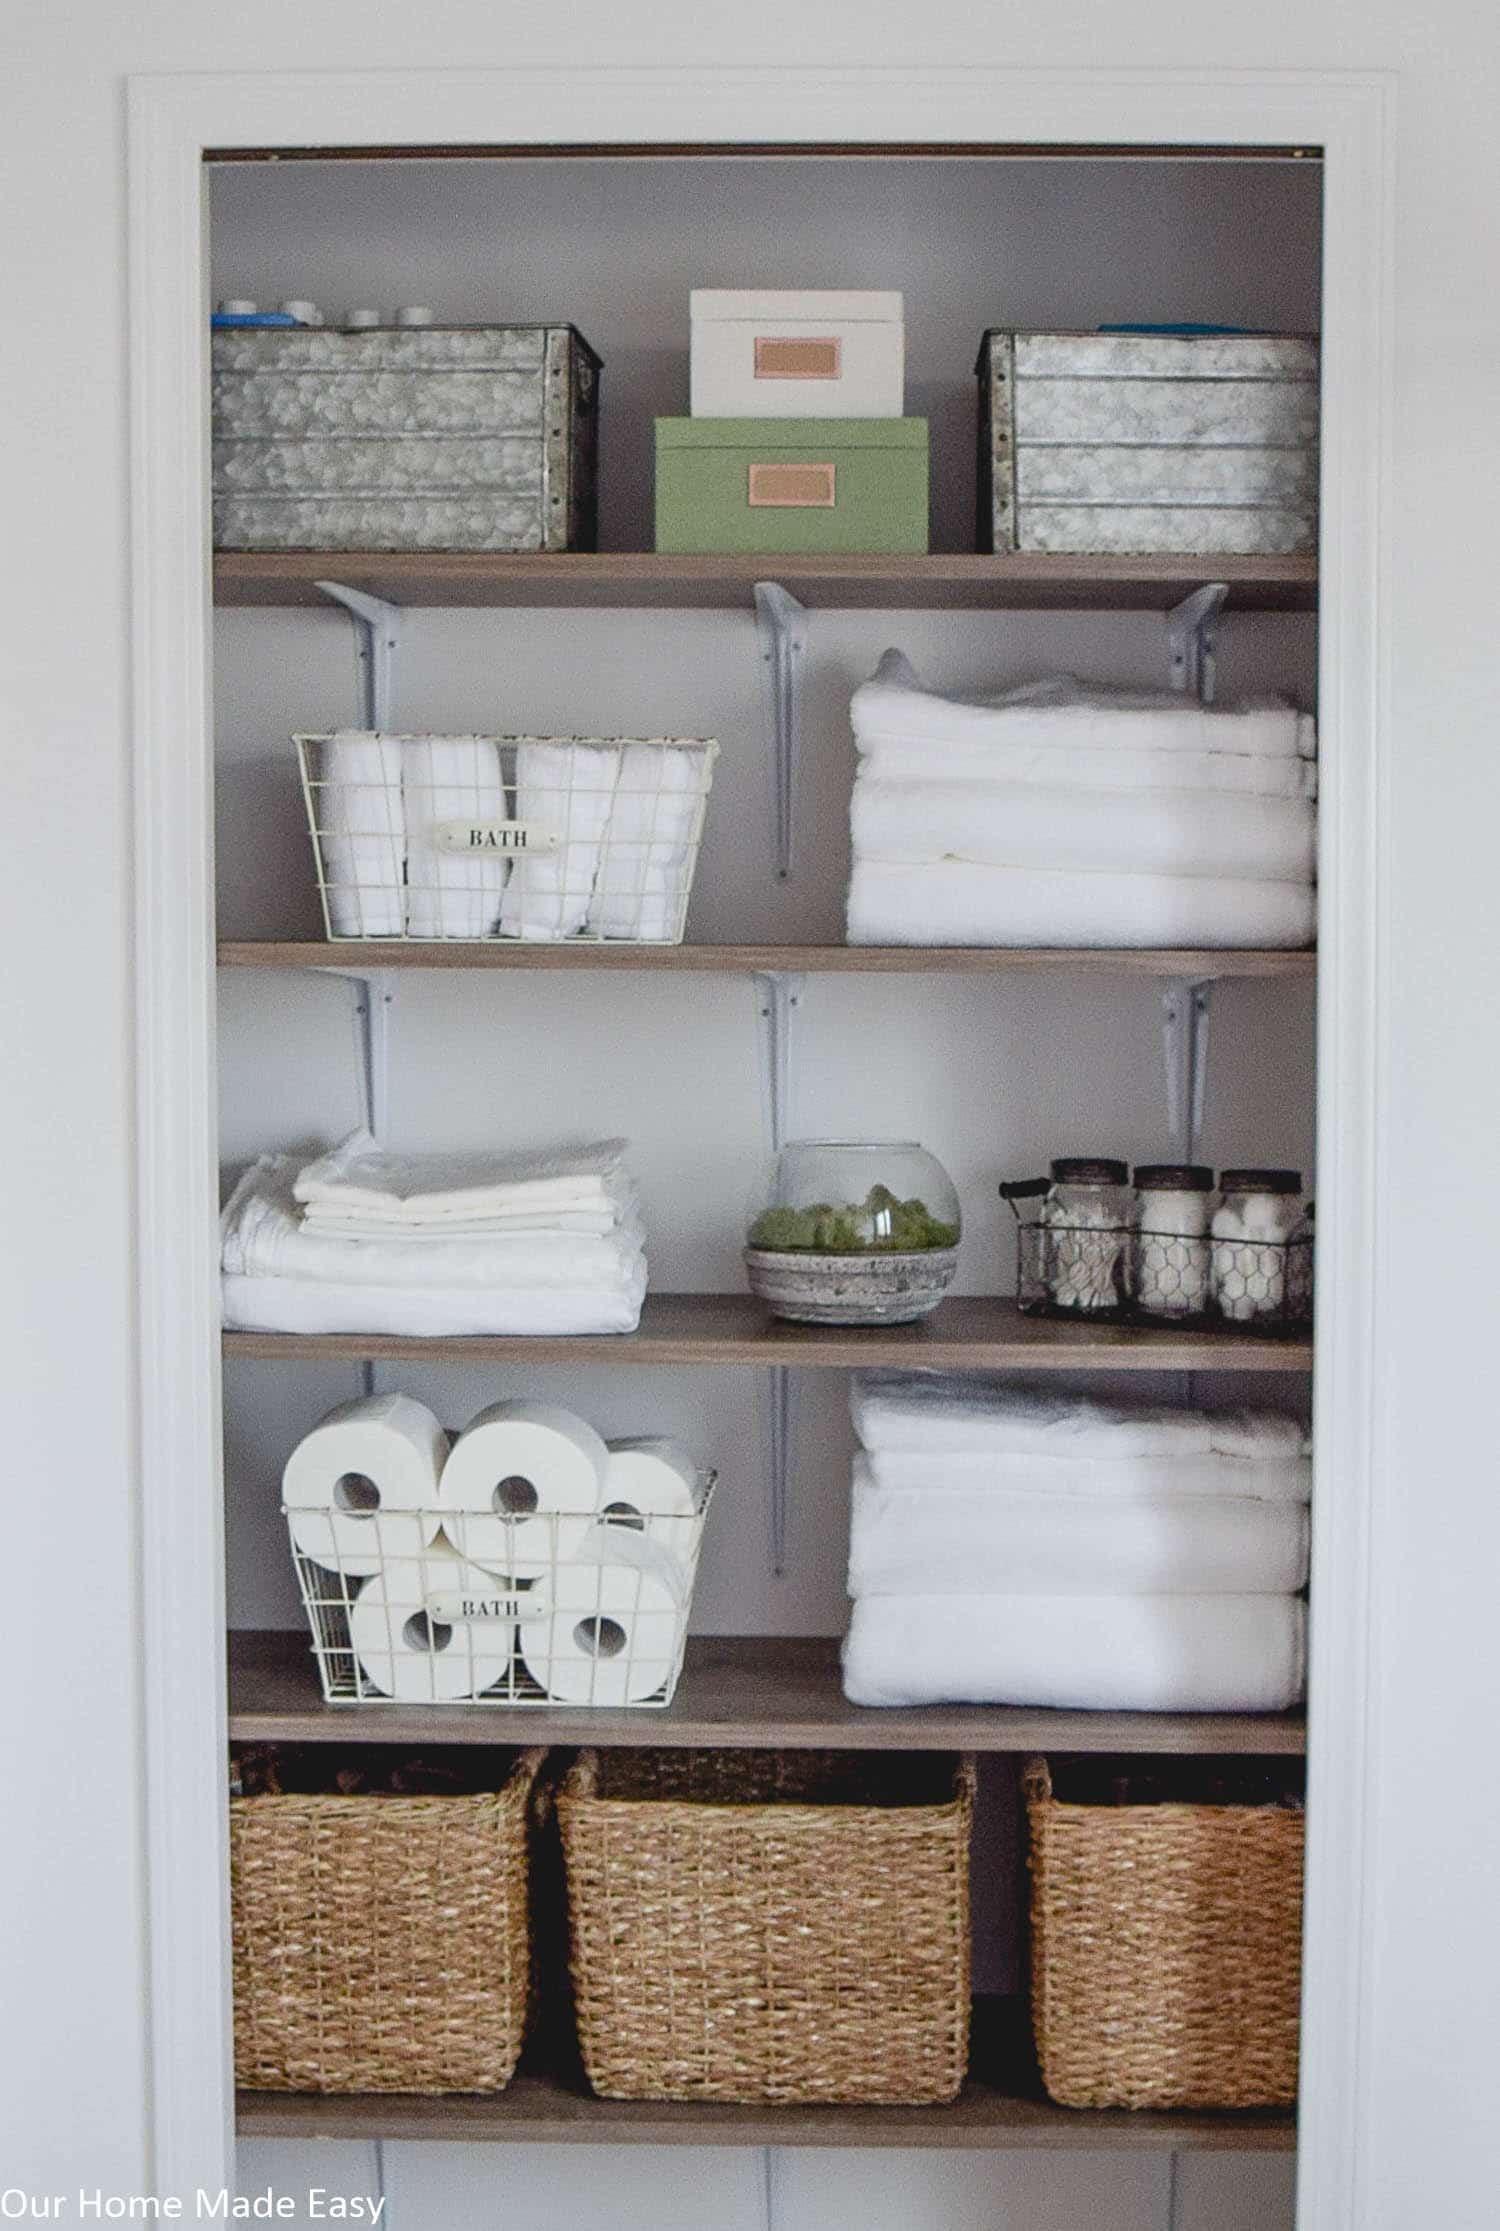
What a change! I am absolutely giddy with having bins that are cute & functional.
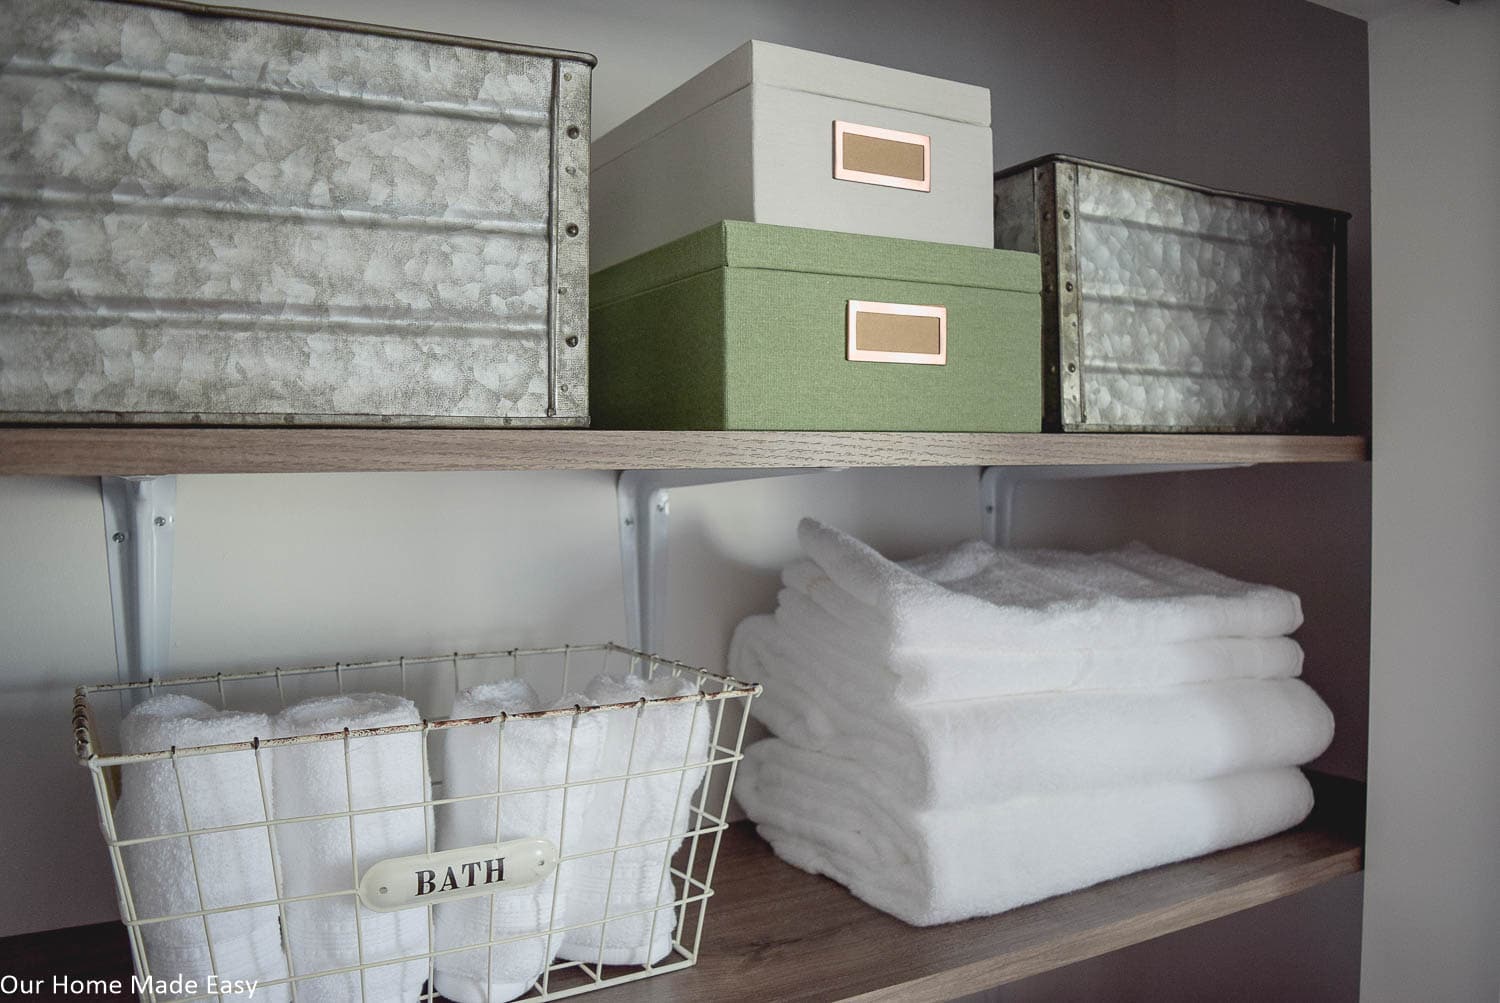
I found the galvanized metal storage bins from World Market. They are sturdy to hold all my dry shampoo bottles and other health care items, but light enough to stack on the shelves.
Confession: Jordan & I decluttered an entire garbage bag full of stuff out of this closet. Everything that remained are items we regularly use or came from a mega pack from Costco & Sam’s Club (yes, we have a membership to both)!
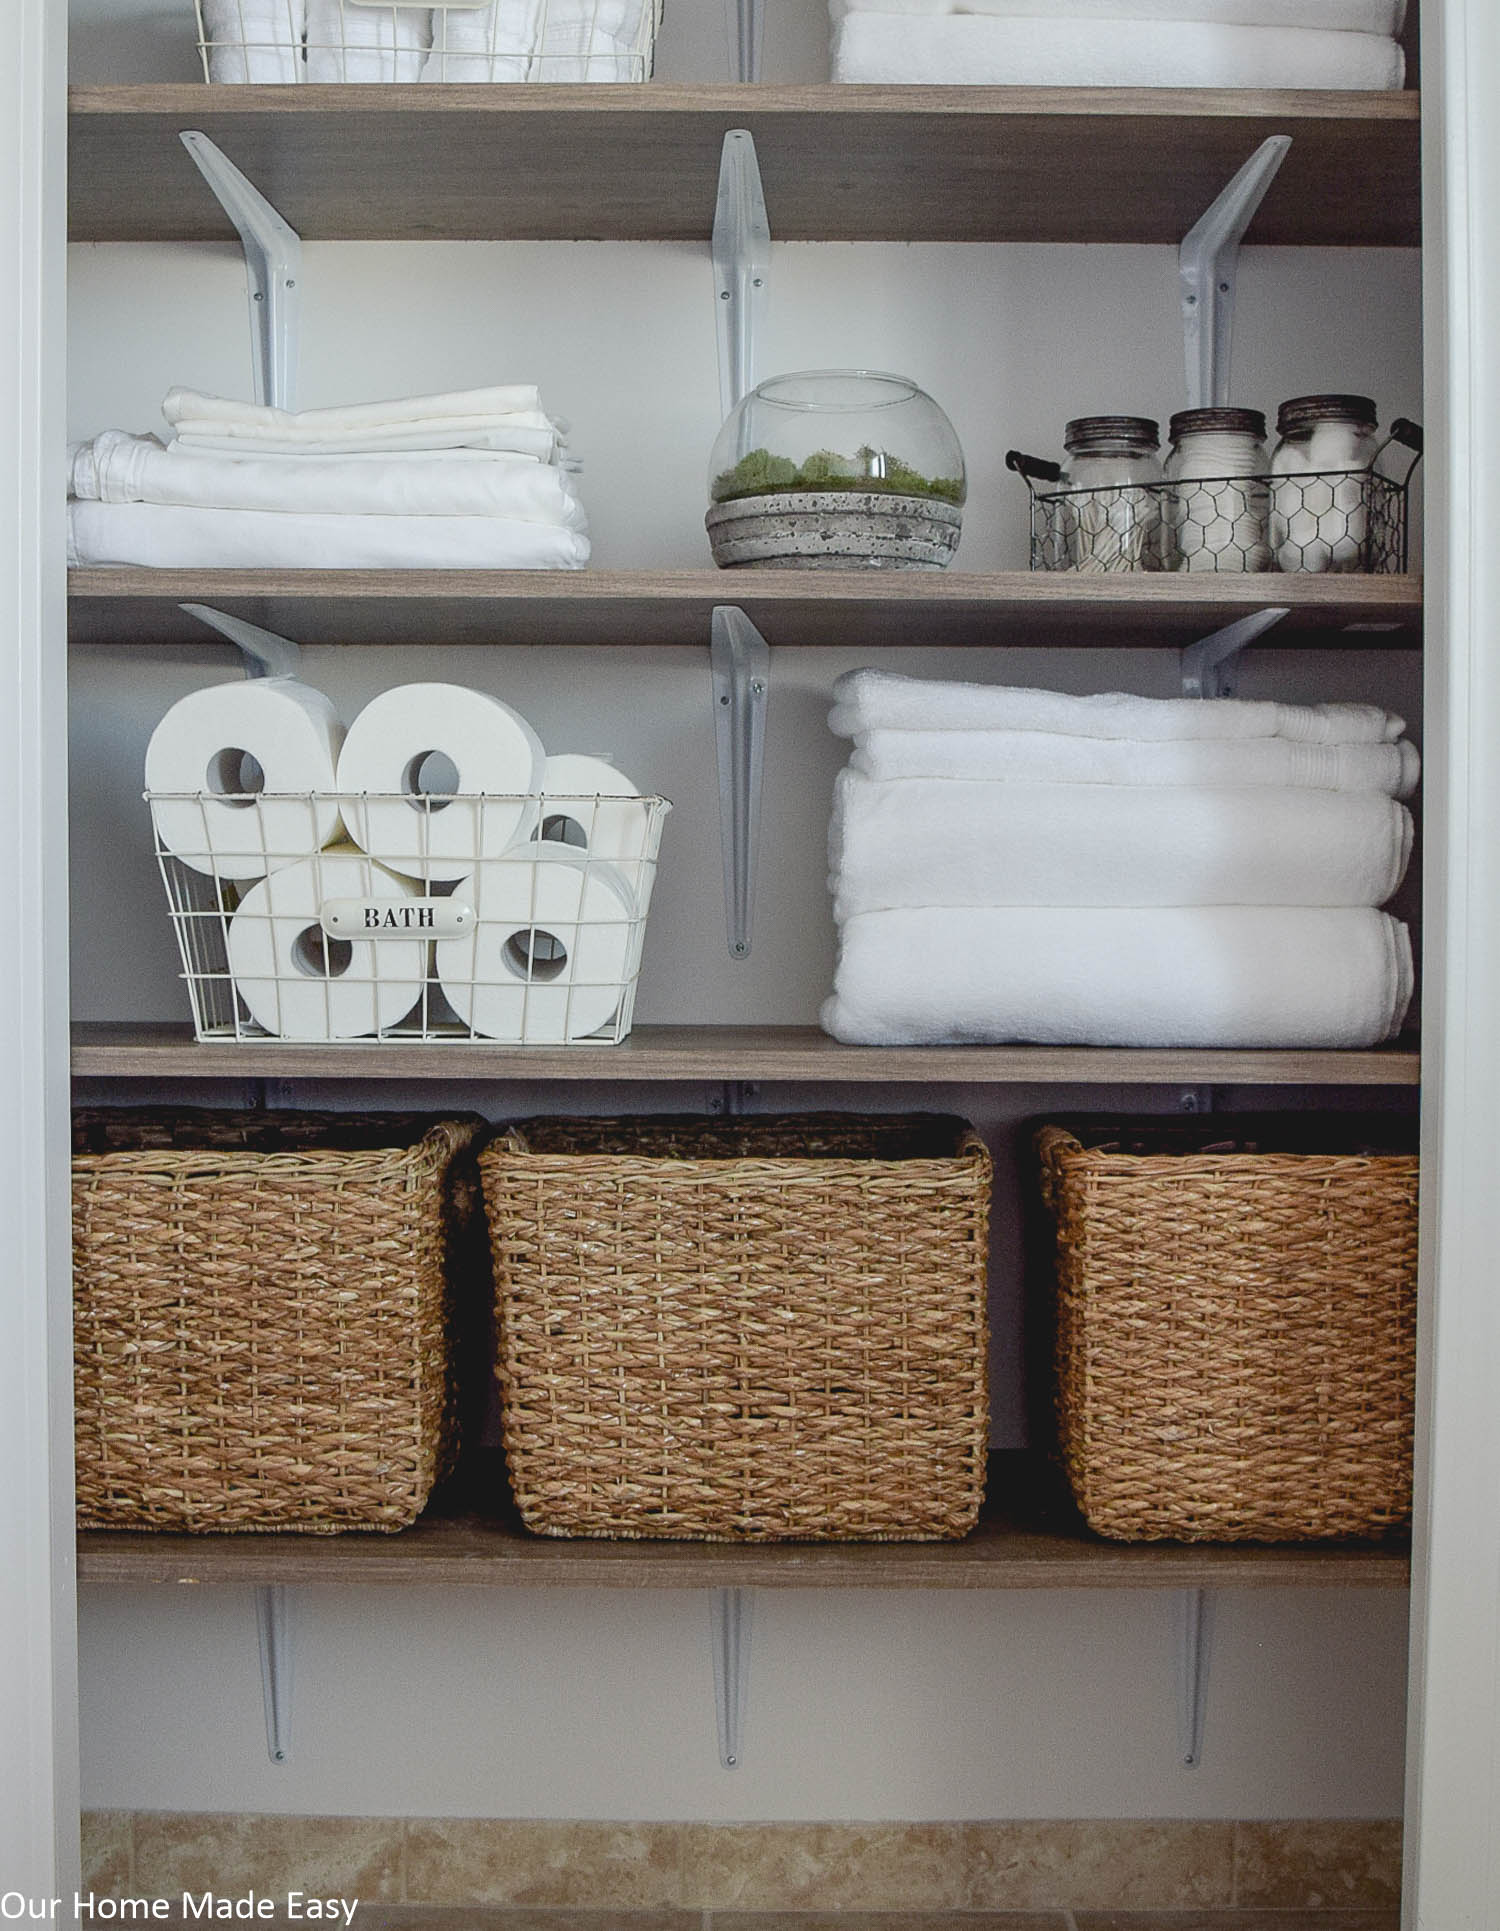
The wicker baskets on the bottom shelf hold the heavier items like body wash and large club-sized bottles. To keep them from scratching the new shelving, we are planning to add some clear plastic bumpers on the bottom of each basket.
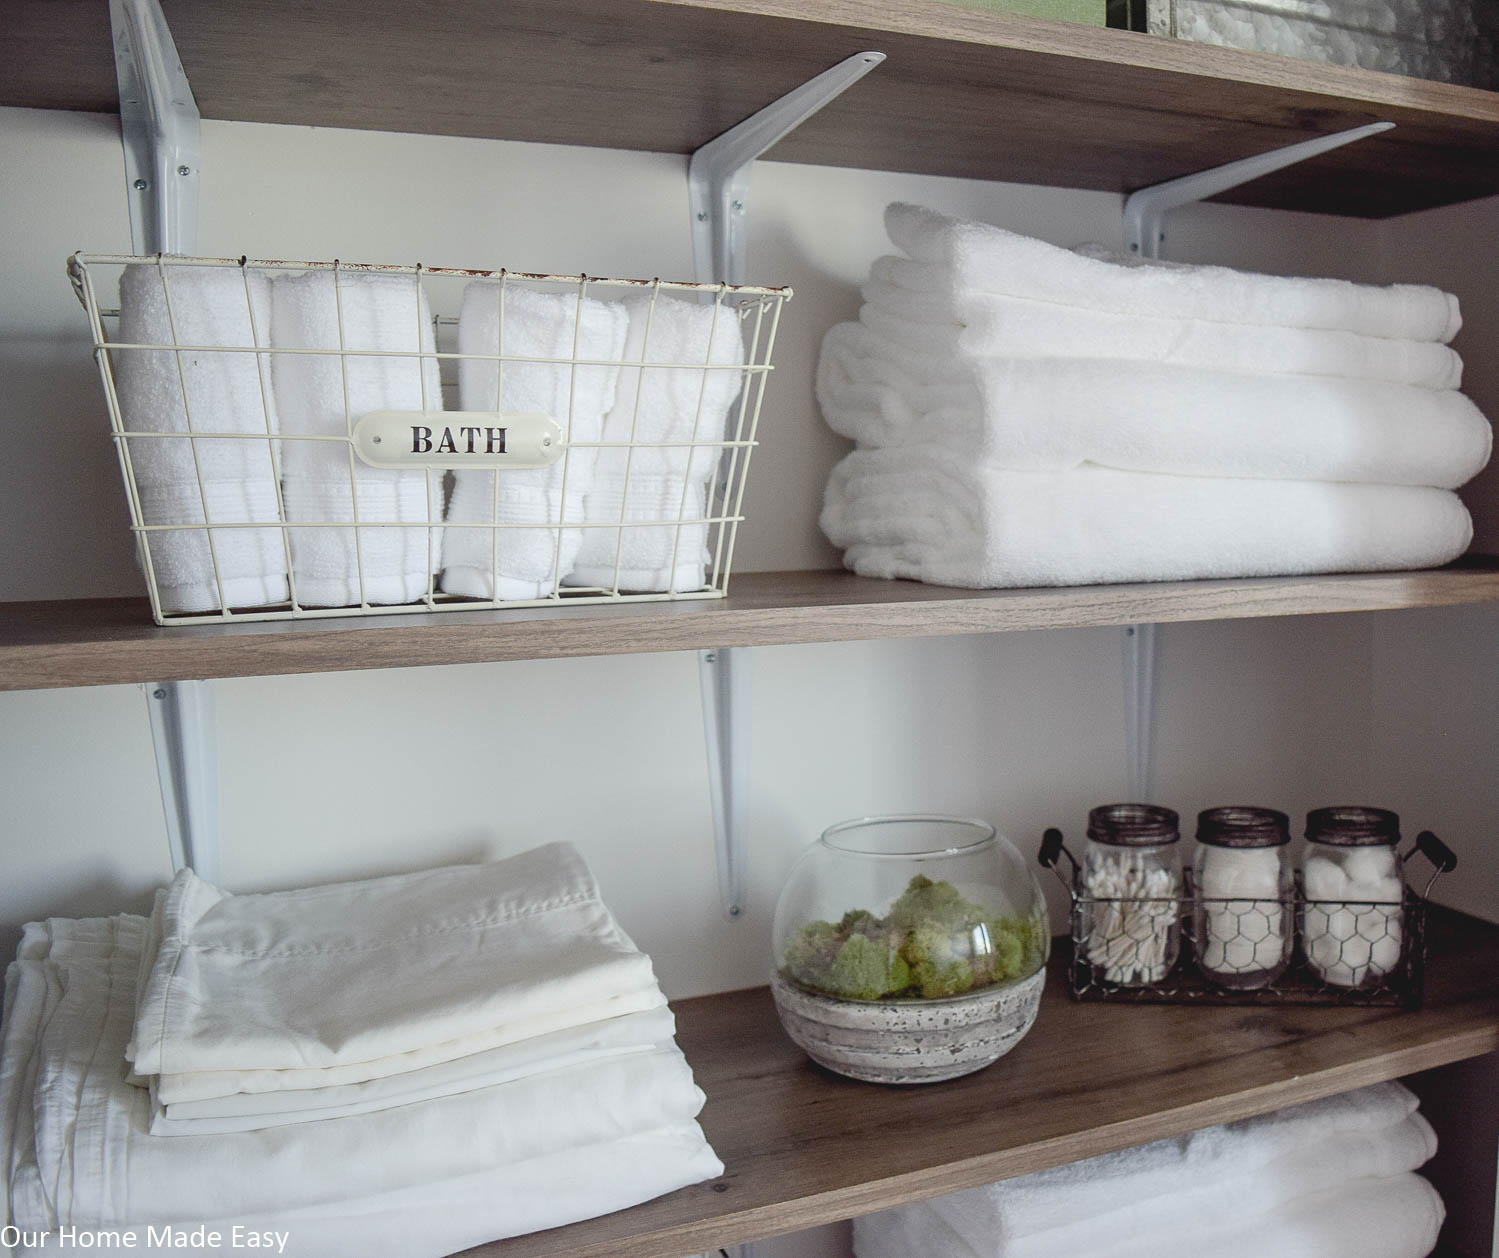
I found the ‘BATH’ wire baskets from World Market too. I love that they add some style and still keep everything in one place.
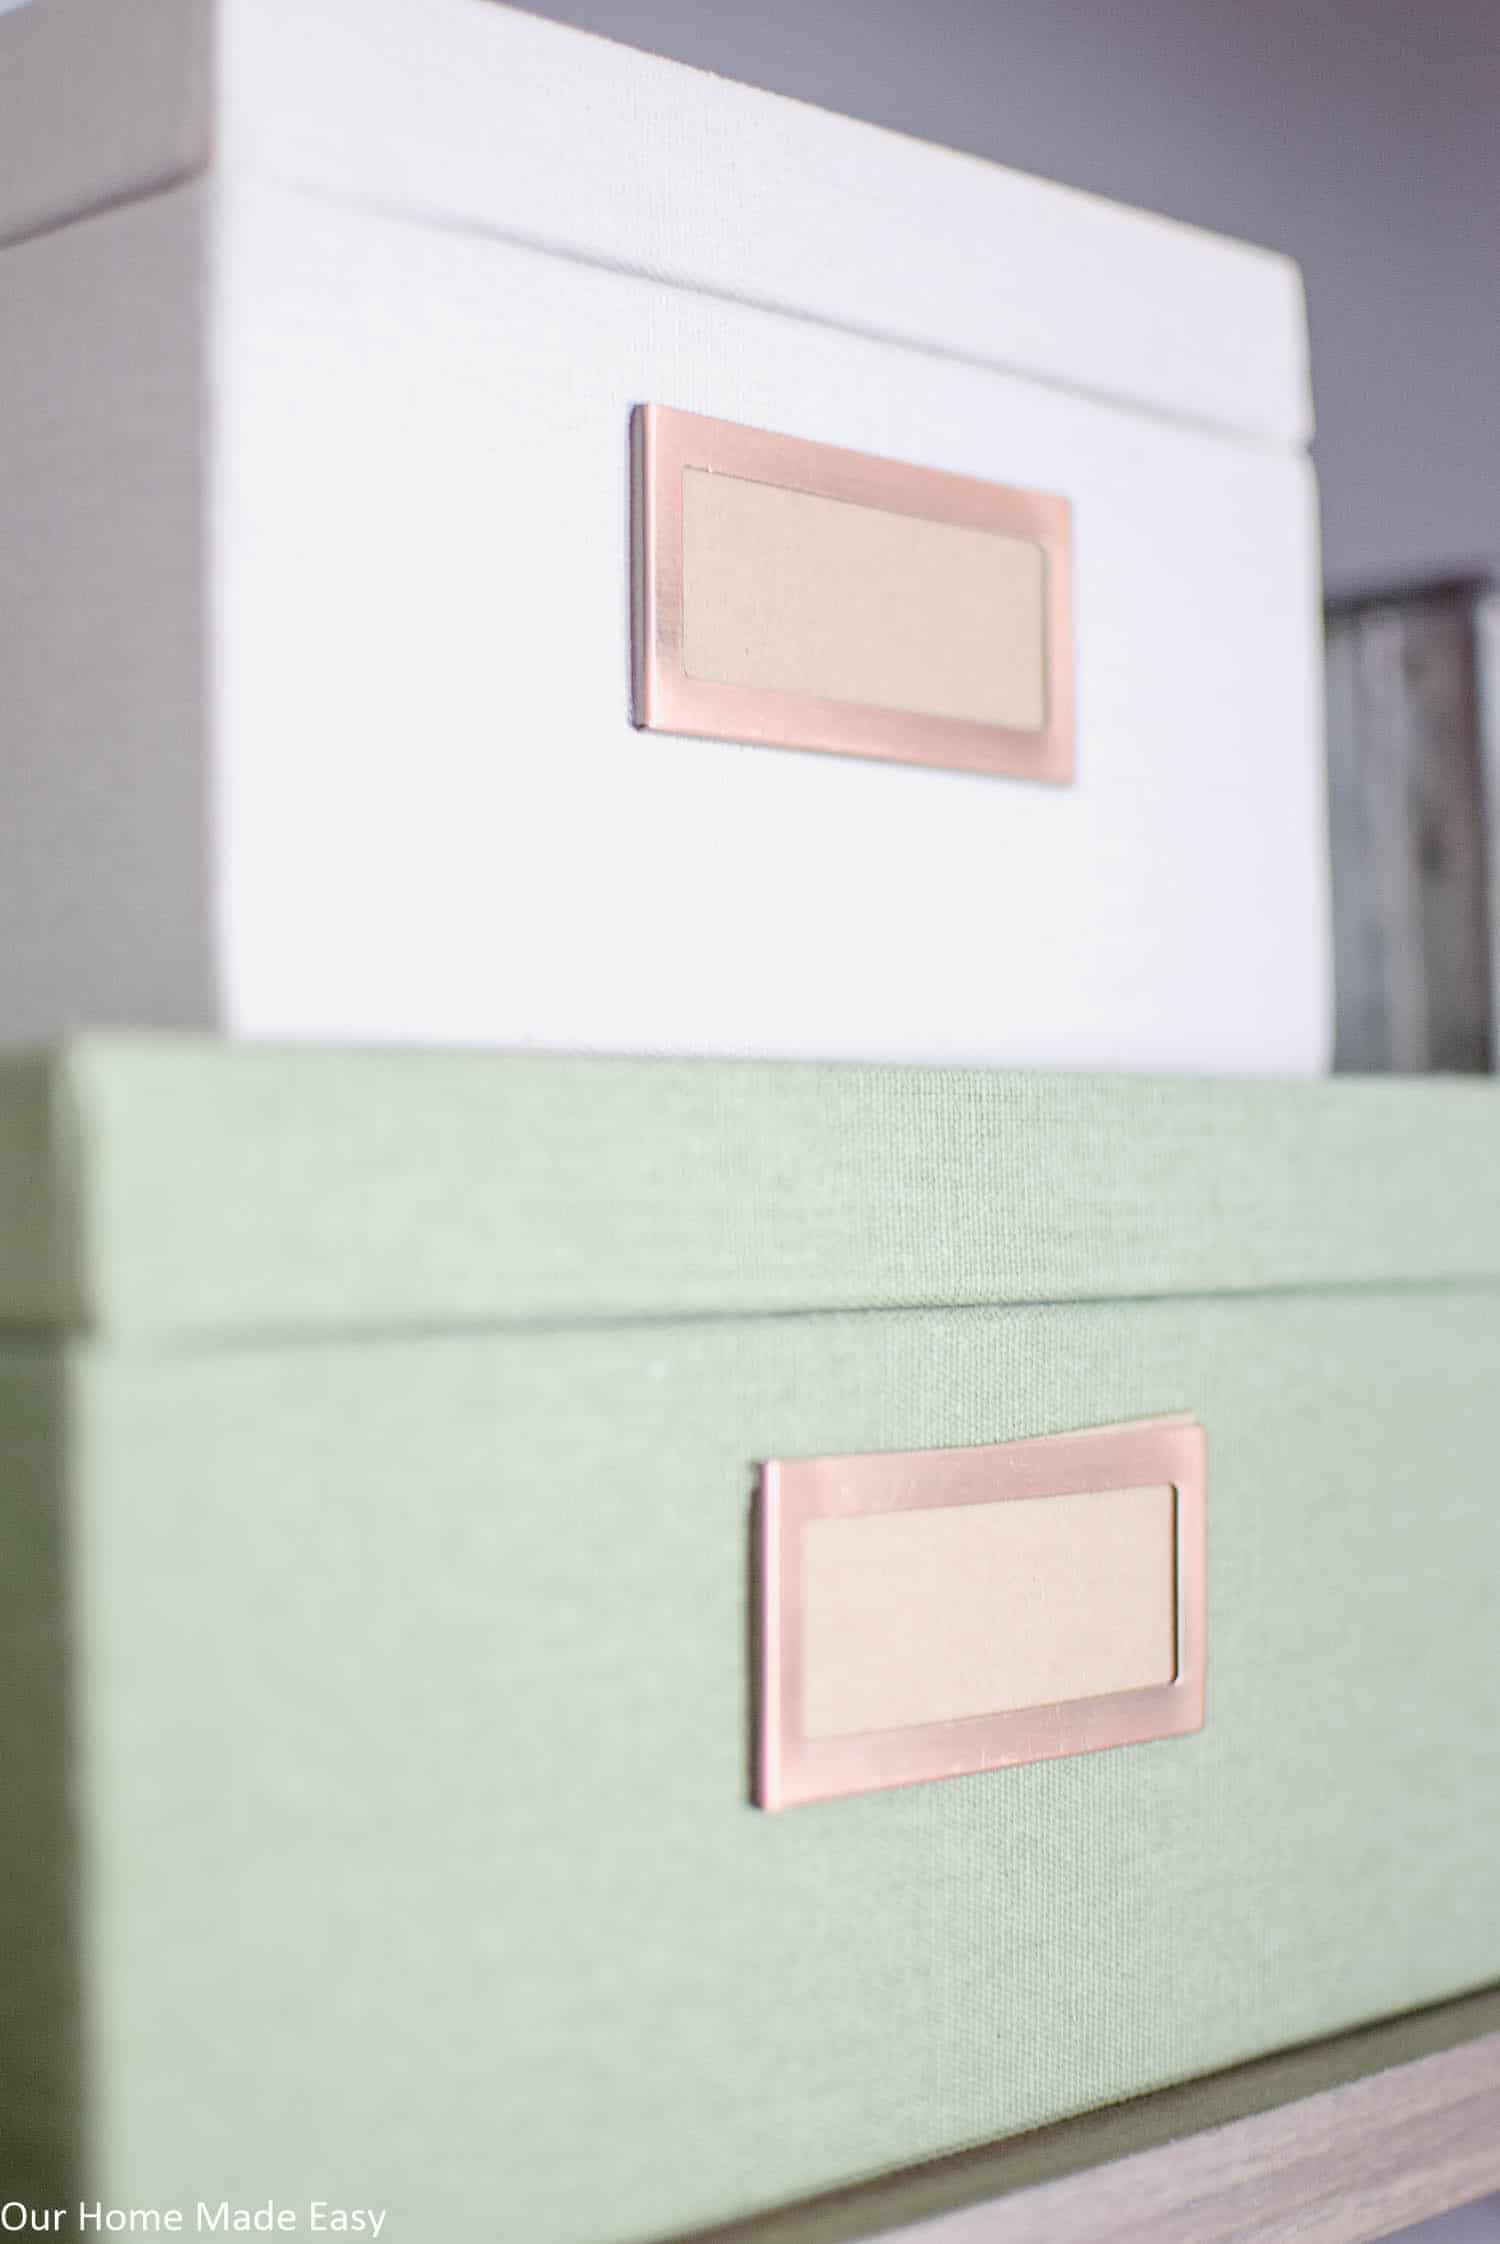
These little white & green boxes hold all my nail polishes. My original thought was to find small baskets, but everything we found had a wicker or uneven bottom. When I saw these storage boxes in the Hearth & Hand by Magnolia section at Target, I knew they’d be perfect for keeping nail polishes organized!
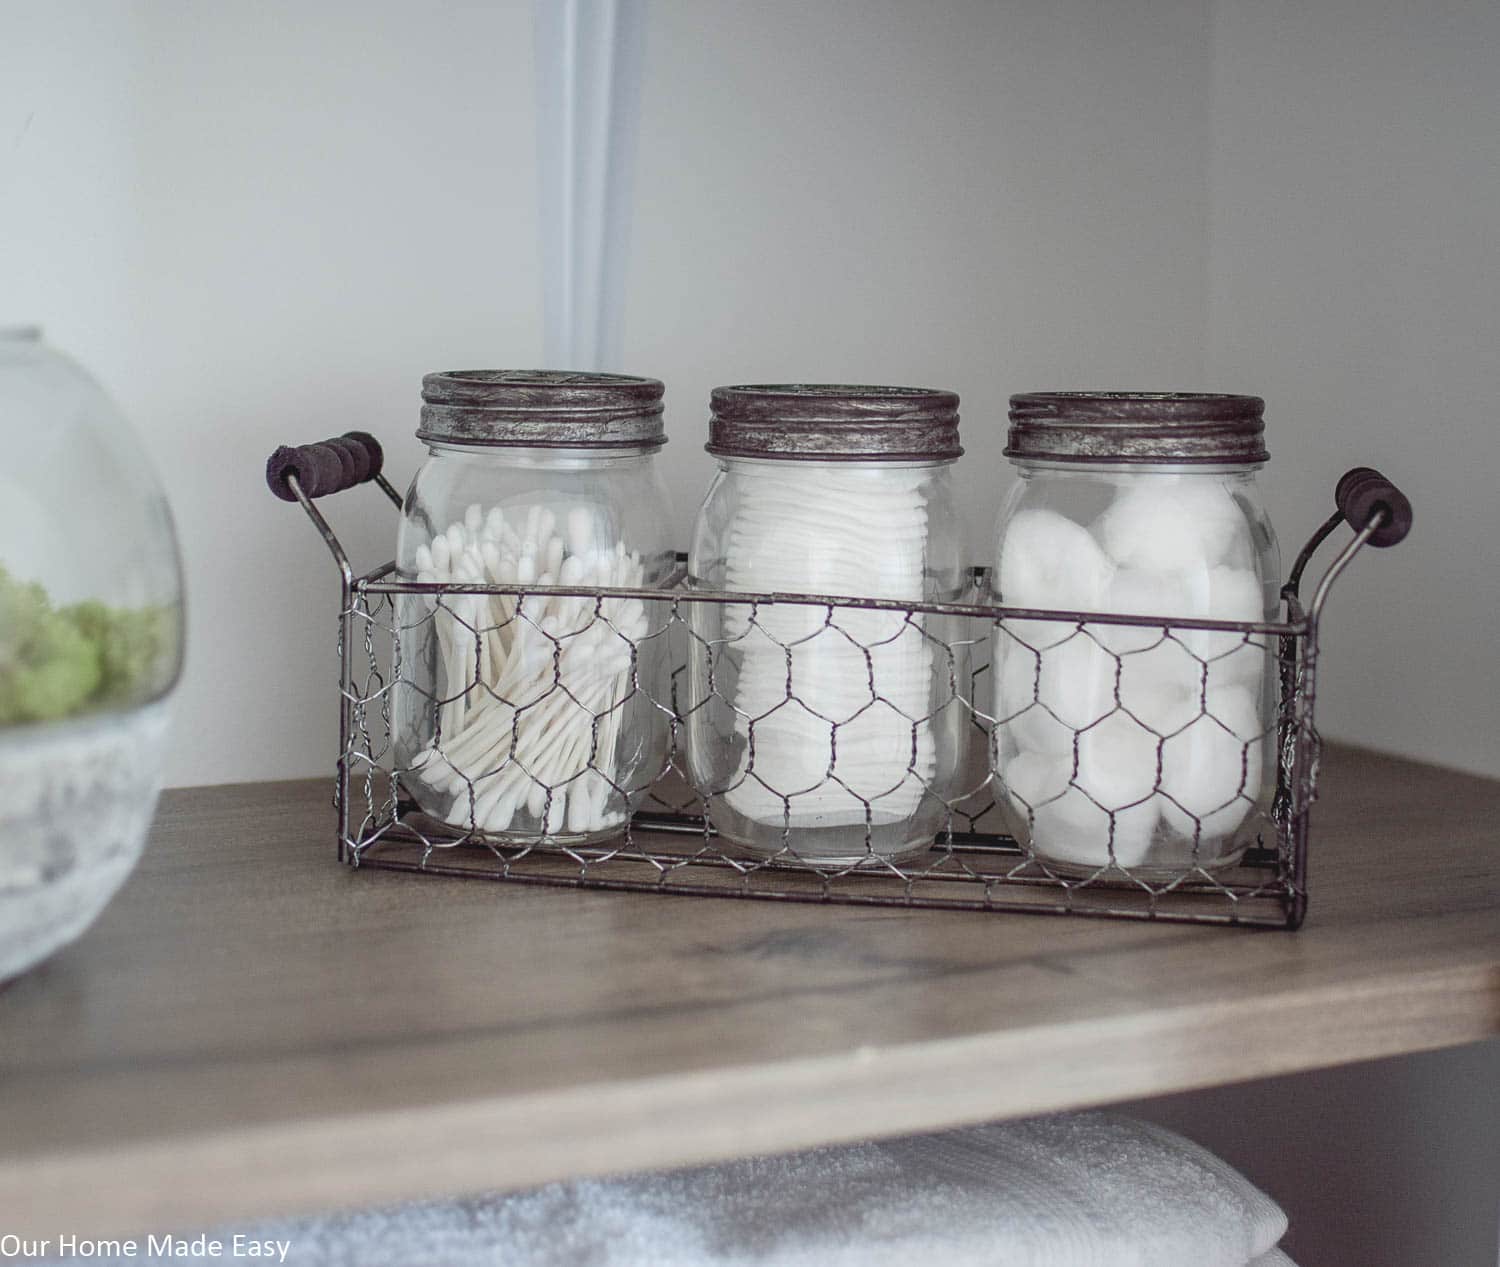
To keep our cotton balls in one spot, I put them in this cute little mason jar organizer.
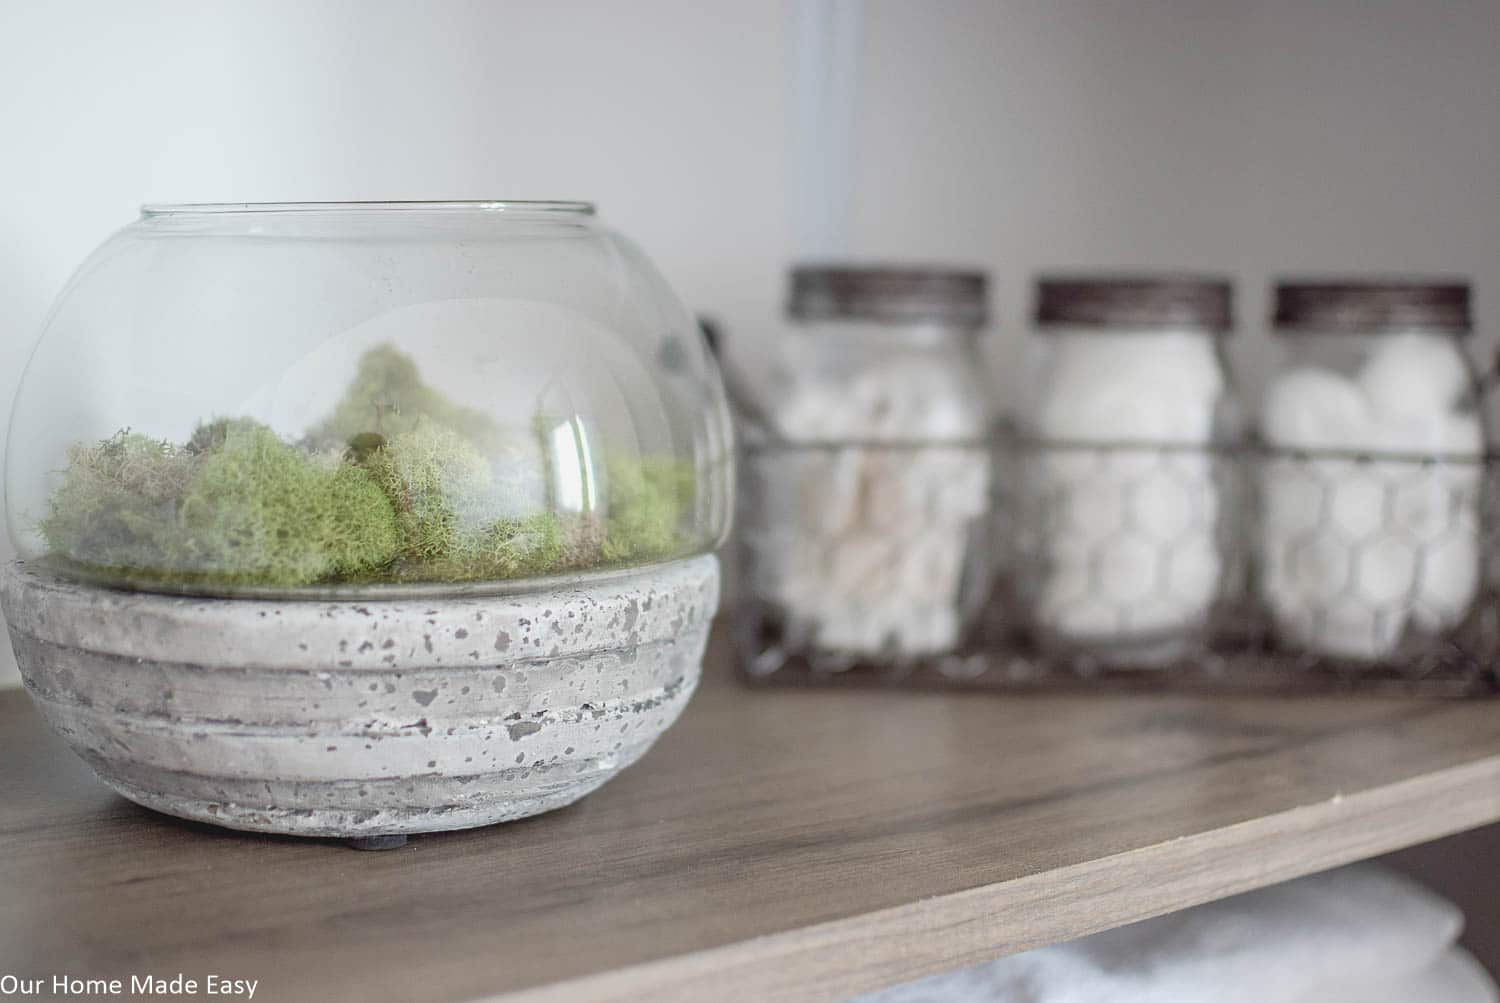
And of course we couldn’t pass on the concrete terrarium. It adds a little softness to the space.
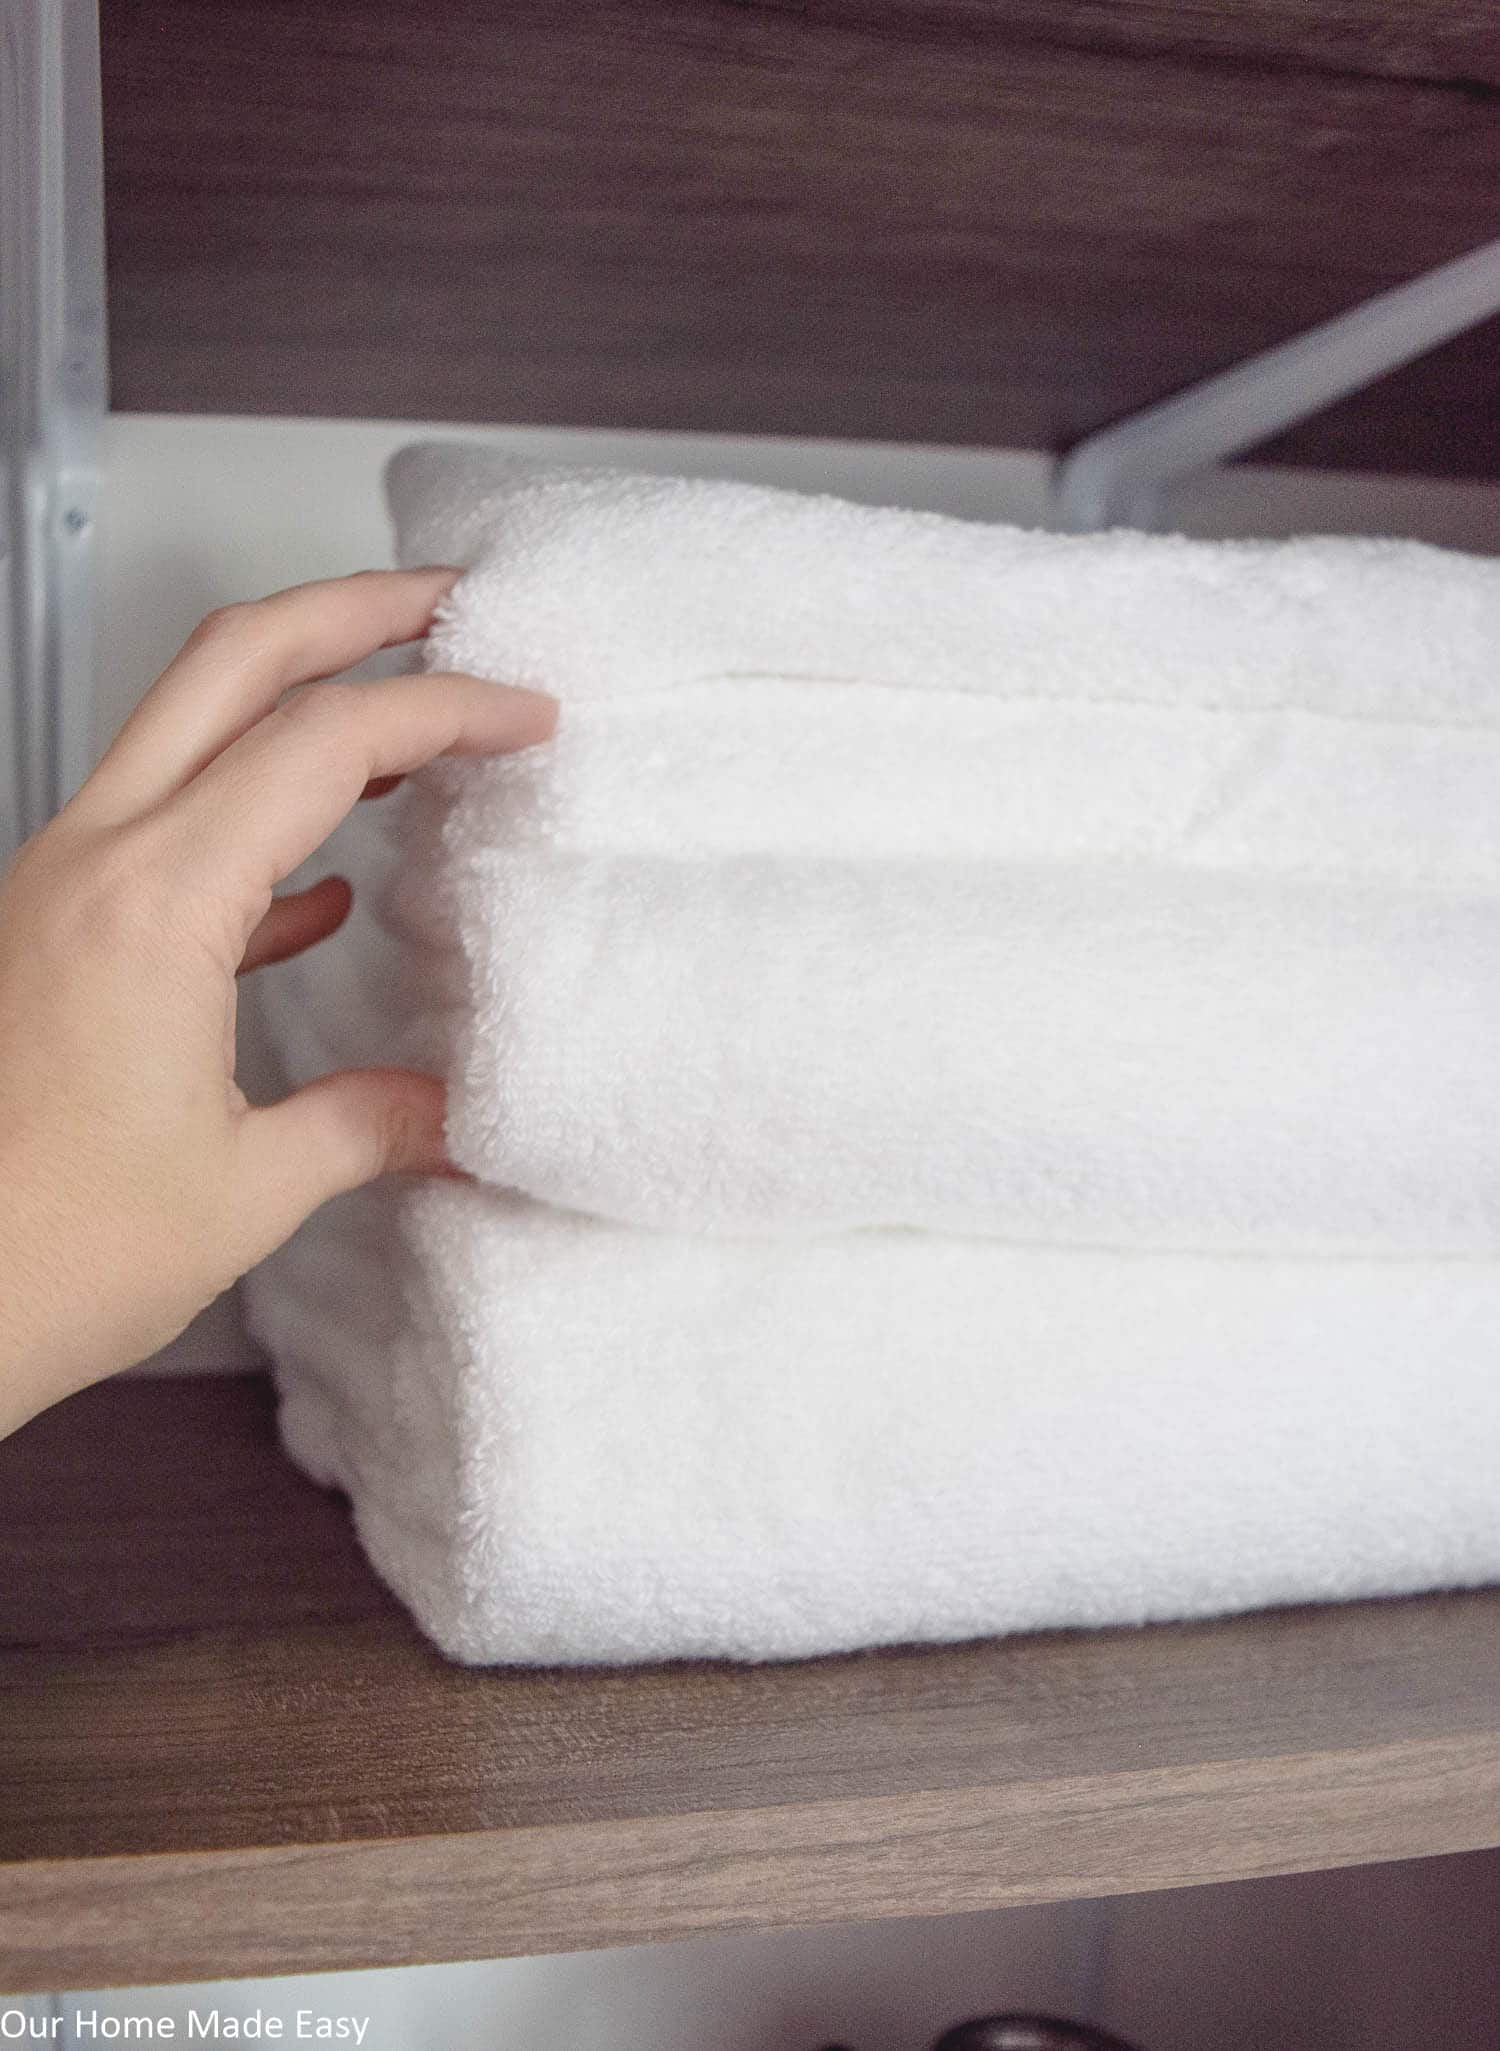
And lastly— momma received some new towels! There was room in the budget to pickup these really thick ones from Costco! All the towels were sitting right there on an end cap across from the mega jar of garlic. #love
Okay you guys, would I be totally crazy if I left the doors off the linen closet? I think it finally adds some decor to a room that needed so much of it! I’ve already asked Jordan to remove the door tract. Don’t worry, we’ll keep the hardware for future owners. In the meantime, I’d like to enjoy something pretty to look at in the mornings!
Sources:
- Galvanized Metal Storage Bins
- Bath Wire Baskets
- Wicker Storage Baskets
- White Towels
- Terrarium
- Storage Boxes
- Glass Jars in Holder
Thanks for stopping by and checking out the progress in our bathroom! Creating your own custom shelving solution doesn’t need to be expensive. And don’t forget to join us in the free 6 Week Decluttering Challenge! Organizing doesn’t need to be an expensive solution, just one that works well for your family!

Hi, I’m Brittany, and I believe life at home should feel easier, not heavier.
I’m the creator of Our Home Made Easy, a space for busy women who want dinner on the table, their homes running smoothly, and a little breathing room at the end of the day.
You won’t find perfection here, just realistic recipes, smart shortcuts, and simple routines that work in real life. The kind that help you feed your family well, stay organized enough, and still have time to actually enjoy it.
If you’re juggling work, kids, schedules, and everything in between, you’re in the right place. I’m so glad you’re here.


Great job! Great look, I’m gettung some juices flowing for diy-ing my closet now, thanks!!!
Instead of buying bumpers for bottoms of baskets, I use hot glue. Free.
I absolutely love how you transformed your bathroom linen closet! The organization and style are so impressive. I’m definitely inspired to tackle my own linen closet now. Thanks for sharing such great tips and ideas!