Enjoying Apple Pie but Without the Mess!
Ahhhh it’s Halloween! It was full charge in getting little costumes made and ready for Boo at the Zoo and now I’m over here thinking about how we should start 6 other projects…. totally crazy, right? In the midst of grocery shopping yesterday, I deviated from our meal planner and added extra apples to the list (going totally rogue over here).
If you’ve never traveled to Michigan during the fall, you may be surprised to learn that Michigan’s biggest export is local apples (24 million bushels worth, yowza)! We are brimming full of cider mills, pumpkin patches, and U-Pick orchards. So when I saw the gigantic fresh apple display, I thought, we need some local apple pie. Yet, in true mom style, I thought… oh no… the mess of a fruit pie + toddlers…. ahhhhh.
So what to do? Fresh fruit + effusive pie-eating kids = managing the mess
I decided to make little hand pies! They are perfect as a semi portable treat, and have less mess than cutting a slice of pie for them. A perk for me? I don’t have to look at half eaten pie. There is something about looking at half eaten pie from two days ago that bothers me. So strange, I know. (Say a small prayer for Jordan for having to live with me)

These hand pies are super easy to whip up and the kids can be involved. And we all know that kids seem to like foods 10,000% better when they have a hand in the process. Plus, you’ll look all fancy when you take them to a party (like you’re a Pinterest champ).
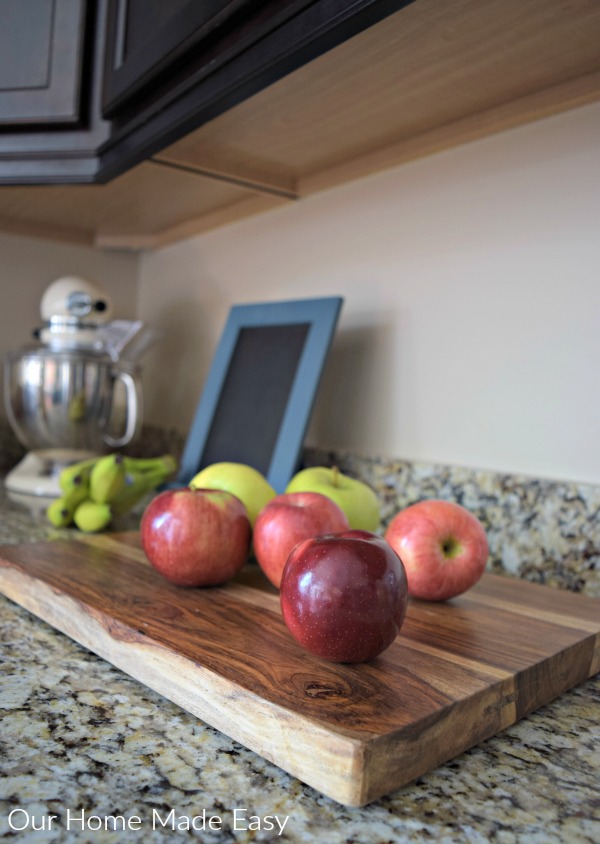
I chose 3 kinds of apples to use in my pies. I like to vary the apples to add some more flavor to the pies. In doing this you can also help the texture. If one variety becomes a little soggy during the baking, the others help out. If one is a little sour, it balance the super sweetness of the other two.
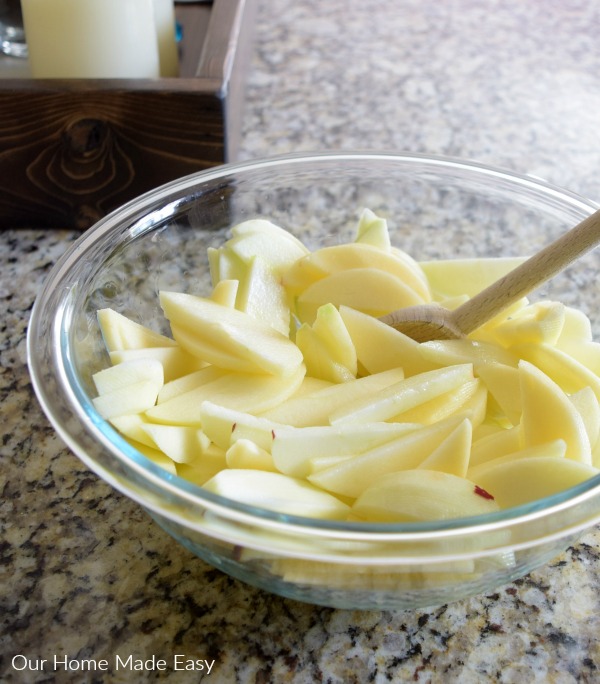
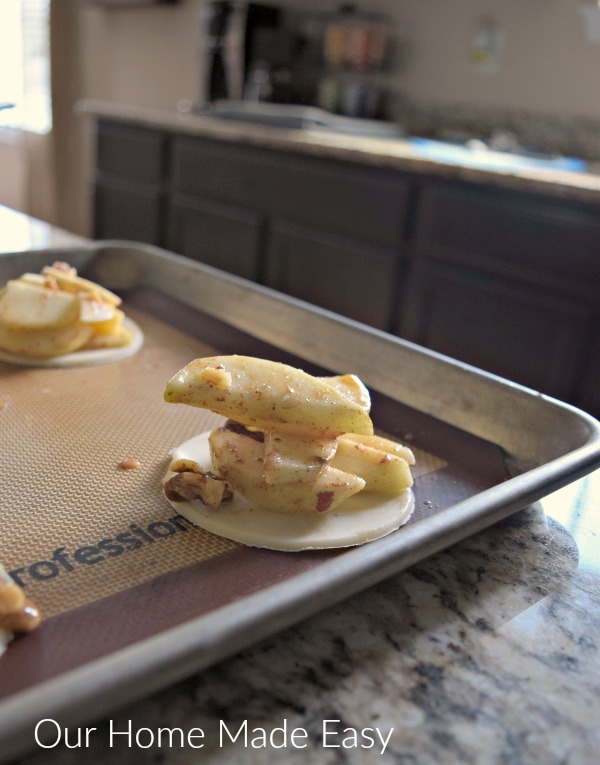
When you chop up the apples, slice them really thin lengthwise. Then, slice them once horizontally. This will allow you to pile them better. To make them prettier for the picture, I left them full length and then realized the error of my ways.
(This post contains affiliate links. If you shop from my blog, I may be compensated for clicks or purchases that you make. Read my disclaimer page for more information.)
Before I piled the hand pies, I tossed in one half cup of chopped walnuts. They added some fun crunch to the pies.
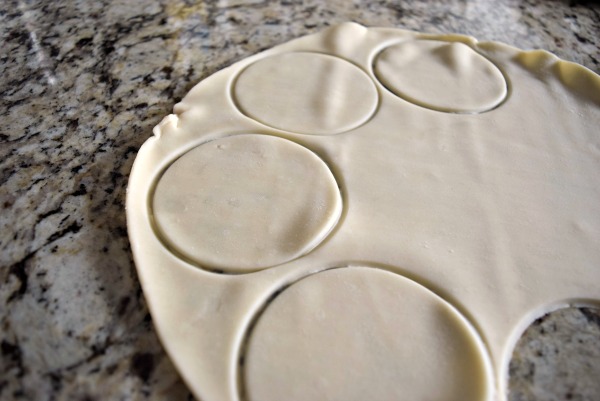
I used a glass cup to cut out the circles for my pies. Super scientific around here… but every mom has cups nearby. 🙂
- Related: Easy Butter Pecan Brittle Recipe
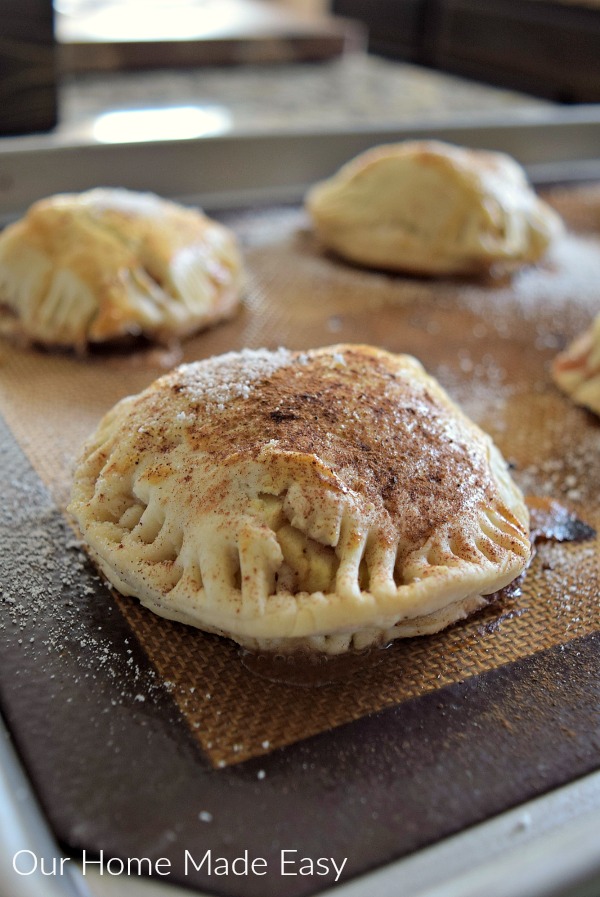
Tip for covering the pies: Once the top crust is cut out, I carefully pressed it out a bit more with hands before I laid it over the tops of the pies. This gave me just enough to clear the topping and still press close. If a small hole happened on top, that was even better!

I busted out my favorite silicone baking liners. I think they were around before we were married. They are one of those “if it isn’t broke..” items I use each time I bake. You might notice that I don’t use a non-stick baking sheet. These days, I love the metallic ones. For a year or two I was having trouble with my non-stick sheets. Was it user error or the actual baking sheet? I’m not sure either. 😉 However, I swapped the old ones out with metallic ones and they seem to really make my cookies and baked items bake up as expected.
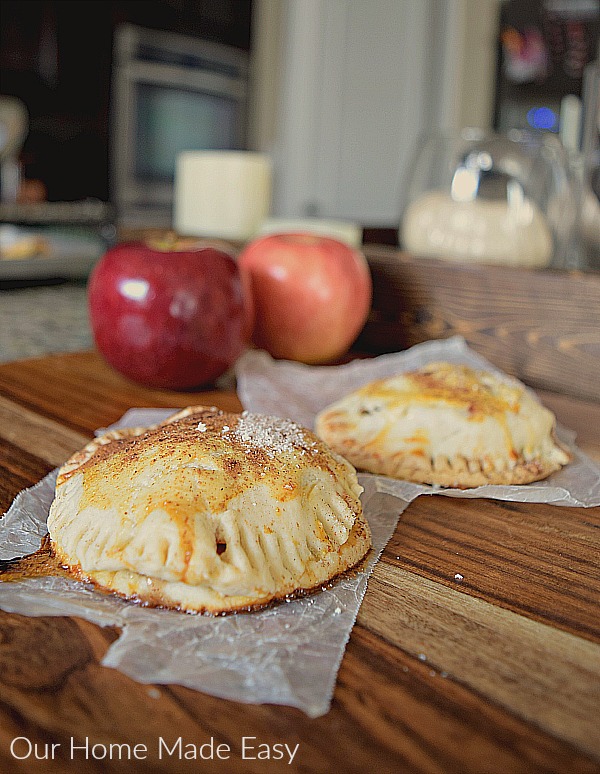
How can you turn down one of these little guys? My favorite way to serve them? Warmed with a dollop of Reddi-Whip 🙂
Let’s get to it!

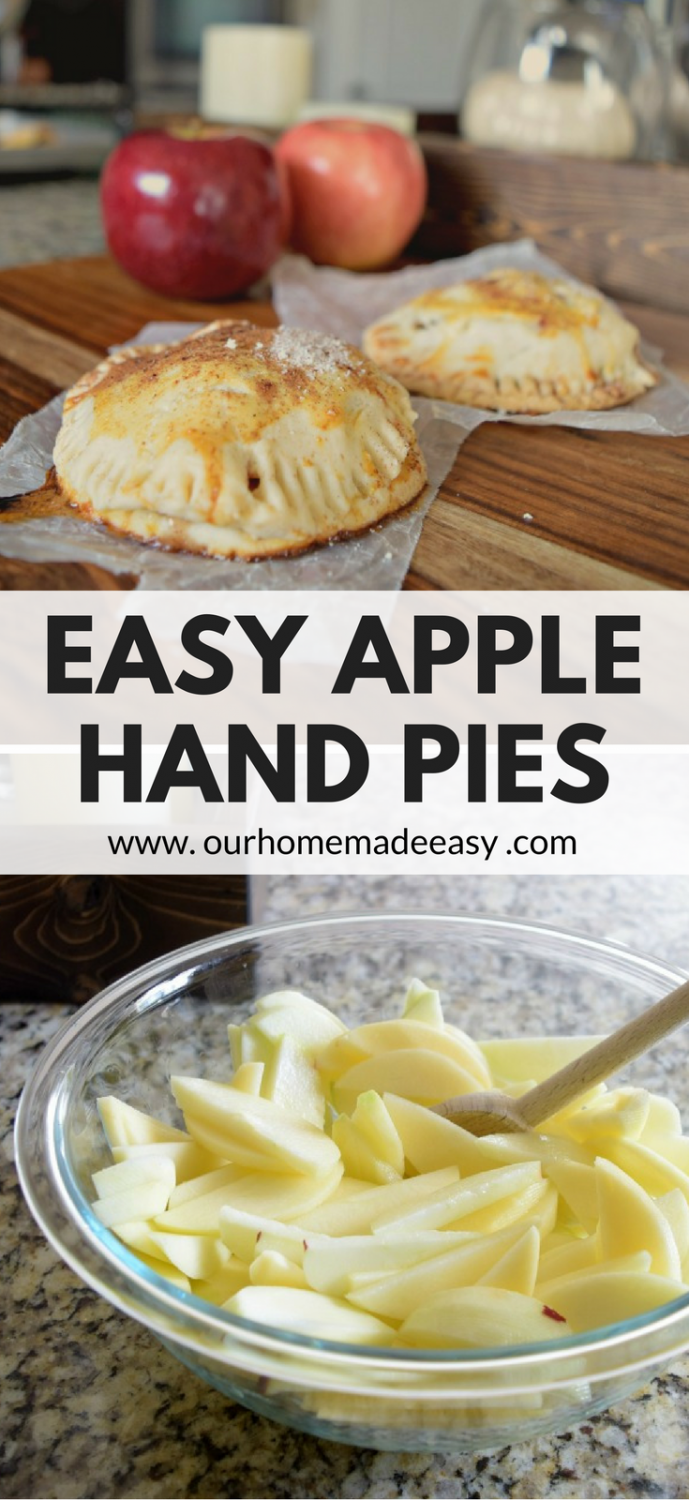
Easy Apple Hand Pies
These delicious apple hand pies are a mess-free way to enjoy a classic dessert. So simple and easy!
Ingredients
- 4 Medium Sized Apples
- Splash of Lemon Juice
- 1 Tablespoon Flour
- 1/4 cup Splenda
- 1/4 cup Brown Sugar, , packed
- 1/2 teaspoon Cinnamon
- 2 packages of Refrigerated Pie Crust Dough, (2 crusts per pack)
- 1 egg, , beaten
- Optional: 1/2 cup chopped walnuts or pecans
Instructions
- Preheat oven to 375 degrees.
- Peel apples and slice them thinly. Slice once horizontally.
- Place apples in a large bowl.
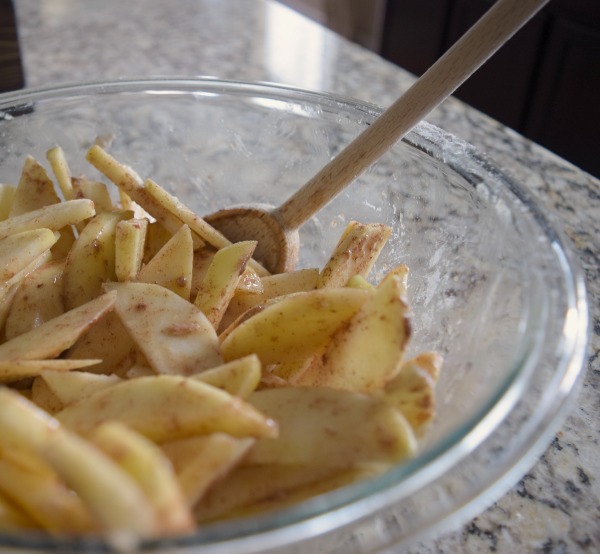
- Lightly toss in a splash of lemon juice.
- Mix together to coat.
- Mix in flour, sugars, and cinnamon. Add in nuts if desired.
- Unroll pie crust onto countertop.
- Using a glass, cut out circles between 2 1/2"-4" in size.
- Place dough rounds on cookie sheet.
- Scoop 1-2 Tablespoons of Apple filling on each dough round.
- Cover the filling with another dough round.
- Repeat for both packages of dough.
- Pinch the dough together using the tines of a fork.
- Brush the egg wash over each hand pie.
- Sprinkle sugar and cinnamon on each hand pie.
- Bake for 24-26 minutes or until browned.
- Let cool.
- Serve warmed.
Congratulations!
Your recipe is featured on Full Plate Thursday this week. Thanks so much for sharing it with us and enjoy your new Red Plate!
Miz Helen