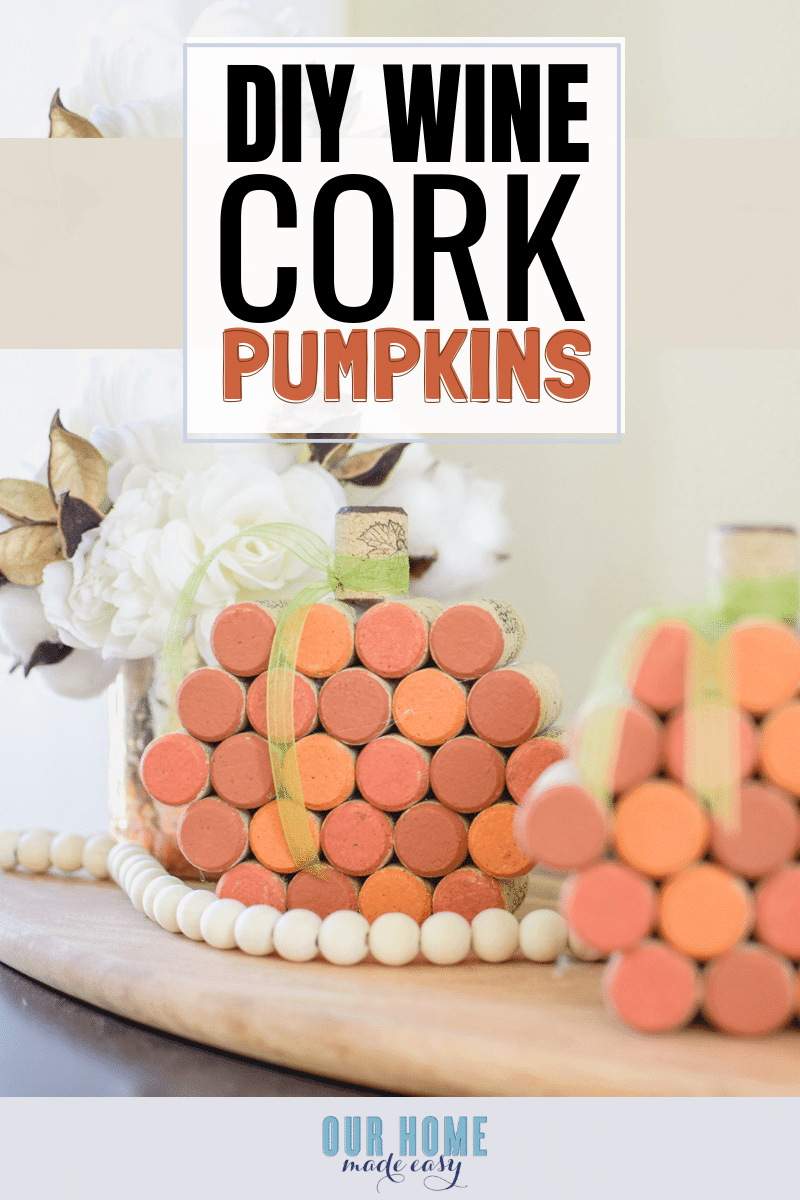
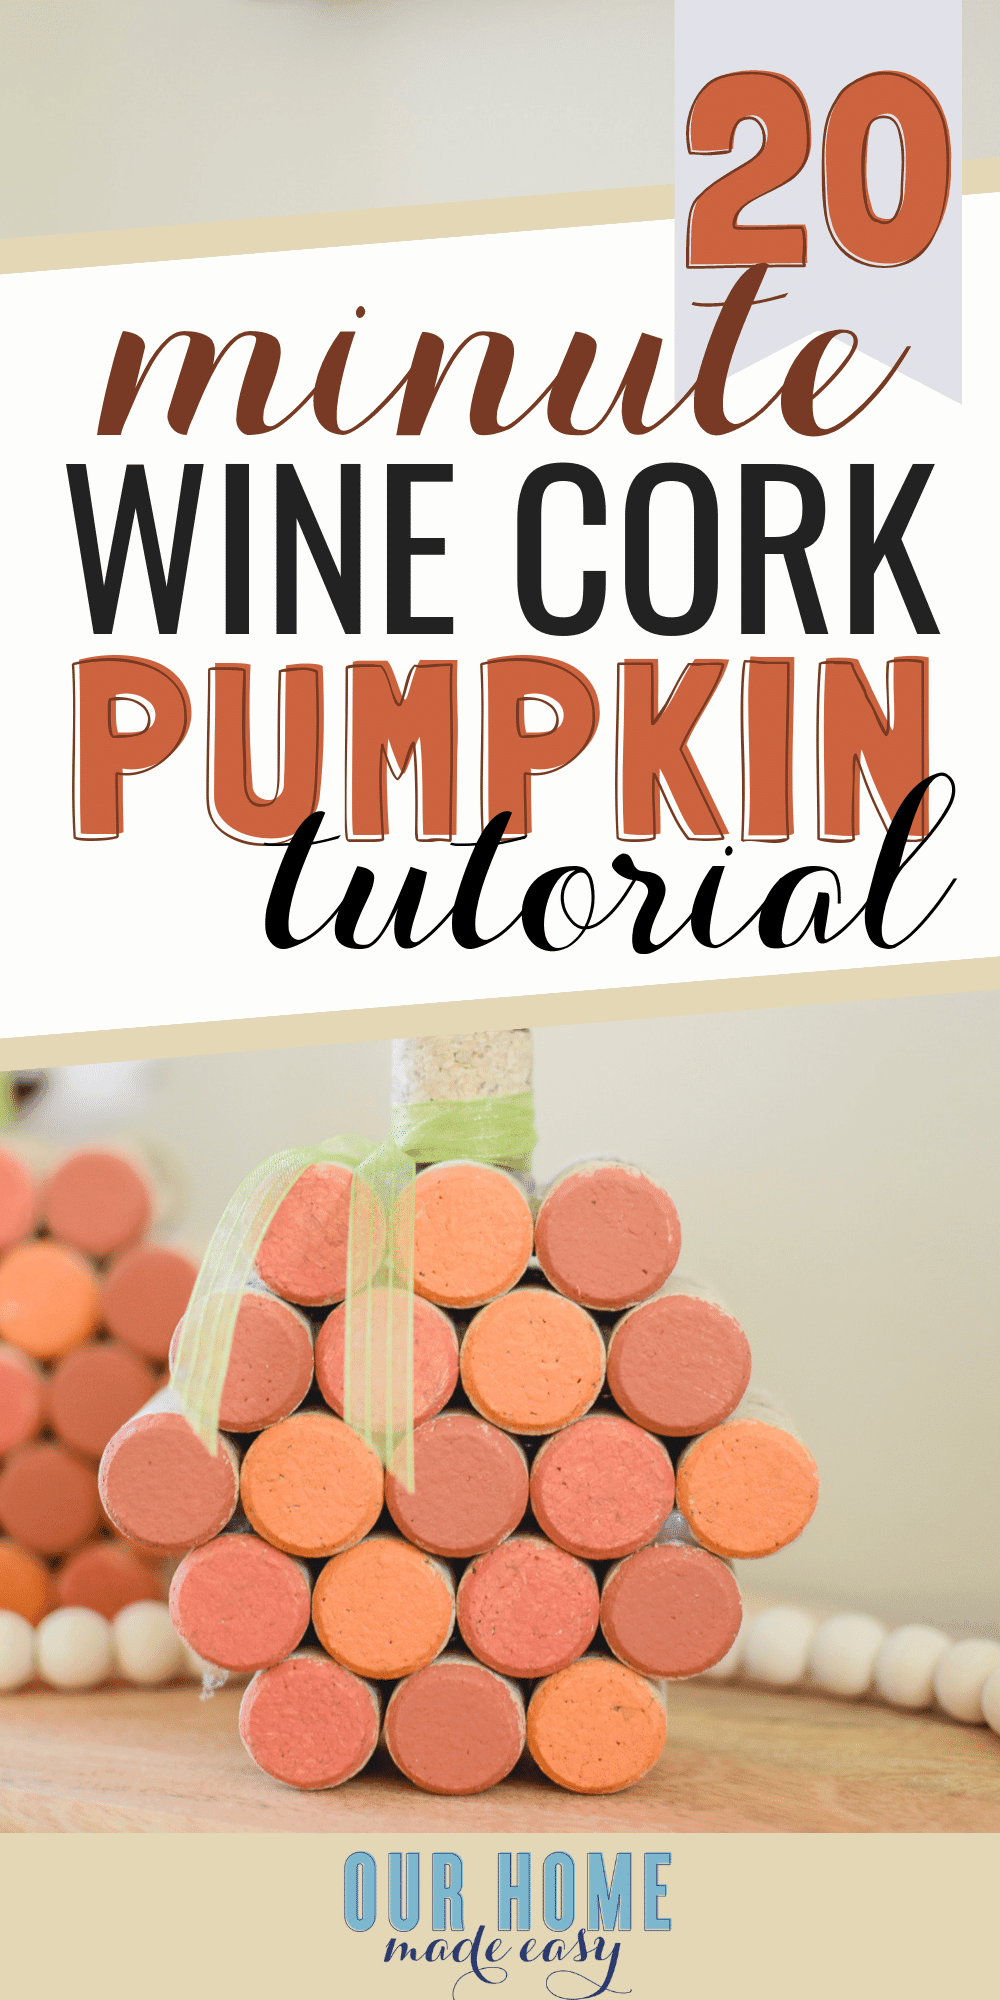
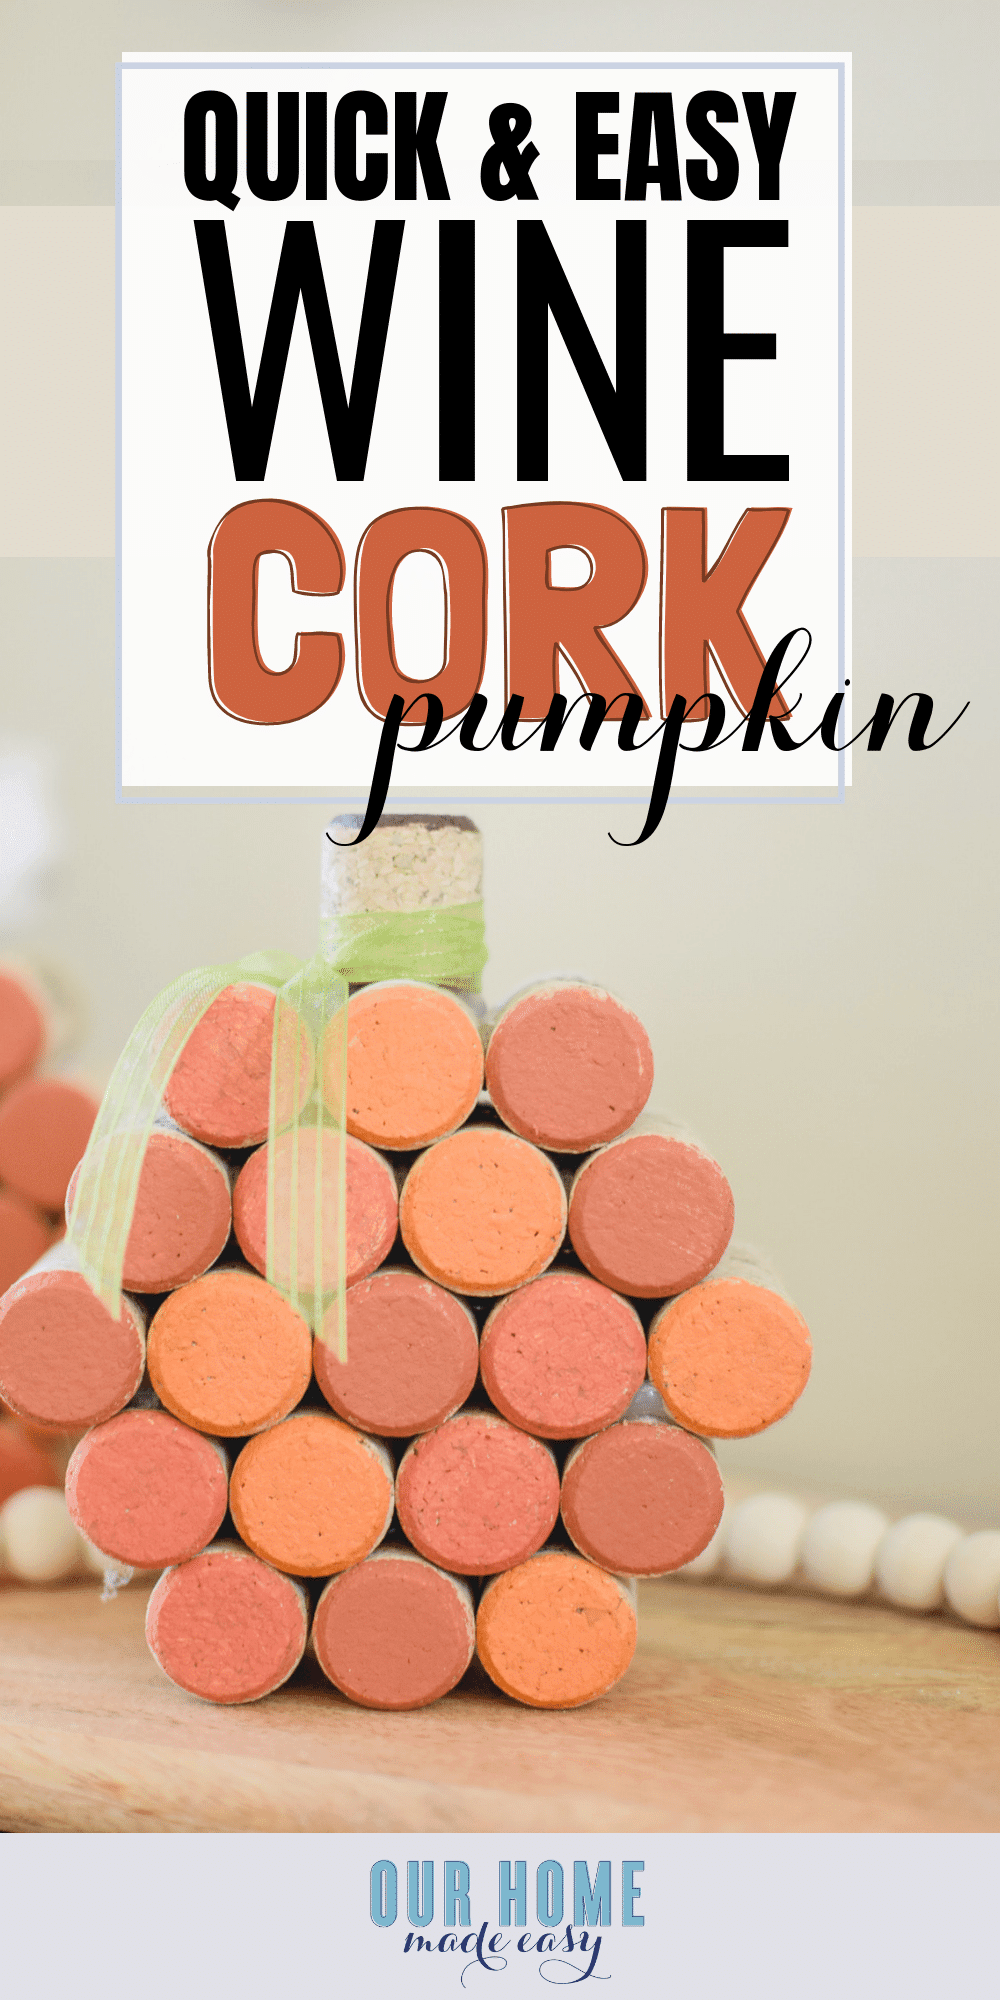
Simple Cork Pumpkins
These cork pumpkins are super quick & easy to make! They are a great project for groups and those looking for budget fall decor!
Affiliate links are used in this post. Please see my Disclaimer for more information
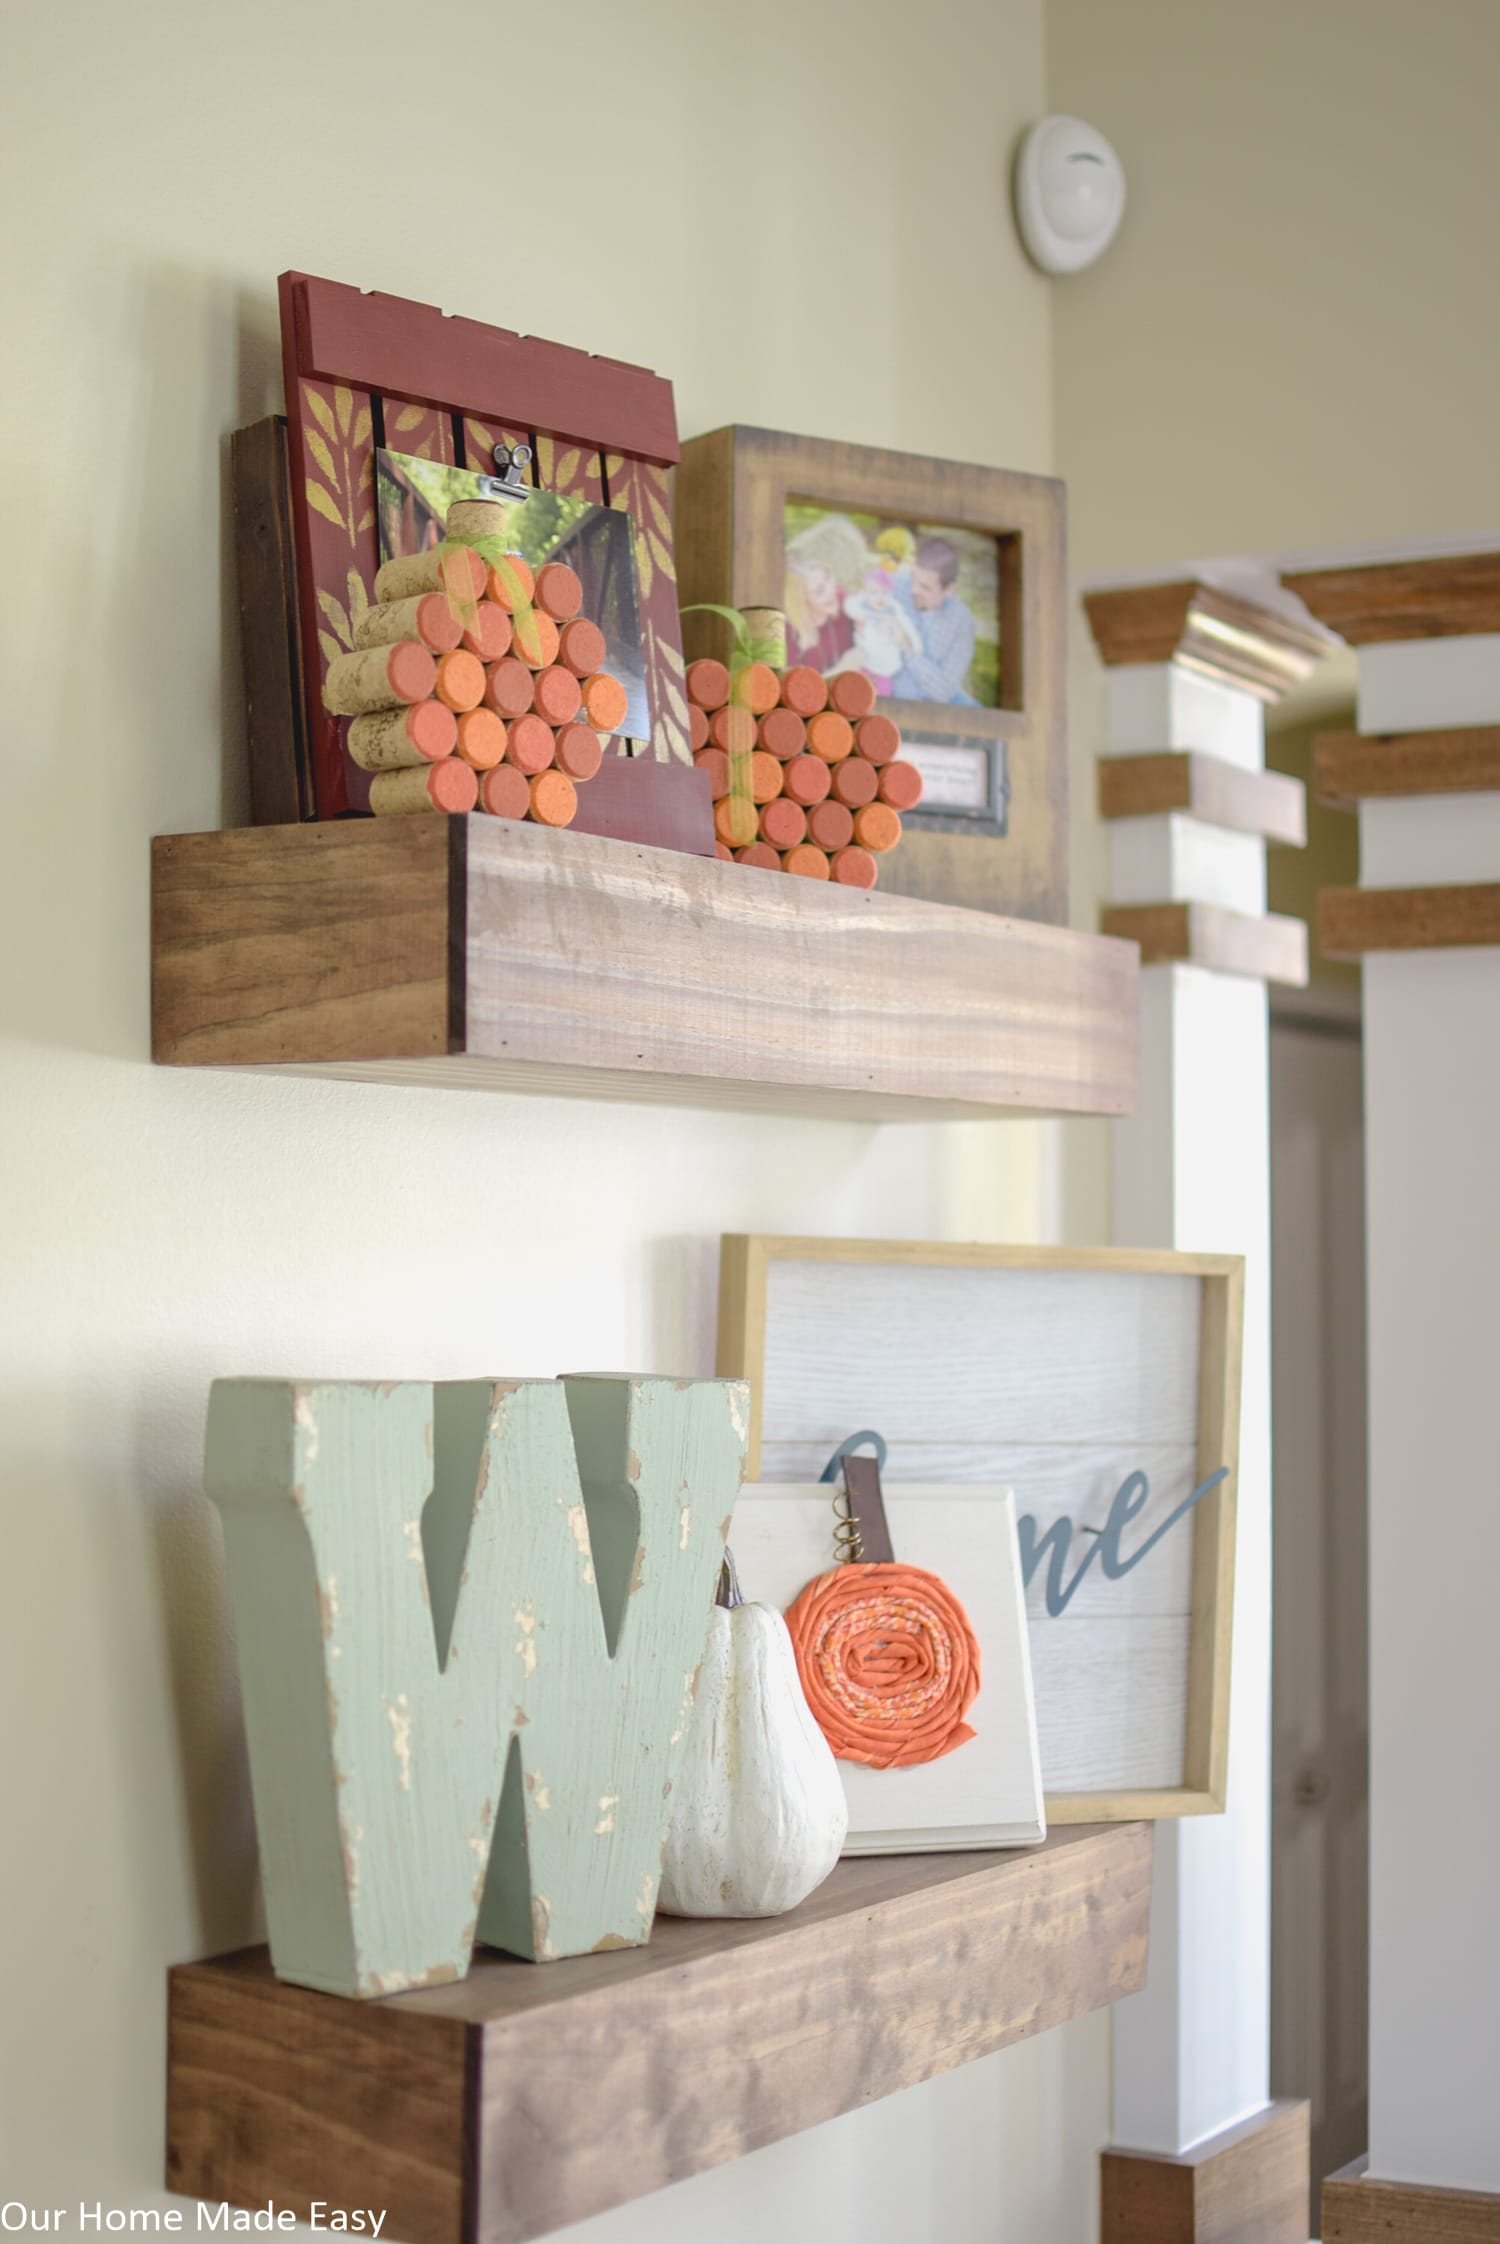
As you already know, I’m a complete sucker for pumpkins. They take over our home every year. Whether you see them popping up in our entryway, or with our last DIY craft, the no-sew fabric pumpkins, you can bet that there is always something pumpkin-y popping up at home.
And this craft is no different. Except that it combines my love for fall and my enjoyment for wine.
Full disclosure: I did not drink all the bottles for these pumpkins. Thanks to the magic of Amazon, I had corks in days. Not as much fun as drinking wine, but I was left without feeling groggy and I could craft quicker 🙂


Simple Cork Pumpkins
These little pumpkins are great for when you want to knock out a project in just a few minutes or while you’re watching your favorite show! Simply paint & glue!
Supplies Needed for Cork Pumpkins
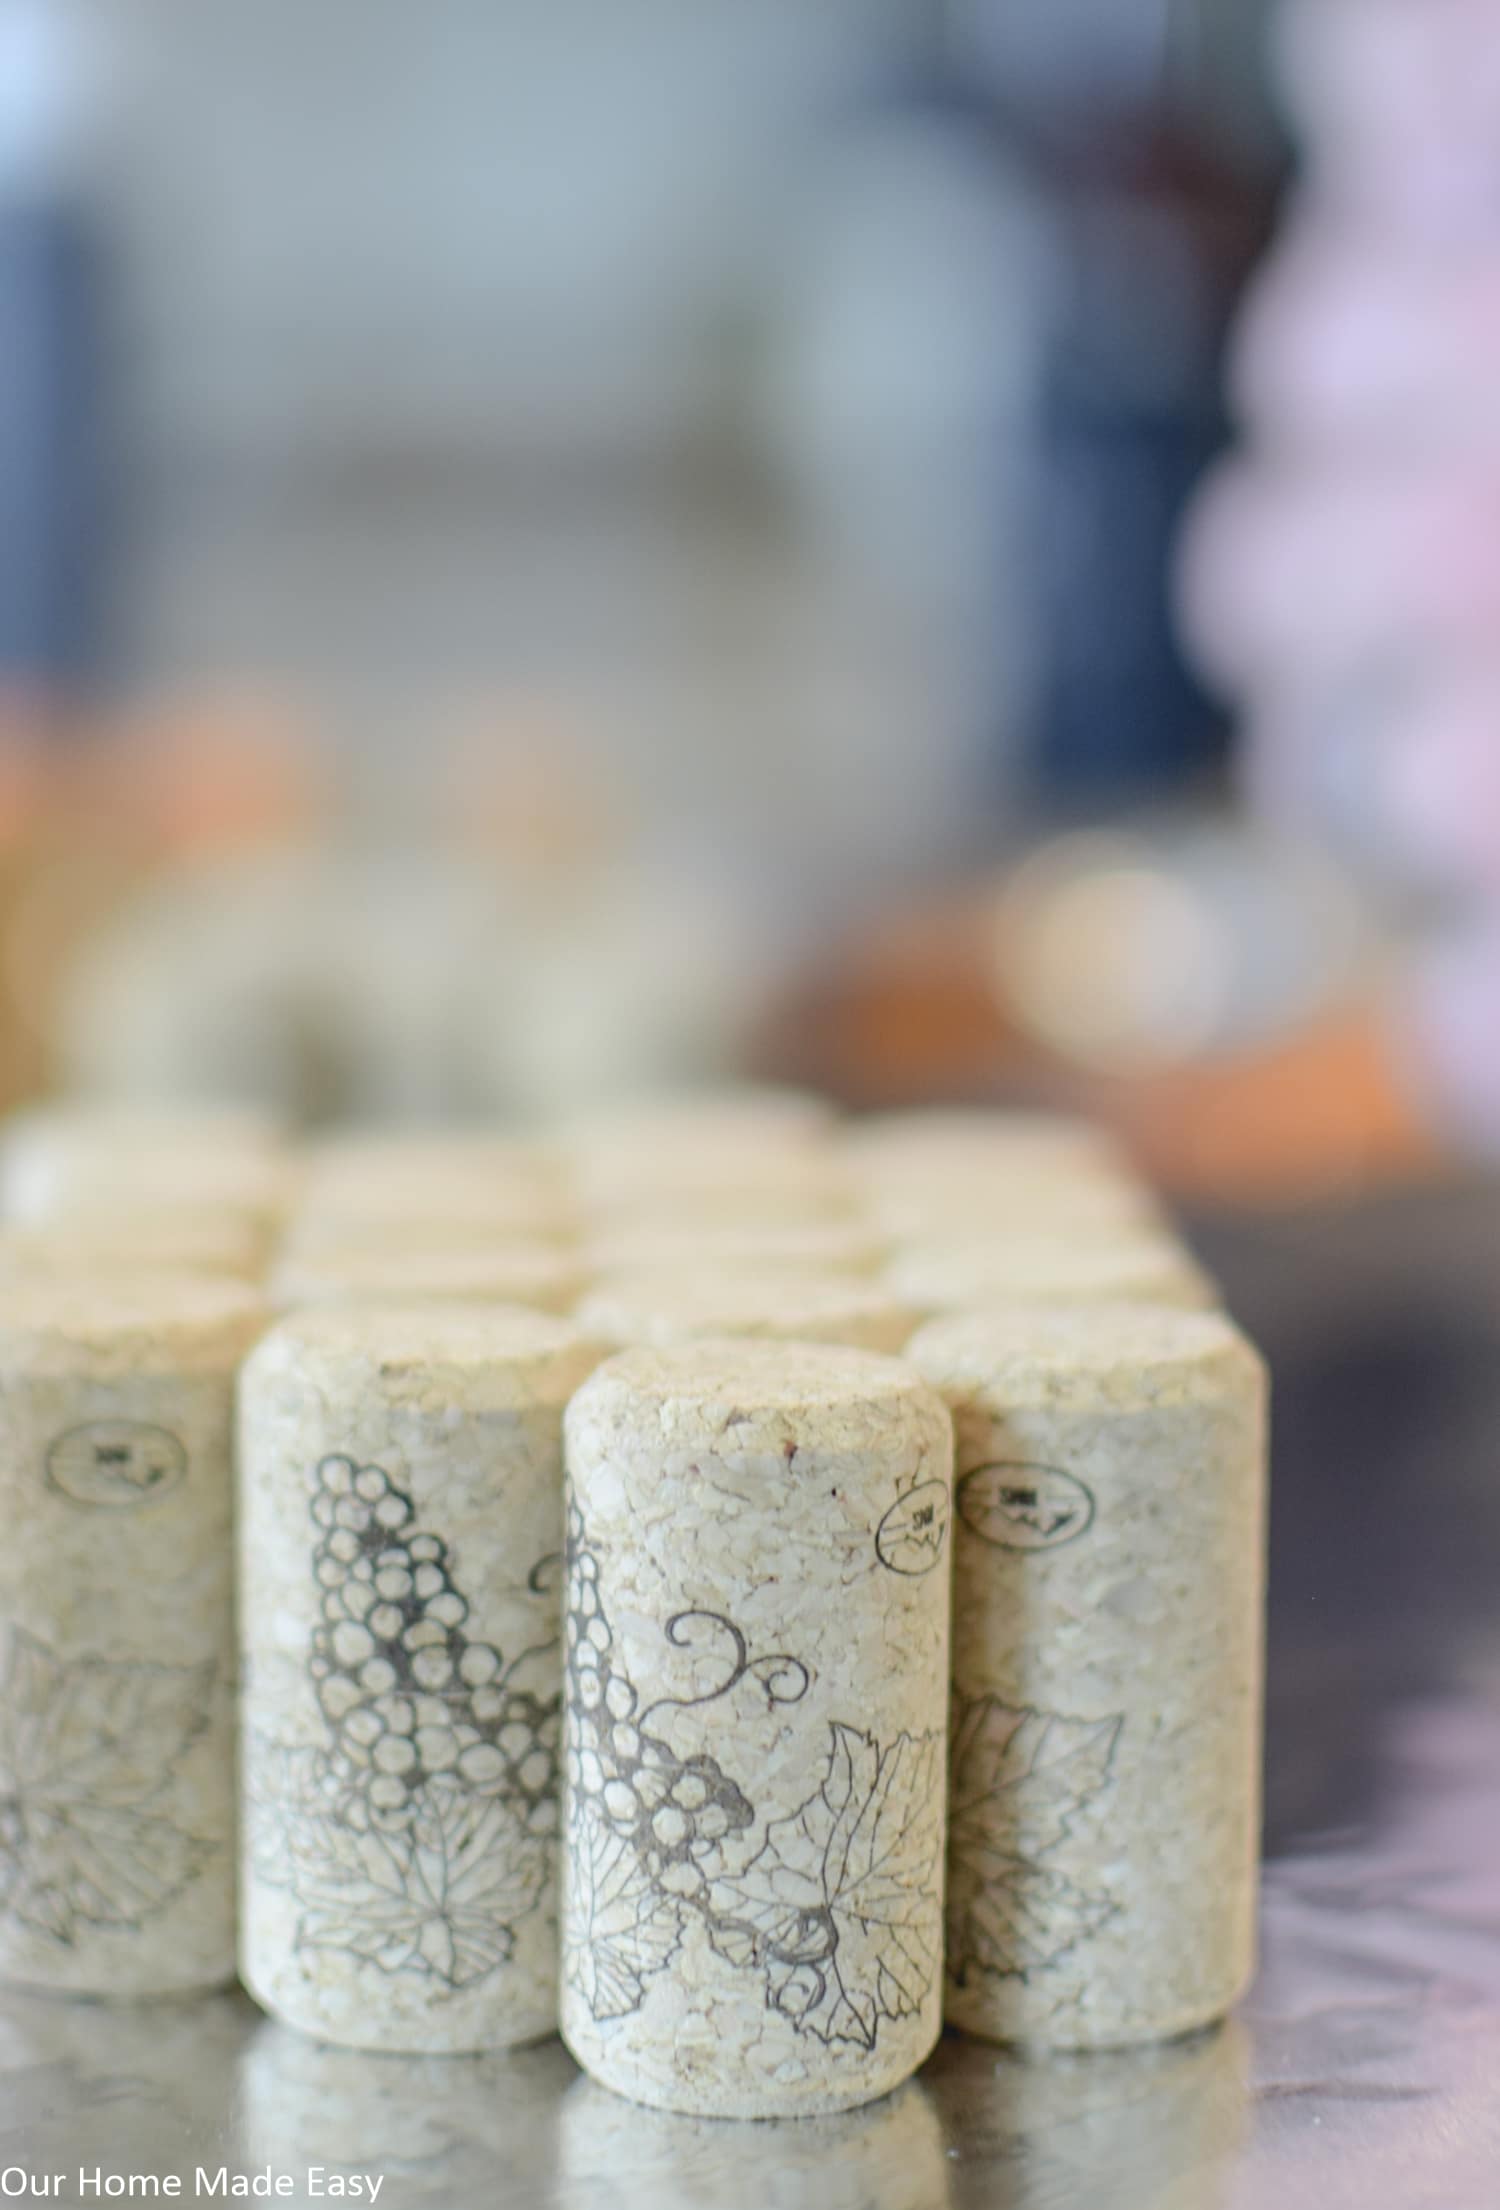
- Corks (I bought these ones)
- Craft Paint ( I used 3 different orange colors & Brown for the Stem)
- Hot Glue
- ¼” Ribbon
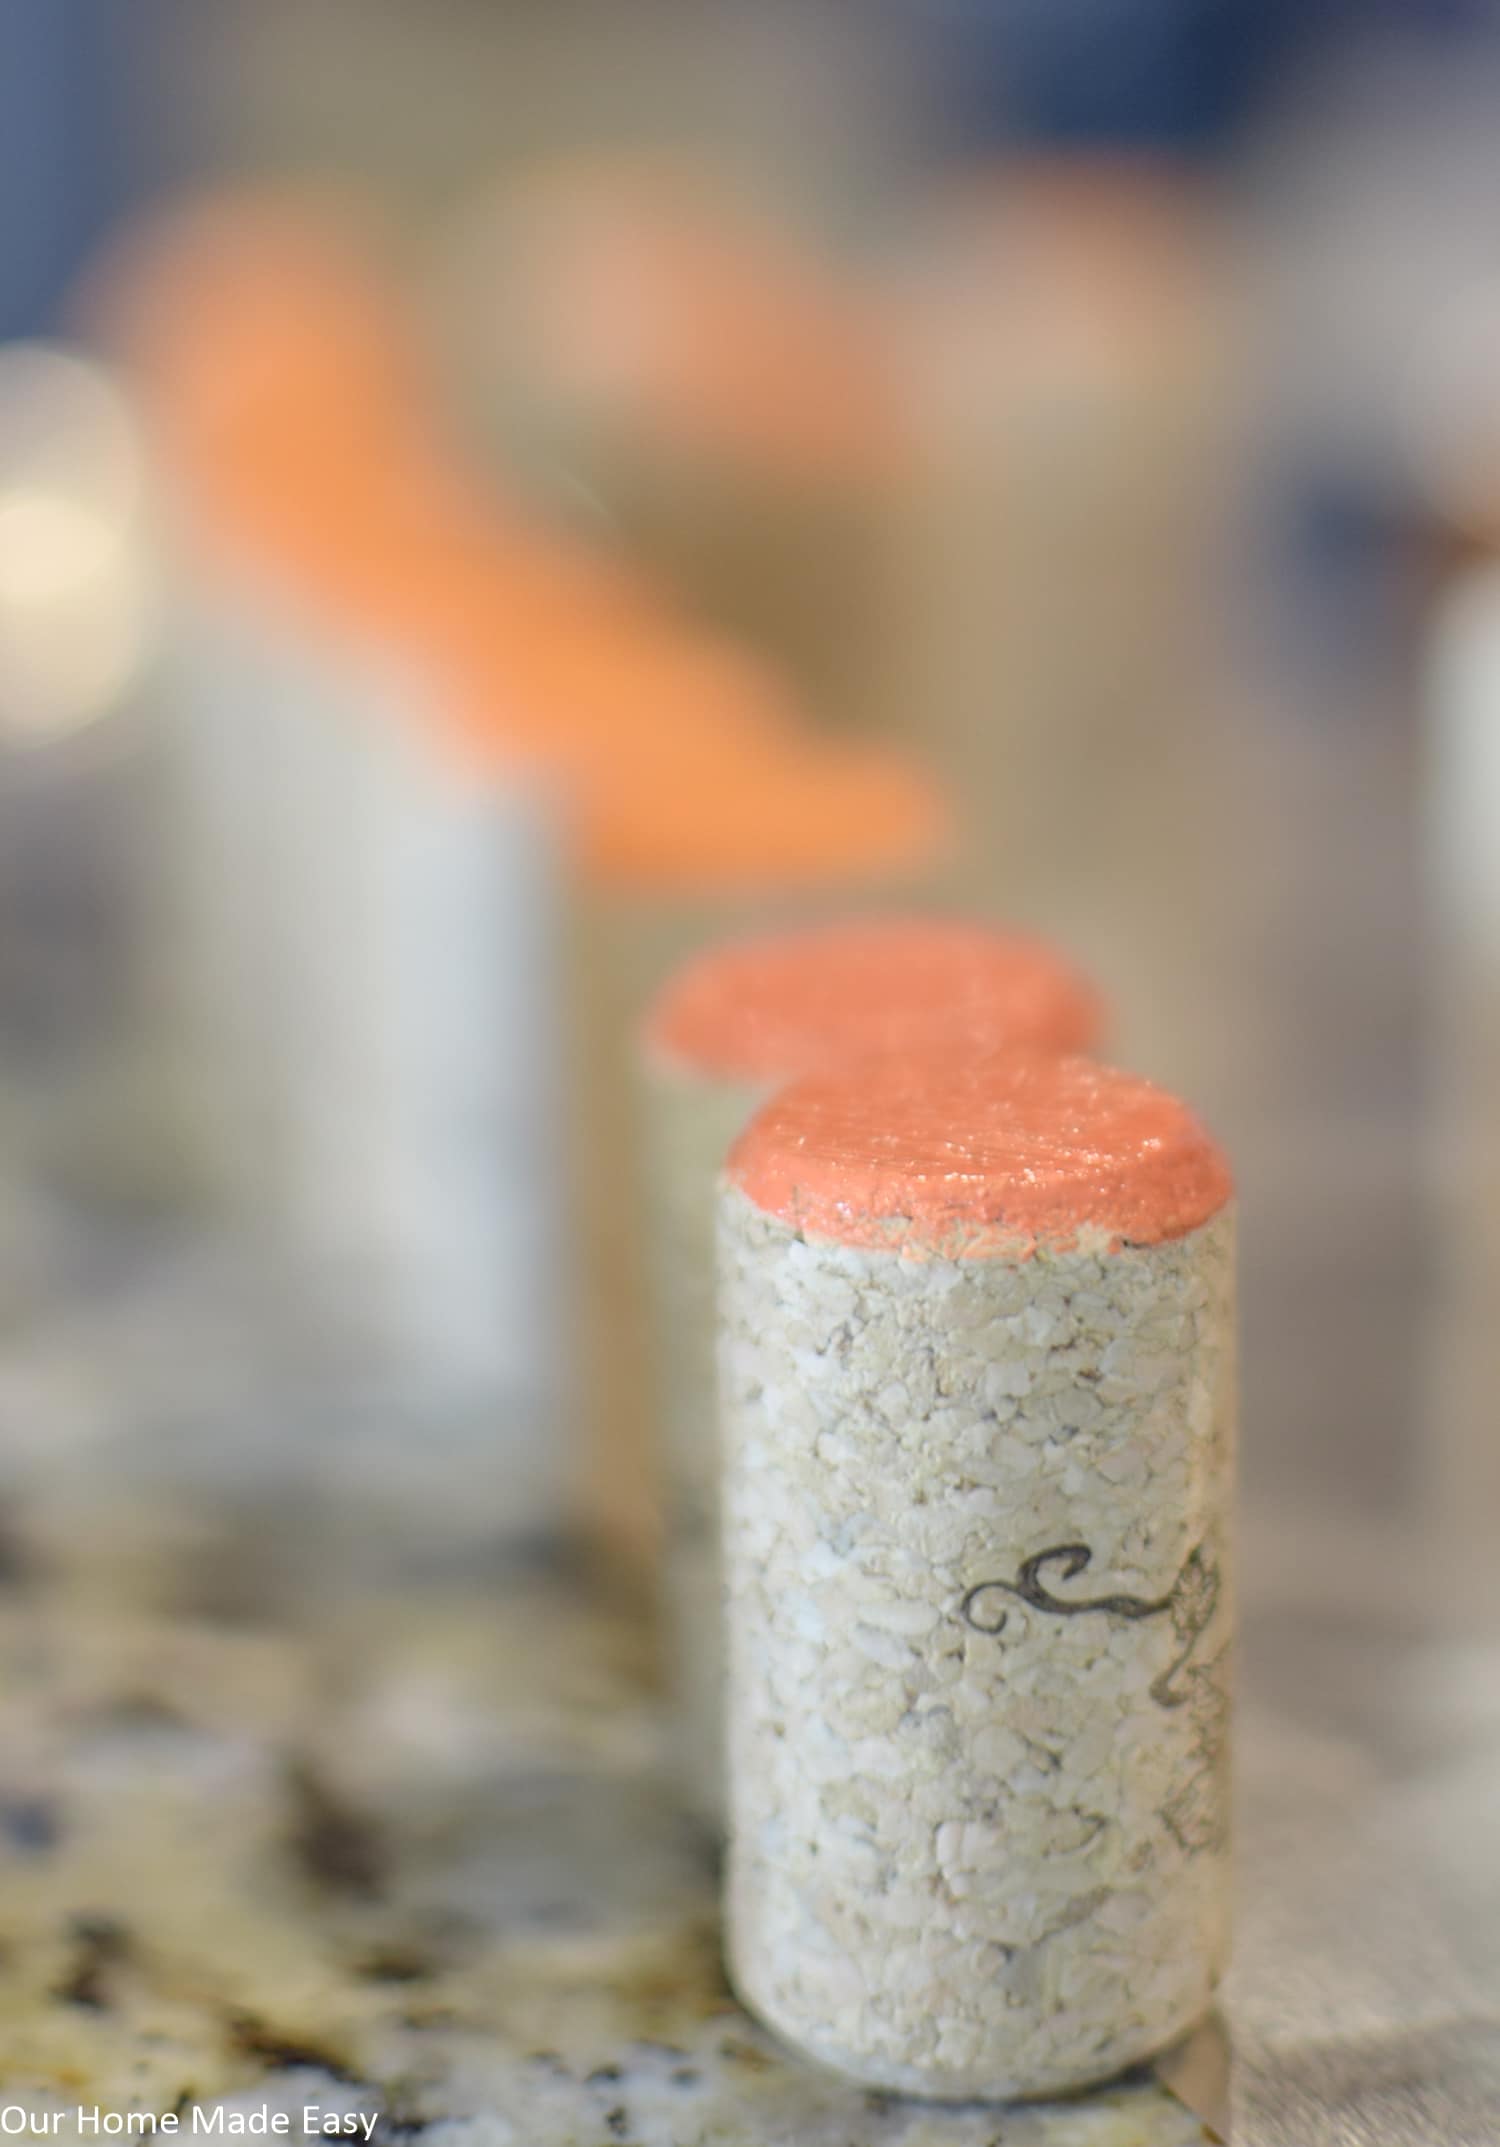
Paint Your Corks
You’ll choose the size of your pumpkin based on whether you want a short & wide pumpkin or a tall & skinny pumpkin. To give you an idea of sizing, if you’re making a 6-inch tall pumpkin, you’ll need 30 corks for the pumpkin body.
Split them up into 3 different groups and paint the faces of each. If you are doing 2 or 4 colors, split them evenly.
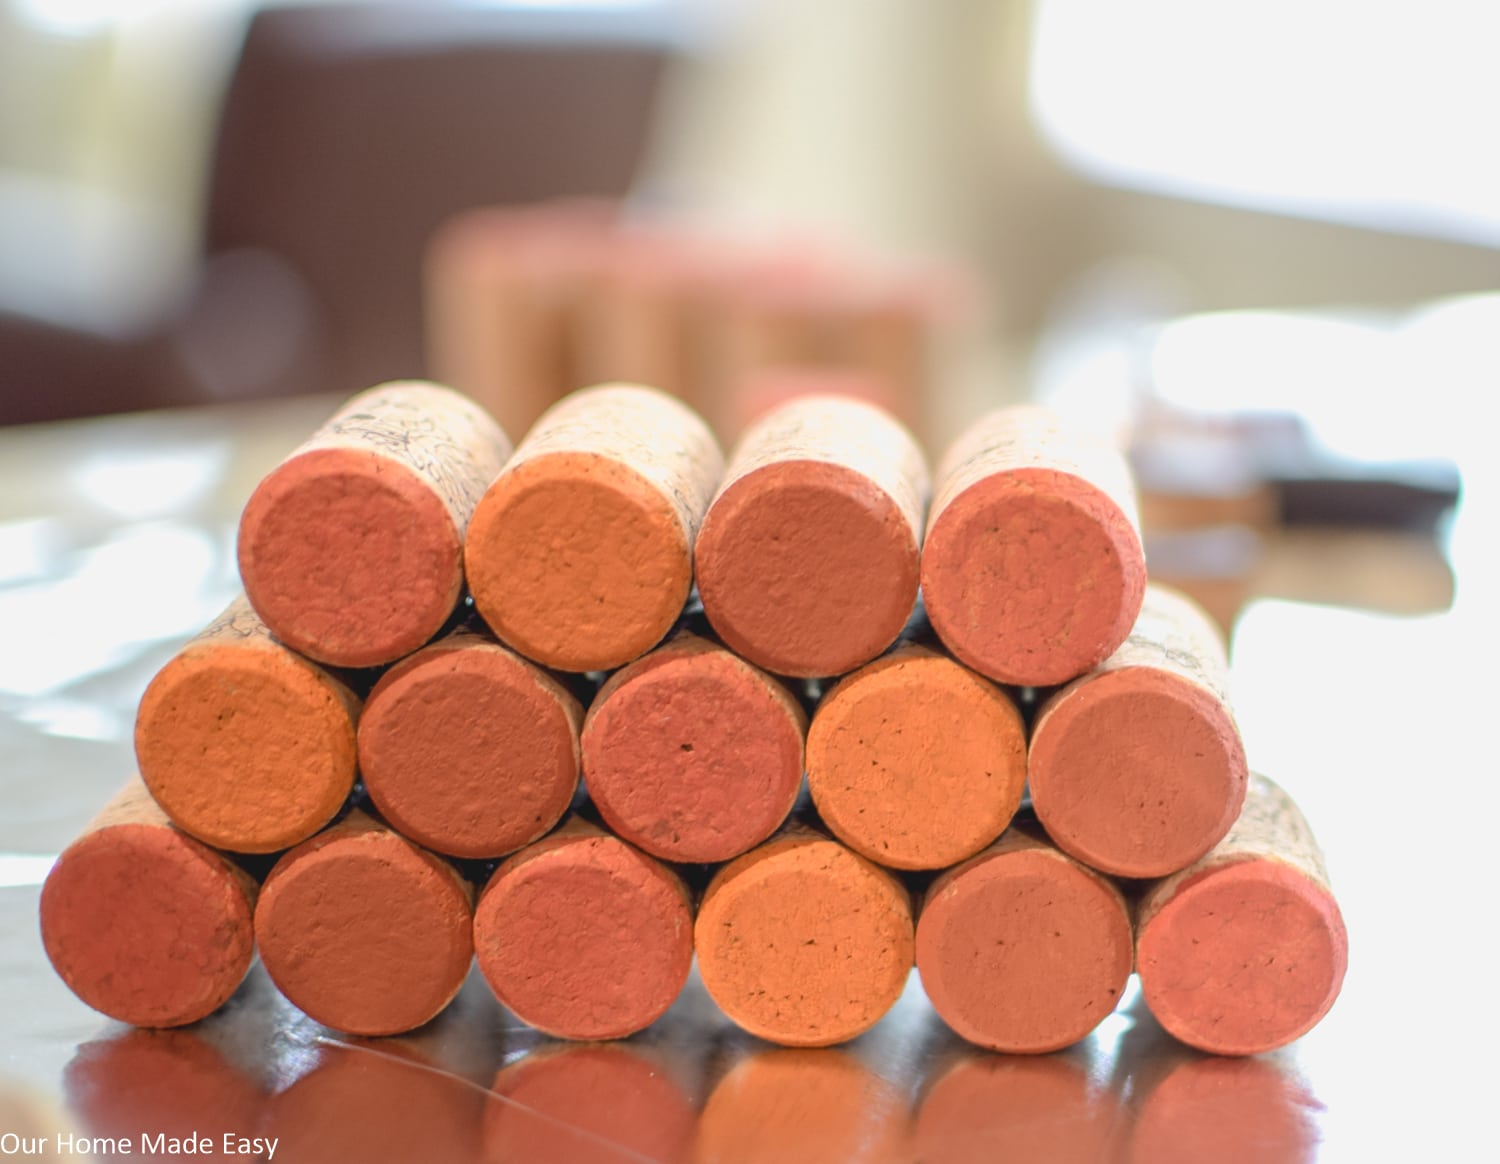
Build Your Pumpkin
Using a hot glue gun, start with your widest width of corks and run a bead of hot glue along the side of one cork. Press another cork against it, making sure it’s flush to the front. Repeat for the entire row.
For the second row, run your glue gun on top the first row and set your second row. Glue on bottom and side. Repeat for the top row.
Now it’s time to build the bottom half of your pumpkin! Using the number of corks width from your second row, start gluing alongside one another. Repeat on top for the last row.
Now you have two parts to your pumpkin. Hot glue the pieces together.

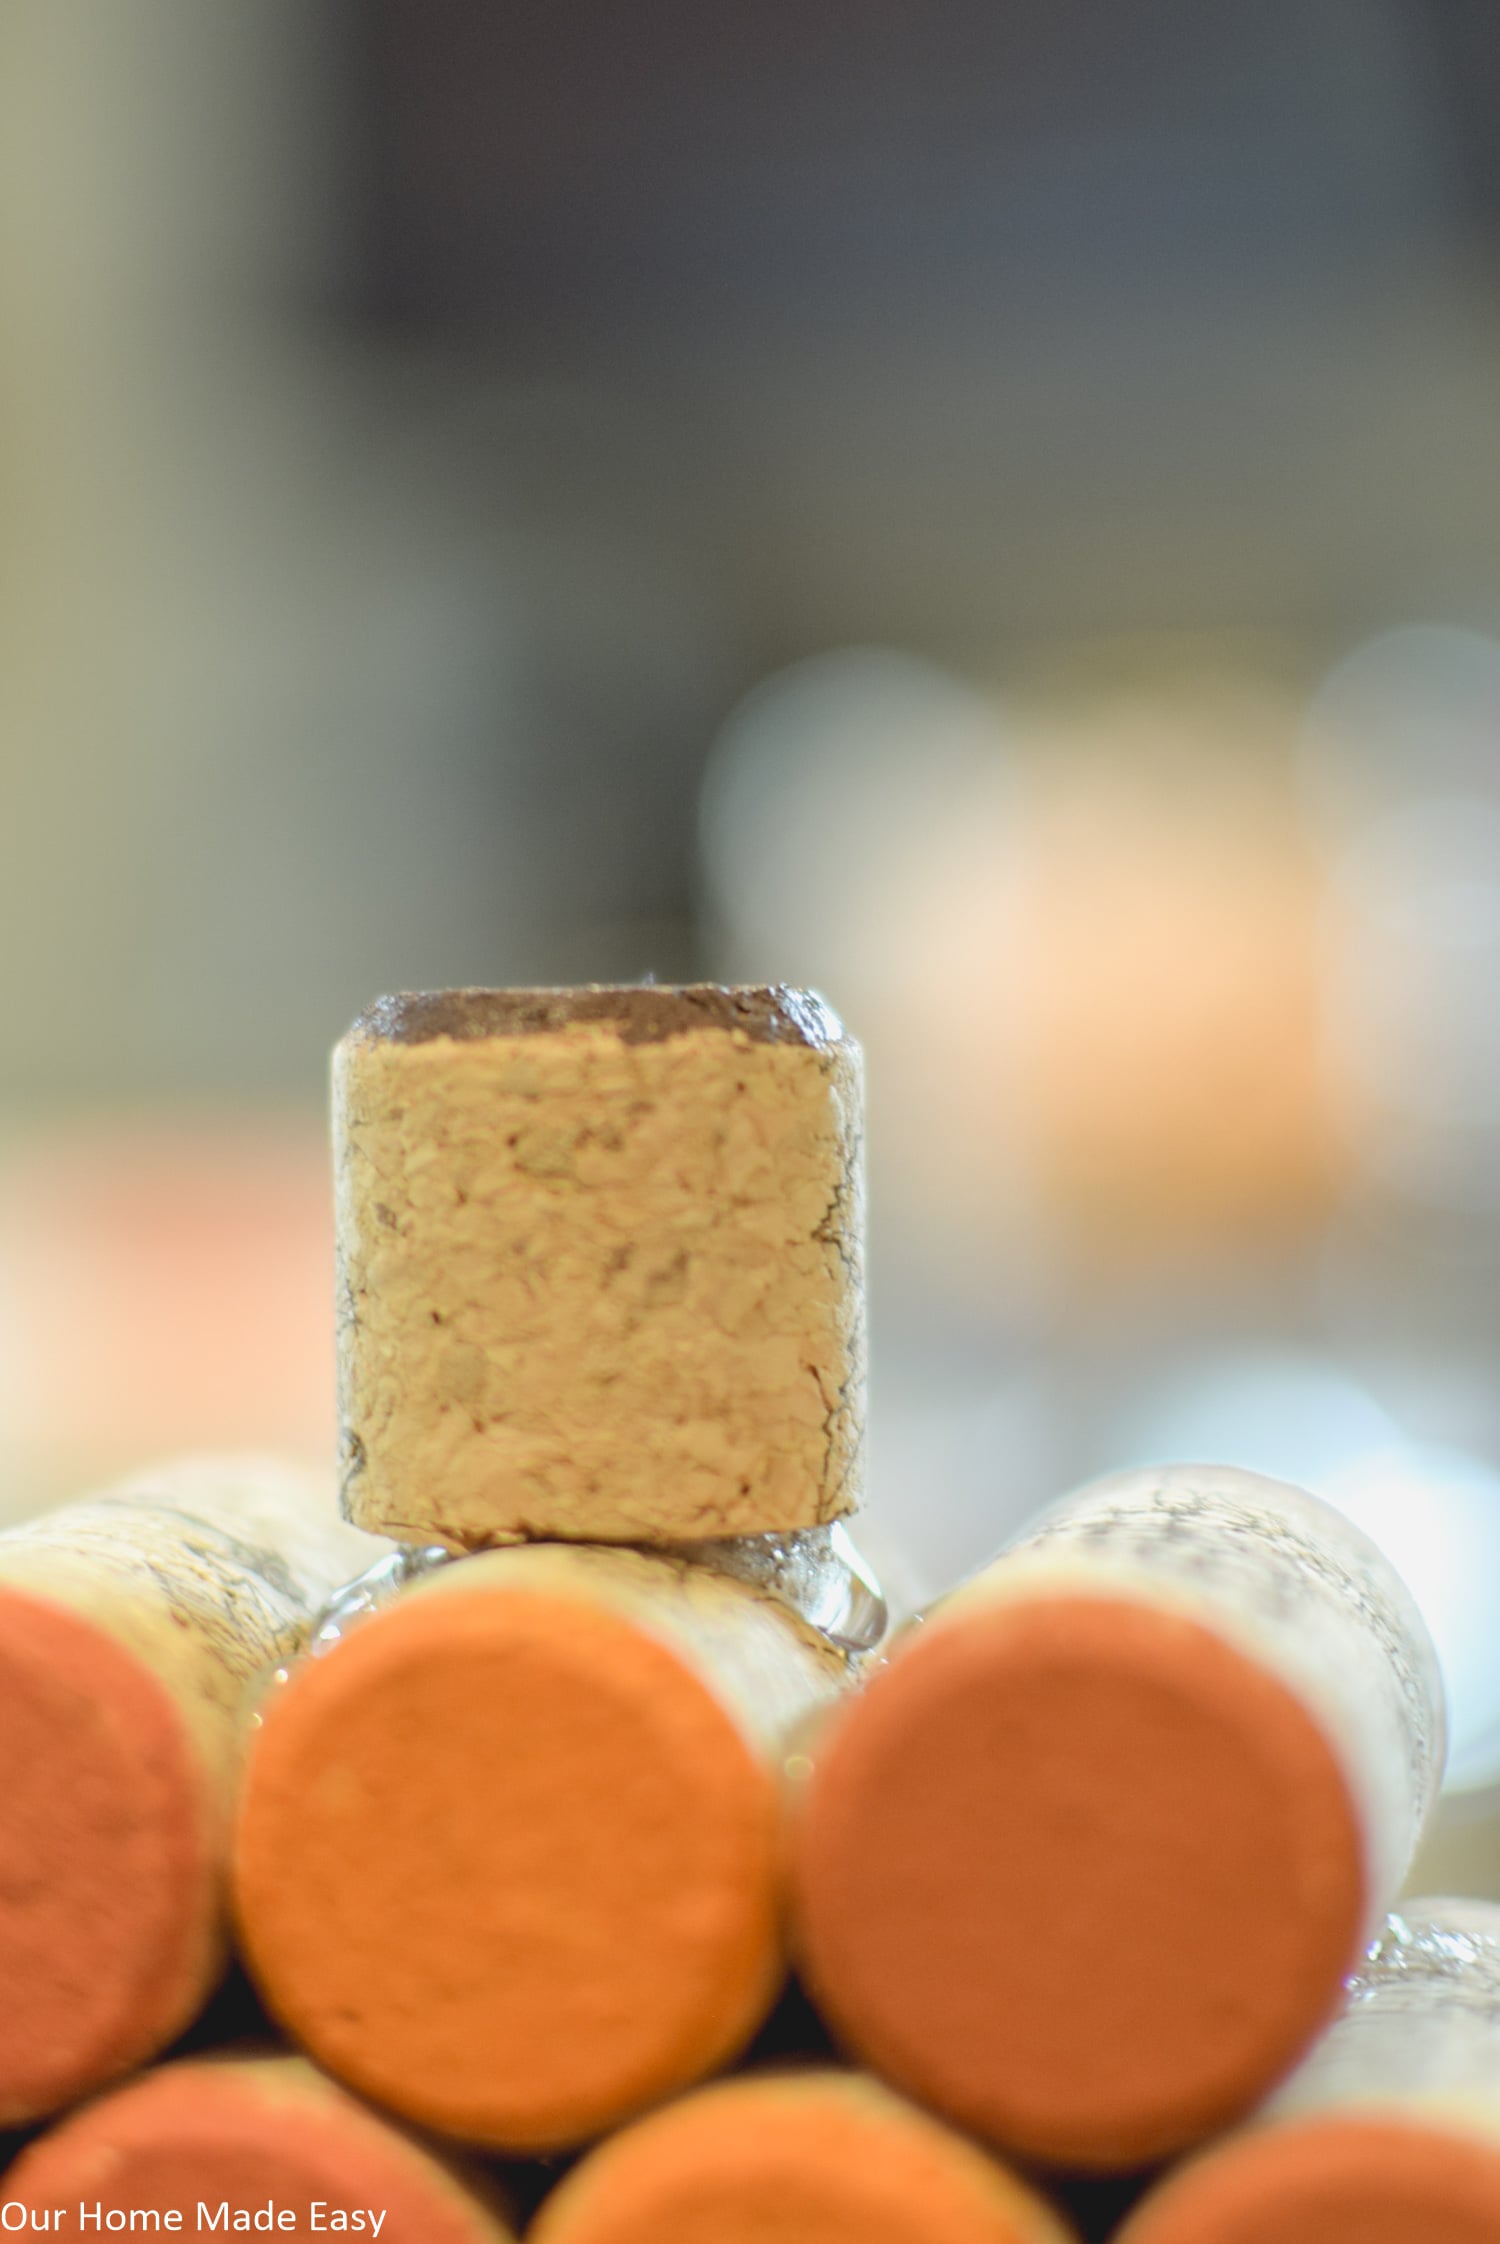
Make Your Stem
You’re almost finished! Take an extra cork and cut it down to a stem. Any knife should do the trick. Paint the face brown with craft paint.
Hot glue the stem to the pumpkin.
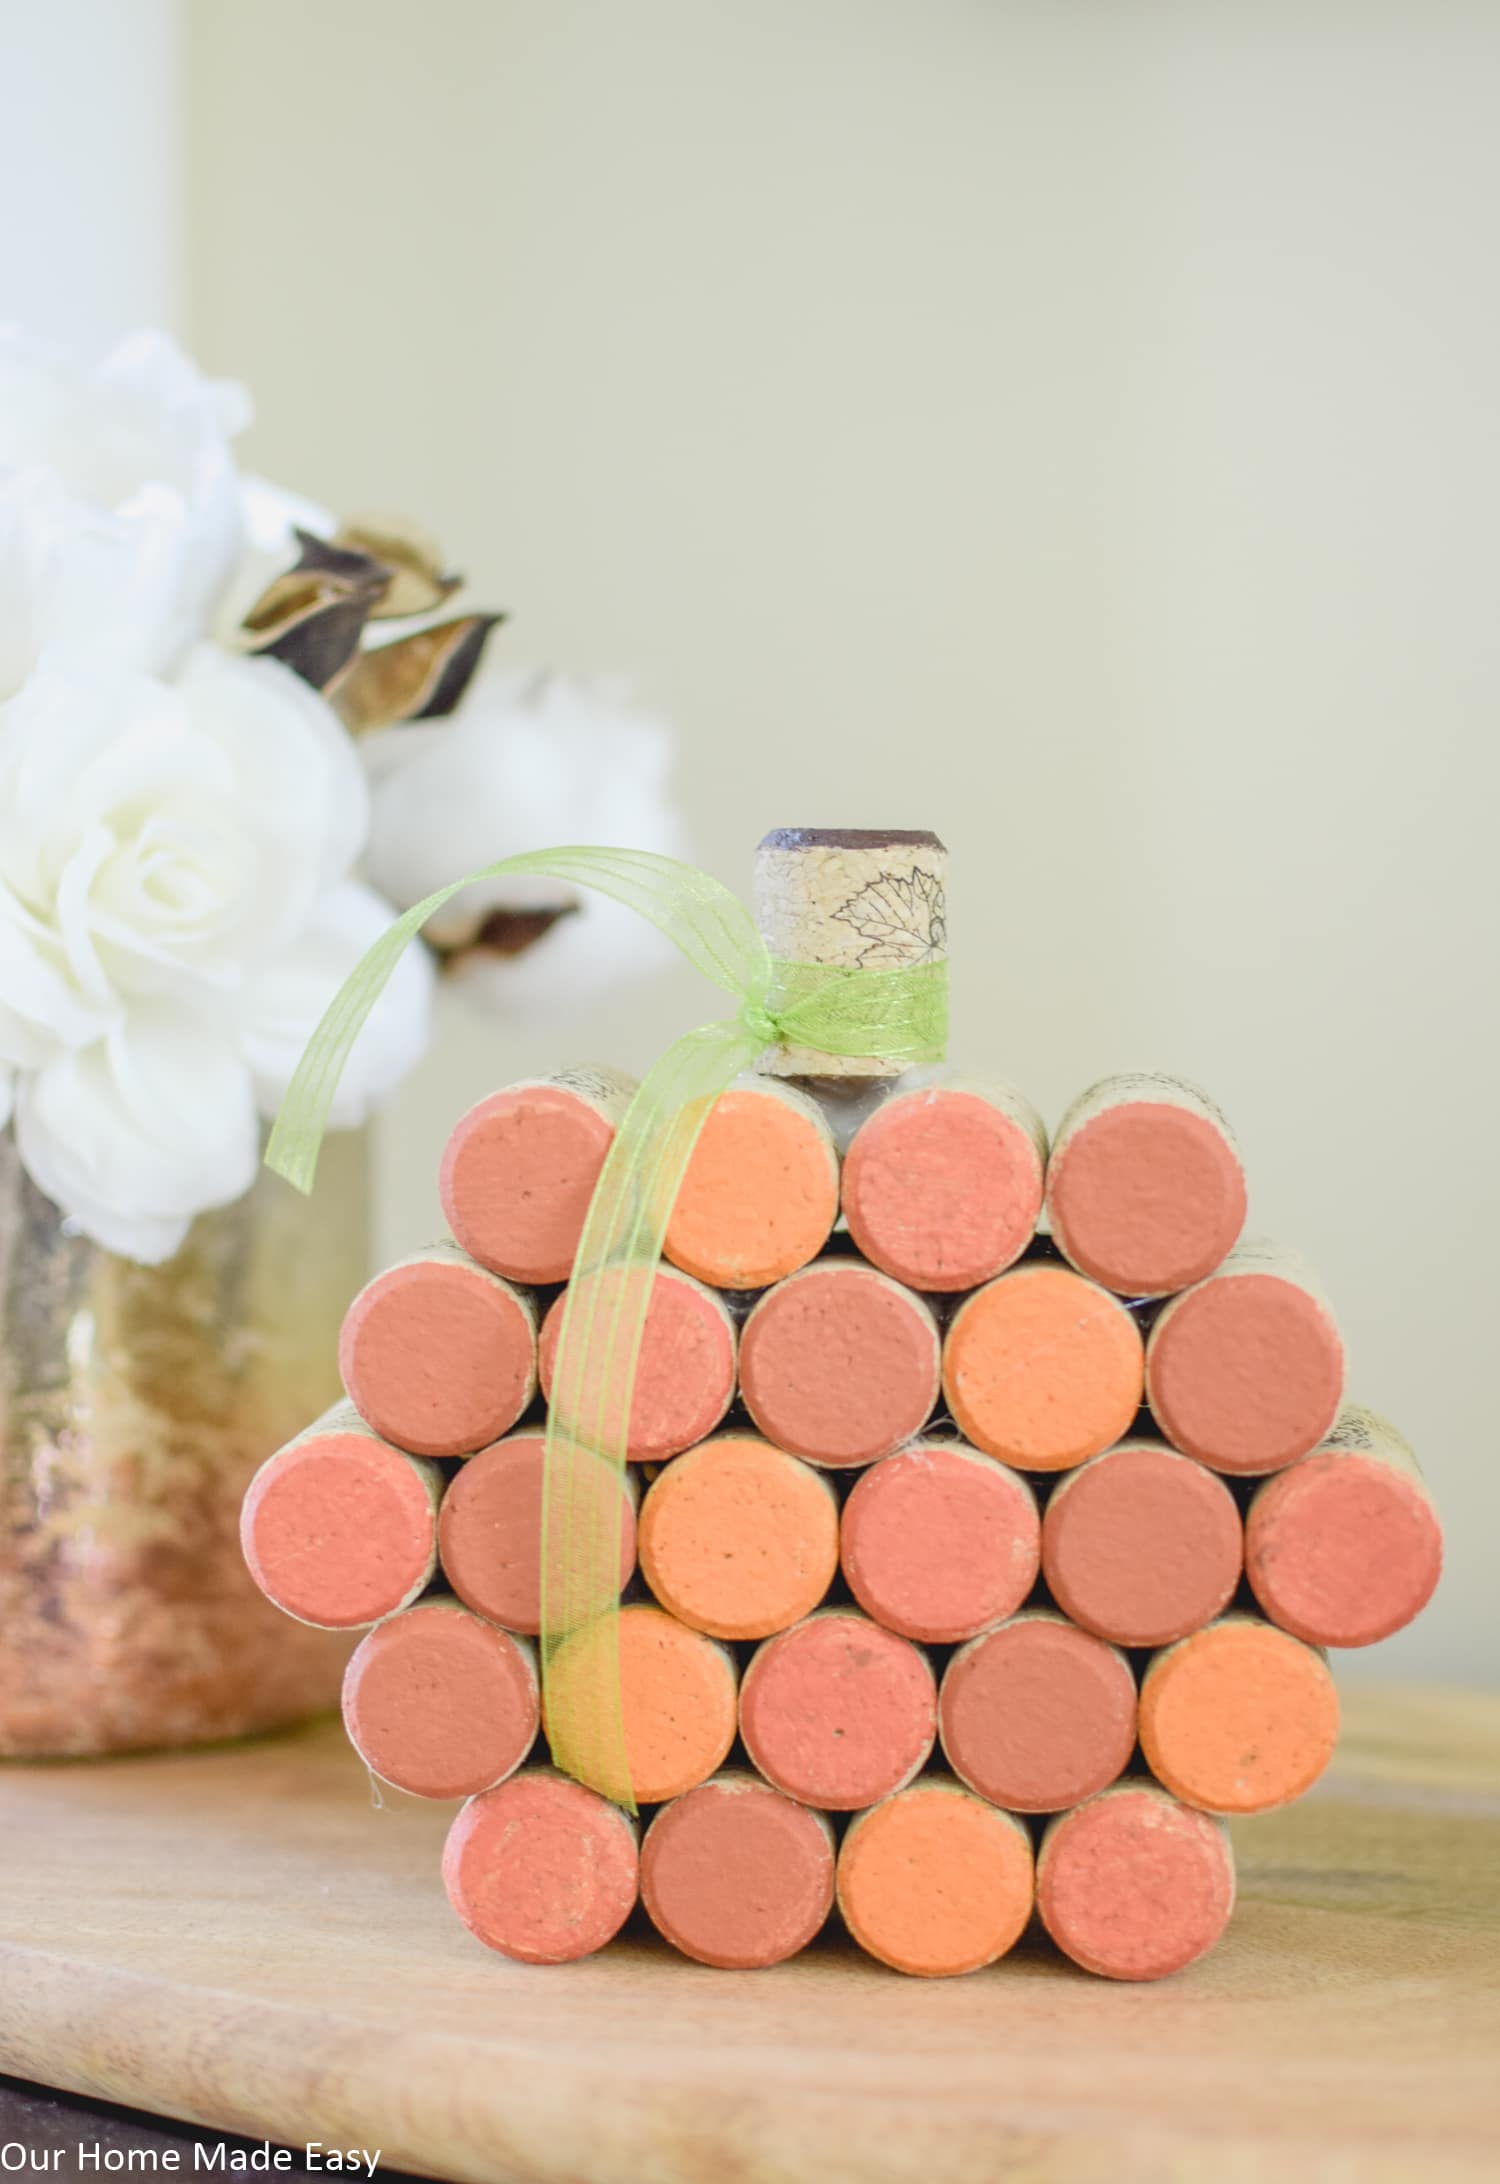
Add Finishing Touches
Cut a small piece of thin ribbon to add some personality to your cork pumpkin. You can tie it in a bow or simply knot it.
That’s it!
What color are you going to paint your pumpkins? Share in the comments!
PIN FOR LATER:

Hi, I’m Brittany, and I believe life at home should feel easier, not heavier.
I’m the creator of Our Home Made Easy, a space for busy women who want dinner on the table, their homes running smoothly, and a little breathing room at the end of the day.
You won’t find perfection here, just realistic recipes, smart shortcuts, and simple routines that work in real life. The kind that help you feed your family well, stay organized enough, and still have time to actually enjoy it.
If you’re juggling work, kids, schedules, and everything in between, you’re in the right place. I’m so glad you’re here.


These are so great!! I’m going to give it a try!
Thanks Kari!