Spooky Easy Oreo Witch’s Hat Cookies (with Hershey’s Kisses)
Make these fun no-bake witch hat cookies in minutes using Oreos, chocolate, and Hershey’s Kisses!

(This post contains affiliate links. Please see my Disclaimer for more information.)
These witch hat cookies are the kind of no-stress, no-bake Halloween treat every busy mom needs in her back pocket. With just a few pantry staples and less than 20 minutes, you can create a spooky-sweet dessert that’s just as fun to make as it is to eat. They also double with these mummy dogs as a great Trick-or-Treating night idea!
Whether you’re prepping for a classroom party, hosting a get-together with your mom friends, or just looking for a festive baking activity with the kids, these witch hat cookies are such a fun cookie to serve!!
What You’ll Love About This Witch’s Hat Recipe:
How to Make Witch Hat Cookies
These cookies are great for busy moms who want to deliver cute, homemade treats without spending hours in the kitchen. They’re also easily customizable with different chocolate types or colors, and you don’t even need a piping bag to make them. Halloween treats don’t get easier—or cuter—than this.

Ingredients Needed
Shop this post


Easy Witch’s Hat Cookies Step by Step
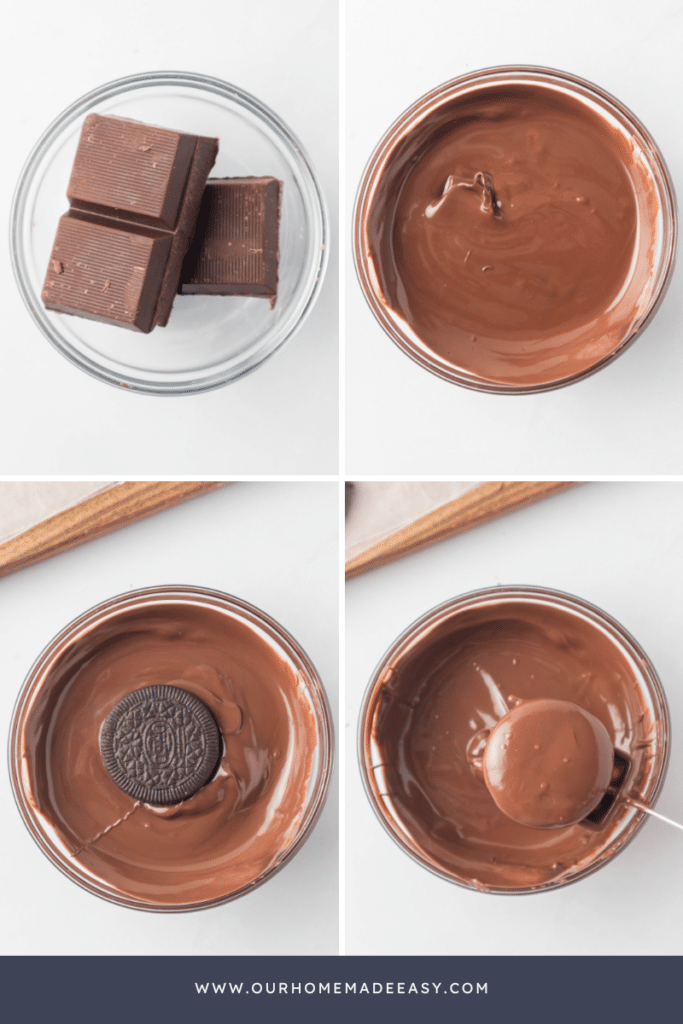
- Melt the Almond Bark Place the chocolate almond bark in a microwave-safe bowl and microwave on full power for 1 minute. Stir well and continue microwaving in 30-second bursts, stirring in between, until smooth.
- Dip the Oreos Using a fork or dipping tool, dip each Oreo into the melted chocolate, making sure it’s fully coated. Tap off any excess and place the cookies on a baking sheet lined with parchment paper.
- Melt and Color In a separate small bowl, melt your colored candy melts using the same method, but reduce the power to 50%. Stir until smooth. Transfer to a piping bag or zip-top bag with the corner snipped off.
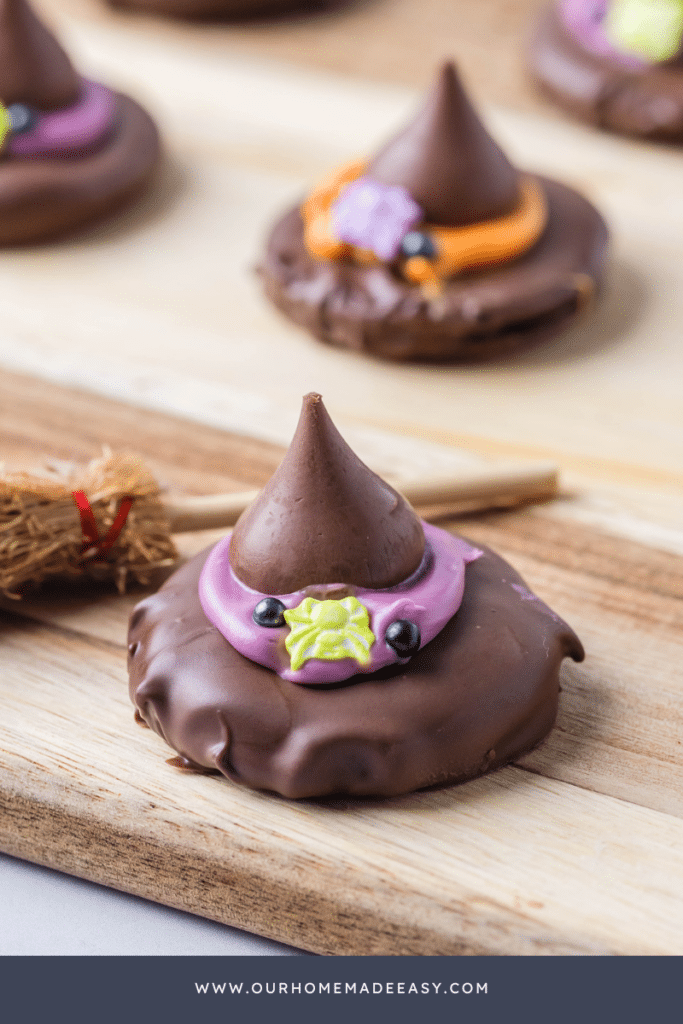
- Decorate the Hats Pipe a small filled-in circle in the center of each chocolate-covered Oreo. Immediately press a Hershey’s Kiss into the center and finish with sprinkles before the chocolate sets.
- Let Them Set Allow cookies to set at room temperature (about 10–15 minutes), or place in the fridge for 5 minutes if you’re short on time.
Find the measurements and full recipe below!


For even more adorable Halloween recipes, you will like these:


Tips & Tricks
- Let the excess chocolate drip off before placing each cookie on parchment to avoid puddles.
- Decorate one cookie at a time so the hat band doesn’t harden before the Kiss and sprinkles are added.
- If your chocolate thickens while dipping, reheat it gently in the microwave or stir in a small amount of vegetable oil to thin it out.

FAQs About Witch Hat Cookies
Can I use regular Oreos instead of Thins?
Yes! Regular Oreos work just as well for a thicker cookie base.
What if I don’t have a piping bag?
A zip-loc plastic bag with the tip cut off works perfectly in a pinch.
How should I store these?
Keep them in an airtight container at room temperature for up to 5–7 days. Store in a cool place to prevent the chocolate from melting.

Can I switch up the colors?
Definitely. Use any combination of Halloween colors or your party theme—green, purple, orange, or even black.
What else could I use instead of Hershey’s Kisses?
Try mini peanut butter cups, chocolate-covered almonds, or any cone-shaped chocolate candy.
Make Halloween easy and fun this year! You’ll enjoy these:


More Ideas for Fun Halloween Cookies
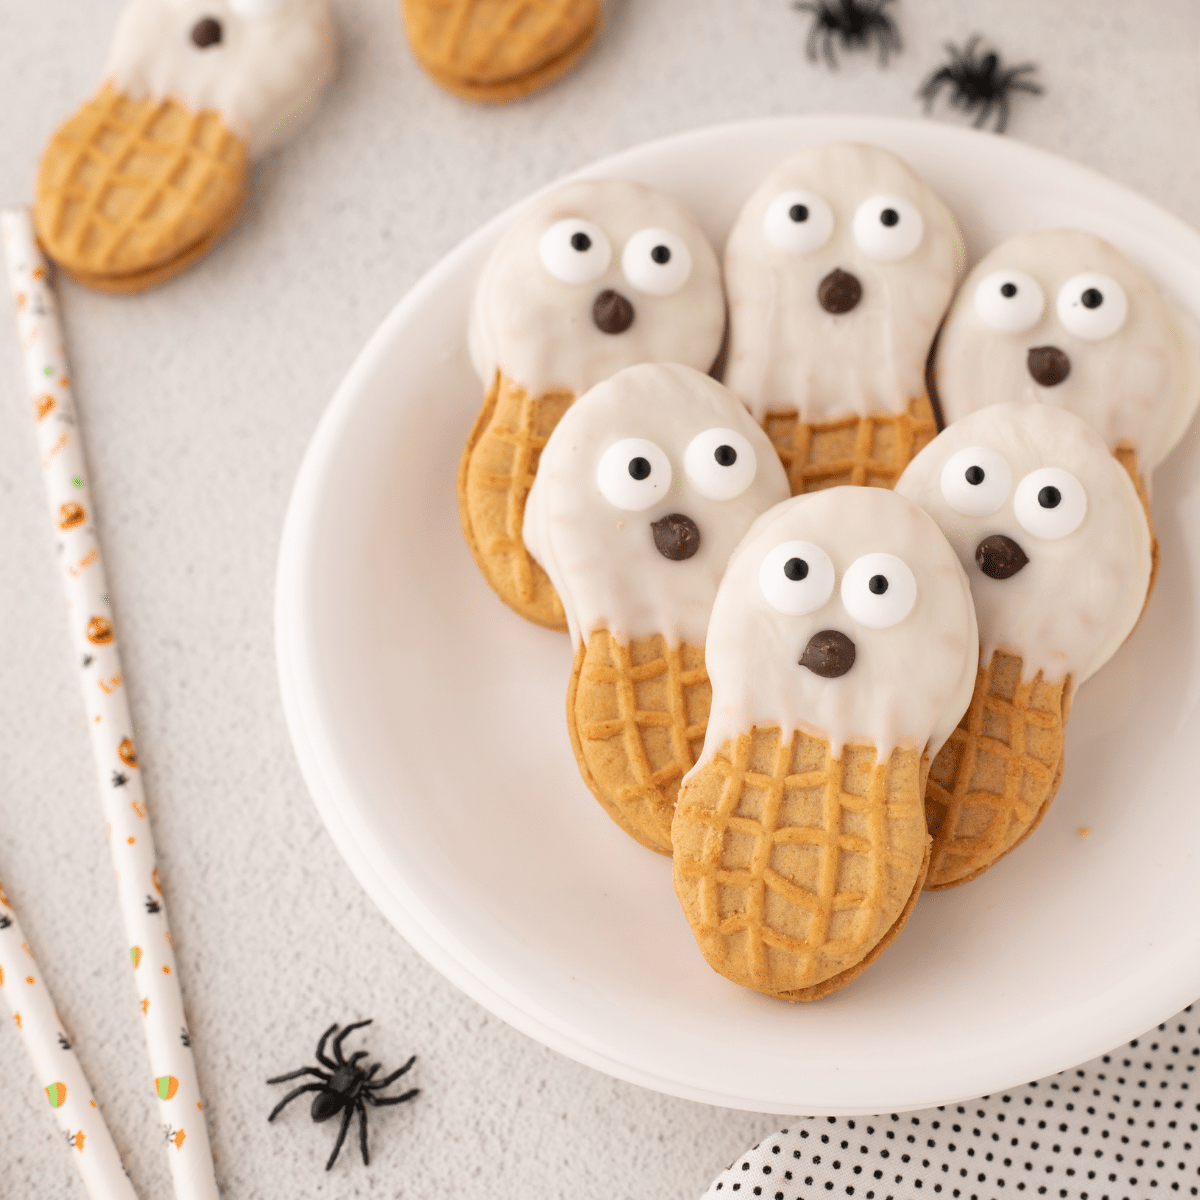
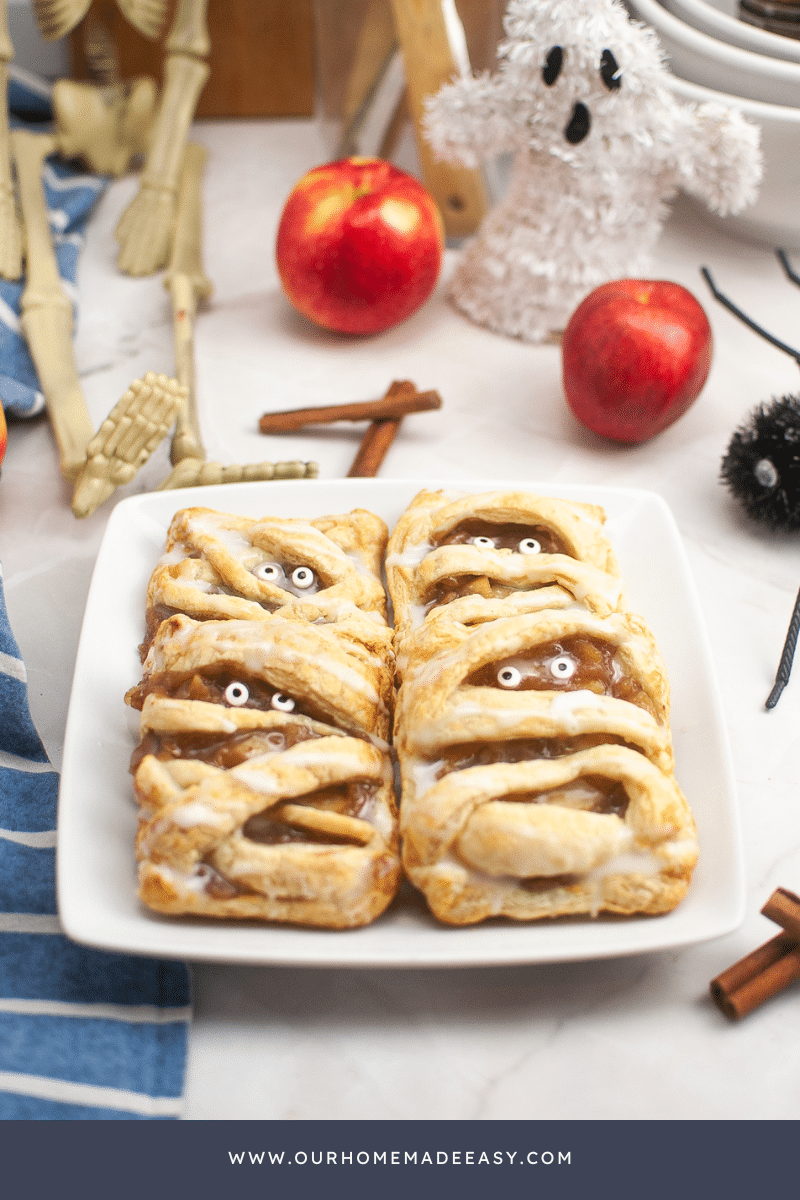
While these cookies are festive and adorable on their own, you can mix and match them with other Halloween favorites like spider cookies, monster cake pops, or mummy apple danishes treats for a full spooky spread.
Whether you’re baking for a class party, sharing a treat with neighbors, or just getting into the Halloween spirit, these witch hat cookies are the perfect combination of easy and adorable. Keep a stash of supplies on hand, and you’ll be ready for any last-minute Halloween fun. Happy haunting!

Witch's Hat Cookies
Make these fun no-bake witch hat cookies using Oreos, chocolate, and Hershey’s Kisses in minutes!
Ingredients
- 15 Oreo Thin Cookies
- 15 Hershey’s Kisses
- 8 oz of Milk Chocolate Almond Bark
- 2 oz of colored Melting Wafers (purple, orange or bright green)
- Sprinkles (optional)
Instructions
- Start by placing the almond bark in a microwave-safe bowl. Microwave at 100% power for 1 minute. If needed, continue microwaving in 30-second intervals, stirring between each interval, until the chocolate is melted and smooth.
- Once melted, dip the thin Oreos into the chocolate, ensuring they are completely coated. Set them aside to allow the chocolate to harden.
- In a small microwave-safe bowl, melt the colored melting wafers, following the same directions as step 1, except microwave at 50% power. Fill a piping bag (or a zip-loc bag) with the melted colored chocolate and cut off the tip.
- Pipe a filled-in circle on top of each chocolate-covered Oreo. Top with Hershey Kisses and sprinkles
Notes
Store the witch hat cookies in an airtight container at room temperature for up to 3 days. Avoid exposing them to heat to prevent the chocolate from melting.
Recommended Products
As an Amazon Associate and member of other affiliate programs, I earn from qualifying purchases.


Nutrition Information:
Yield: 15 Serving Size: 1Amount Per Serving: Calories: 174Total Fat: 11gSaturated Fat: 4gTrans Fat: 0gUnsaturated Fat: 6gCholesterol: 1mgSodium: 52mgCarbohydrates: 16gFiber: 3gSugar: 8gProtein: 4g

Did you make this recipe?
Mention us @ourhomemadeeasy or tag us using #ourhomemadeeasy so we can see your dish!

Hi, I’m Brittany, and I believe life at home should feel easier, not heavier.
I’m the creator of Our Home Made Easy, a space for busy women who want dinner on the table, their homes running smoothly, and a little breathing room at the end of the day.
You won’t find perfection here, just realistic recipes, smart shortcuts, and simple routines that work in real life. The kind that help you feed your family well, stay organized enough, and still have time to actually enjoy it.
If you’re juggling work, kids, schedules, and everything in between, you’re in the right place. I’m so glad you’re here.


