
Easy DIY Storage Shelves for Totes
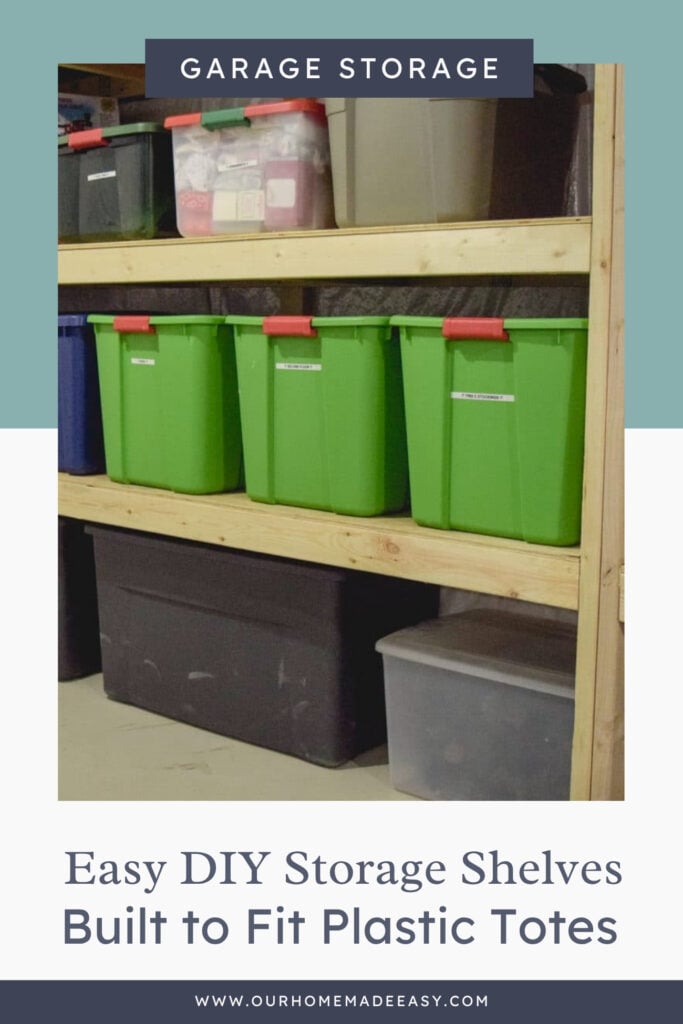
Need a better way to organize all those plastic totes? Jordan built these simple DIY storage shelves with basic lumber and plywood to give us sturdy, easy-to-access storage without complicated plans.
(This post contains affiliate links. Please see my Disclaimer for more information)
If your garage or storage room is filled with stacks of plastic totes, these DIY storage shelves make it much easier to keep everything organized without constantly moving bins to get to the one on the bottom.
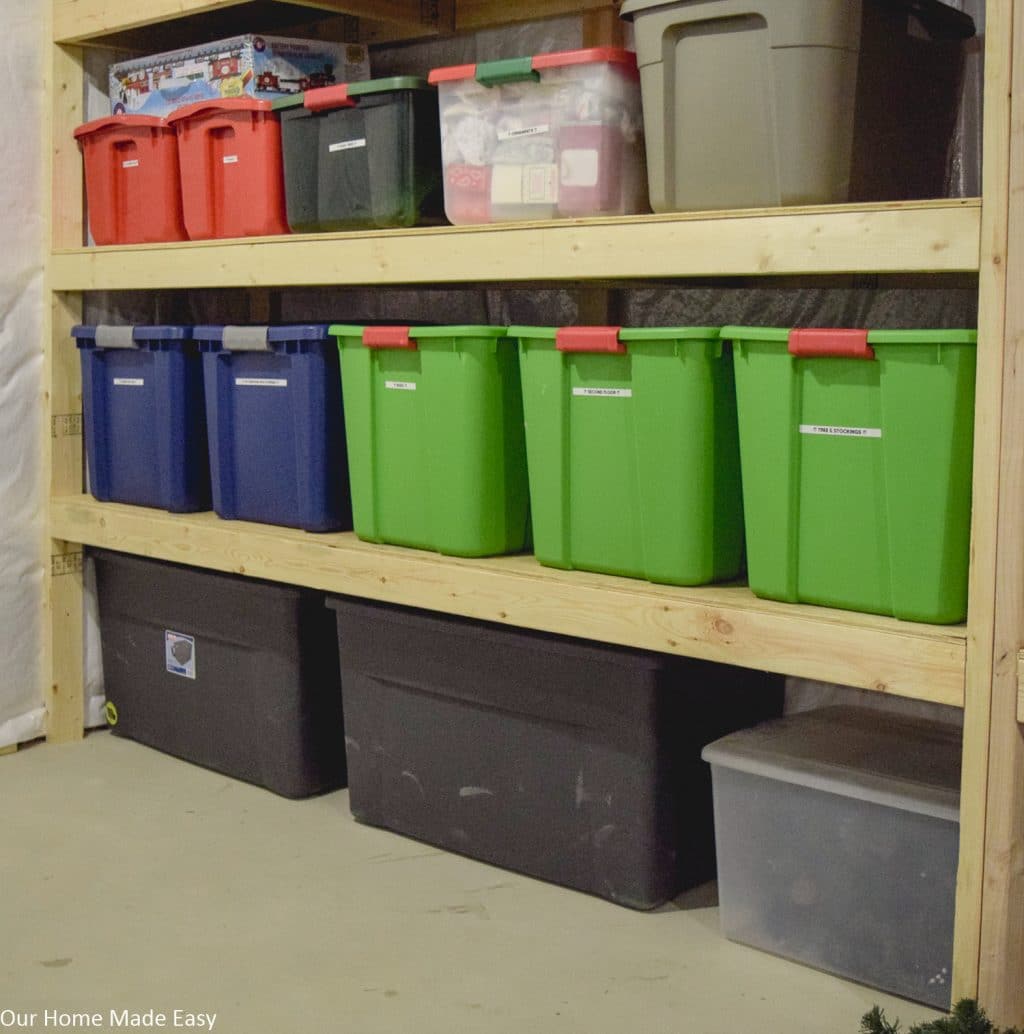
Jordan originally built these shelves for all the totes we use to store seasonal decor, kids’ clothes, toys, and everything else we don’t need out year-round. The design uses basic 2x4s and plywood to create sturdy shelves with enough room to slide large storage totes in and out.
I’ll show you exactly how he built ours, including the lumber cuts, shelf supports and the trick he used to determine the spacing between shelves based on the totes we already owned.
Why This Storage Shelf Works
Easy DIY Storage Shelves for Totes
These storage shelving units are easy to build and setup next to one another to hold all of your totes!
What You’ll Need to Build the Storage Shelves
- Legs & Shelves Supports: 15 ea 8 ft 2” x 4”
- Shelf Tops: 2 ea ½” 96” x 48” plywood
- 2.5” Kreg Screws
- Wood Glue
- Nails/Hammer or Pneumatic Nailer
1. Cut the Wood
While picking up your lumber at Home Depot, have a team member cut your plywood in half long ways, so you have 4 ea 96” x 24”. Get your supplies home and get ready to organize.
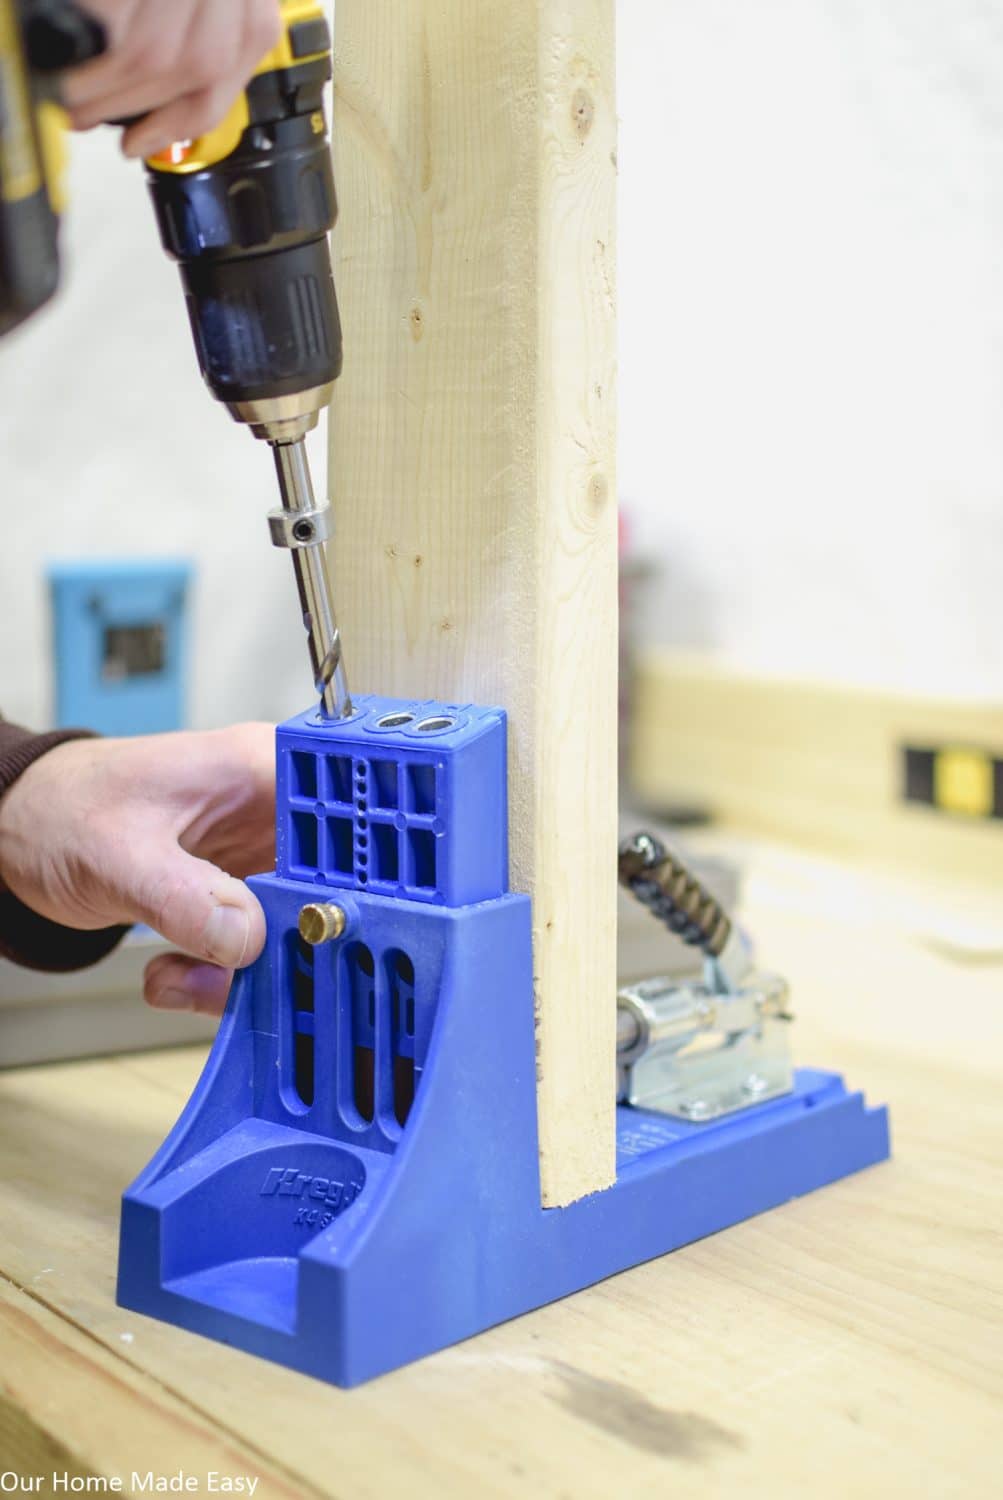
Take 4 of your 2”x4” and cut them on your miter saw to end up with 12 ea 21” pieces. After this, put two kreg pocket holes in each end of the 12 21” pieces.
Measure Your Storage Totes Before You Build
Before you start building, measure the plastic totes you plan to store on the shelves. Don’t assume all of your bins are the same size, especially if you’ve collected them over several years like we have.
Measure the height, width and depth of your largest totes, then leave a little extra clearance above them so you can slide the bins in and out without fighting the shelf above.
We determined our shelf spacing based on the totes and other items we actually planned to store rather than making every opening exactly the same height. That made the finished shelves much more practical for our garage.
2. Build the Shelf Frames
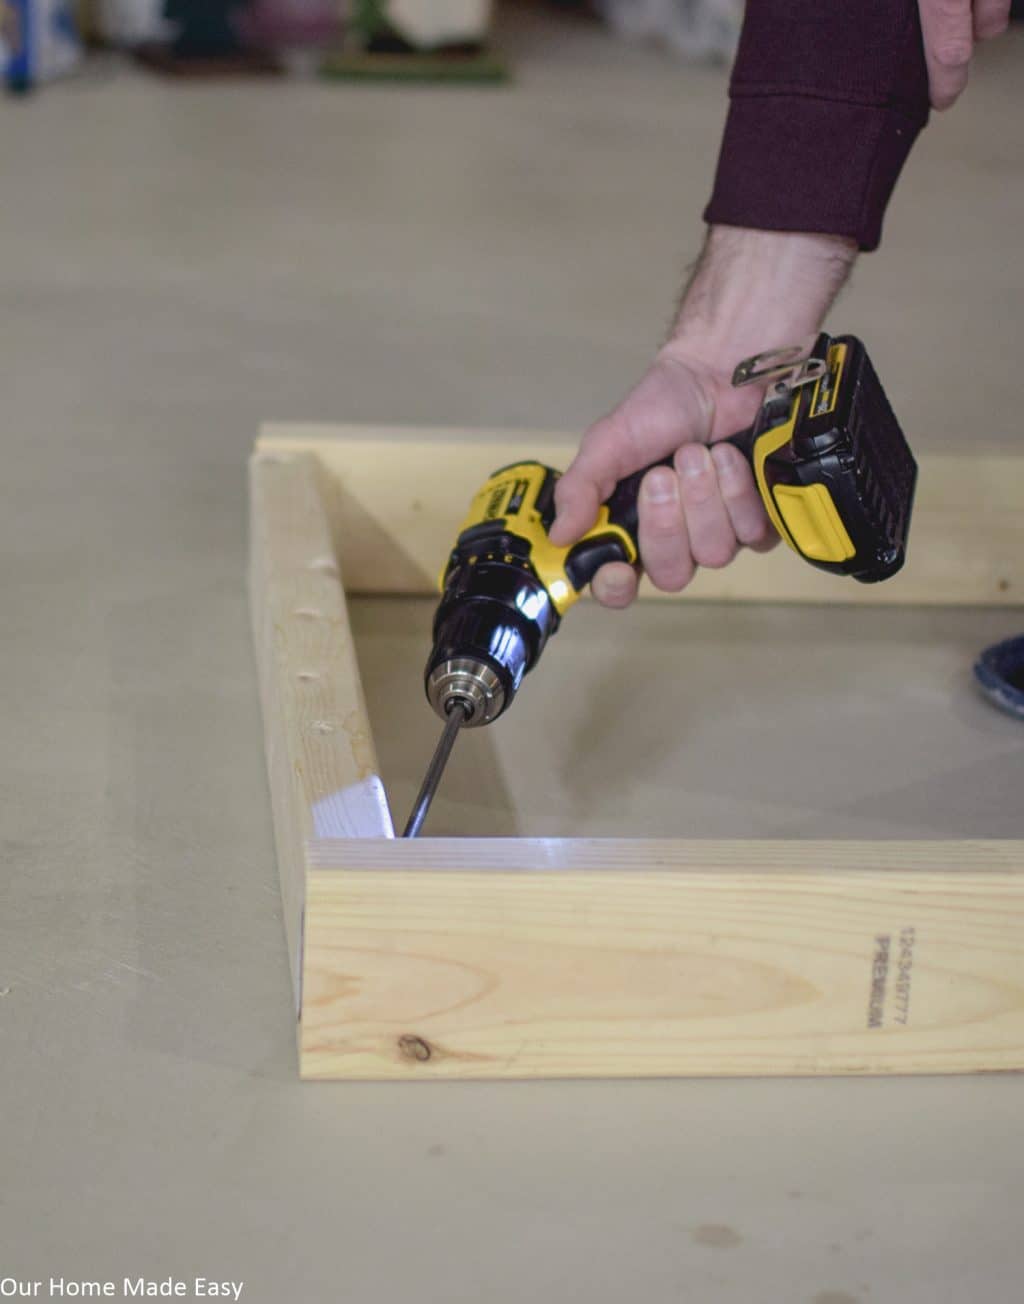
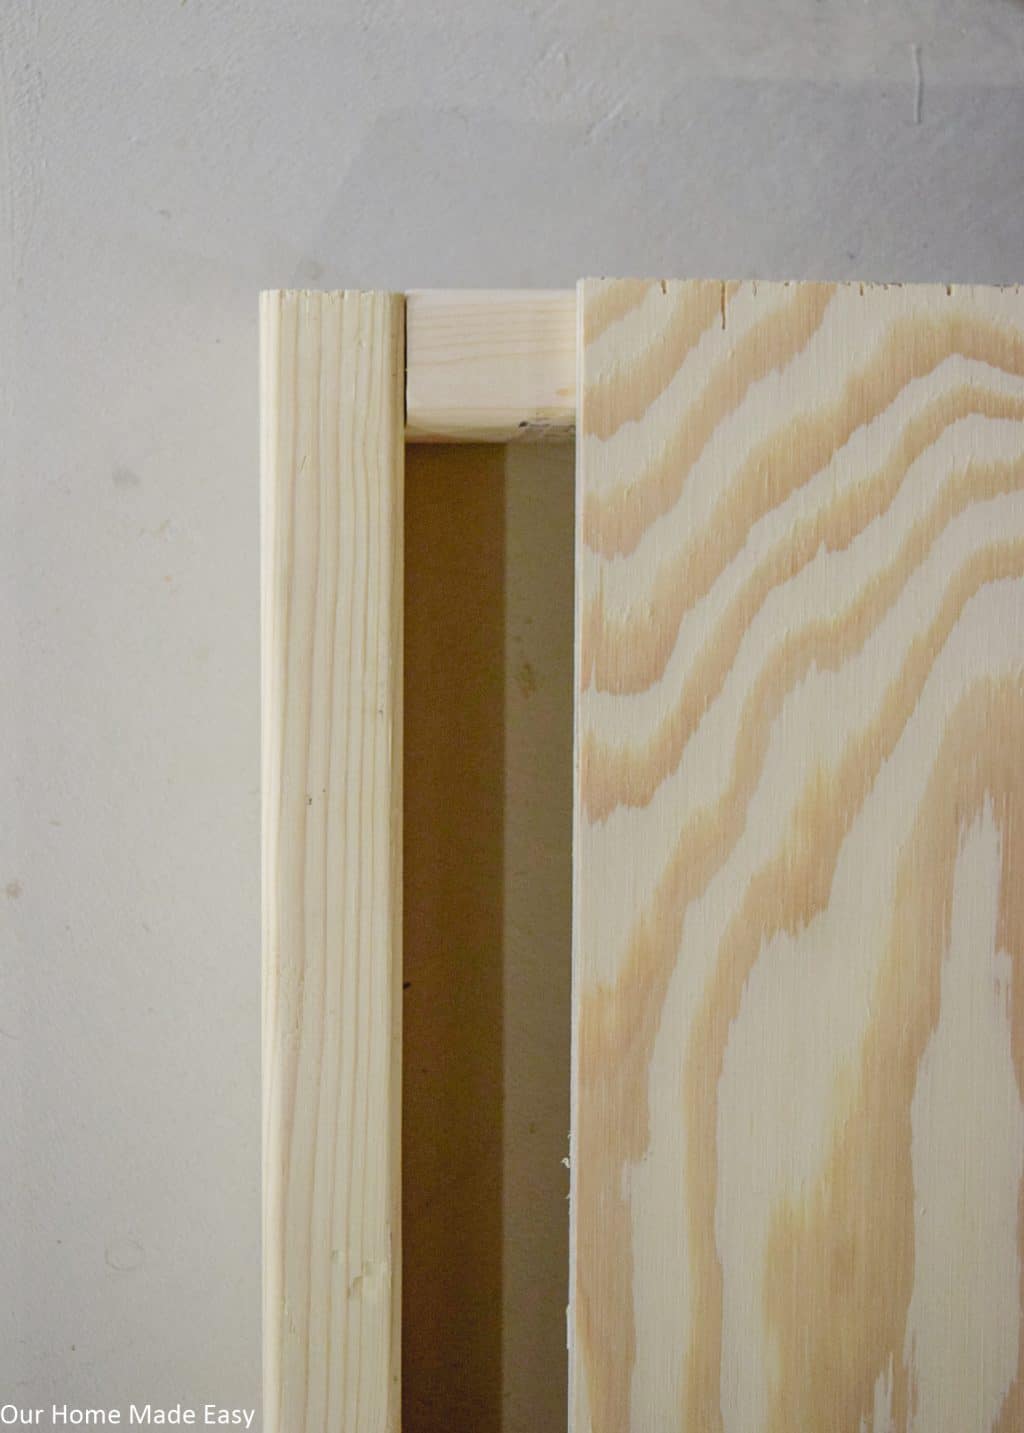
To build your three shelves, stand two of your 8’ long 2”x4” and four of your 21” pieces on their side. Place two 21” pieces on both ends and two more 32” from each end. Attach the 21” pieces to the 8’ boards with 2.5” kreg screws.
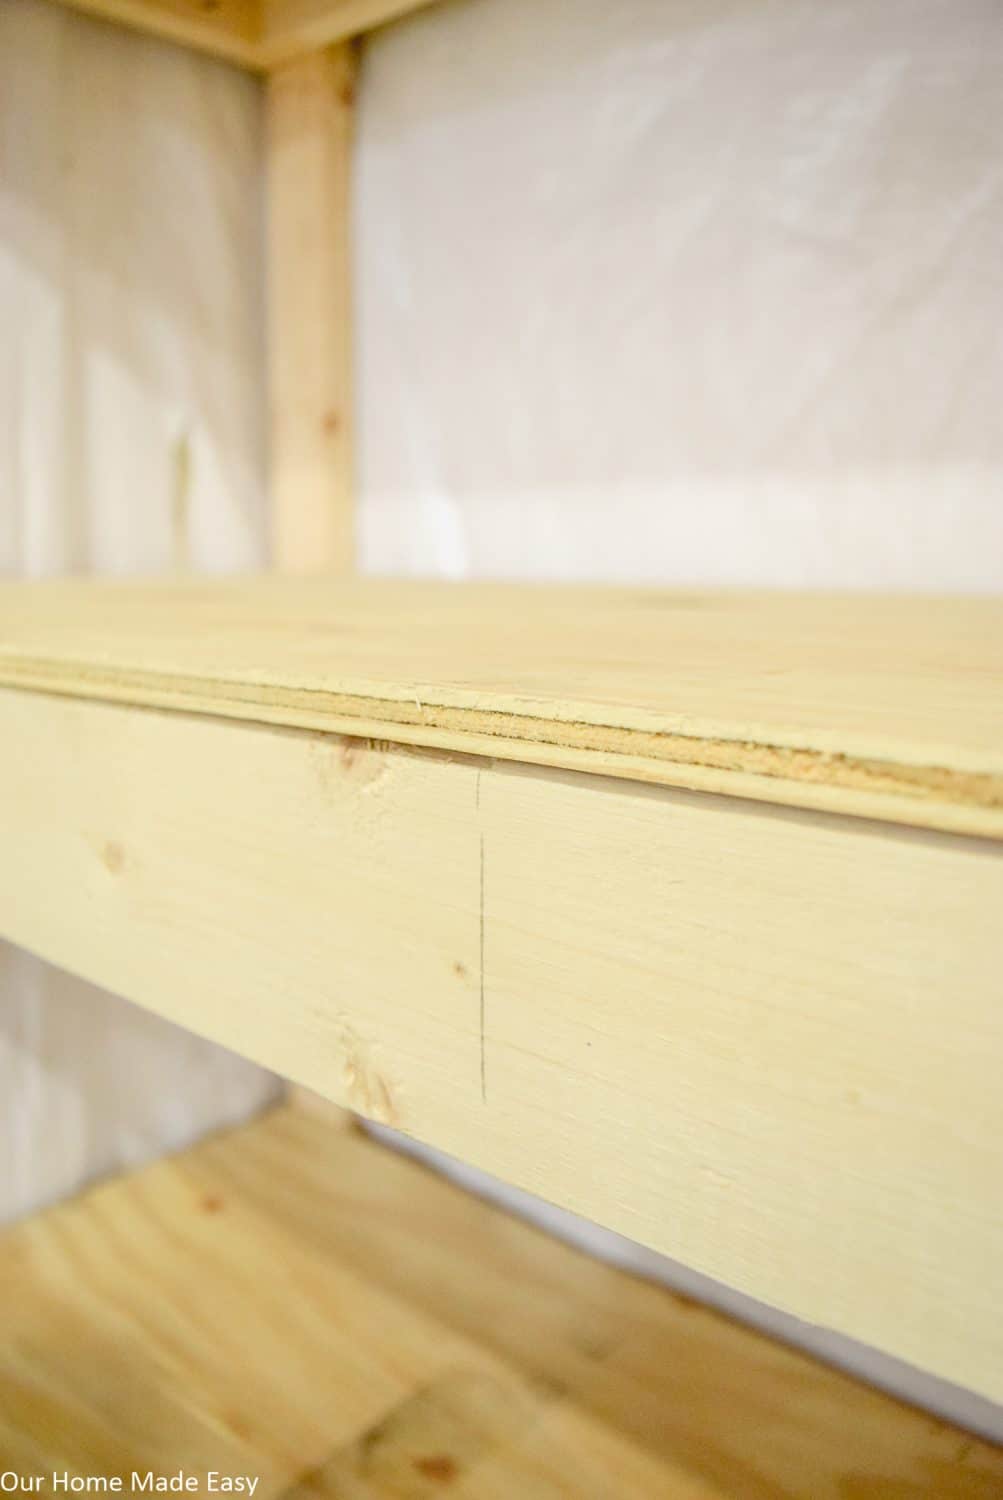
Mark the front of your 8’ boards with a pencil where the supports are. This will help you when nailing the plywood to the top.
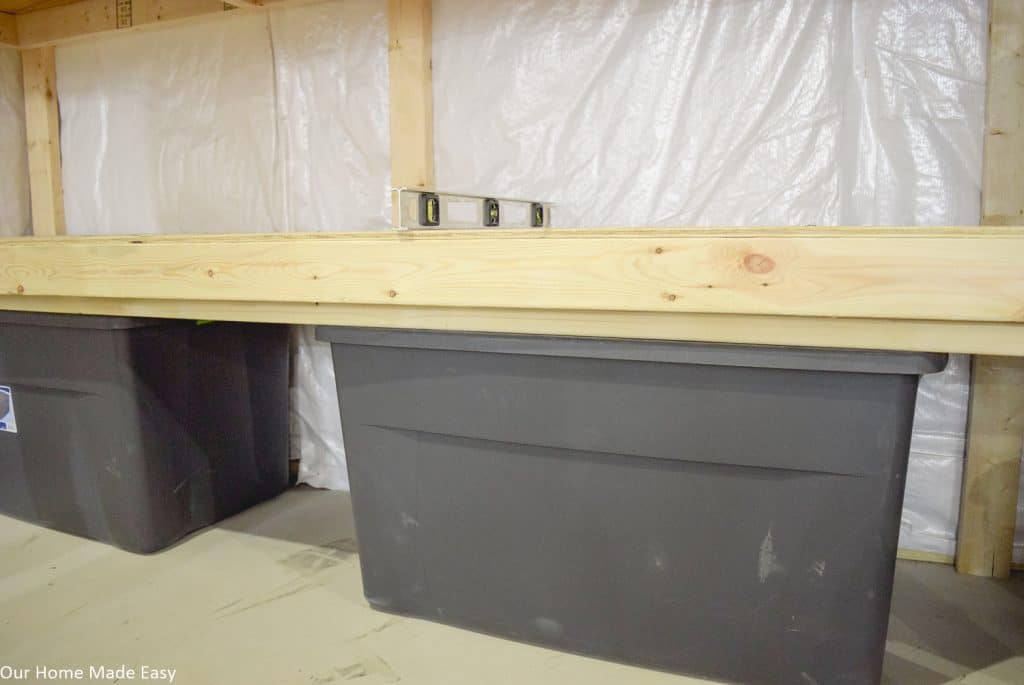
Apply some wood glue to all of the tops of the 2”x4” pieces. Place the plywood on top of the shelf supports. For the next part, I used my air nailer, but if you don’t have one, you can use a few general purpose nails to attach the plywood to the supports. Repeat 2 more times.
Related Posts You Might Like:
- 13 Things You Need to Know Before You Buy the Kreg Jig
- DIY Small Mudroom Makeover
- DIY Small Bedroom Closet Organization Makeover
3. Attach the Legs and Set the Shelf Height
After your shelves are made, its time to add your legs. We determined which totes/items we wanted on the floor. Then I placed a few 2”x4”s on their side on top of the totes.
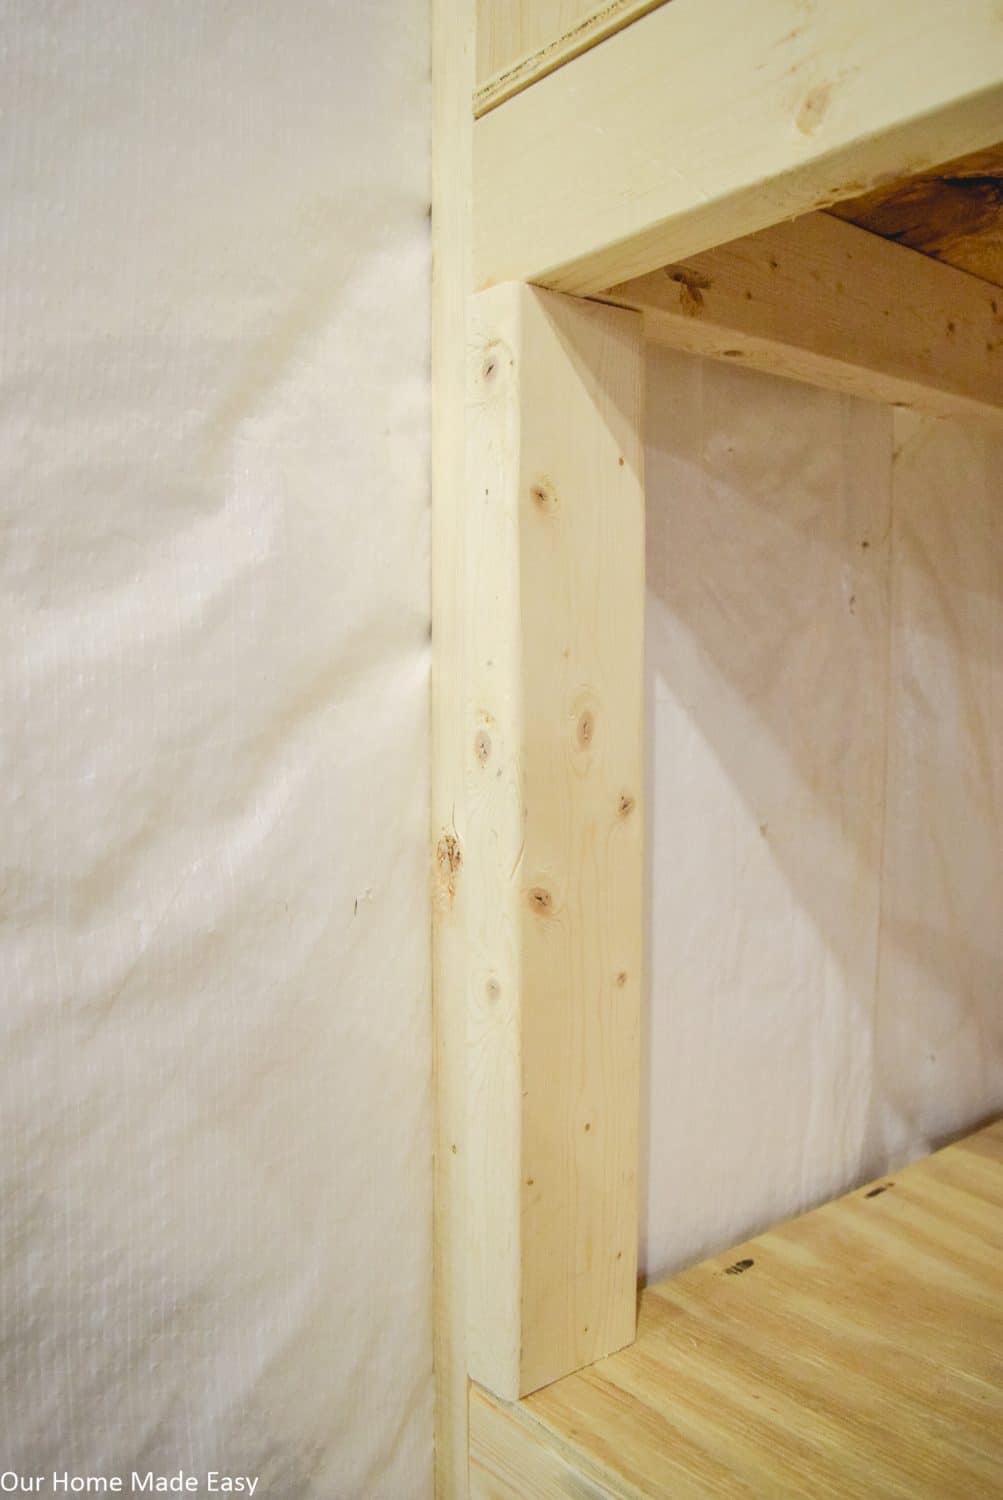
This was to allow for spacing to pull the totes in and out. Place your first shelf on top of the 2”x4”s. Then, take your legs and clamp them in place; this will allow you to ensure that the legs are all touching the floor, plumb, and flush with the shelves and the shelves are level.
Once the fit is correct, attach the legs with 4-5 wood screws like these.
For the last 2 shelves, ensure your tallest totes would clear the next shelf. Once I determined the proper height, I made some jigs to hold up the shelf while I ensured the shelf and legs remained plumb and level during fastening.
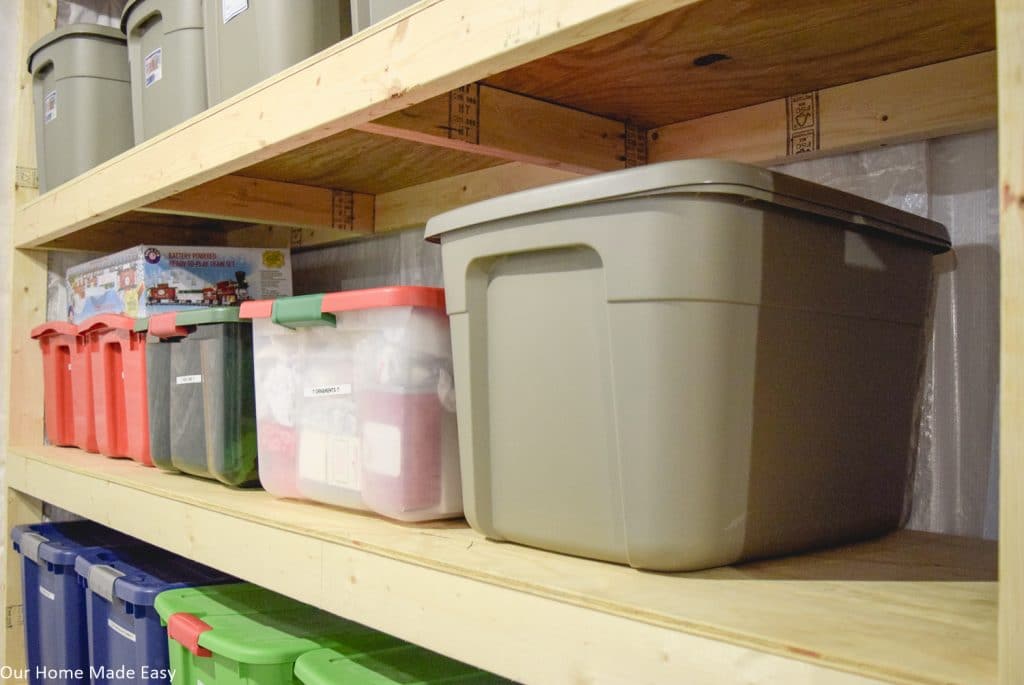
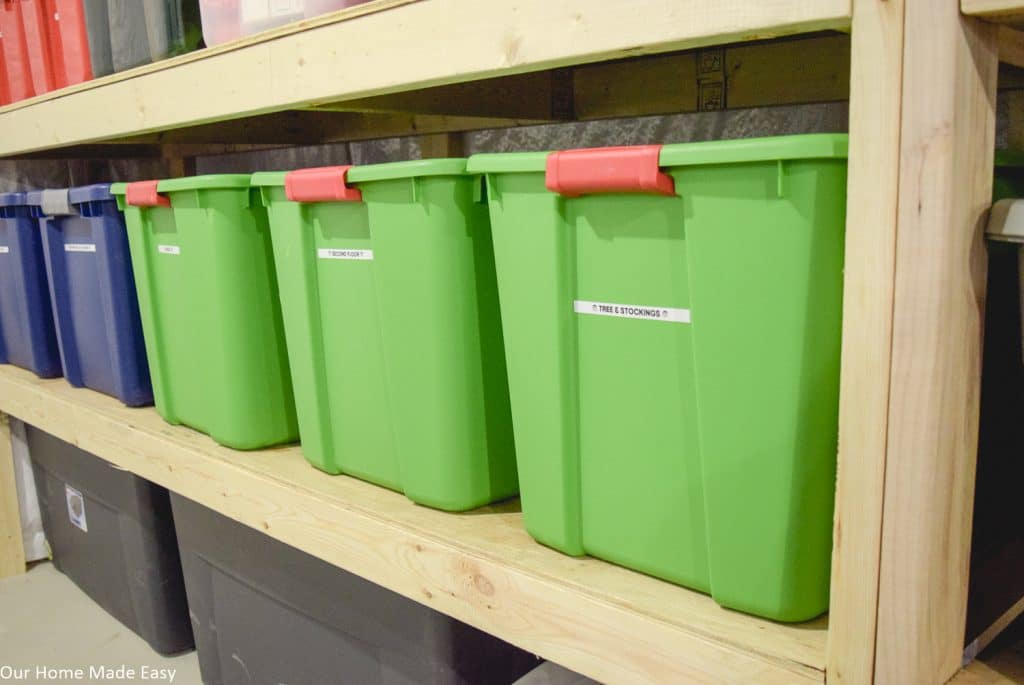
While we started off with just one shelving unit, Jordan quickly needed to make another!
Storage shelving doesn’t need to be too complicated! You can make one with just a few pieces of lumber and the Kreg Jig. Happy Organizing!


Hi, I’m Brittany, and I believe life at home should feel easier, not heavier.
I’m the creator of Our Home Made Easy, a space for busy women who want dinner on the table, their homes running smoothly, and a little breathing room at the end of the day.
You won’t find perfection here, just realistic recipes, smart shortcuts, and simple routines that work in real life. The kind that help you feed your family well, stay organized enough, and still have time to actually enjoy it.
If you’re juggling work, kids, schedules, and everything in between, you’re in the right place. I’m so glad you’re here.










I need to make some storage shelves like these. I built a work bench along the same lines as how you did this, but I used simpson strong ties to hold the 2x4s together in the corners. I can see doing that here too, but at $5 a piece if you have several shelves it would start adding up. I don’t think you can beat the cost/value of this design.
Thanks Ty!
This is very useful since my husband is quite handy and there’s a lot of DIY project I wanted to do and this shelving is one of them. This would be great project for garage to organizing everything.
Thanks Vilma! It’s awesome for storing just about everything 🙂 Thanks for stopping by!
Hi! I love these plans! What thickness plywood did you use to prevent bowing? Thank you so much!
What is the finished dimensions of the shelf?
I also wondered what the finish product dimensions were?
I’m hoping to do this for my big storage closet.
Thanks for sharing.
Hi Brittany, what are the measurements once the shelves are done? I know that the measurements are going to be bigger than 4’×8′ due to the 2’×4’s. Thanks ahead of time! 😊