
Easy IKEA Bekvam Step Stool Hack
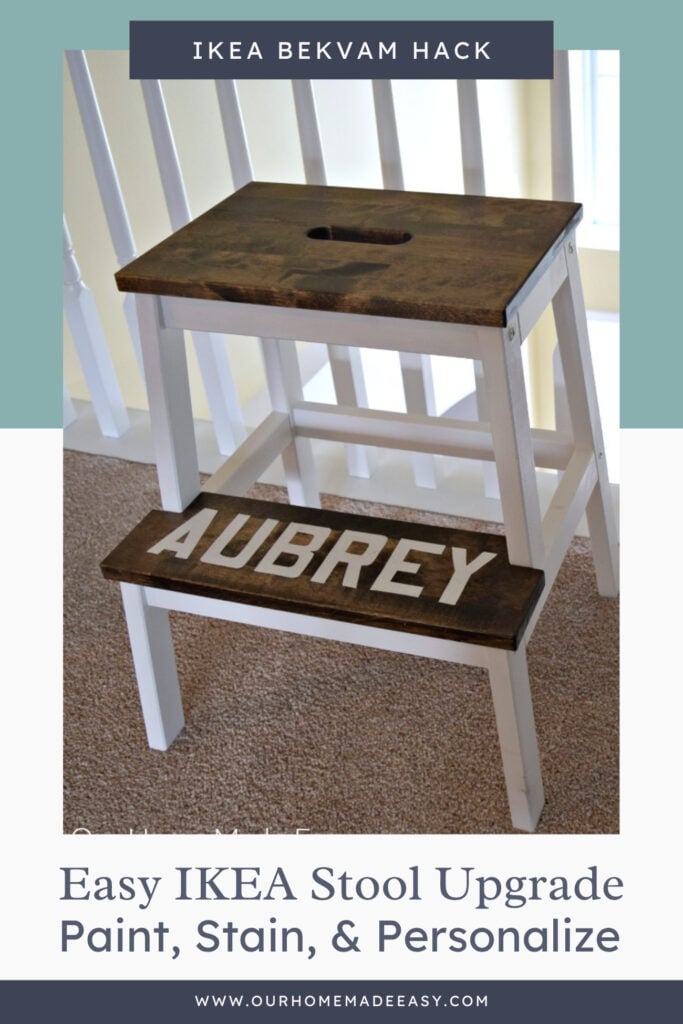
This easy IKEA Bekvam stool hack turns a basic wood step stool into a personalized piece with paint, stain and stencils. See the simple DIY tutorial.
(This post contains affiliate links. If you shop from my blog, I may be compensated for clicks or purchases that you make. Read my disclaimer page for more information.)
This IKEA Bekvam stool hack started because Jordan wanted to build wooden step stools for the kids from scratch. Two days before Christmas.
I had a slightly easier idea.
Instead of starting with lumber, we picked up two unfinished IKEA Bekvam step stools and gave them a simple makeover with paint, stain, and personalized stencils. We got the custom look Jordan wanted without building the stools ourselves.
The finished stools turned out so cute, and the project itself is surprisingly simple. If you can paint, stain and use a stencil, you can make one too.
Why This IKEA Bekvam Hack Works So Well
Jordan wanted to build step stools for the kids all last fall, but never got around to actually make them. Then Christmas Eve Eve, he decided he was going for it. Luckily I was able to convince him that rather than build his own, maybe we should semi-DIY it. Thankfully he agreed. I remembered that I had seen a super cute IKEA hack that Lauren from Bless’er House did years ago and thought, “WE NEED TO VISIT IKEA. Right now.” <<It’s about 15 minutes from our house. Whew.
Did we pay more than if we DIY’d it ourselves? Probably, but time is money at Christmas and it saved us hours of effort. So definitely worth every penny!
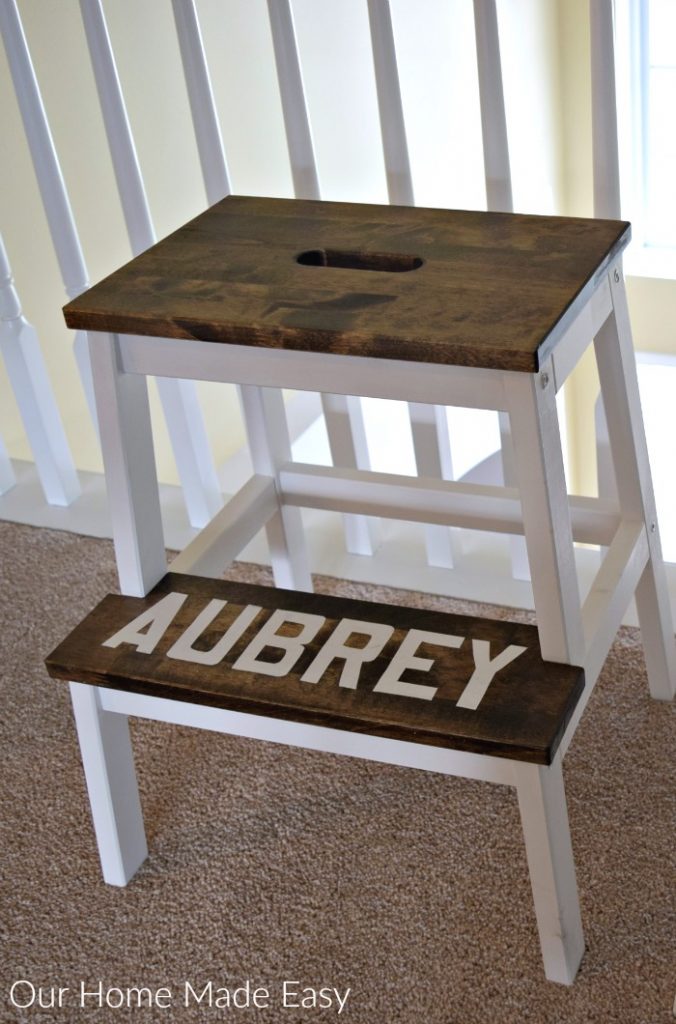
IKEA Bekvam Step Stool Hack
What You’ll Need
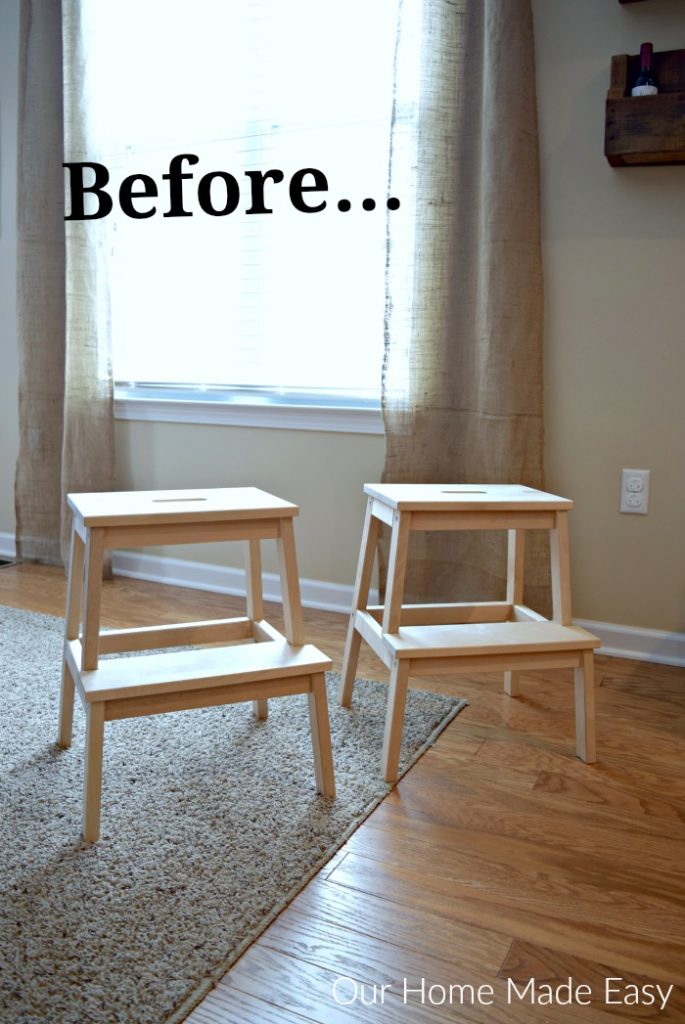
We had to purchase the stools, but everything else was on hand. So this IKEA hack cost us virtually nothing, other than the stools.
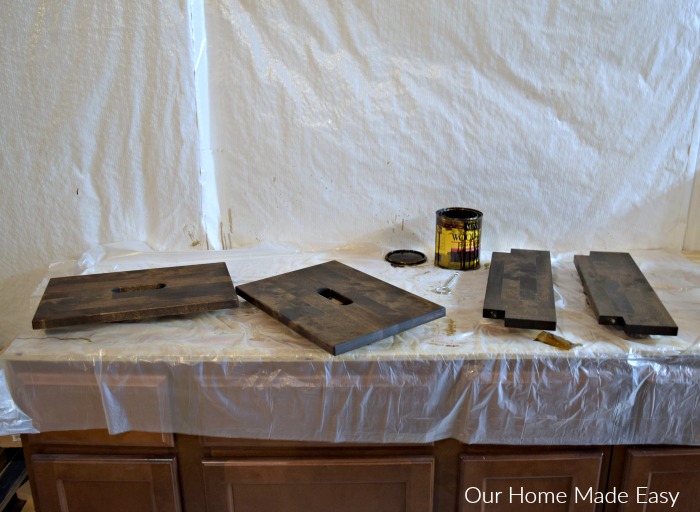
First we assembled the stools. Then we quickly learned that it would be much quicker to line up the pieces assembly-line style. So they came apart.
SHOP THE SUPPLIES

The legs took two coats of bright white paint. Jordan sanded in between the coats to ensure a smooth finish.
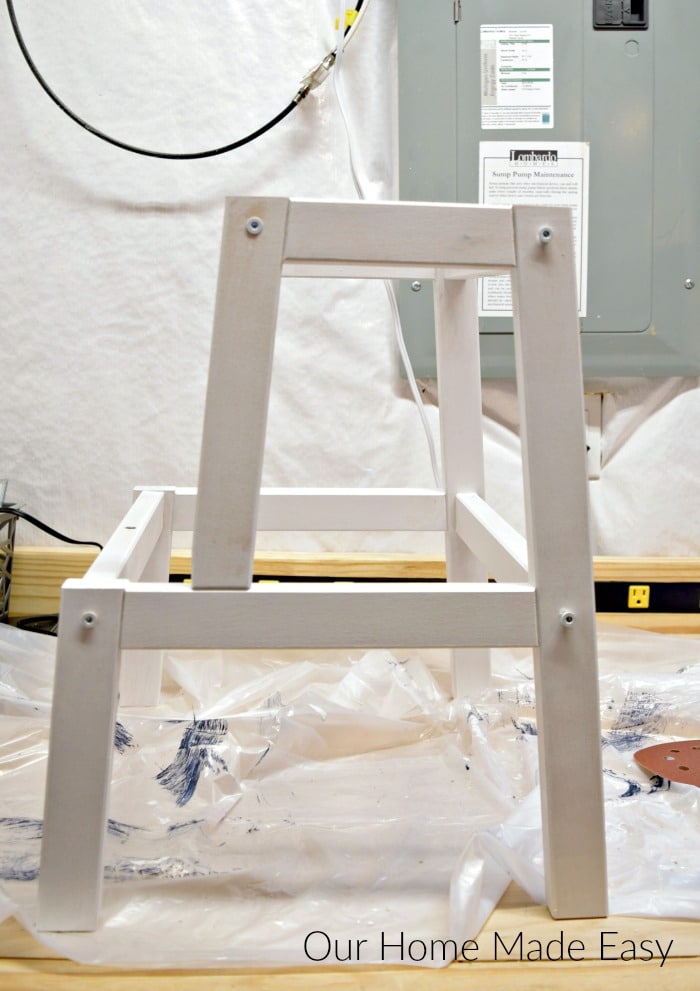
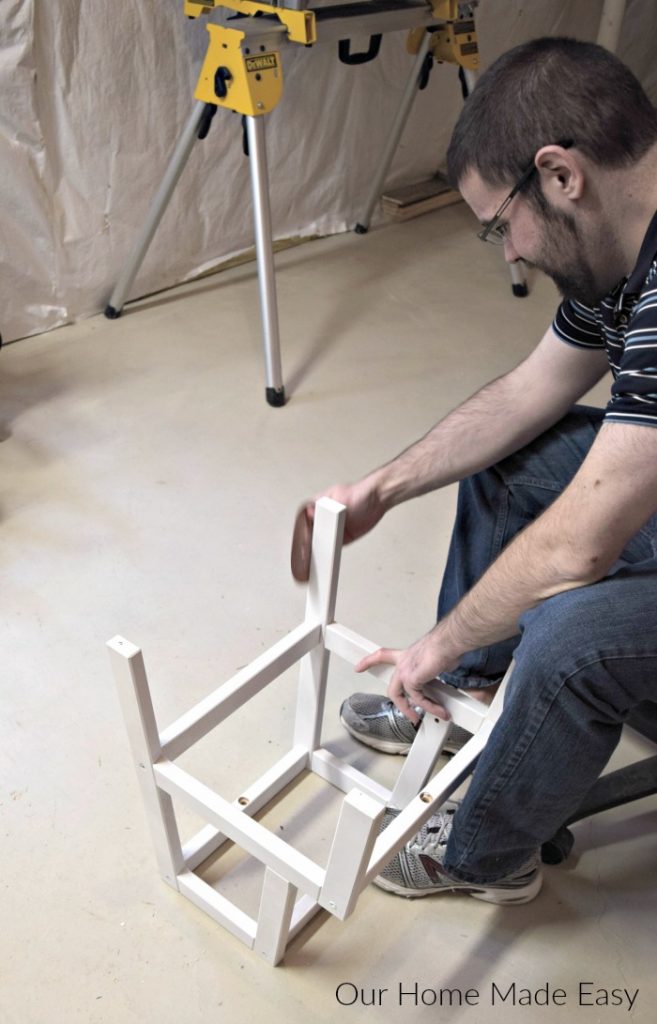
The treads also took two coats of stain to achieve the high-contrast look we wanted.
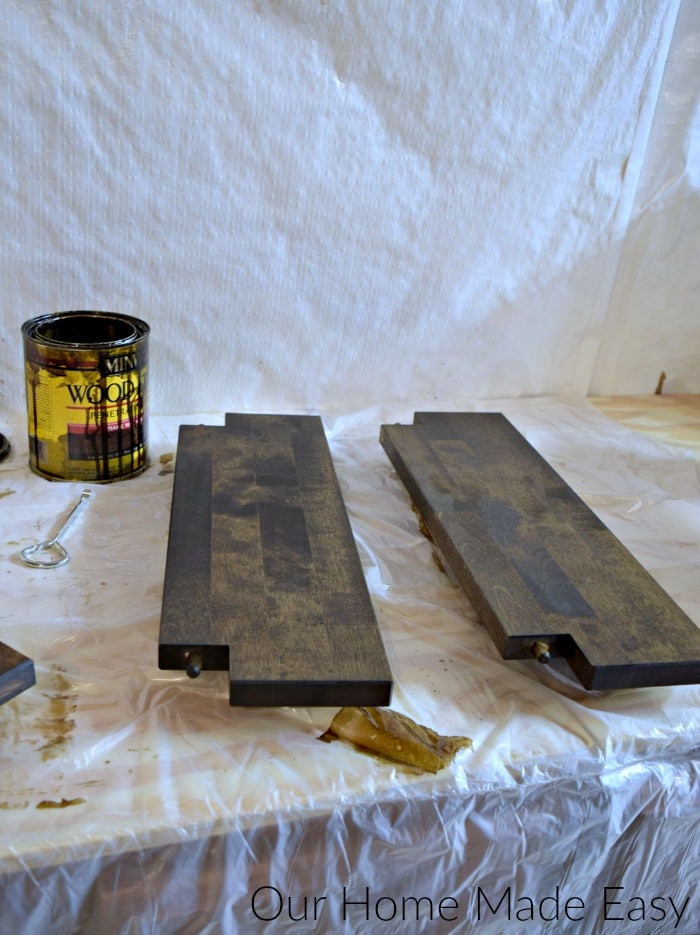
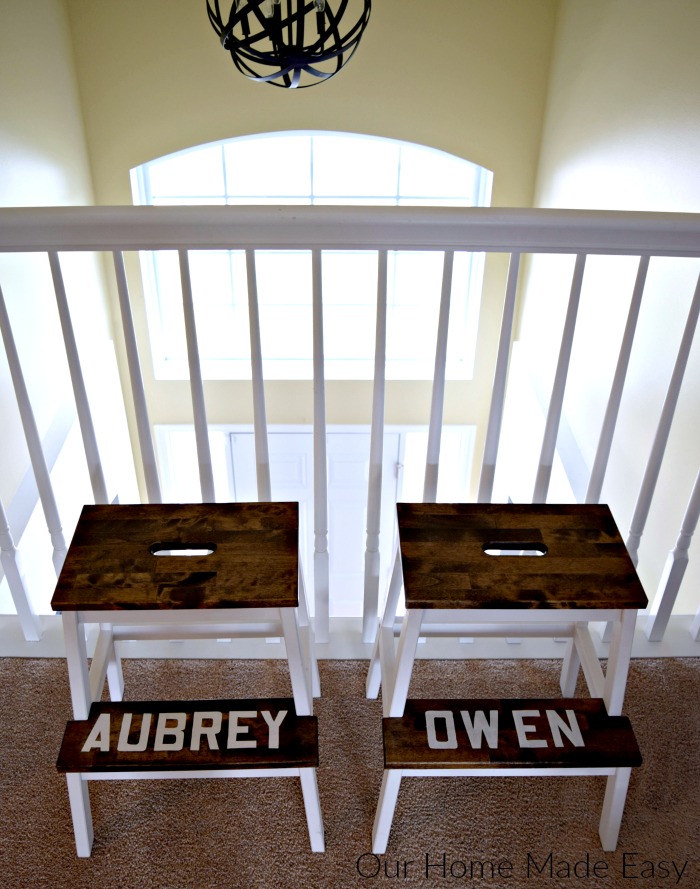
Once the treads were fully dried, Jordan stenciled on the kids’ names. By this point we were well into Christmas Eve and we couldn’t wait to share them with Aubrey & Owen.
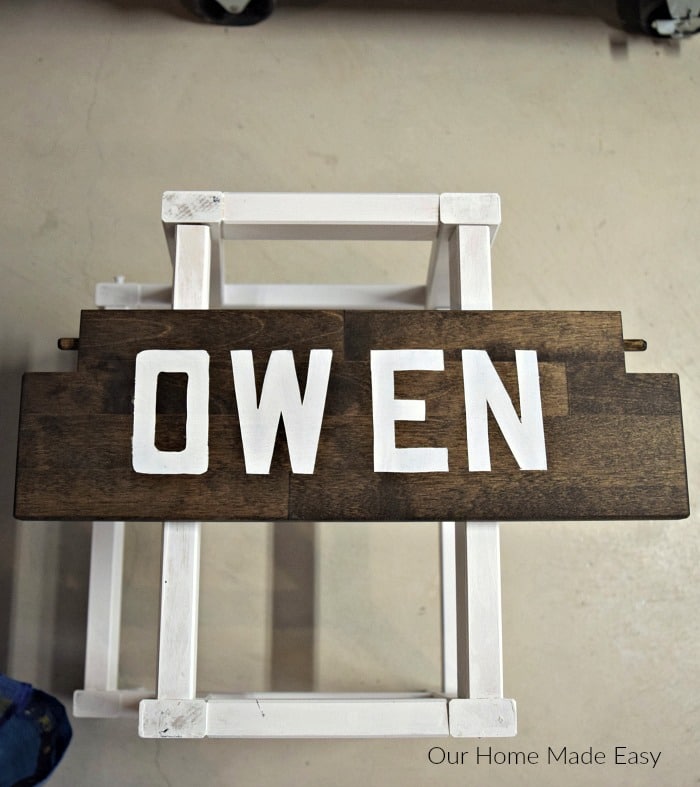
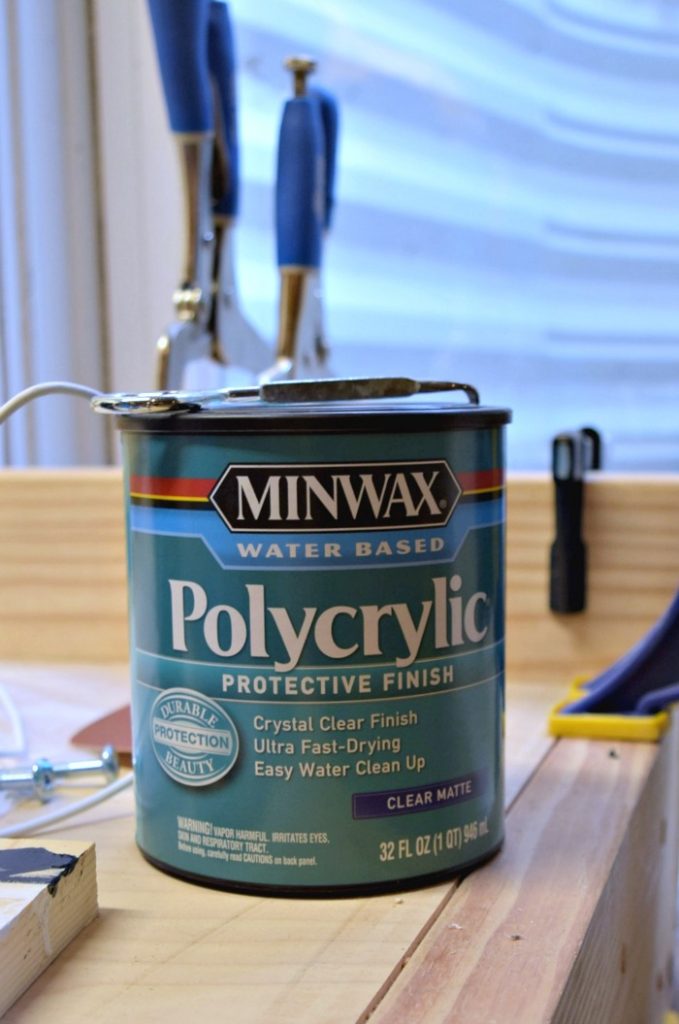
To seal everything, Jordan added two coats of matte poly. Like the paint, Jordan sanded in between coats of poly.
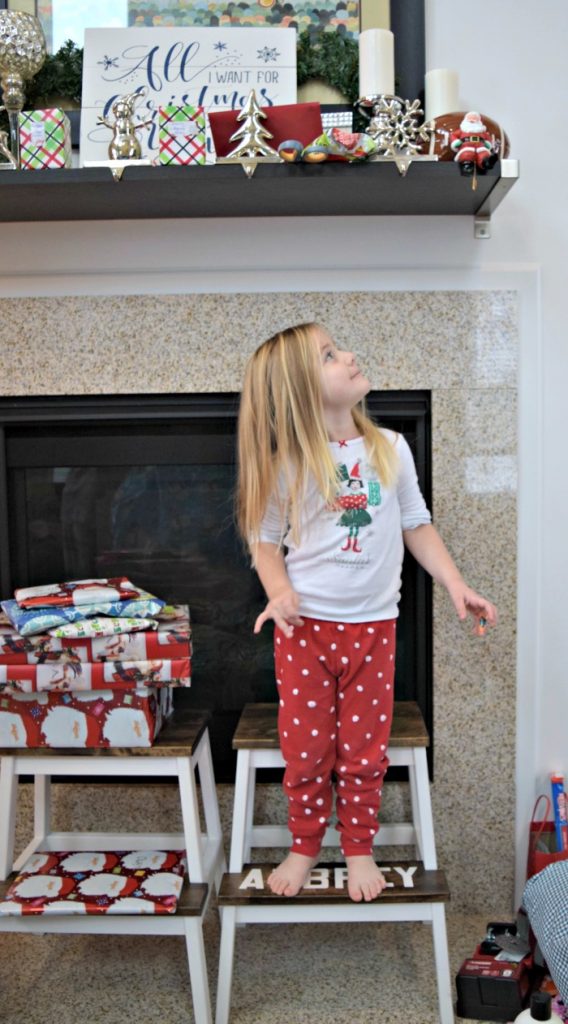
Do you think she liked her new step stool on Christmas morning?

Tips for a Smooth Finish
- WORK ON THE PIECES BEFORE FINAL ASSEMBLY – It’s much easier to paint and stain flat pieces than work around an assembled stool.
- LET EACH COAT DRY – Don’t rush from stain to stencil or from paint to sealer.
- USE LIGHT COATS – Two lighter coats will usually give you a smoother finish than trying to get full coverage in one heavy coat.
- SECURE YOUR STENCIL – Painter’s tape helps keep letters from shifting while you’re working.
- PROTECT THE FINISHED STOOL – A clear topcoat helps protect the painted and stained surfaces from everyday use.
Can You Paint an IKEA Bekvam Stool?
Yes. That’s literally what your tutorial demonstrates.
Can I Customize the Stool Without Adding a Name?
Absolutely. Leave the stained top plain or use a simple stencil, monogram or design instead.
Should I Customize the Bekvam Before or After Assembly?
Before.
Easy IKEA Bekvam Step Stool Hack
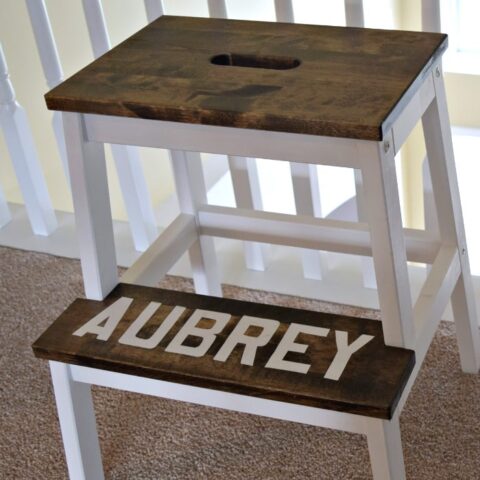
Turn an unfinished IKEA Bekvam step stool into a personalized piece with paint, wood stain and stencils. This easy IKEA hack gives you a custom-looking wooden step stool without building one from scratch.
Materials
- IKEA Bekvam Step Stool
- White Paint
- Wood Stain
- Letter Stencils
- Painter's Tape
- Clear Matte Protective Finish
Tools
- Fine-Grit Sandpaper
- Paintbrushes
- Stain Applicator or Rag
Instructions
1. Prep the Stool Pieces -Before final assembly, lay out the unfinished stool pieces. Lightly sand any rough areas and wipe away all dust.
2. Paint the Base - Apply two light coats of white paint to the pieces that will make up the base and legs. Allow the paint to dry between coats, lightly sanding as needed for a smooth finish.
3. Stain the Steps - Apply wood stain to the step and top pieces. We used two coats to get the deeper contrast shown on our stools. Let the stain dry completely.
4. Add the Name - Position the letter stencils on the top step and secure them with painter's tape. Carefully paint the letters, then remove the stencil and allow the paint to dry.
5. Protect the Finish - Apply two coats of clear matte protective finish to the painted and stained pieces. Allow each coat to dry and lightly sand between coats as needed.
6. Assemble the Stool - Once everything is completely dry, assemble the Bekvam stool according to IKEA's instructions.
Notes
- Customize Before Assembly: We originally assembled our stools first and quickly realized it was much easier to paint, stain and stencil the individual pieces before final assembly.
- Let Everything Dry: Don't rush from stain to stencil or from paint to protective finish. Allow each layer to dry before moving on.
- Make It Your Own: Skip the name for a simpler look, or use a monogram or another stencil design instead.

Hi, I’m Brittany, and I believe life at home should feel easier, not heavier.
I’m the creator of Our Home Made Easy, a space for busy women who want dinner on the table, their homes running smoothly, and a little breathing room at the end of the day.
You won’t find perfection here, just realistic recipes, smart shortcuts, and simple routines that work in real life. The kind that help you feed your family well, stay organized enough, and still have time to actually enjoy it.
If you’re juggling work, kids, schedules, and everything in between, you’re in the right place. I’m so glad you’re here.









Cute stools! Love the stain with the white paint. I have a couple of these stools as well. Have only DIY-d one so far. You’ve inspired me to conquer the second! Visiting from Remodelaholic.
Thanks Veronica! We couldn’t have just one 😉 -Brit
Looks good! Did you sand before you stained the treads?