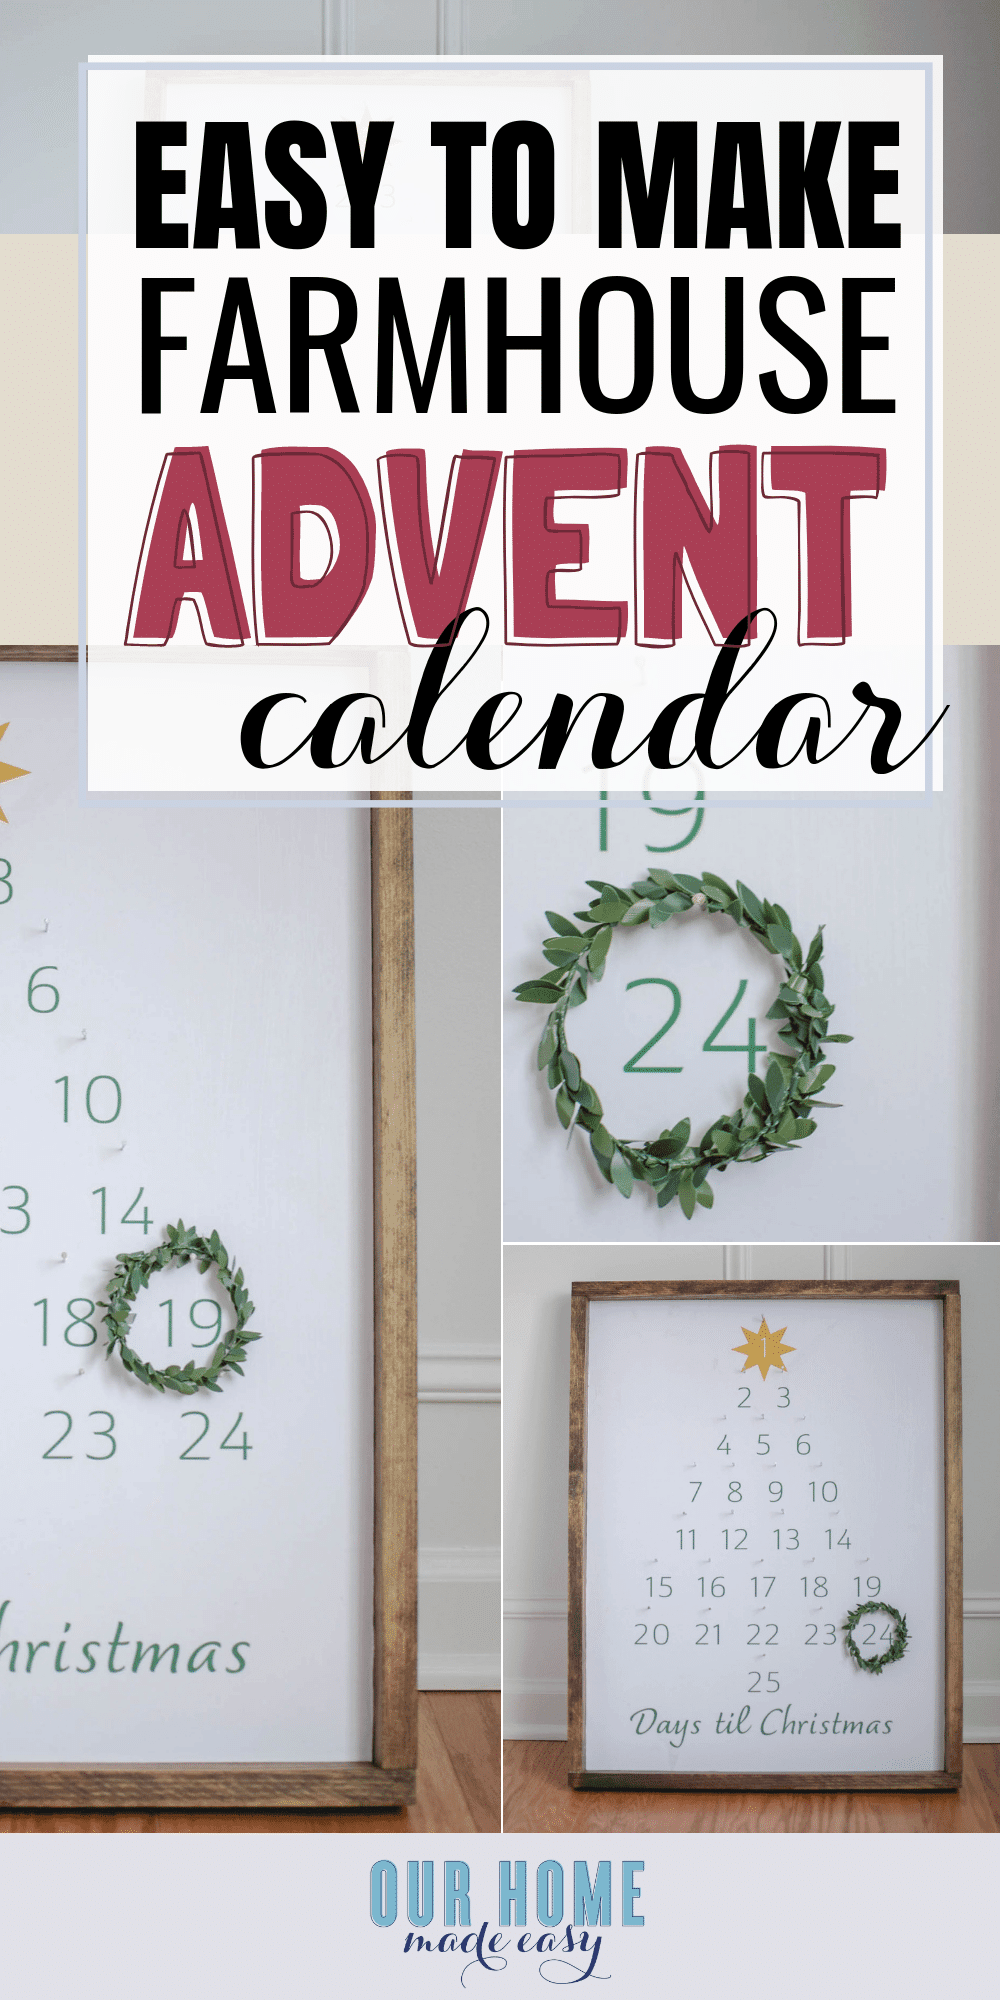
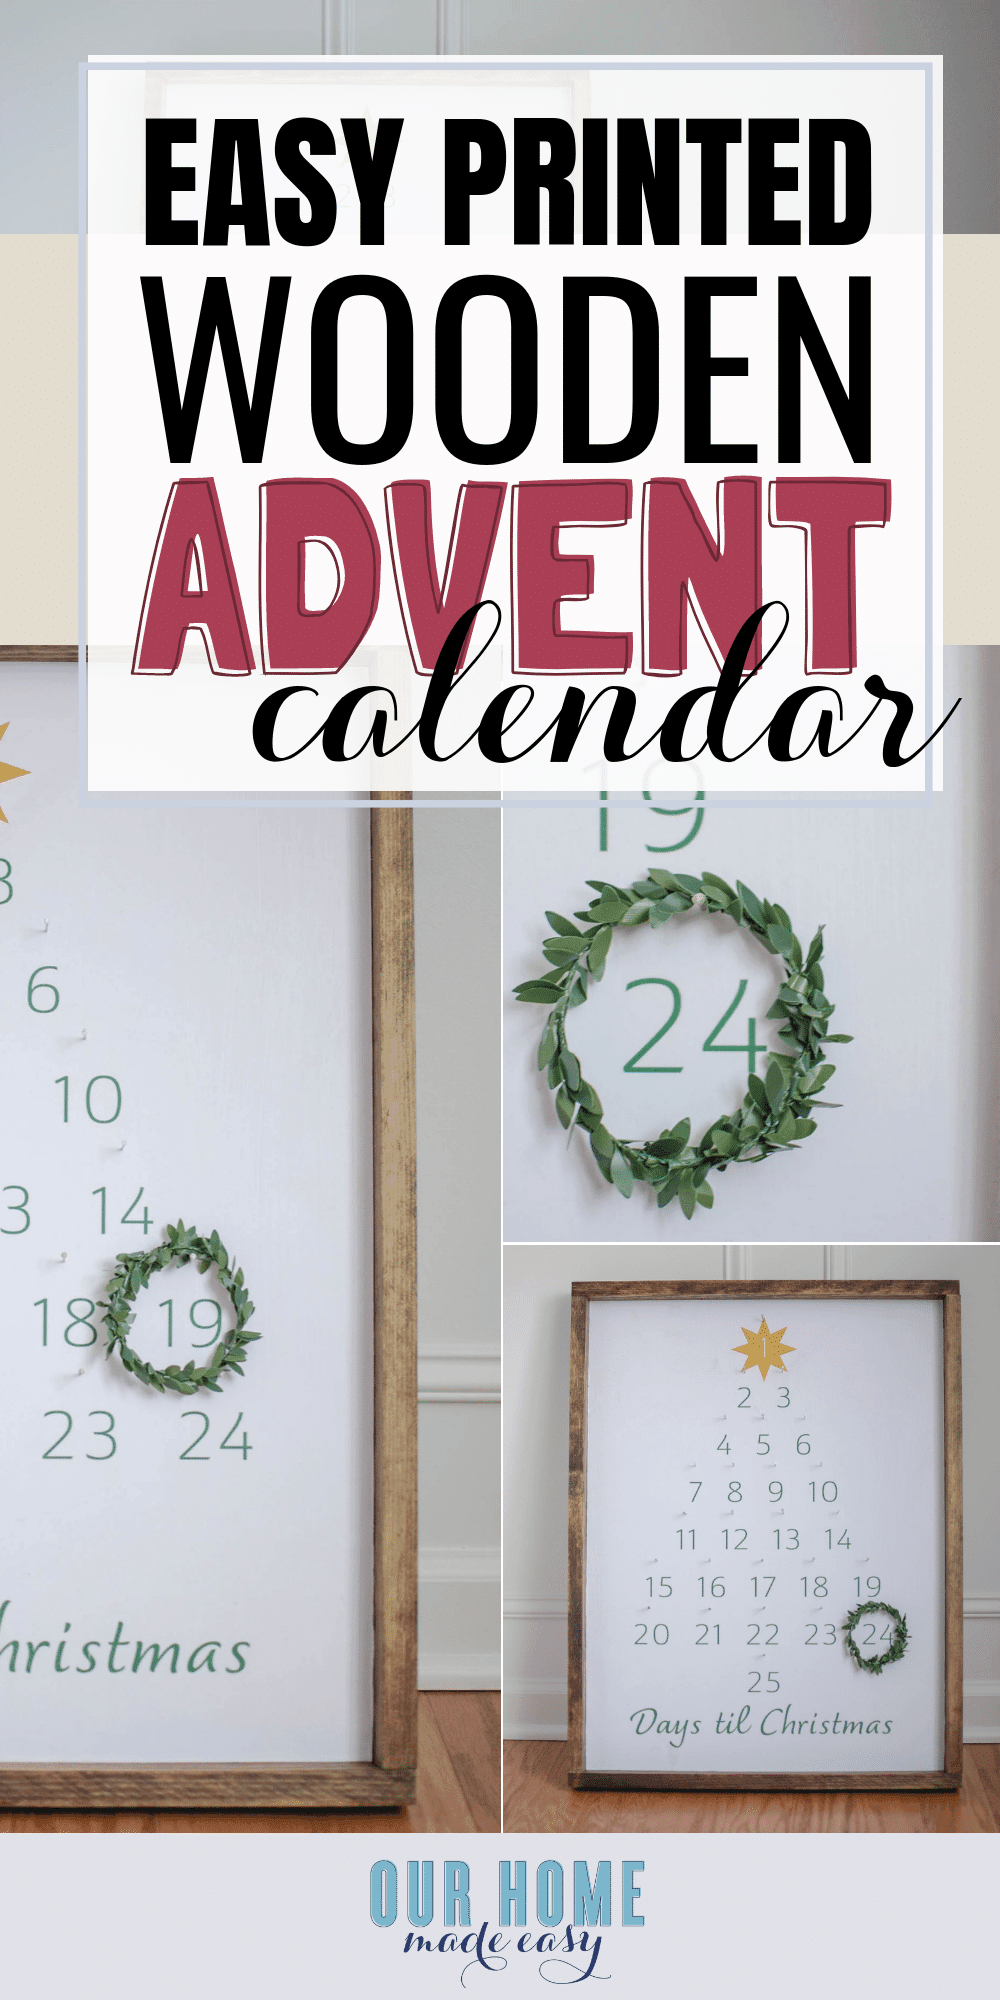
Easy DIY Advent Calendar
Make this easy DIY Advent Calendar in one afternoon! No special crafting tools necessary. Simply print off your calendar and frame it in!

(This post contains affiliate links. Please see my Disclaimer for more information)
Can you believe that we are already thinking about Christmas? As Jordan & I were bringing up our Christmas totes we were talking about how we didn’t have an advent calendar for the kids.
Don’t get me wrong, I’m a total sucker for the chocolate windows of my childhood. But really– our kids are still snacking on Halloween candy so the last thing they need is 25 more days of pressed chocolate squares.
I told Jordan that he was right, we could use something to countdown the days til Christmas. However, between his work travel & our weekend shenanigans, it had to be something that we could make quickly.
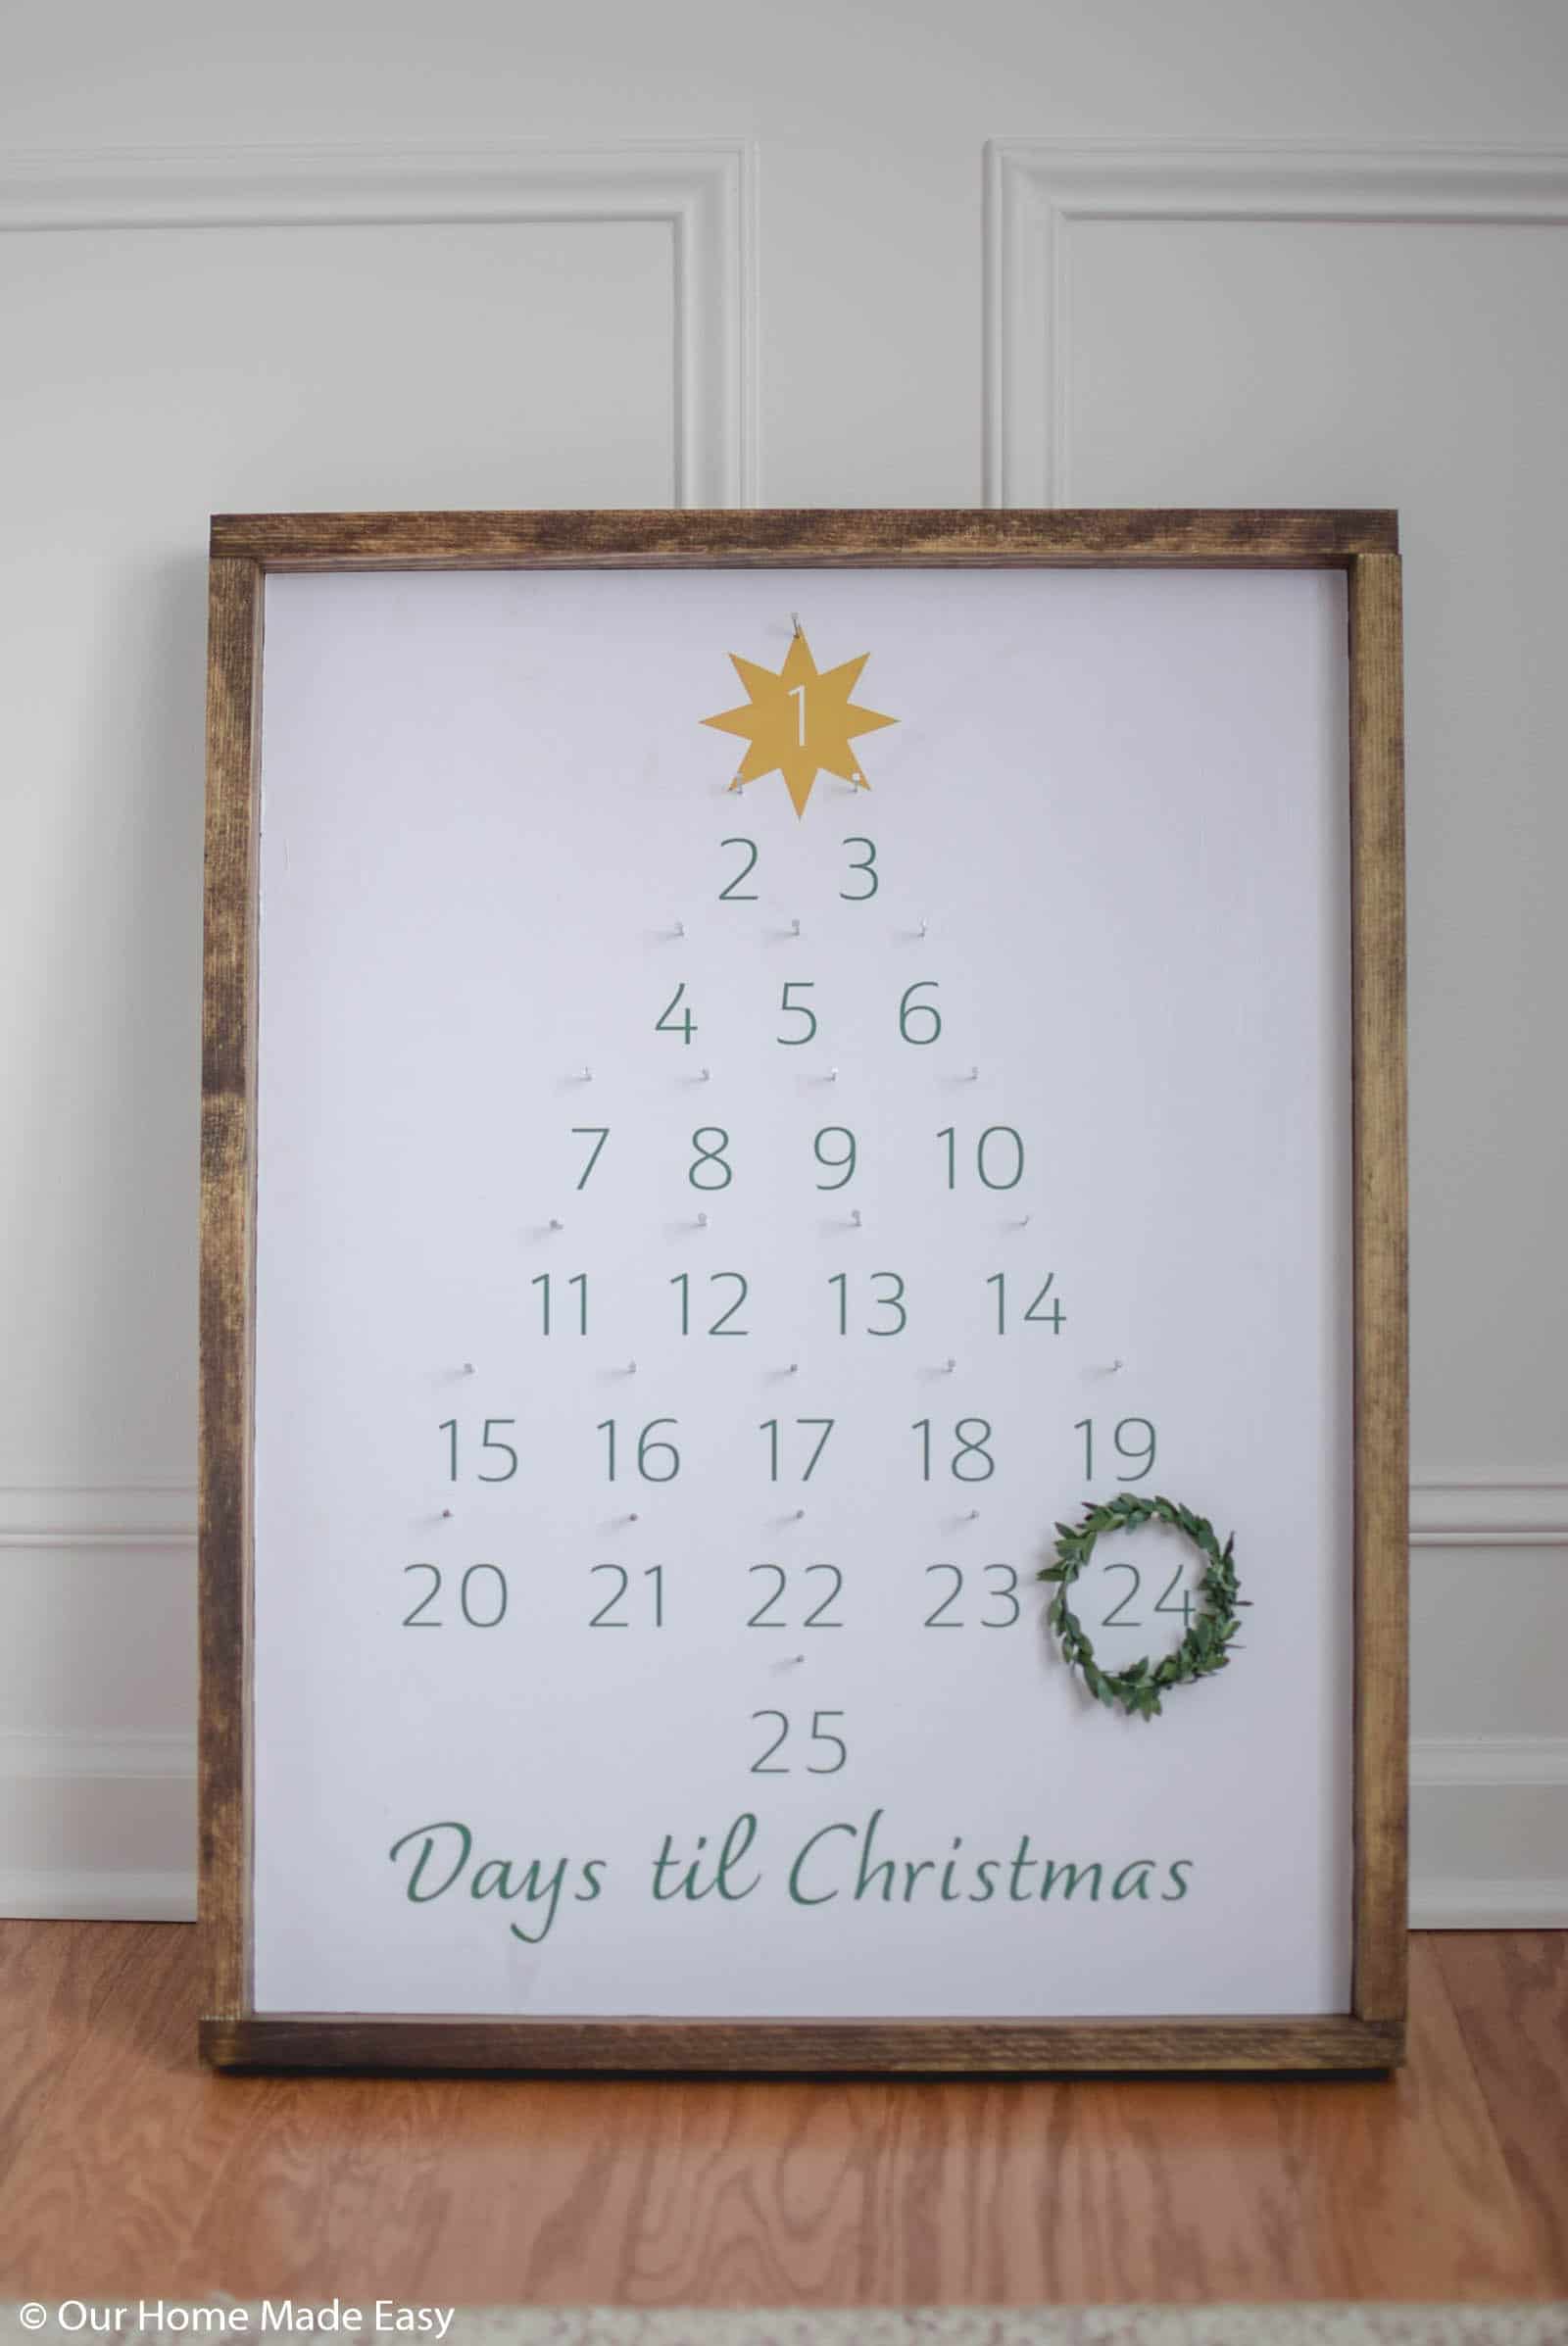
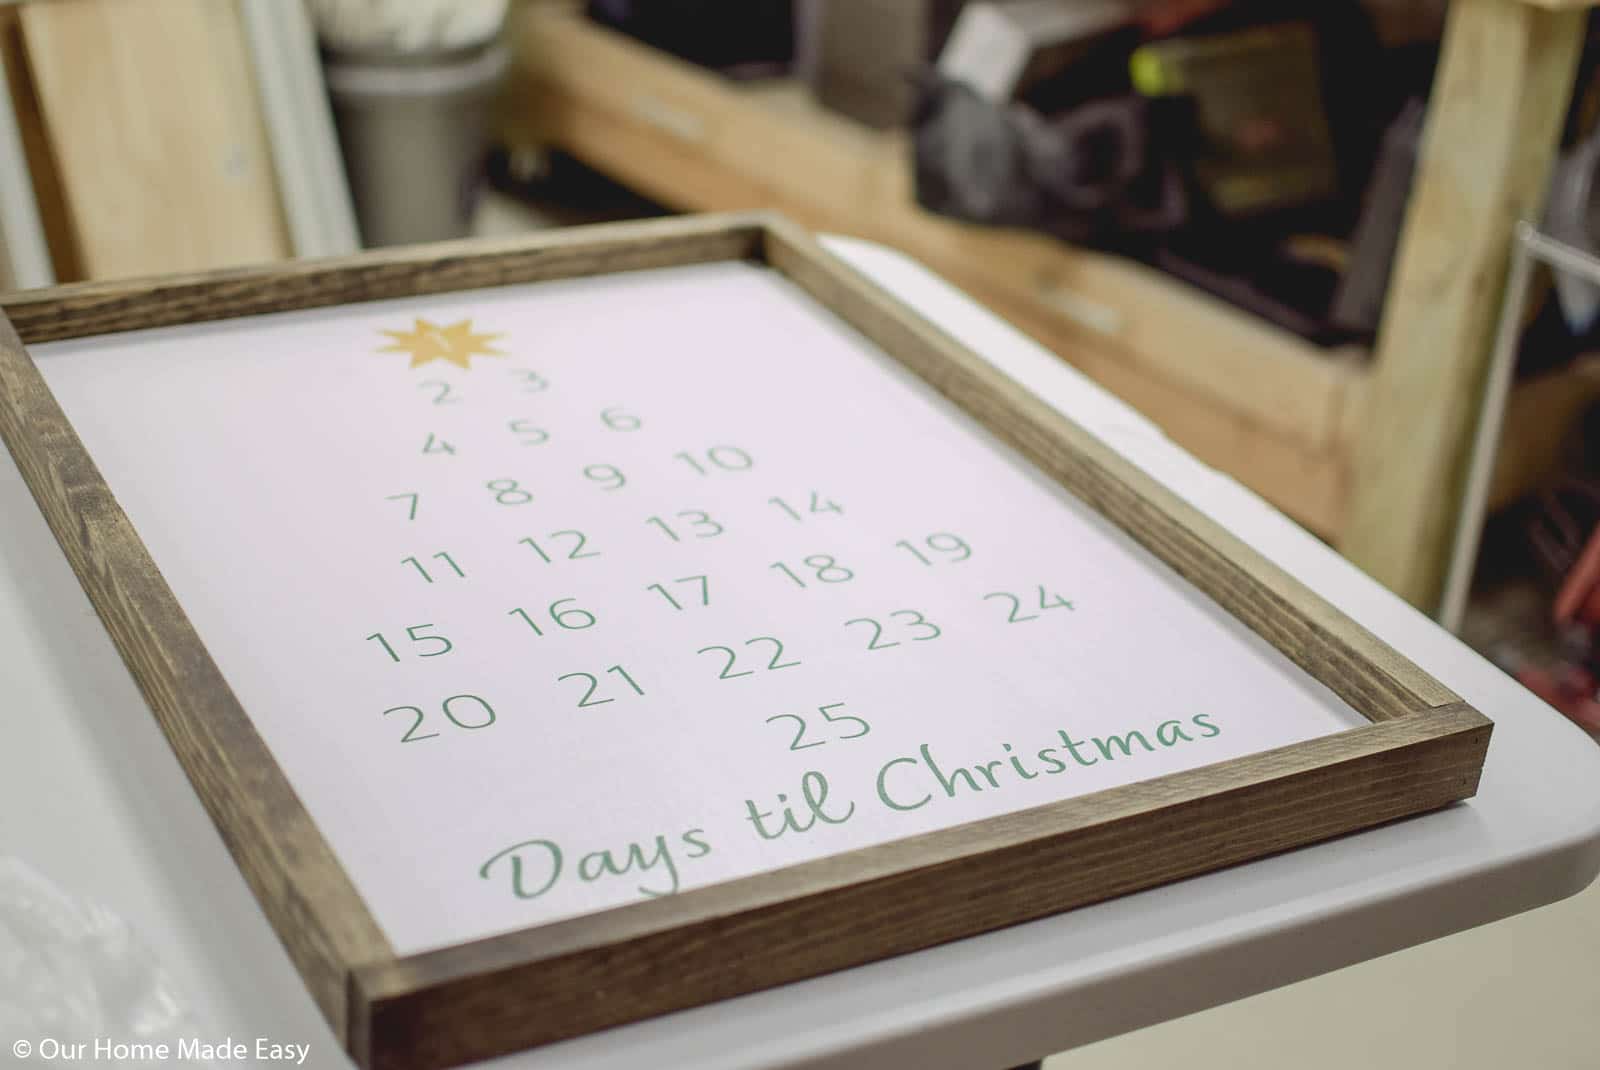
And here it is! An easy DIY Advent Calendar!
The best part? There is no paper cutting involved. And I’m sending you the print, too! 🙂
Easy DIY Advent Calendar
Need your own farmhouse style advent calendar but without a lot of work? Keep reading!
Supplies Needed
- Advent Calendar Print [Download it for free in the printables library. Get access at the bottom of this post!]
- MDF Cut to 18″x24″
- 1″x2″ Strips
- Wood Stain
- Mod Podge
- Foam Brush
- 400 Grit Sand Paper
- Nails for Hanging
- Thin Garland
Tools Used
- Miter Saw
- Orbit Sander (optional, but speeds things way up!)
- Pneumatic Nailer (optional, but speeds things way up!)
Other Posts I Think You’ll Enjoy:
- How to Make Easy Pallet Christmas Trees
- The 18 Easiest 30 Minute Christmas Crafts Ever!
- 19 Easy 30 Minute Christmas Ornaments
- How to Make a Farmhouse Sign
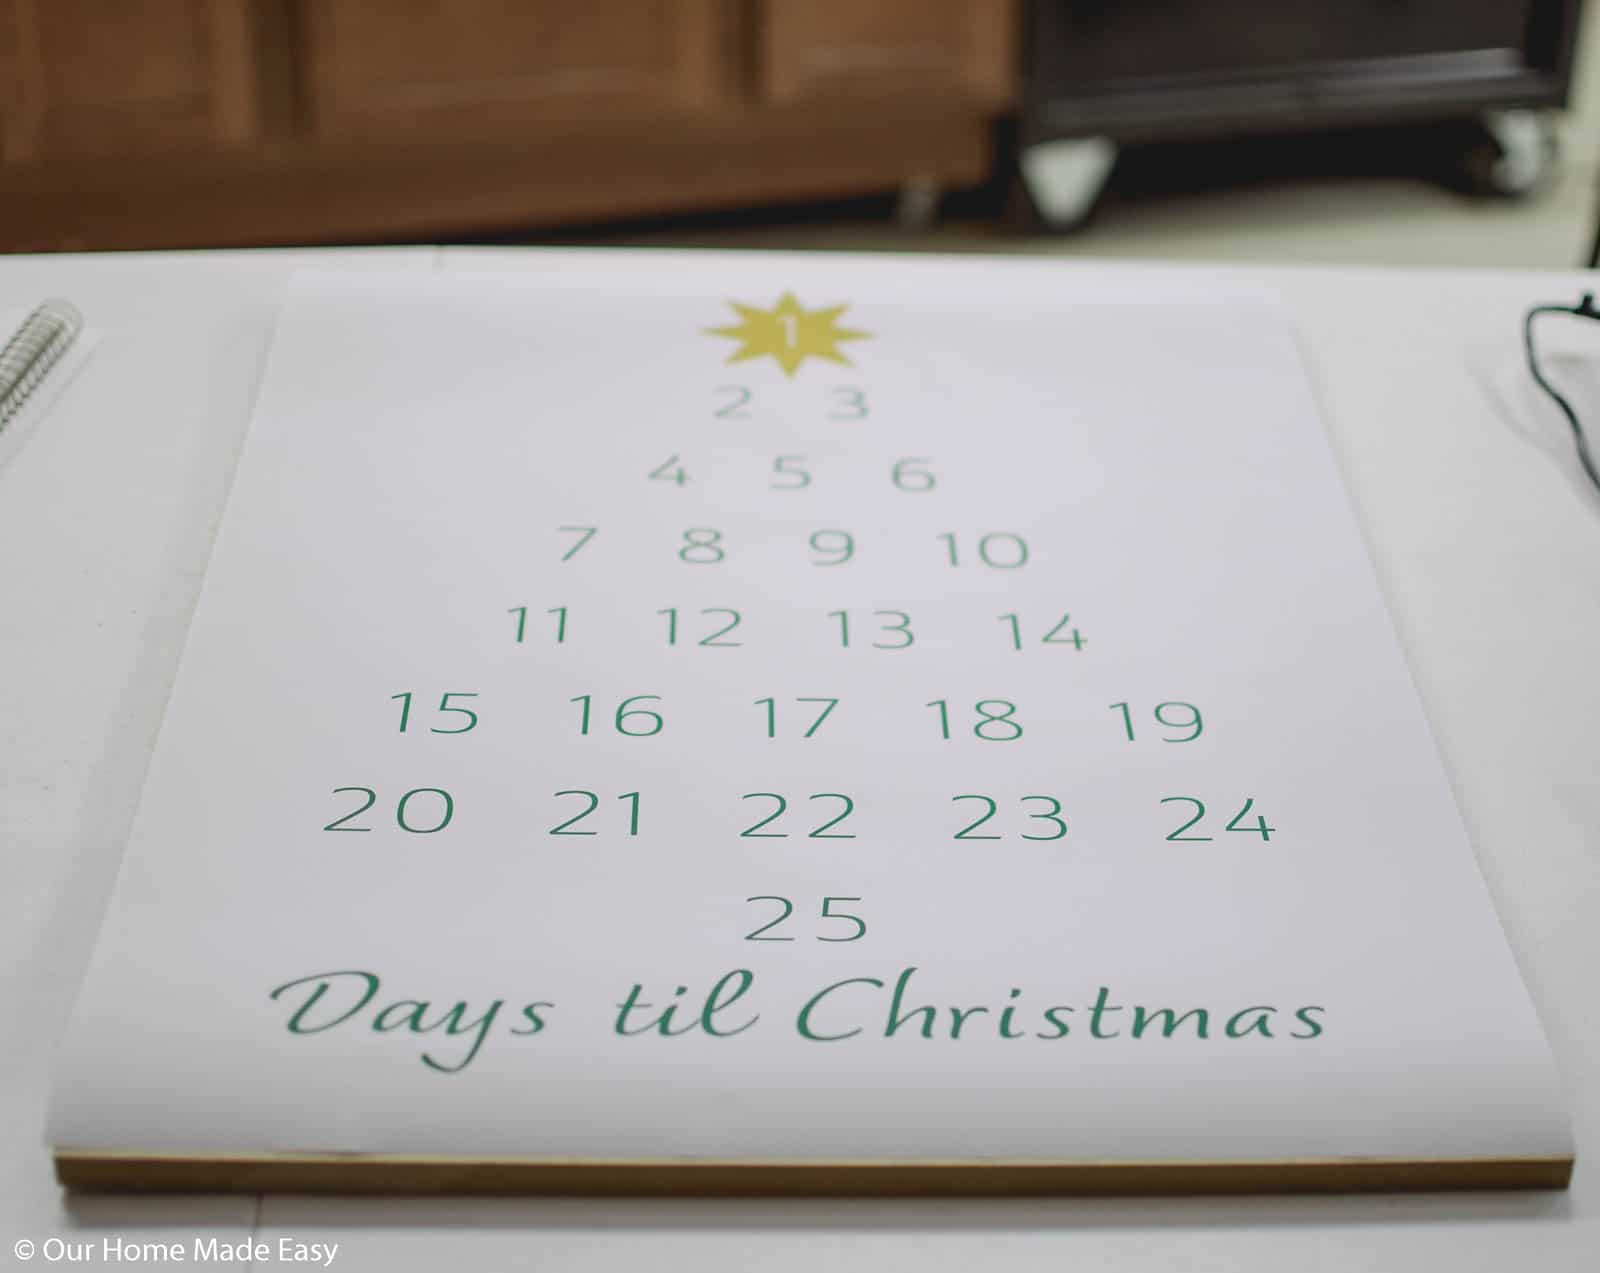
Print Off Your Advent Calendar
Open the pretty printable library and download the calendar print. Upload your print to Office Depot or Staples. You can search for engineering prints, choose the 18″ x 24″ size, and print it off for about $2-3.
You can get access to the free advent calendar print at the very bottom of this post!

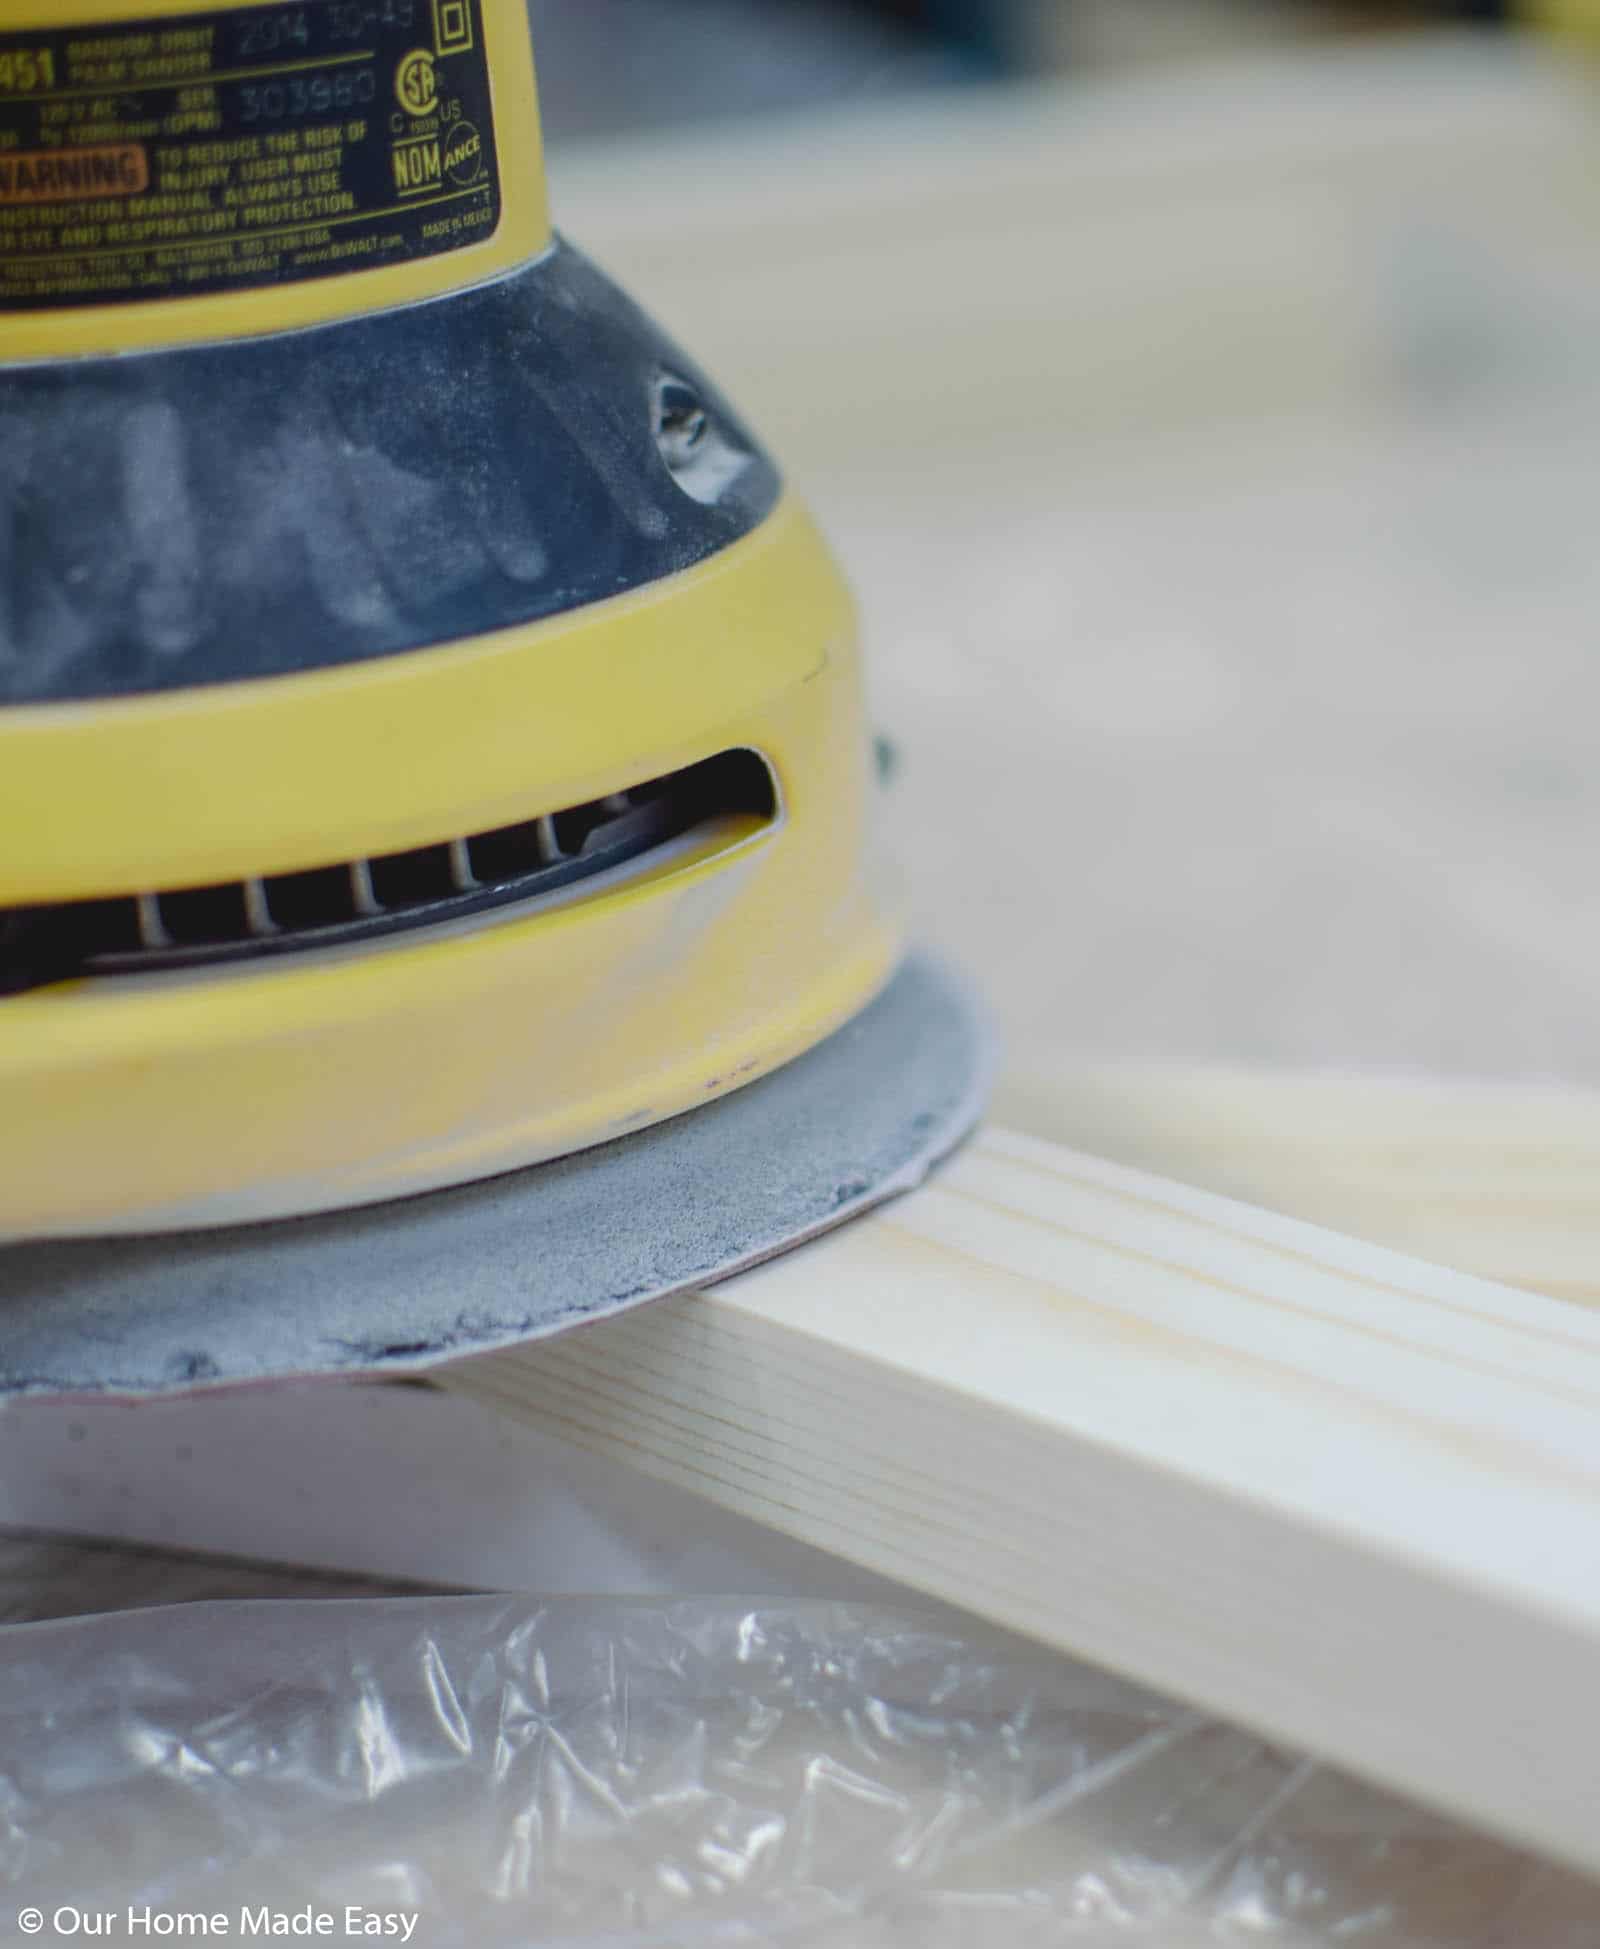
Cut Your Wood Frame
Using your miter saw, cut your common board into framing strips. You will need to cut two strips 24” long and another two strips 19.5” long.
Sand the edges down slightly.
- Related: How to Make a Pallet Snowman
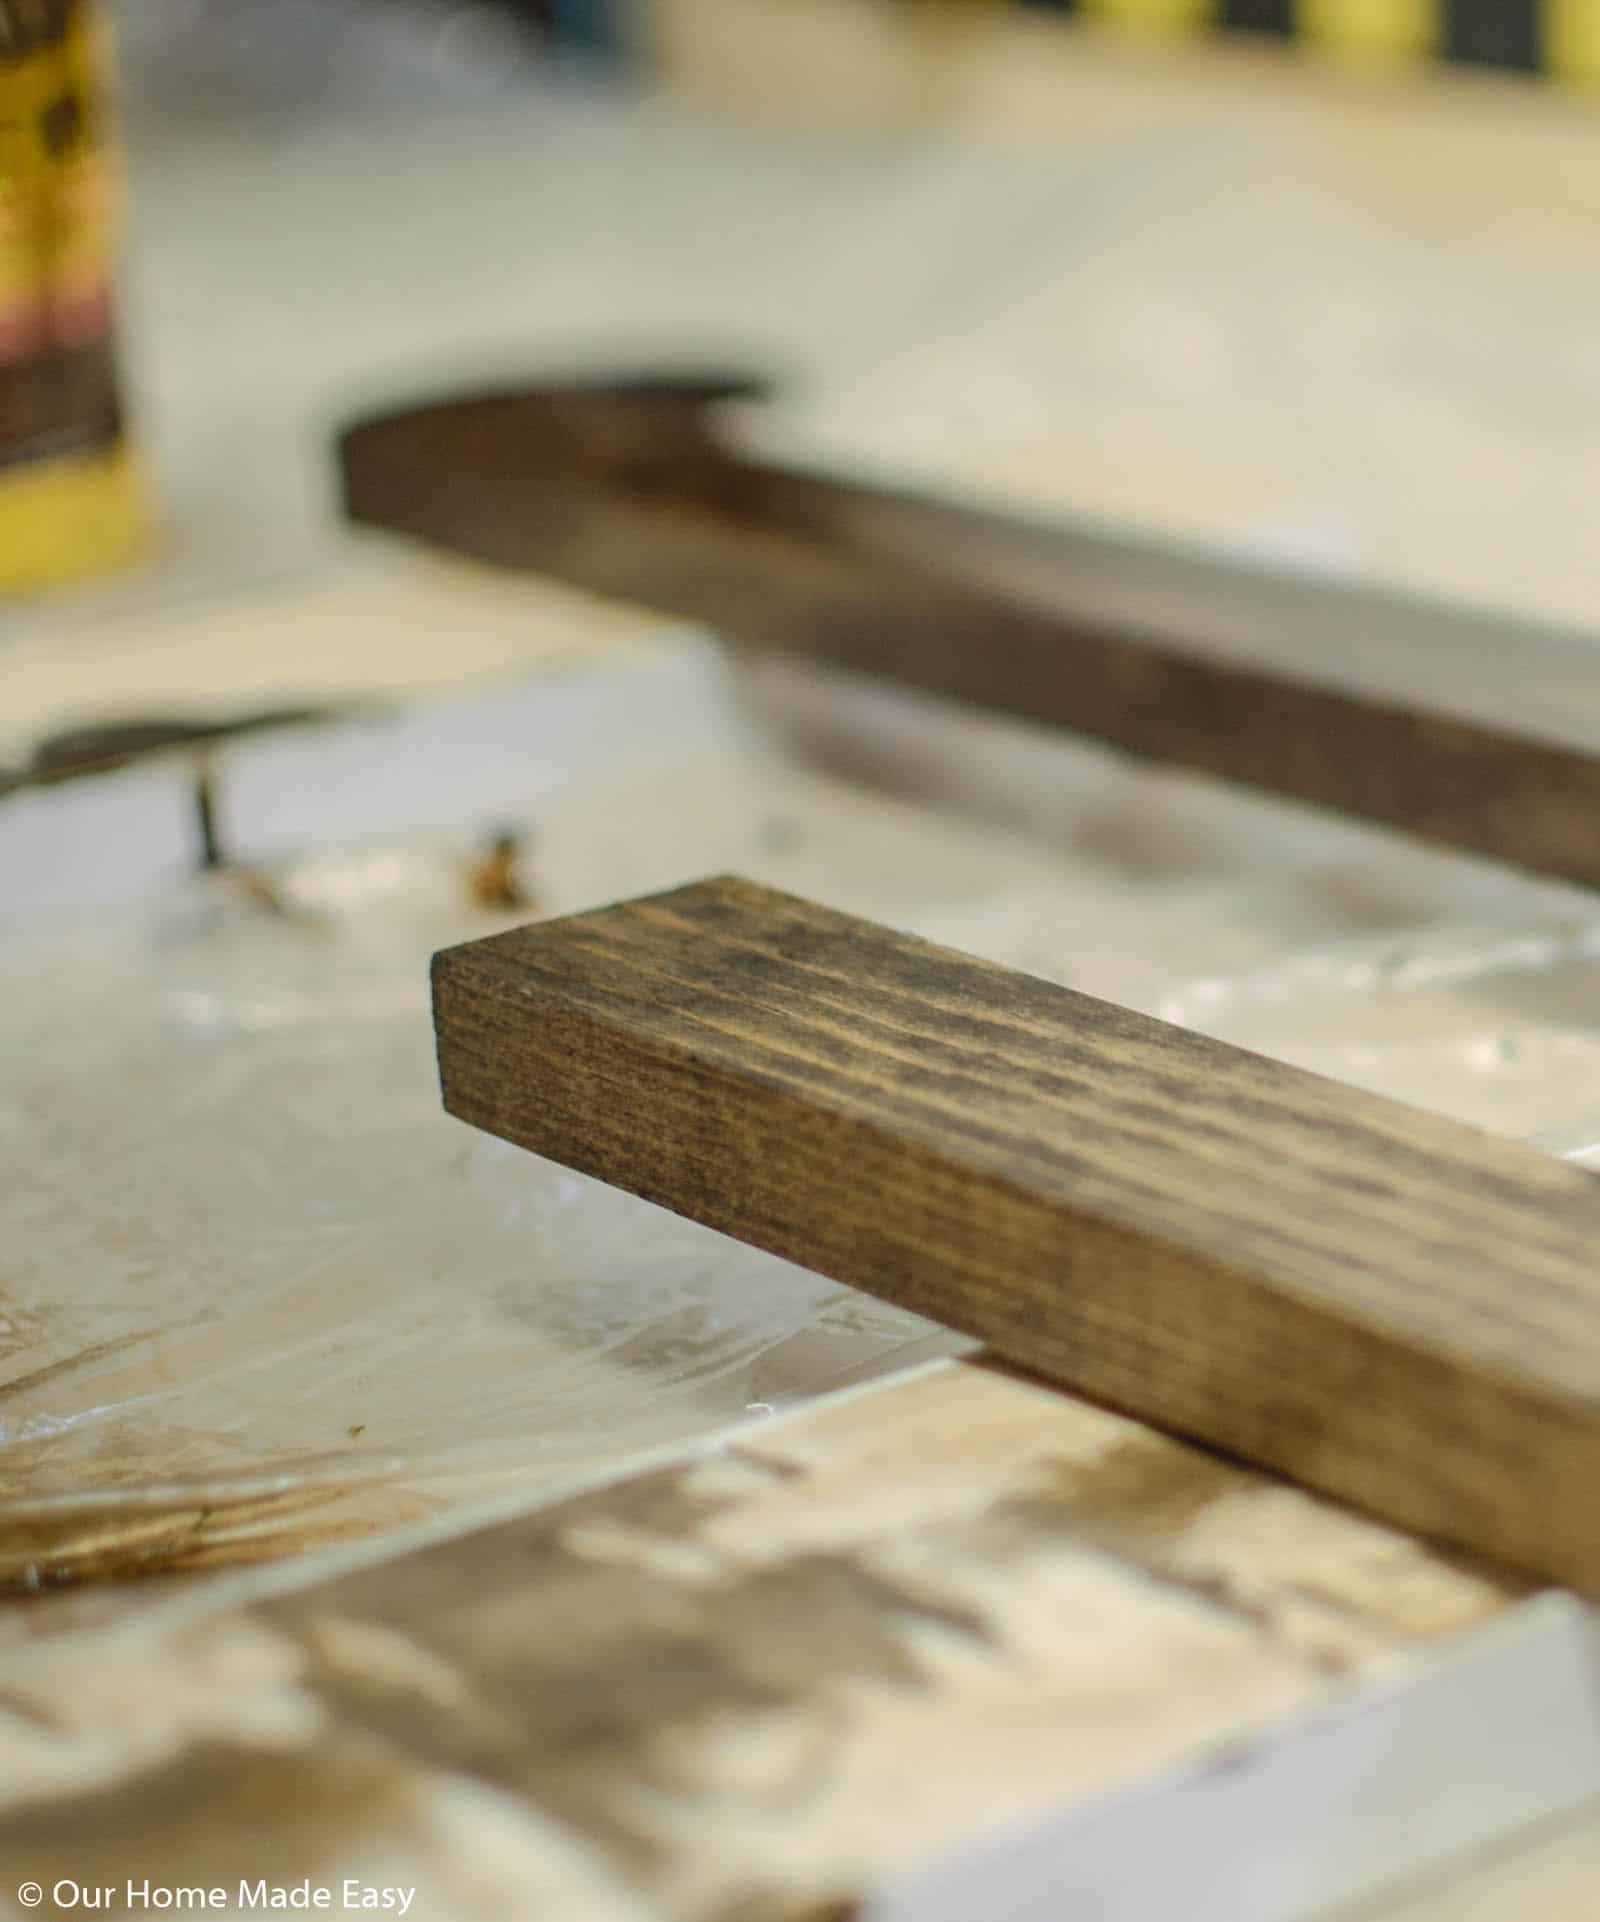
Stain Your Frame
Once you have your frame pieces cute, stain them in your choice of color. We always stick to Dark Walnut because of its a favorite around the house. But we’ve always liked Weathered Gray, Koana, or even Early American for projects.
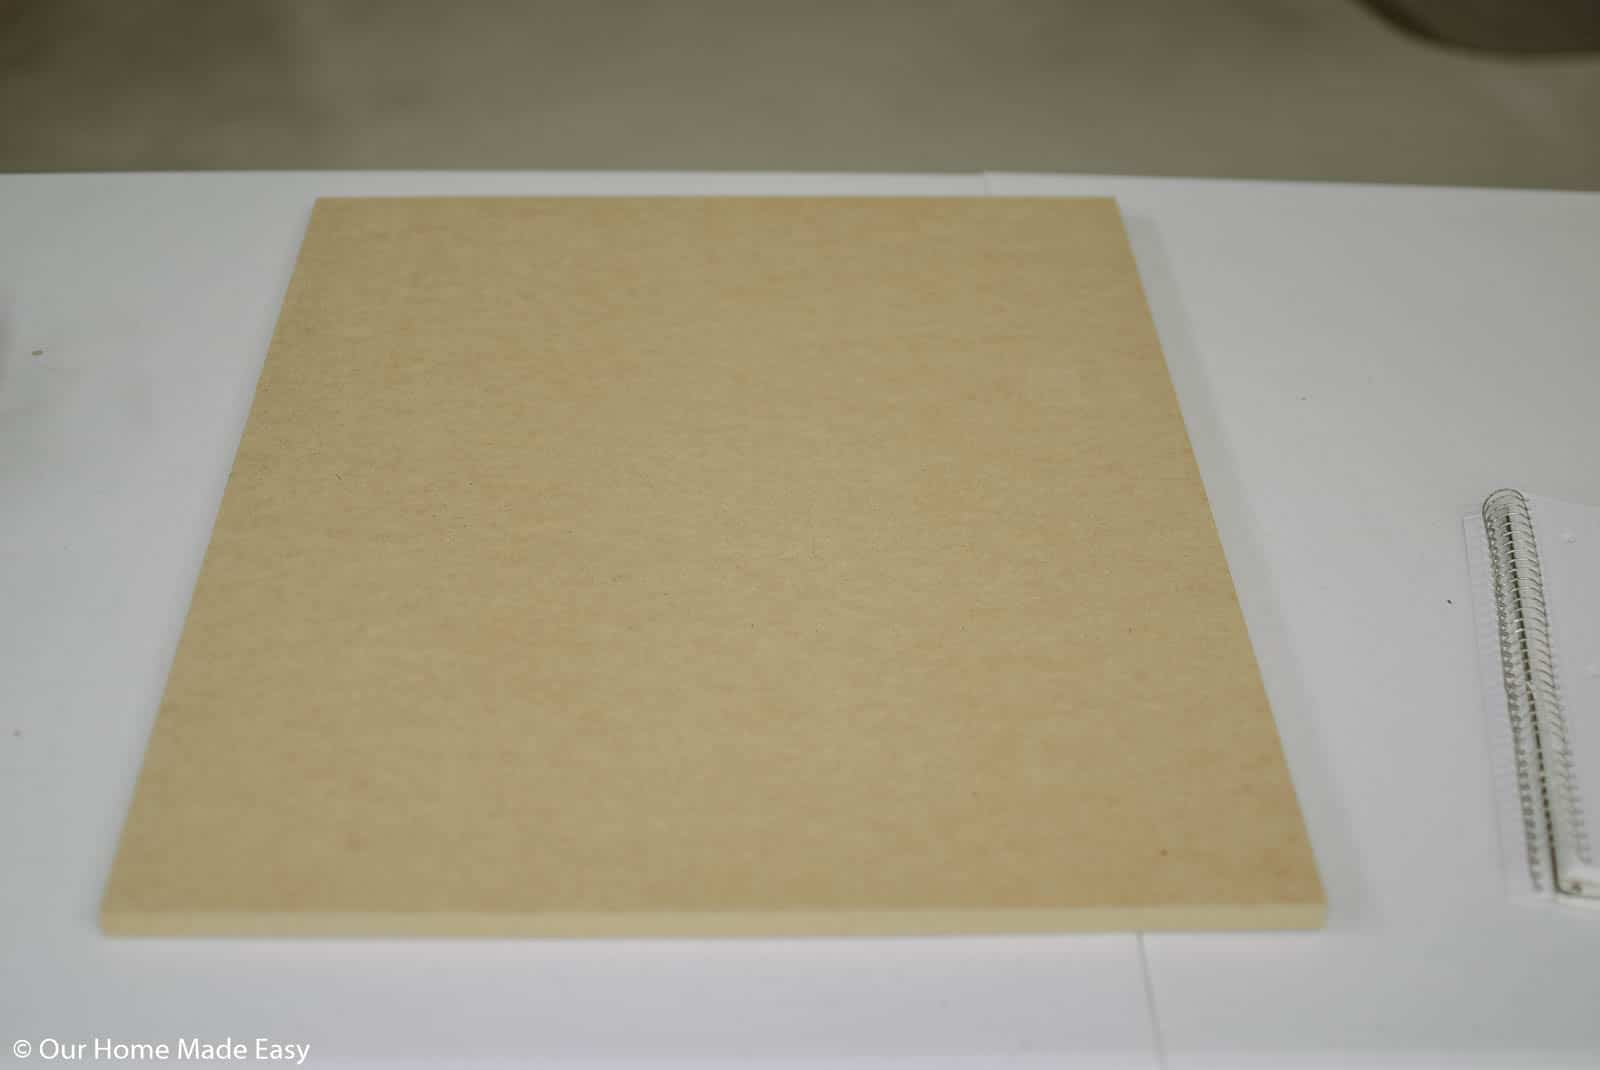
Mod Podge the Paper to The MDF
While your stain is drying, it’s time to glue your print to the MDF. You’ll want to have your MDF cut to size at the store (its’ a free service).
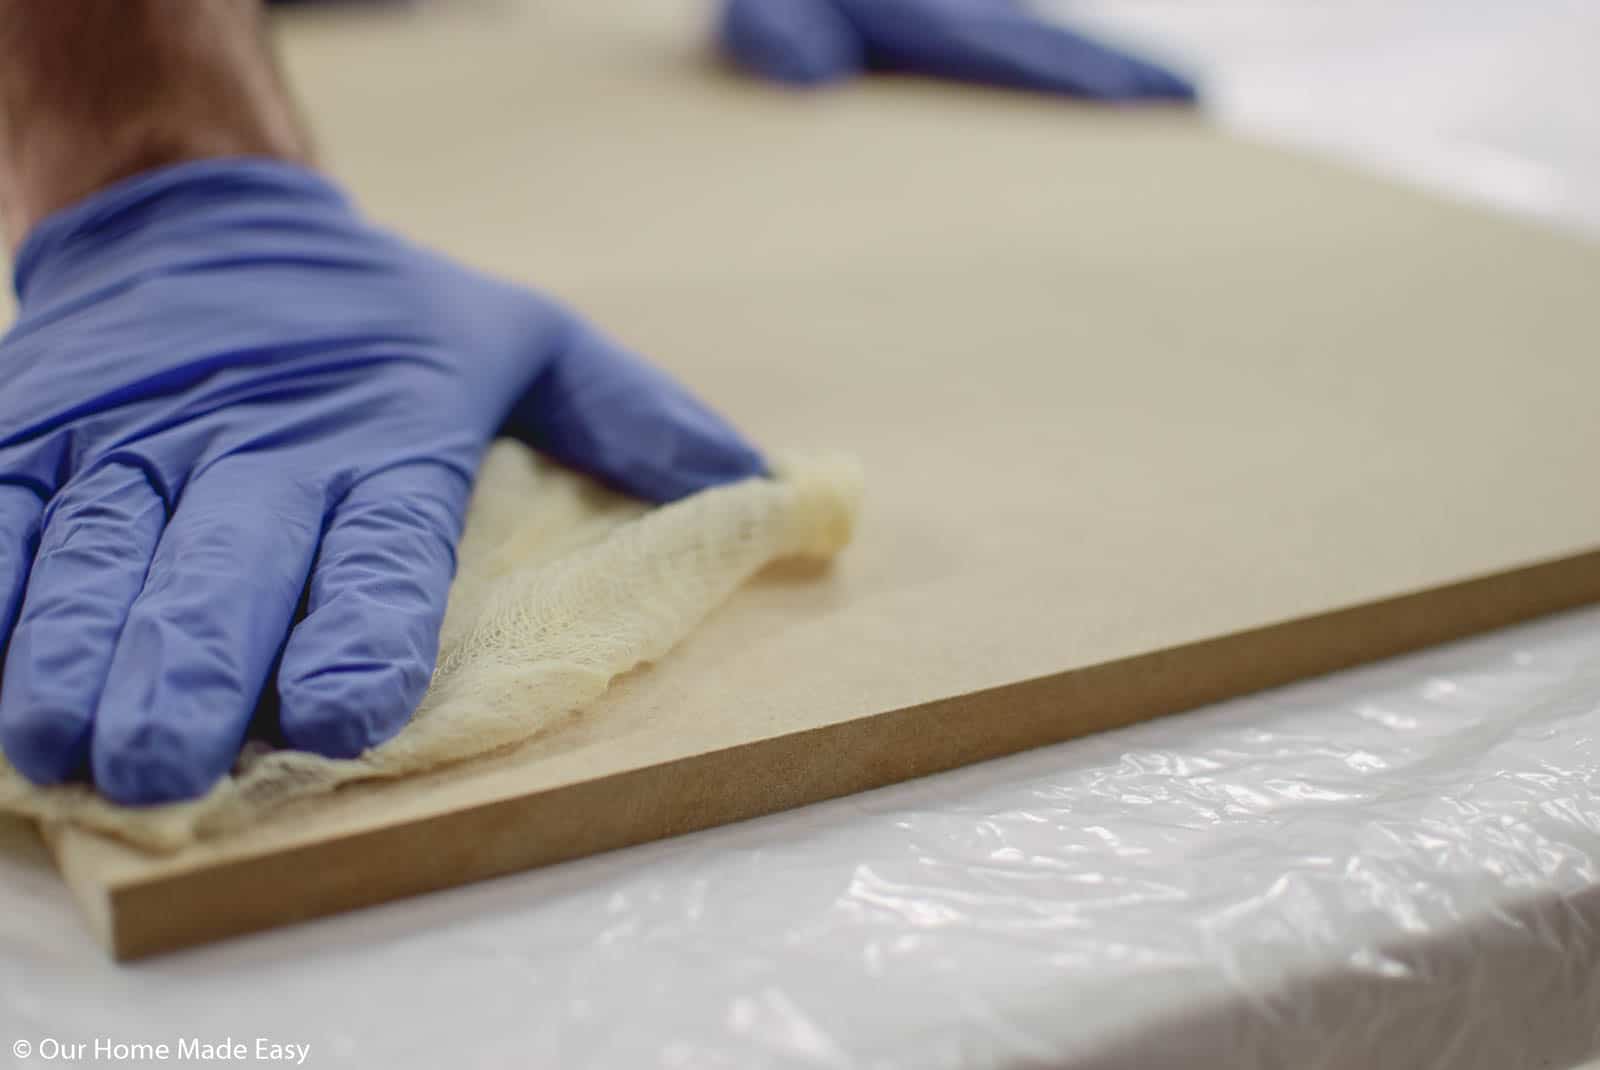
Wipe off any extra dust from the MDF before you start applying the Mod Podge.
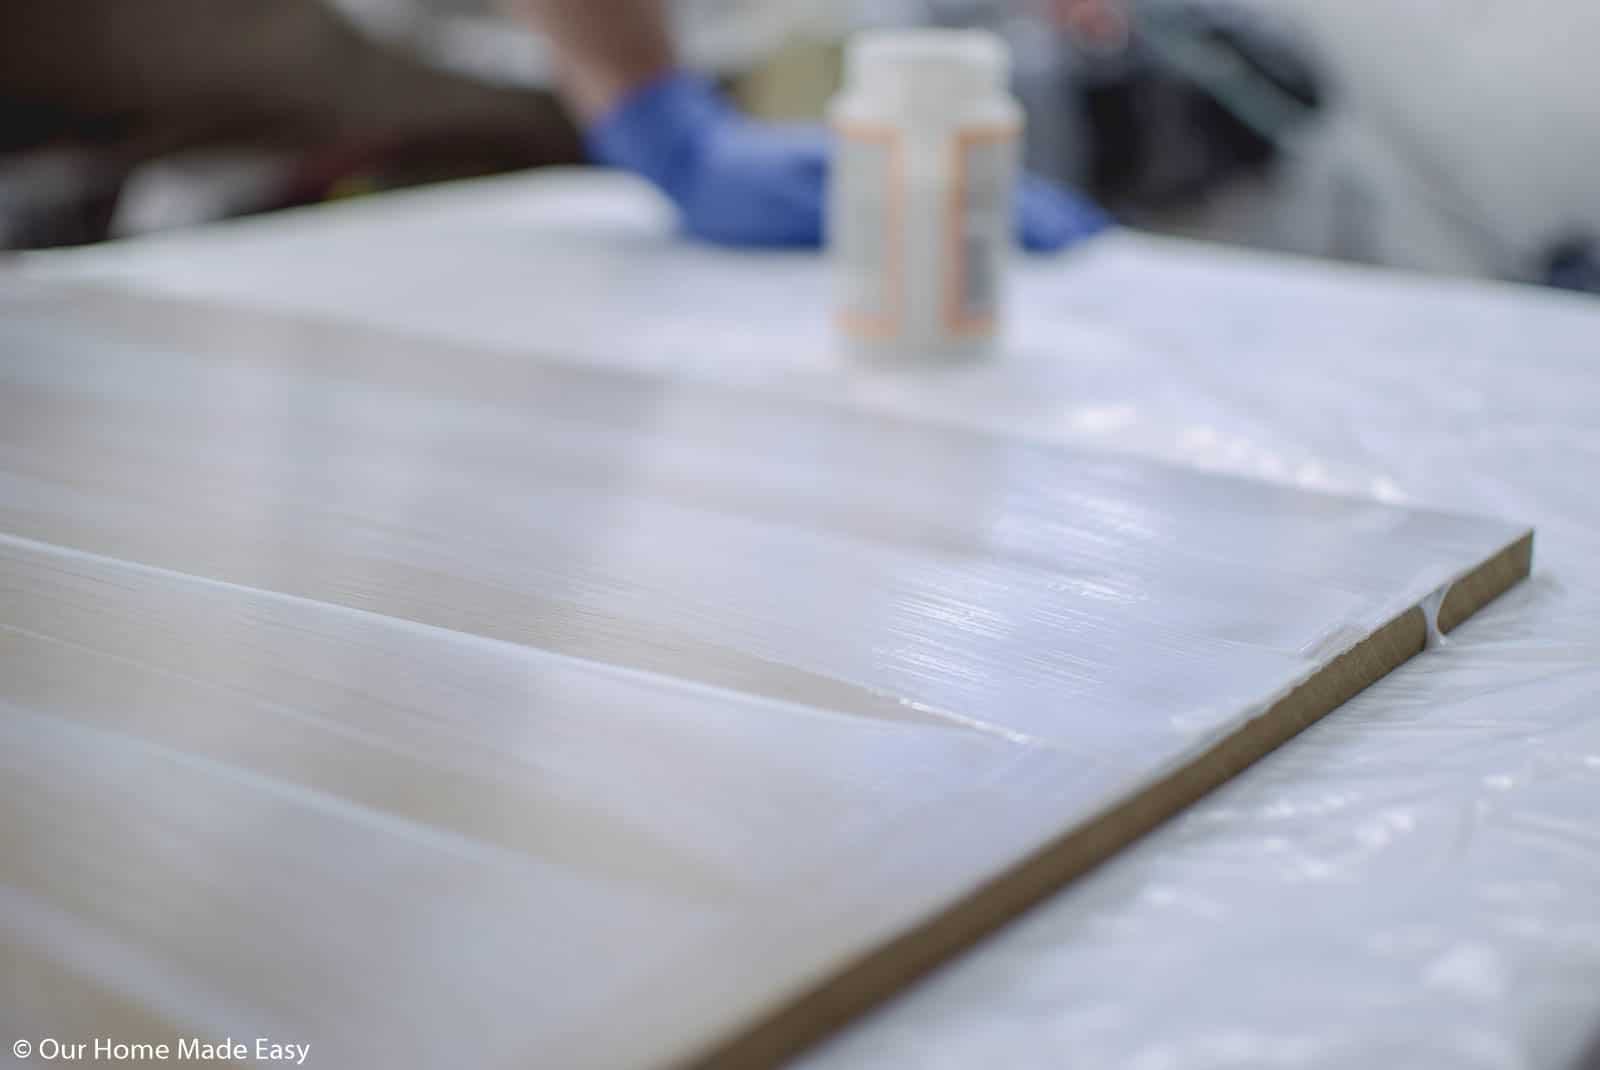
We followed this awesome tutorial on How to Mod Podge from Mod Podge Rocks. We laid a medium coat onto the MDF and then laid the paper on top of it. You’ll need an extra set of hands to help with this.
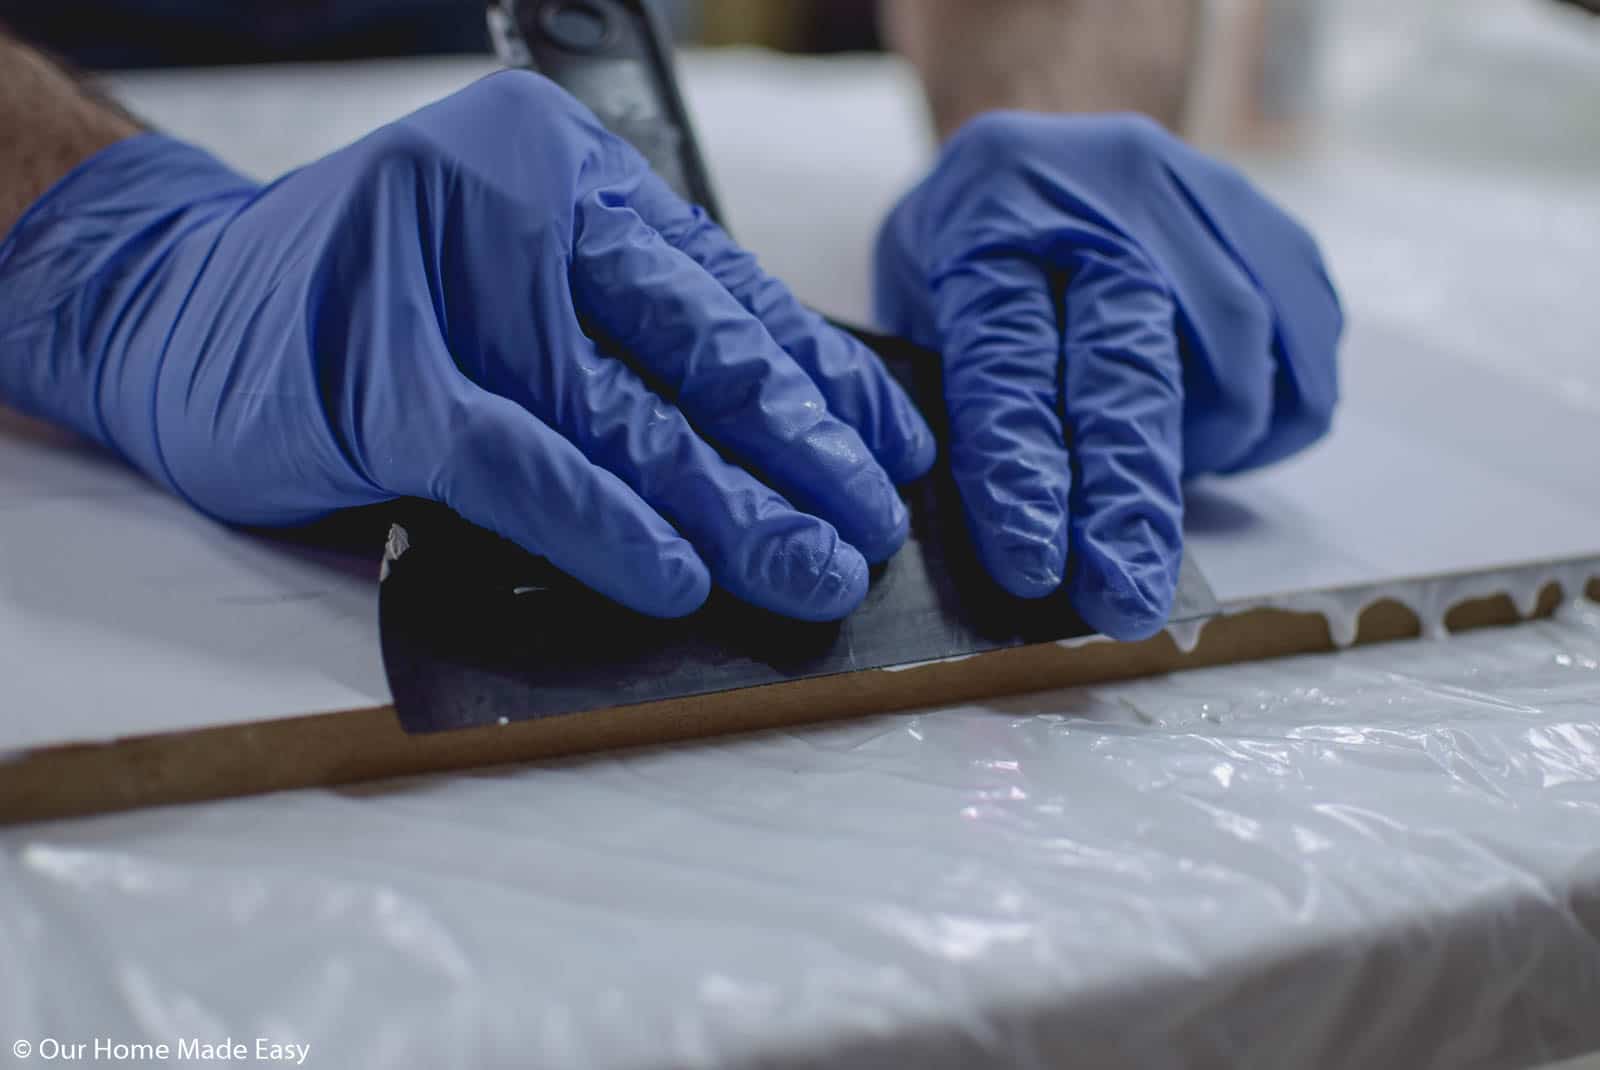
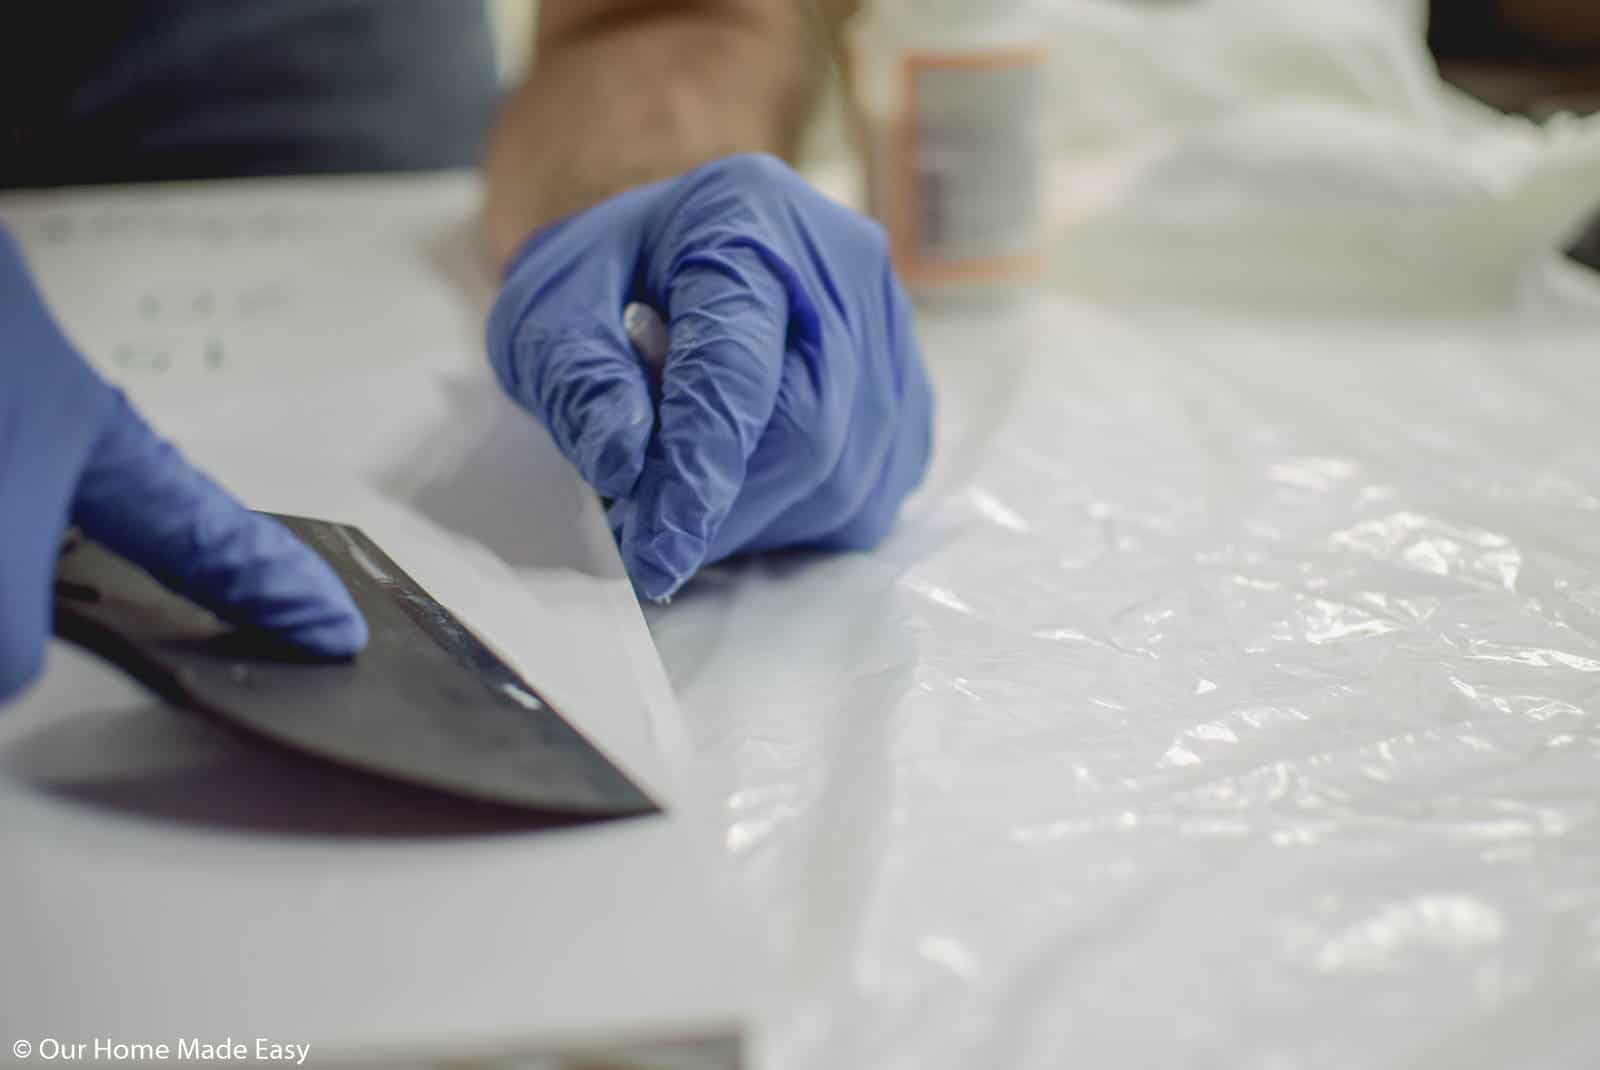
With a large plastic putty knife work out any bubbles and set the print in place. Let dry at least 60 minutes. There is no harm in letting it dry more.
Apply another thin coat of Mod Podge and dry for at least 60 minutes. Then sand with 400 grit sandpaper and apply another coat if desired. (We did just one coat on top of the print!)
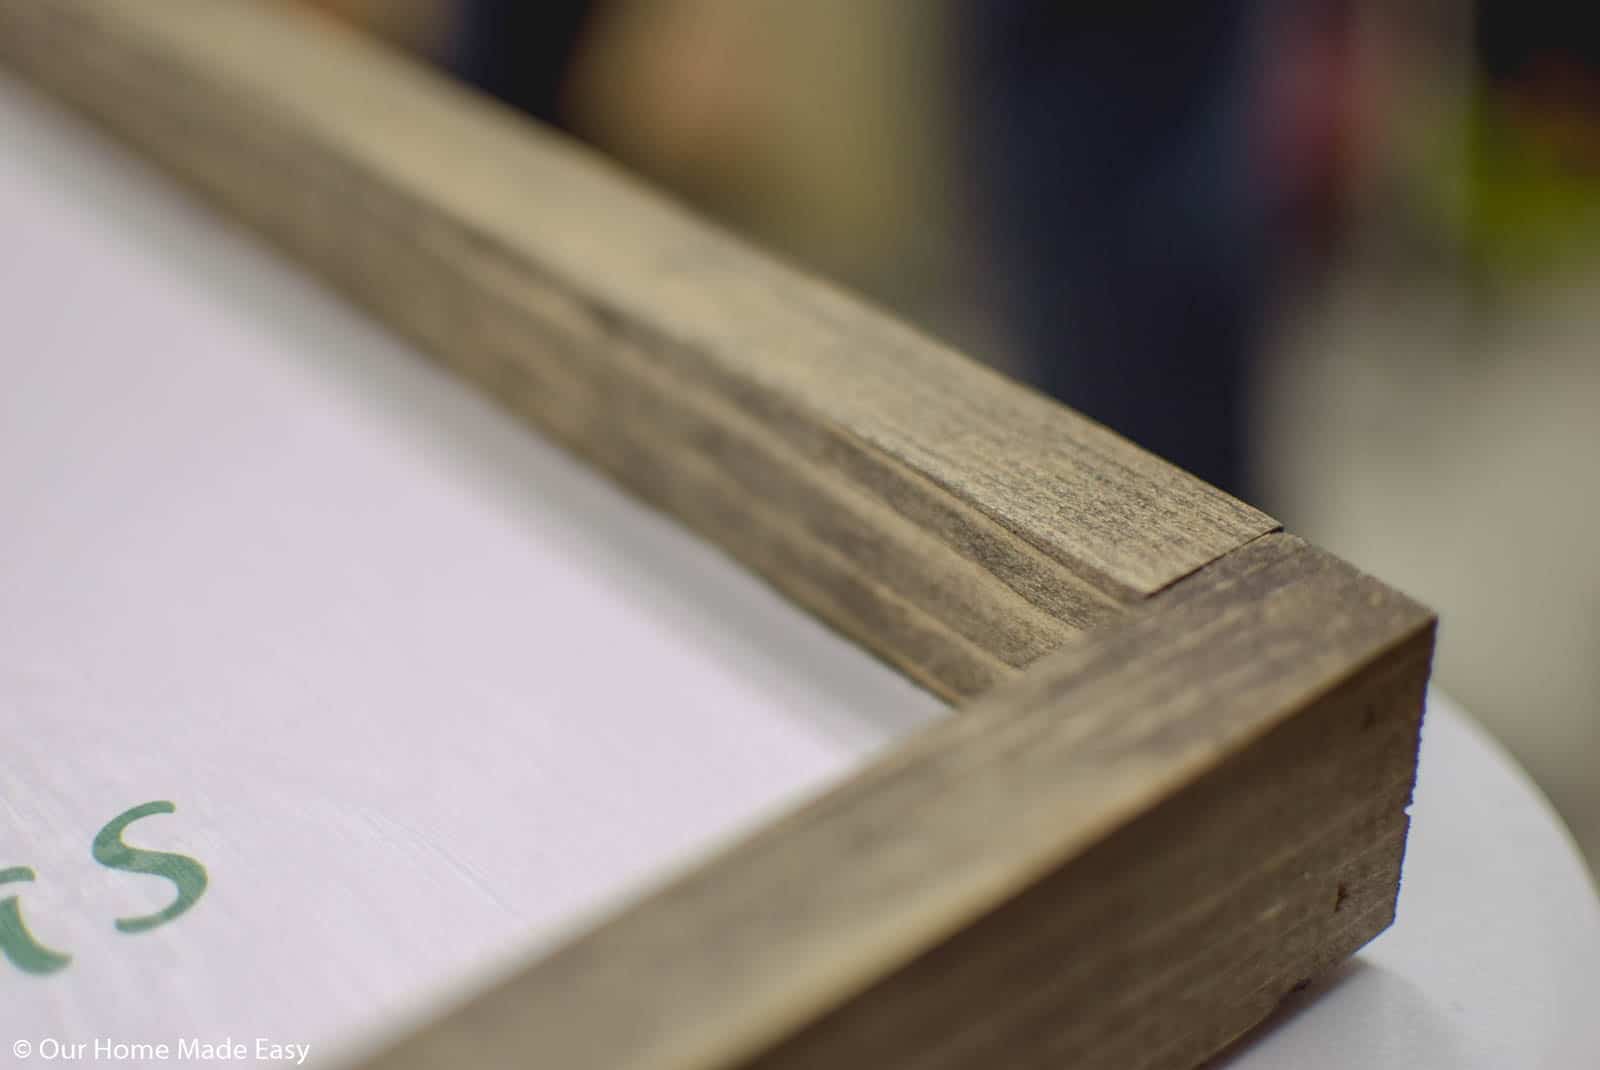
Build Your Frame
With small finish nails or a pneumatic finish nailer, 1.5 inches” and a little glue, attach the 24” long boards to the 24” sides of the MDF. Make sure they are flush with the back of the MDF and are on their edge versus their face.
Then attach the 19.5” boards to the top of the MDF with glue and finish nails.
You’re almost done!
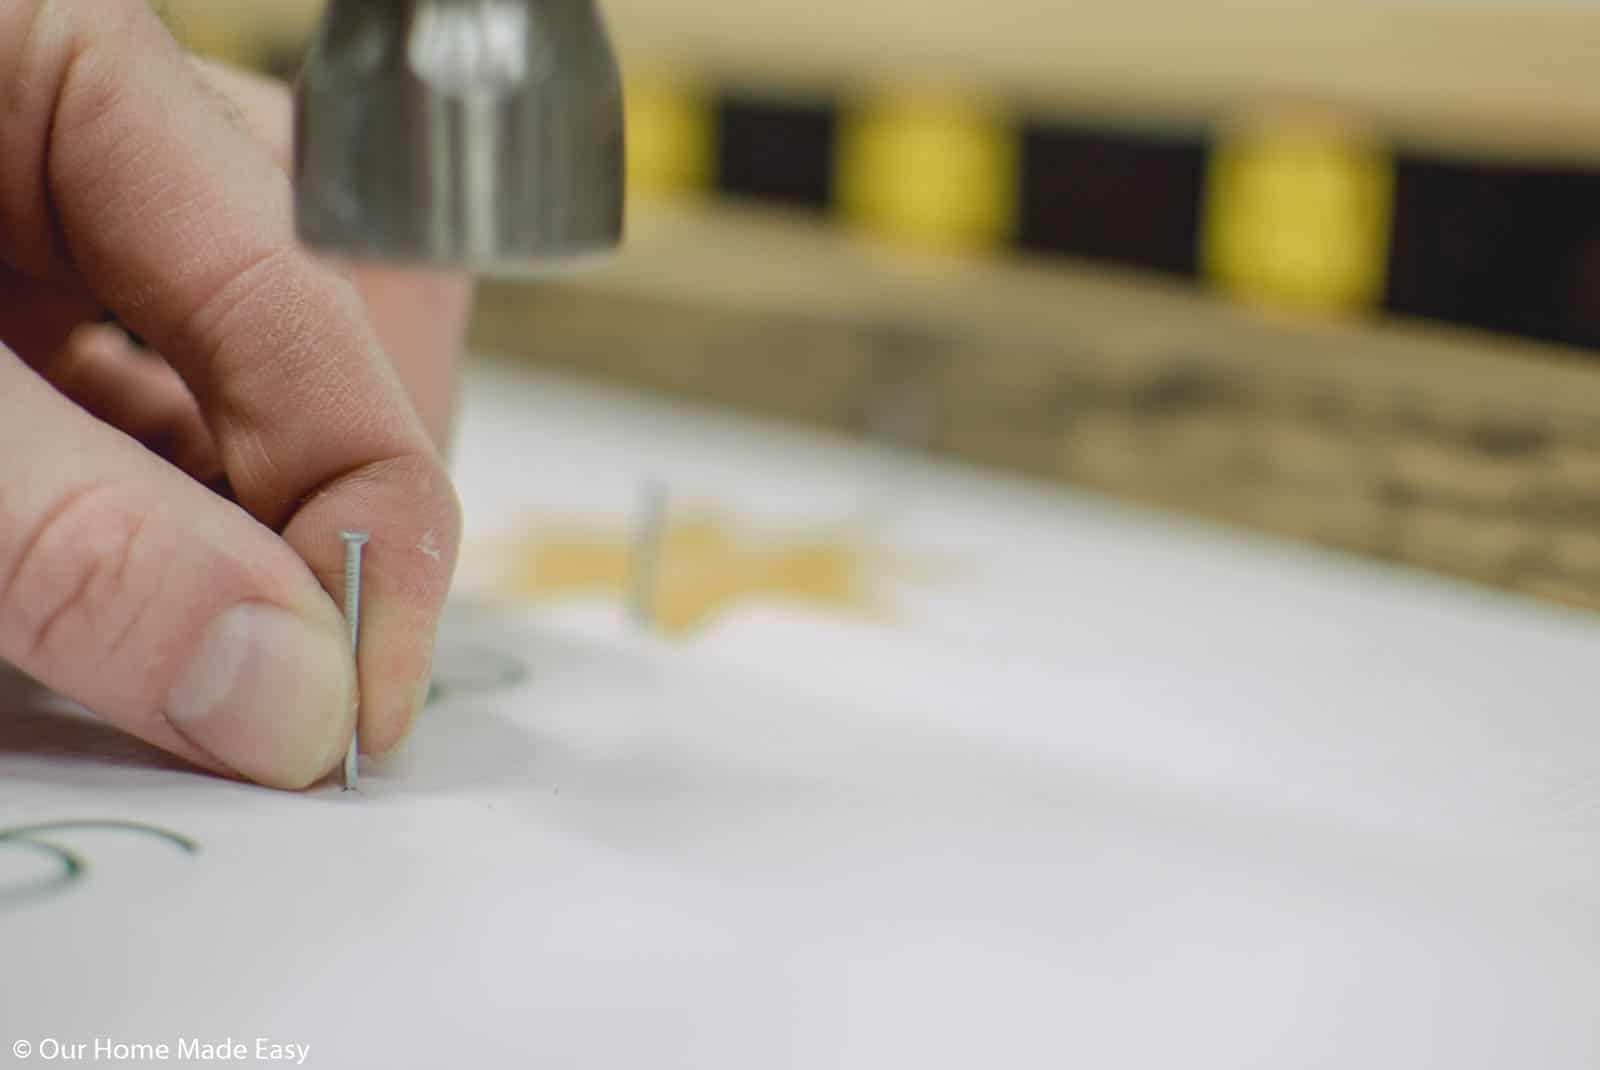
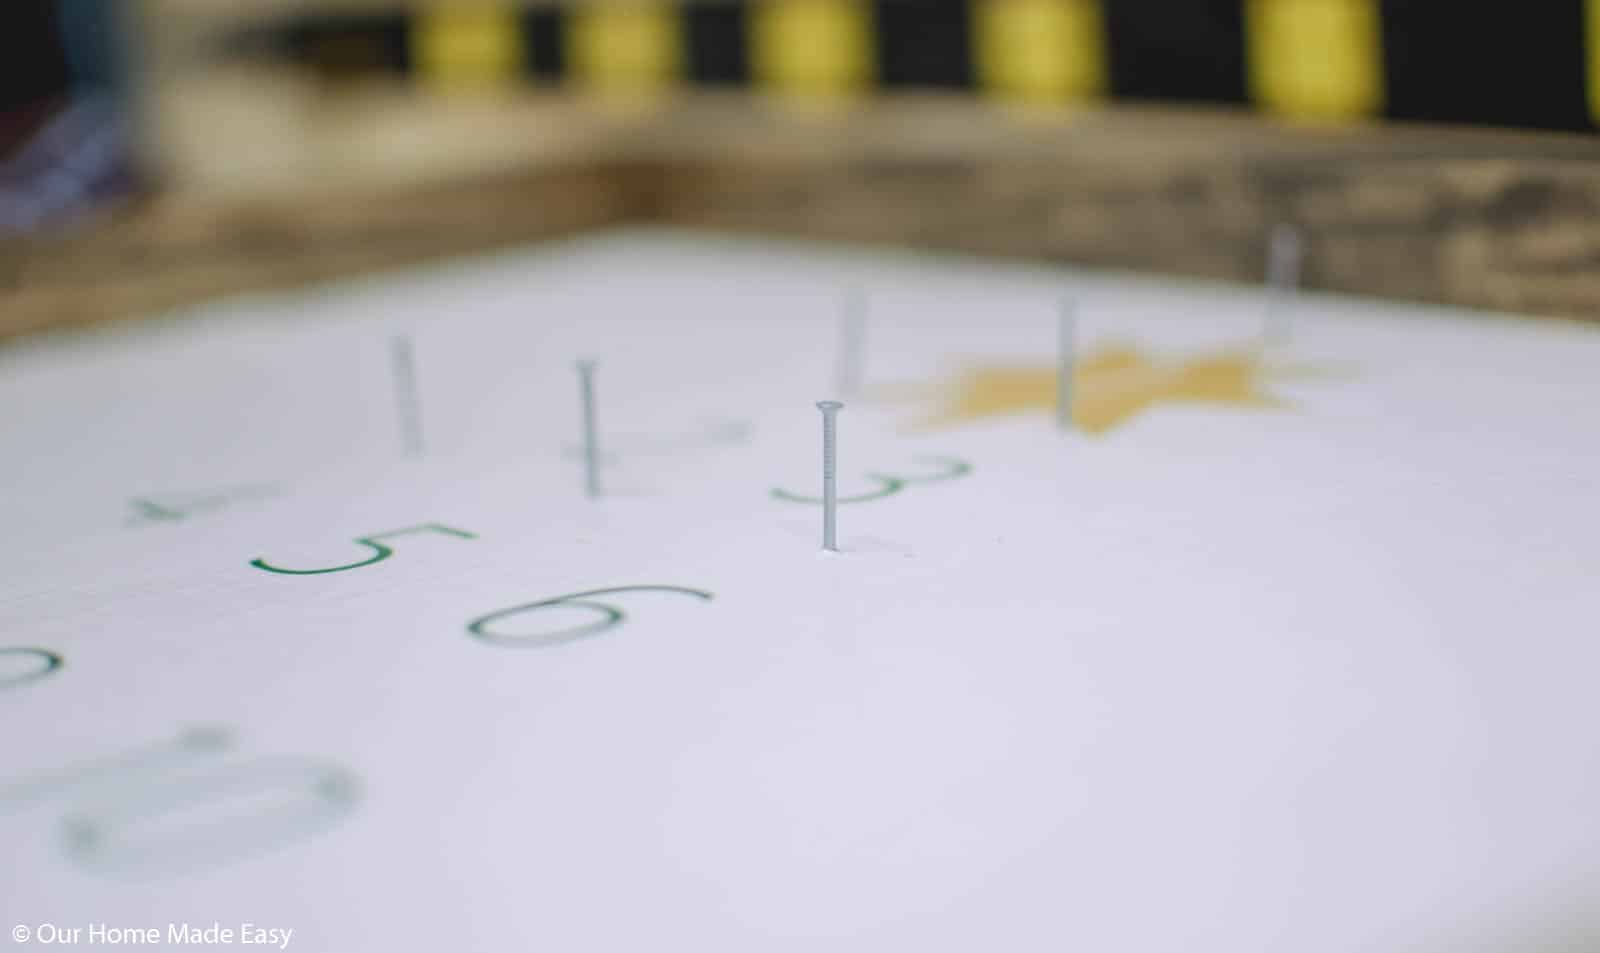
Nail In Your Hangers
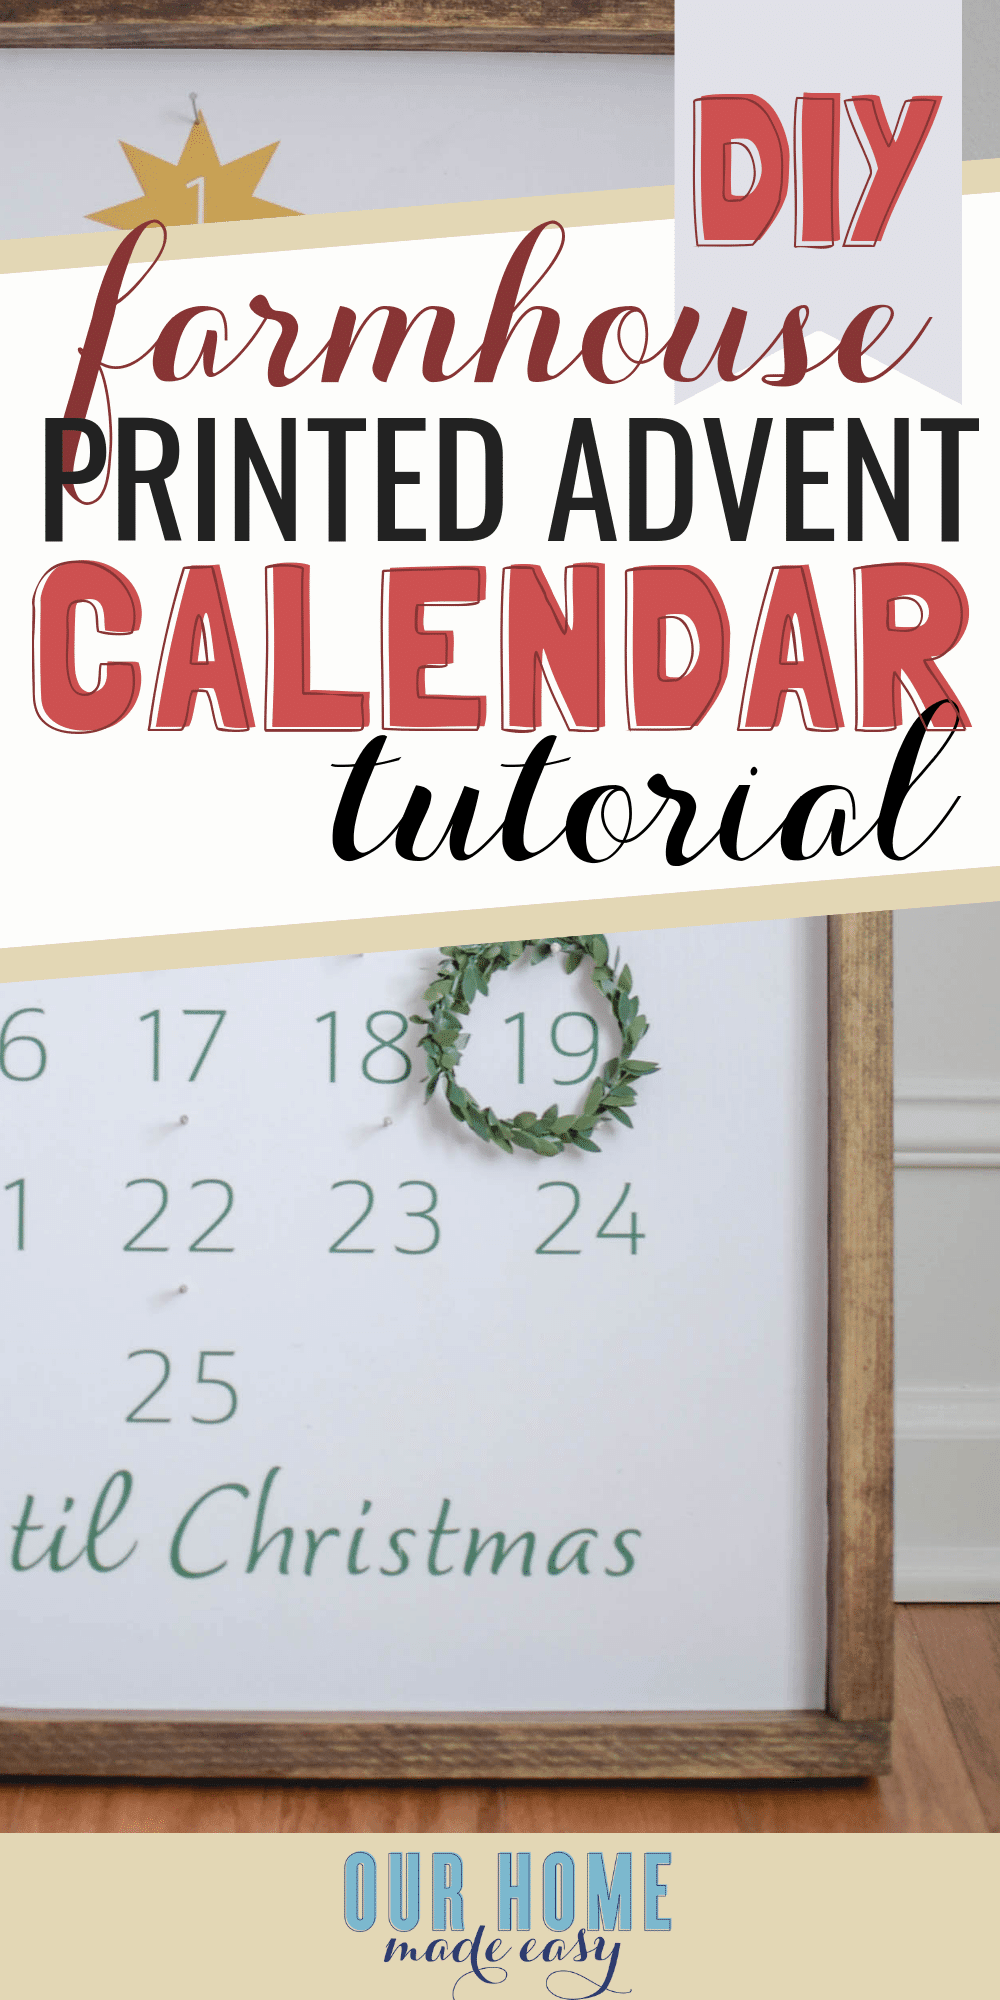
Next, you will take 1” brad nails and nail ¾” above the center of each number.
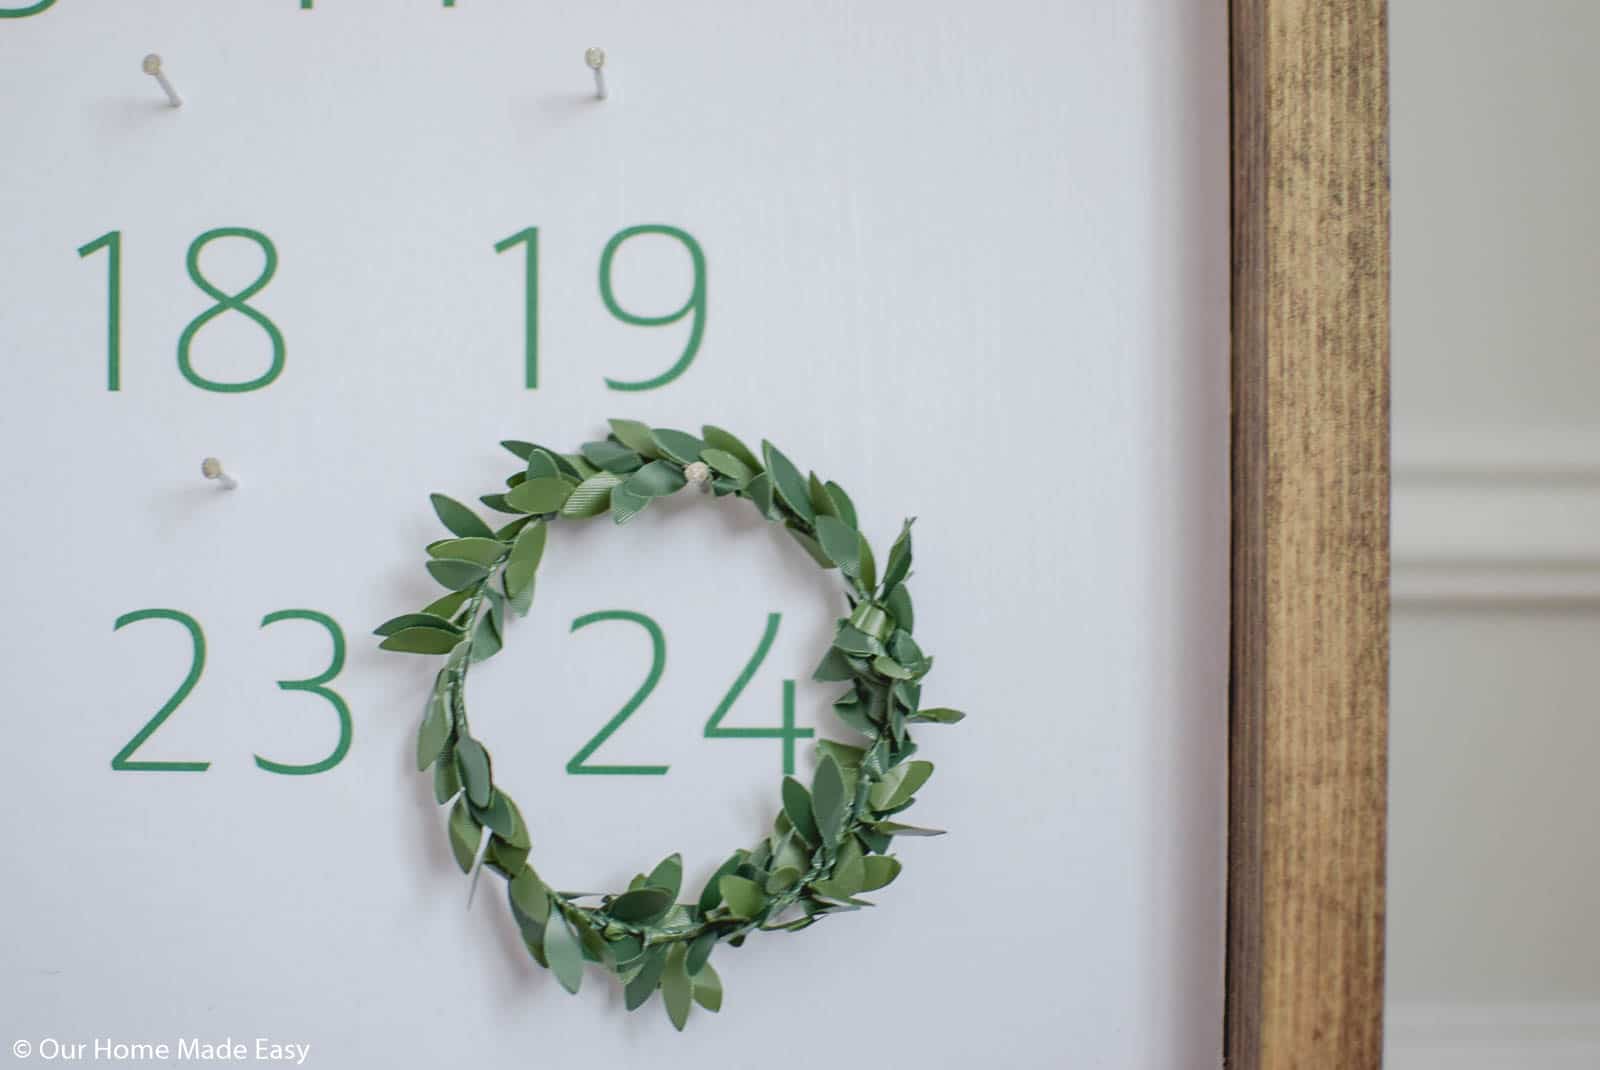
Assemble Your Wreath
Lastly, take a thin piece of garland, and make a circle. Use it to create your daily wreath! If you didn’t want greenery, you could use a thin piece of cranberry garland or even some jute rope.
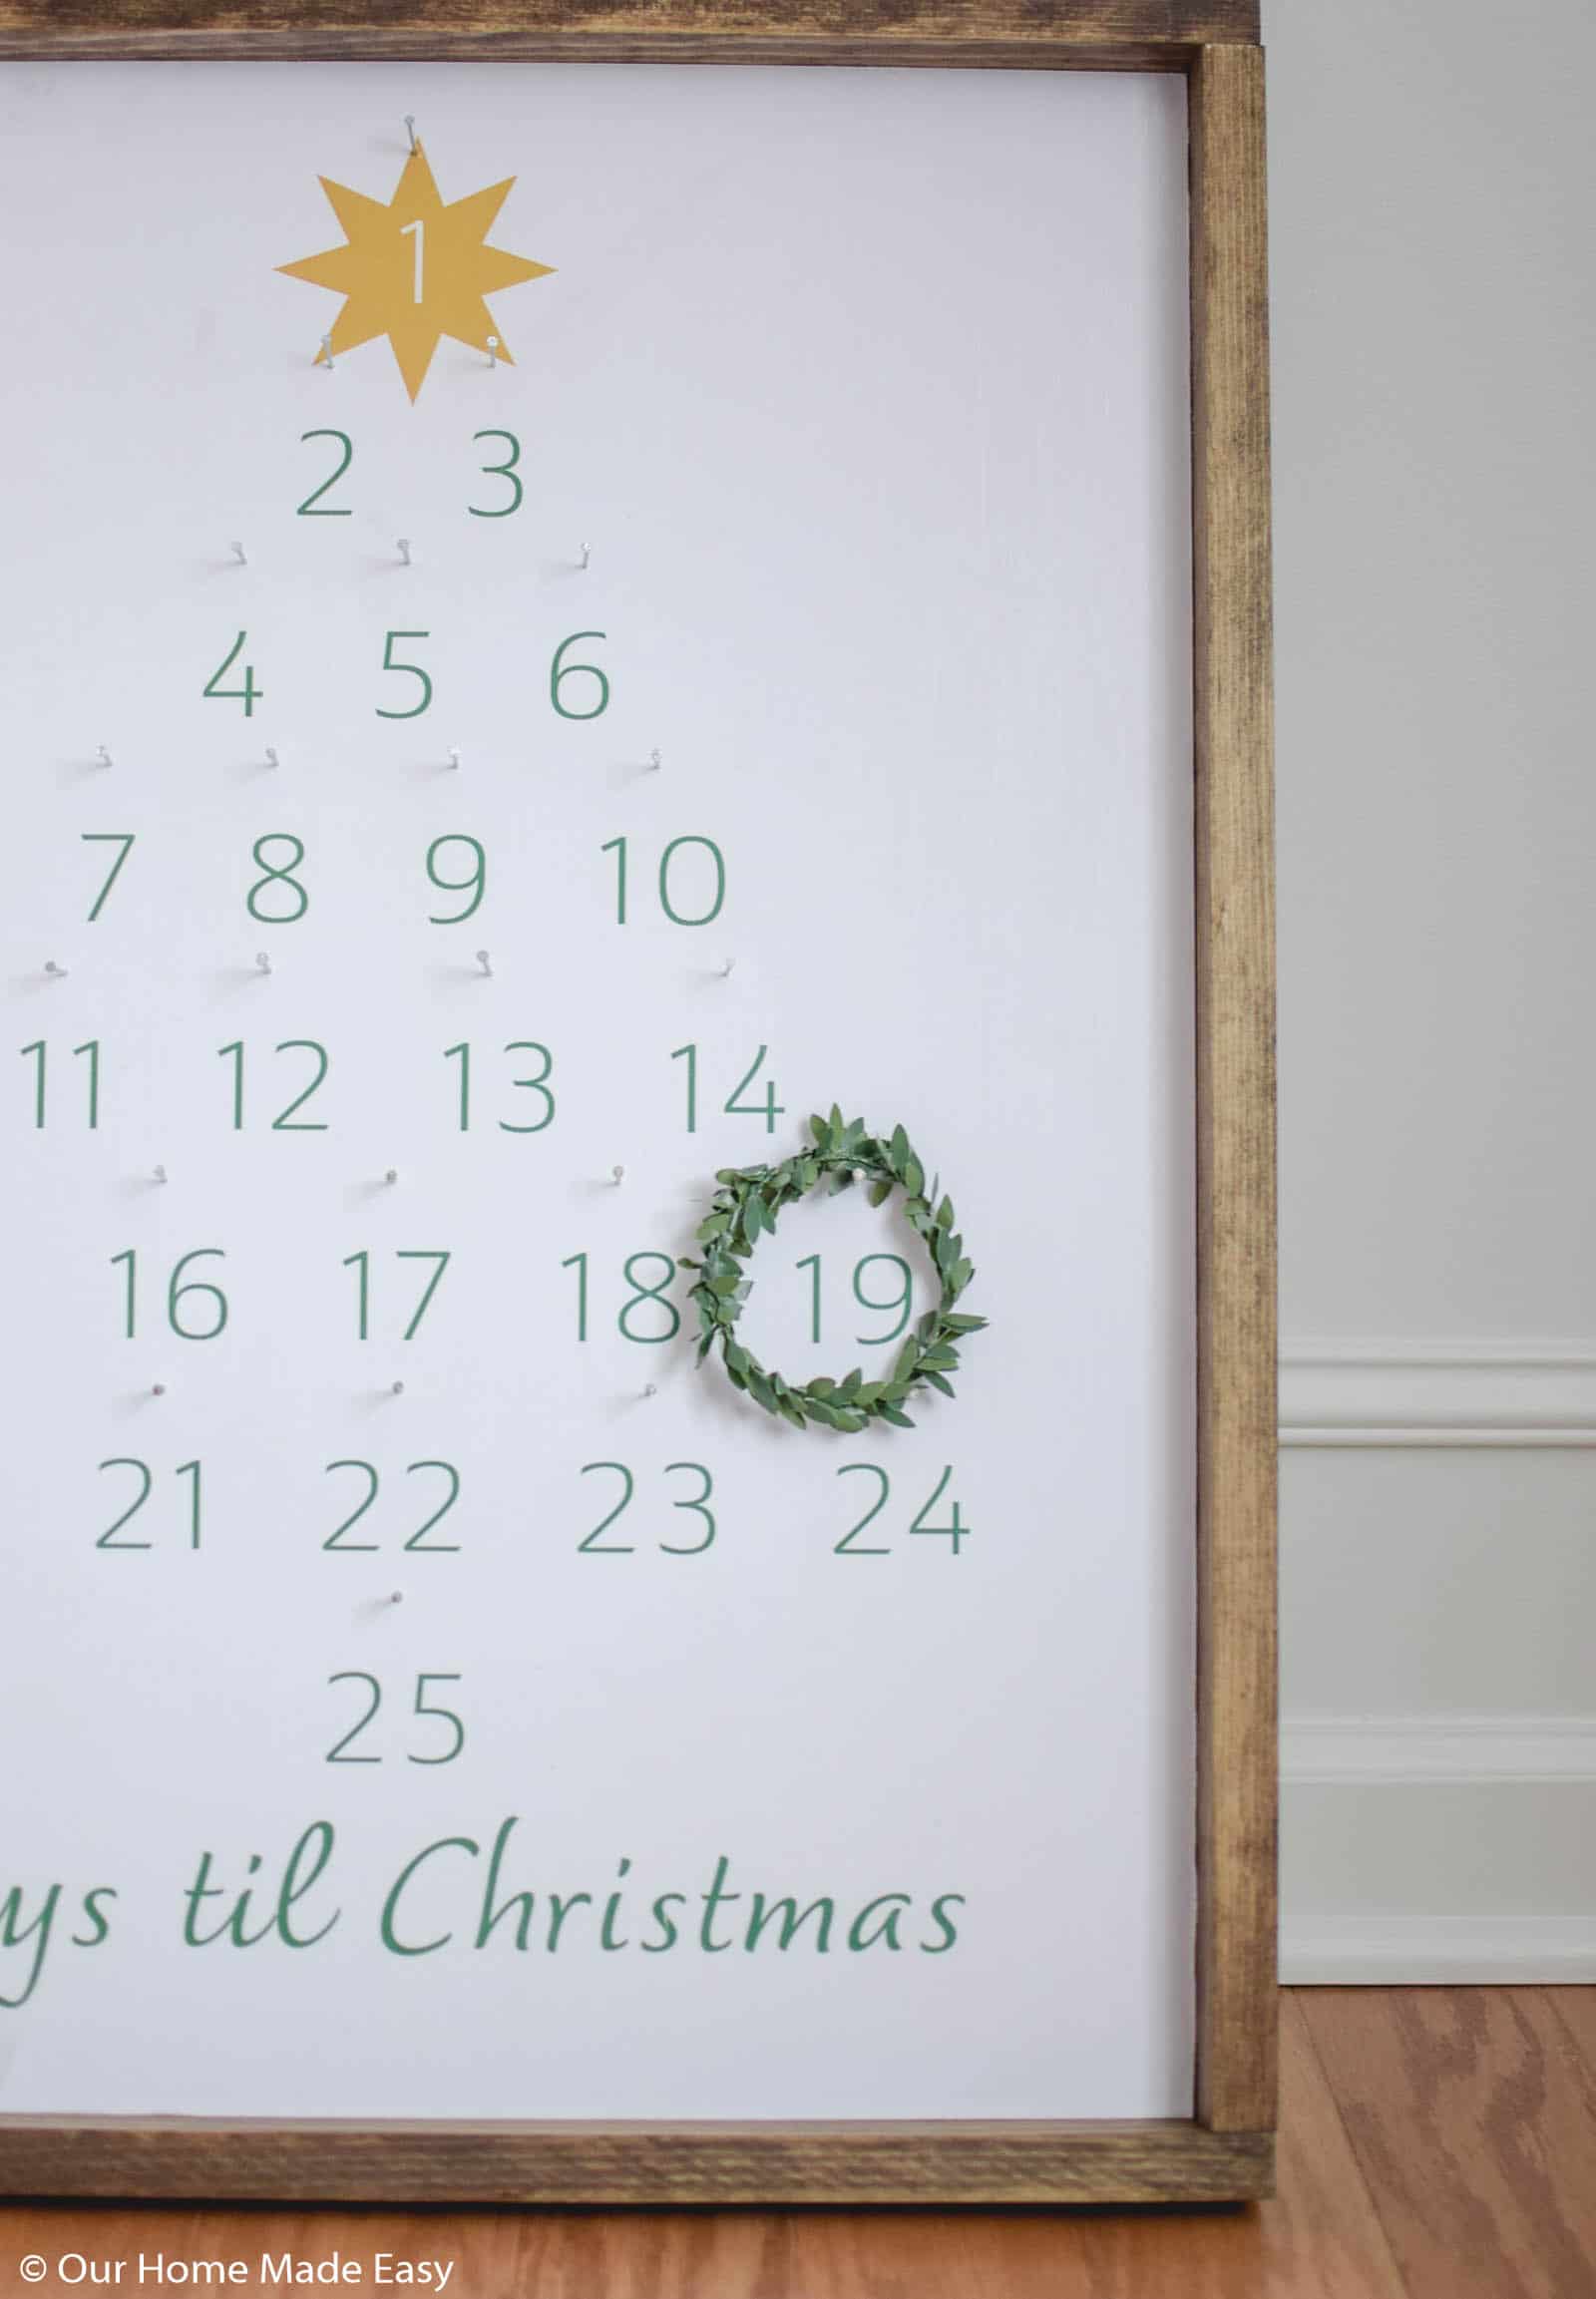
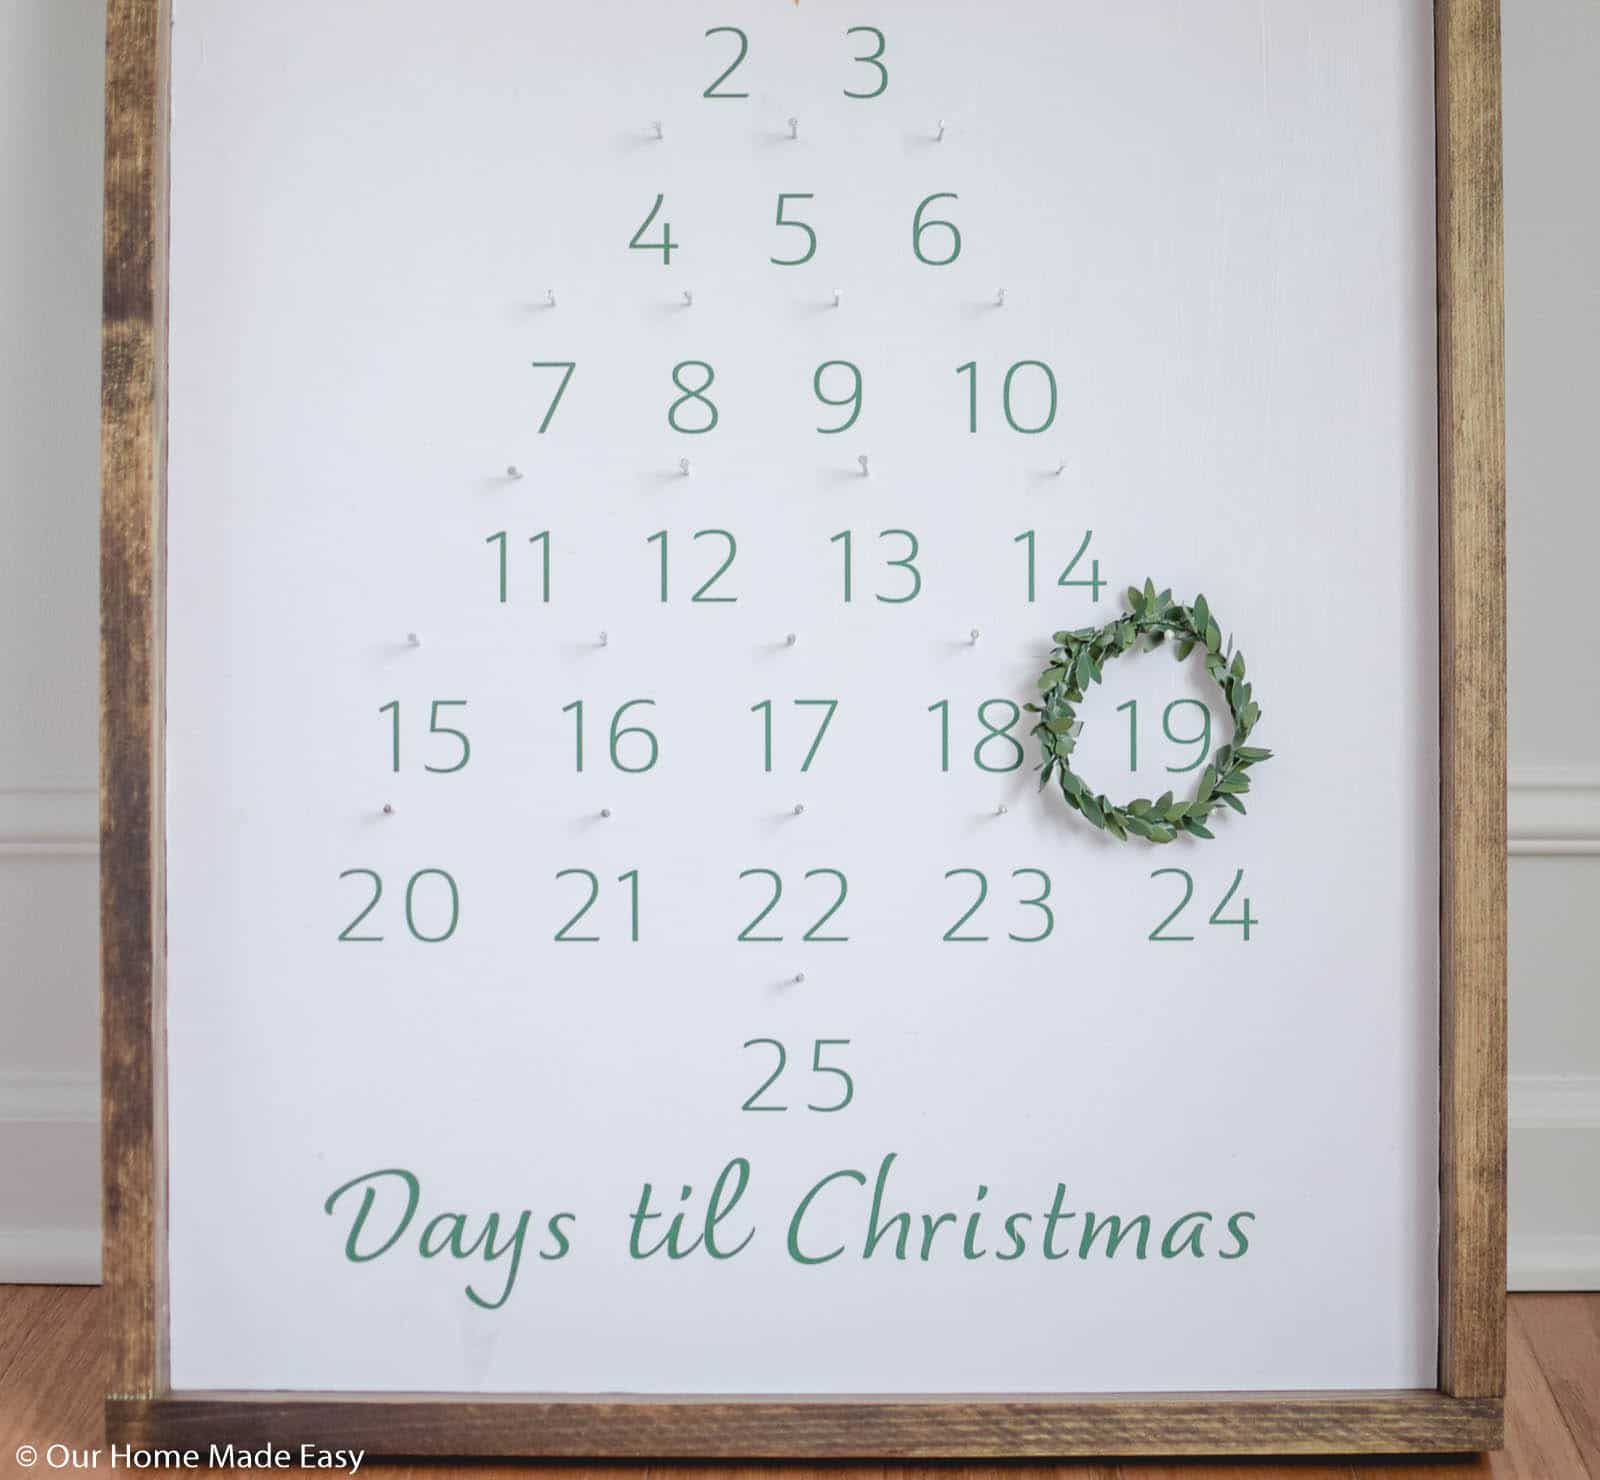
Whew, isn’t it such a pretty piece for just a few dollars? I loved how quickly we built it in an afternoon and how nice it turned out! You can build this too with just a few supplies. Don’t forget to download the free Advent calendar print today!

Easy DIY Farmhouse Advent Calendar
This adorable DIY farmhouse style advent calendar is a simple project that can be done in one afternoon. It's perfect for the advent season!
Materials
- Advent Calendar Print
- MDF Cut to 18"x24"
- 1"x2" Strips
- Wood Stain
- Mod Podge
- Foam Brush
- 400 Grit Sand Paper
- Nails for Hanging
- Thin Garland
Tools
- Miter Saw
- Orbit Sander
- Pneumatic Nailer
Instructions
- Open the pretty printable library and download the calendar print. Upload your print to OfficeDepot or Staples. You can search for engineering prints, choose the 18" x 24" size, and print it off for about $2-3.
- Using your mitersaw, cut your common board into framing strips. You will need to cut two strips 24” long and another two strips 19.5” long. Sand the edges down slightly.
- Once you have your frame pieces cute, stain them in your choice of color. We always stick to Dark Walnut because its a favorite around the house. But we've always liked Weathered Gray, Koana, or even Early American for projects.
- While your stain is drying, it's time to glue your print to the MDF. You'll want to have your MDF cut to size at the store (its' a free service). Wipe off any extra dust from the MDF before you start applying the Mod Podge.
- With a large plastic putty knife work out any bubbles and set the print in place. Let dry at least 60 minutes. There is no harm in letting it dry more.
- Apply another thin coat of Mod Podge and dry for at least 60 minutes. Then sand with 400 grit sandpaper and apply another coat if desired. (We did just one coat on top of the print!)
- With small finish nails or a pneumatic finish nailer, 1.5 inches" and a little glue, attach the 24” long boards to the 24” sides of the MDF. Make sure they are flush with the back of the MDF and are on their edge versus their face.
- Then attach the 19.5” boards to the top of the MDF with glue and finish nails.
- Next, you will take 1”brad nails and nail ¾” above the center of each number.
- Lastly, take a thinpiece of garland, and make a circle. Use it to create your daily wreath! If you didn't want greenery, you could use a thin piece of cranberry garland or even some jute rope.
Get Your Free Advent Calendar Print Here!
PIN FOR LATER:

Hi, I’m Brittany, and I believe life at home should feel easier, not heavier.
I’m the creator of Our Home Made Easy, a space for busy women who want dinner on the table, their homes running smoothly, and a little breathing room at the end of the day.
You won’t find perfection here, just realistic recipes, smart shortcuts, and simple routines that work in real life. The kind that help you feed your family well, stay organized enough, and still have time to actually enjoy it.
If you’re juggling work, kids, schedules, and everything in between, you’re in the right place. I’m so glad you’re here.


