How to Make a Farmhouse Sign
Have you ever seen the beautiful farmhouse signs popping up all over the interwebs? And if you haven’t already looked, most are about $100 apiece. Sheesh. While they are beautiful, sometimes my Pinterest dreams are much larger than my budget. Luckily, they aren’t hard to replicate! If you have some free time and a love for Mod Podge, you can make one for your home really easily. If you haven’t ever made your own DIY sign, I apologize, you’re about to become addicted…

(This post contains affiliate links)
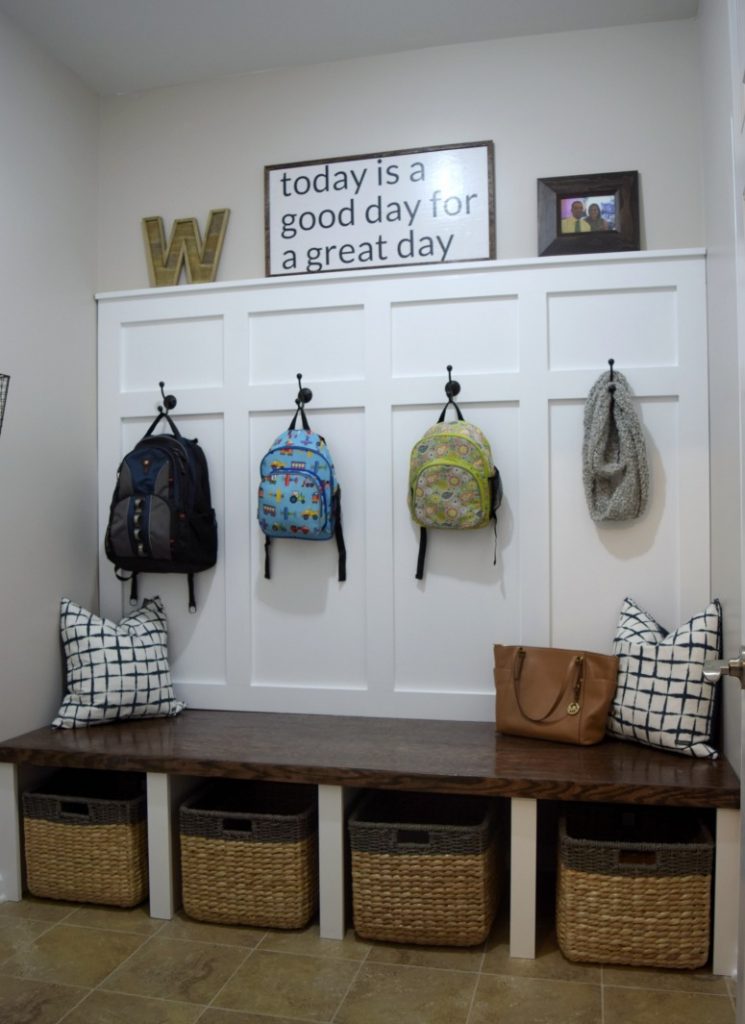
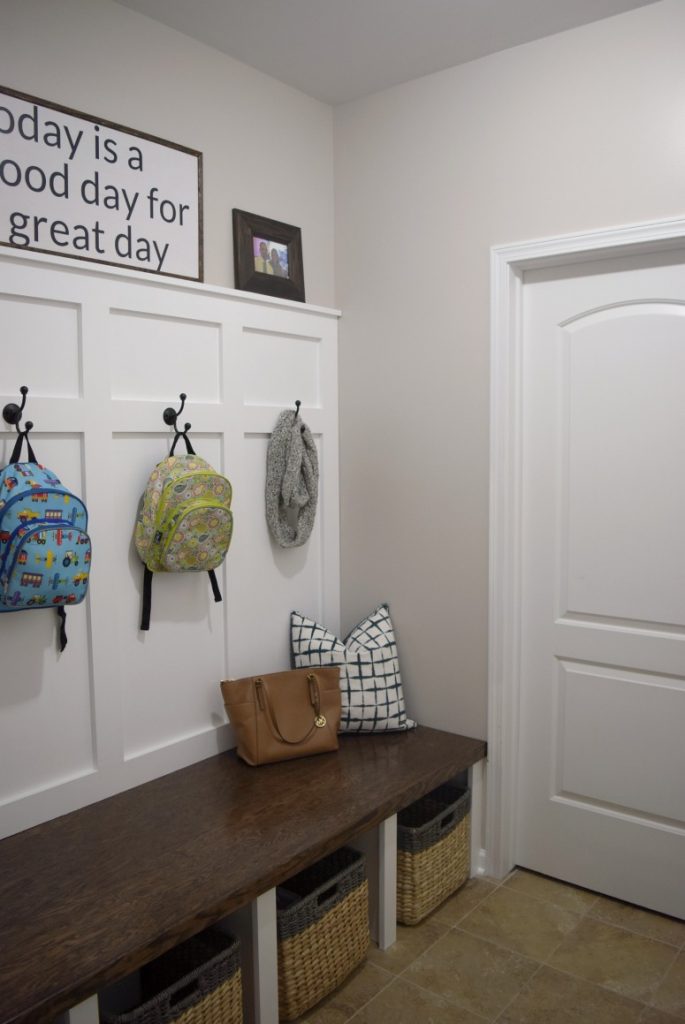
You might have noticed this sign on my How to Organize a Simple School Drop Off Zone on Just a Girl and Her Blog. While I was showing how we organized our mudroom for our family of four, you might’ve noticed a sign perched above the coat hooks. While the glare isn’t amazing (completely dark room y’all!)— I made it to remind us that no matter how rough of a morning we had, we could leave with a positive thought.
3 months in and we are doing alright. 🙂
Since the sign is unique, I really wanted to share with you on how to make a farmhouse sign. It’s ridiculously easy and super cheap. Those are my favorite projects around this little blog.
I know I called it farmhouse style, but really just about any style of home could use these signs. Simply change your font and wording to something that is perfect for your family.
How to Make a Farmhouse Sign
Supplies Needed
- Oversized Print ( I bought mine here)
- 1/2″ thick Plywood Board
- Matte Mod Podge
- Foam Brushes
- Corner Guard (We used this style)
- Wood Stain or Paint
Create Your Print
Using Canva, create a special dimension poster. I choose 15″ in height x 30″ long. You can choose the sizing to your preferred sign size. Now that you have your design sized correctly, add some text. [Want this print? Click here for the It’s a Good Day Sign Print !]
Then, download your design as a .PNG file or .JPG. Either option saves it as an image.
Next, you’ll want to upload your file to Office Depot and order it as an blueprint /engineering print. These are the best kept secrets for DIY signs! For less than $2-3 you can print out anything your heart desires.
Cut The Wood Backing
To make this project super easy, pick out your piece of 1/2″ plywood at Lowe’s or Home Depot. When you are there, have one of their team members cut down the wood to your preferred size. Not only does this avoid you having to lug home a 4′ x 8′ piece of wood, but then you don’t need to have a fancy saw. 🙂
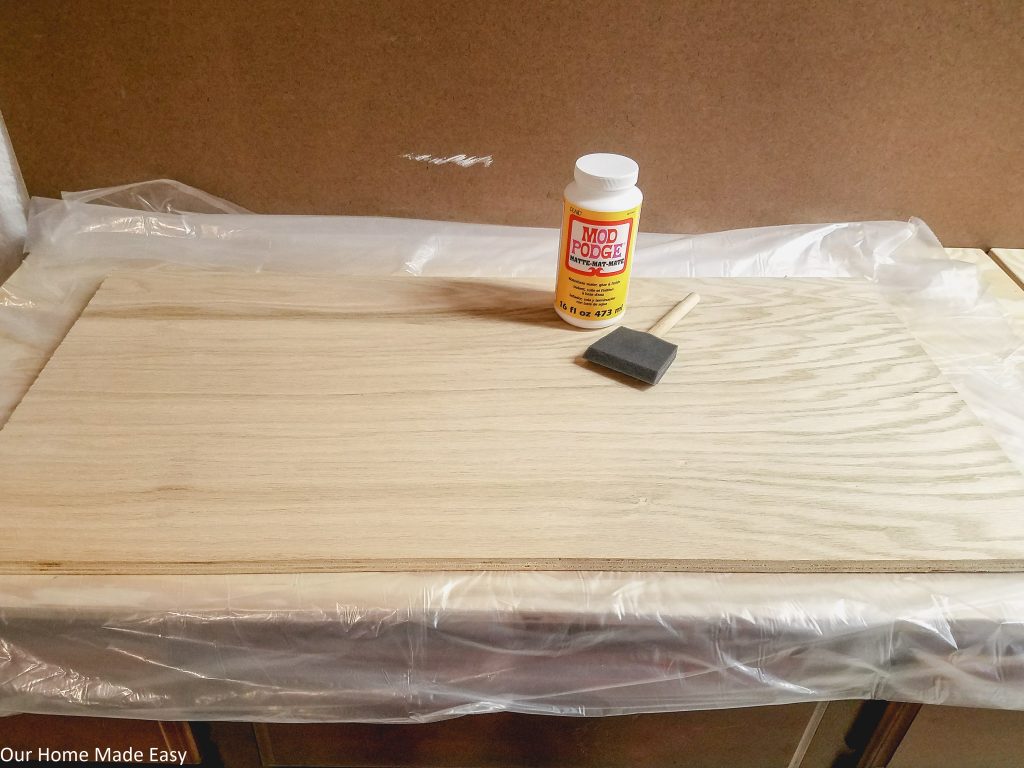
Glue the Print to the Backing
Trim your engineering print to the size of your wood. Take your mod podge and foam brush and apply one thin layer across your wood. I used matte finish to avoid too much shine reflecting off the sign.
Then, carefully lay your print over the wood. Jordan & I needed both set of hands (and we still weren’t perfect) to keep the print as flat as possible. To help with air bubbles, you can use a credit card for smoothing.
If you know that you aren’t one for eliminating every bubble, you can encourage the paper to ‘squish’ together to give a weathered appearance.
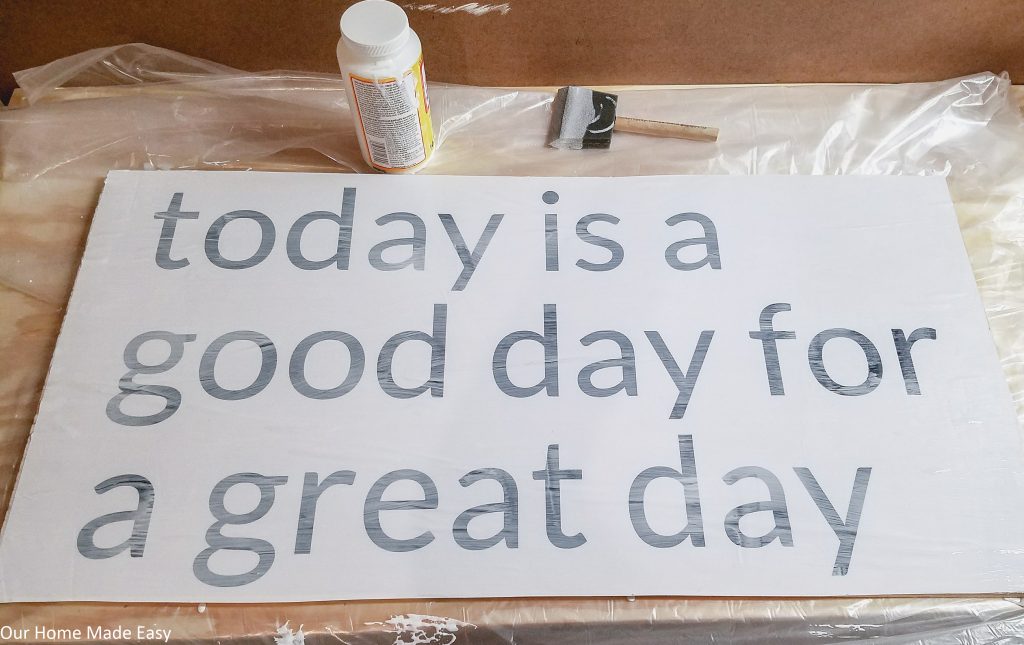
Once the paper is in place, apply another thick coat of mod podge. Refer to your adhesive container for drying instructions. I applied 3 top coats. The ‘painting’ process took 2 days. Each coat took less than 10 minutes to apply, but it’s a lot of watching paint dry time. 🙂
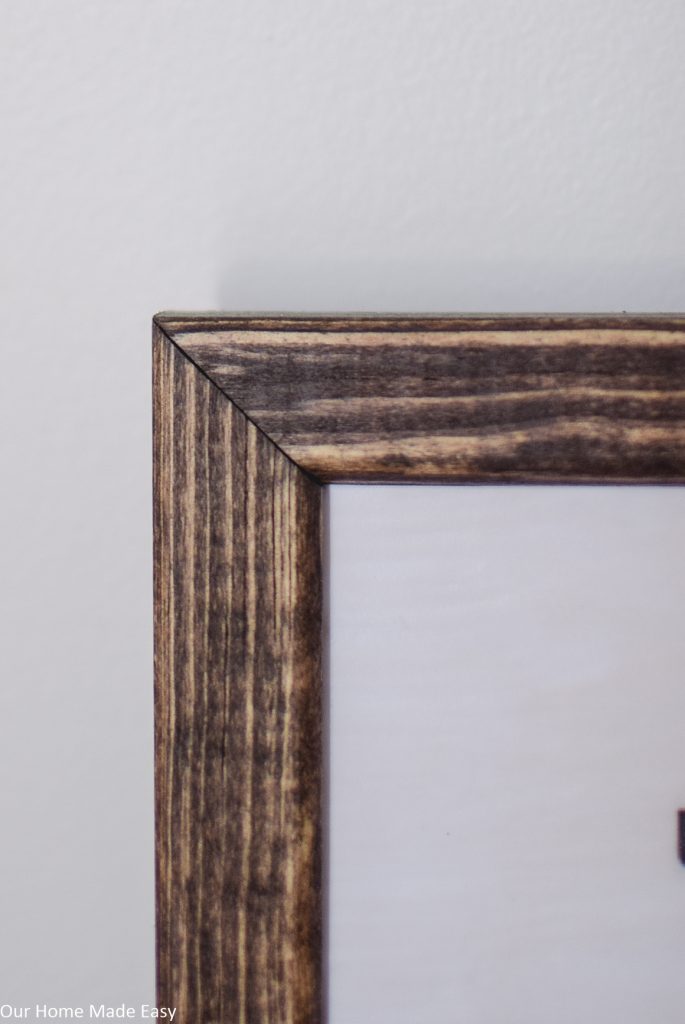
Attach the Wood Trim
Now you will want to take your corner guard and measure the total length of your board. Then you will want to cut the pieces to create a picture frame. You’ll use a miter saw for the 45 degree angles.
Stain your wood using your favorite wood stain. I chose our color to match the mudroom bench Jordan built the week before I made the sign.
Once you have the pieces cut, quickly tap in a few nails with a pneumatic nail gun. You could go old school with a hammer & nail, but it’s so much easier to use a pneumatic nailer!
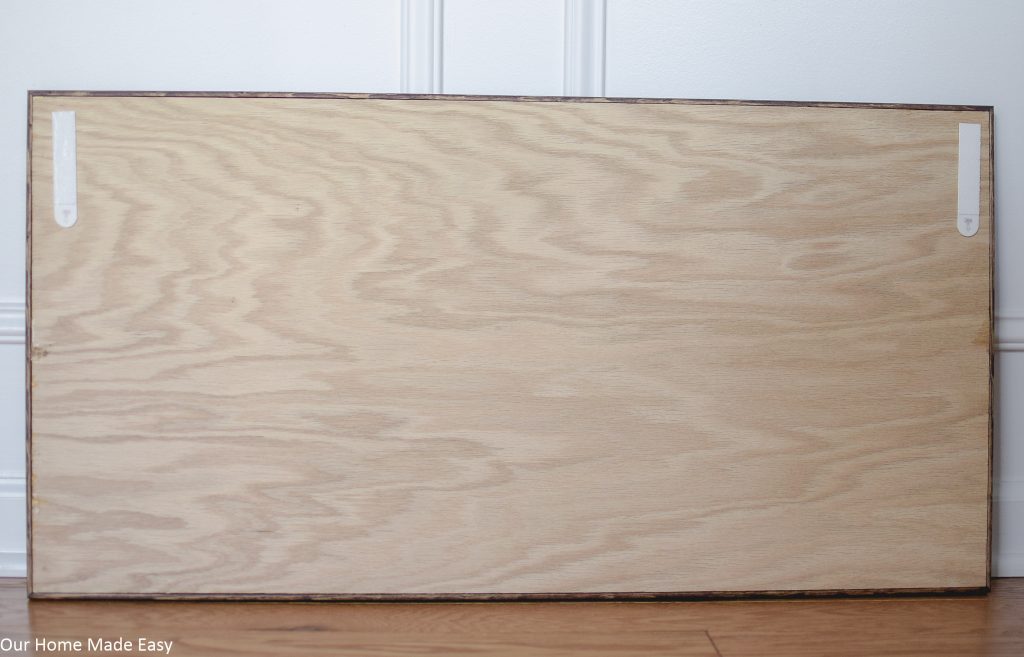
Hang it Up!
Shhhh…. I simply used Command Picture Hanging Strips to hold this picture in place. I don’t feel bad about moving it around and I don’t have to worry about it falling down on someone putting away their shoes! Simply place 2-3 Command Strips around your sign and hang!
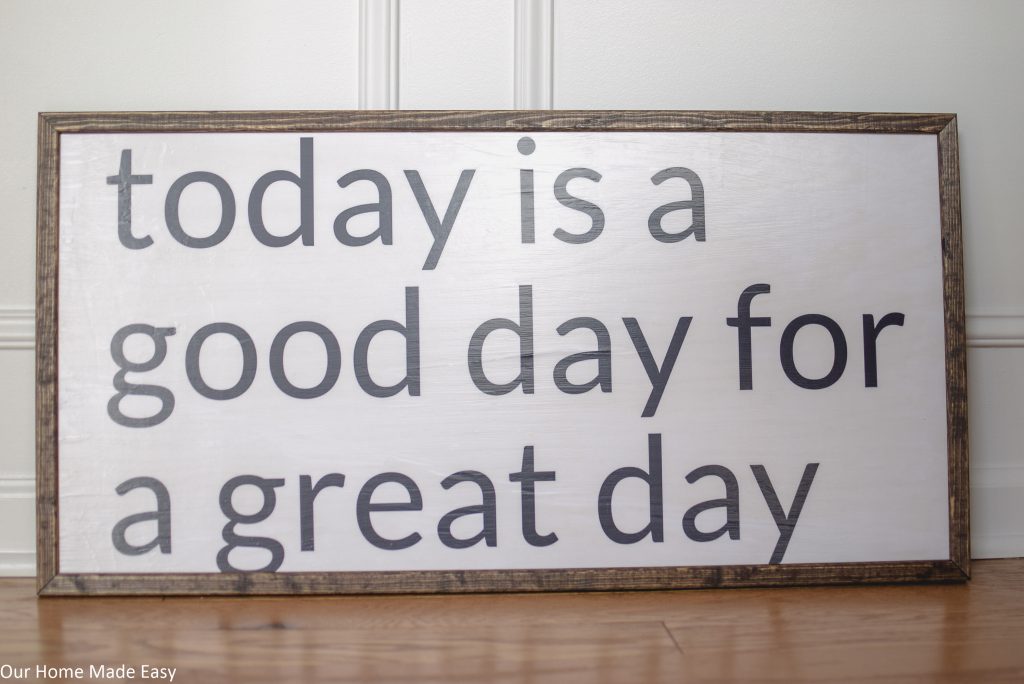
For a total cost of about $14, I am in love. Plus, now knowing how simple they are to make, I am already planning another sign. Could you imagine making a few for different holidays? Yay for saving money and enjoying some style!
Don’t forget to grab your free “It’s a Good Day..” print! It’s available RIGHT HERE for all my email subscribers!

Hi, I’m Brittany, and I believe life at home should feel easier, not heavier.
I’m the creator of Our Home Made Easy, a space for busy women who want dinner on the table, their homes running smoothly, and a little breathing room at the end of the day.
You won’t find perfection here, just realistic recipes, smart shortcuts, and simple routines that work in real life. The kind that help you feed your family well, stay organized enough, and still have time to actually enjoy it.
If you’re juggling work, kids, schedules, and everything in between, you’re in the right place. I’m so glad you’re here.


