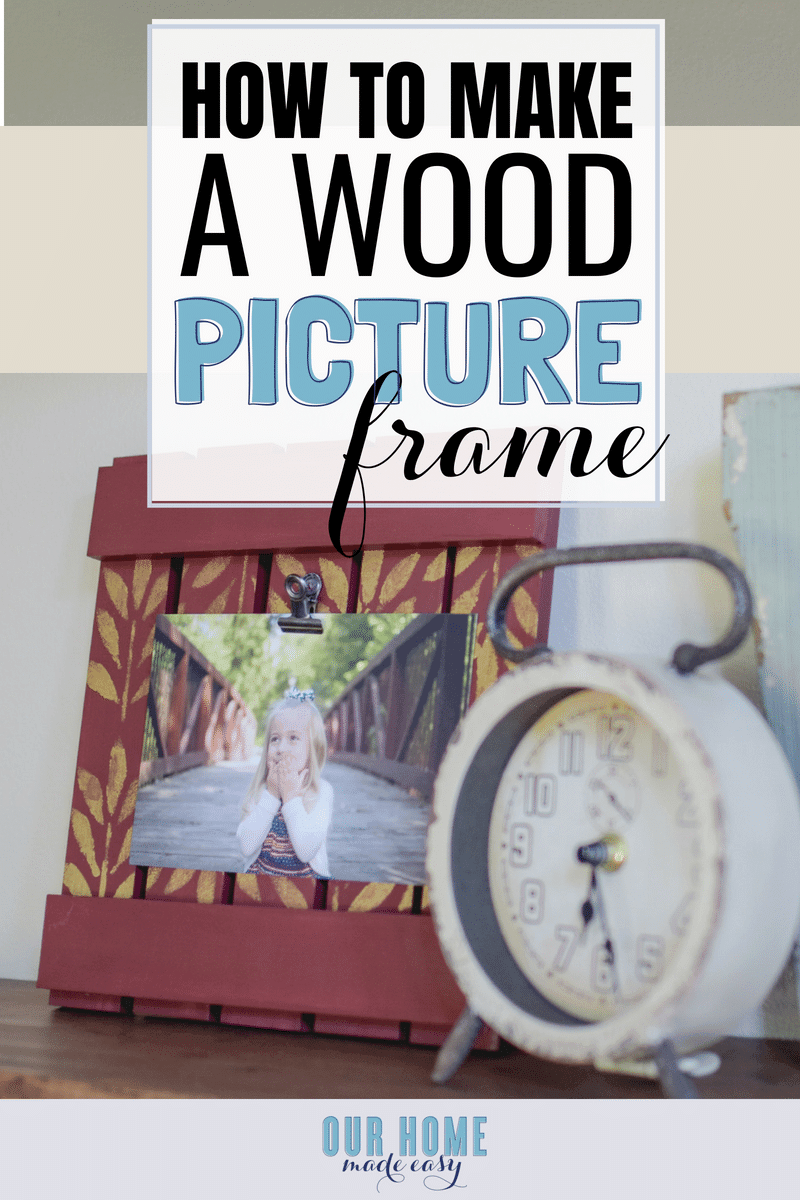
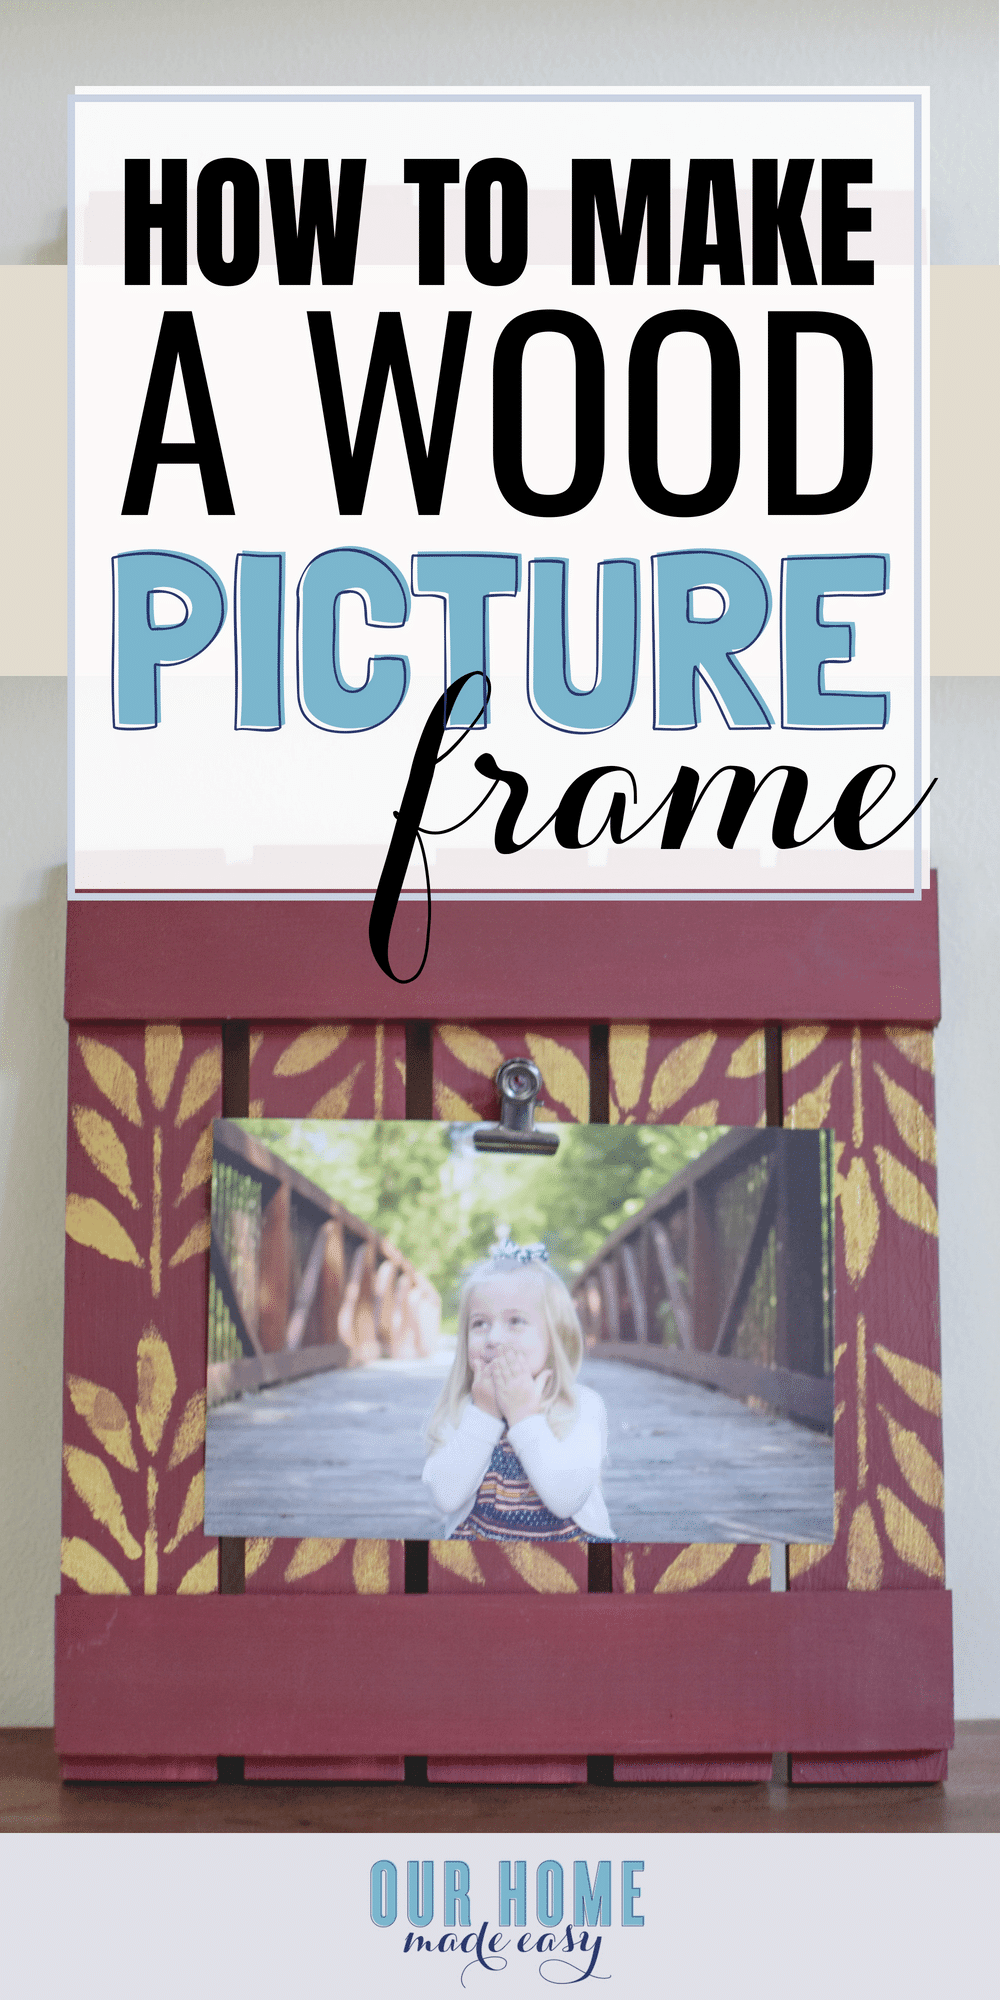
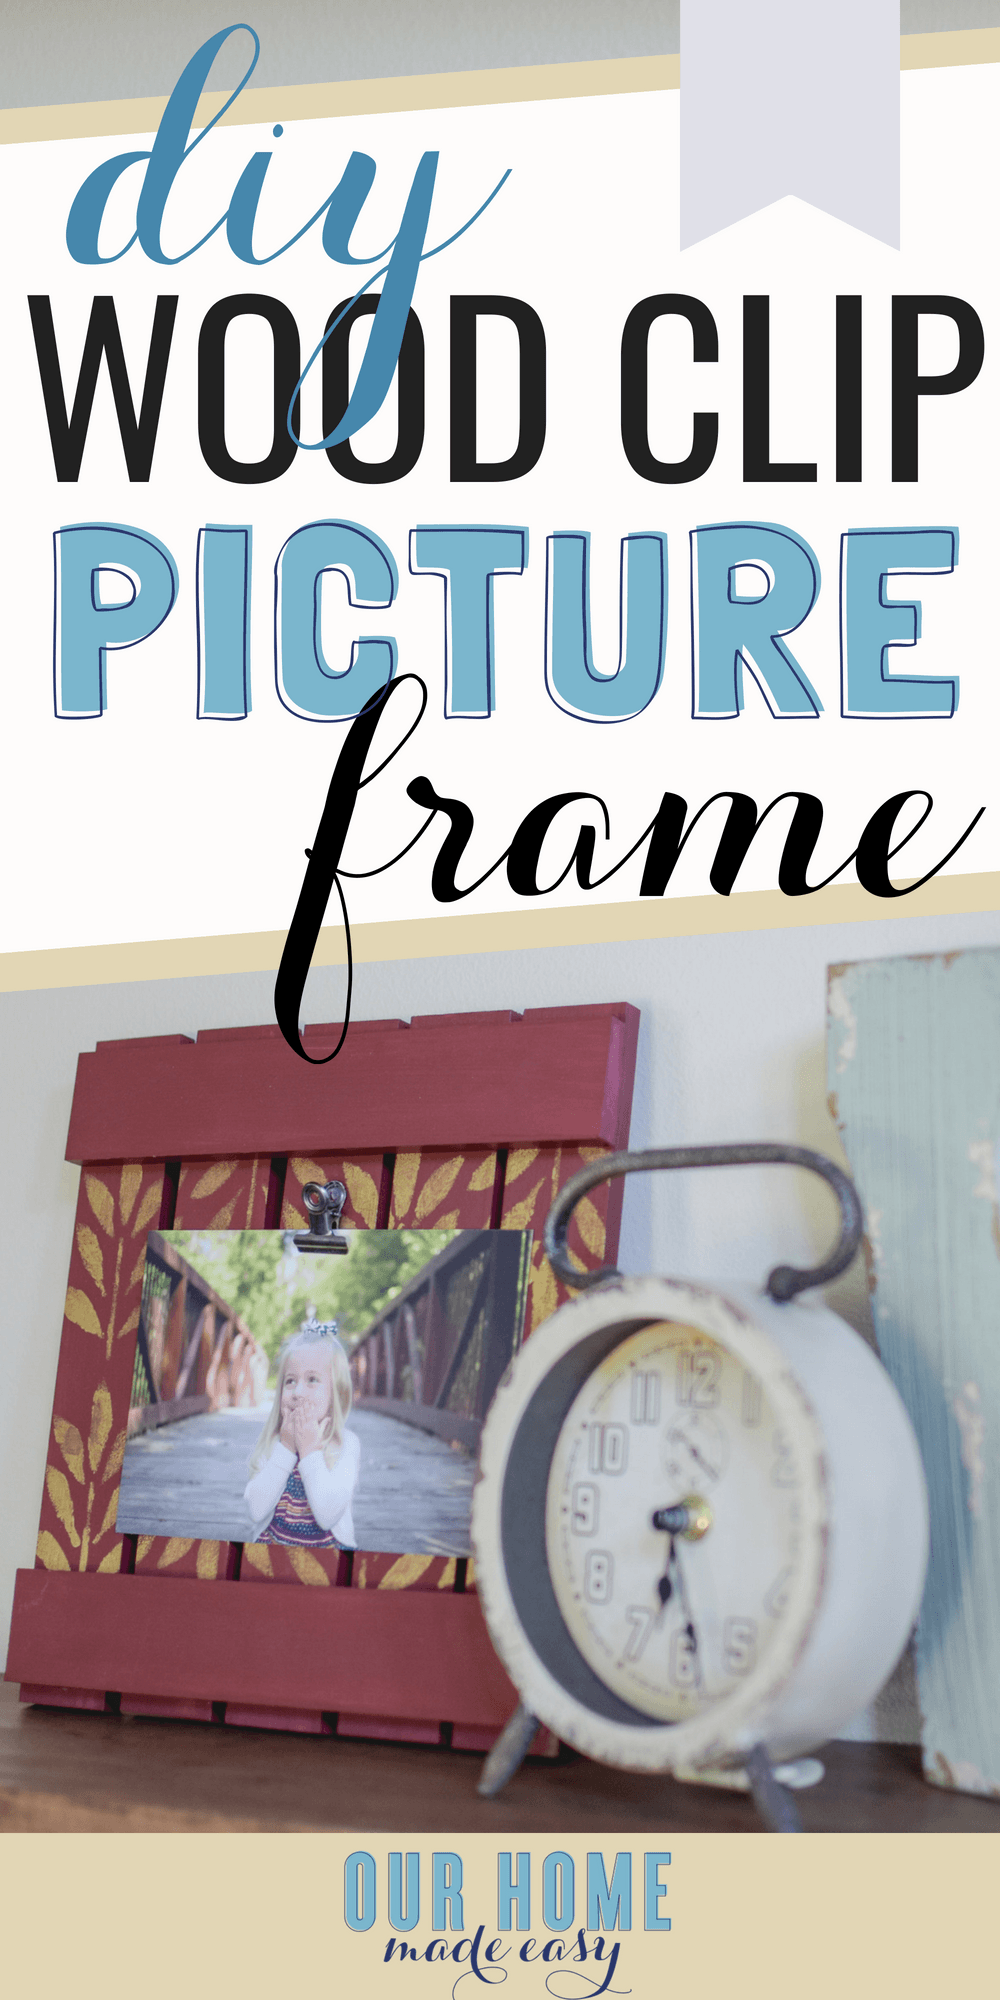
DIY Wood Picture Frame
Make this easy wood picture frame with almost no tools! Decorate it for any holiday or decor.
(This post contains affiliate links. Please see my Disclaimer for more information)
When it comes to decorating for holidays or a new season, I always look to see what we can make ourselves to save some extra money. While some DIYs are bigger projects, I really like the ones that are super quick to make and that I can share with you.
For this craft, I wanted to share a quick DIY wood picture frame. Not only is it super cute, but it only costs a few dollars to make! And that makes me sooo happy. 🙂
To give you a heads up, this frame project shows the cuts needed for a wood picture frame that fits a 4″ x 6″ photo. If you want to make it taller for a portrait photo or to accommodate a larger photo, simply adjust the wood slats length both ways.
How to Make a Clip Wood Picture Frame
Once you make one, you’ll find they are SO EASY to make! You can make several at one time for an easy, under $5 Christmas gift or you could paint them in different colors for seasonal changes throughout the year! There are so many ways to decorate these wood picture frames!
“You get a wood picture frame.. you get a wood picture frame… and you get one too!” Welcome to Wise Family Christmas 2018. 😉
Materials Needed
- Wood Board, 1.5″ x 3/8″ in size (We used this one)
- Craft Acrylic Paint in 2 Colors
- Stencil (Linking a similar one to Climbing Vines )
- Wood Glue
- Super Glue
- Metal Clip (We used this One)
Cut Your Wood Pieces
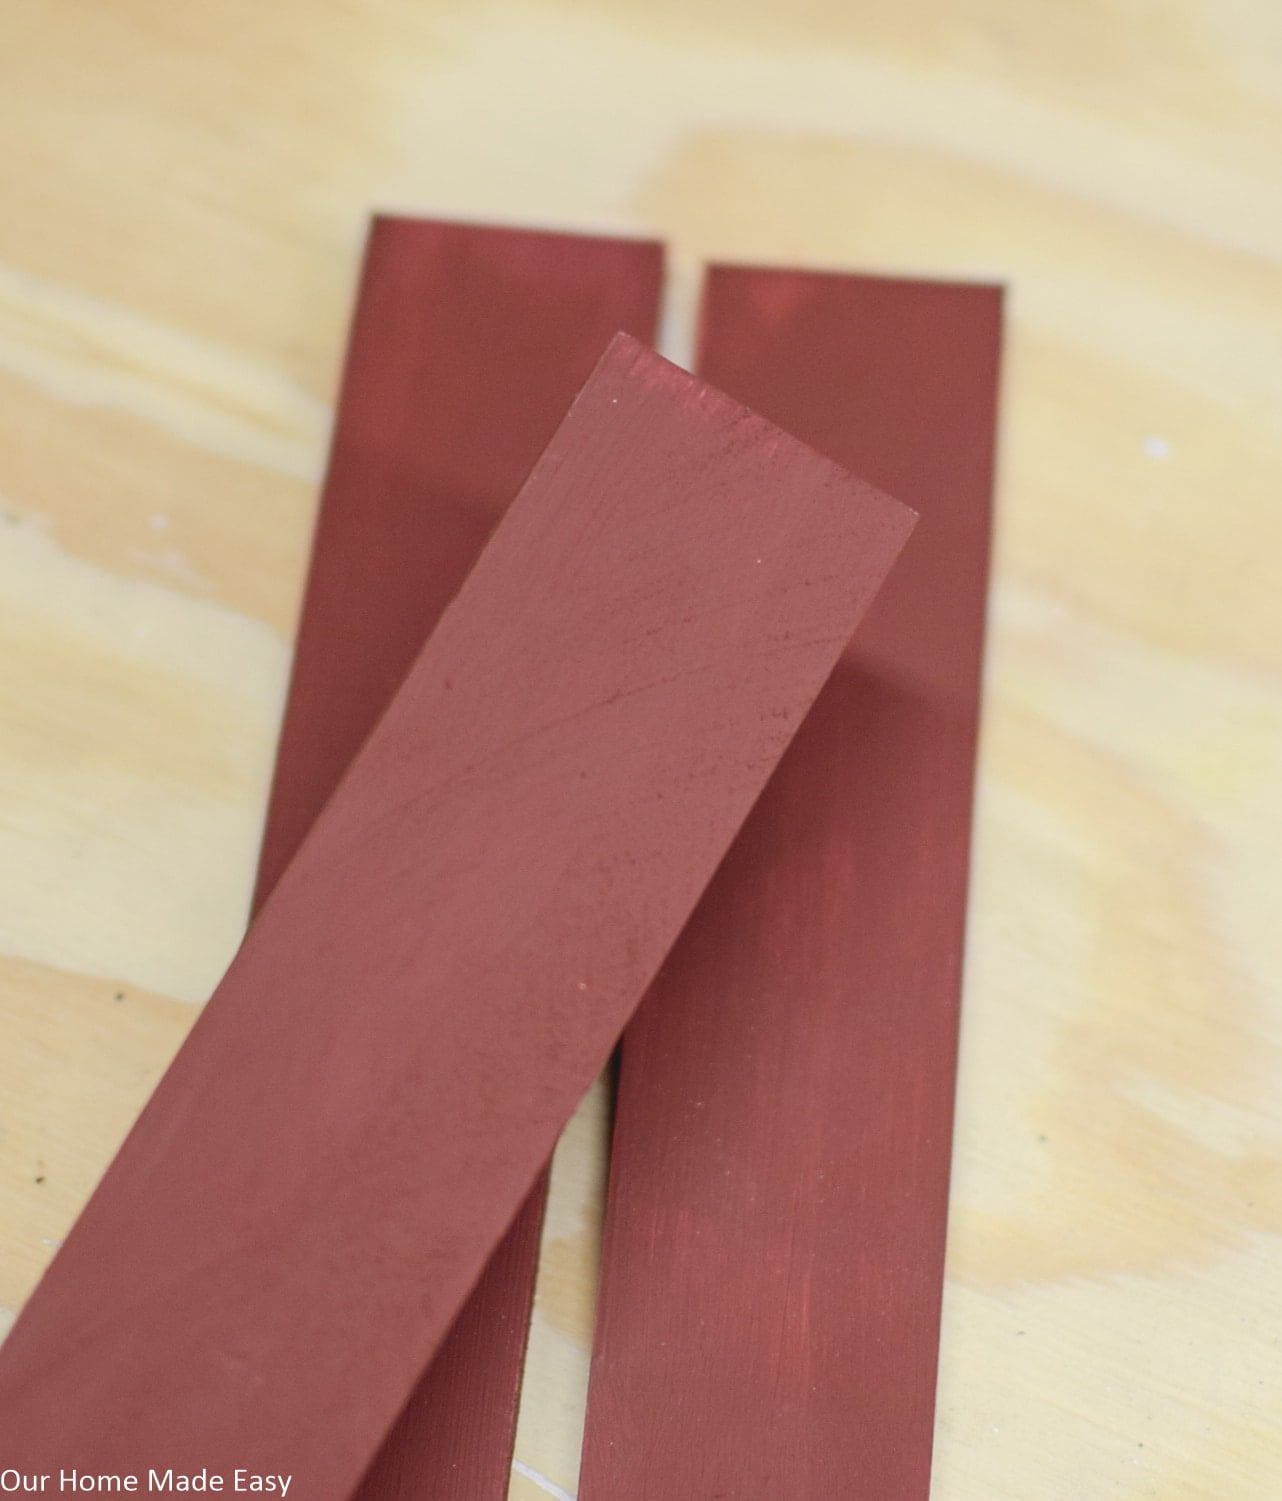
Using a miter saw, cut 5 strips of wood 9″ long. These are your vertical slats. Next, cut 2 pieces 8 3/8″ long to be your horizontal slats “holding it all together.”
This part took less than 5 minutes, so I didn’t catch a photo! #badblogger
Decorating Your Wood Picture Frame
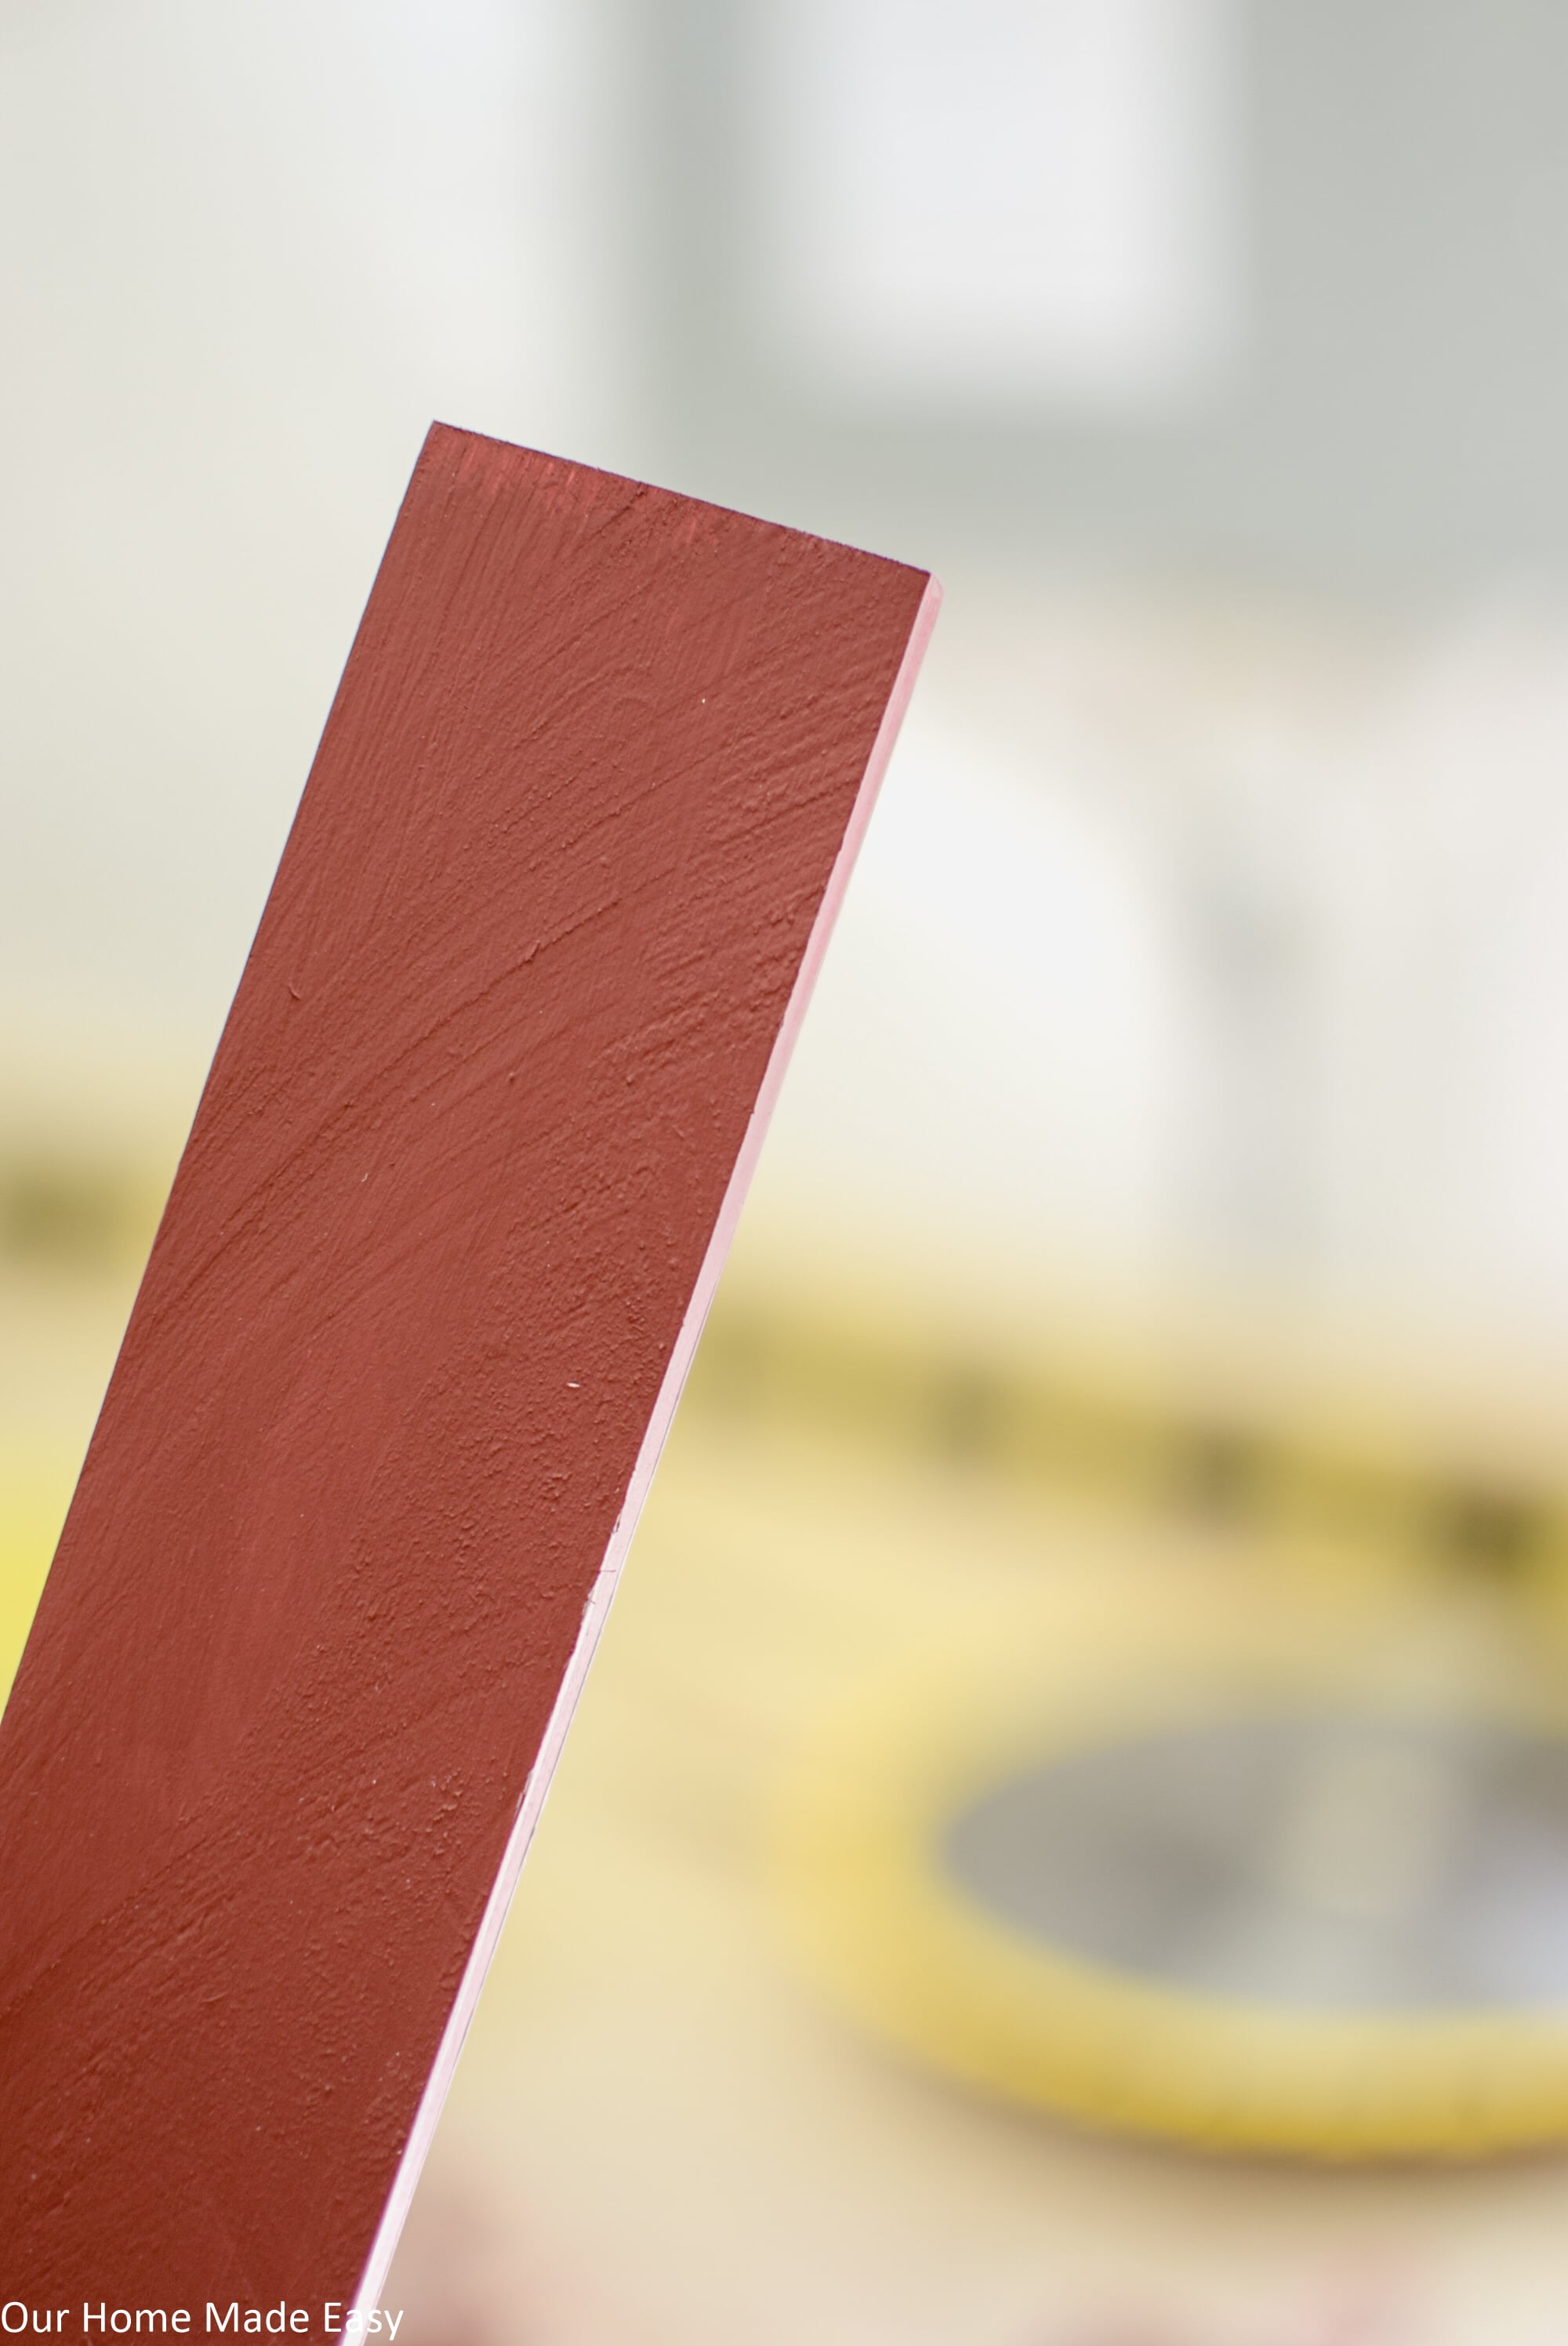
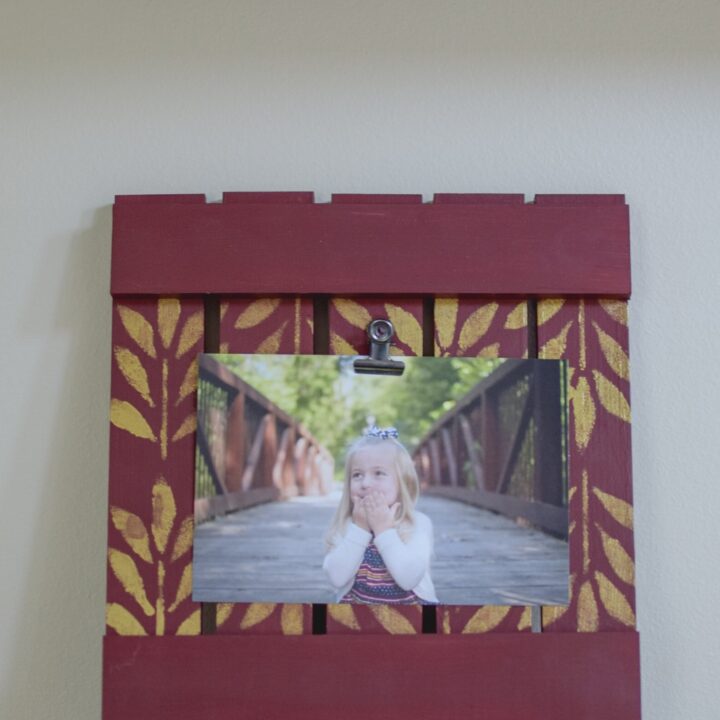
This is the fun part! Choose a background paint color for the frame. Using a foam brush, paint the front, back, and sides of all the wood pieces. Add a second coat if needed.
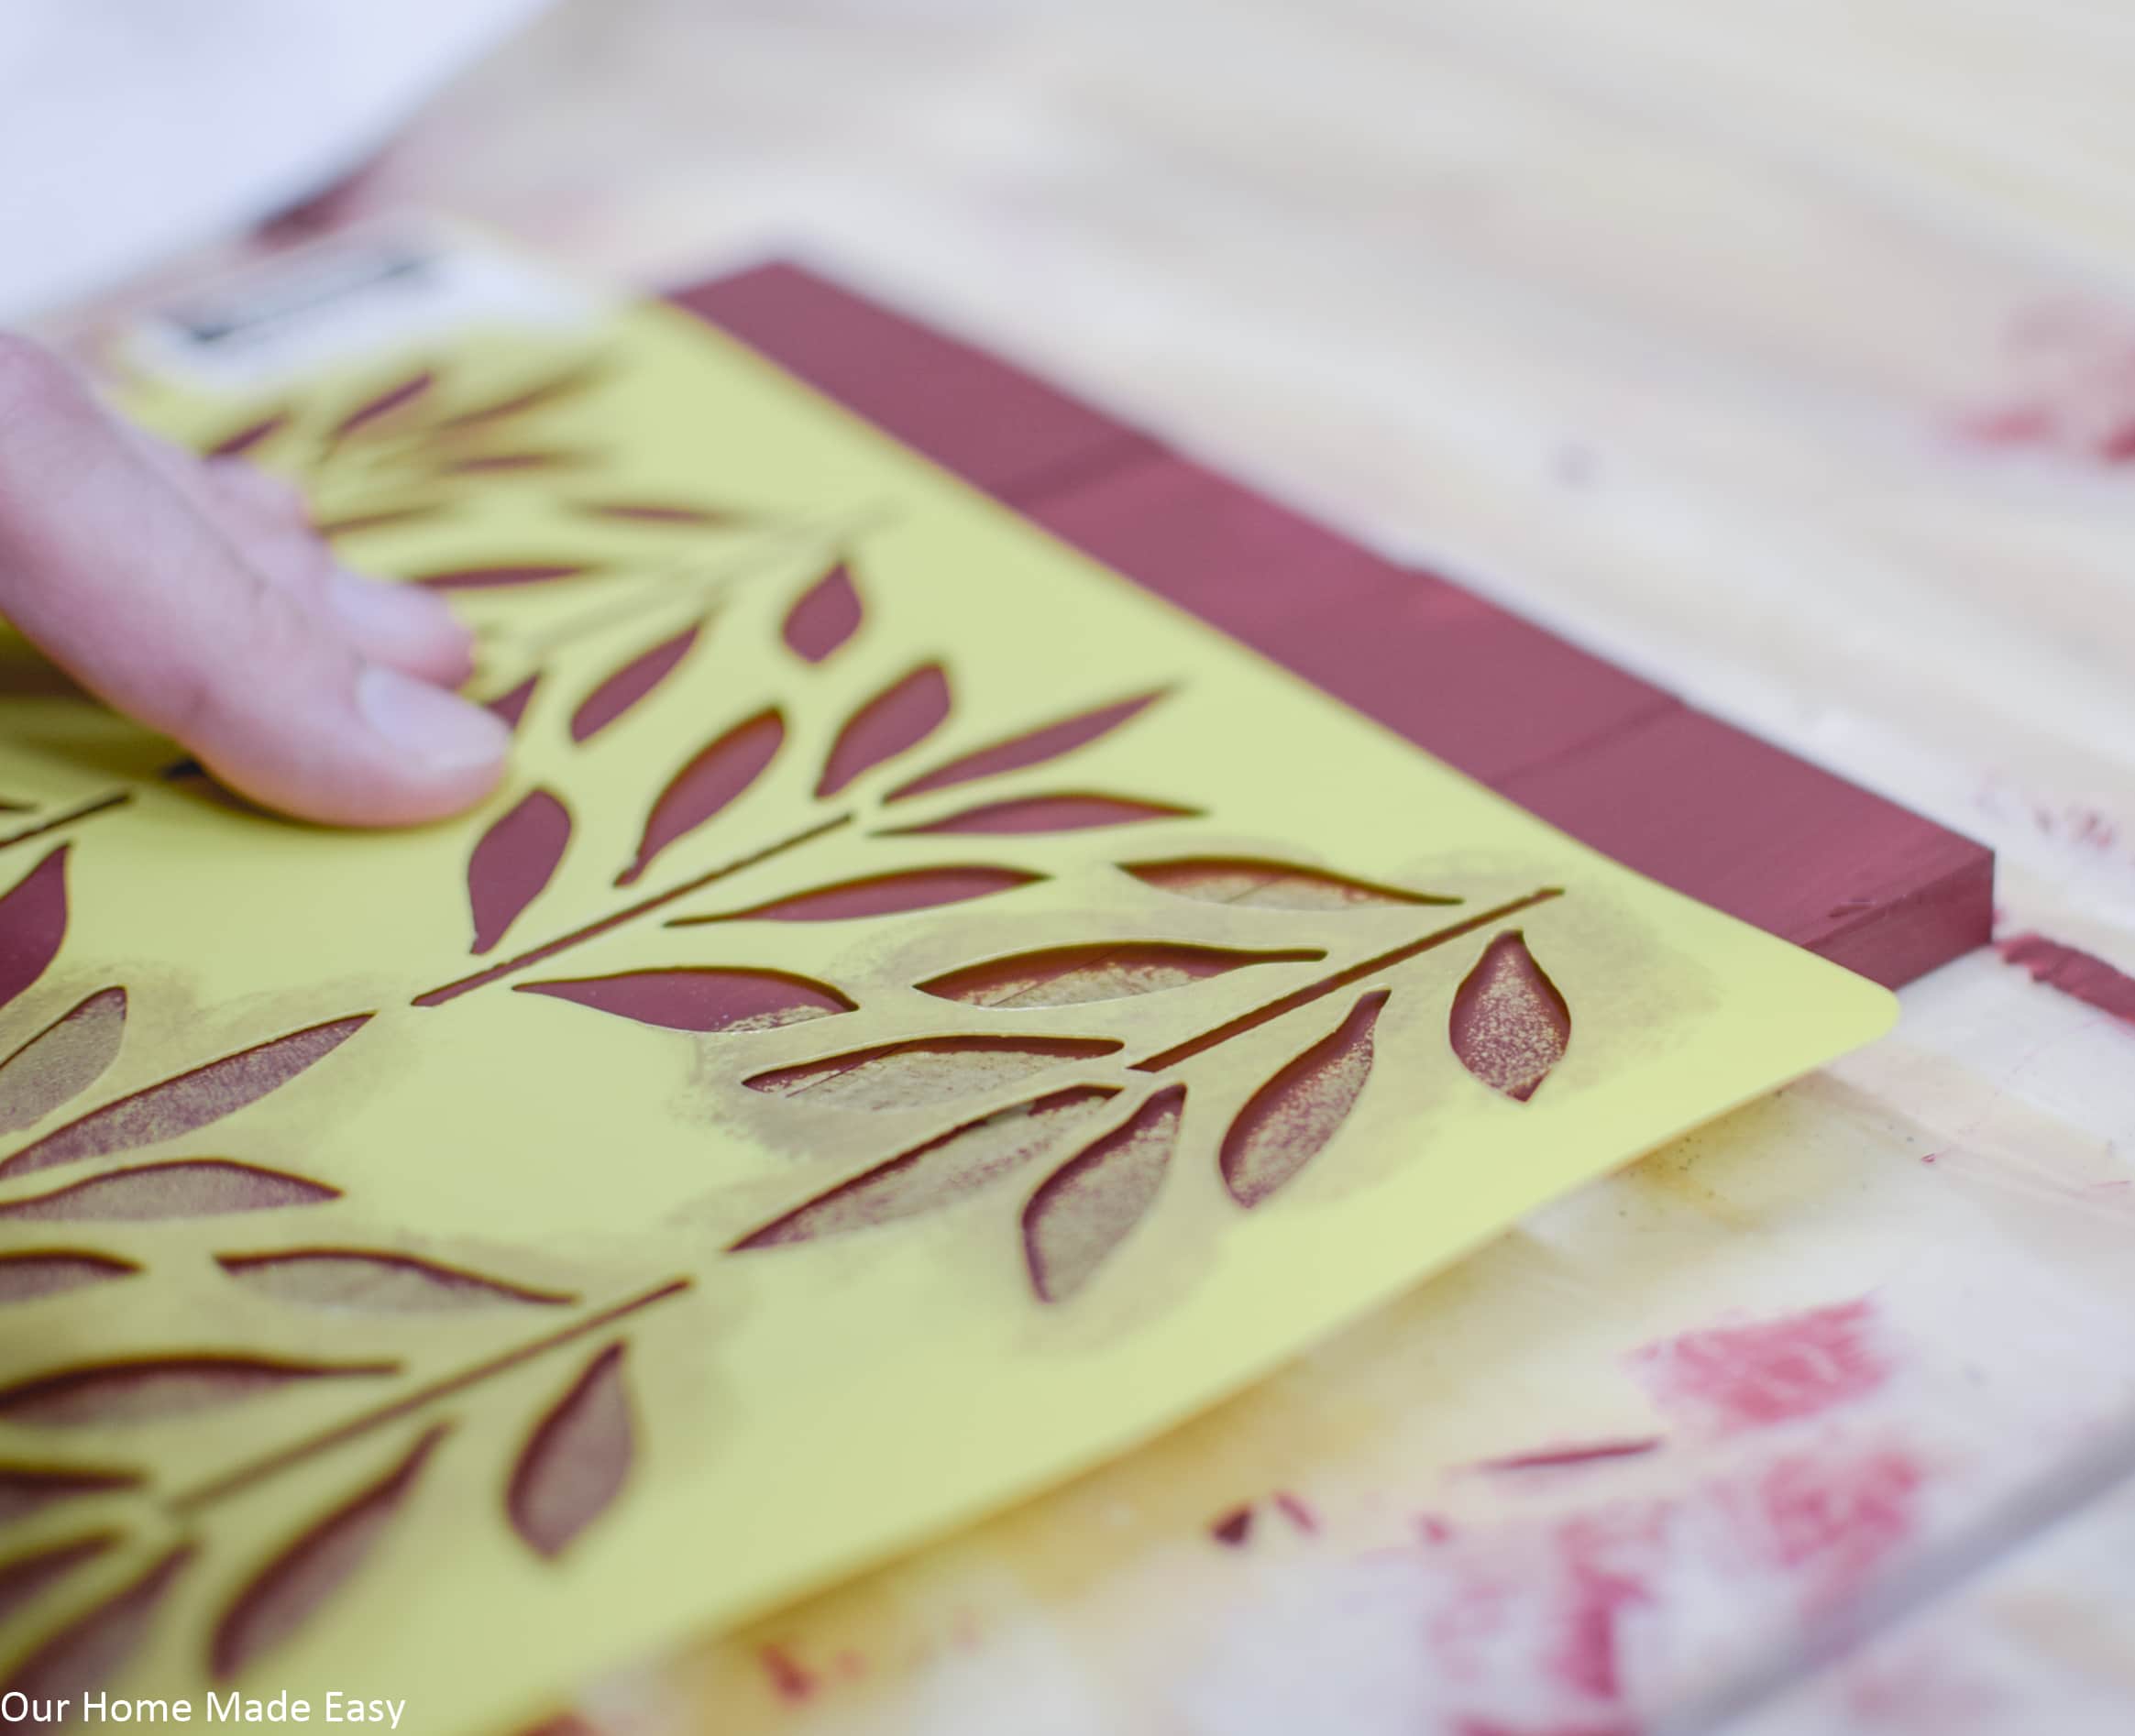
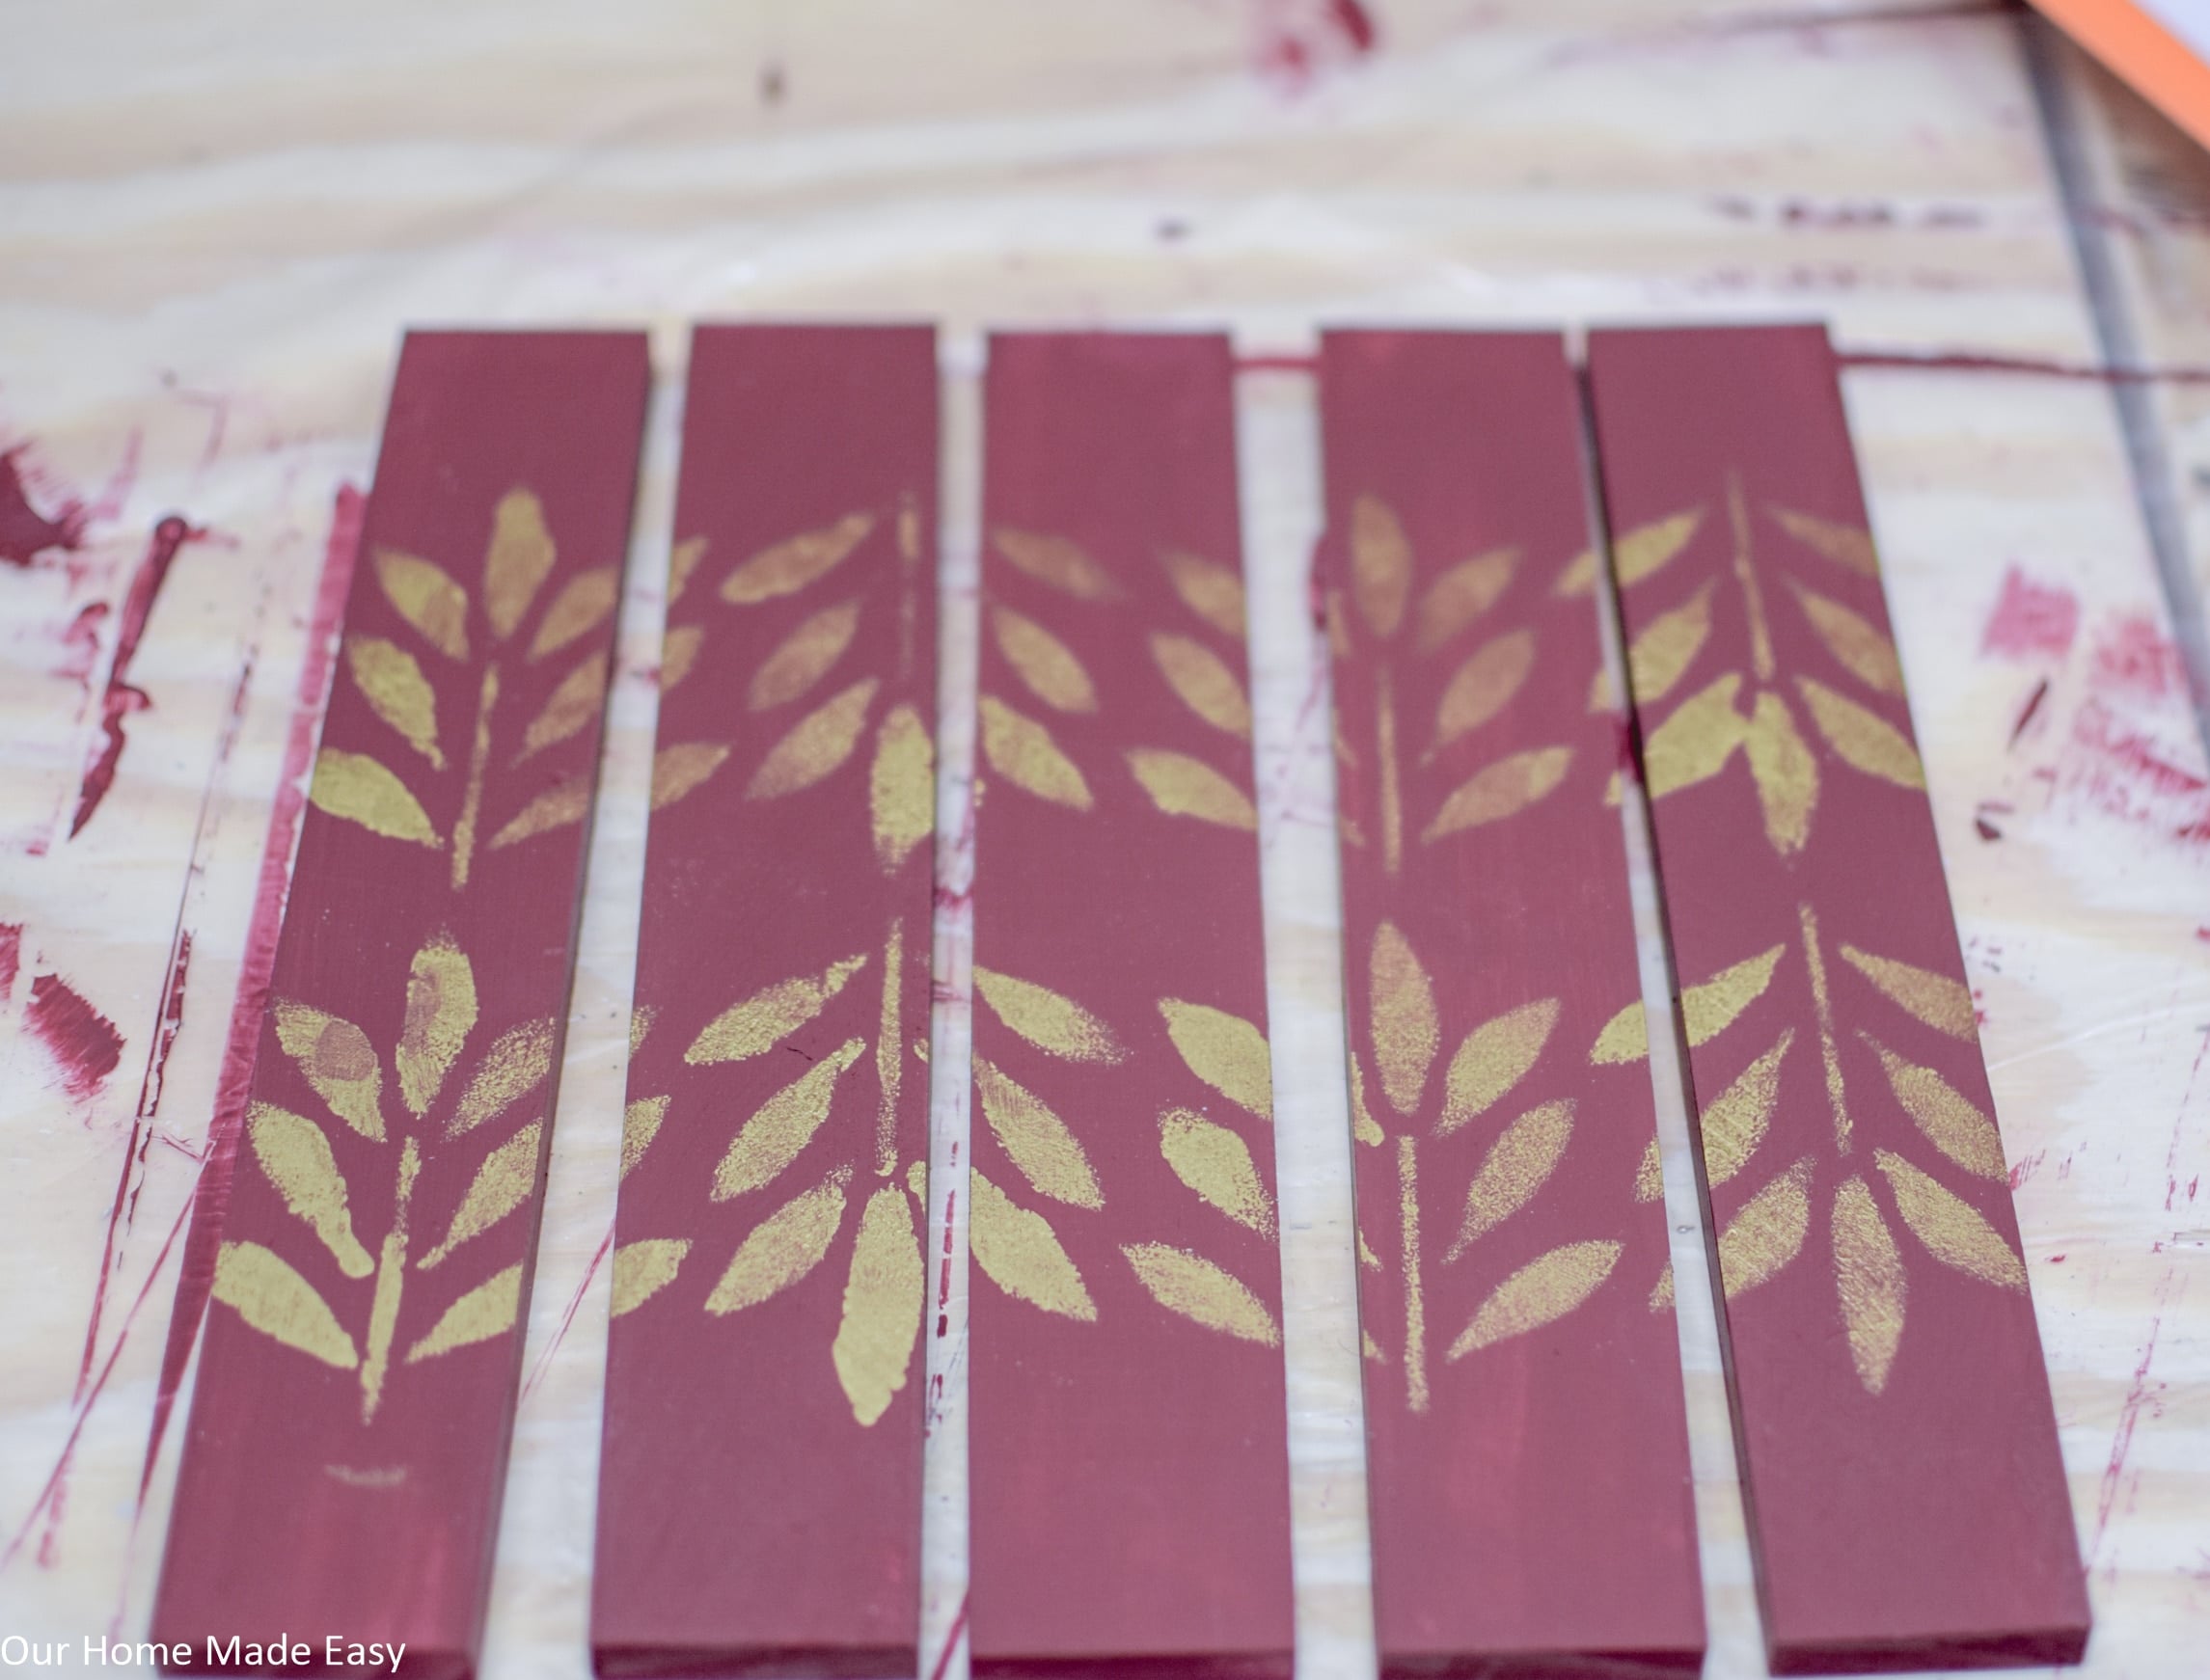
Once they are dry, take the (5) 9” strips and line them up together.
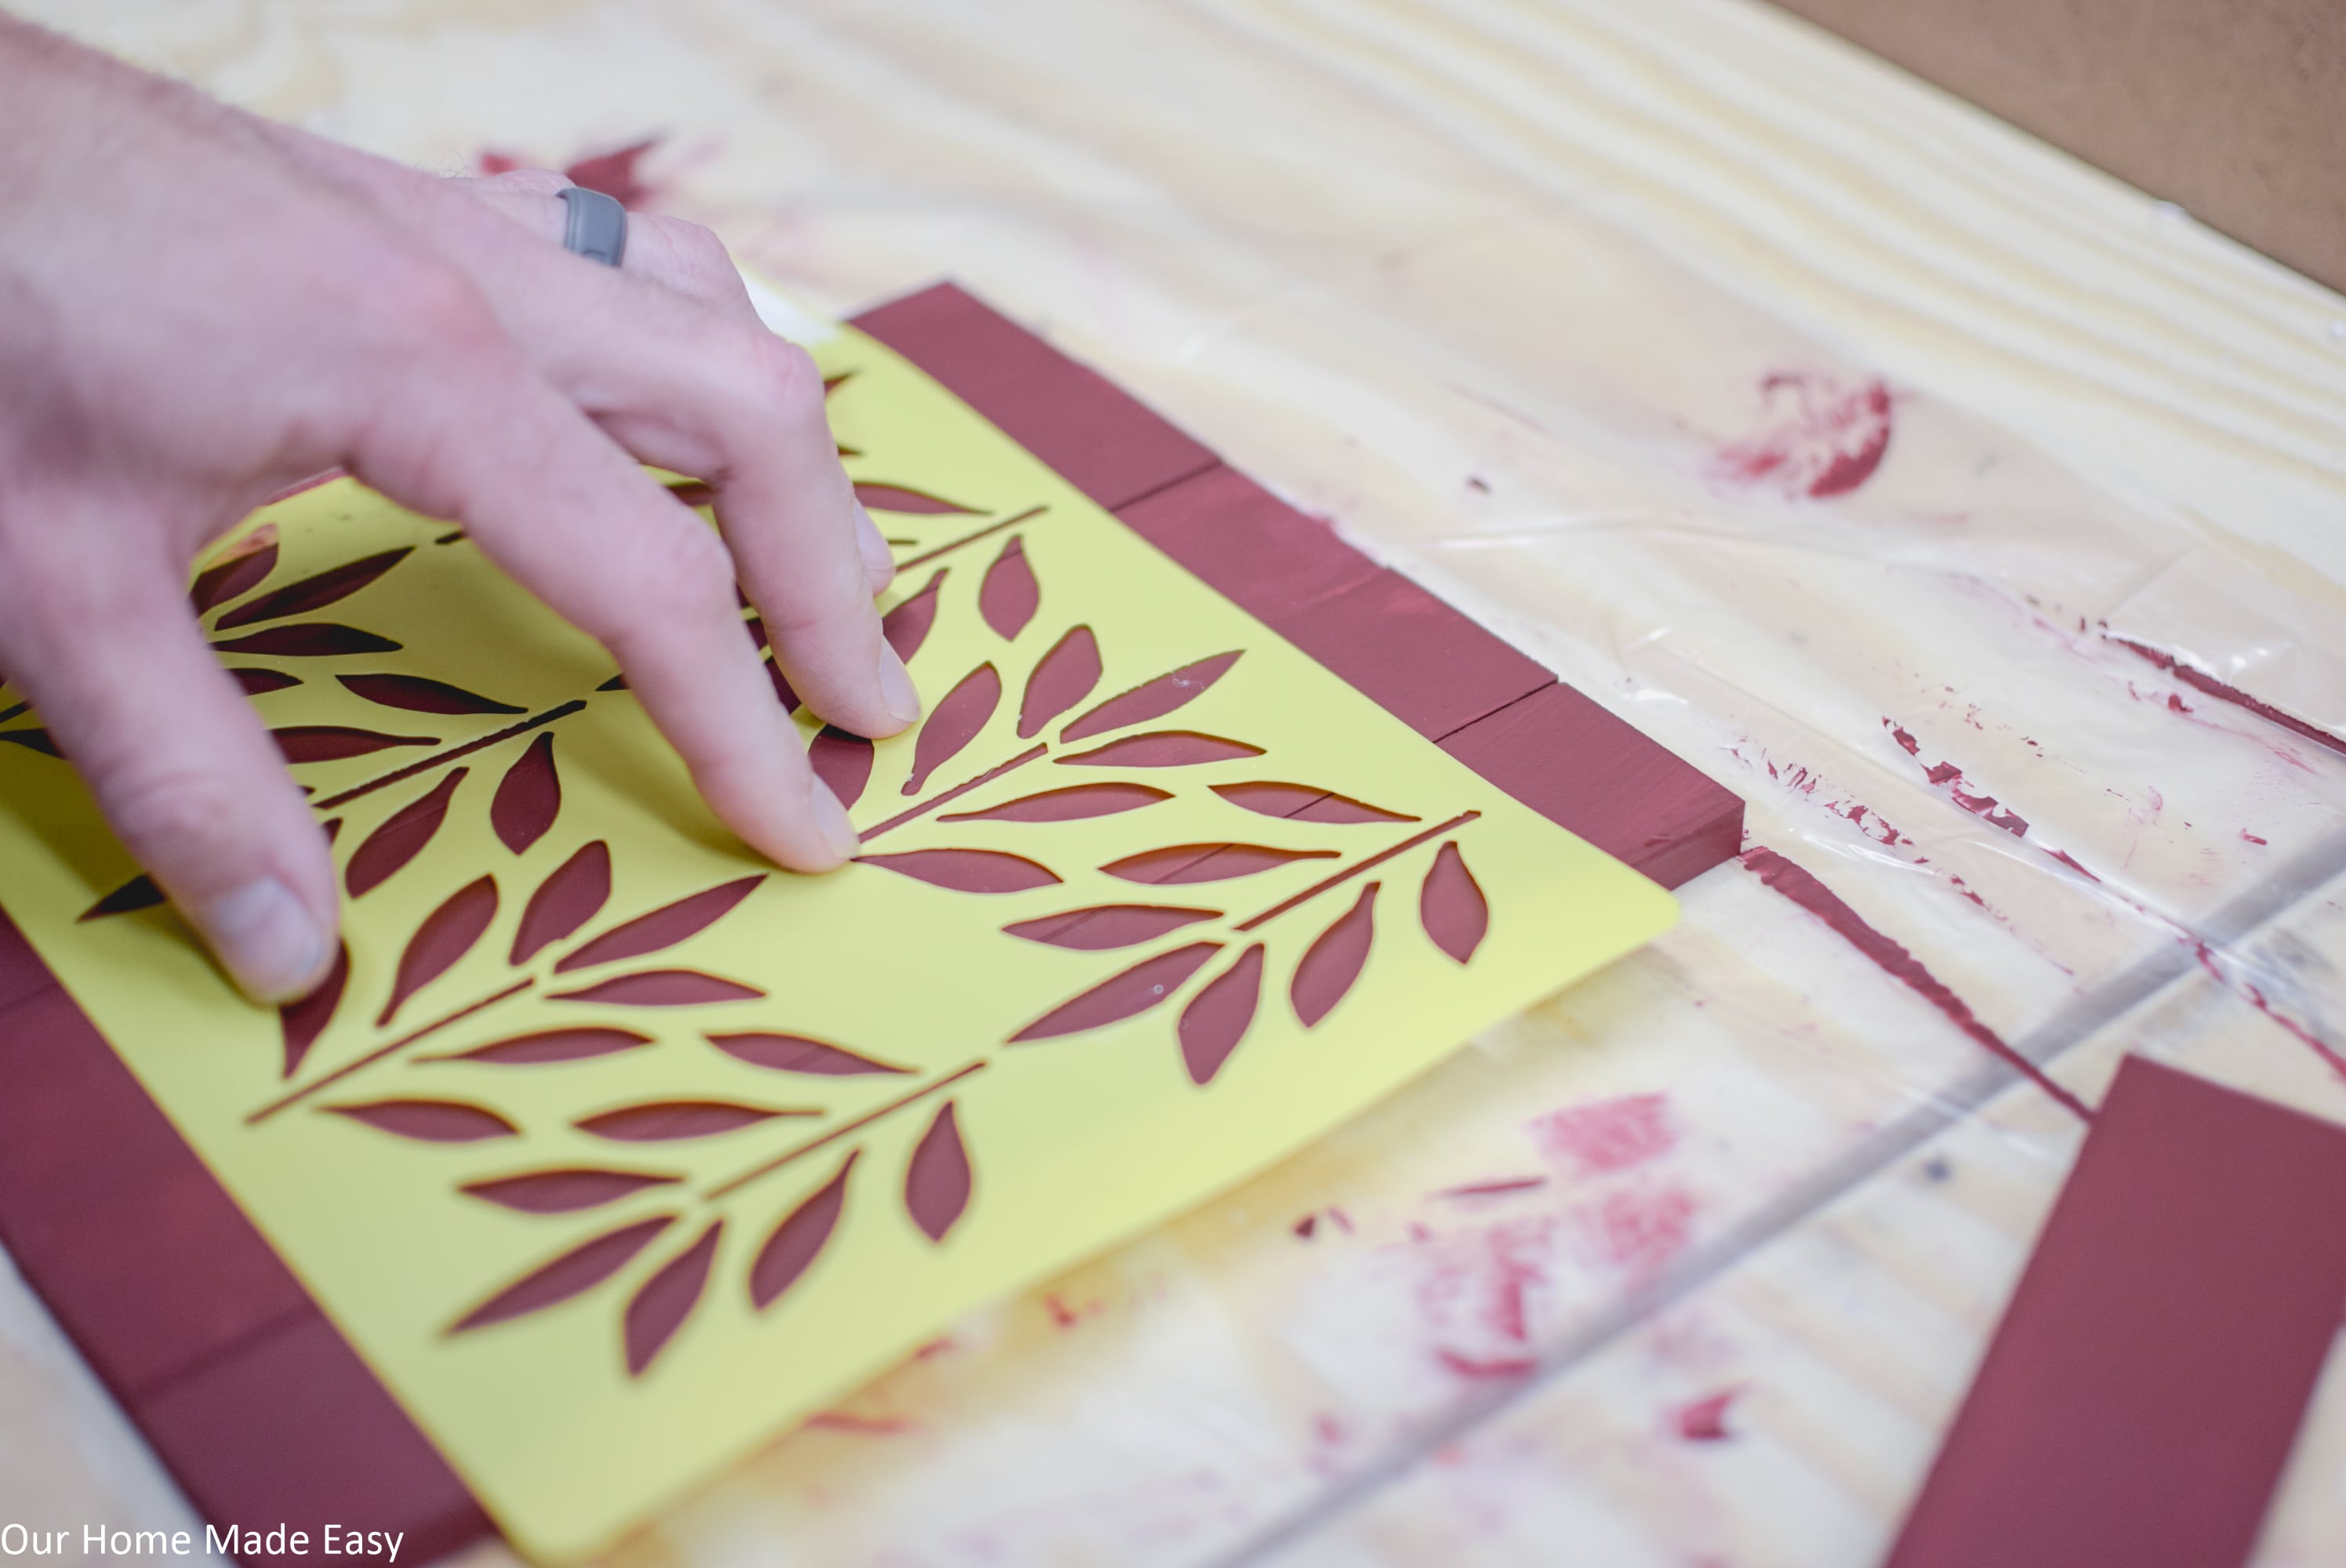
Place your favorite stencil on top of the 5 strips and paint a coordinating color with a stencil brush (foam or bristle).
Once dry, glue the (2) 8 ⅜” strips to (2) 9” flush to the end of the 8 ⅜” strips, about ⅜” up from the bottom of the 8 ⅜” strip, leaving a little lip around the top & bottom. [Check out the photo below for ‘lip’ reference]
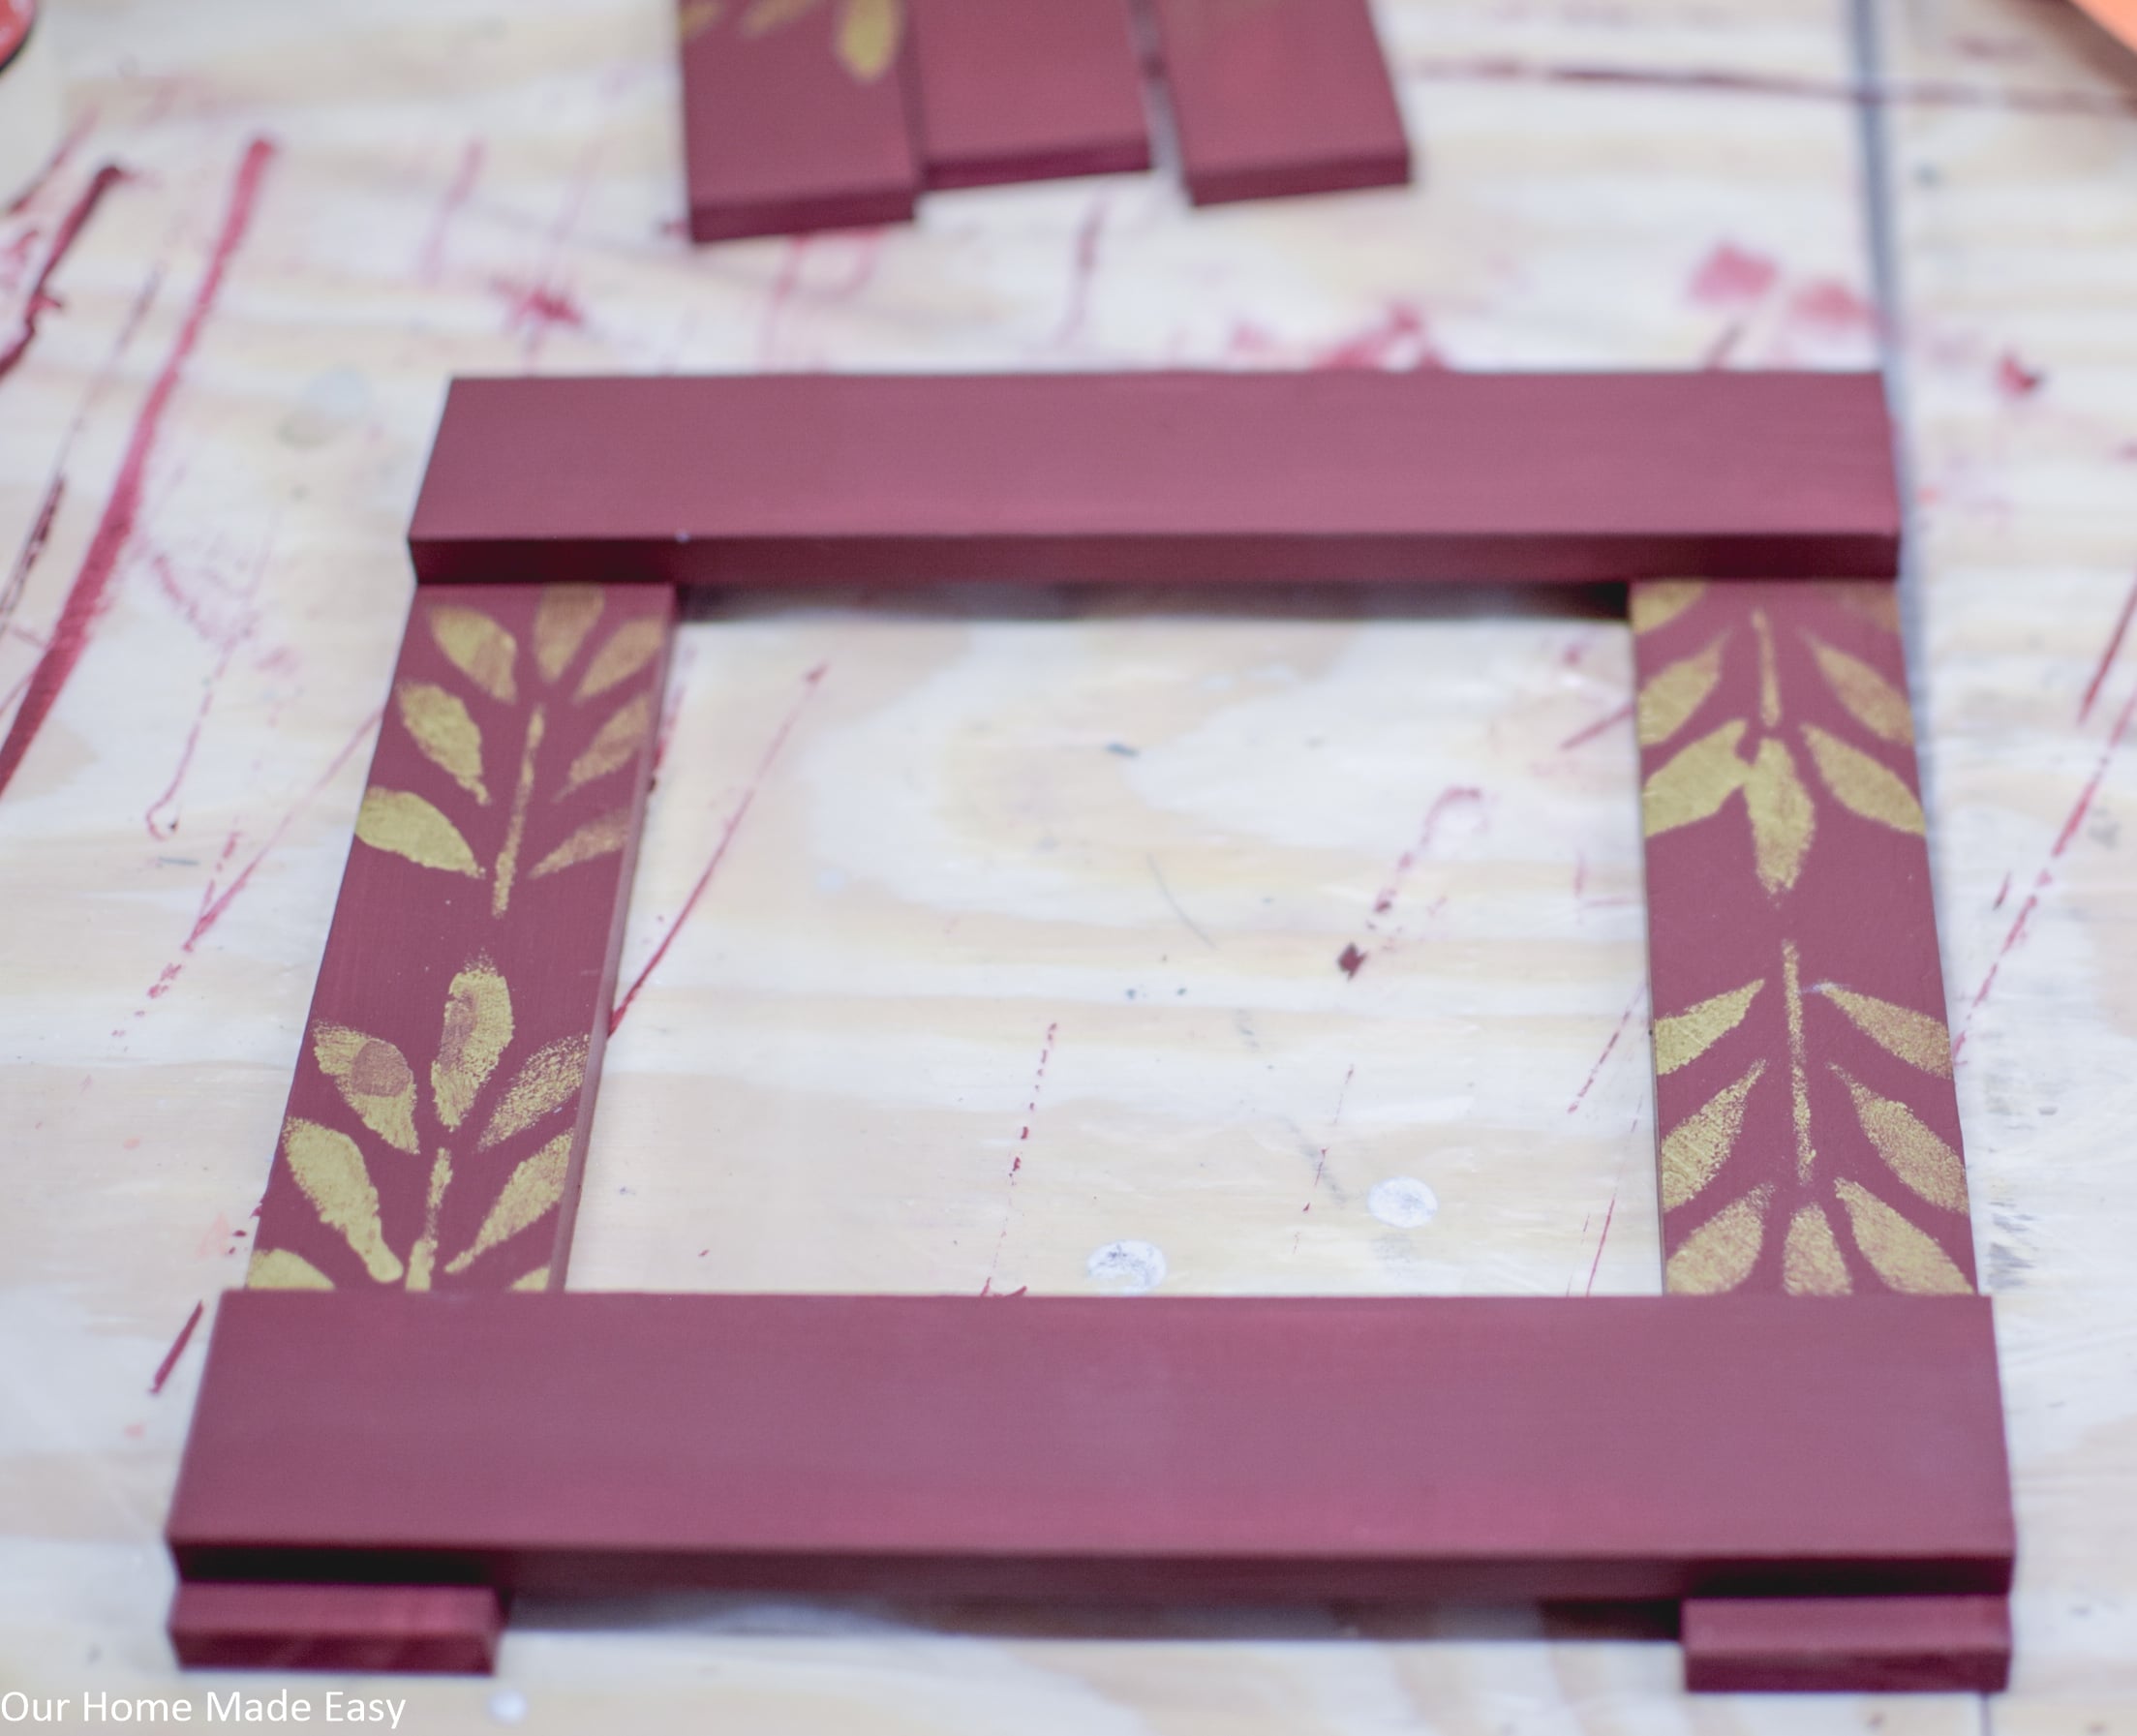
After the glue sets, glue the remaining (3) strips and let the glue dry. You don’t need the spacing to be perfect! I’d recommend starting in the middle, and then adding a piece on either side of the middle. Since there will be a picture over most of the slats, perfection isn’t needed here!
Adding the Finishing Touches
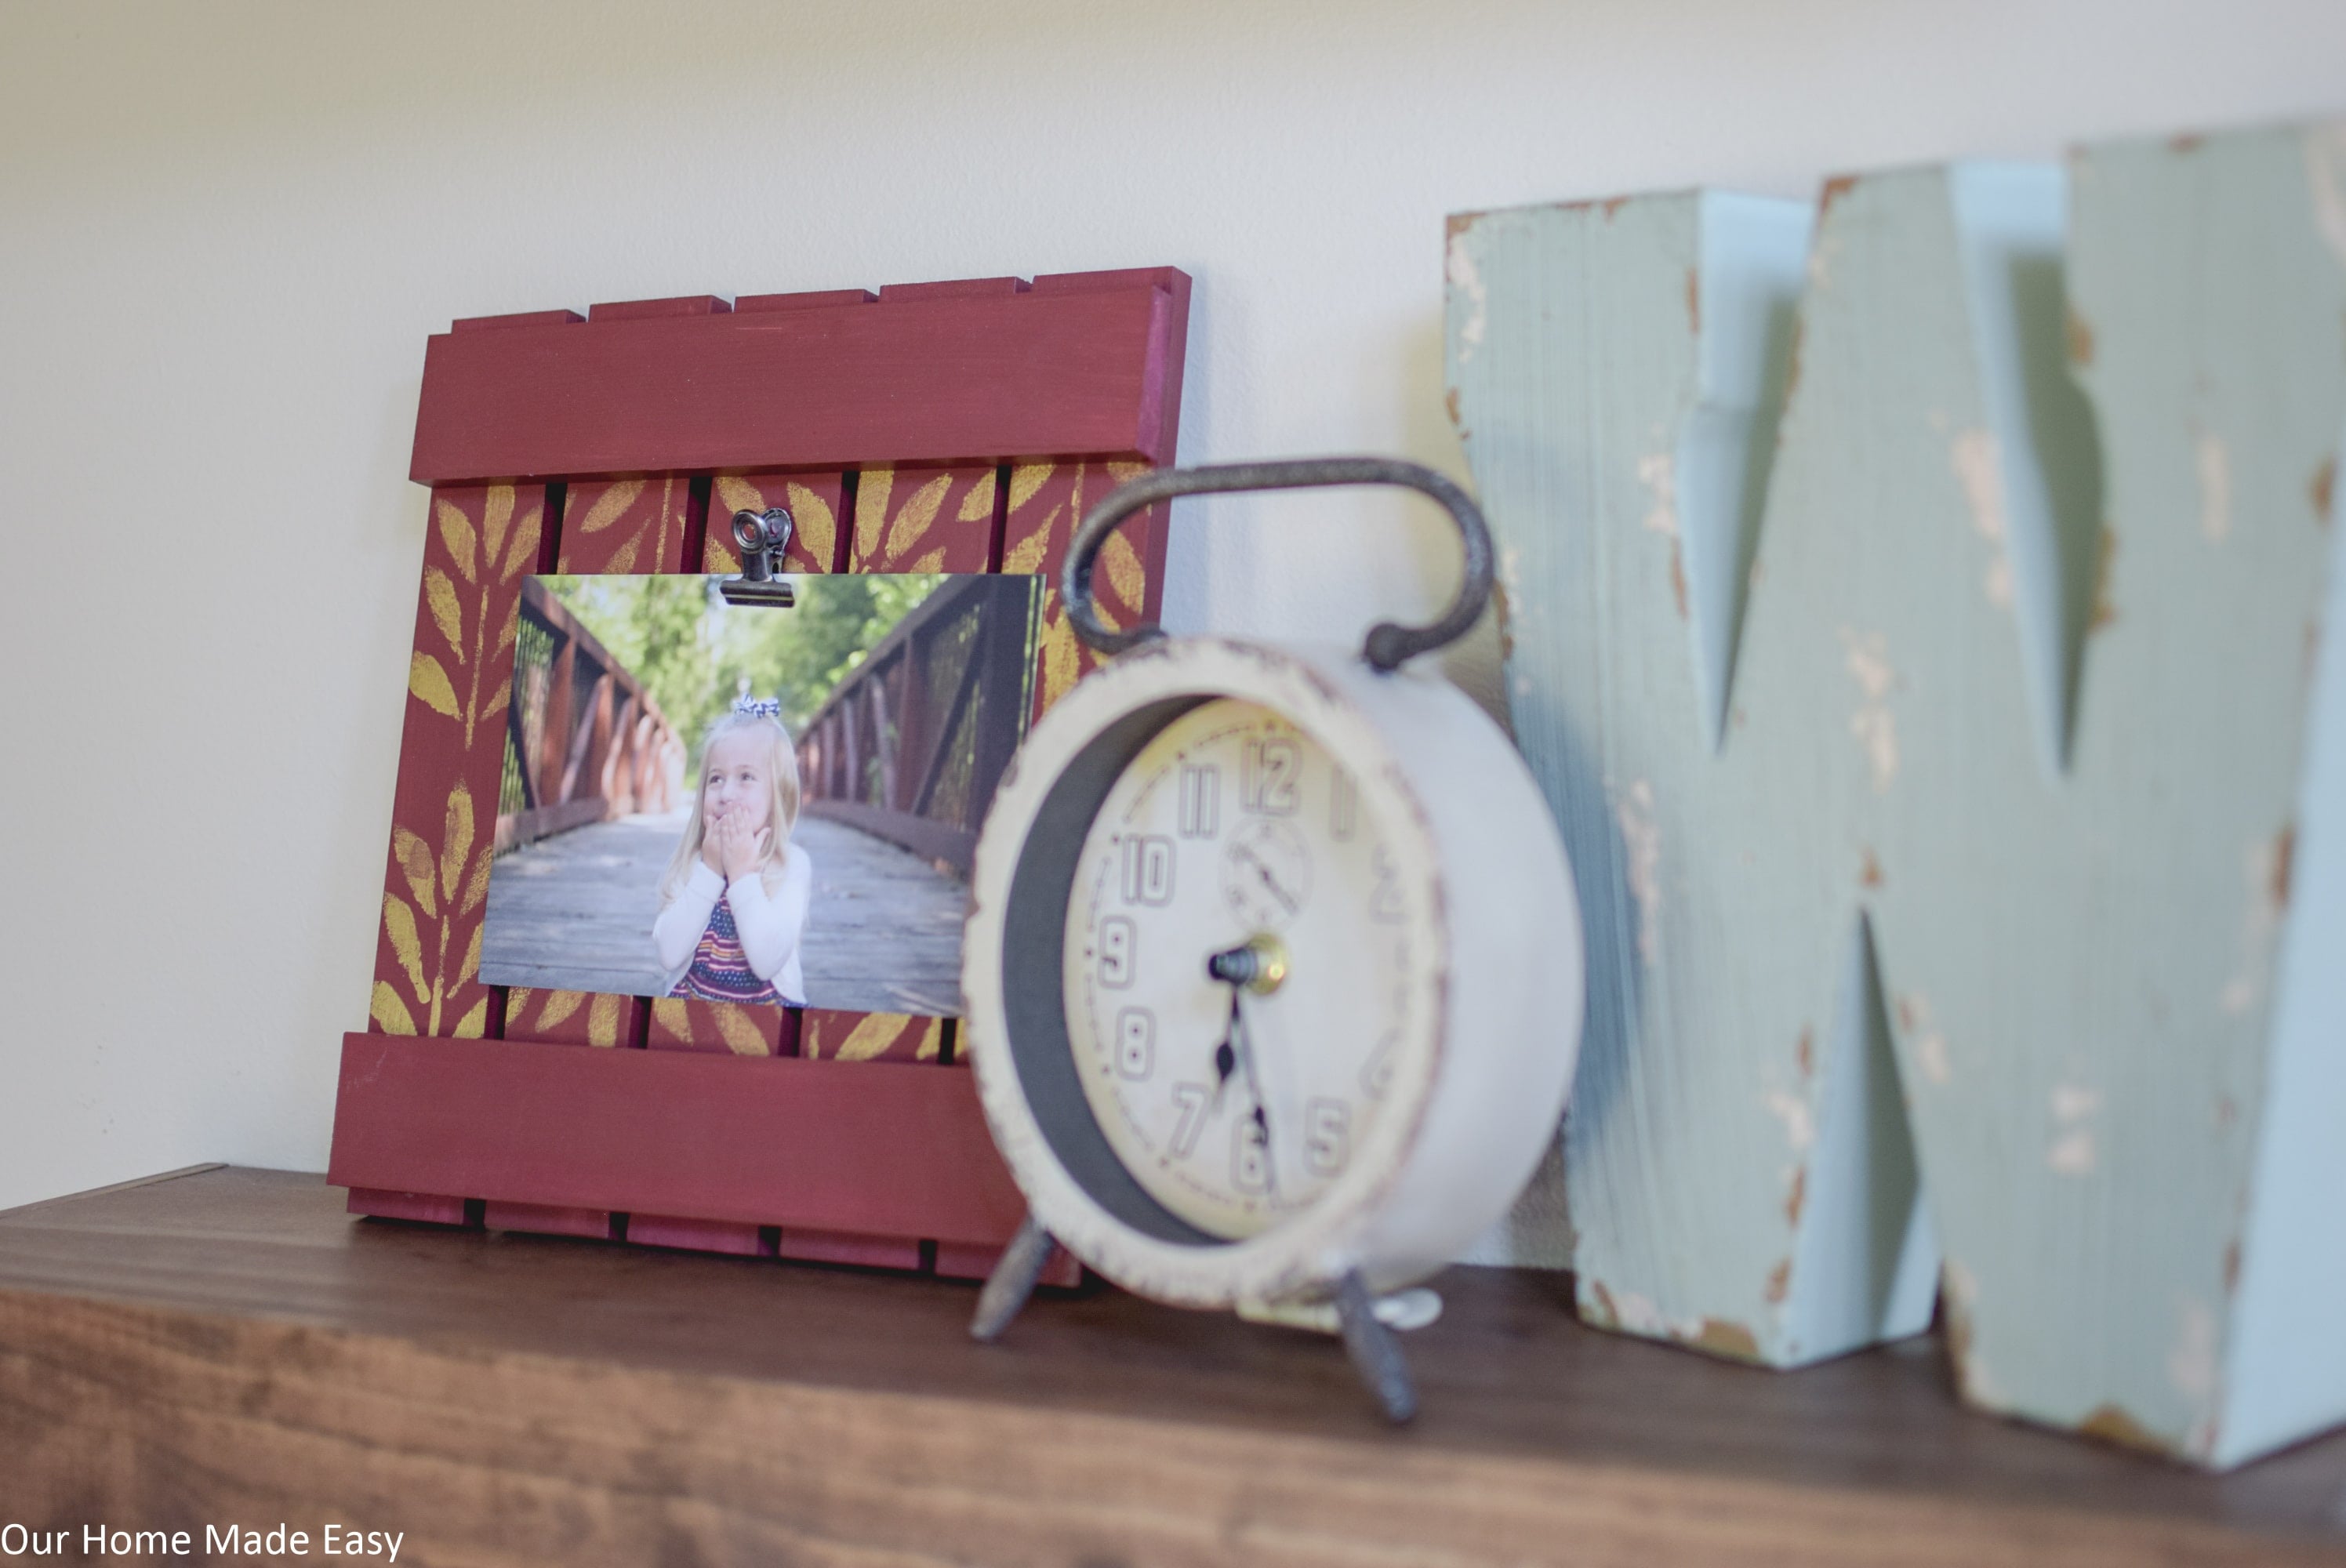
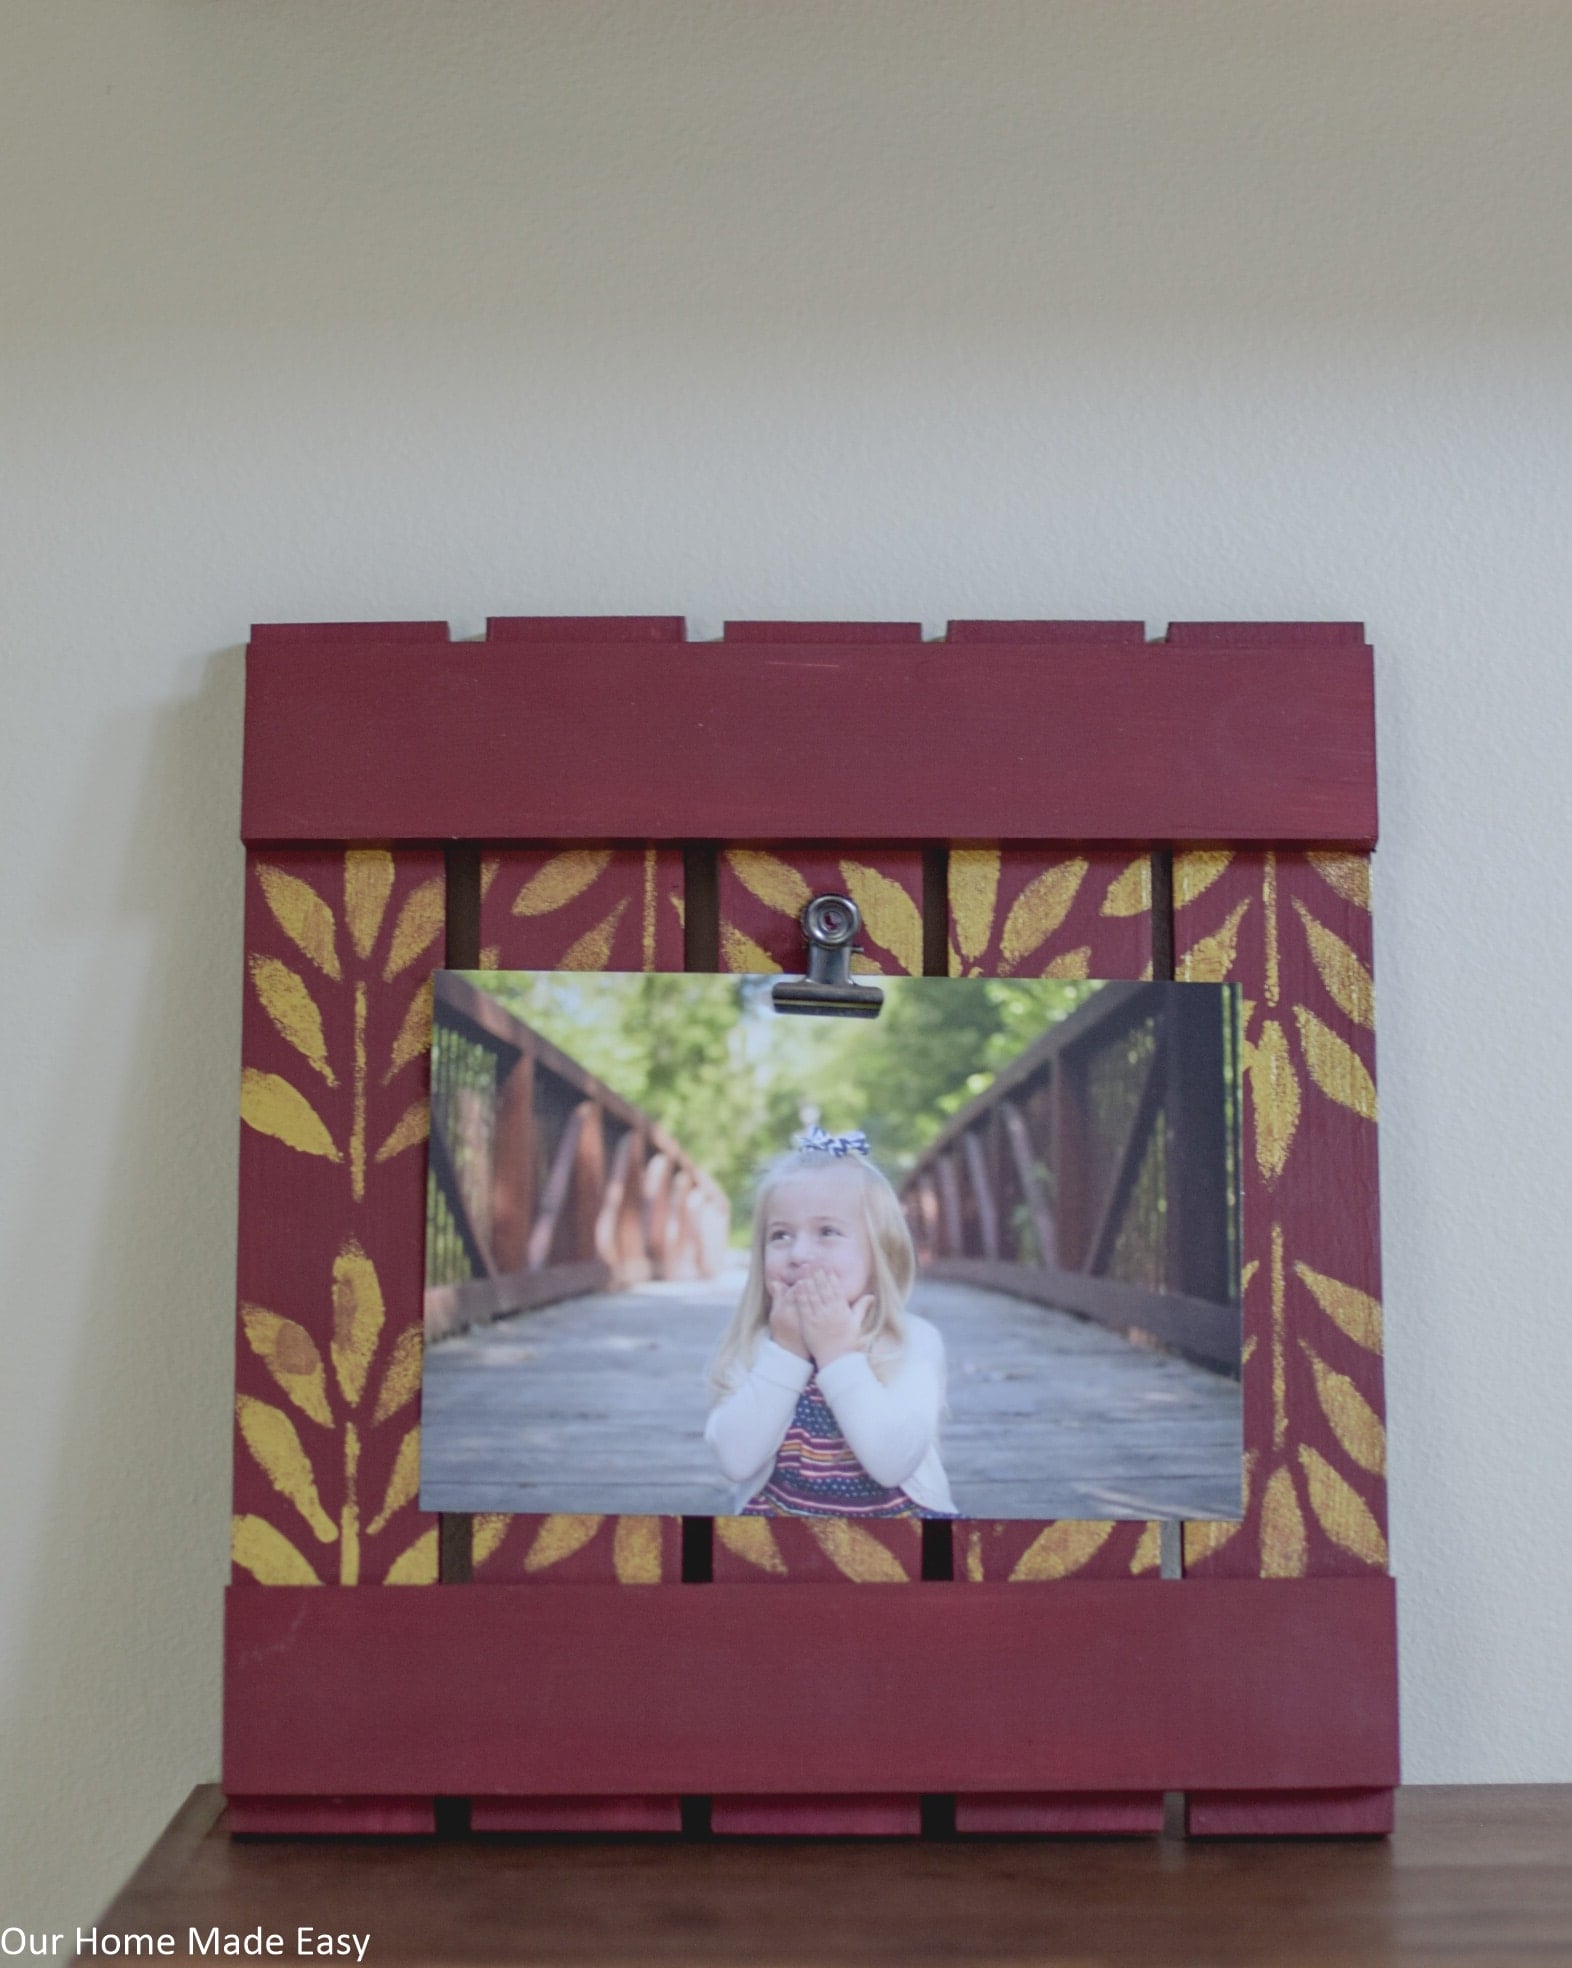
If you want to hang your frame, now would be the time to glue on wall brackets. Or you could add a small picture frame support. For ours, we have it leaning against the shelf. I wasn’t sure what I wanted so I just hung it up– and I like it as is!
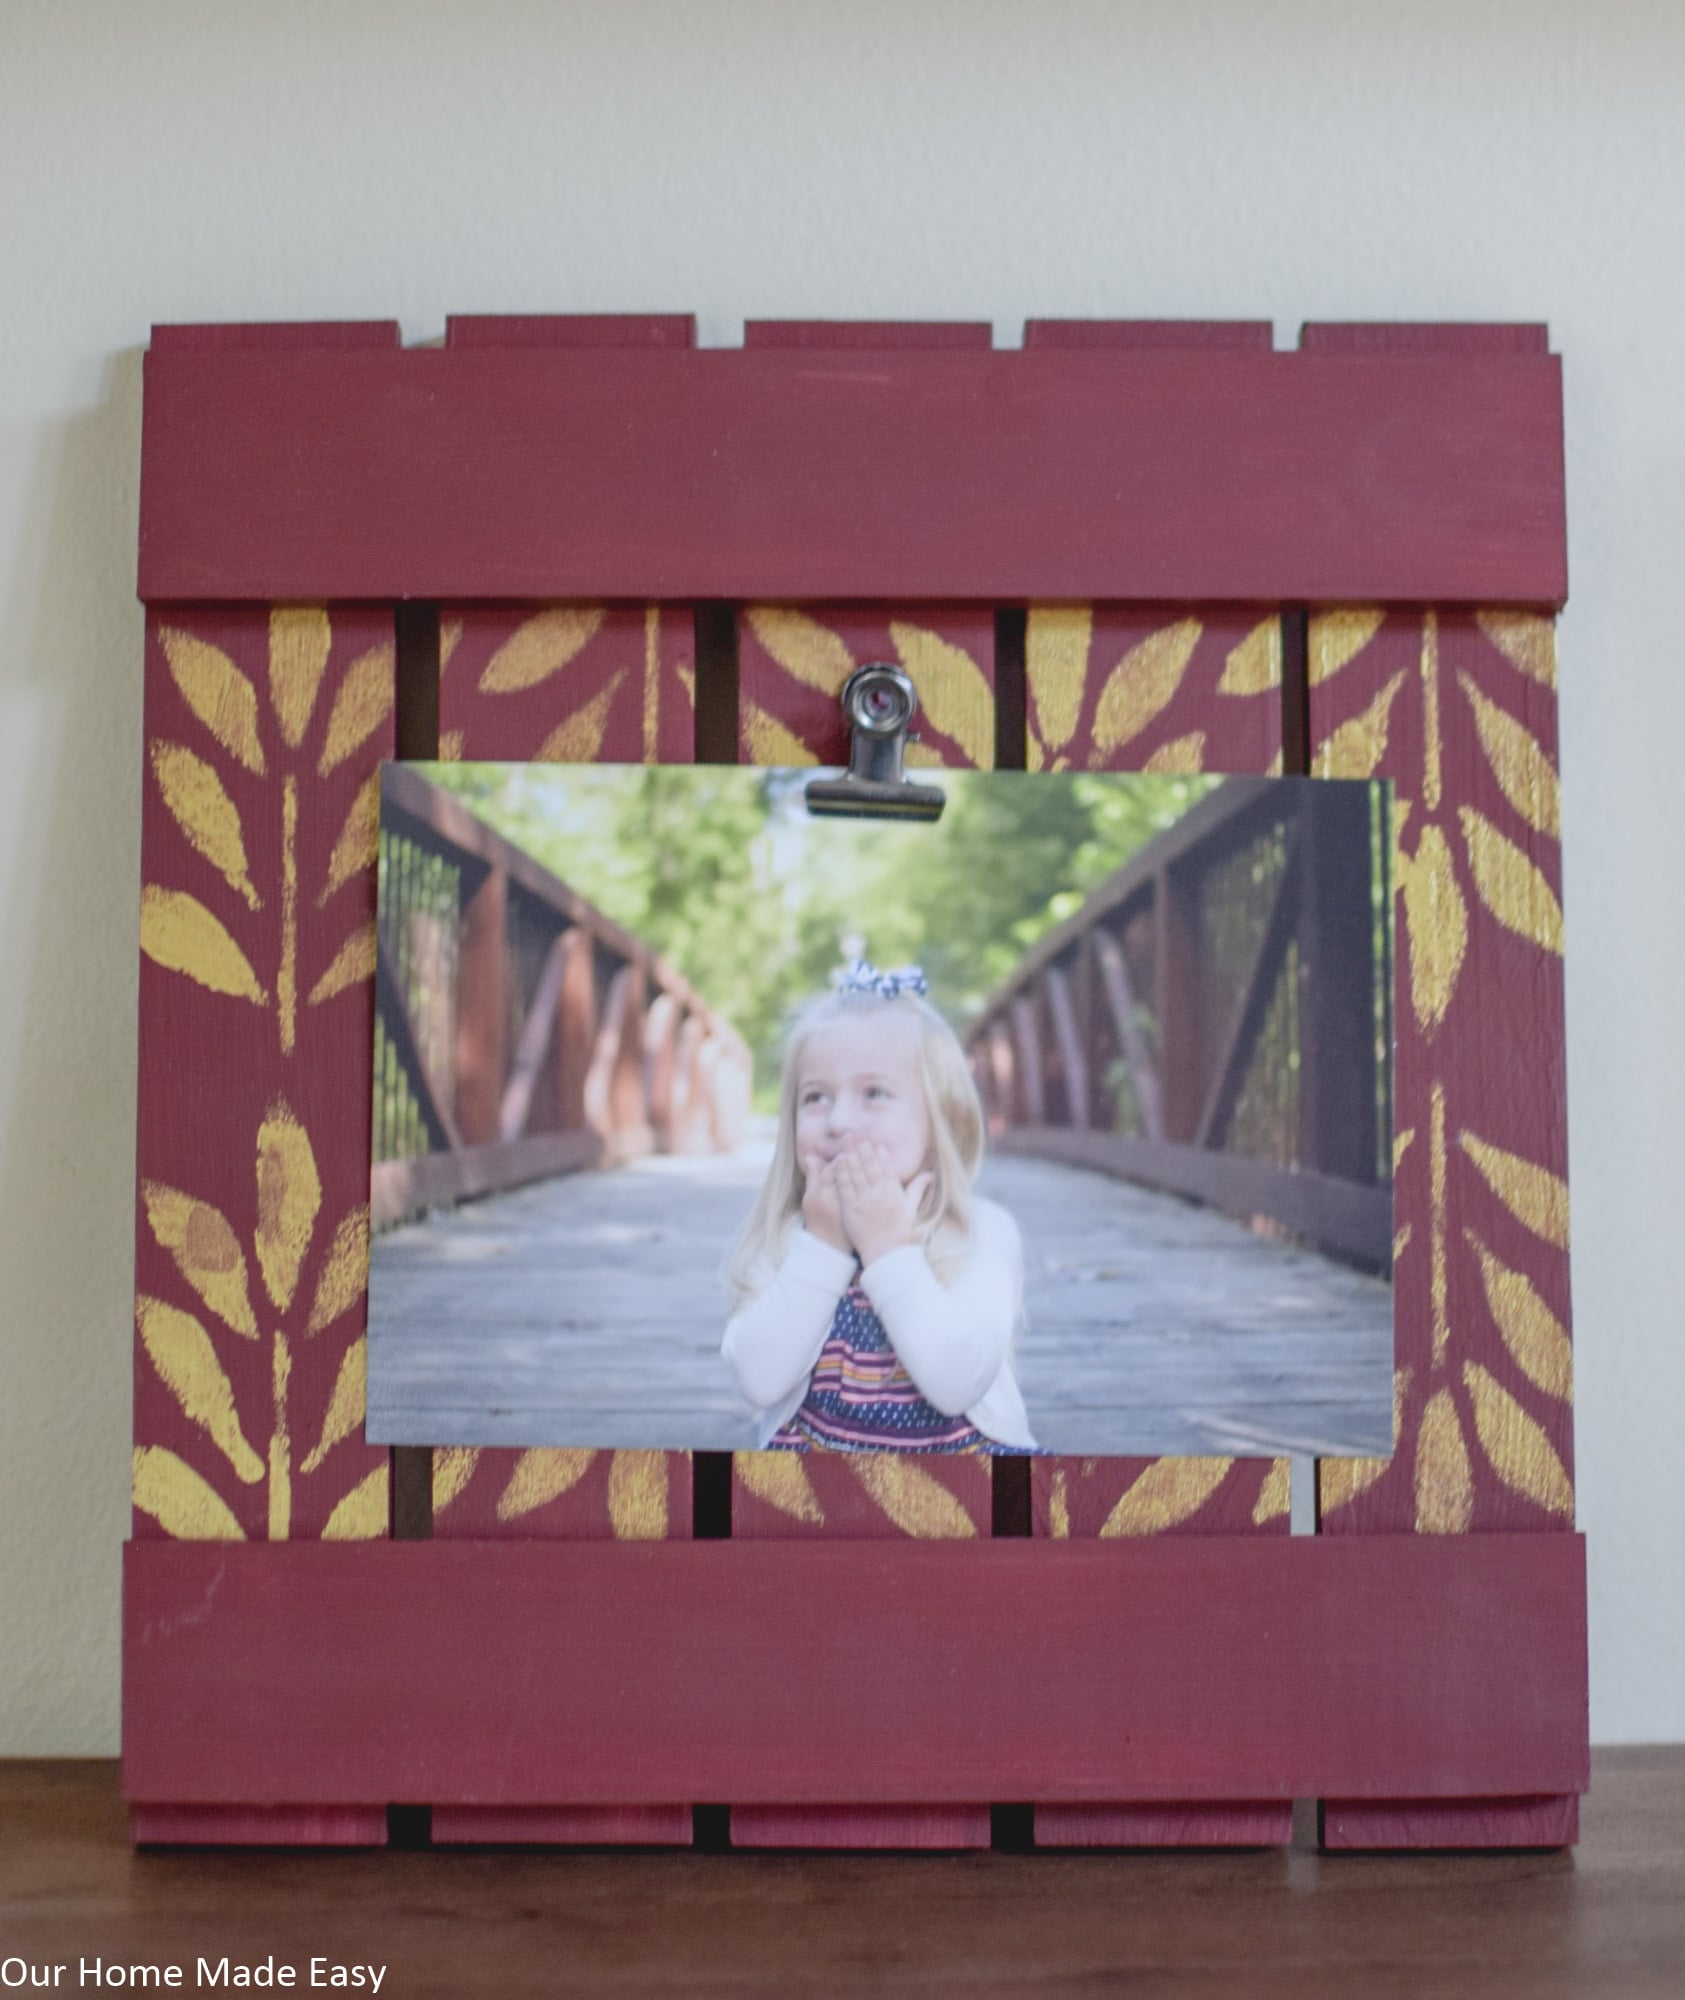
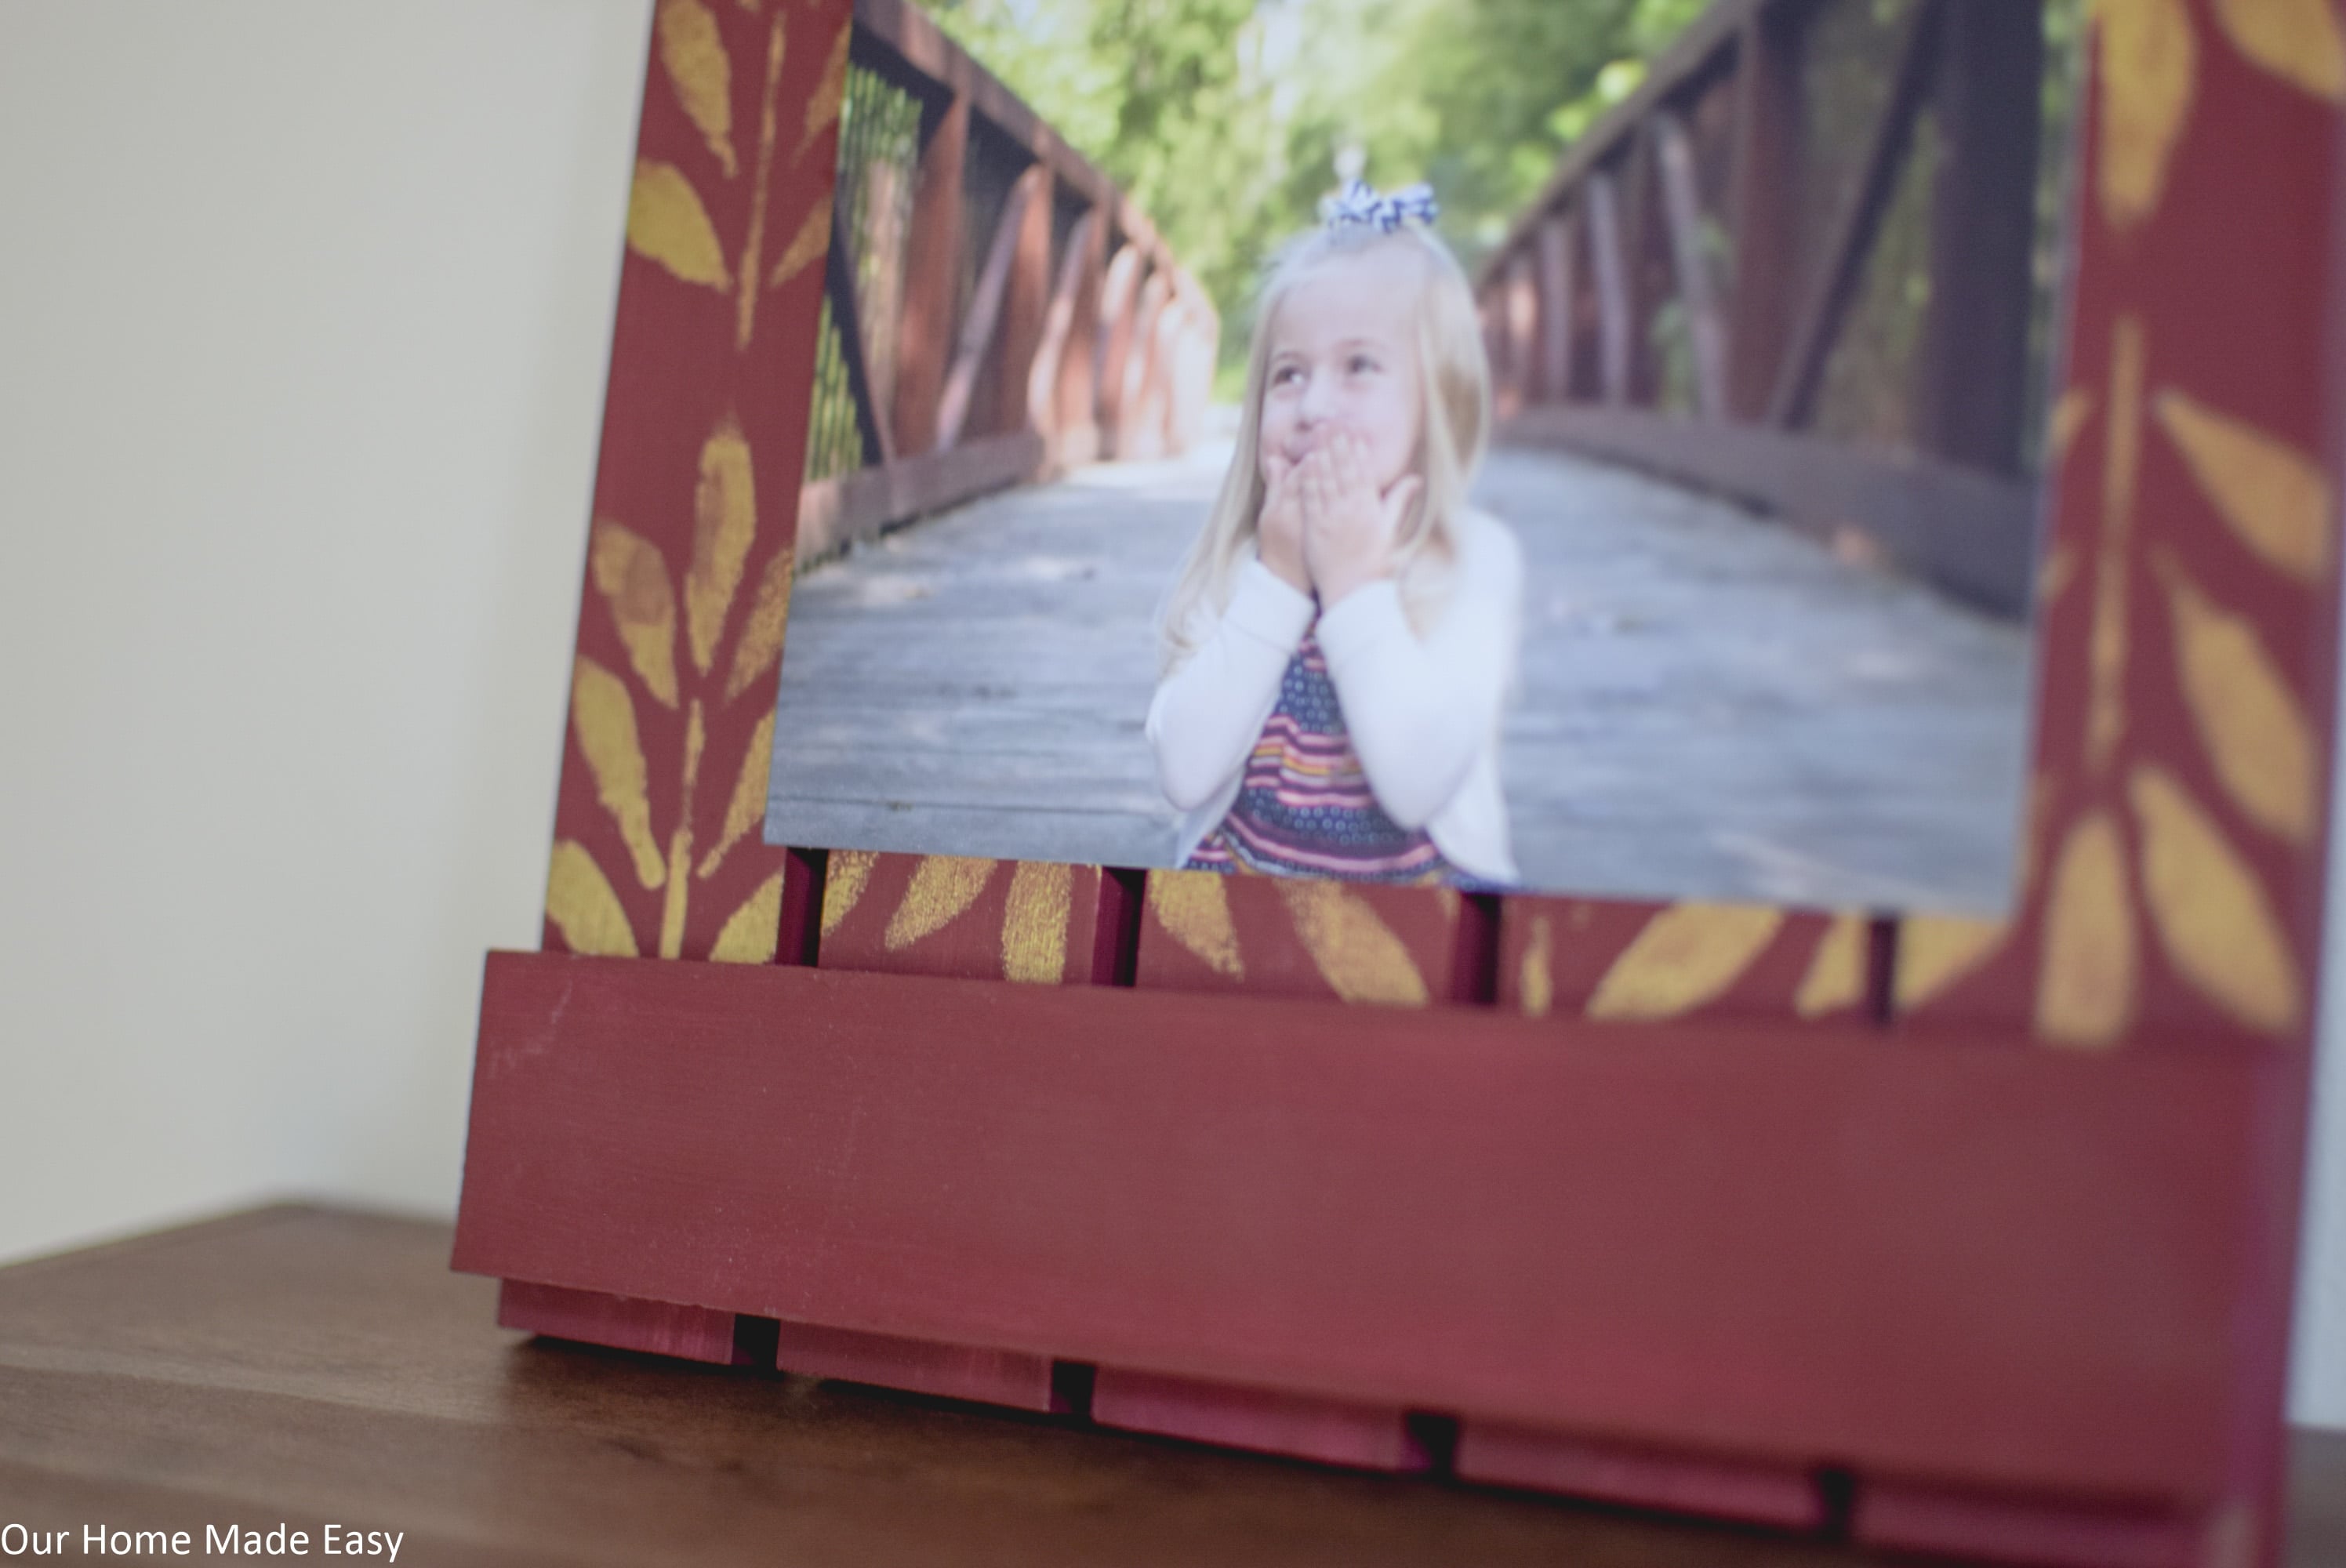
Once you have your hanging hardware on, it’s time to add the picture clip. You’ll want to glue on the picture clip on the center slat. To see where it should sit inside your slats, grab any ol’ 4″ x 6″ photo and clip it to help you better position where your clip should go.
I’ve found that getting a real photo makes it much simpler rather than guessing where it should go.
Then, attach your clip using super glue.
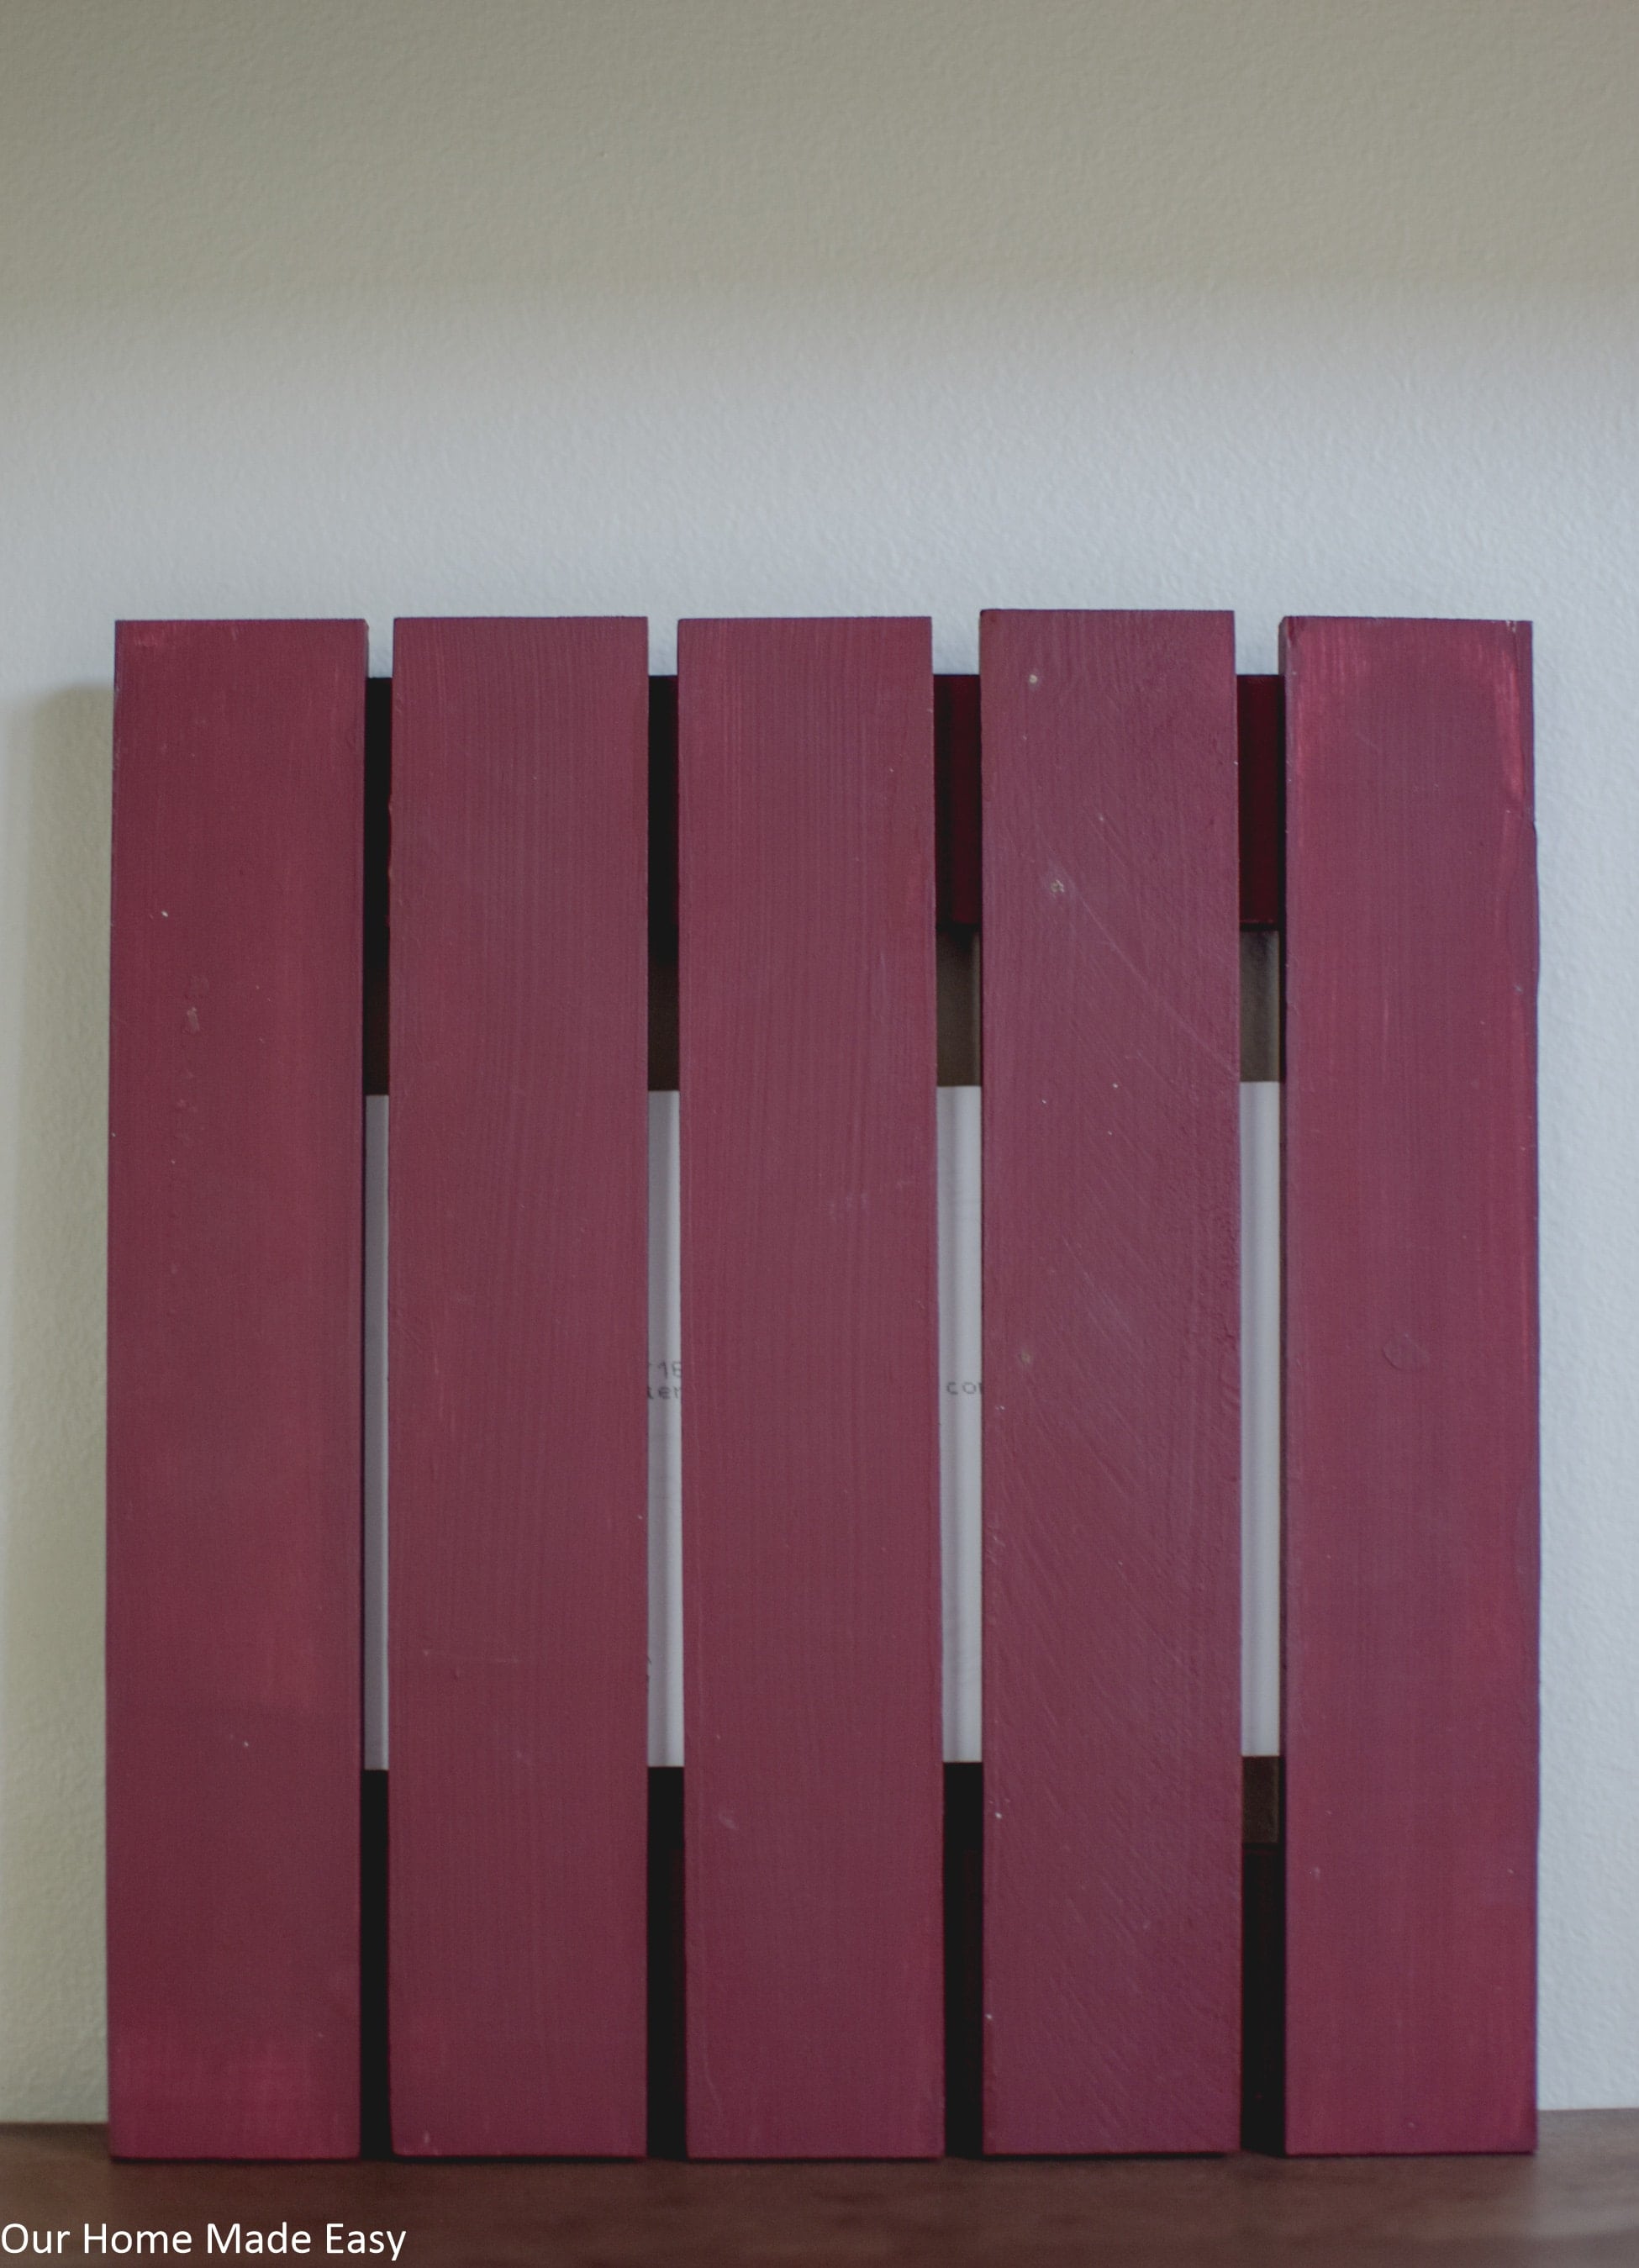
Here is a shot from the back fully assembled.
Doesn’t this look adorable and just in time for the Fall season?

And that’s it! It’s a really quick & simple DIY that you can make in an afternoon. I might already be planning a Christmas themed and a cute ‘all year long’ one! Happy crafting!
DIY Wood Picture Frame
This super simple wood picture frame is an easy DIY that requires almost no tools and little skill! It's a quick project that will add a perfect personal touch to your home.
Materials
- Wood Board, 1.5" x 3/8" in size
- Craft Acrylic Paint in 2 Colors
- Stencil
- Wood Glue
- Super Glue
- Metal Clip
Instructions
- Using a miter saw, cut 5 strips of wood 9" long. These are your vertical slats. Next, cut 2 pieces 8 3/8" long to be your horizontal slats "holding it all together."
- Choose a background paint color for the frame. Using a foam brush, paint the front, back, and sides of all the wood pieces. Add a second coat if needed.
- Once they are dry, take the (5) 9” strips and line them up together.
- Place your favorite stencil on top of the 5 strips and paint a coordinating color with a stencil brush (foam or bristle).
- Once dry, glue the (2) 8 ⅜” strips to (2) 9” flush to the end of the 8 ⅜” strips, about ⅜” up from the bottom of the 8 ⅜” strip, leaving a little lip around the top & bottom.
- After the glue sets, glue the remaining (3) strips and let the glue dry. You don't need the spacing to be perfect! I'd recommend starting in the middle, and then adding a piece on either side of the middle. Since there will be a picture over most of the slats, perfection isn't needed here!
- If you want to hang your frame, now would be the time to glue on wall brackets. Or you could add a small picture frame support. For ours, we have it leaning against the shelf. I wasn't sure what I wanted so I just hung it up--and I like it as is!
- Once you have your hanging hardware on, it's time to add the picture clip. You'll want to glue on the picture clip on the center slat. To see where it should sit inside your slats, grab any ol' 4" x 6" photo and clip it to help you better position where your clip should go.
- Then, attach your clip using super glue.
PIN FOR LATER

Hi, I’m Brittany, and I believe life at home should feel easier, not heavier.
I’m the creator of Our Home Made Easy, a space for busy women who want dinner on the table, their homes running smoothly, and a little breathing room at the end of the day.
You won’t find perfection here, just realistic recipes, smart shortcuts, and simple routines that work in real life. The kind that help you feed your family well, stay organized enough, and still have time to actually enjoy it.
If you’re juggling work, kids, schedules, and everything in between, you’re in the right place. I’m so glad you’re here.


