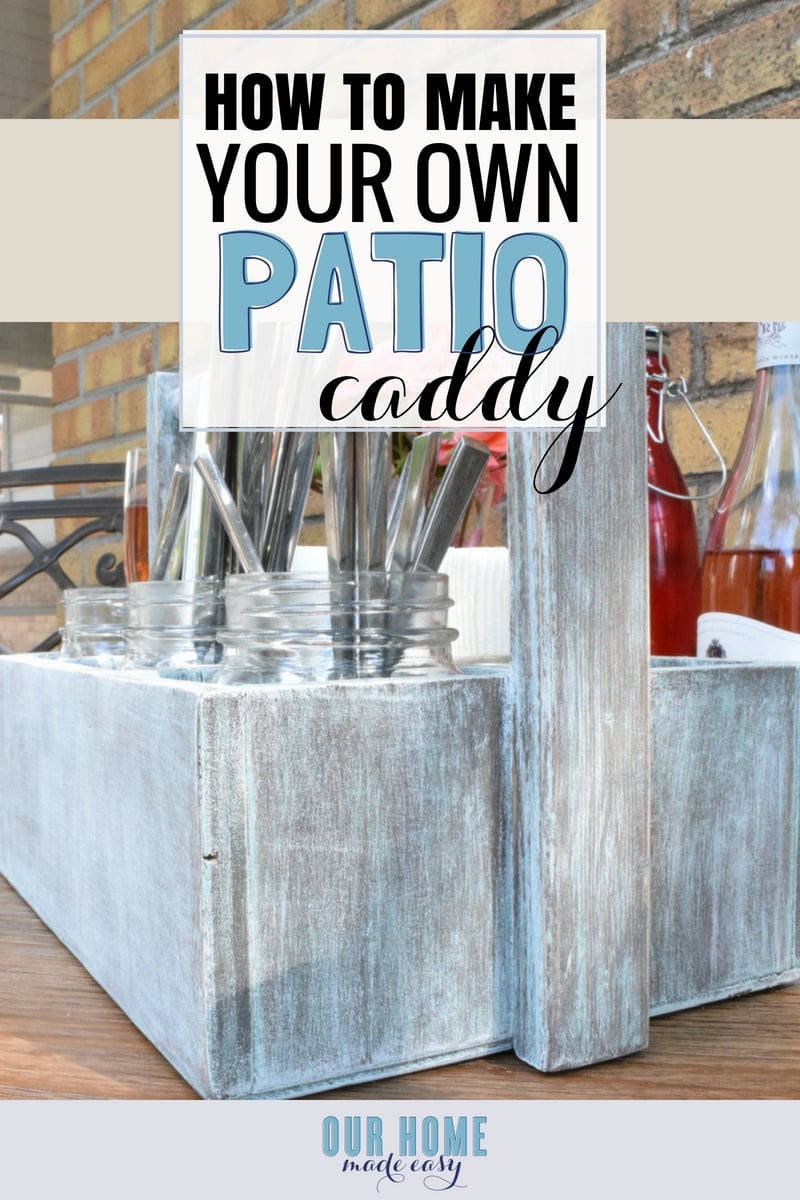
The Ultimate DIY Wood Patio Caddy
Make this DIY patio caddy for your just in time for your next BBQ or tailgate! It’s perfect for combining function & style!
(This post contains affiliate links. Please see my disclaimer for more information)
I am super excited to be sharing my blog over the past few weeks with some awesome fellow bloggers. Rest assured, I’m still here, but I am bust working on a few things behind the scenes. 😉
Today I am especially excited to have Tiffany from Dream, Design, & DIY sharing a fun wood project! It’s equal parts adorable & totally functional! The best part is that you can use any leftover wood pieces that you have leftover from an old project. I know you’ll love it, too.
And now let’s check out Tiffany’s DIY!
Hello to Our Home Made Easy readers!
It’s Tiffany from Dream Design DIY where I blog about budget-friendly DIY projects and home decor to help you create beautiful spaces. I am excited to be hanging out with you and tell you all about this DIY Patio Caddy with the right amount of a rustic touch. Since we are in the season where friends and family gather outside to enjoy the warmer weather I thought this DIY Patio Caddy would be the perfect build.
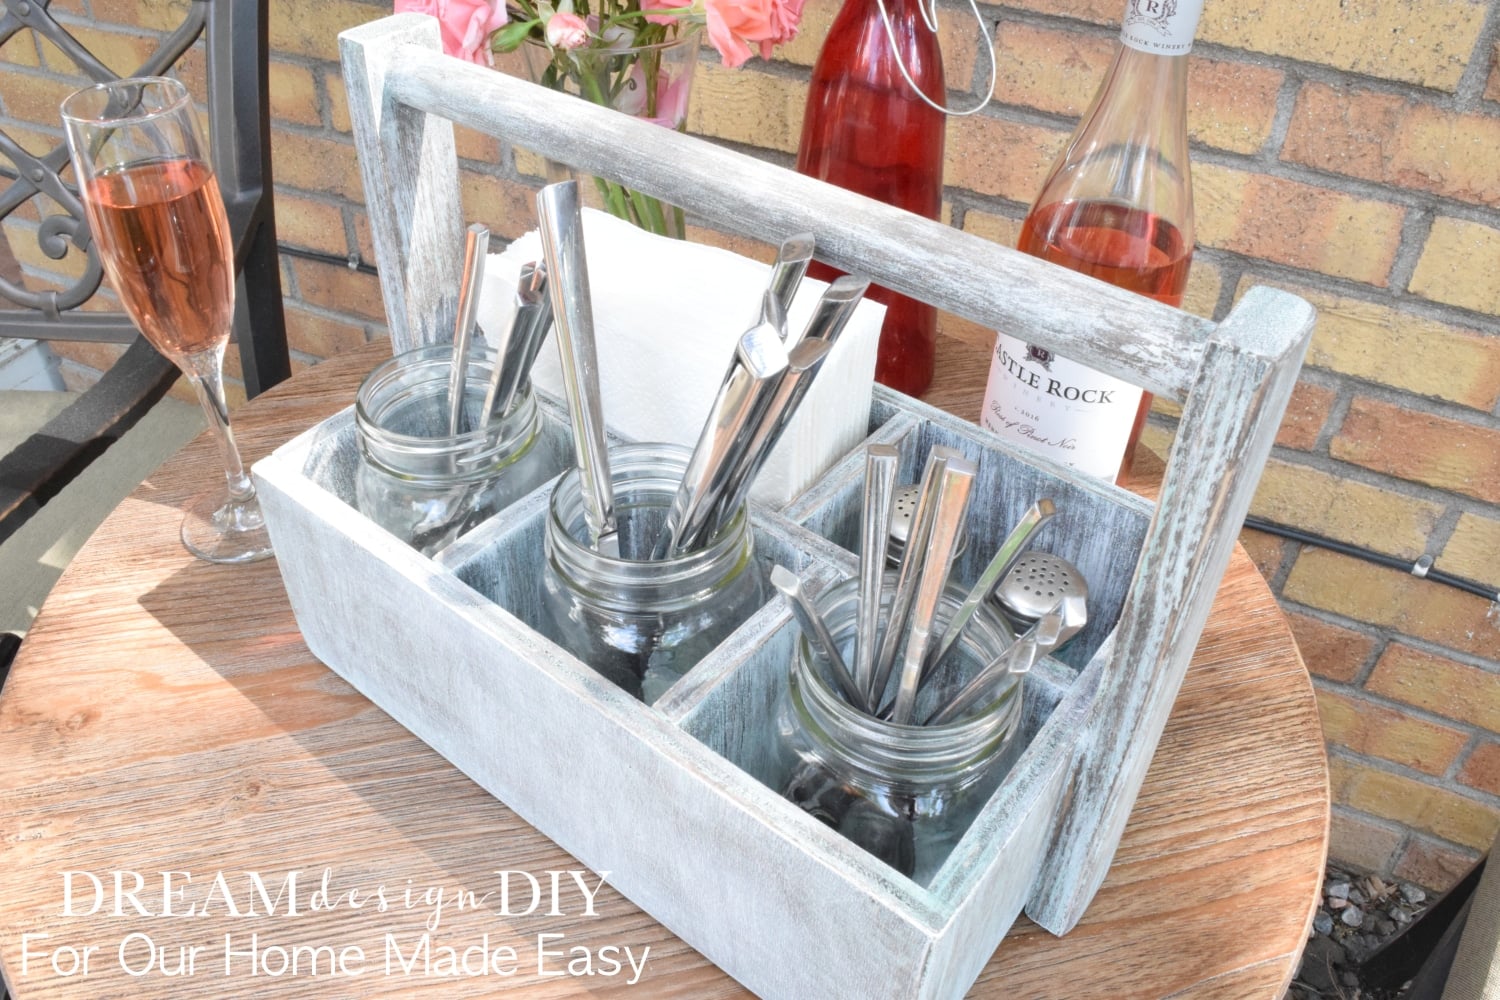
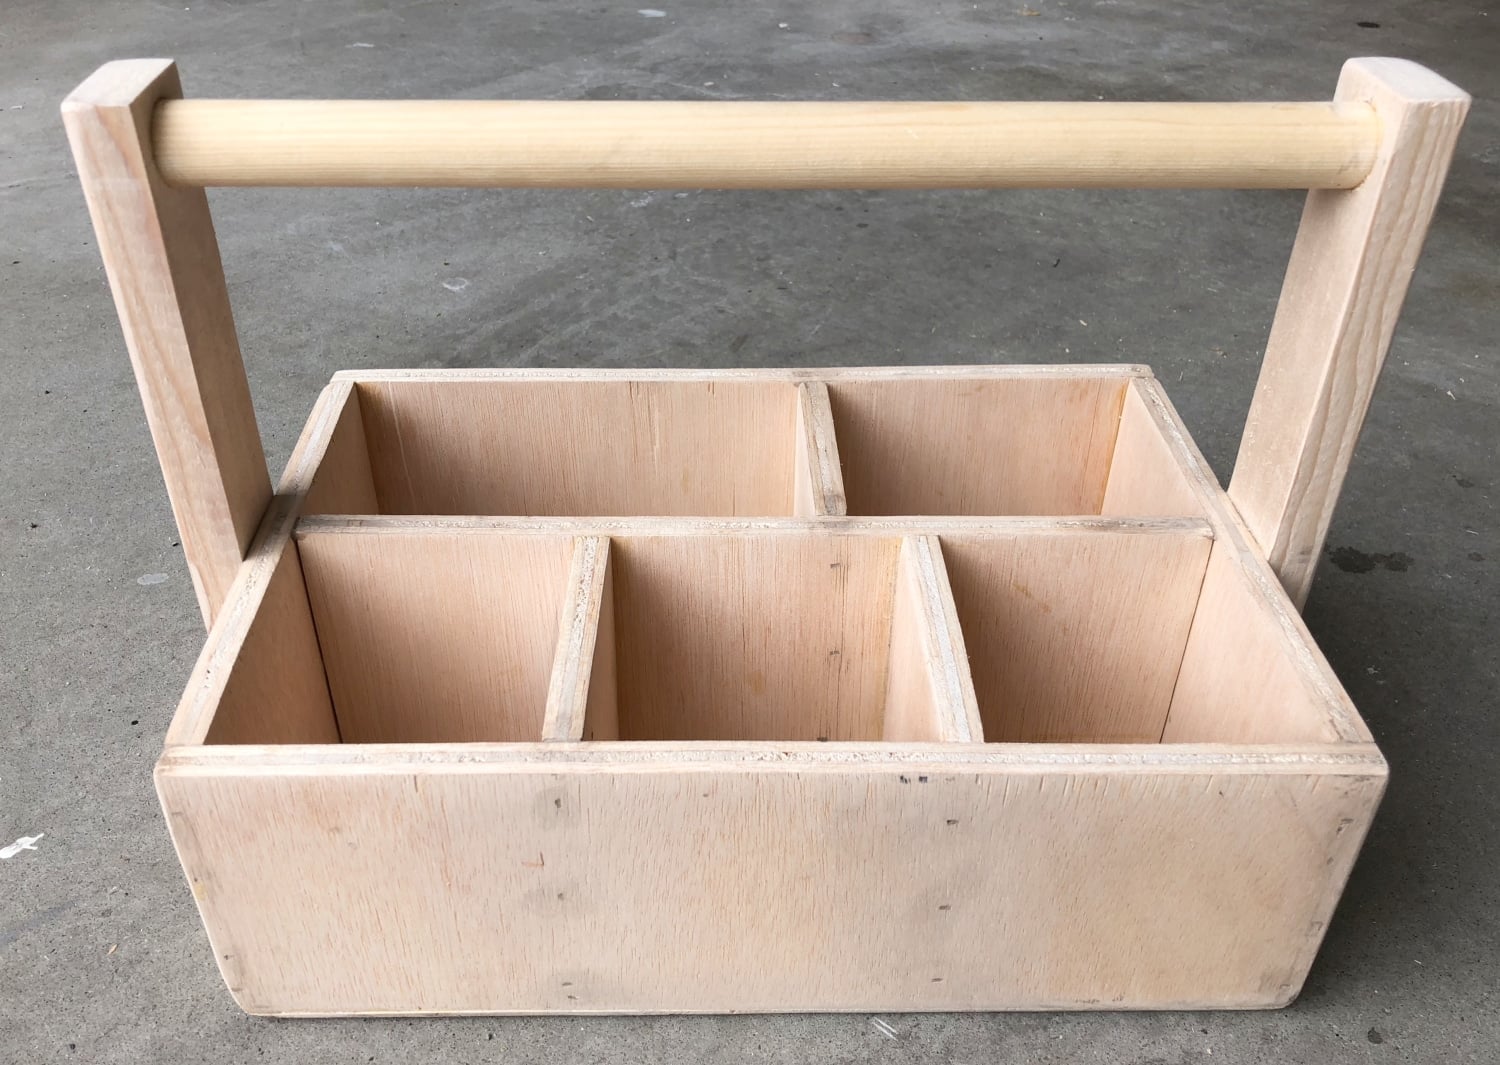
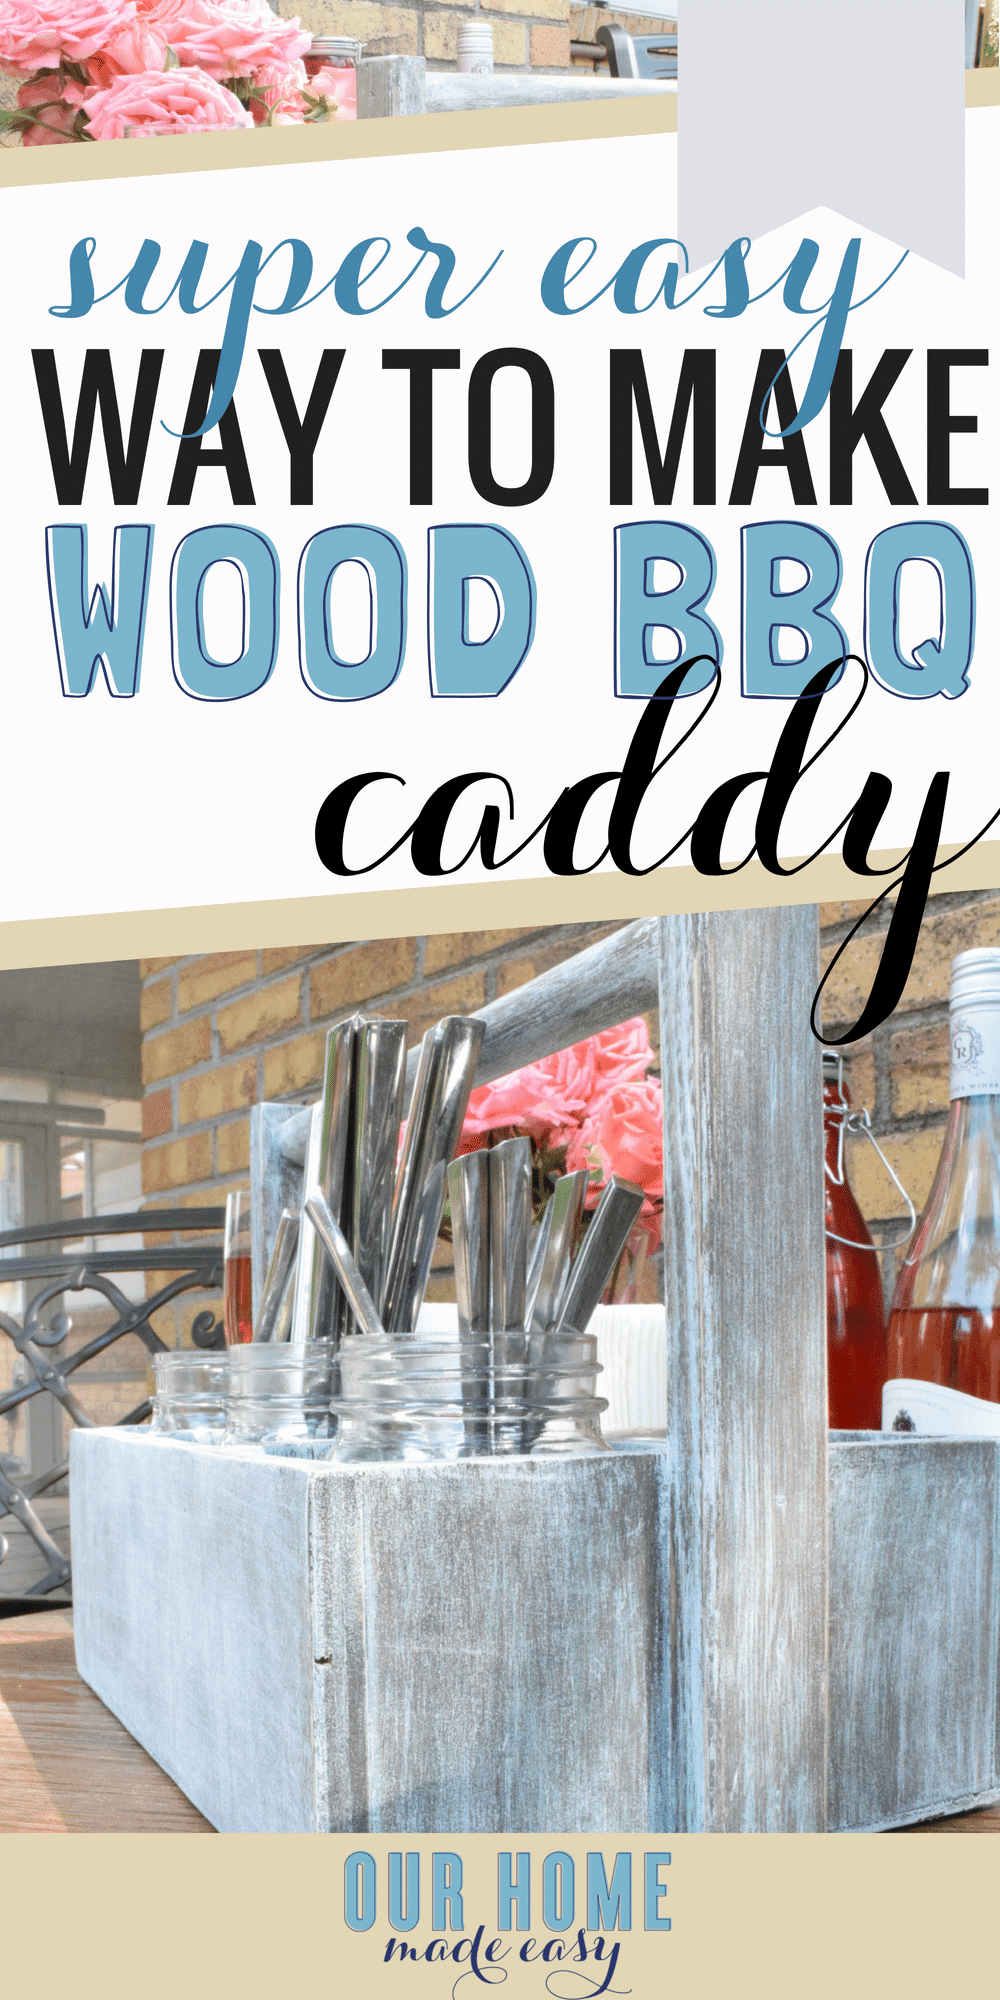
DIY Patio Caddy

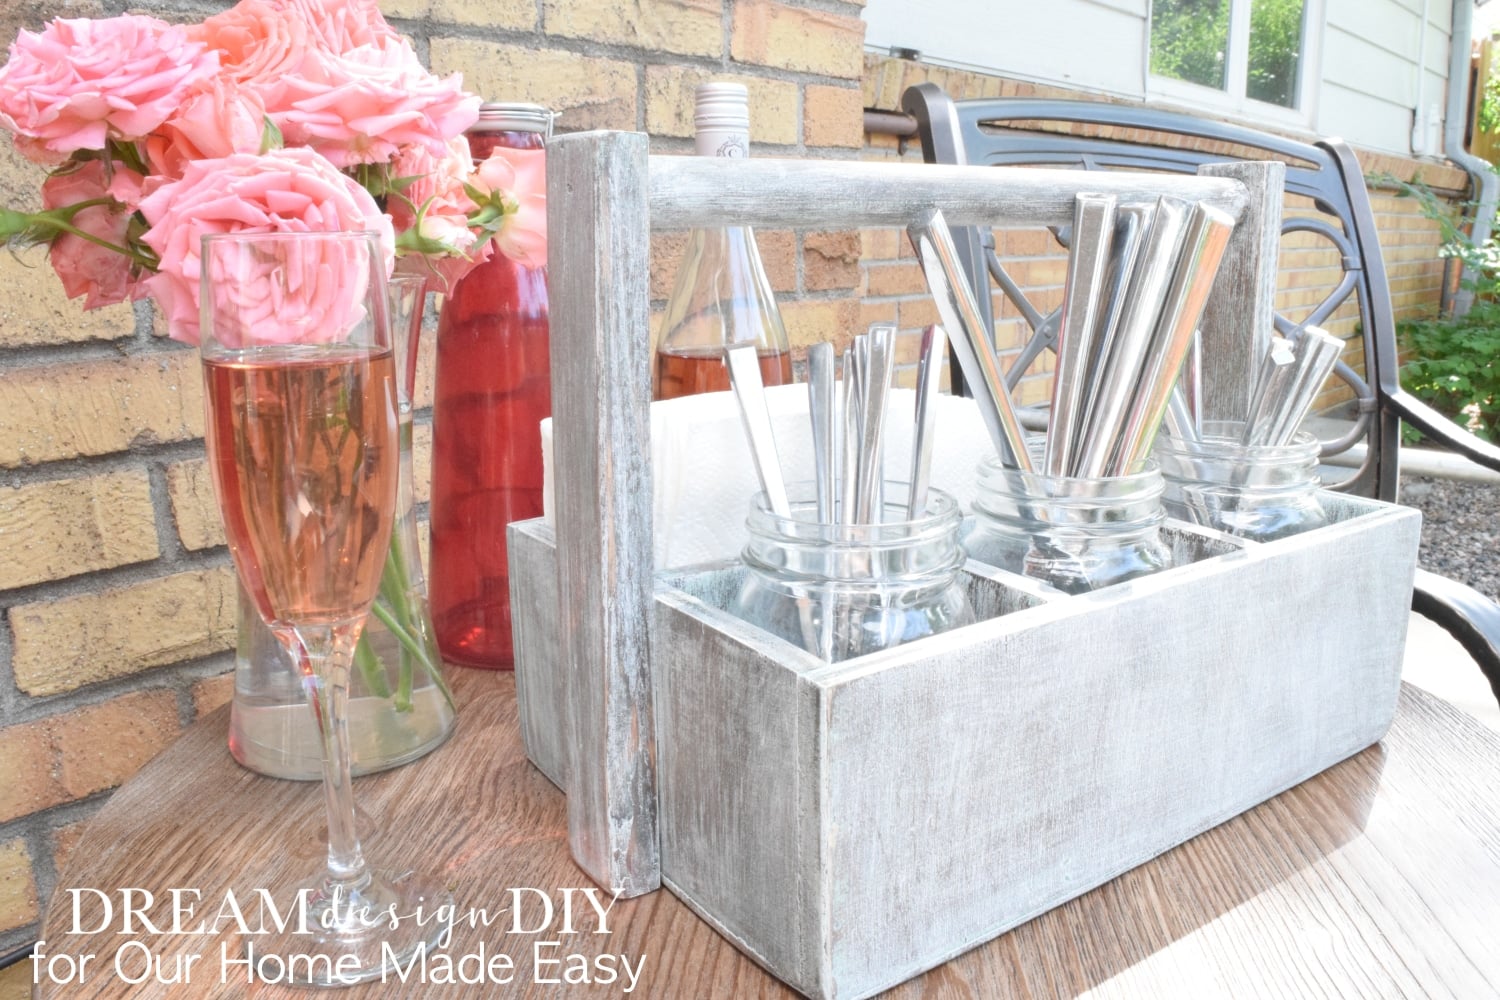
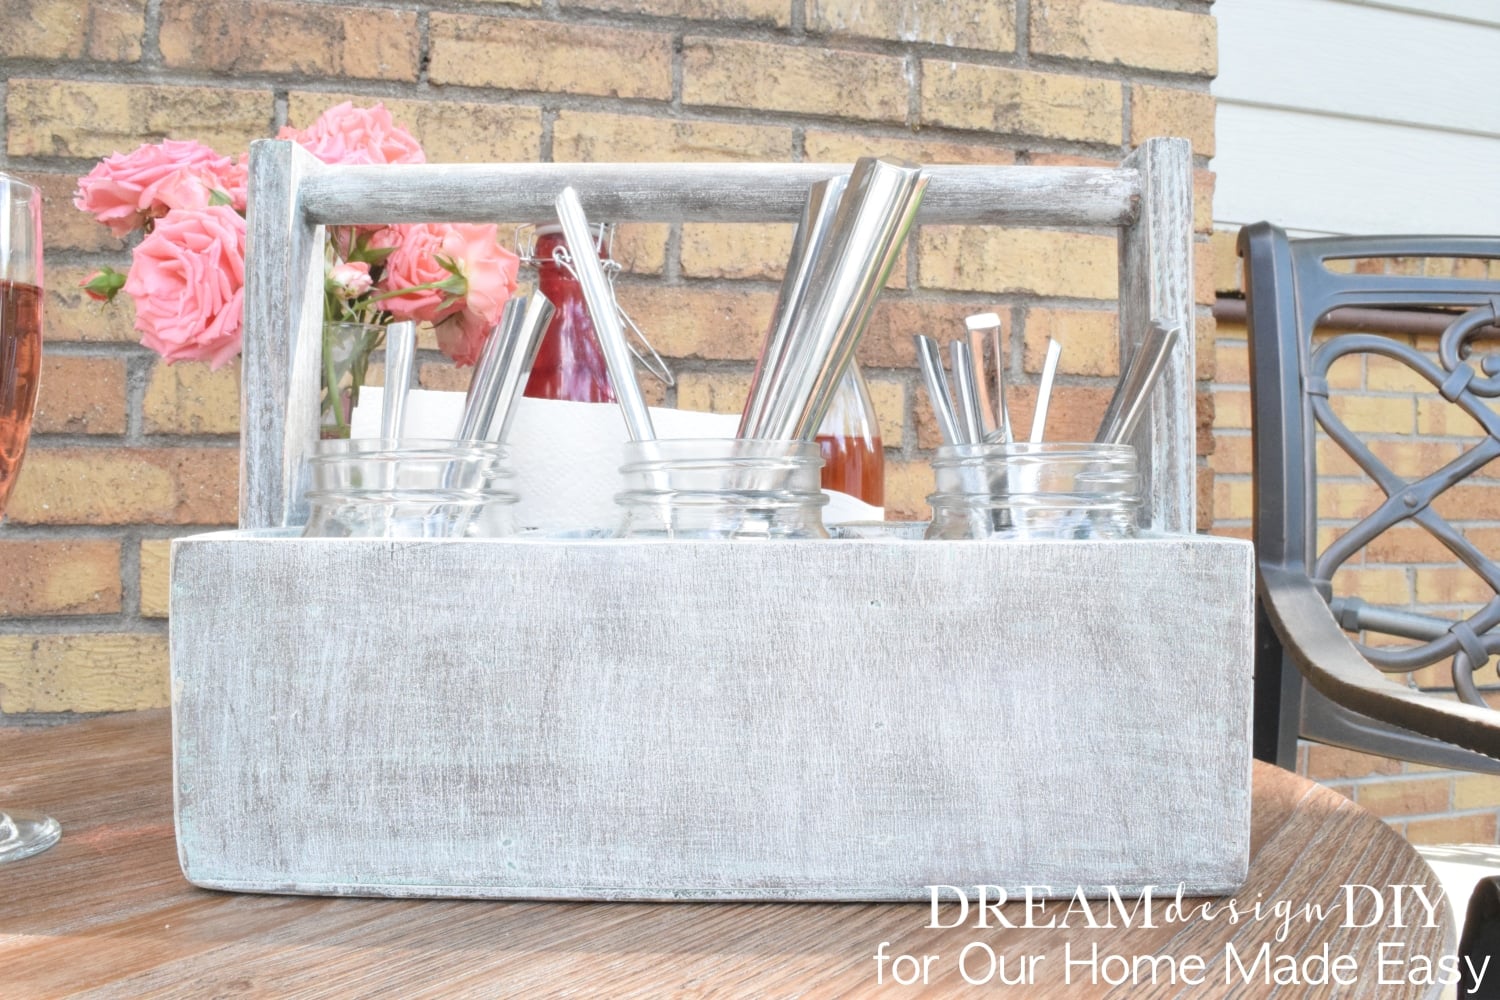
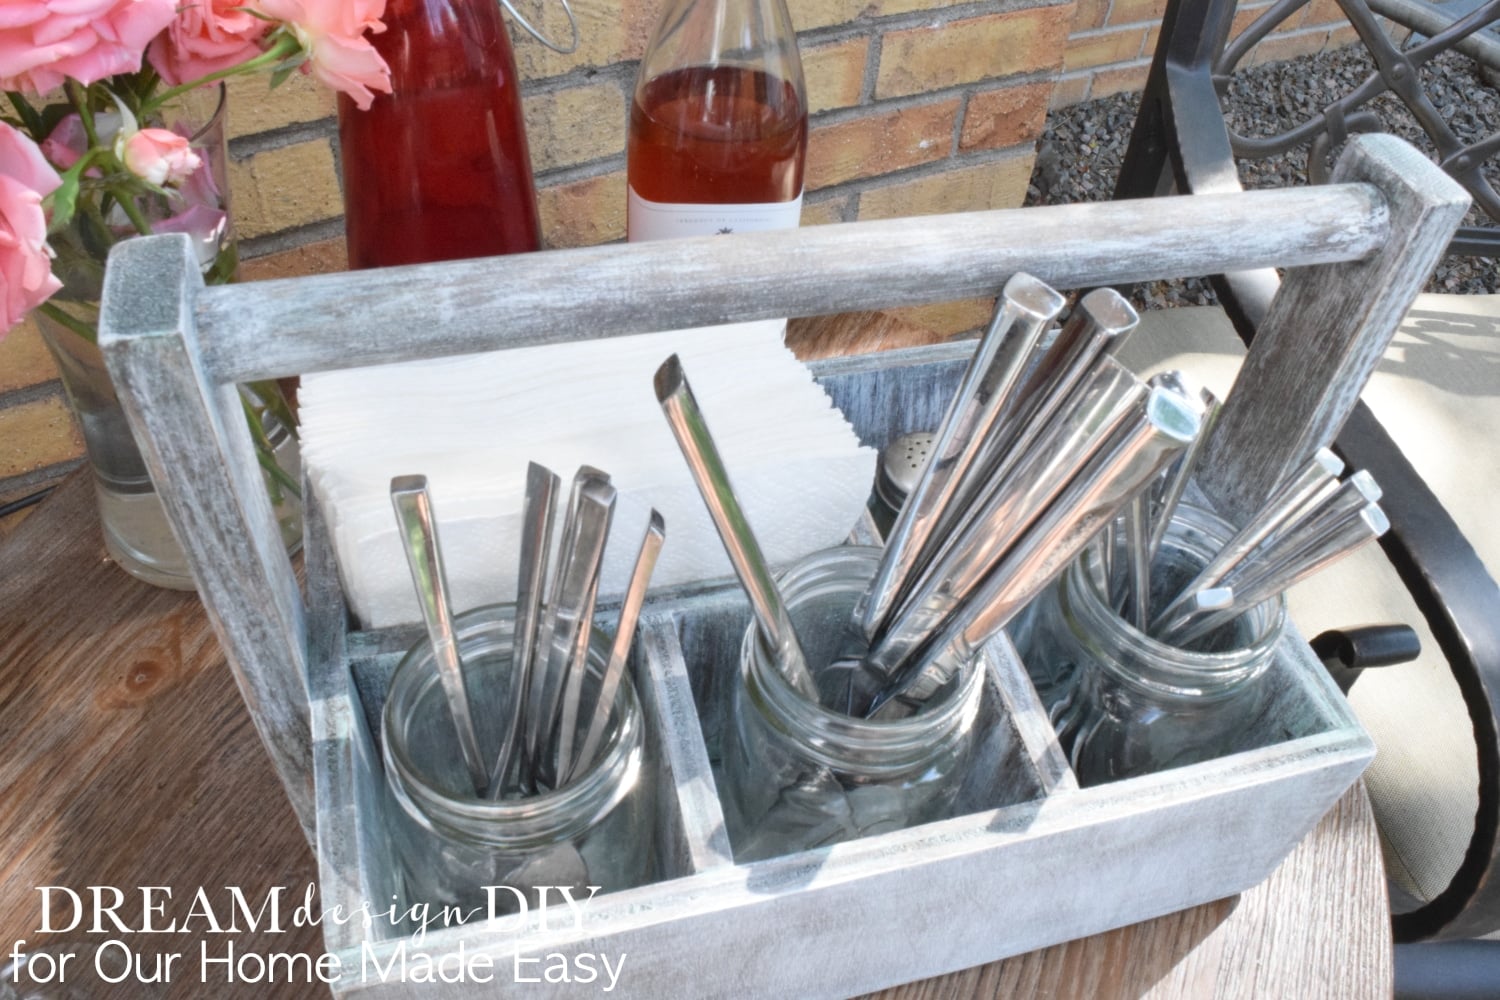
This patio caddy will store all your dining utensils, napkins, and salt & pepper. Choose any canister for the silverware; mason jars, tin cans or little buckets.
A couple other awesome summer projects you will love is this BBQ Caddy, which is perfect for holding all of your BBQ tools and spices and these DIY Scrap Wood Lanterns will look fabulous on your patio.
I was able to make this with the scrap wood I had on hand so this project was basically FREE!
TOOLS FOR PATIO CADDY
- Measuring tape
- Pencil
- Saw
- Circular saw
- Sander
- 18G Brad nail gun
- Wood Clamps
- Carpenters square and combination square
- Drill – I used this drill
- 7/8 inch Forstner bit
SUPPLIES FOR PATIO CADDY
*I used what wood I had at home. If you opt to use different wood keep in mind your cut sizes will vary from mine due to wood thickness, etc.*
- Approx 3/8 inch plywood (another good option is a 1 x 4 or 1 x 6 boards)
- 1 – 1 x 2
- 1/4 inch plywood
- 7/8 inch round wood dowel
- Wood glue
- 18G 1 1/4 inch brad nails
- Wood Filler
- Stain – I used Rust-oleum Kona
- Paint – I used an Oops paint (sorry it didn’t have the color listed, but it is turquoise-ish) and white flat paint
- Paintbrush
- Varathane Triple Thick Polyurethane
CUTS FOR PATIO CADDY
- 2 – 3/8 inch plywood at 12 1/2 x 4 inches – front and back
- 2 – 3/8 inch plywood at 7 1/2 x 4 inches – sides
- 3 – 3/8 inch plywood at app. 3 1/2 x 4 inches – short dividers
- 1 – 3/8 inch plywood at 11 3/4 x 4 inches – long divider
- 1 – 1/4 inch plywood at 12 1/2 x 7 1/2 inches – bottom
- 2 – 1 x 2 at 9 3/4 inch – sides to handle
- wood dowel at 13 inches – handle (keep in mind your cut size will vary depending on the depth of your forstner hole. I recommend cutting this just prior to attaching for the best measurement)
STEPS TO MAKE PATIO CADDY
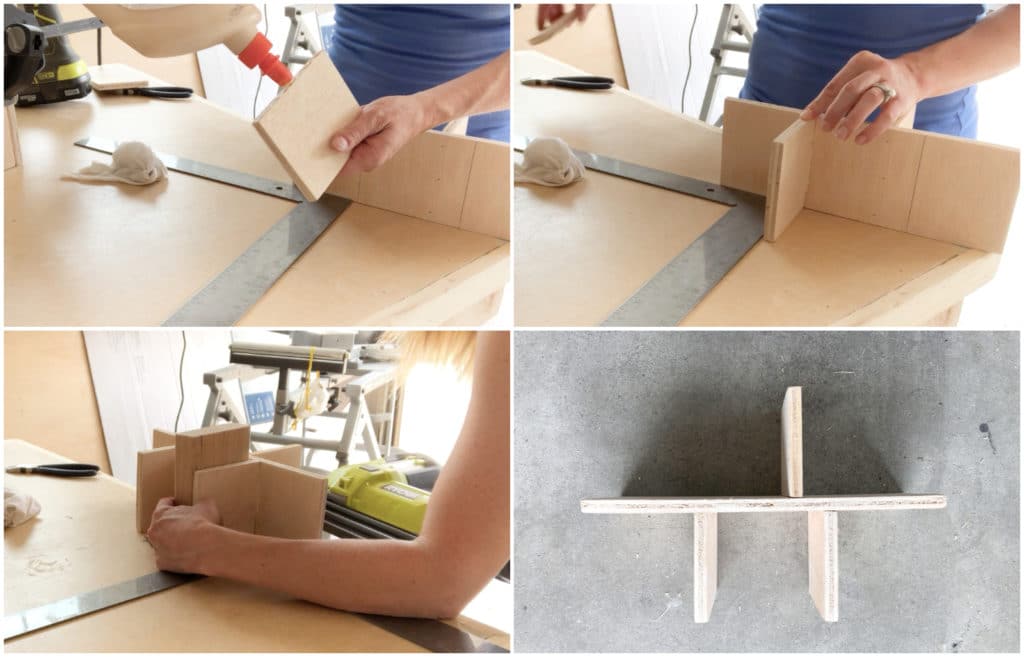
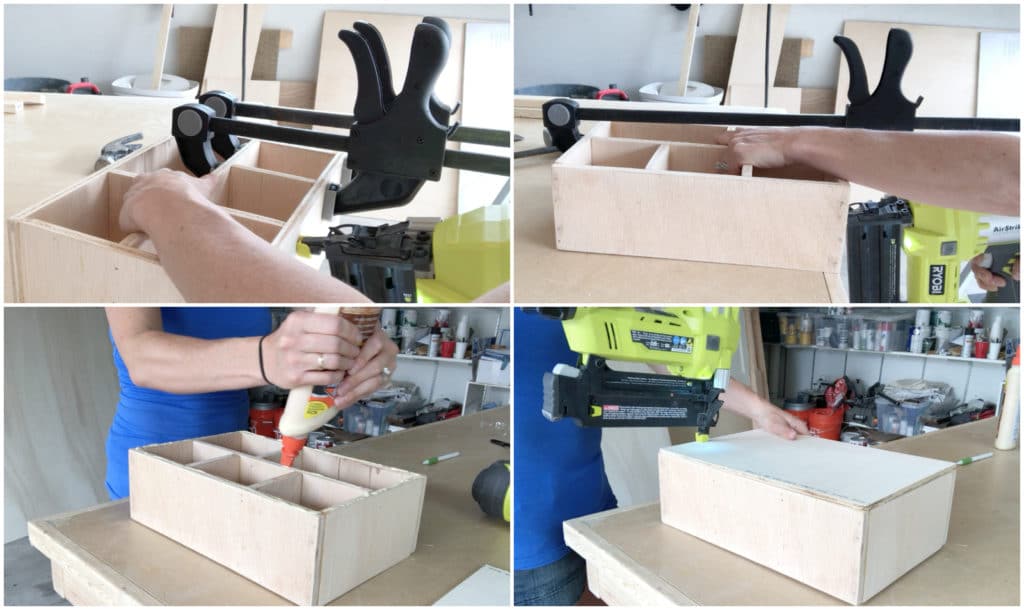
Step 1) I attached all four pieces front, back and the sides to create the frame. I did this by applying wood glue to the edges, clamping the joint in place and using 18G brad nails. I used a square for alignment.
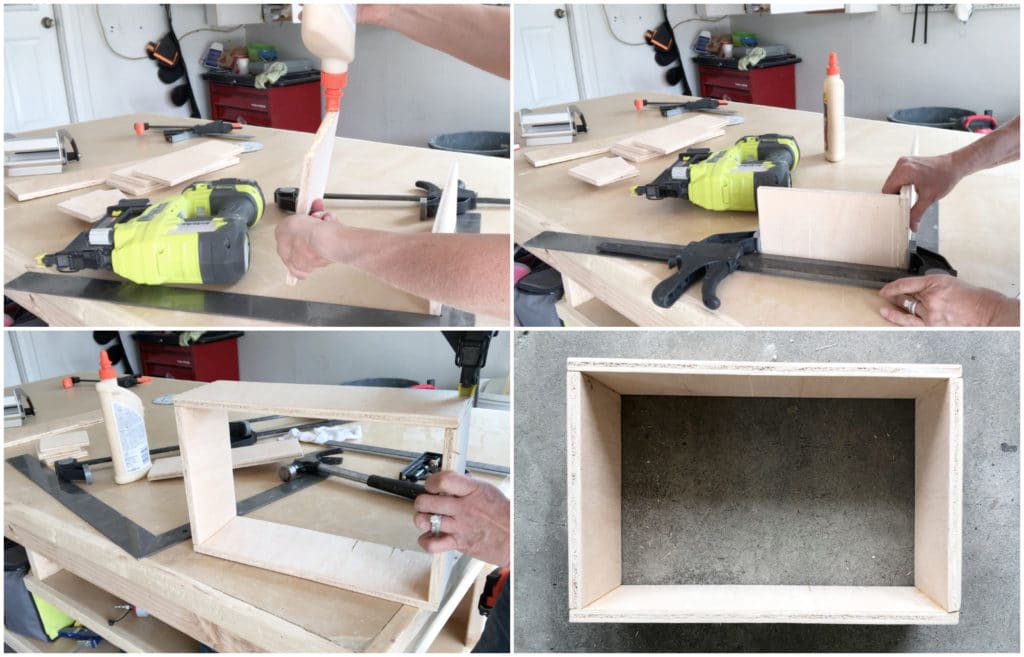
Step 2) I attached all the dividers. I did this by first marking my spot and then gluing and nailing them together. I used a scrap piece of wood to help hold the dividers in place while I was nailing again using a square for alignment. I filled in the nails holes in the divider before moving to the next step.
Step 3) I inserted the divider in the frame and nailed the frame to the divider. Then I glued and nailed the bottom piece.
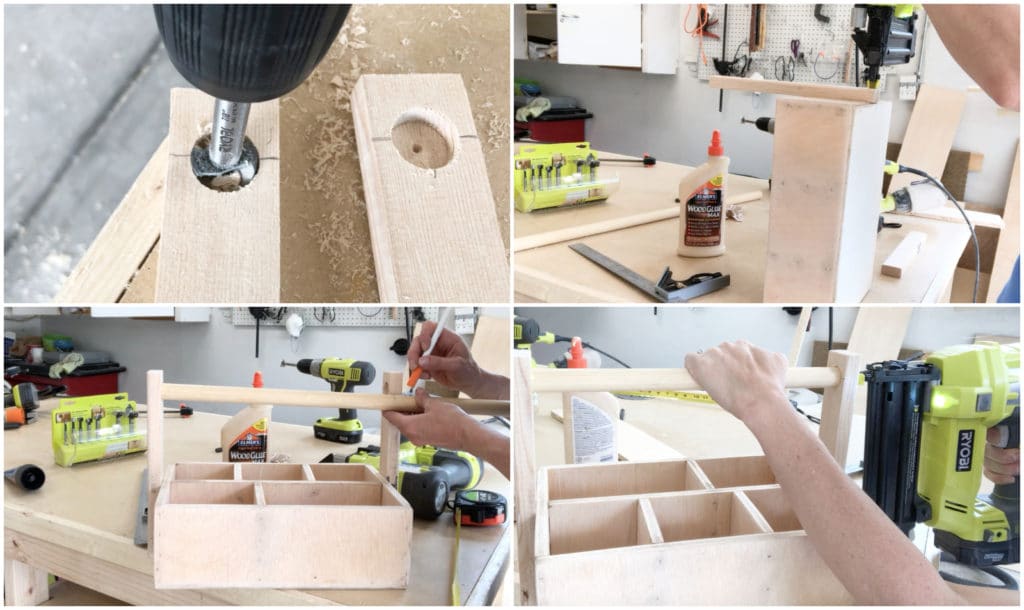
Step 4) I marked and drilled a hole with a 7/8 inch forstner bit about 1/4- 1/2 inch from the top of the 1 x 2, which would be the sides for the handle. I only drilled down the depth of the forstner bit. Then I glued and nailed one handle to the frame. At this point, I held up the other handle and the dowel and marked with a pencil to get my measurement for the dowel and cut the dowel. Then I filled the forstner drilled hole with glue and attached the dowel. I also inserted one nail to the ends of the dowel as well. I filled in all the remaining nail holes with wood filler.
Step 5) I applied Kona stain and let it dry. Then I dry brushed a turquoise like color. Dry brushing adds a rustic look. If you’re not familiar with the dry brush technique, you start by dipping the end of a dry chip paintbrush in paint. Then blot it on newspaper until there is only a little bit of paint left on the brush. Then with light strokes go back and forth over the wood. I suggest to start out light and then build as you go to your desired look. This technique is pretty much foolproof. If you apply too much paint then lightly sand it off.
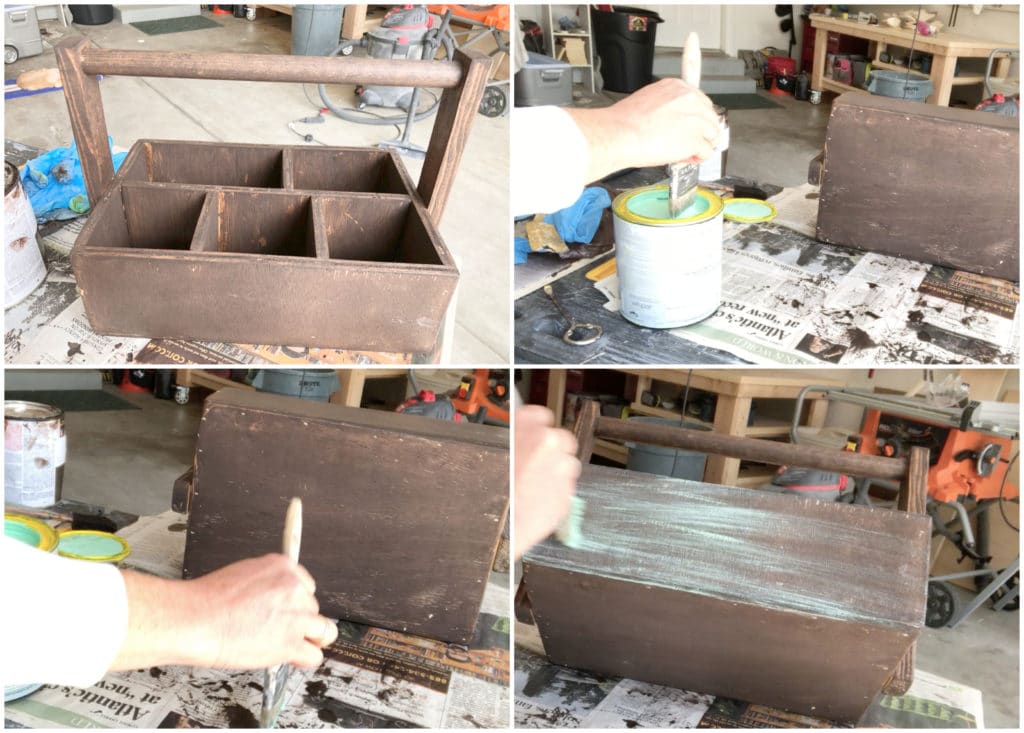
When I was all done with this I wasn’t loving the turquoise color so I dry brushed some white to tone it down a bit. I sanded the high spots. I ended up loving the results. I added a coat of triple thick poly and placed the utensils, napkins and salt pepper in their respective sections and placed it outside on our patio.
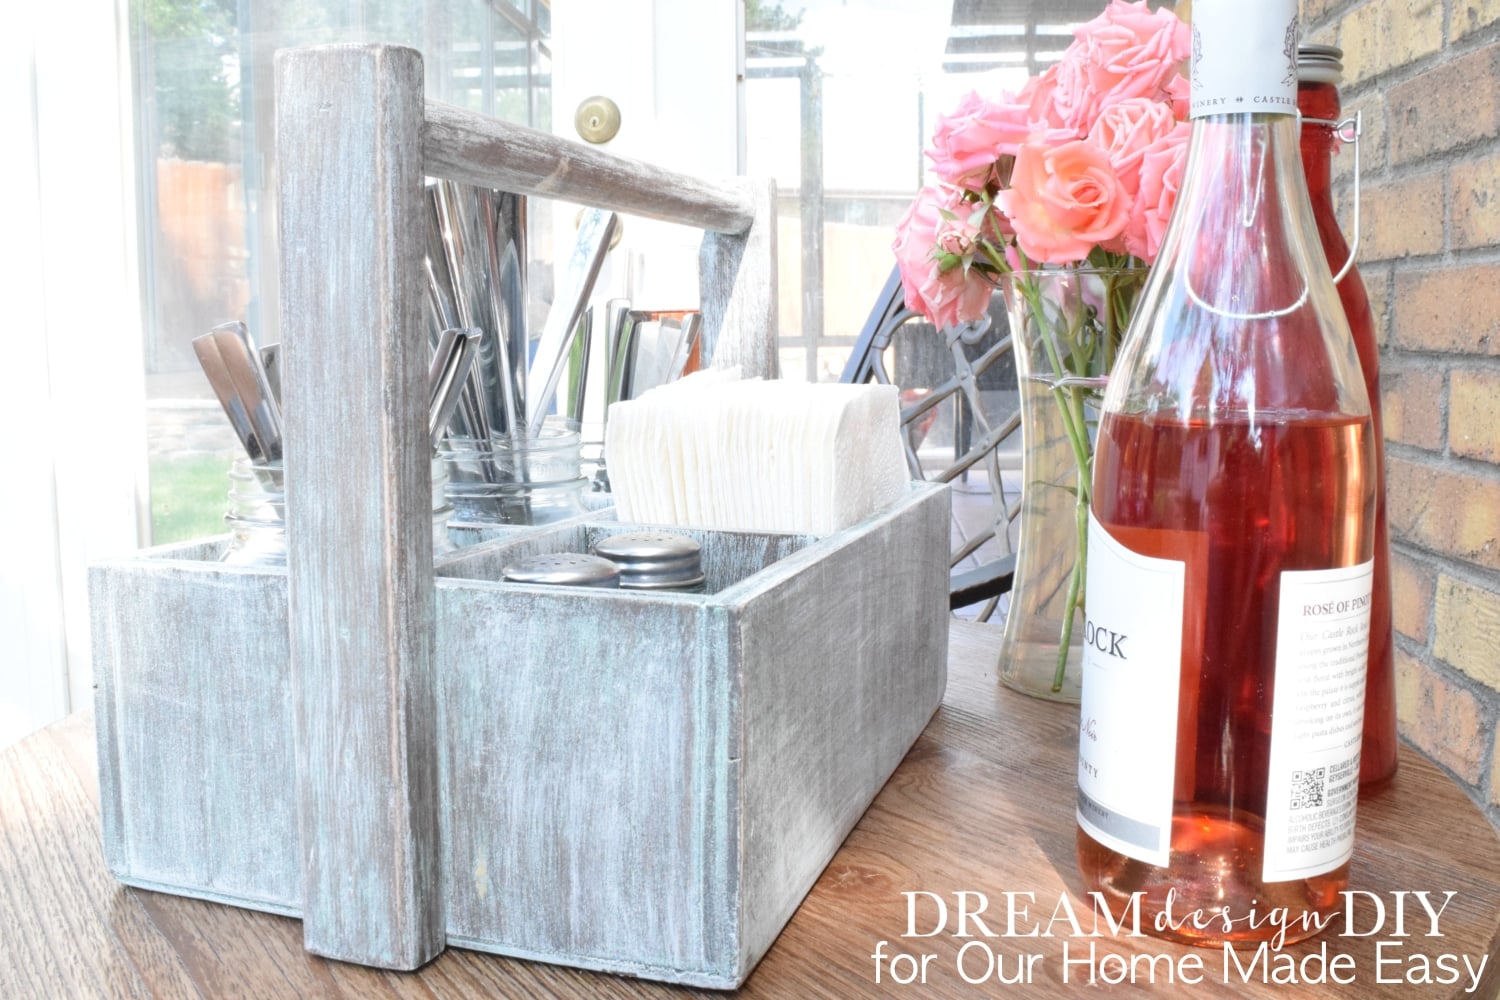
Now it is time to invite some friends over for a BBQ and put this caddy to good use!

Thank you again, Tiffany! Isn’t her patio caddy tutorial so easy to follow? I am so happy that she shared her project over here today. Don’t forget to check out her blog, Dream, Design, DIY!
PIN THIS FOR LATER:


Hi, I’m Brittany, and I believe life at home should feel easier, not heavier.
I’m the creator of Our Home Made Easy, a space for busy women who want dinner on the table, their homes running smoothly, and a little breathing room at the end of the day.
You won’t find perfection here, just realistic recipes, smart shortcuts, and simple routines that work in real life. The kind that help you feed your family well, stay organized enough, and still have time to actually enjoy it.
If you’re juggling work, kids, schedules, and everything in between, you’re in the right place. I’m so glad you’re here.


