Easy Oreo Brownies (Fudgy Homemade Recipe)
Make rich, fudgy Oreo brownies from scratch with simple pantry ingredients, chocolate chunks, and whole Oreos. An easy homemade treat everyone will love.
(This post contains affiliate links. Please see my Disclaimer for more information.)
I am absolutely not above using a boxed brownie mix. I keep them in my pantry and use them all the time, especially when I’m turning brownies into another dessert or just need something easy.
But these Oreo brownies are the recipe I make when I want that rich, fudgy homemade brownie without turning baking into a project.
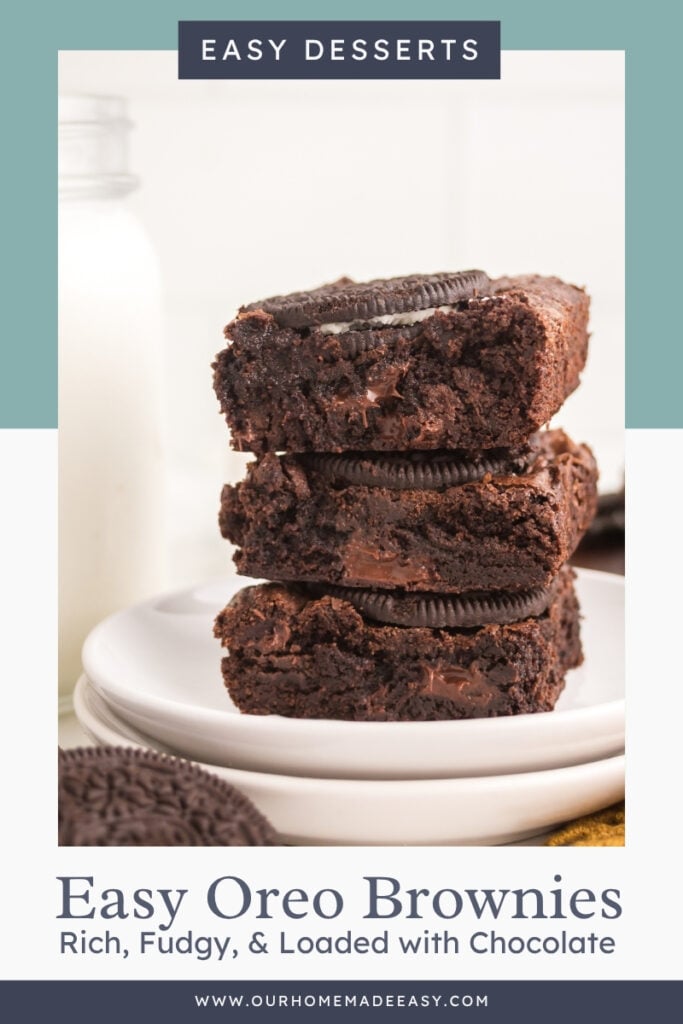
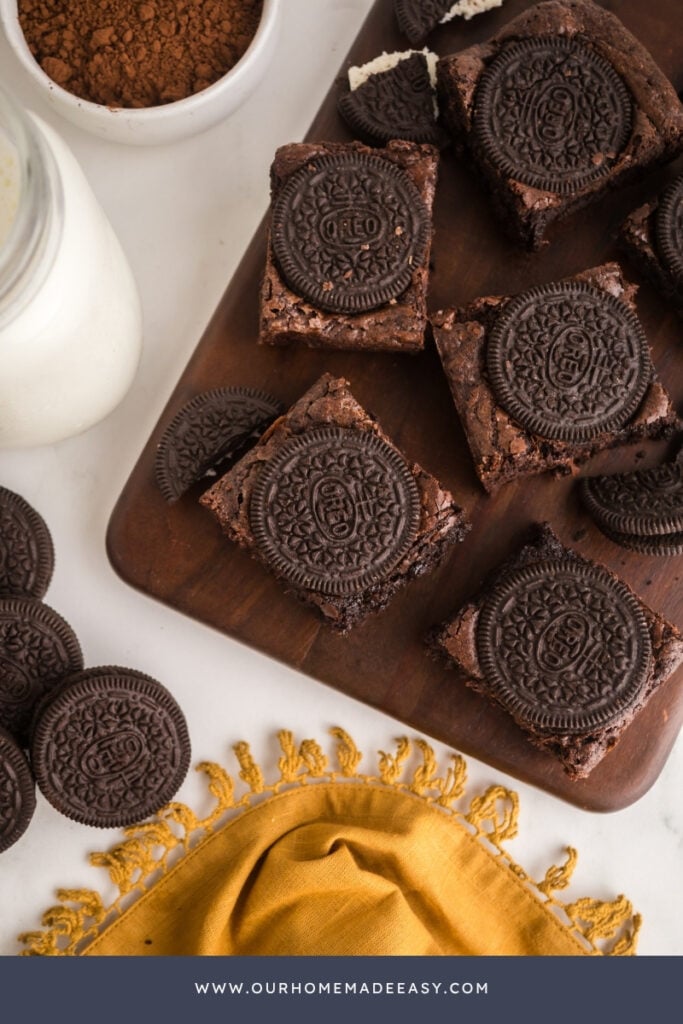
The batter comes together in one bowl with basic pantry ingredients, chocolate chunks get folded right in, and whole Oreos are pressed across the top before baking. There’s no complicated technique or fancy equipment. If you can make a boxed brownie mix, you can make these.
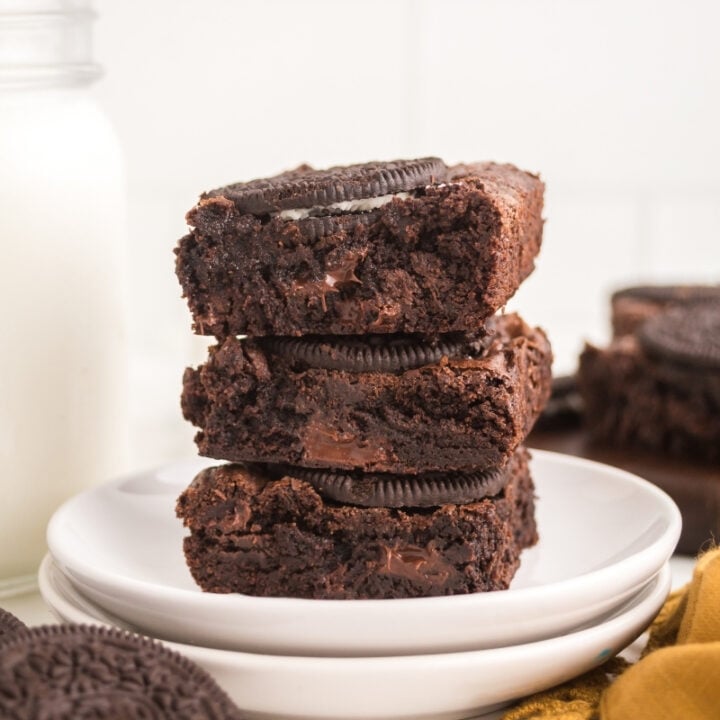
And the payoff is worth the few extra measurements: thick, fudgy brownies with melted pockets of chocolate and an Oreo on every single piece.
What You’ll Love About This Recipe:
If homemade brownies usually feel like more work than they’re worth, these Oreo brownies might change your mind. They’re simple enough for an ordinary afternoon but good enough to bring somewhere.
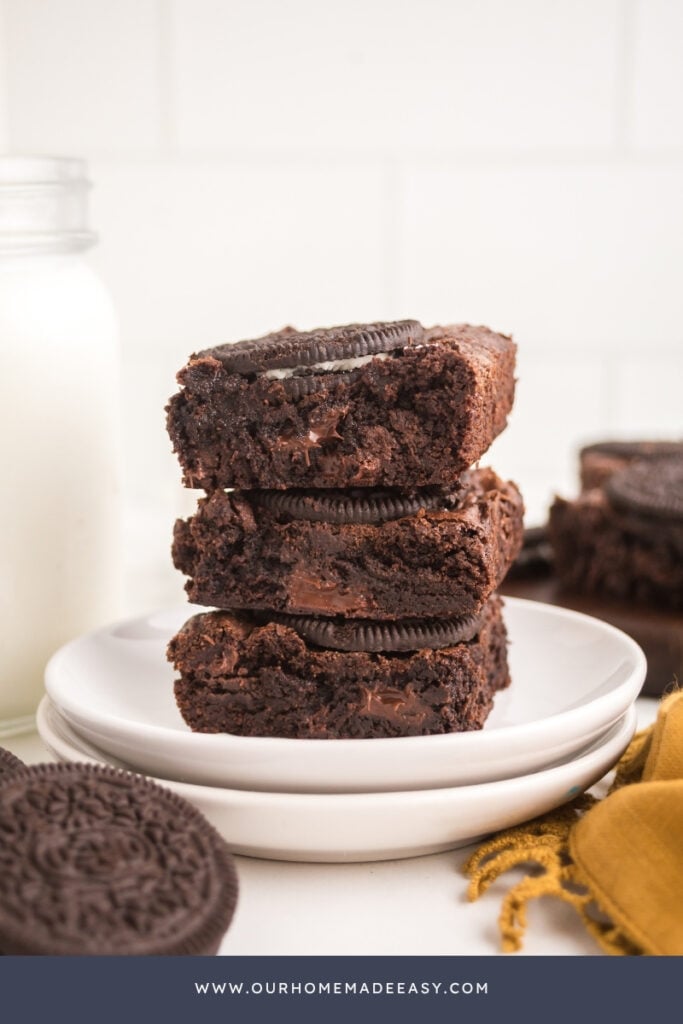
Homemade Brownies Without Making It Complicated
There’s a time and place for boxed brownies. I use brownie mix in plenty of recipes because sometimes the shortcut just makes sense.
These Oreo brownies are for the days when you want to make brownies from scratch but don’t want a recipe with 15 ingredients and a sink full of dishes.
You don’t need to melt chocolate separately or pull out a stand mixer. Melt the butter, mix the batter in one bowl, fold in the chocolate chunks, and you’re basically done.
The biggest difference is that you’re using cocoa powder and melted butter to build that rich chocolate flavor yourself. Add the chocolate chunks and Oreos, and they feel a little more special without being much harder to make.
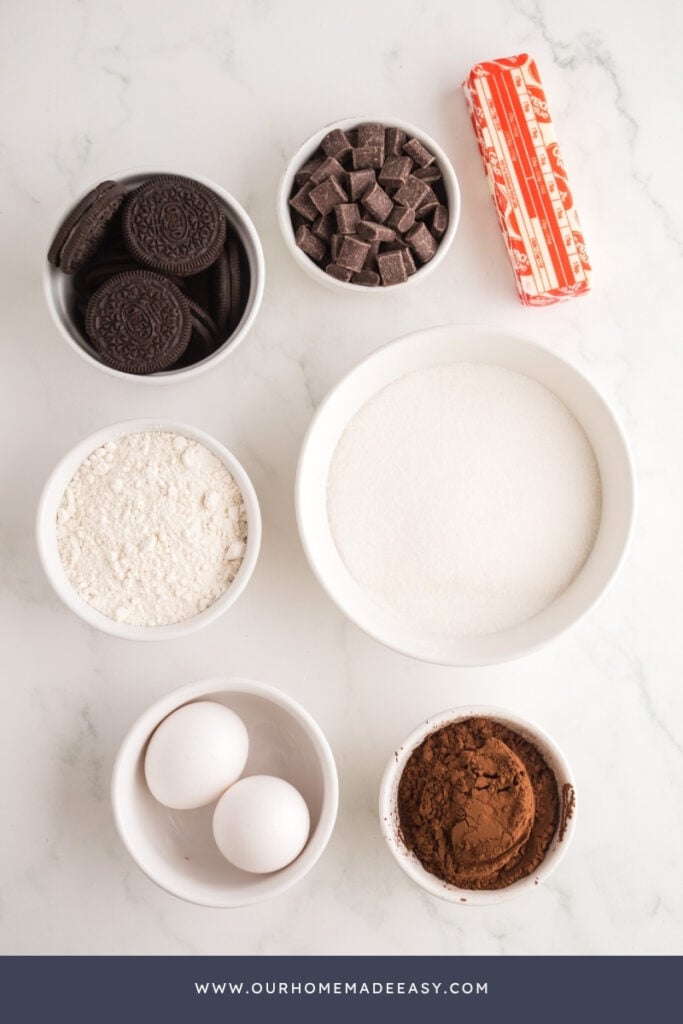
Ingredients for Oreo Brownies
Shop this post

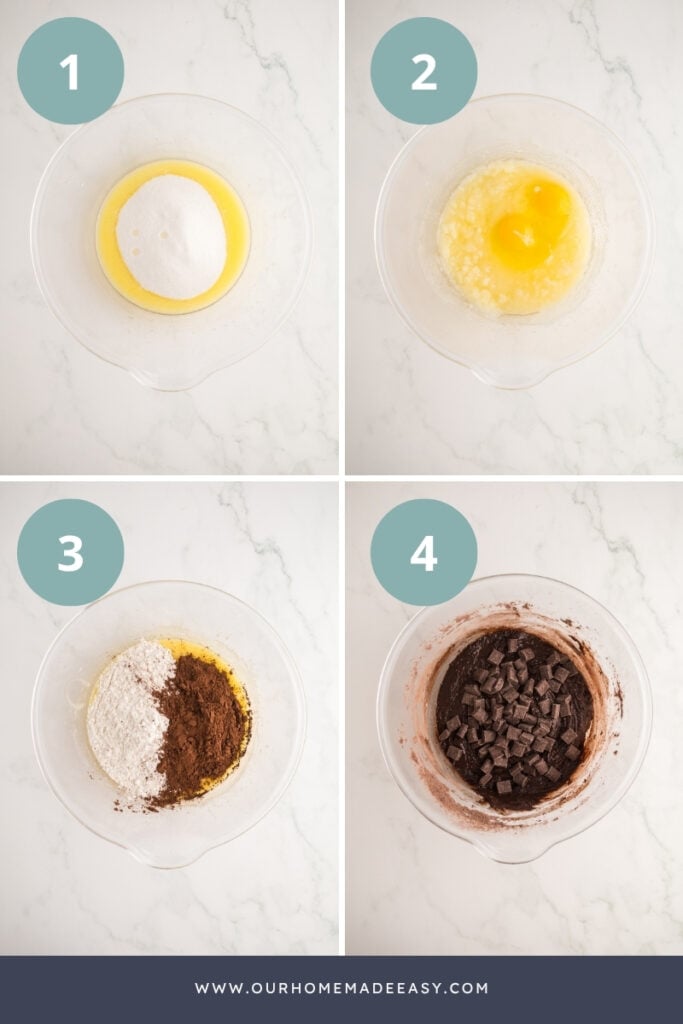
How to Make Easy Oreo Brownies
- Prepare Your Pan – Preheat the oven to 325°F and line an 8×8-inch baking pan with parchment paper. Don’t skip the parchment paper. Once the brownies cool, you can lift the entire batch out of the pan and slice them much more easily.
- Mix the Butter and Sugar – Add the melted butter and sugar to a large mixing bowl and whisk for about one minute, until they’re completely combined.
- Add The Eggs – Whisk in the eggs until they’re thoroughly incorporated.
- Add the Dry Ingredients – Gently mix in the flour and cocoa powder until everything is just combined. Don’t keep mixing once the dry pockets disappear. Overmixing adds more air to the batter and can give you a more cake-like brownie instead of the dense, fudgy texture we’re after.
- Add the Chocolate – Fold in the chocolate chunks until they’re evenly distributed throughout the batter.
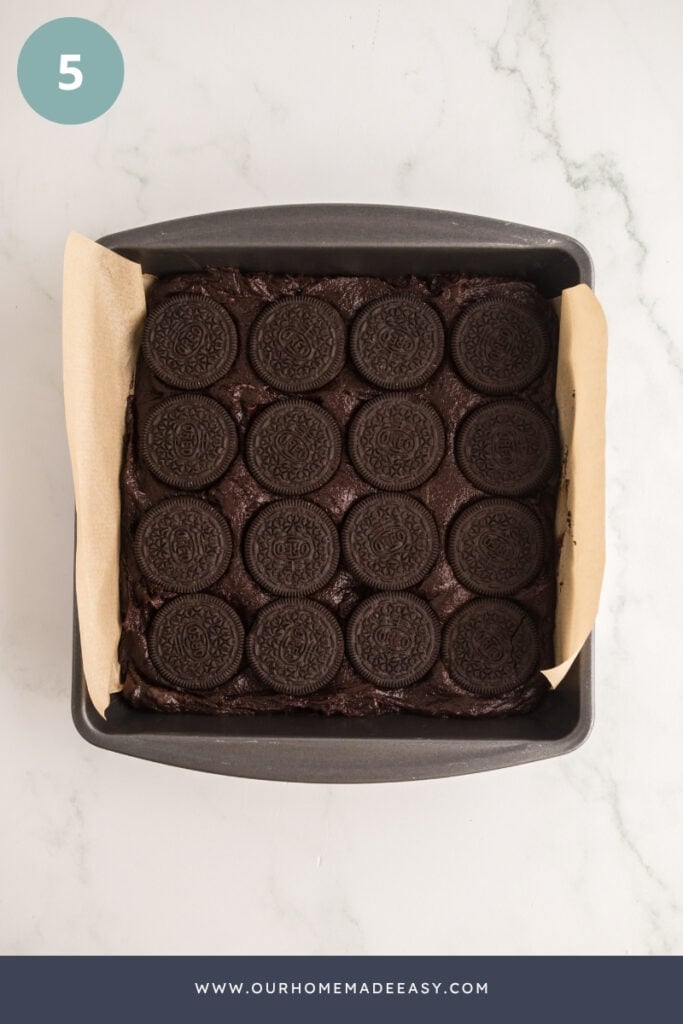
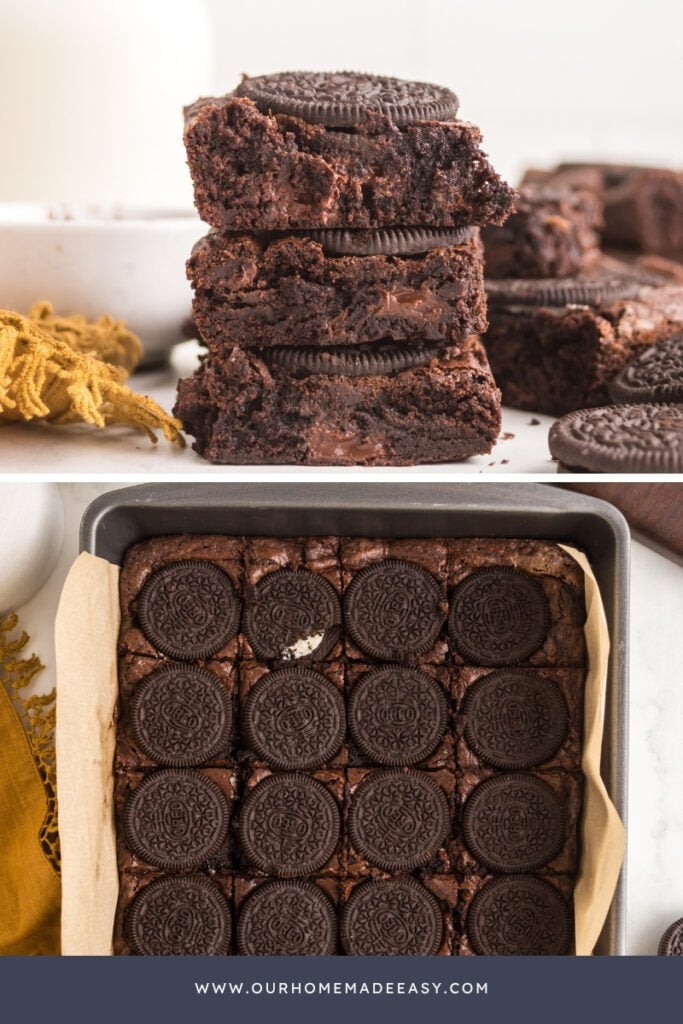
- Add the Oreos – Spread the batter evenly in your prepared pan. Press 16 whole Oreos gently into the top in a 4×4 grid. Not only do they look great when the brownies come out of the oven, but each Oreo also shows you exactly where to cut.
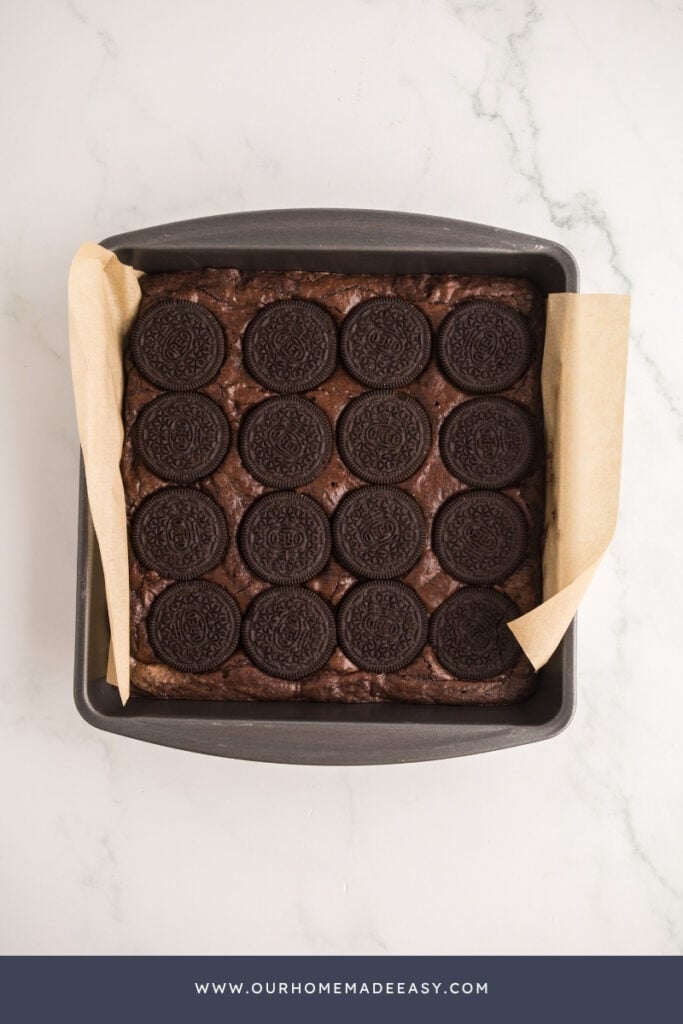
- Bake and Cool – Bake for about 45 minutes, then let the brownies cool in the pan for at least 30 minutes before cutting. That cooling time matters. The brownies continue to set as they cool, which makes them much easier to slice cleanly.
Find the measurements and full recipe below!
For even more delicious brownies, you will like these:

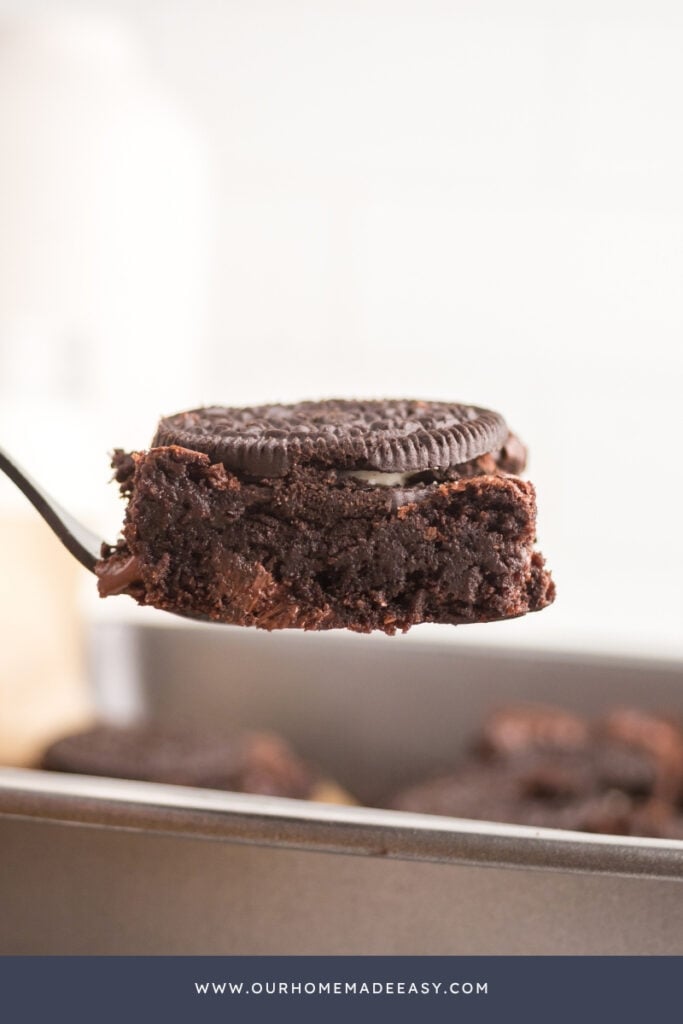

How to Make Fudgy Oreo Brownies
You don’t need any complicated brownie tricks, but a few little things make a big difference:
- Don’t Overmix the Batter – Once the flour and cocoa disappear into the batter, stop mixing.
- Use Dark Cocoa Powder – It gives these brownies a deeper chocolate flavor that pairs especially well with the chocolate Oreo cookies.
- Use Chocolate Chunks – They melt into bigger pockets of chocolate than standard chocolate chips. But if you only have chips, use them.
- Let Them Cool – I know cutting into warm brownies is tempting, but these need at least 30 minutes to set.
- Use Parchment Paper – Lift the cooled brownies out of the pan before slicing instead of trying to dig individual brownies out.
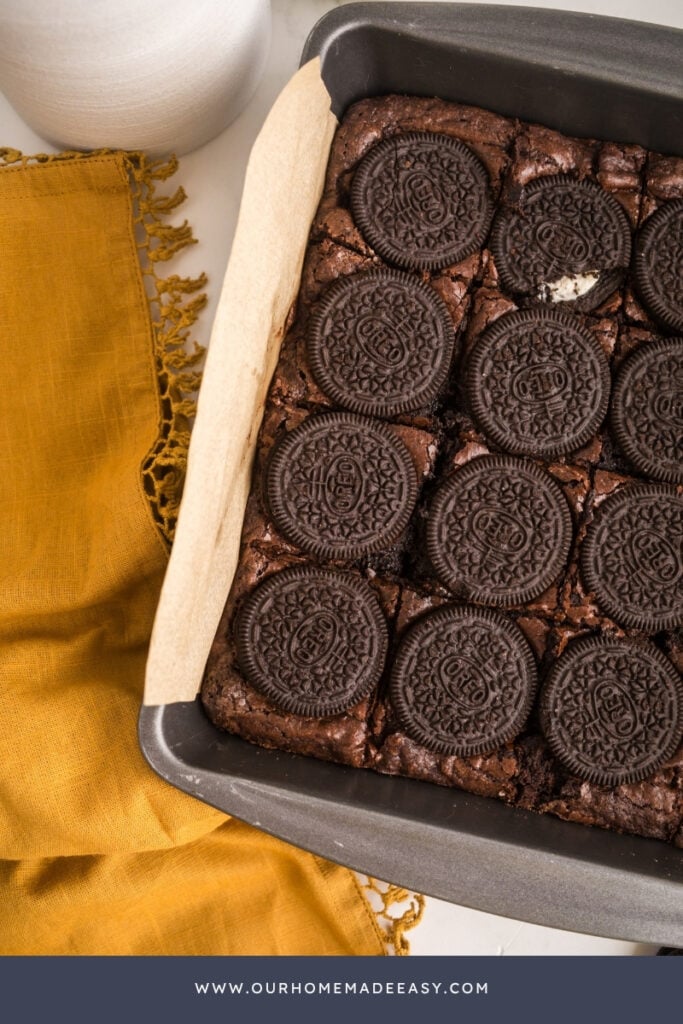
Easy Ways to Change Them Up
Mix in the Oreos – Instead of leaving the cookies whole on top, crush them and fold the pieces into the brownie batter for Oreo pieces throughout. That’s explicitly supported by your recipe notes.
Try Different Oreos – This is where I’d let readers have fun: Double Stuf, mint, peanut butter, or whatever seasonal flavor sounds good. (My husband LOVES the Selena ones!)
Change the Chocolate – Milk, dark, or semi-sweet chocolate chunks can all work depending on how rich you want the brownies.
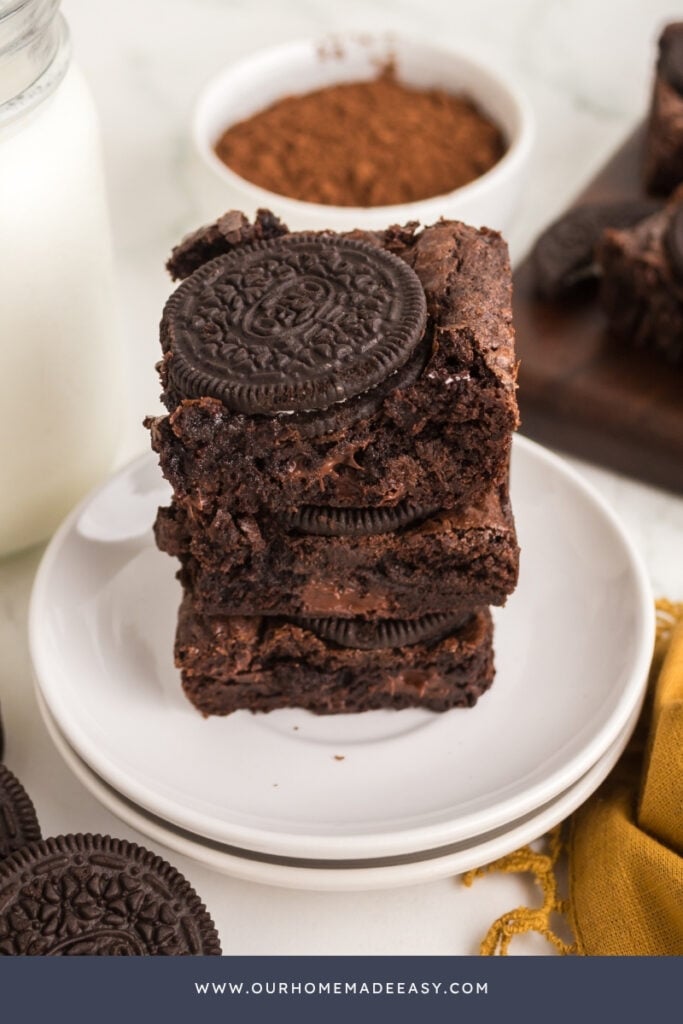
How to Store Homemade Oreo Brownies
Once completely cooled, store the brownies in an airtight container at room temperature for up to 5 days. They’re great at room temperature, or you can microwave one for about 10–15 seconds if you want those chocolate chunks warm and melty again.
You can also freeze the brownies for up to 2 months. Let them thaw in the refrigerator, or microwave an individual frozen brownie for about 30–45 seconds.
Can I use regular cocoa powder?
Yes. Dark or Dutch-process cocoa gives these brownies a deeper chocolate flavor, but regular cocoa powder works too.
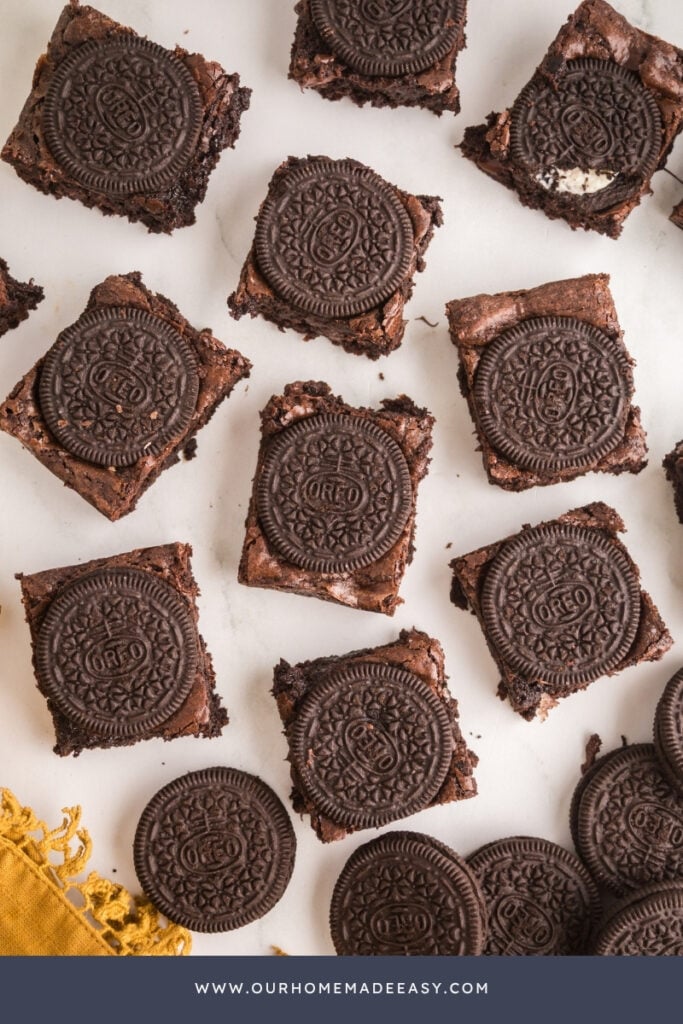
Can I use chocolate chips instead of chocolate chunks?
Absolutely. Chocolate chunks create larger melted pockets, but semi-sweet, milk, or dark chocolate chips can all be substituted.
Can I mix the Oreos into the brownies instead?
Yes. Crush the Oreos and fold them into the batter if you’d rather have cookie pieces throughout the brownies instead of whole cookies on top.
Can Oreo brownies be frozen?
Yes. Once completely cool, freeze them in an airtight container for up to two months.
These Oreo brownies are proof that baking from scratch doesn’t have to mean making things complicated. They’re rich, fudgy, packed with melty chocolate, and easy enough to make whenever a brownie craving hits. I’ll always keep boxed brownie mix in my pantry for the recipes and busy days when it makes sense, but when I want a really good homemade brownie without a lot of extra work, this is the recipe I’m making!
Oreo Brownies
These easy homemade Oreo brownies are thick, fudgy and loaded with melted chocolate chunks. Whole Oreos baked on top make them an easy chocolate treat that's almost as simple as using a boxed brownie mix.
Ingredients
- ½ cup Salted Butter, melted
- 1 ¼ cups White Granulated Sugar
- 2 large Eggs
- 1 cup All-Purpose Flour
- ½ cup Dark Cocoa Powder
- 1 cup Semi-Sweet Chocolate Chunks
- 16 Oreos
Instructions
- Preheat your oven to 325°F and line an 8x8-inch baking dish with parchment paper. Set the pan aside.
- Add the melted butter and sugar to a large mixing bowl. Use a whisk or electric hand mixer to whisk the ingredients together for about a minute, or until fully combined.
- Whisk in the eggs until they are thoroughly beaten. Gently whisk in the flour and cocoa powder until just combined.
- Fold in the chocolate chunks until they are evenly distributed throughout the batter. Spread your batter into the prepared baking dish, using a spatula to smooth out the top. Gently press your Oreos into the surface of your brownie batter, creating a 4x4 grid.
- Bake your brownies for 45 minutes, or until you can cleanly remove a toothpick from the center of the pan.
- Let your brownies cool in the pan for at least 30 minutes before slicing. Serve and enjoy!
Notes
● I like to place my Oreo on top of my brownies. This gives the brownies a fun, aesthetic look and helps me know where to slice them. That said, you can also crush your brownies and fold them into the brownie batter if you want that flavor and texture more evenly distributed throughout the dessert.
● Make sure you give your brownies a chance to cool down before you slice into them. Their structure becomes more stable the longer they cool.
● We like to use dark or Dutch cocoa powder for an extra rich flavor, but regular cocoa powder works great too. Dark cocoa powder pairs particularly well with the flavor of the Oreos.
● If you are using unsalted butter, make sure you add ½ teaspoon of salt to your brownie batter at the same time as the dry ingredients.
● Chocolate chunks are going to melt down much better than chocolate chips, but use whatever you have on hand. You can use milk, dark, or semi-sweet chocolate for these brownies.
● Once your brownies have cooled completely, you can store them in an airtight container on the counter for up to 5 days. Enjoy a brownie at room temperature or warmed in the microwave for about 10-15 seconds.
● These brownies freeze great. Once they have cooled, just move them to an airtight container in the freezer for up to 2 months. You can either let them thaw in the fridge or reheat one from frozen in the microwave for about 30-45 seconds.
● Be careful not to overmix your brownie batter. Mix the wet and dry ingredients until just combined, until there are no dry pockets left. Overmixing adds air to the batter and gives the brownies a more cake-like texture.
● Don’t skip the parchment paper. It will make your brownies much easier to remove from the pan.
Recommended Products
As an Amazon Associate and member of other affiliate programs, I earn from qualifying purchases.


Nutrition Information:
Yield: 16 Serving Size: 1Amount Per Serving: Calories: 394Total Fat: 19gSaturated Fat: 9gUnsaturated Fat: 10gCholesterol: 58mgSodium: 208mgCarbohydrates: 51gFiber: 4gSugar: 22gProtein: 6g

Did you make this recipe?
Mention us @ourhomemadeeasy or tag us using #ourhomemadeeasy so we can see your dish!

Hi, I’m Brittany, and I believe life at home should feel easier, not heavier.
I’m the creator of Our Home Made Easy, a space for busy women who want dinner on the table, their homes running smoothly, and a little breathing room at the end of the day.
You won’t find perfection here, just realistic recipes, smart shortcuts, and simple routines that work in real life. The kind that help you feed your family well, stay organized enough, and still have time to actually enjoy it.
If you’re juggling work, kids, schedules, and everything in between, you’re in the right place. I’m so glad you’re here.