Cake Batter Rice Krispie Treats (Easy No-Bake Recipe)
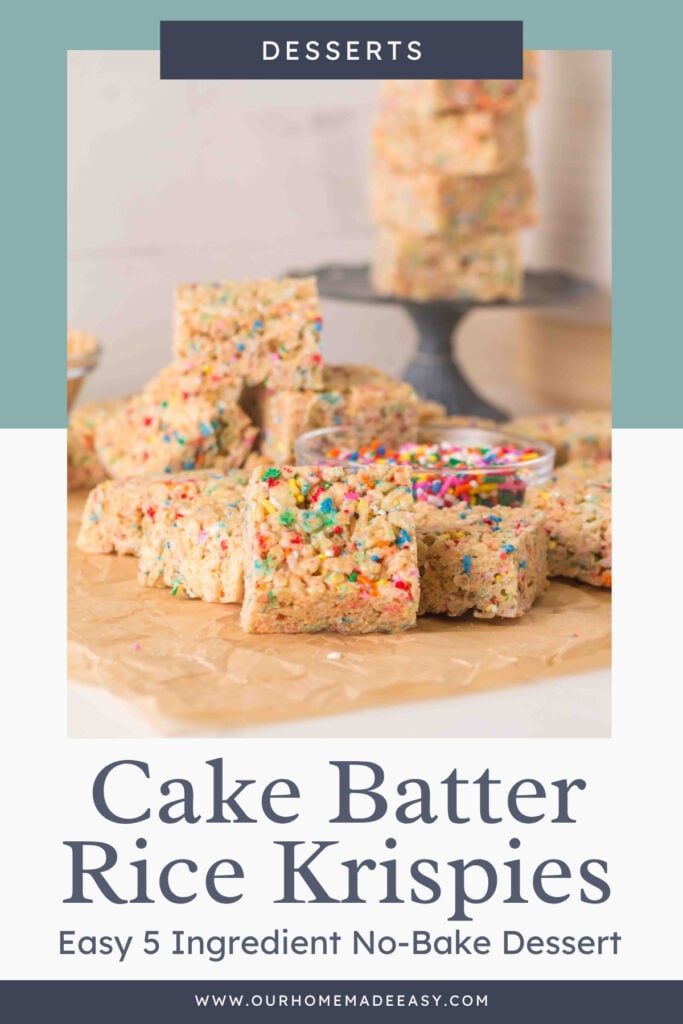
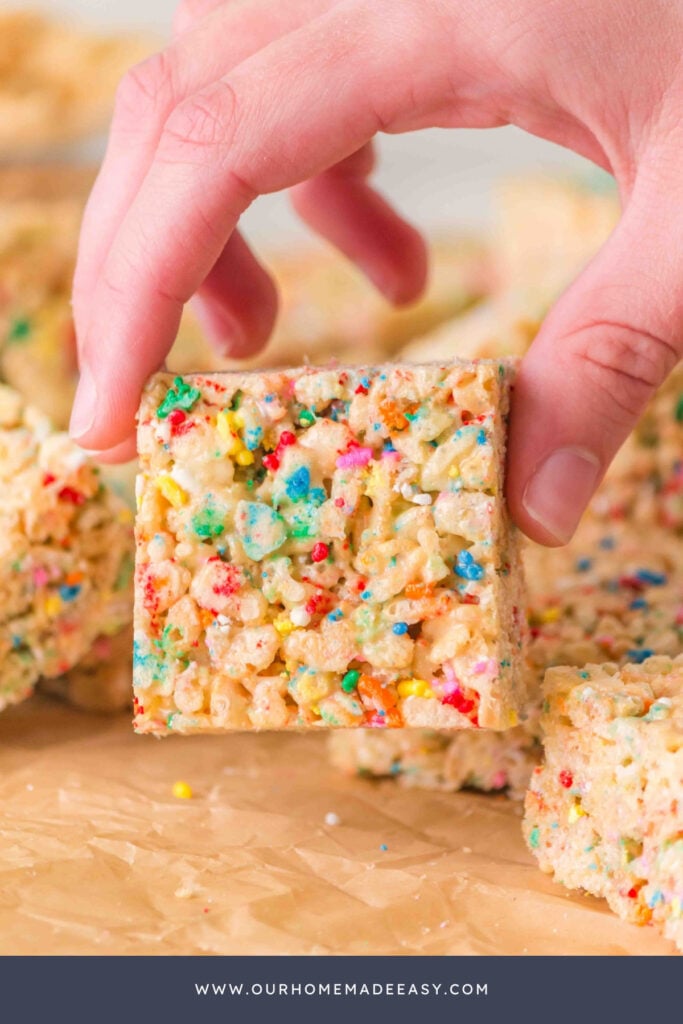
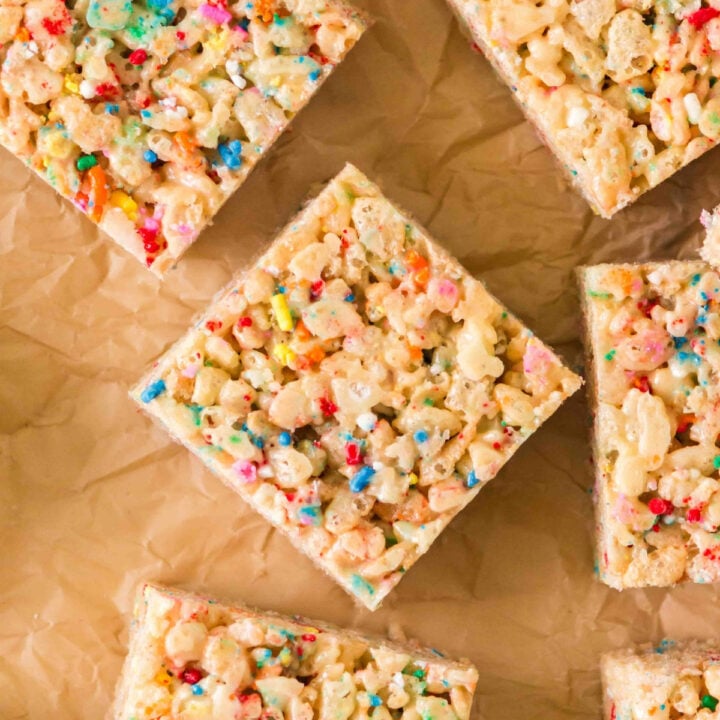
These Cake Batter Rice Krispie Treats are soft, chewy, and filled with birthday cake flavor and colorful sprinkles! Made with just five ingredients, they’re an easy no-bake dessert for parties, birthdays, or a fun treat at home
(This post contains affiliate links. Please see my Disclaimer for more information.)
If you love Rice Krispies Treats and birthday cake, you’re going to want to try these Cake Batter Rice Krispies Treats! They have everything you love about the classic marshmallow cereal bars, plus that sweet birthday cake flavor and plenty of colorful sprinkles.
And the best part? You only need five ingredients and about 15 minutes of hands-on time.
These are the kind of treats I love making when we need something fun for a birthday, school celebration, or weekend dessert, but I don’t want to spend hours baking and decorating.
The yellow cake mix gives the treats a cake batter flavor, while the melted marshmallows keep everything soft and chewy. Add a handful of rainbow sprinkles, and you’ve got an easy dessert that looks like you put in a lot more effort than you actually did!
What You’ll Love About This Recipe:
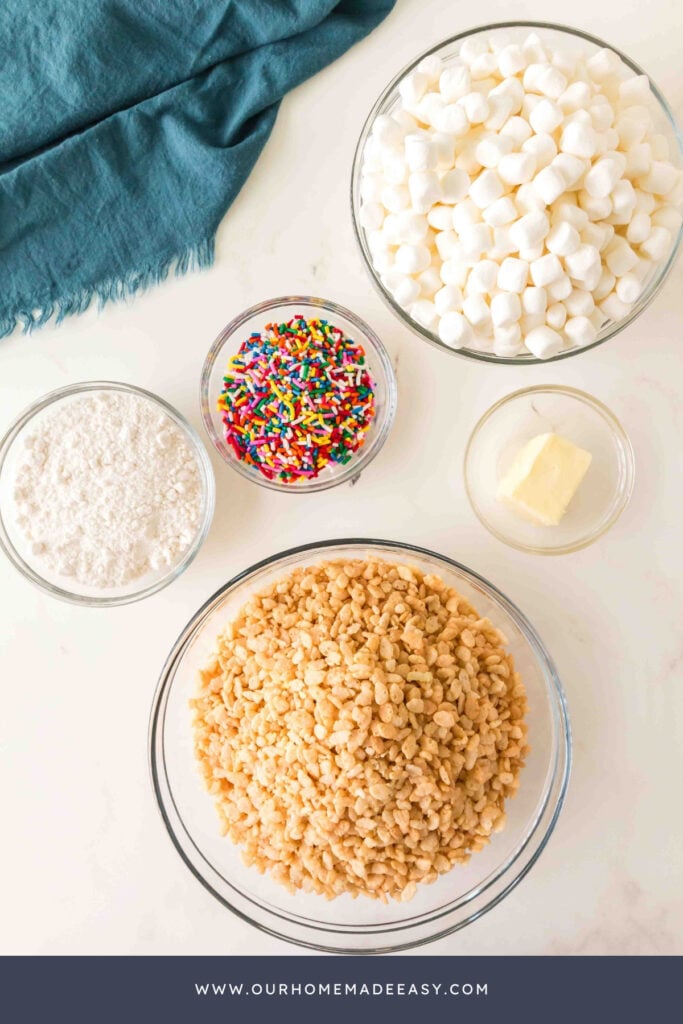
Ingredients for Cake Batter Rice Krispie Treats
One of my favorite things about this recipe is the short ingredient list. You don’t need any fancy baking supplies or complicated ingredients.
Heat Treating Cake Mix for No-Bake Treats
Did you know that boxed cake mix contains raw flour? Even though it doesn’t look like raw food, flour can contain harmful bacteria like E. coli and Salmonella.
You may have seen two common methods for heat-treating cake mix at home:
Microwave Method: Heat the dry cake mix in short intervals, stir between intervals, and check the temperature.
Oven Method: Spread the dry cake mix on a baking sheet, heat it in the oven, and stir periodically.
While these methods are often recommended for edible cake batter recipes, reaching 165°F doesn’t guarantee that all harmful bacteria have been eliminated. The FDA doesn’t recommend home heat treating flour as a reliable food-safety method.
For the safest no-bake version of these Cake Batter Rice Krispie Treats, use cake mix specifically labeled safe to eat without baking.
You can read more about handling flour safely from the FDA.
Shop this post

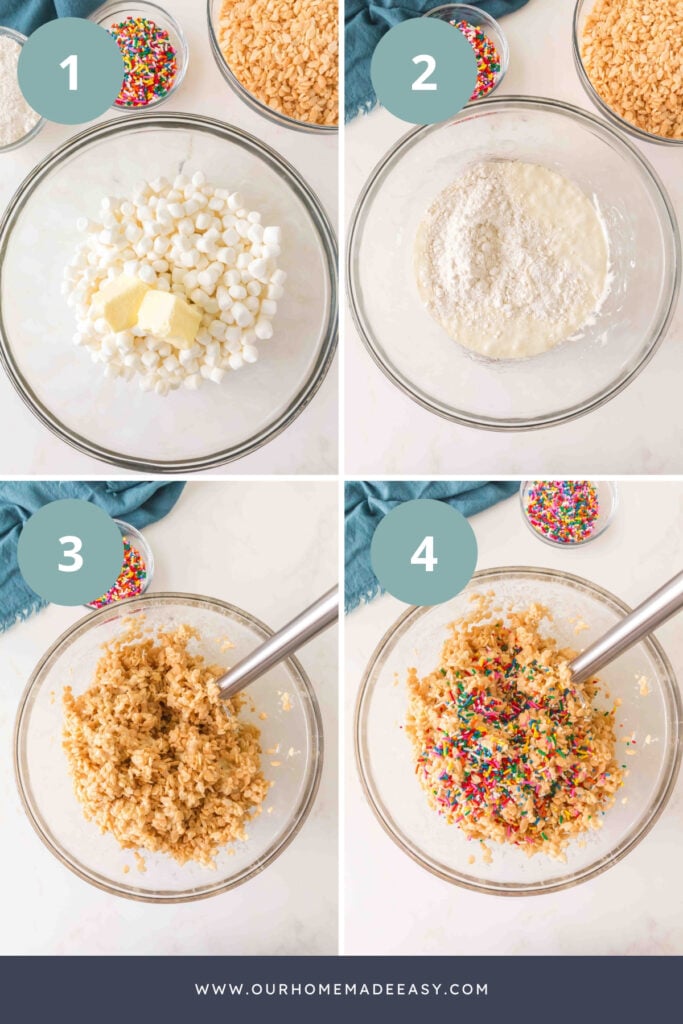
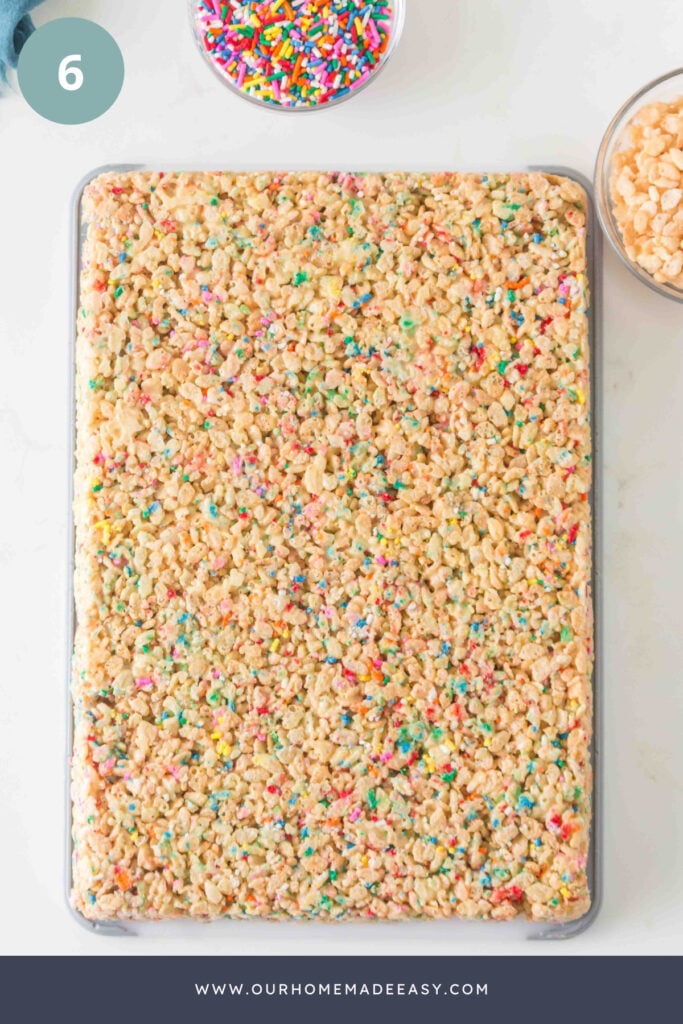
How to Make Cake Batter Rice Krispie Treats
These homemade Rice Krispie Treats are easy to make, but you’ll want to have everything measured and ready before you start. Once the marshmallows are melted, the mixture comes together quickly!
- Prepare the Pan: Lightly butter a 9×13-inch baking dish and set it aside. You can also line the pan with parchment paper to make removing the treats easier.
- Melt the Butter and Marshmallows: In a large saucepan over medium-low heat, melt the salted butter. Add the mini marshmallows and stir constantly until completely melted and smooth.
- Add the Cake Mix: Stir in the dry, ready-to-eat cake mix until it’s evenly combined with the marshmallow mixture. Don’t prepare the cake mix according to the box directions.
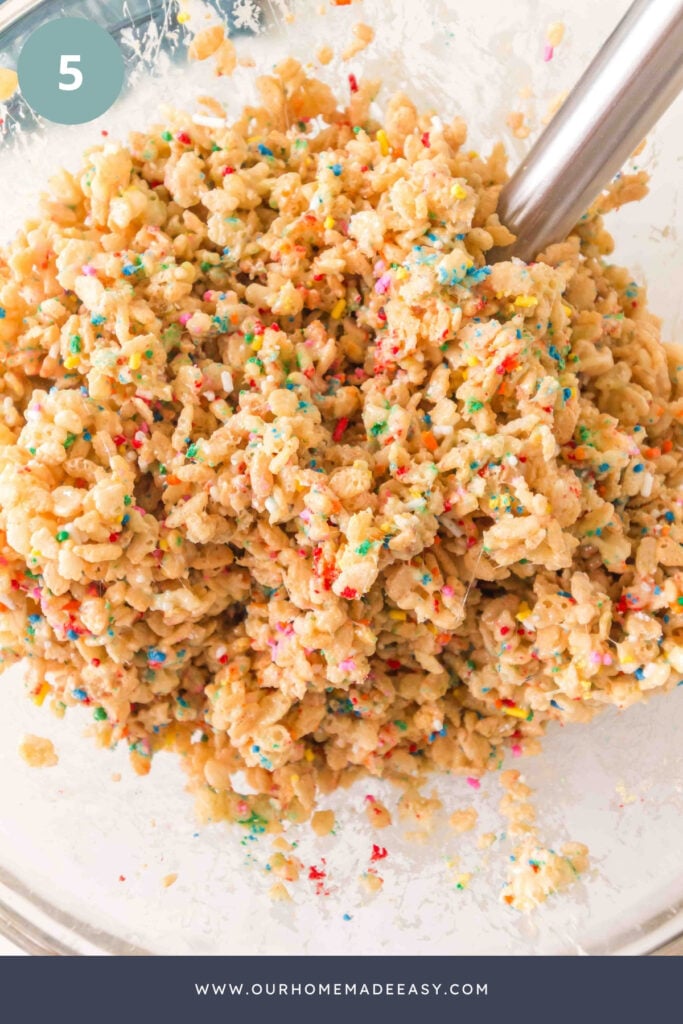
- Mix in the Cereal: Add the Rice Krispies cereal and gently stir until everything is coated in the marshmallow mixture. Fold in the rainbow sprinkles just until evenly distributed.
- Press Into the Pan: Transfer the mixture to your prepared baking dish. Use a lightly buttered spatula or greased hands to gently press the cereal mixture into an even layer. Don’t pack it down too firmly!
- Let the Treats Set: Allow the treats to cool and set for about 60 minutes. Once firm enough to cut, slice into squares and enjoy!
Find the measurements and full recipe below!
For even more delicious recipes, you will like these:



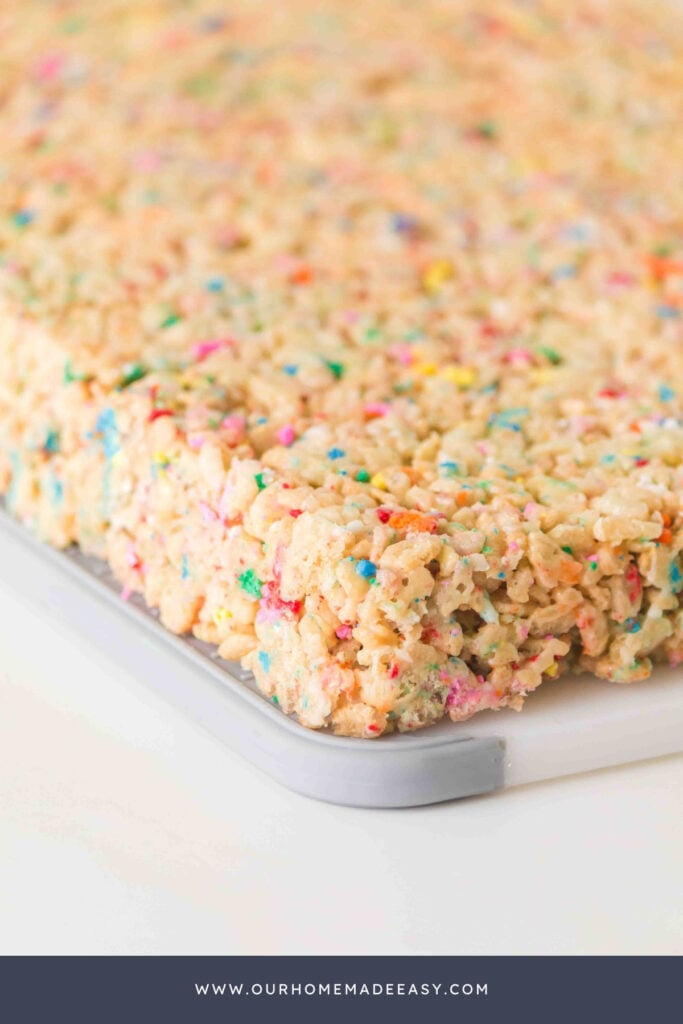

Tips for Soft and Chewy Rice Krispies Treats
Have you ever made Rice Krispie Treats that turned out hard instead of soft and chewy? Usually, it comes down to a few simple things.
Here’s how to get the best results:
- Use Fresh Marshmallows: Older marshmallows don’t always melt smoothly and can make your treats dry or hard.
- Keep the Heat Low: Melt the butter and marshmallows over medium-low heat. High heat can make the finished treats harder.
- Stir Constantly: Keep the marshmallow mixture moving so it melts evenly without sticking to the bottom of the pan.
- Don’t Press Too Hard: Gently spread the mixture into the baking dish. Packing it down too tightly makes dense, firm treats.
- Add Sprinkles Last: Fold in the rainbow sprinkles at the end to help prevent the colors from bleeding into the marshmallow mixture.
- Work Quickly: Once the cereal is mixed in, transfer everything to your prepared pan before the marshmallows begin to set.
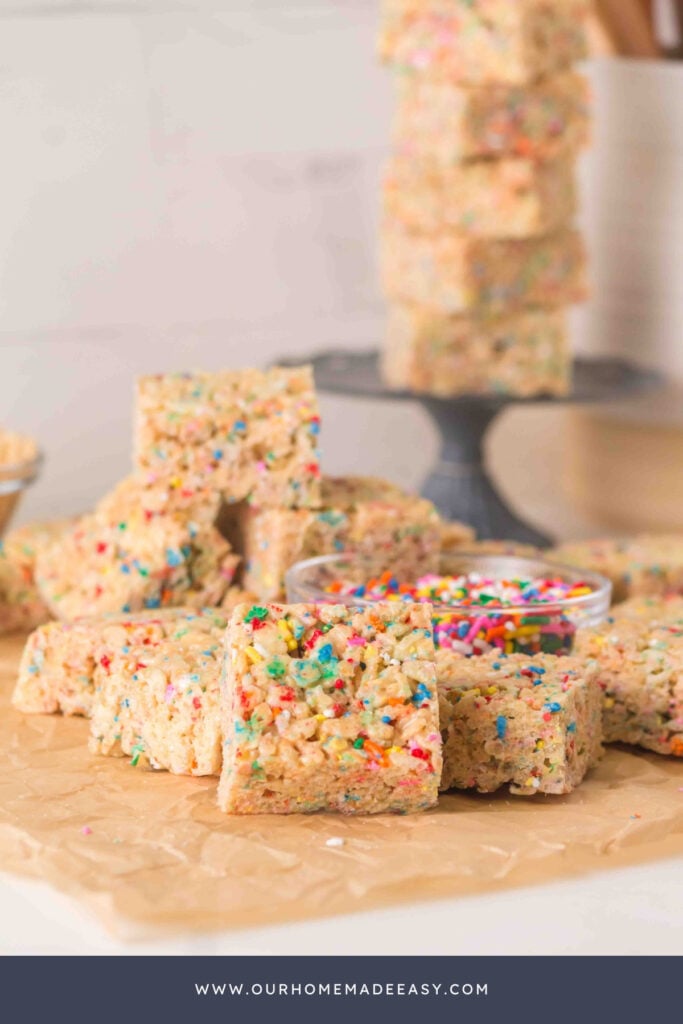
Why Add Cake Mix to Rice Krispie Treats?
Adding yellow cake mix is an easy way to turn classic Rice Krispie Treats into something that tastes more like birthday cake.
The cake mix adds that familiar sweet vanilla cake flavor without needing to bake an actual cake.
With melted marshmallows and rainbow sprinkles, it becomes a fun, birthday cake-inspired dessert that still has the crispy, chewy texture everyone loves.
Remember: Regular boxed cake mix is designed to be baked, so choose a ready-to-eat, heat-treated cake mix for this no-bake recipe.
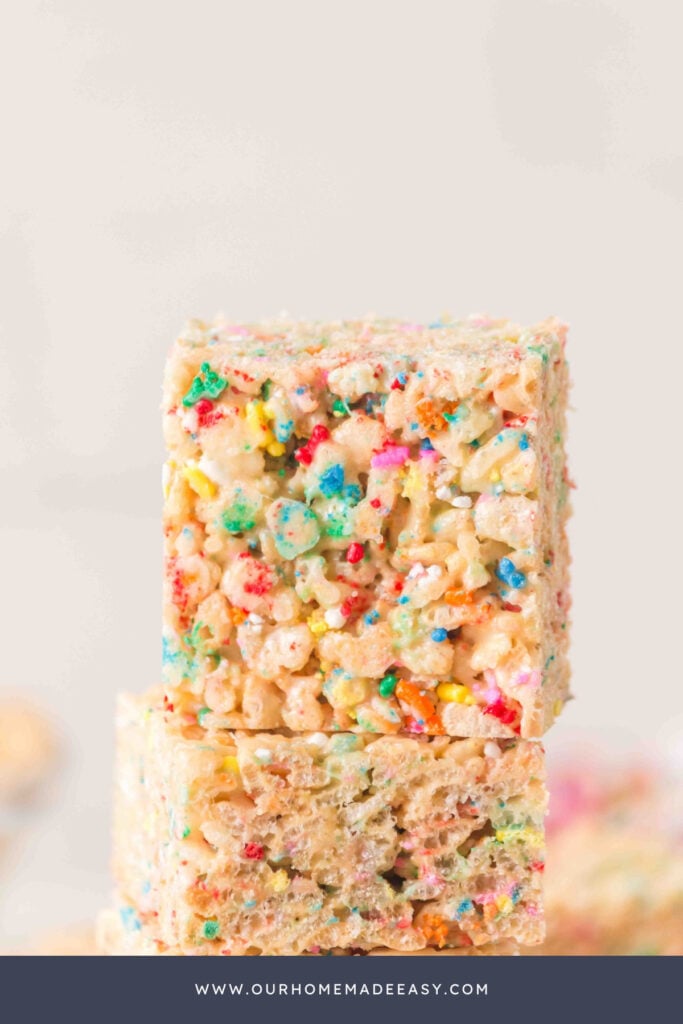
Fun Variations to Try
These Cake Batter Rice Krispie Treats are already colorful, but there are a few easy ways to make them your own.
- Try Different Sprinkles: Change the sprinkle colors to match a birthday party, holiday, or school celebration.
- Add White Chocolate: Drizzle melted white chocolate over the cooled treats for an extra-sweet finish.
- Use Vanilla Extract: Add a small splash of vanilla extract to the melted marshmallows for a little more vanilla flavor.
- Try Almond Extract: A tiny amount of almond extract can give the treats a bakery-style birthday cake flavor.
- Cut Fun Shapes: Instead of squares, use cookie cutters to make stars, hearts, or other shapes for special occasions.
For birthdays, I especially like the idea of using sprinkles that coordinate with the party colors. It’s such an easy way to make a simple homemade dessert feel special.
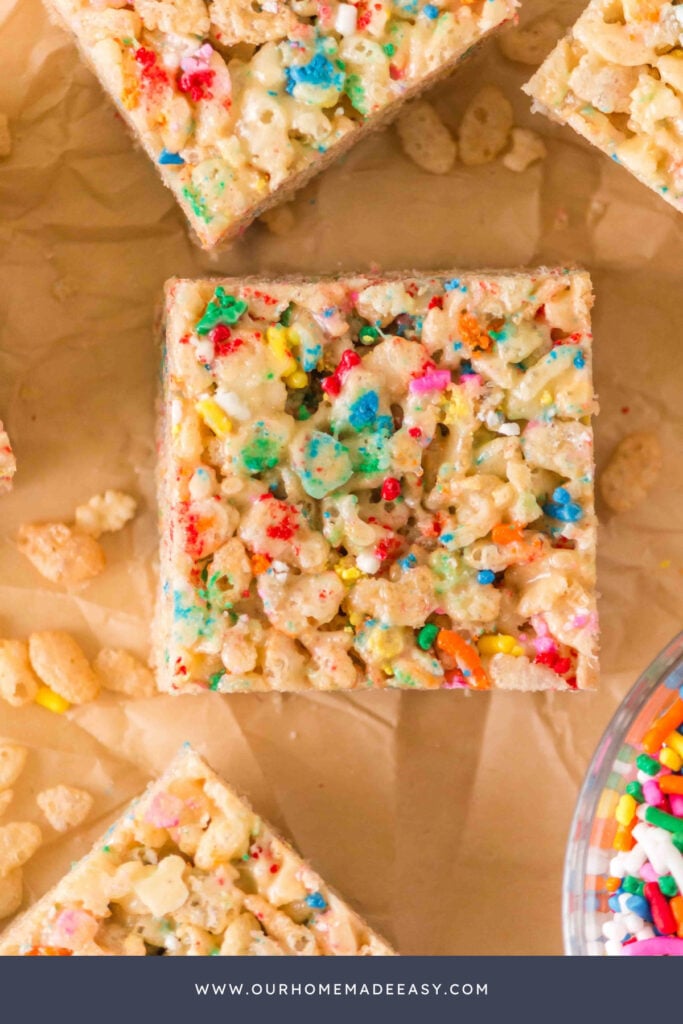
How to Cut Rice Krispie Treats Into Perfect Squares
- For neat squares, let the treats cool completely before slicing.
- Once they’ve set, use a sharp knife to cut them into even portions. If the marshmallow mixture sticks to your knife, lightly grease the blade before cutting.
- You can cut the treats into larger squares for dessert or smaller bite-sized pieces for a party tray.
- This recipe makes approximately 20 squares, depending on how large you cut them.
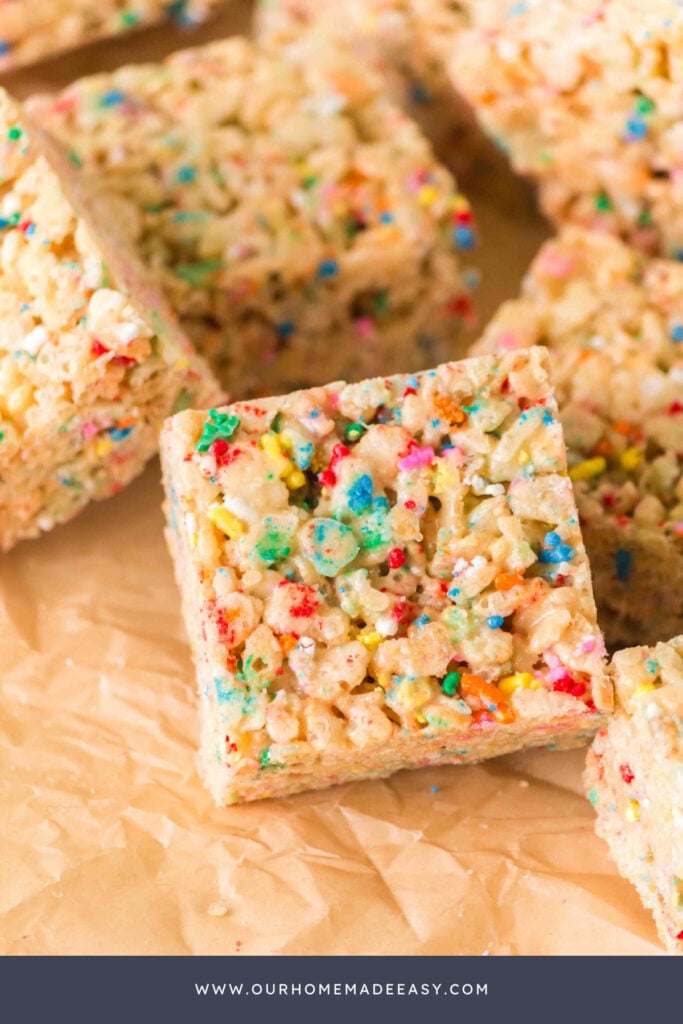
Can You Make Cake Batter Rice Krispie Treats Ahead of Time?
Yes! These are a great dessert to make ahead for a party or celebration.
You can prepare them earlier in the day or the day before you need them. Once the treats have cooled and set, keep them covered in an airtight container at room temperature.
I recommend making them as close to serving time as your schedule allows so they stay soft and chewy.
How to Store Leftover Rice Krispie Treats
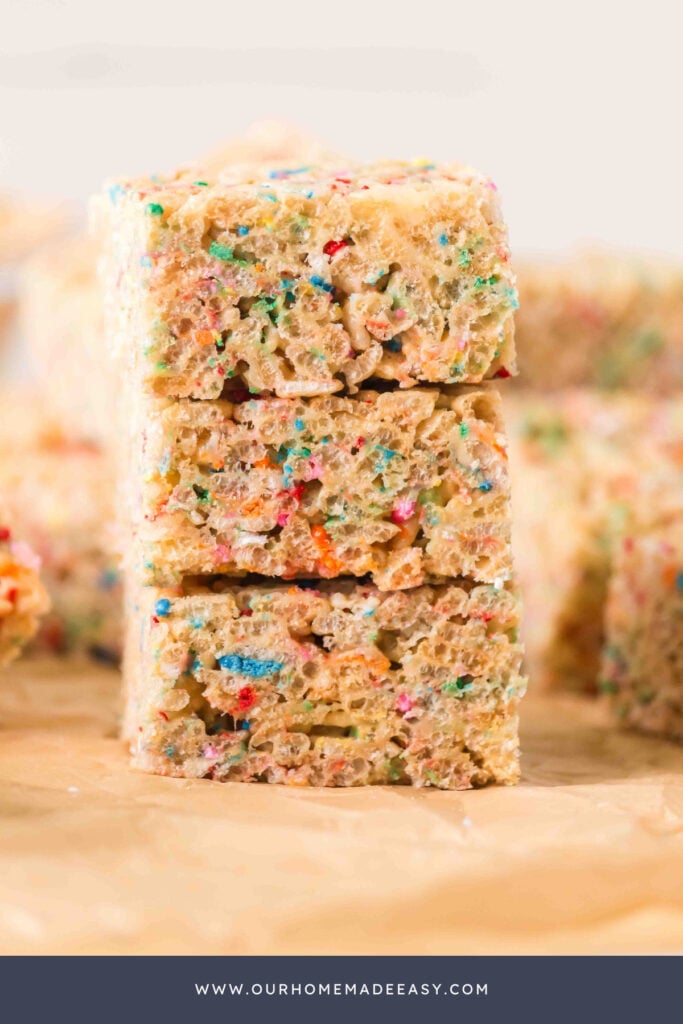
Store leftover Cake Batter Rice Krispie Treats in an airtight container at room temperature for up to 3 days.
If you’re stacking the squares, place a piece of parchment paper between the layers to keep them from sticking together.
Avoid storing them in the refrigerator. The cold can make the marshmallow mixture firm and the treats lose their soft, chewy texture.
Frequently Asked Questions
Can I use a different cake mix flavor?
Yellow cake mix gives these treats their classic birthday cake flavor. A vanilla or white cake mix could also work, although the flavor may be slightly different. Whichever you choose, make sure it is safe to eat without baking.
Why are my Rice Krispie Treats hard?
The most common reasons are overheating the marshmallows, using older marshmallows, or pressing the mixture too firmly into the pan.
For softer treats, keep the heat low and gently press the cereal mixture into the baking dish.
What kind of sprinkles work best?
Classic rainbow jimmies are a great choice because they add color without bleeding as easily as some smaller sprinkles.
Fold them in at the end and avoid overmixing.
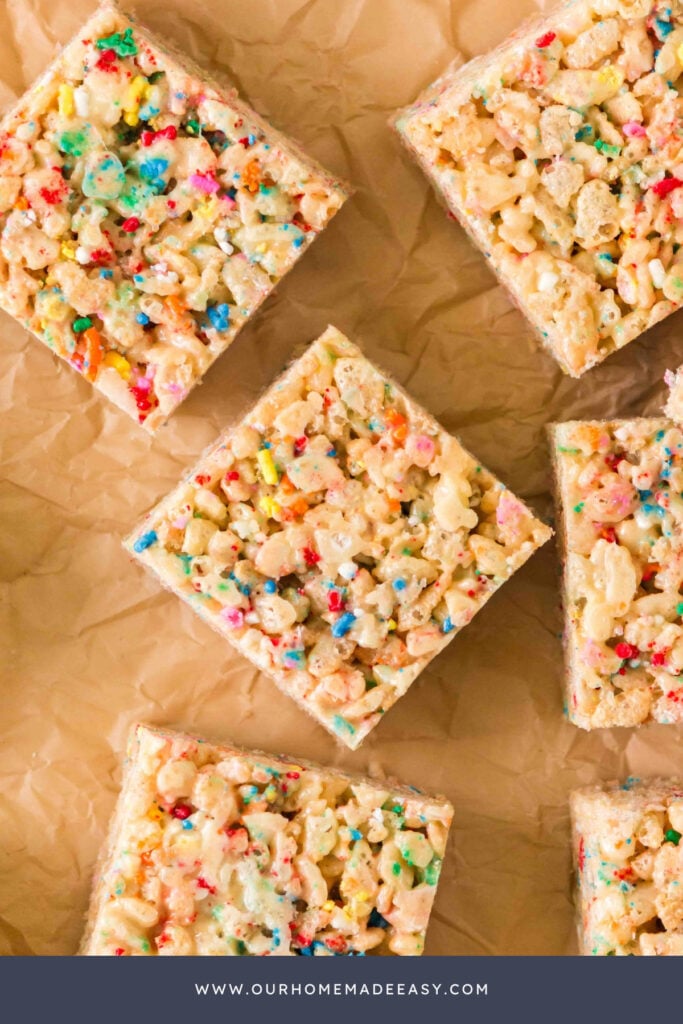
Can I make these without cake mix?
You can make traditional Rice Krispie Treats without cake mix, but they won’t have the same birthday cake flavor. For this specific recipe, the cake mix is what makes them different from the classic version.
Do Cake Batter Rice Krispie Treats need to be refrigerated?
No! Store them in an airtight container at room temperature for up to 3 days. Refrigerating them can make the treats hard.
Can I use regular marshmallows instead of mini marshmallows?
Yes, regular marshmallows can work. Mini marshmallows are convenient because they melt more quickly and evenly, but you can use an equivalent weight of regular marshmallows if that’s what you have.
These Cake Batter Rice Krispie Treats are proof that you don’t need a complicated dessert to make something fun. With just five ingredients, colorful sprinkles, and that sweet birthday cake flavor, they’re an easy option for parties, school celebrations, or a little something special after dinner.
Keep this recipe handy for the next time you need a homemade treat without turning on the oven. Sometimes the simplest recipes are the ones worth making again!
Cake Batter Rice Krispies Treats
These Cake Batter Rice Krispie Treats are soft, chewy, and filled with birthday cake flavor and colorful sprinkles! Made with just five ingredients, they're an easy no-bake dessert for parties, birthdays, or a fun treat at home.
Ingredients
- 10 tablespoons salted butter, room temperature
- 2 bags (10 ounces each) mini marshmallows
- 1 and 1/4 cups yellow cake mix (dry mix only), heat treated
- 9 cups Rice Krispies cereal
- ¾ cup rainbow sprinkles
Instructions
- Butter a 9x13 baking dish. Set aside.
- In a saucepan, melt the butter over medium-low heat. Once the butter melts, add the marshmallows and stir constantly until they melt and combine with the butter.
- Add the dry cake mix and mix well.
- Add the Rice Krispies cereal to the marshmallow mixture. Mix until the cereals are coated. Fold in the rainbow sprinkles.
- Add the mixture to the prepared baking dish. Press the Rice Krispies treats down into an even layer. You may need to butter or grease a pan or a spatula.
- Cool for 60 minutes. Serve and Enjoy!
Notes
- Use only the dry cake mix. Do not prepare the cake mix according to the box directions. You are adding the dry mix straight into the melted marshmallow mixture for that cake batter flavor.
- Avoid pressing the mixture too firmly into the pan. Press it lightly so the treats stay soft instead of dense and compact.
- Heat Treated Cake Mix: You may have seen two common methods for heat treating cake mix at home:
- Microwave Method: Heating the dry cake mix in short intervals, stirring between each interval, and checking the temperature.
- Oven Method: Spreading the dry cake mix on a baking sheet, heating it in the oven, and stirring periodically.
Caution: While these methods are often recommended for edible cake batter recipes, reaching 165°F doesn't guarantee that all harmful bacteria have been eliminated. The FDA doesn't recommend home heat treating flour as a reliable food-safety method. For the safest no-bake version of these Cake Batter Rice Krispie Treats, use cake mix specifically labeled safe to eat without baking.
Recommended Products
As an Amazon Associate and member of other affiliate programs, I earn from qualifying purchases.


Nutrition Information:
Yield: 20 Serving Size: 1Amount Per Serving: Calories: 627Total Fat: 12gSaturated Fat: 5gUnsaturated Fat: 7gCholesterol: 15mgSodium: 822mgCarbohydrates: 122gFiber: 1gSugar: 28gProtein: 9g

Did you make this recipe?
Mention us @ourhomemadeeasy or tag us using #ourhomemadeeasy so we can see your dish!

Hi, I’m Brittany, and I believe life at home should feel easier, not heavier.
I’m the creator of Our Home Made Easy, a space for busy women who want dinner on the table, their homes running smoothly, and a little breathing room at the end of the day.
You won’t find perfection here, just realistic recipes, smart shortcuts, and simple routines that work in real life. The kind that help you feed your family well, stay organized enough, and still have time to actually enjoy it.
If you’re juggling work, kids, schedules, and everything in between, you’re in the right place. I’m so glad you’re here.