No Bake Peanut Butter Pie (With a Sweet & Salty Pretzel Crust)
This easy No Bake (ish) Peanut Butter Pie has a creamy peanut butter filling, homemade whipped cream, and crunchy pretzel crust that everyone loves.

(This post contains affiliate links. Please see my Disclaimer for more information.)
Every family has that one dessert that disappears before dinner is even over. Around here, that’s this no bake Peanut Butter Pie. I love making it a day ahead because all the work gets done before it goes into the freezer. When we have friends over, a summer BBQ, or one of those weekends filled with softball games, dessert is already done.
The best part? Most of the work is finished in about 25 minutes, then the freezer does the rest.
Why You’ll Love This No Bake Peanut Butter Pie:
If you love peanut butter cups, you’re going to absolutely love this frozen pie.

What Is Frozen Peanut Butter Pie?
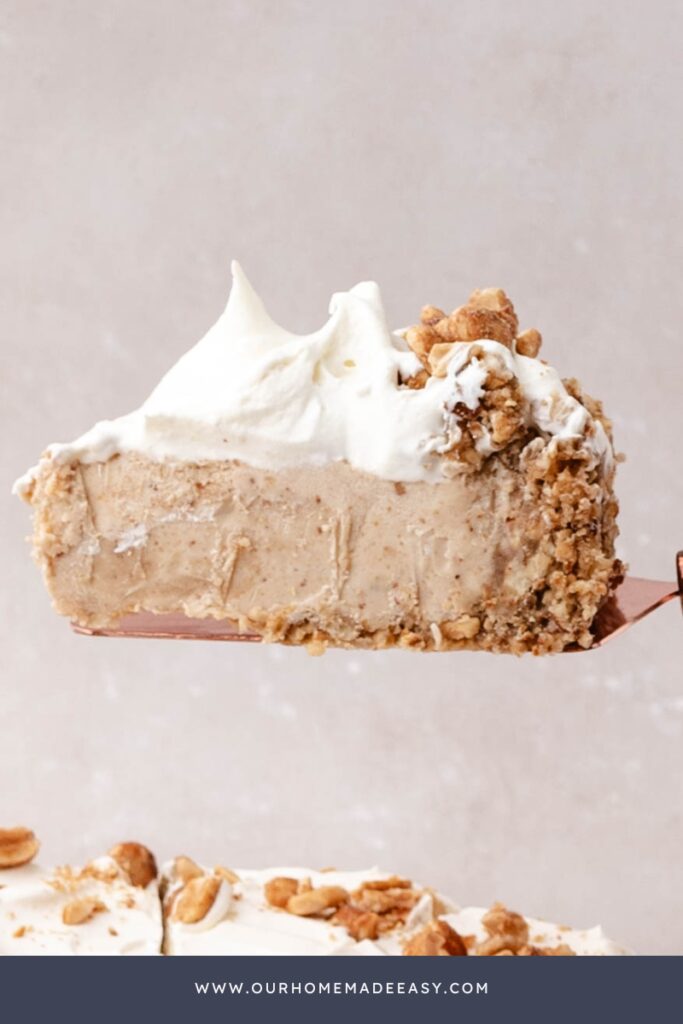
Unlike traditional graham cracker crusts, the honey-roasted pretzel crust adds crunch, saltiness, and incredible flavor that pairs perfectly with peanut butter.
The homemade whipped cream folded into the filling creates a light, mousse-like texture that freezes beautifully instead of becoming icy.
It’s one of those desserts that looks impressive enough for guests but is secretly incredibly easy to make.
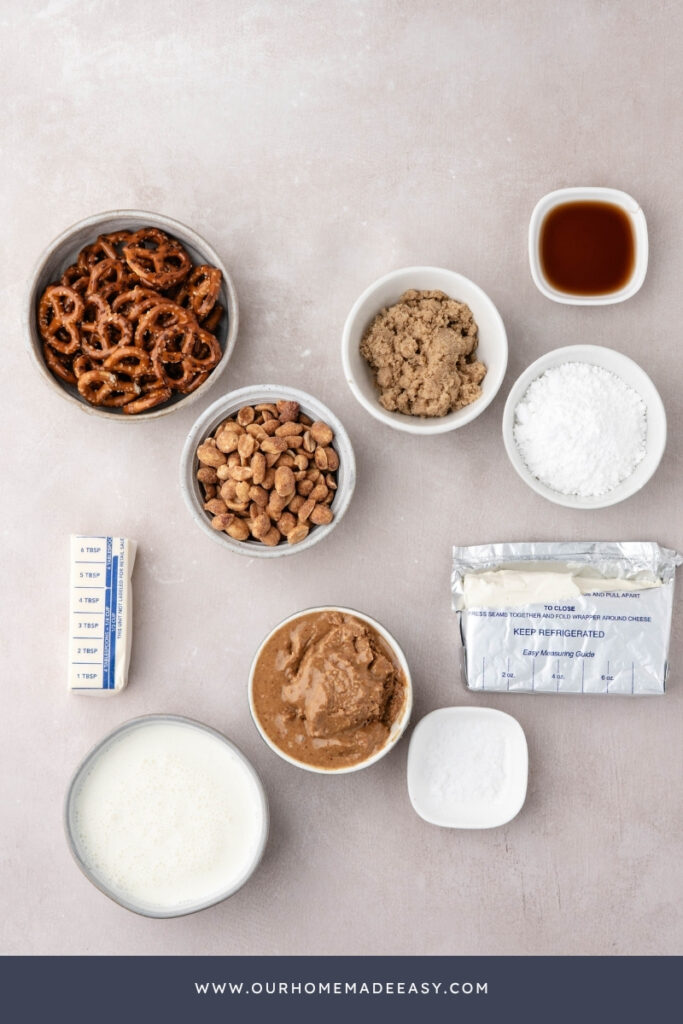
Ingredients for your Frozen No Bake Peanut Butter Pie
Shop this post

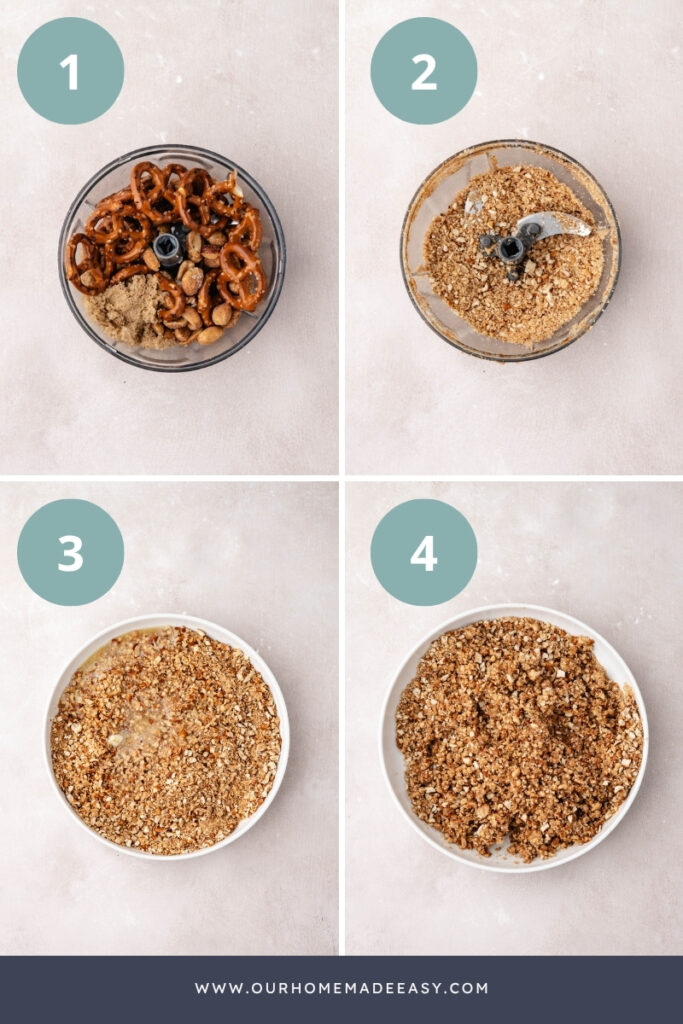
How to Make Frozen No Bake Peanut Butter Pie
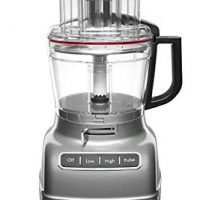
- Heat oven to 350°F. Pulse the pretzels, peanuts, brown sugar, and salt in a food processor until coarse crumbs form. Stir in melted butter and press firmly into a pie plate. Bake for 5 minutes, then cool completely. (You can also skip baking and chill the crust for an hour.)
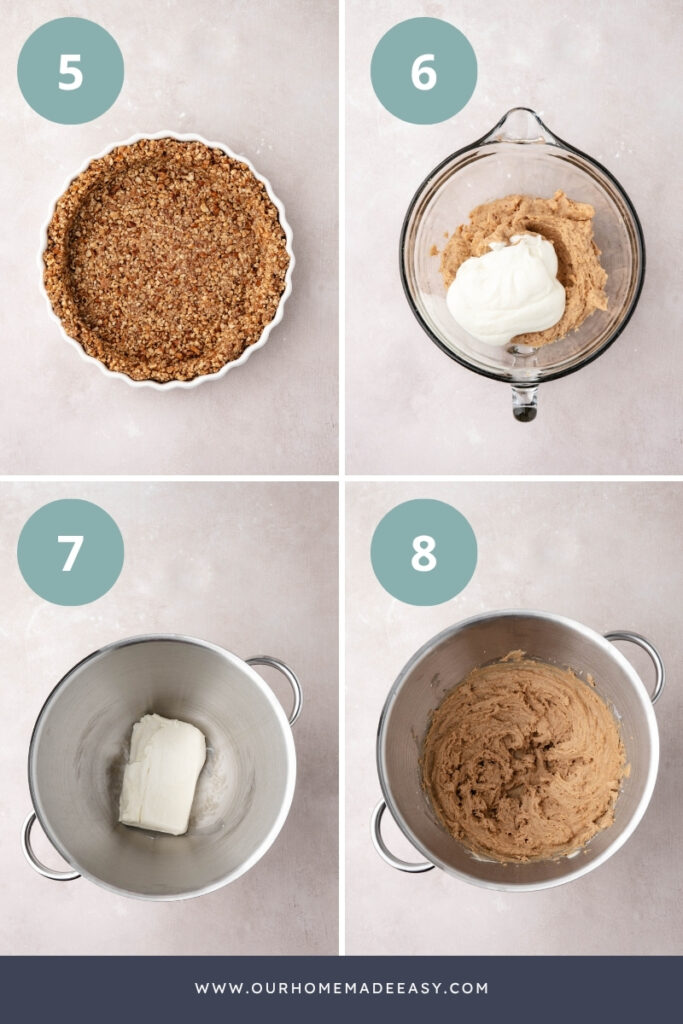
- Beat the cream cheese until smooth. Add peanut butter, powdered sugar, vanilla, and salt until creamy.
- In another clean mixing bowl, beat the heavy whipping cream until stiff peaks form. Fold about one-third of the whipped cream into the peanut butter mixture, then repeat two more times until everything is combined. Take your time and use a gentle folding motion instead of stirring. This helps keep all that air in the whipped cream, giving your pie its light, creamy, mousse-like texture.
- Spread the filling into the cooled crust and smooth the top.
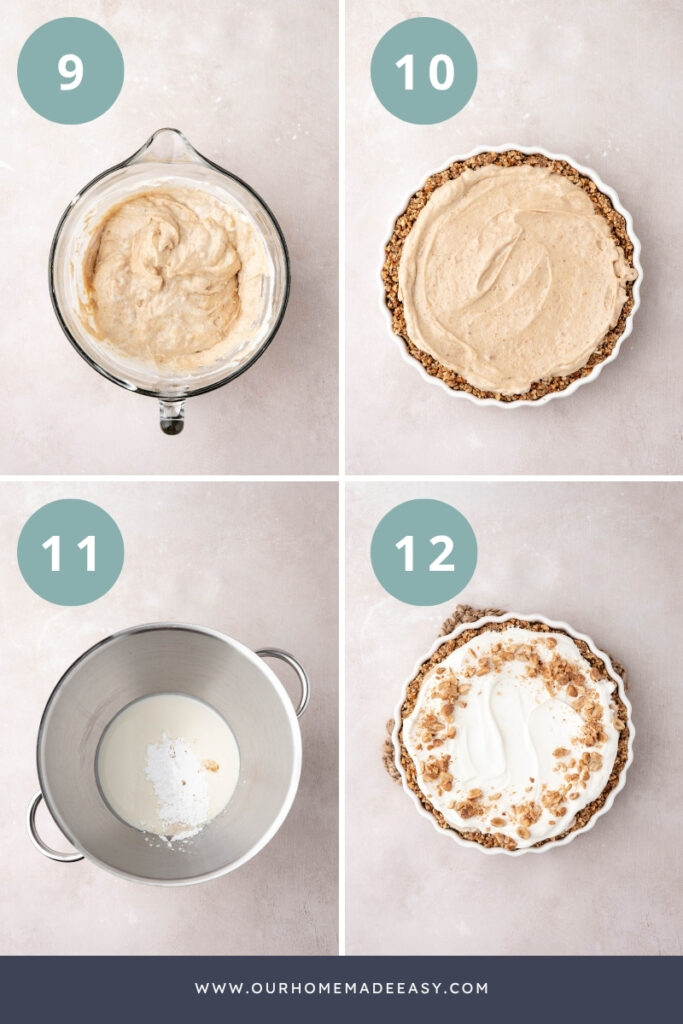
- Freeze for at least 6 hours, preferably overnight.
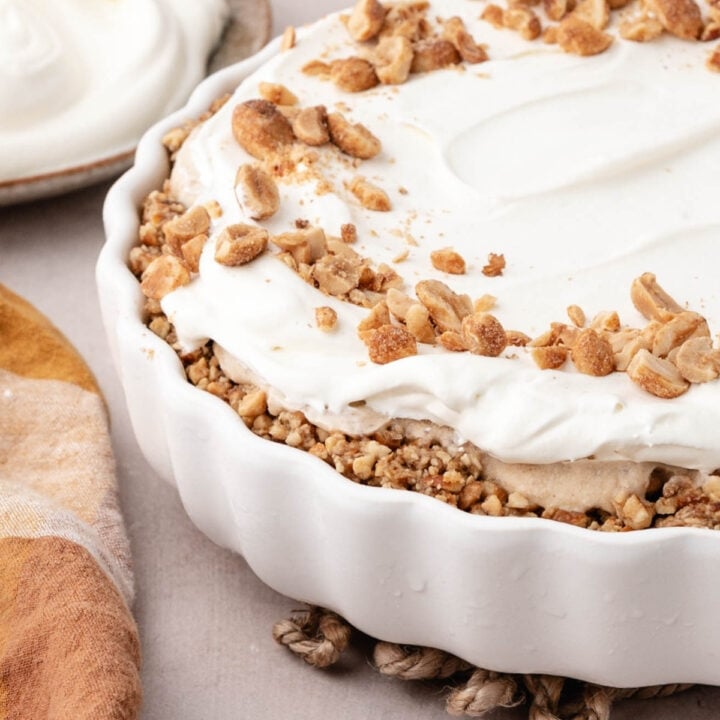
- Before serving, whip the remaining cream with powdered sugar and vanilla until fluffy. Spread or pipe over the pie and decorate with your favorite toppings.
Find the measurements and full recipe below!
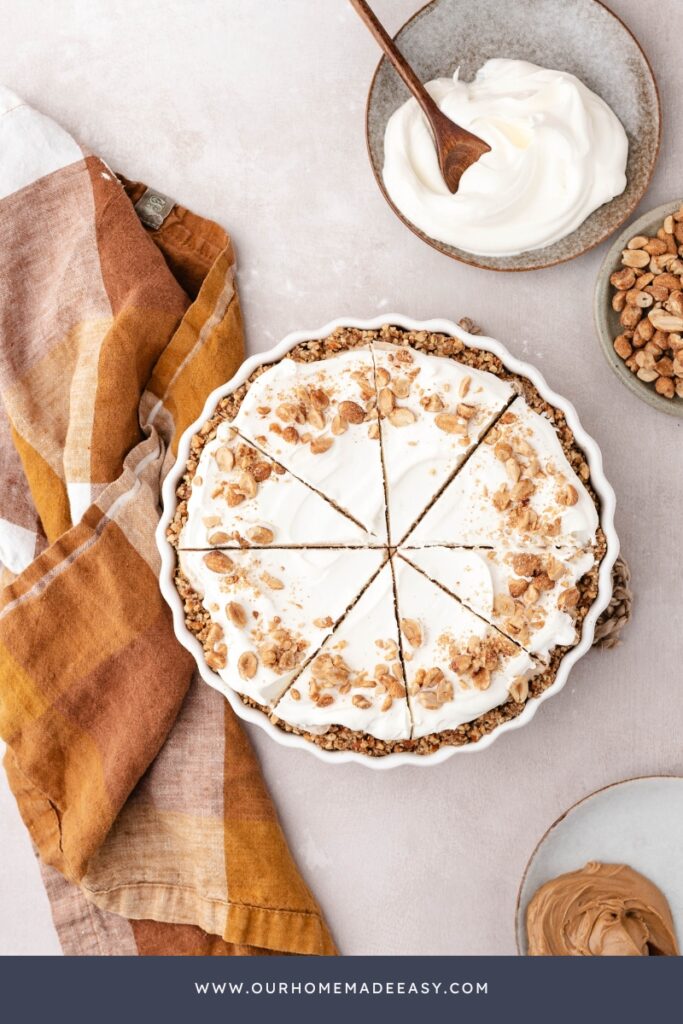
For even more delicious desserts, you will like these:
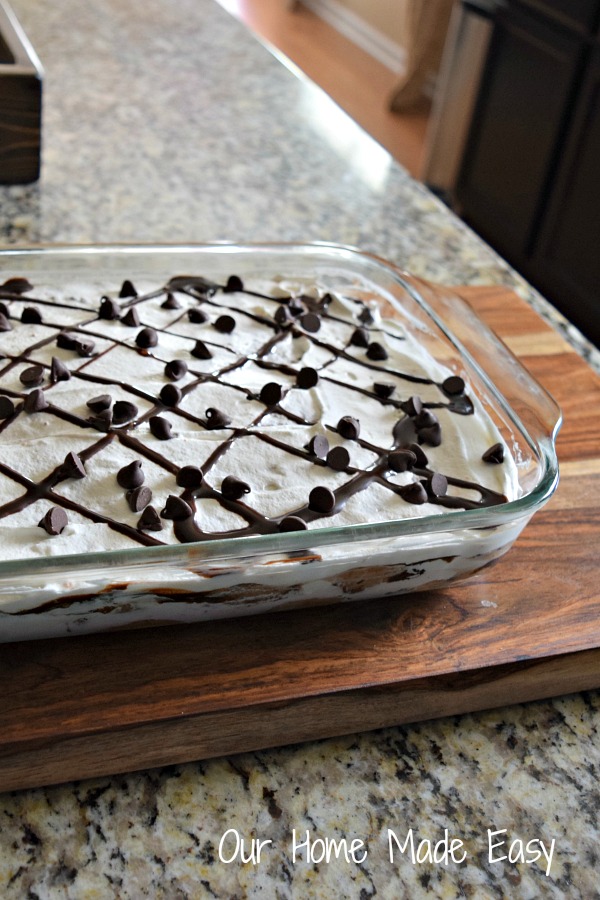
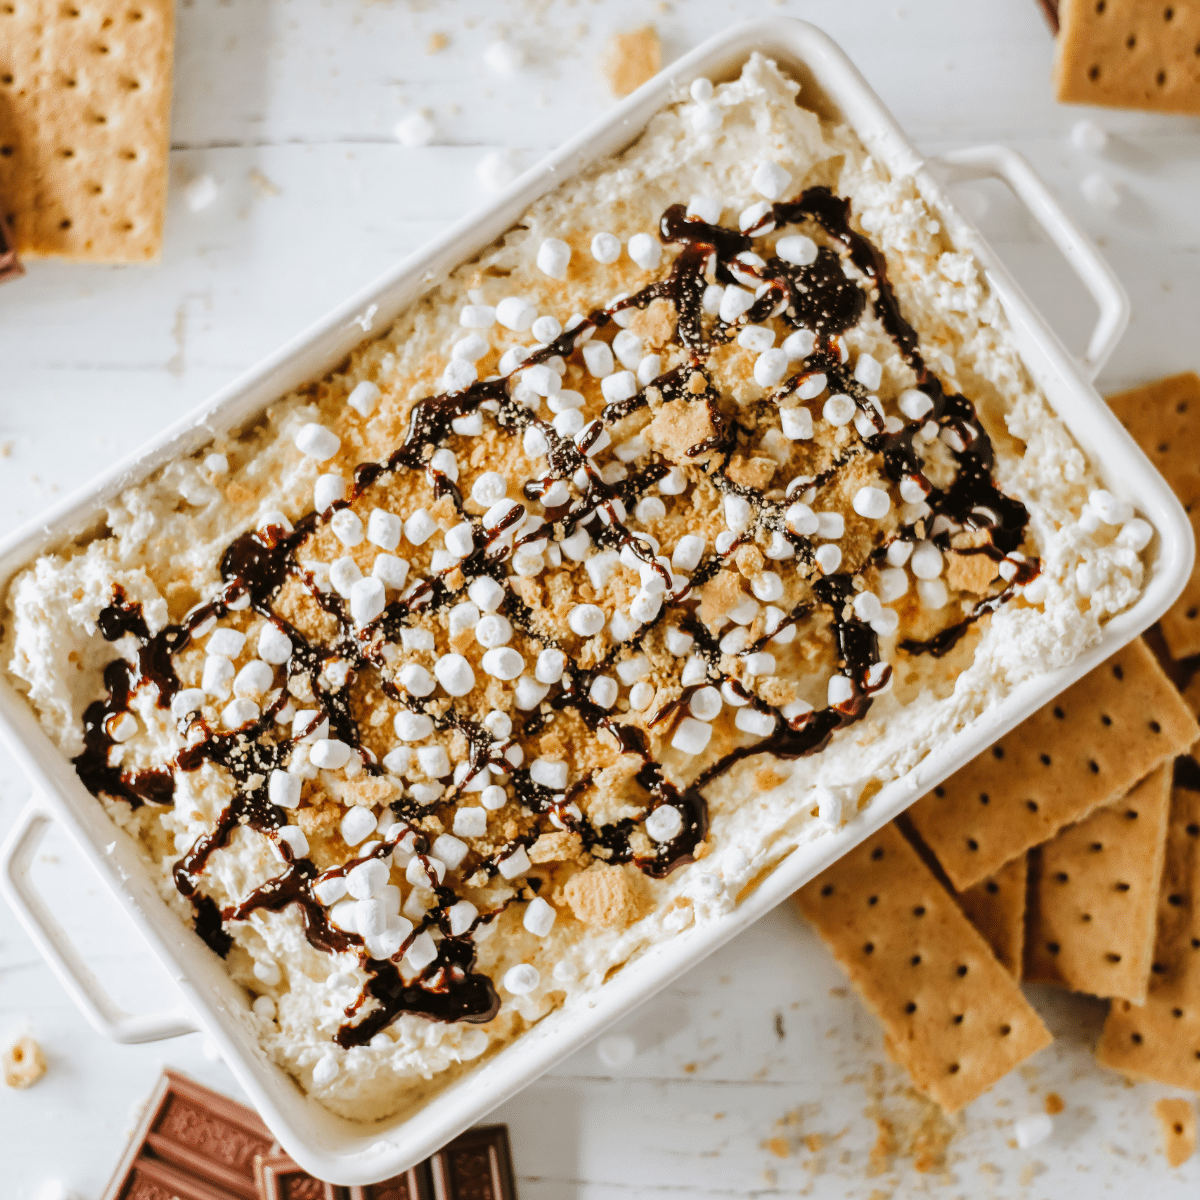
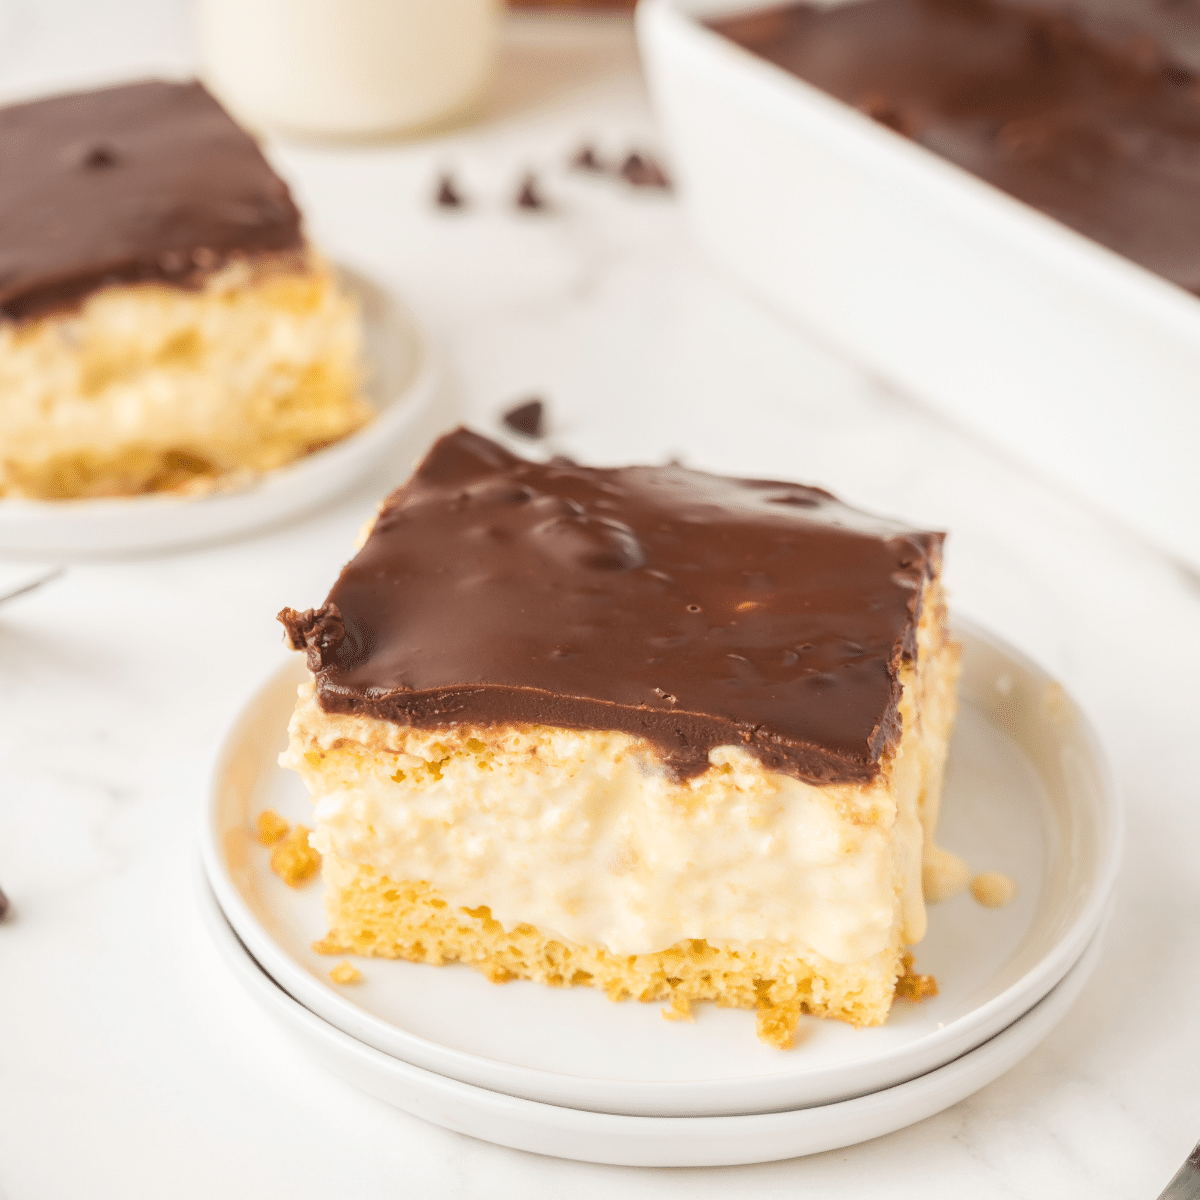
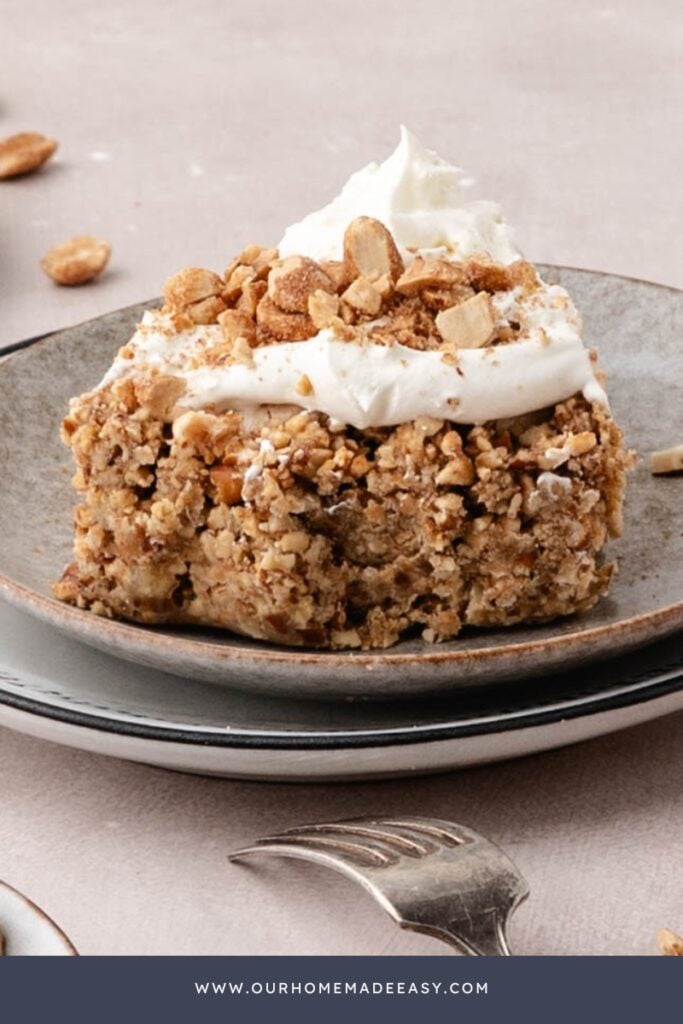
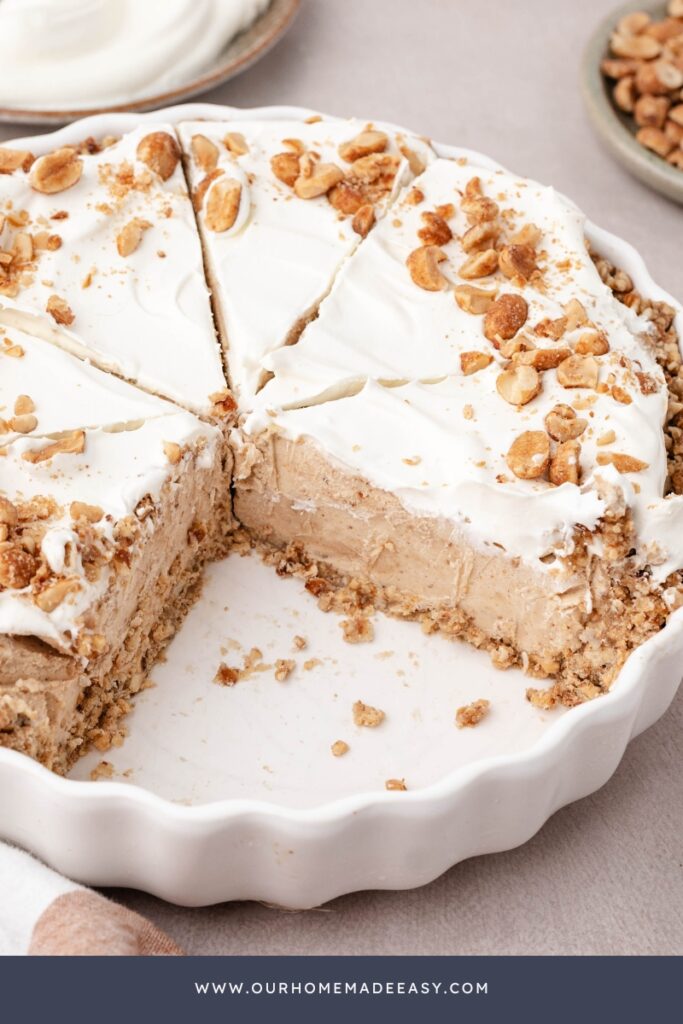

Tips & Tricks
- Regular creamy peanut butter creates the smoothest filling.
- Chill your mixing bowl before whipping the cream.
- Fold gently so the filling stays light and fluffy.
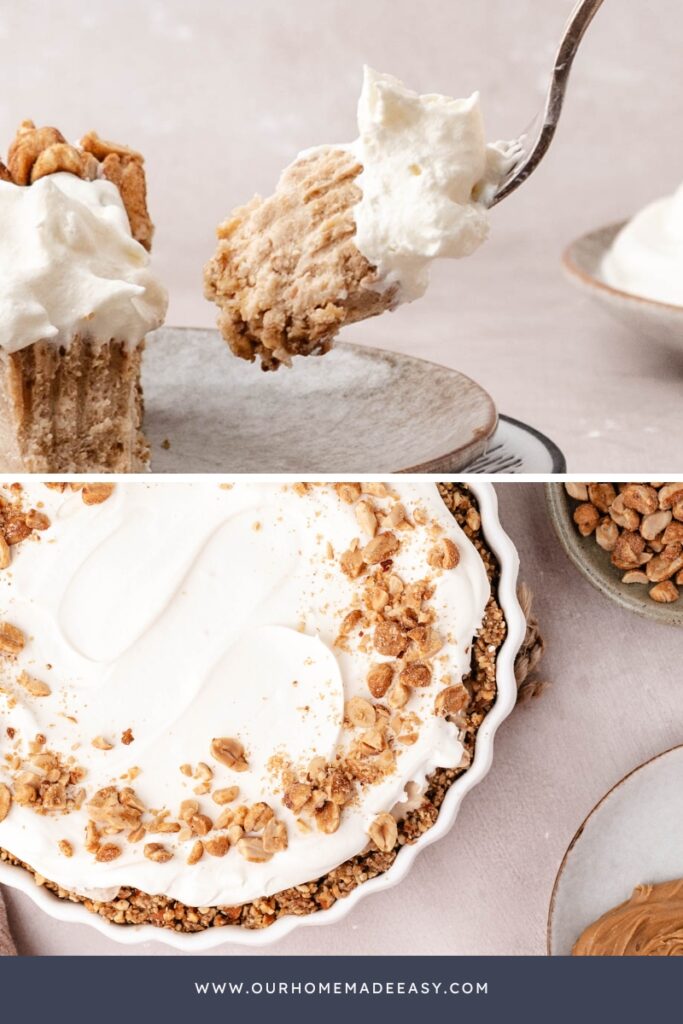
- Freeze overnight for beautiful, clean slices.
- Run your knife under hot water between cuts.
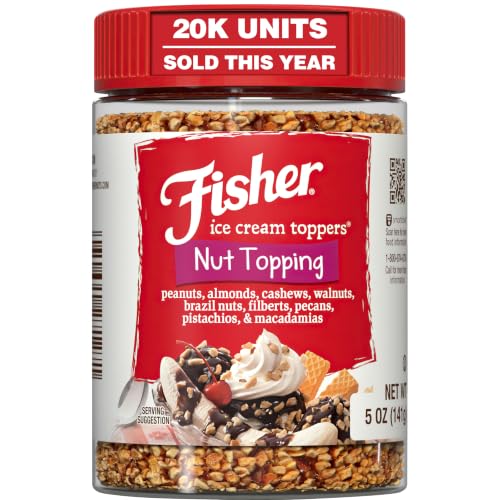
- My favorite topping is chopped honey roasted peanuts with a drizzle of melted peanut butter.
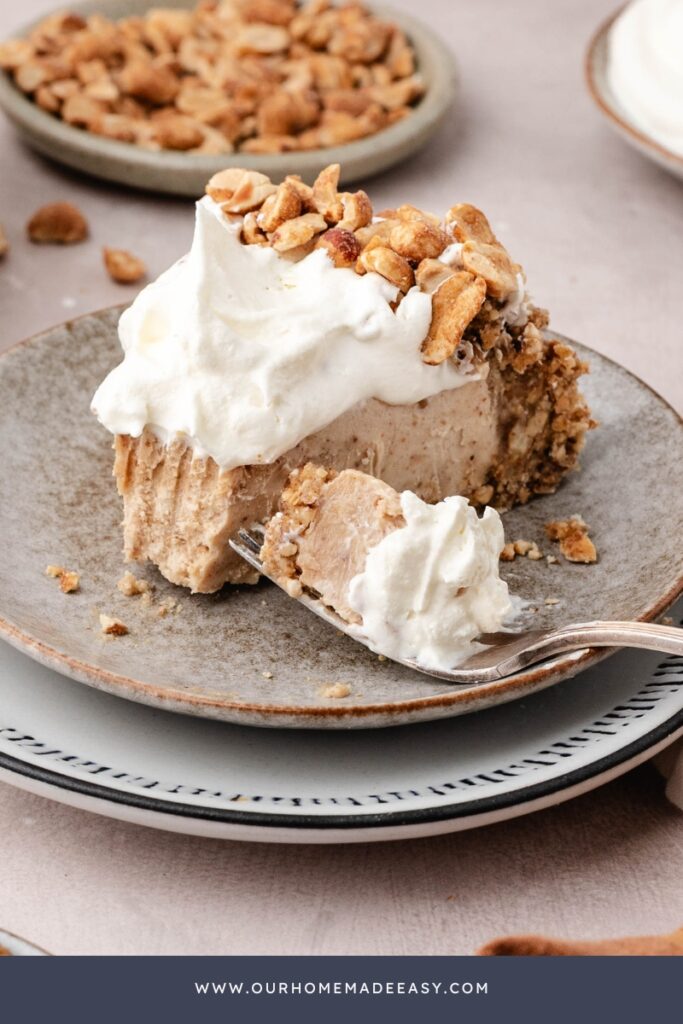
Serving Ideas
This frozen peanut butter pie is delicious with:
- Fresh Strawberries
- Hot Coffee
- Cold Brew Coffee
- Chocolate Milk
- Vanilla Ice Cream
- Chocolate Sauce
- Salted Caramel
Storage
Store tightly wrapped in the freezer for up to 2 months.
This is one of my favorite make-ahead desserts because it slices beautifully straight from the freezer after sitting out for about 10 minutes.
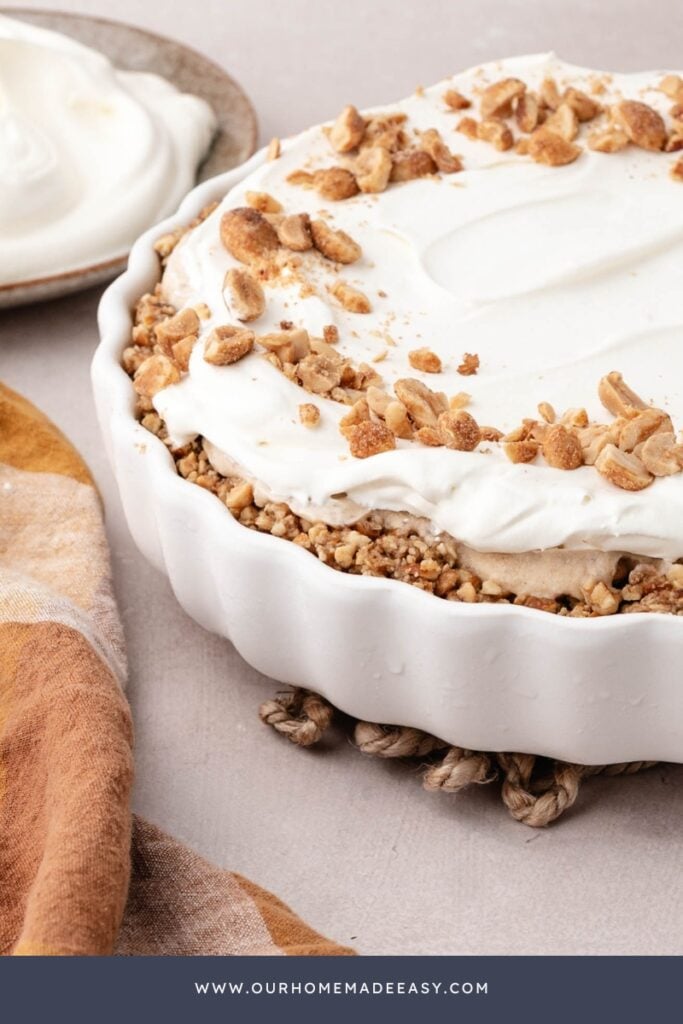
Variations
- Fold mini chocolate chips into the filling.
- Add chopped peanut butter cups.
- Swirl caramel into the filling.
- Replace the pretzel crust with crushed Oreo cookies.
- Layer sliced bananas over the crust before adding the filling.
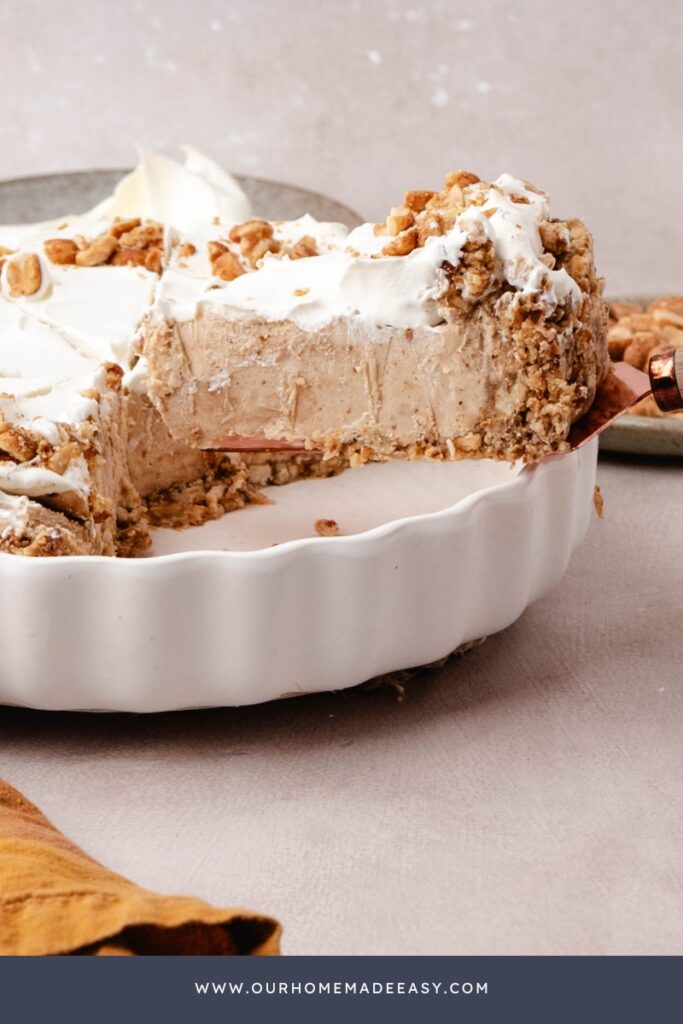
Frequently Asked Questions
Is this really a no bake peanut butter pie?
Yes! The crust can be baked for extra stability, but chilling it works well too, making this an easy no bake dessert. (I do recommend baking, if you have the time!)
Can I use crunchy peanut butter?
Absolutely. Creamy peanut butter creates the smoothest filling, but crunchy adds great texture.
Can I make it ahead?
Yes! In fact, I recommend making it a day ahead. The texture improves after freezing overnight.
Does homemade whipped cream freeze well?
Yes! It freezes beautifully on top of this pie.
How do I get clean slices?
Dip a sharp knife into hot water, wipe dry, and repeat between every slice.
Whether you’re celebrating a birthday, heading to a neighborhood BBQ, or simply craving a cold dessert on a hot summer day, this no bake peanut butter pie is one of those recipes you’ll find yourself making again and again.
I love that I can make it the day before, tuck it away in the freezer, and have one less thing to think about when we’re juggling work, sports, or hosting family. The creamy peanut butter filling, homemade whipped cream, and sweet-and-salty pretzel crust make every slice feel a little special without requiring hours in the kitchen.
If you give this recipe a try, I’d love to hear what you think! Leave a comment below, and don’t forget to save it to Pinterest so it’s ready the next time you need an easy make-ahead dessert. Happy baking… well, mostly no-baking!
Frozen Peanut Butter Pie
Make this creamy No Bake Peanut Butter Pie with a sweet and salty pretzel crust. The perfect make-ahead frozen dessert for parties and holidays.
Ingredients
Pretzel Crust:
- 1 ½ cups Honey-Roasted Pretzels
- ¼ cup Roasted Salted Peanuts
- ¼ cup Light Brown Sugar
- 6 Tablespoons Melted Unsalted Butter
- ½ teaspoon Flaky Sea Salt
Peanut Butter Filling:
- 8 ounces Cream Cheese, Softened
- 1 cup Peanut Butter (Creamy)
- ¾ cup Powdered Sugar
- 2 teaspoons Vanilla Extract
- ¼ Tablespoon Kosher Salt
- 1 ½ cups Heavy Whipping Cream
- 2 Tablespoons Powdered Sugar
Whipped Cream Topping
- 1 ½ Cups Cold Heavy Whipping Cream
- 3 Tablespoons Powdered Sugar
- 1 teaspoon Vanilla Extract
Optional Toppings
- Mini Peanut Butter Cups
- Chocolate Curls
- Chopped Honey Roasted Peanuts
- Melted Peanut Butter
- Chocolate Drizzle
- Flaky Sea Salt
- Pretzel Pieces
Instructions
- Heat the oven to 350*F. Place pretzels, peanuts, brown sugar, and salt into a food
processor. Pulse until you have coarse crumbs. Mix until everything is coated in butter
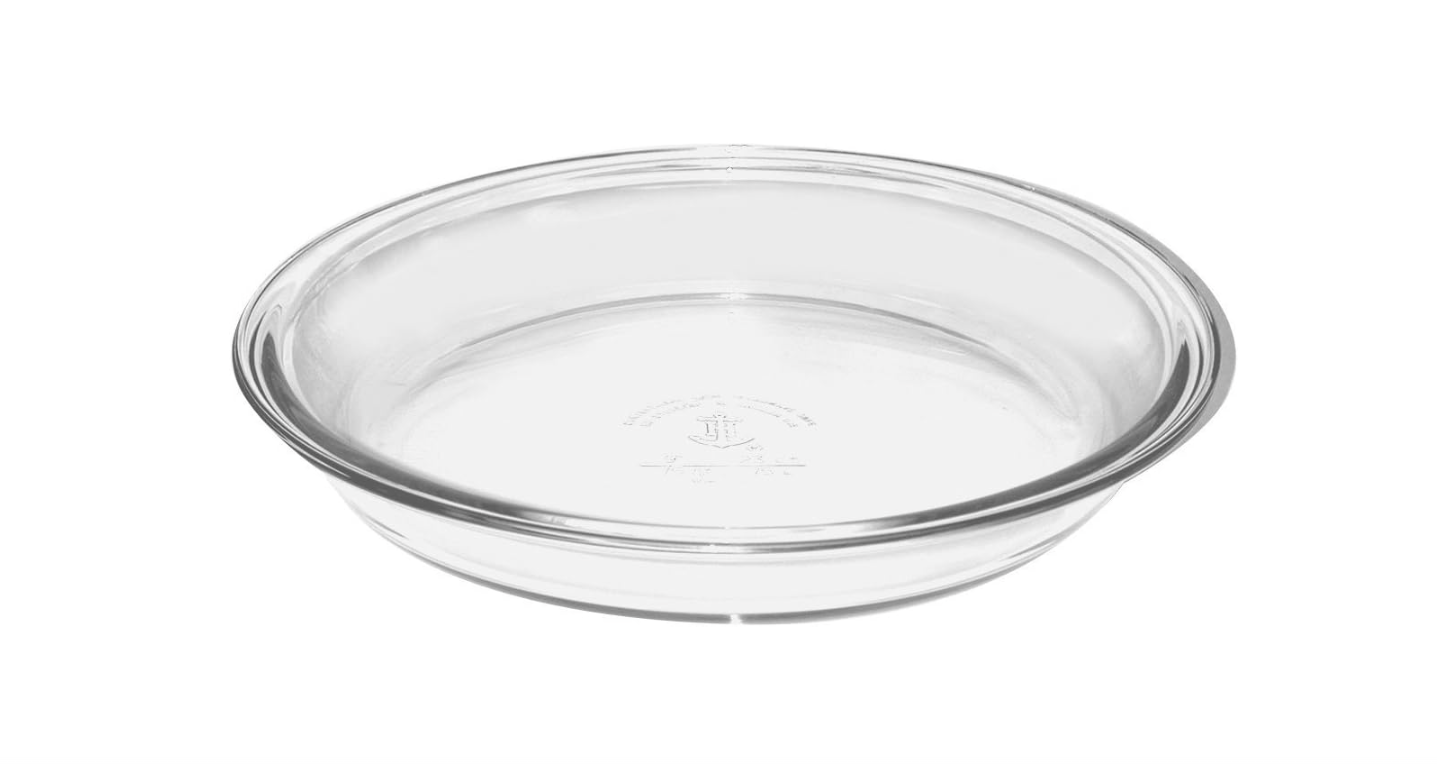
and the crumbs begin to stick together. Pour the crust mixture into a 9-inch pie plate and
use the bottom of a measuring cup to press it firmly into place. Gently work from the
base of the pie plate to the sides to create an even crust. Bake for 5 minutes. Allow the
crust to cool completely. (You can also skip baking and chill the crust for an hour.) - In a large bowl, beat together the cream cheese until completely smooth. Mix in the
Peanut butter, powdered sugar, vanilla, and salt until light and creamy. - Grab another clean mixing bowl and whip the heavy cream until stiff peaks form. Gently,
gently incorporate the whipped cream into the peanut butter mixture in three additions,
keeping as much air in the mixture as possible. The filling should be fluffy and
mousse-like. - Spread the filling evenly into the cooled crust. Smooth the top with an offset spatula.
Freeze for at least 6 hours, preferably overnight. - Just before you’re ready to serve, beat the remaining heavy whipping cream with the
powdered sugar and vanilla until it becomes light, fluffy, and holds medium stiff peaks.
Pipe or spread over frozen pie. Top with chopped peanuts, chocolate curls, or mini
peanut butter cups. - Slice and enjoy!
Notes
- Don’t overmix when folding in the whipped cream
- Freeze overnight for the cleanest slices
- Warm your knife under hot water before cutting
- If the pie is frozen solid, let it sit at room temperature for about 10 minutes before slicing
- For extra texture, sprinkle the chopped honey-roasted peanuts between the filling and whipped cream.
- A light drizzle of warm chocolate sauce right before serving adds a beautiful finishing touch
Recommended Products
As an Amazon Associate and member of other affiliate programs, I earn from qualifying purchases.
Nutrition Information:
Yield: 8 Serving Size: 1Amount Per Serving: Calories: 602Total Fat: 41gSaturated Fat: 16gUnsaturated Fat: 24gCholesterol: 59mgSodium: 631mgCarbohydrates: 53gFiber: 2gSugar: 43gProtein: 11g

Did you make this recipe?
Mention us @ourhomemadeeasy or tag us using #ourhomemadeeasy so we can see your dish!

Hi, I’m Brittany, and I believe life at home should feel easier, not heavier.
I’m the creator of Our Home Made Easy, a space for busy women who want dinner on the table, their homes running smoothly, and a little breathing room at the end of the day.
You won’t find perfection here, just realistic recipes, smart shortcuts, and simple routines that work in real life. The kind that help you feed your family well, stay organized enough, and still have time to actually enjoy it.
If you’re juggling work, kids, schedules, and everything in between, you’re in the right place. I’m so glad you’re here.