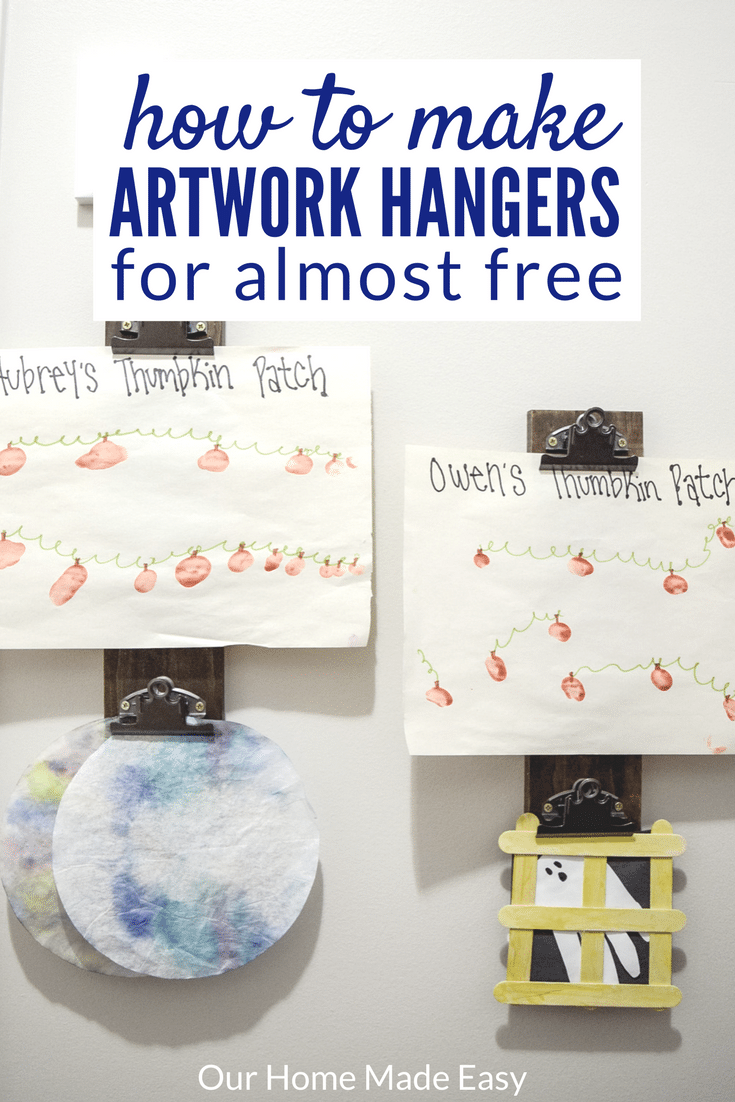
A Super Easy & Practically Free Artwork Hanger
Now that we are well into October, are you already feeling overwhelmed with the amount of craftiness arriving home every evening? Aubrey & Owen create at least one project, if not more, every single day. Some of their projects are super cute or they are super proud of the day’s gluing. Either way, our home quickly becomes an overwhelming mess of artwork. We needed a plan to contain the art– and still let the kids proudly show it off. Are you feeling the crush of art everyday, too? Let’s make you a super easy artwork hanger, too!
(This post contains affiliate links. Please see my Disclaimer for more information)
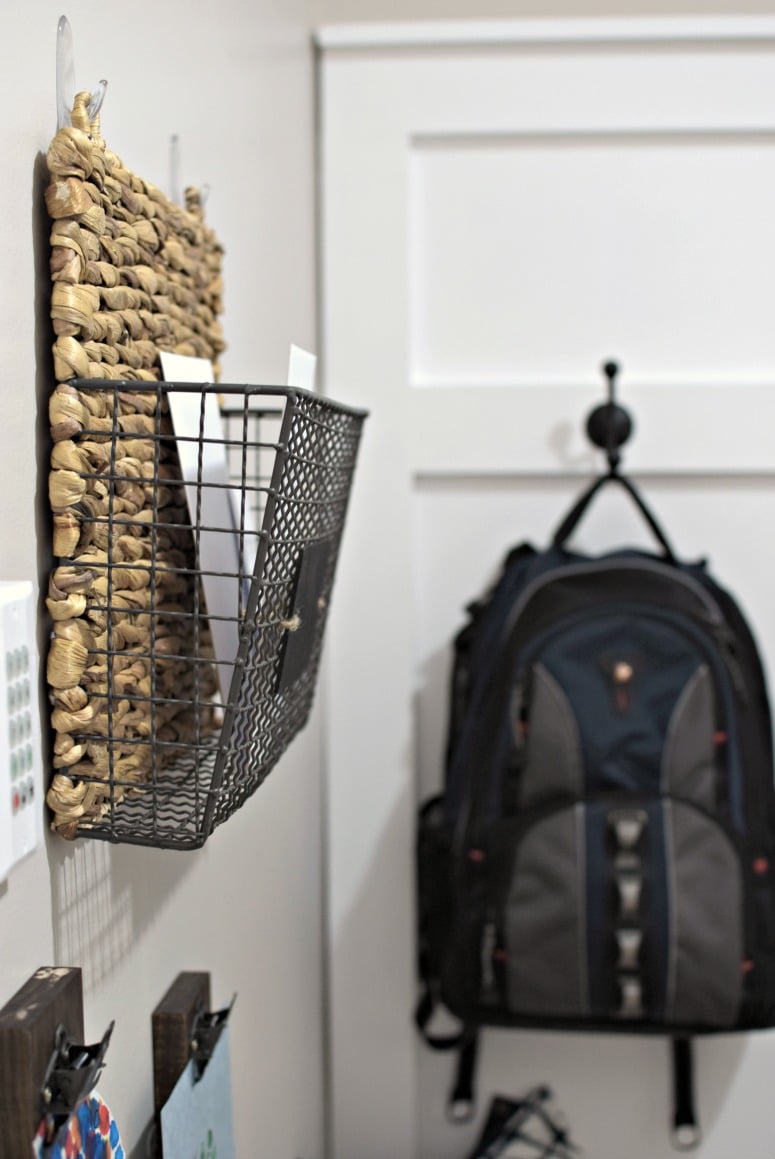
If you saw my organized mudroom over on Just a Girl and Her Blog in August, you’ve already seen a sneak peek. The artwork hanger is well loved and the art changes out often.
How to Build an Easy DIY Artwork Hanger
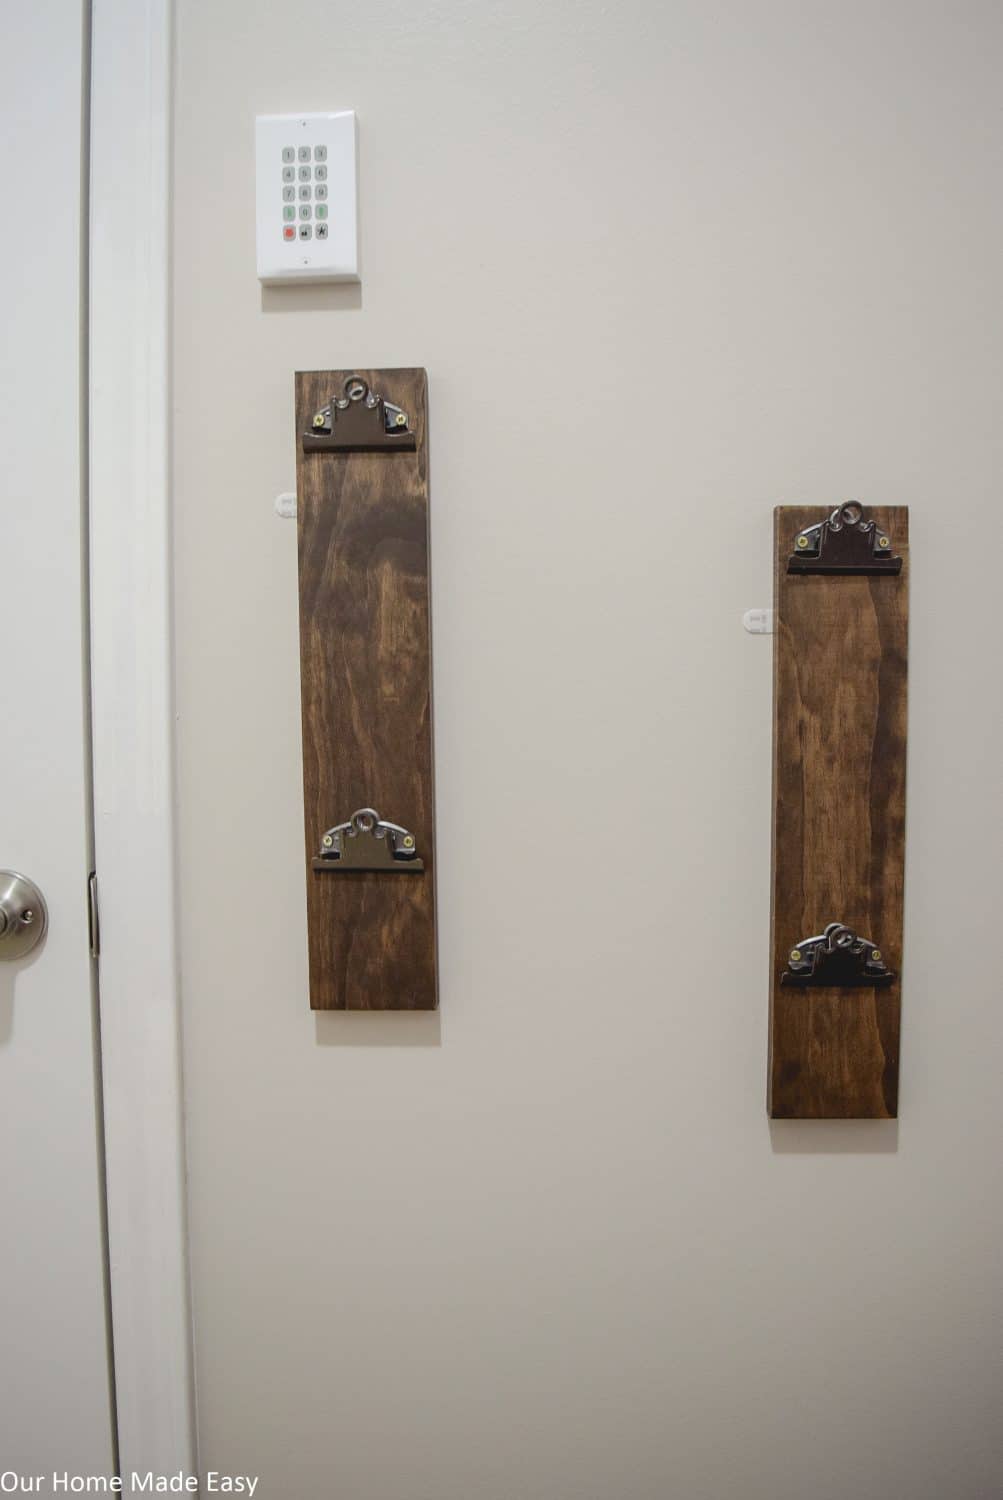
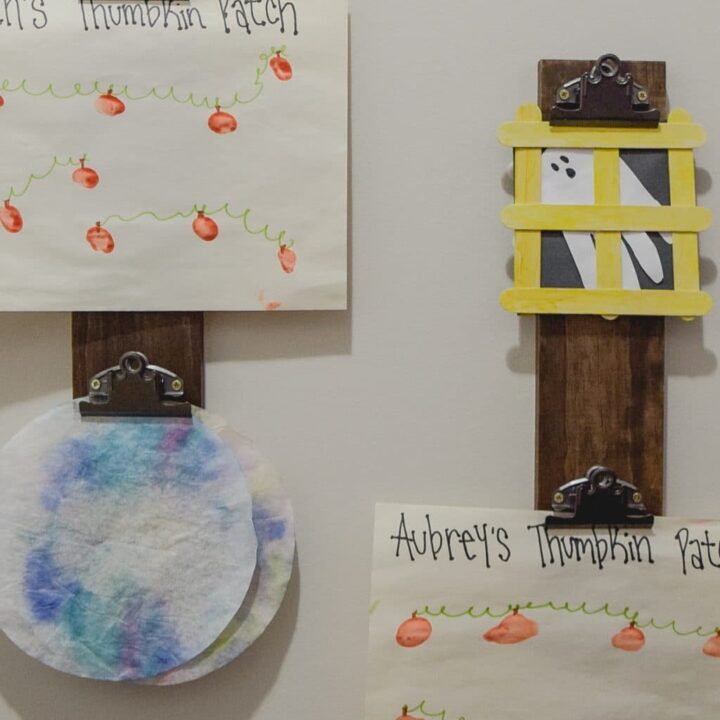
I think you’ll be surprised at how simple this project is to make and how you can use leftover paint and wood from old projects. The only thing you’ll probably have to pickup at the store are the clipboard clips. For this project, I made 2 artwork hangers with 2 clips each. I staggered them next to one another on an empty wall in our mudroom.
Supplies Needed:
- Select Pine Lumber (I used 4″ x 1″ )
- Clipboard Clips
- Stain or Paint (I used this one)
- Command Picture Hanging Strips
Measure Your Space
Take a look at the space you want to hang your artwork hangers. While I made two, you could easily stagger 3 or make them really long and have 4 or 5 clips. The steps for making them is the same regardless of quantity or length. For spacing between artwork hangers, I used about 10 inch spacing. I thought that would provide plenty of space for artwork that hangs wide.
For length, figure about 12 inches between each hanger. Your last clipboard clip can be at the very bottom of the piece of wood. Since there is art hanging, no one will see that there isn’t wood behind the art. 🙂
Cut Your Pieces
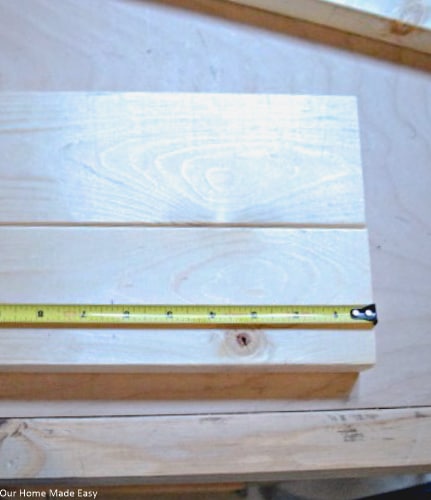
Use a miter saw to trim your leftover wood to your preferred length. Don’t worry about any rough edges after cutting. once you have your artwork hanger cut, quickly sand the corners and the face of the wood. I made it easier by using an orbital sander. Once you have the edges sanded, wipe off excess dust.
Stain Your Wood
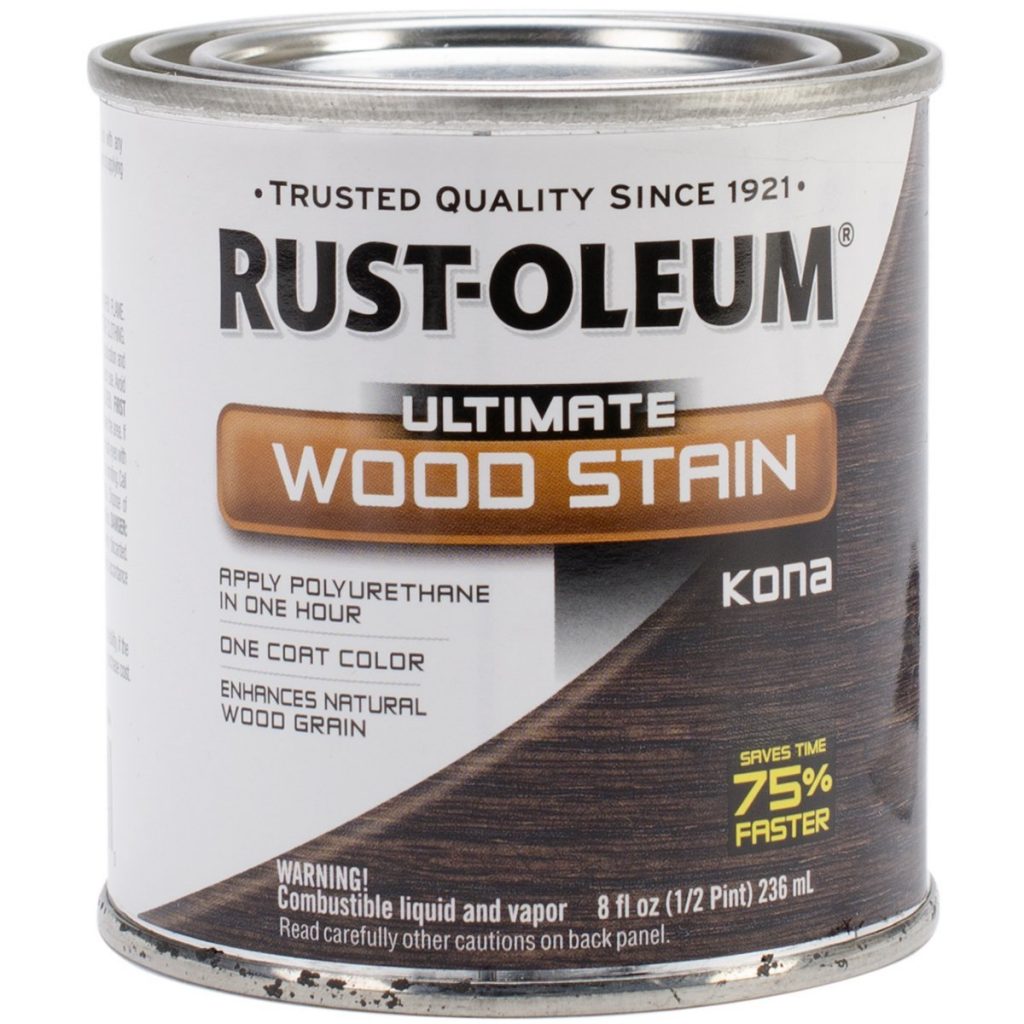
Using leftover stain or paint, cover your wood in 2 coats. You can paint them white, stain them to a color already in your room, or paint them a fun color that pops against the wall. I chose to use stain so that it would coordinate with our mudroom bench (tutorial coming soon!).
Attach the Clipboard Clips
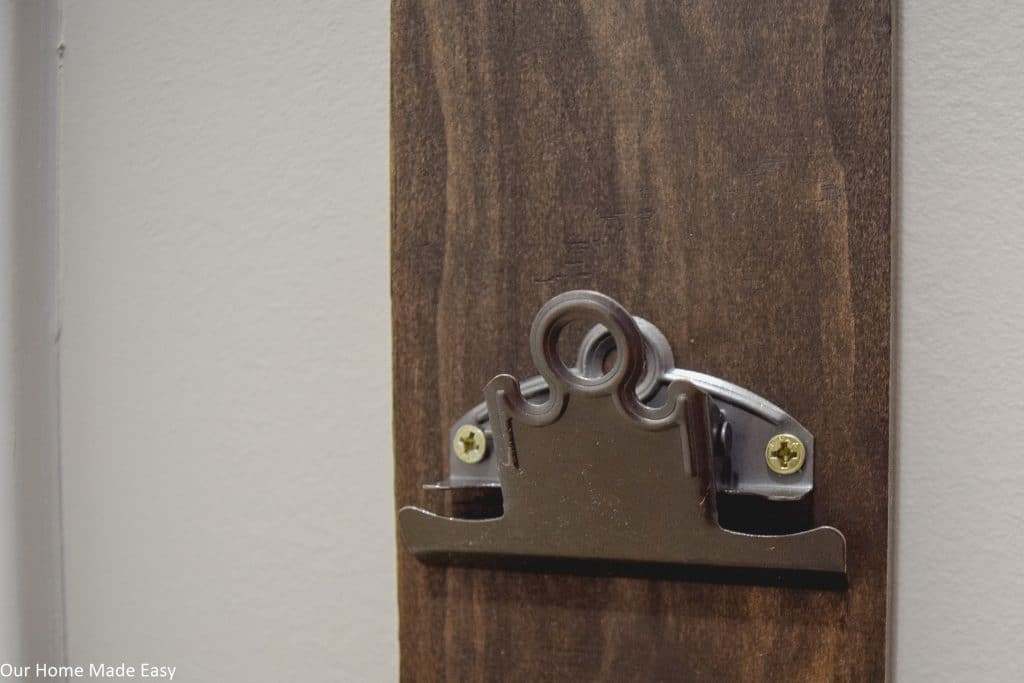
Using small screws, attach your clipboard clips to your hanger. To speed things along, I used a power drill. Start at the top and space them at least 12 inches apart from one another. If you’re board isn’t spaced for the 12 inches, consider leaving more space to make the clips evenly spaced. Place your last clip at the bottom of the board.
Hang Your Artwork Hanger
Lastly, attach the hanger to your walls using Command Picture Hanging strips. These are my secret to holding up light weight art around the house. They give me lots of flexibility to move stuff around. 🙂
Now the kids can swap out their latest artwork and show off the crafts they love the most. They like the independence of hanging their own things and I like that afterwards we automatically know we need to decide to toss the art or if it goes downstairs into the craft tote.
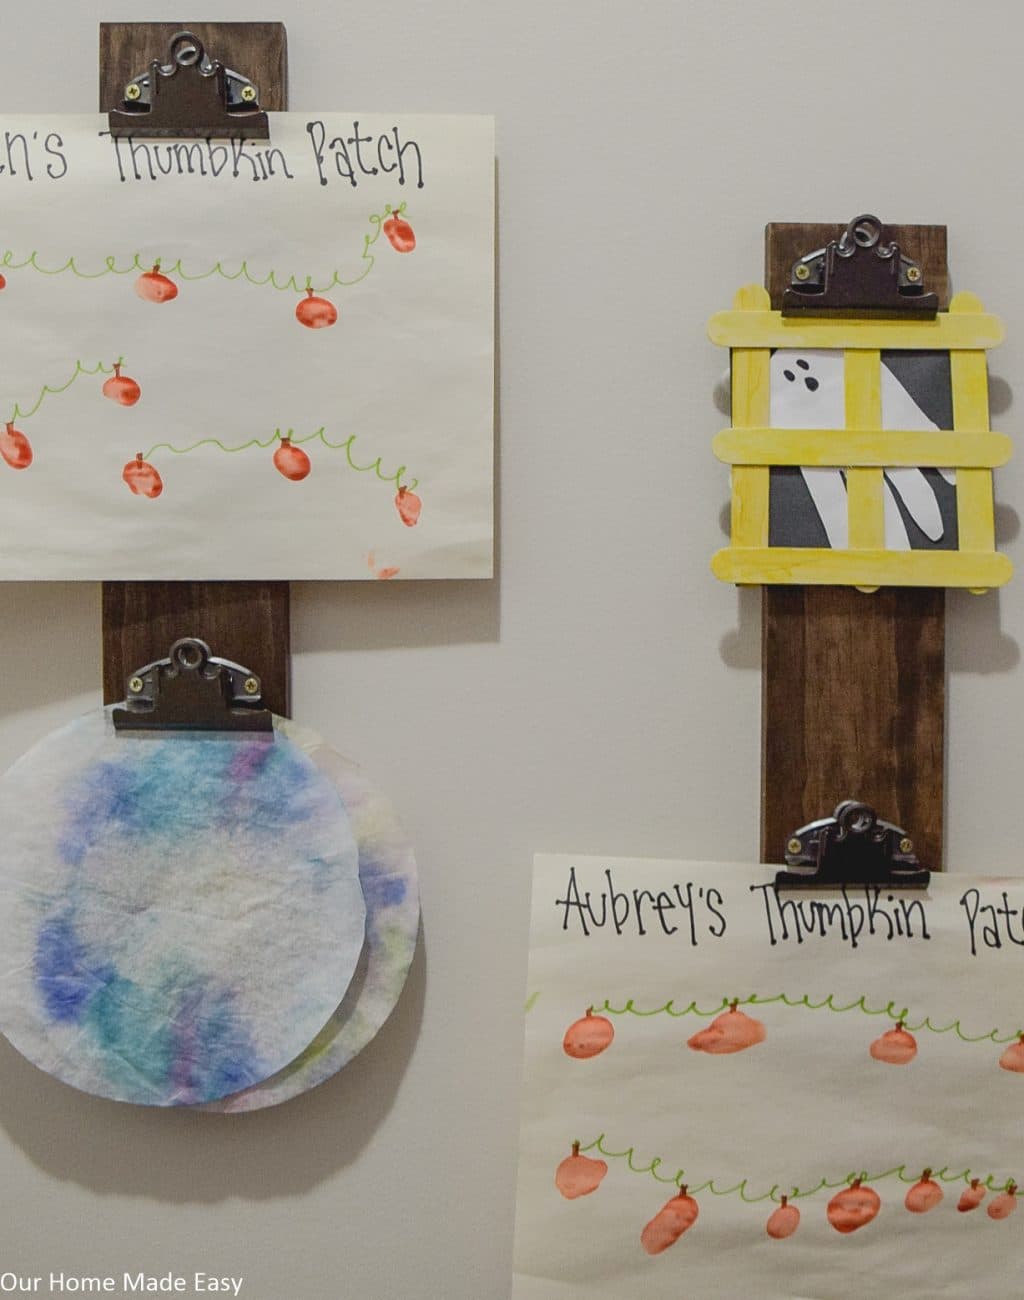
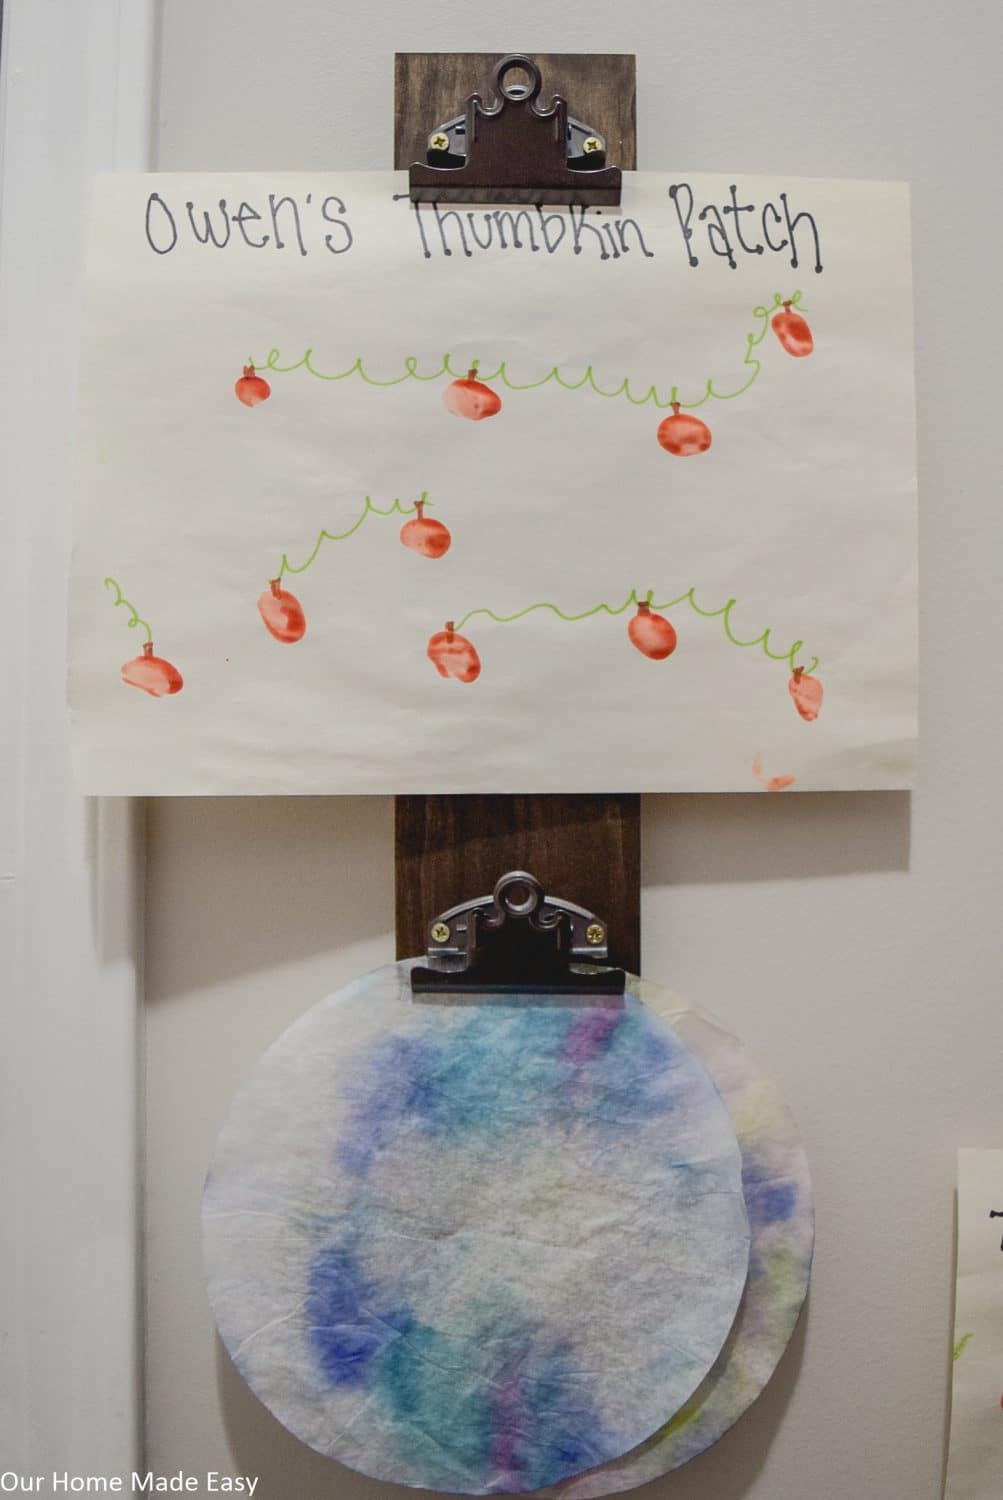
And that’s it! These artwork hangers are super easy and perfect for personalizing to your decor. I am hoping that you find less paper mess and more time to show it. How do you handle the crafty papers? Tell me in the comments!
Super Easy Kids' Artwork Hangers
Proudly show off your kiddos' masterpieces with these easy (and practically FREE!) kids artwork hangers. These supplies are easy to find and surprisingly affordable, so it's the perfect budget-friendly craft.
Materials
- Select Pine Lumber (I used 4" x 1" )
- Clipboard Clips
- Stain or Paint
- Command Picture Hanging Strips
Instructions
Measure Your Space
Take a look at the space you want to hang your artwork hangers. While I made two, you could easily stagger 3 or make them really long and have 4 or 5 clips. The steps for making them are the same regardless of quantity or length. For spacing between artwork hangers, I used about 10-inch spacing. I thought that would provide plenty of space for artwork that hangs wide.
For length, figure about 12 inches between each hanger. Your last clipboard clip can be at the very bottom of the piece of wood. Since there is art hanging, no one will see that there isn't wood behind the art.
Cut Your Pieces
Use a miter saw to trim your leftover wood to your preferred length. Don't worry about any rough edges after cutting. once you have your artwork hanger cut, quickly sand the corners and the face of the wood. I made it easier by using an orbital sander. Once you have the edges sanded, wipe off excess dust.
Stain Your Wood
Using leftover stain or paint, cover your wood in 2 coats. You can paint them white, stain them to a color already in your room, or paint them a fun color that pops against the wall.
Attach the Clipboard Clips
Using small screws, attach your clipboard clips to your hanger. To speed things along, I used a power drill. Start at the top and space them at least 12 inches apart from one another. If your board isn't spaced for the 12 inches, consider leaving more space to make the clips evenly spaced. Place your last clip at the bottom of the board.
Hang Your Artwork Hanger
Lastly, attach the hanger to your walls using Command Picture Hanging strips. These are my secret to holding up lightweight art around the house. They give me lots of flexibility to move stuff around.

Hi, I’m Brittany, and I believe life at home should feel easier, not heavier.
I’m the creator of Our Home Made Easy, a space for busy women who want dinner on the table, their homes running smoothly, and a little breathing room at the end of the day.
You won’t find perfection here, just realistic recipes, smart shortcuts, and simple routines that work in real life. The kind that help you feed your family well, stay organized enough, and still have time to actually enjoy it.
If you’re juggling work, kids, schedules, and everything in between, you’re in the right place. I’m so glad you’re here.


