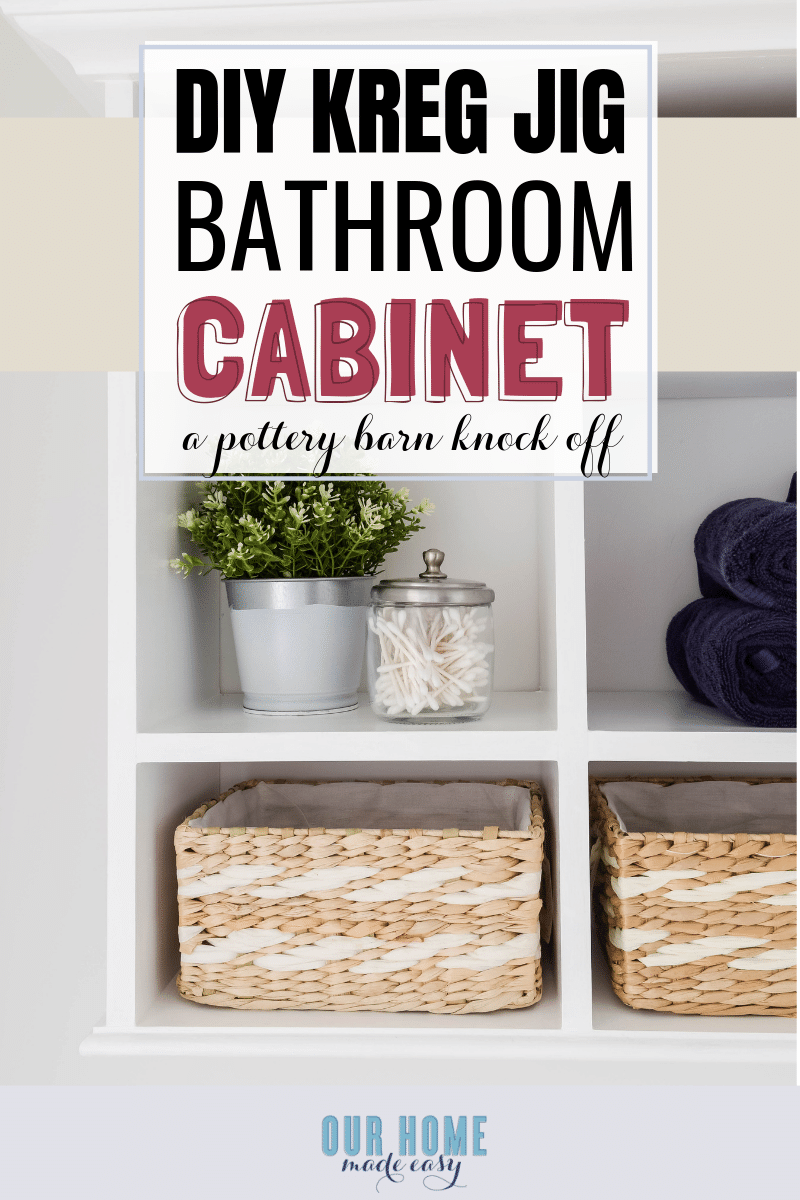
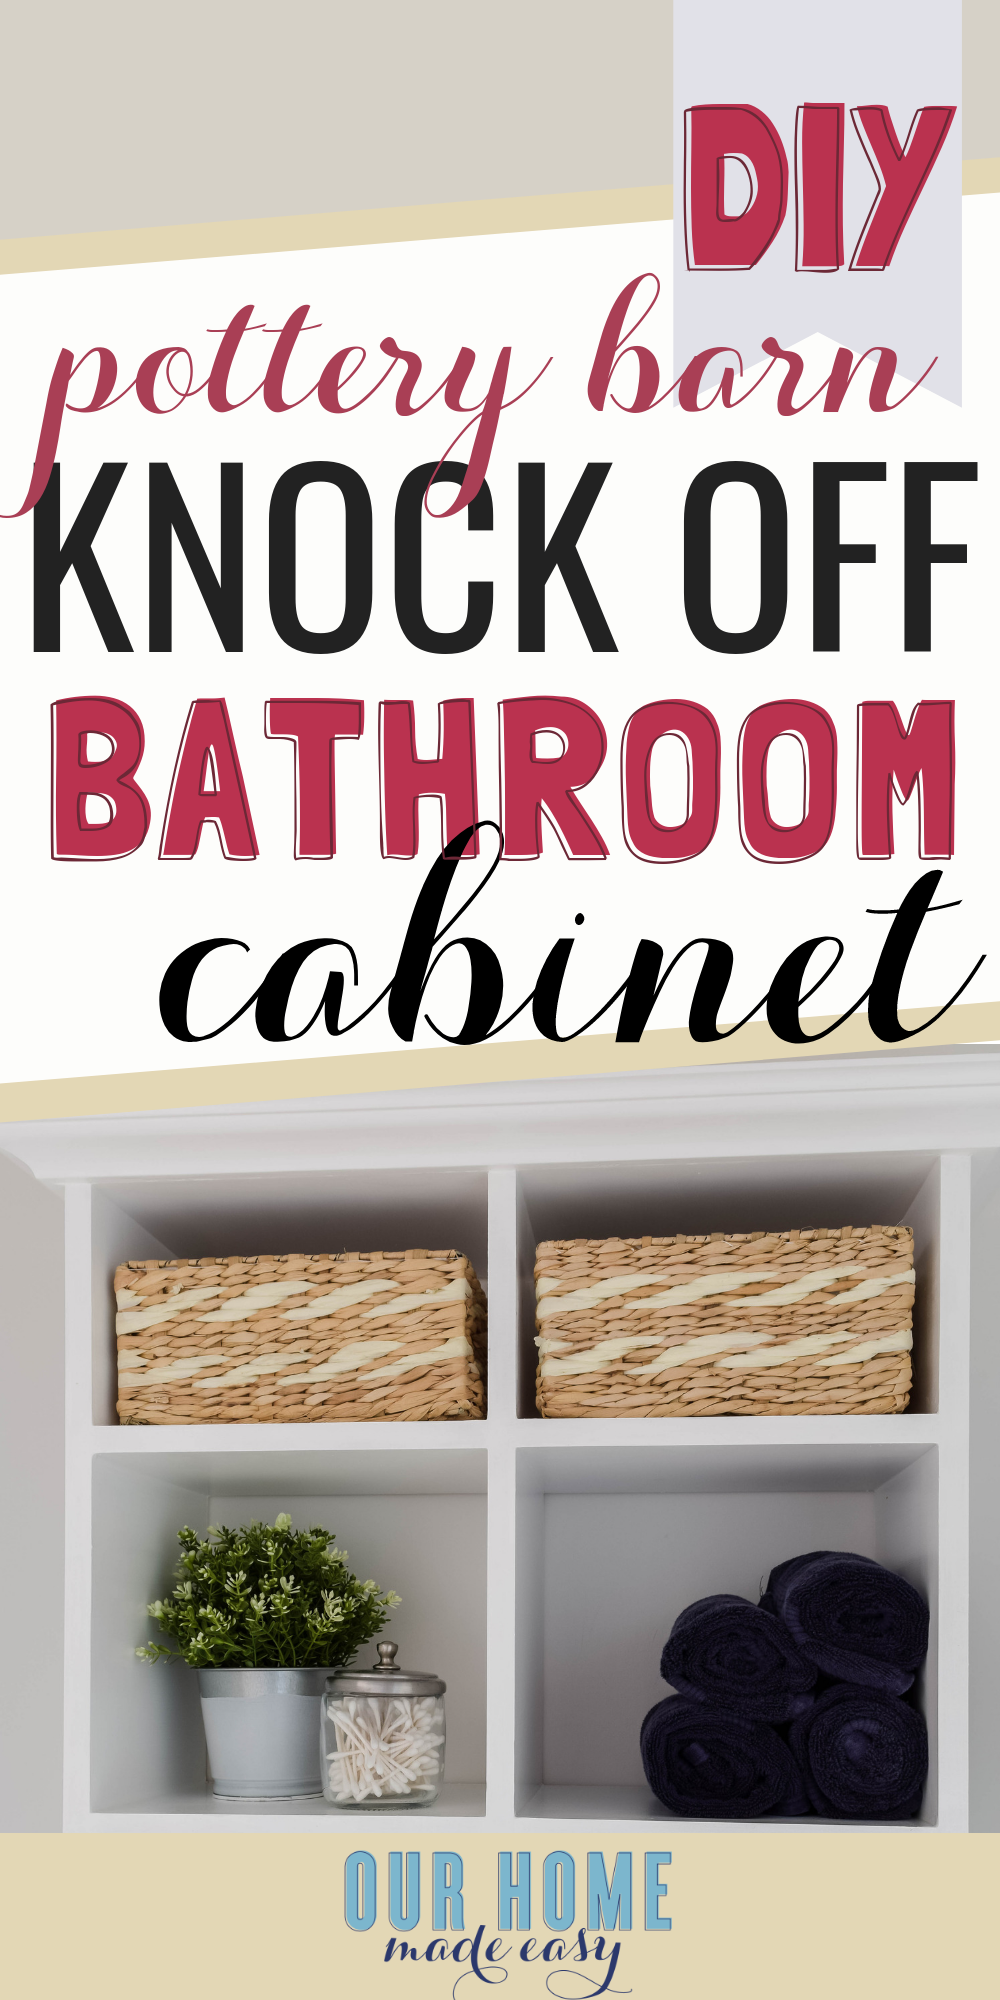
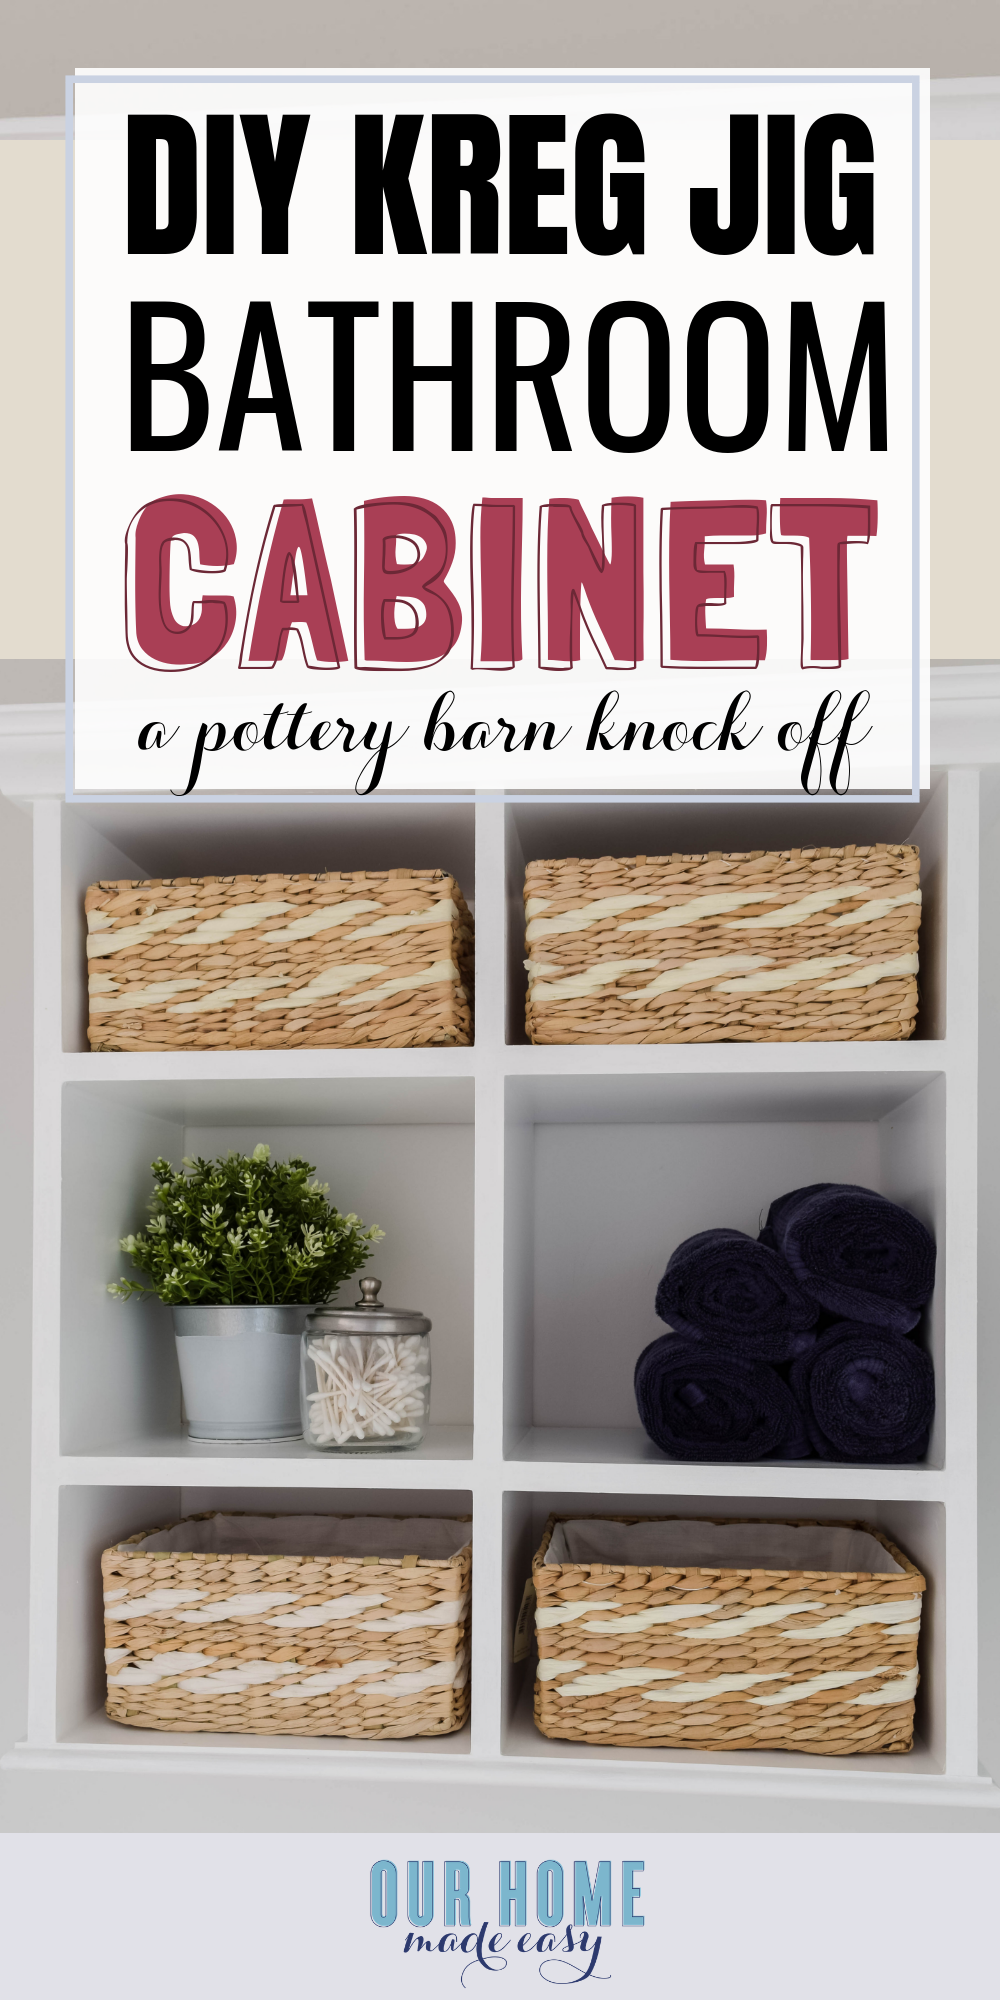
DIY Bathroom Wall Cabinet
DIY this Pottery Barn bathroom wall cabinet for a fraction of the price! Use your Kreg Jig to make bathroom storage look beautiful and easy to do! This is a great project for your next budget bathroom closet makeover.
(This post contains affiliate links. Please see my Disclaimer for more information)
I accidentally forgot to show you one final DIY project around our Michigan home. Oops!
In between announcing our move, packing up & moving across the country, and then closing on our new home in Phoenix, this one completely slipped through the cracks.
Do you mind if I share it with you today?
There was one room in this house I very rarely ever photographed. Okay, there are probably 8 rooms I never showed in Michigan because they weren’t necessarily Pinterest worthy. However, I really wanted to change that!
And today we are going to venture into the kids’ [former] bathroom. They were in desperate need for more storage. And I wanted something that looked like an upgrade for the space!
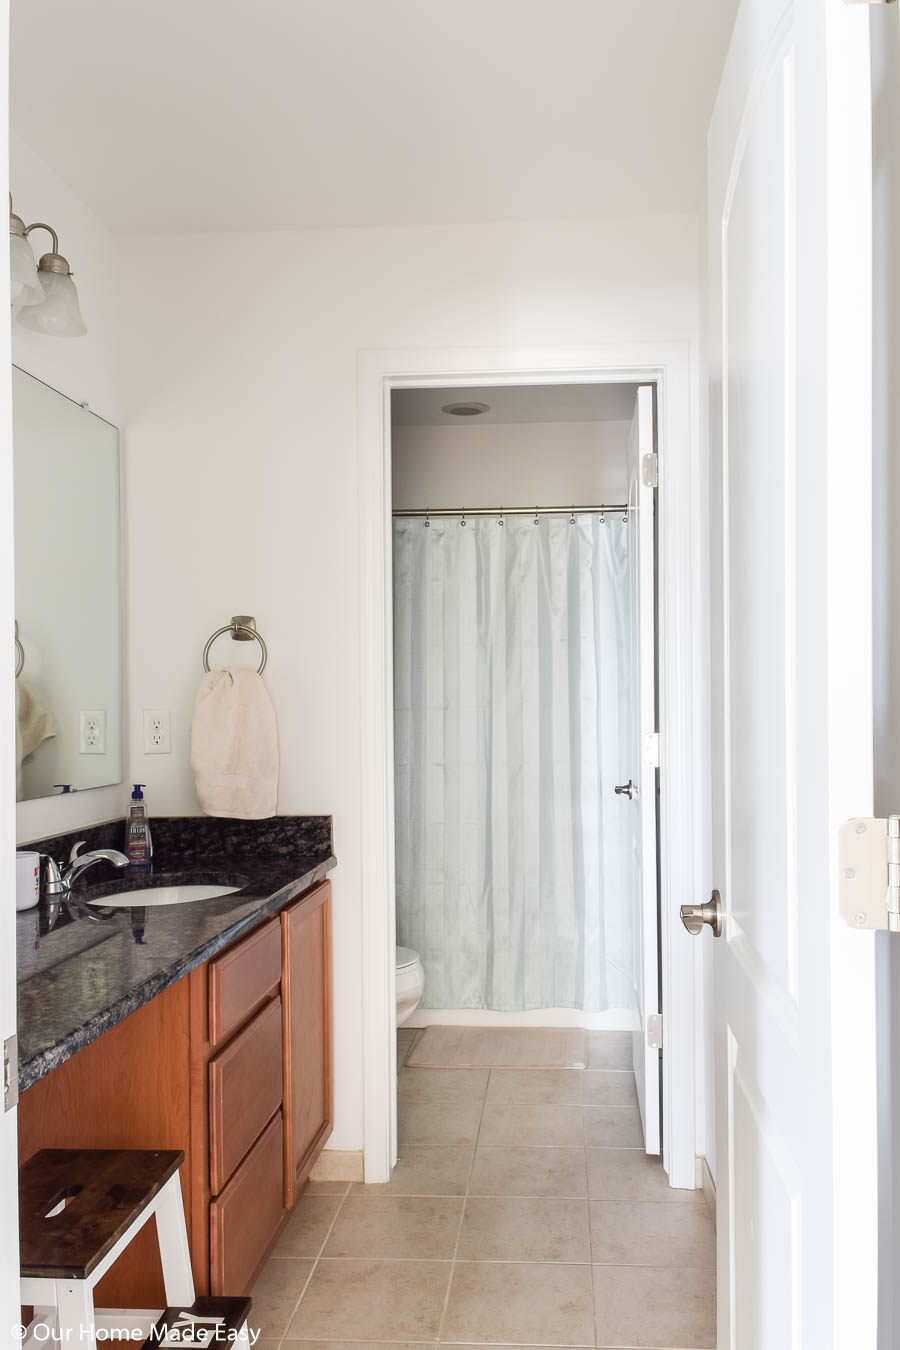
And for good reason. On any given day you’d find toothpaste in the sink, a trash can full of water cups, and the occasional bath toy that was flung out of the bathtub. Thanks, Owen!
While the bathroom it had some storage under the single vanity, it wasn’t super practical and easy to access.
To add some storage and the appearance that we want to make this bathroom look nice, I asked Jordan for something pretty….
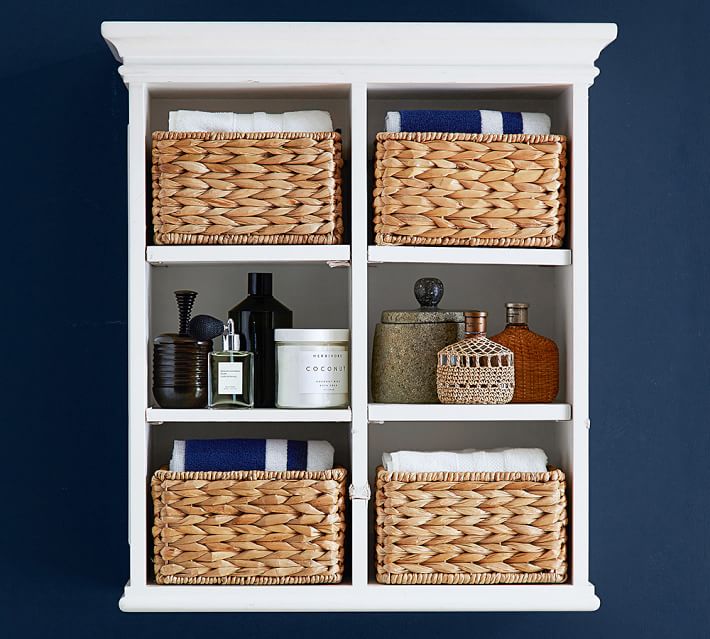
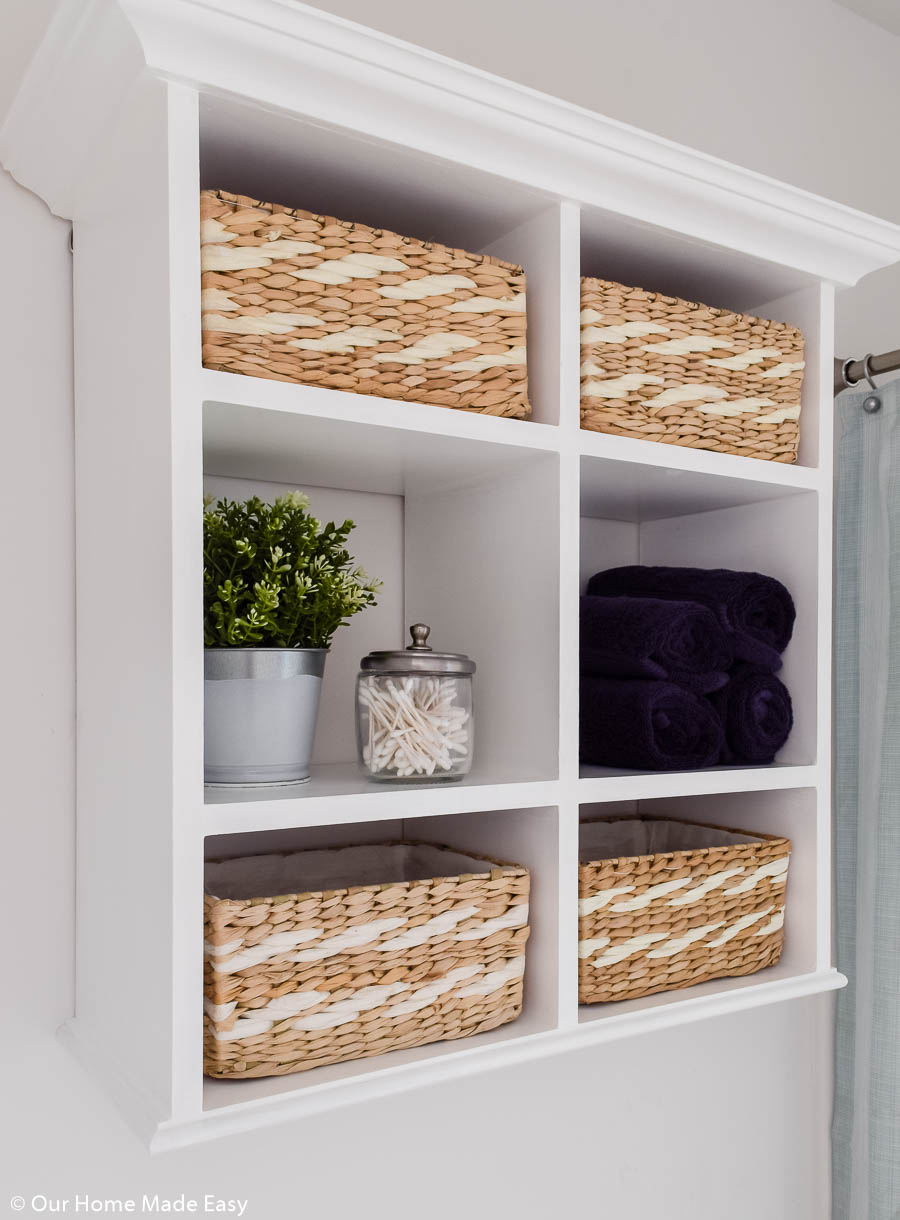
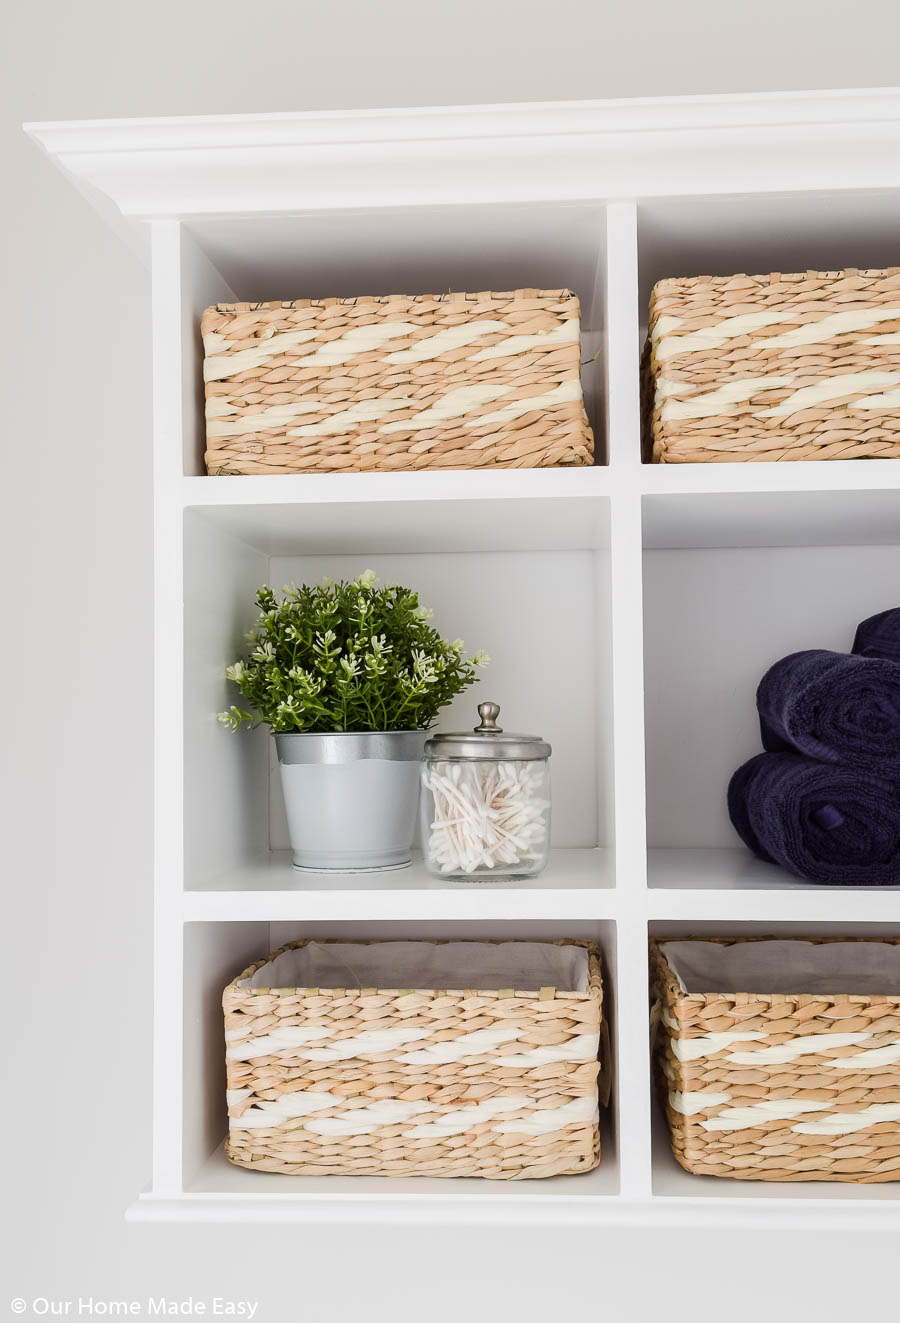
And that pretty was this beauty from Pottery Barn. And include the four baskets to go with it! However, at $437, it didn’t seem like a good use of money. Aka…. Jordan said, “I can build that for so much cheaper and it will be easy!”
I love that man.
and then we moved as soon as he finished this wall cabinet for us… but small details for another day…
Since Jordan is way better at explaining the step by step details, I’m going to hand this DIY over to him to share how to build this Pottery Barn wall cabinet knock off!

Take it over Jordan…
DIY Bathroom Wall Cabinet
Materials Needed
- 1″x10″ Select Pine Board
- Half Round
- Crown Molding
- Paint of Choice
- Paintable Caulk
- Kreg Screws
- Pocket Hole Plugs
- Wood Glue
- Baskets (Optional, we used these ones)
Tools Used
- Kreg Jig
- Miter Saw
- Drill
- Paintbrush
- Power Sander
- Kreg Clamp
TIP: Find your baskets first. This project fits our bins but if you find a different style you may need to adjust the measurements. The concept is the same, just make sure there is enough room for your baskets to slide in & out properly.
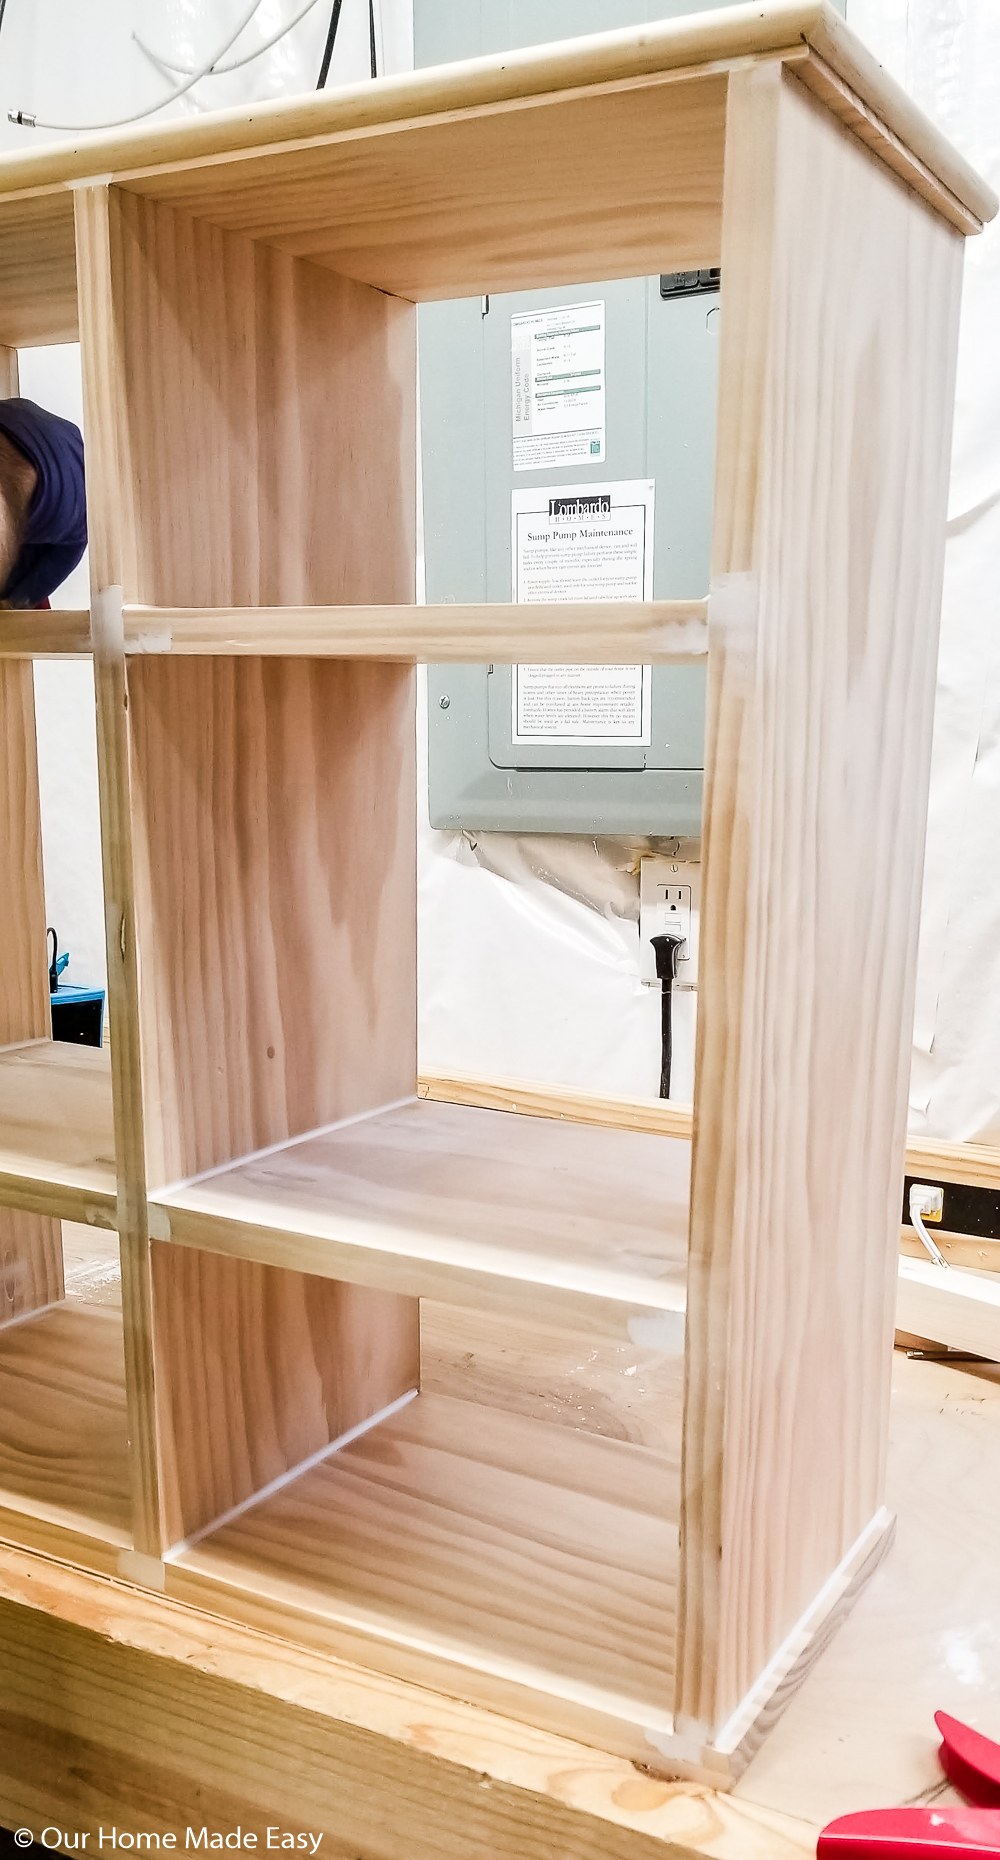
Cut Your Cabinet Board
Using your Miter Saw, cut 5 total pieces of the 1”x10” board to 25” in length. Then, cut 4 total pieces of the 1”x10” board to 11” in length.
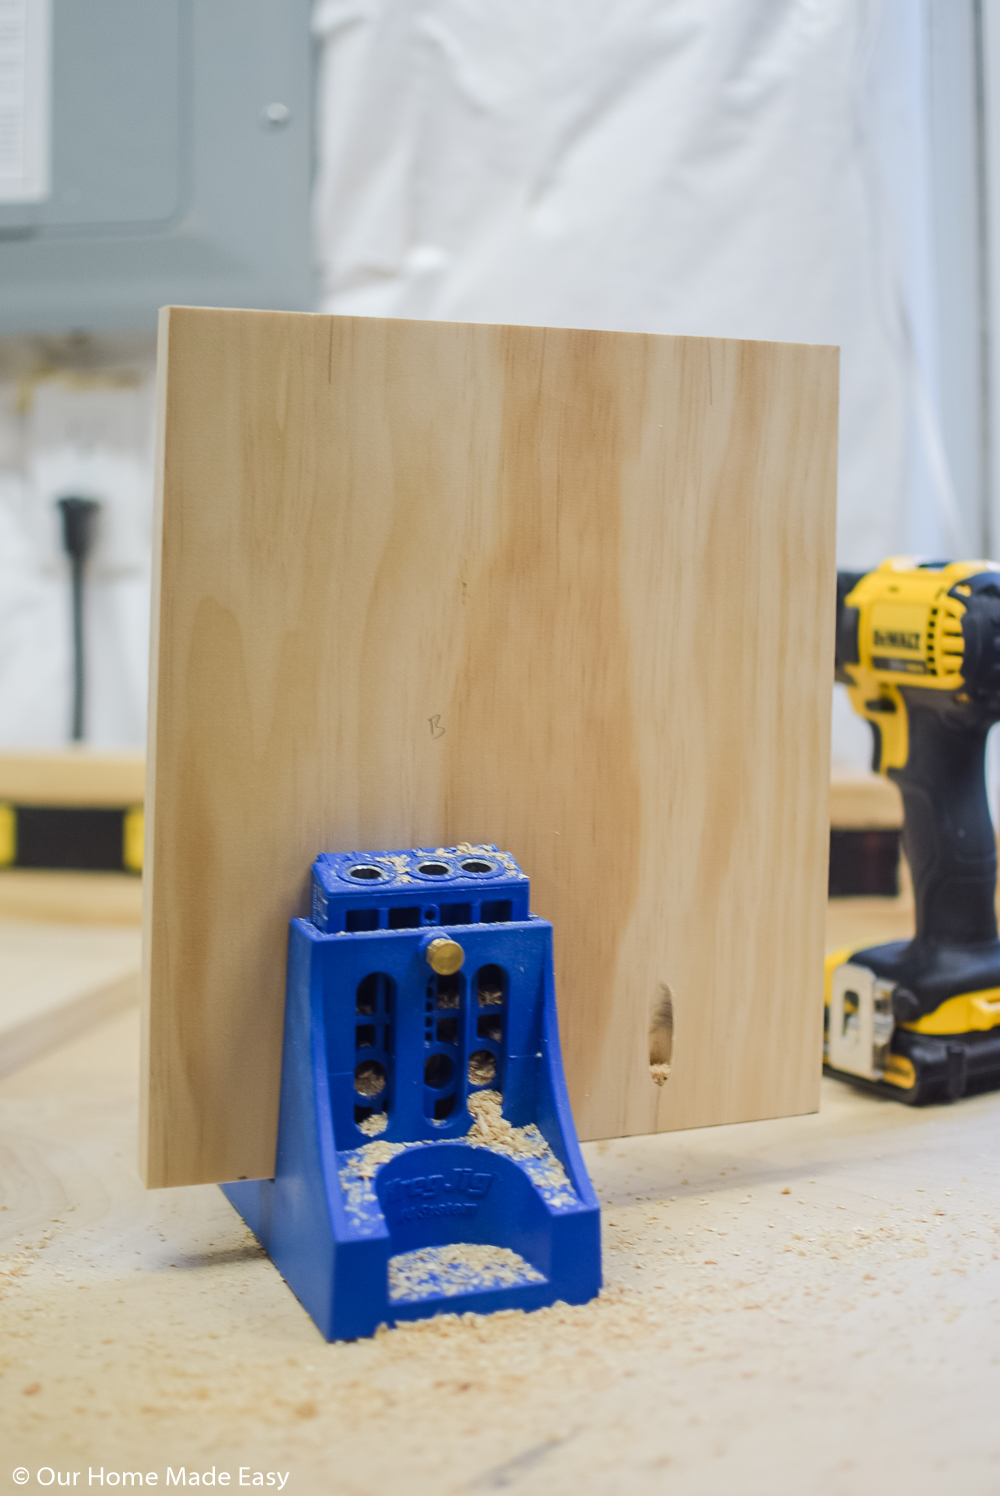
Drill Pocket Holes
Then drill 4 pocket holes on the same face of all four of the 11” boards, 2 on each side; the screws will come through the end grain.
Drill 4 pocket holes on the same face of 3 of the 25” boards, 2 on each side; the screws will come through the end grain.
Other Posts You Might Like…
- 13 Things to Know Before You Get the Kreg Jig
- Small Bedroom Closet Makeover
- Garage Storage Shelving for Less Than $70!
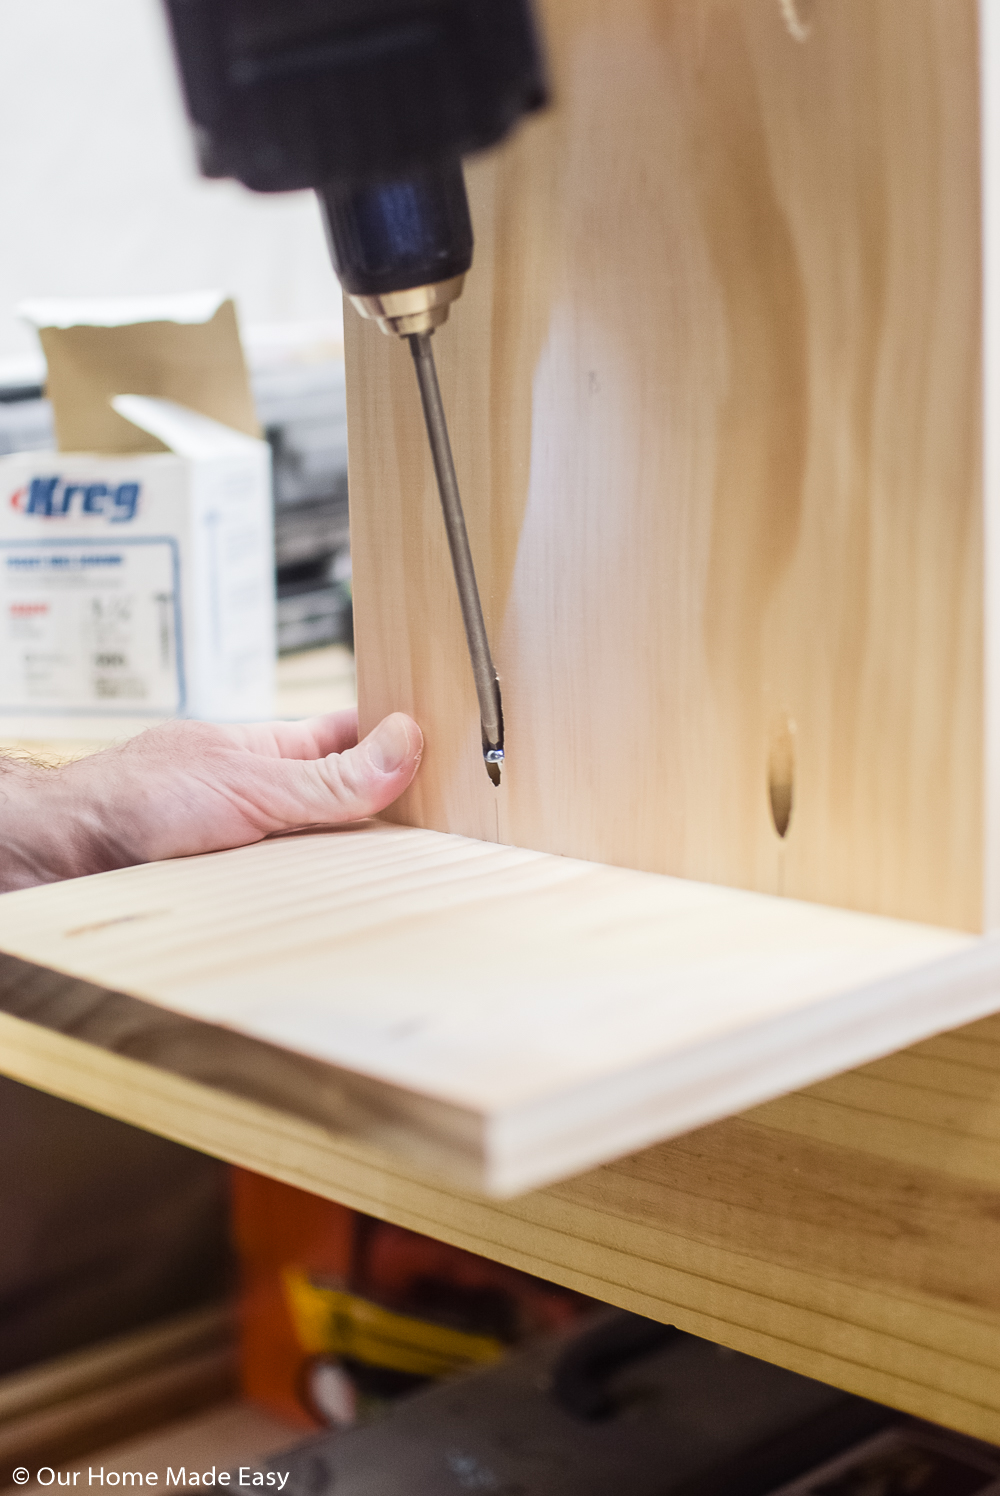
On one of the 25” boards that have been drilled with pocket holes, measure down 7.5”. Using your Kreg clamp, attach one of the 11” boards above that mark on the side that has pocket holes drilled.
Then with a Kreg screw, attach the board; remove the clamp and drive the other screw in. Measure down 10.75” inches from the 7.5” mark. Use your Kreg clamp, attach another 11” board above the 10.75” mark.
Next, take another 25” board with pocket holes, this time making sure the pocket holes face the shelves and other board. Then attach the two 11” boards at the same measurements as above, using the Kreg clamp to keep secure while fastening.
After, take the unused board with pocket holes and ensure the pocket holes are facing in, then attach the two boards remaining at the same measurements as above. This is the tricky part, line up the two sections and fasten the two together with 4 pocket hole screws.
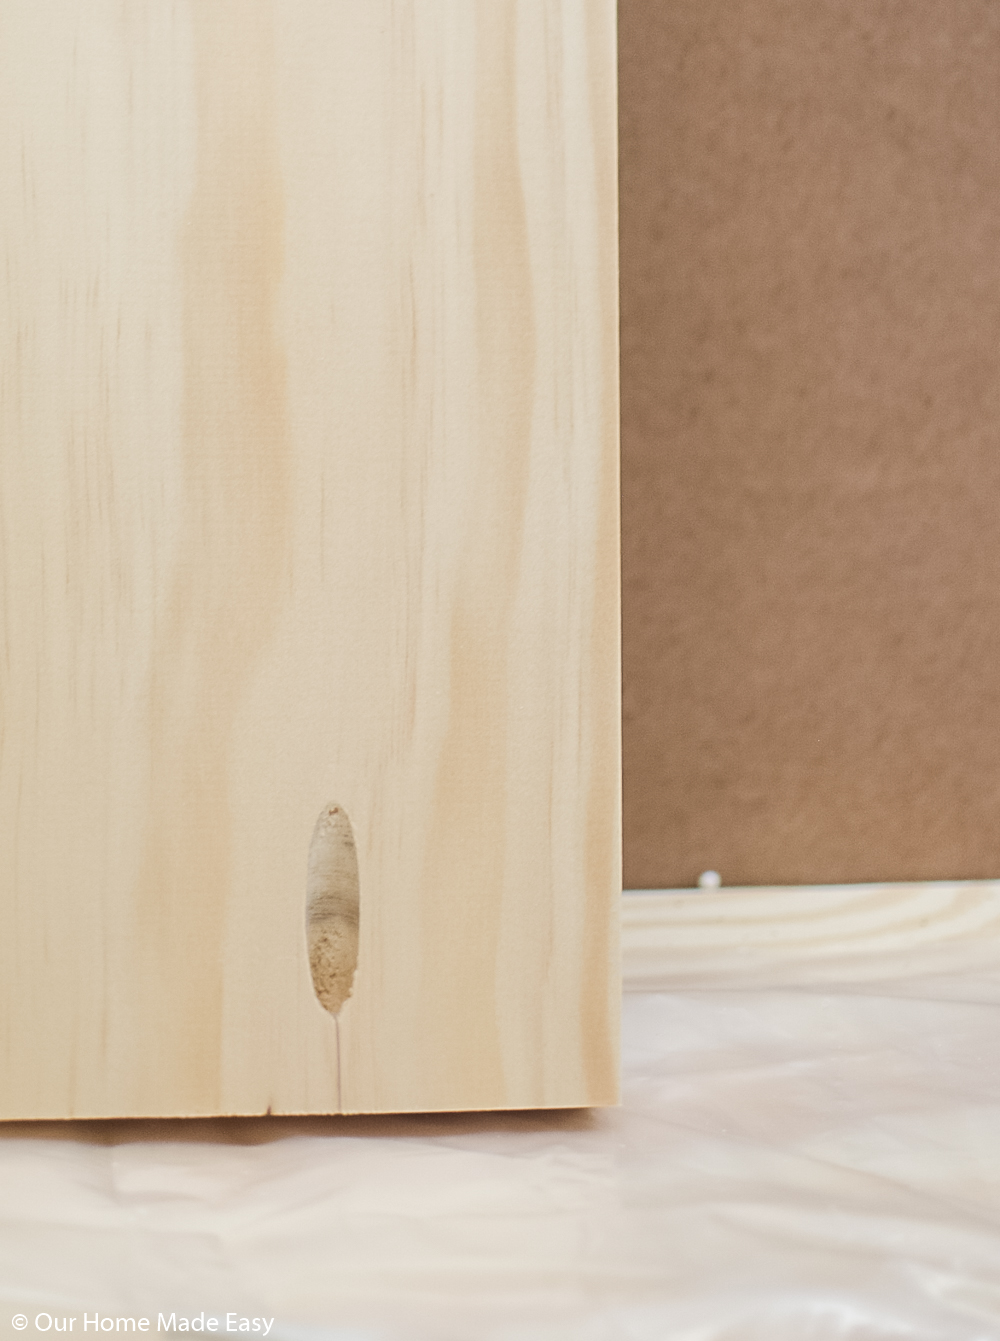
Mark the center line of the two undrilled boards. Then attach the top and bottom boards with pocket hole screws and clamps. Once fully assembled, place pocket hole plugs in the pocket holes, secure with a little wood glue.
Add Bottom Detail
To add a little detail, cut some half round trim to wrap the bottom of the shelf. Measure a 27” piece and in between, mark 25” in between the ends. Put the half round on your miter saw with the flat side facing the back fence of the saw.
Then line up the right measurement so the cut line is parallel to the left of the saw blade, then rotate the miter to the right 45 degrees. Cut the piece.
Then, put your saw back to 0 degrees and line up your left measurement so it is just right and parallel to the saw blade. Then, rotate the miter to the left 45 degrees. Cut the piece.
Next, measure two 11” pieces of half round. From one end, measure 9.25”. Then, place the flat side of the half round on the back fence of the miter saw and line up the measurement so the cut line is parallel and to the left of the saw blade.
Rotate the miter to the right 45 degrees and cut. Repeat again for the other piece. Then line up the trim pieces so they are all flush to the bottom of the shelf and then glue and tack in place with finish nails.
Add Moulding to The Top
Also, to take it to the next level, add some crown modeling to the top. To make the cuts easy, repeat the steps at the top but measure a 34” piece and two 15” pieces. And this time when you measure your pieces, measure on the bottom side of the crown because this will be facing up when you cut. For the 15” pieces, this time measure one from the right and one from the left.
As mentioned, position the crown so the bottom is facing up and rest the crown on the back of the fence and table, creating a triangle. Line the right measurement up to just left of the blade, then rotate 45 degrees to the right and cut. Do the same for the left, but line the cut up just to the right of the blade, rotate left 45 degrees and cut.
Then for the two 15” pieces, align the blade to the outside of the line on the short side of the pieces, rotate the blade to the short side 45 degrees and cut. Align flush to the top of the shelf and attached with finished nails, pin nails, and glue.
Prep For Finishing
Caulk all of the joints with your paintable caulk. I use my finger to smooth out the caulk but you could use a popsicle stick or even this Hyde caulking tool.
Sand down the exposed dowels with a power sander so they are flush to the wood boards. Just a heads up, using a power sander is very helpful. You may need to fill the gaps with filler and then sand again.
Prep For Painting
Lightly sand all the surfaces with 200+ grit sandpaper. Then paint with your favorite color until well coated. We chose untinted bright white latex paint.
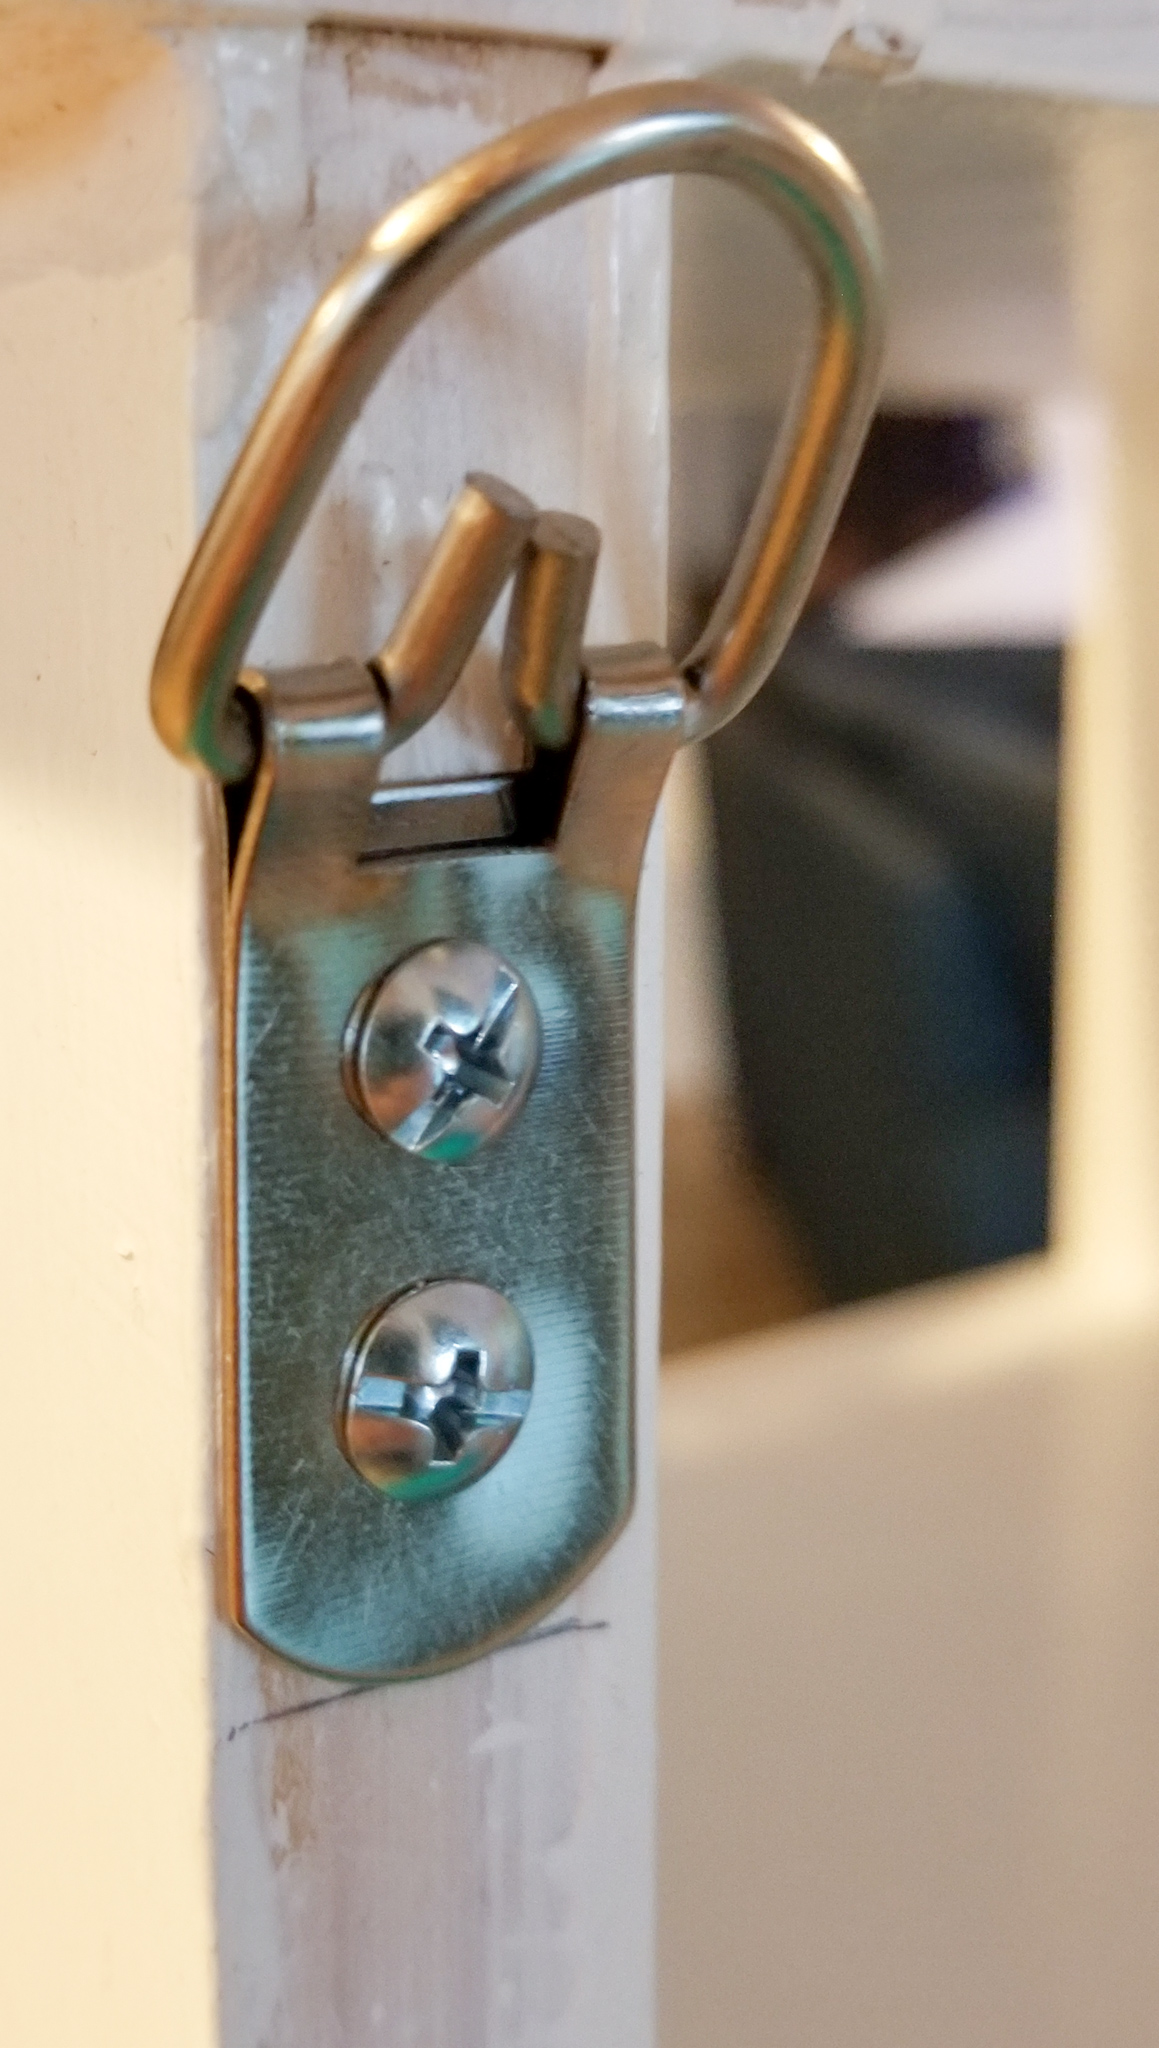
Once dried, attached the D rings on the back of the shelf about an inch down. Make sure the pre-dill the holes so you don’t crack the wood. I used this new center finding tool and was amazing!
Hang Your Wall Cabinet
Hang on your wall in a stud and with a wall anchor or two wall anchors.
…and that is it!
As a reminder, the Pottery Barn inspiration for $430+…
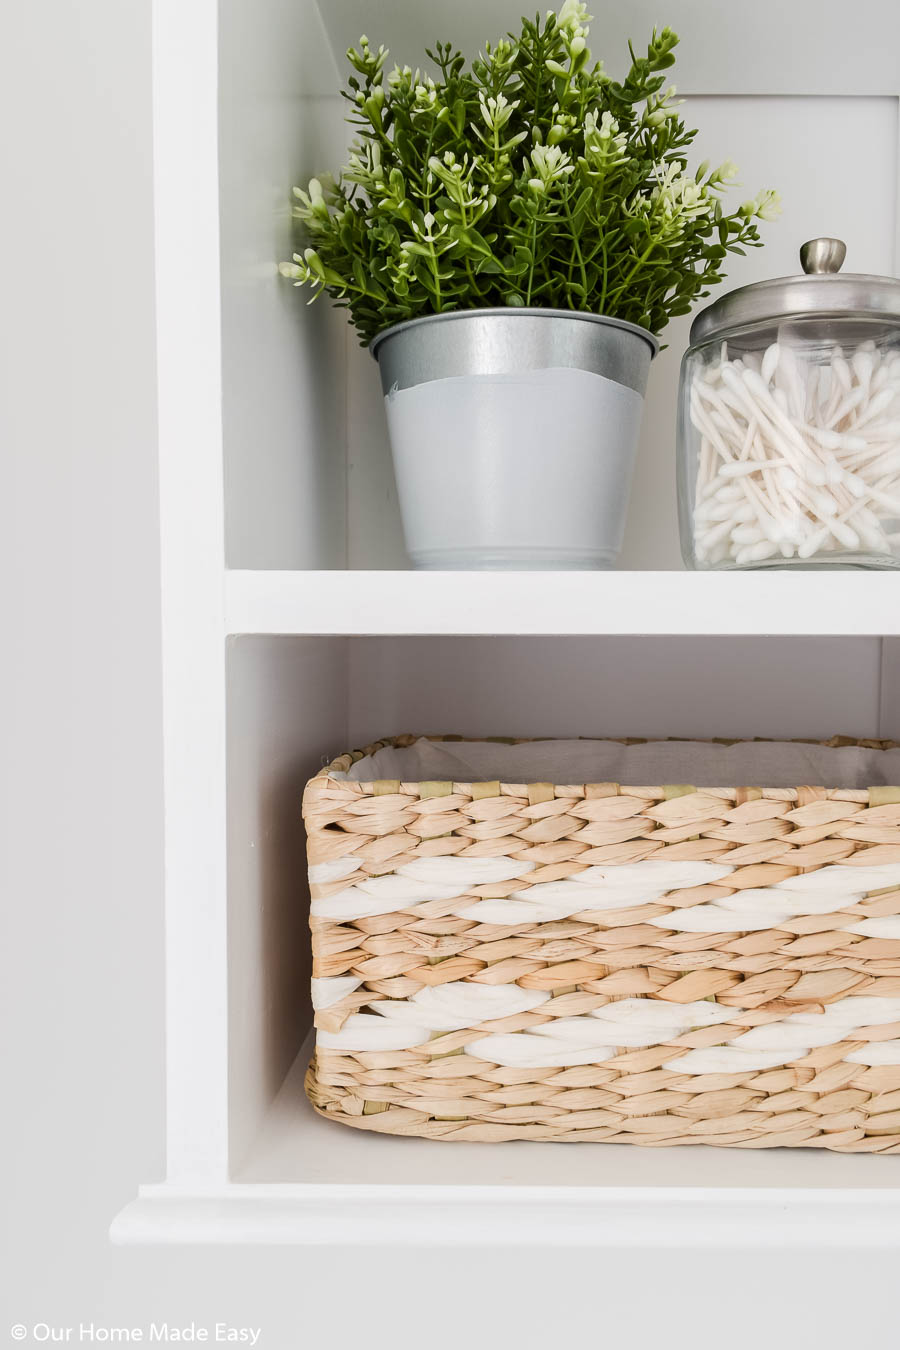
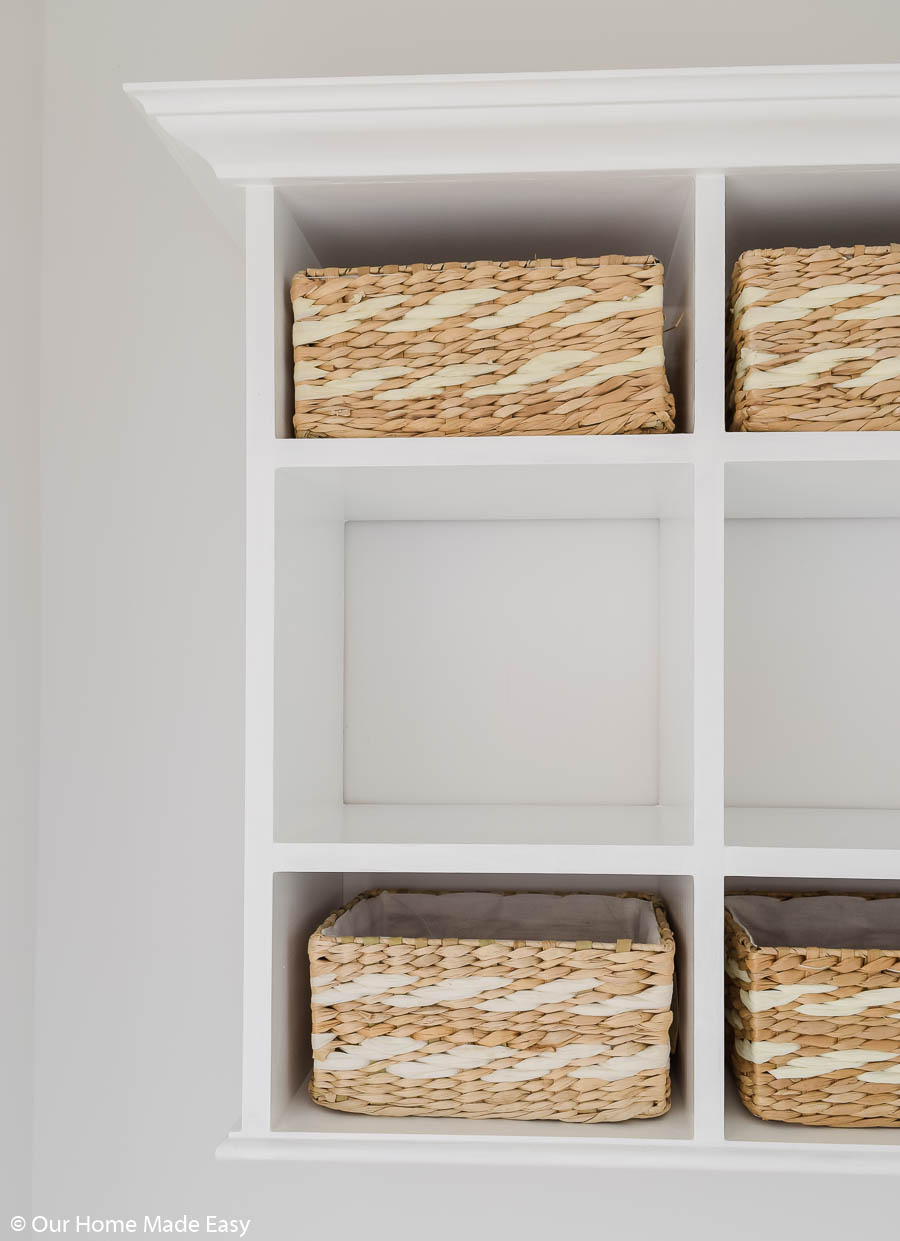
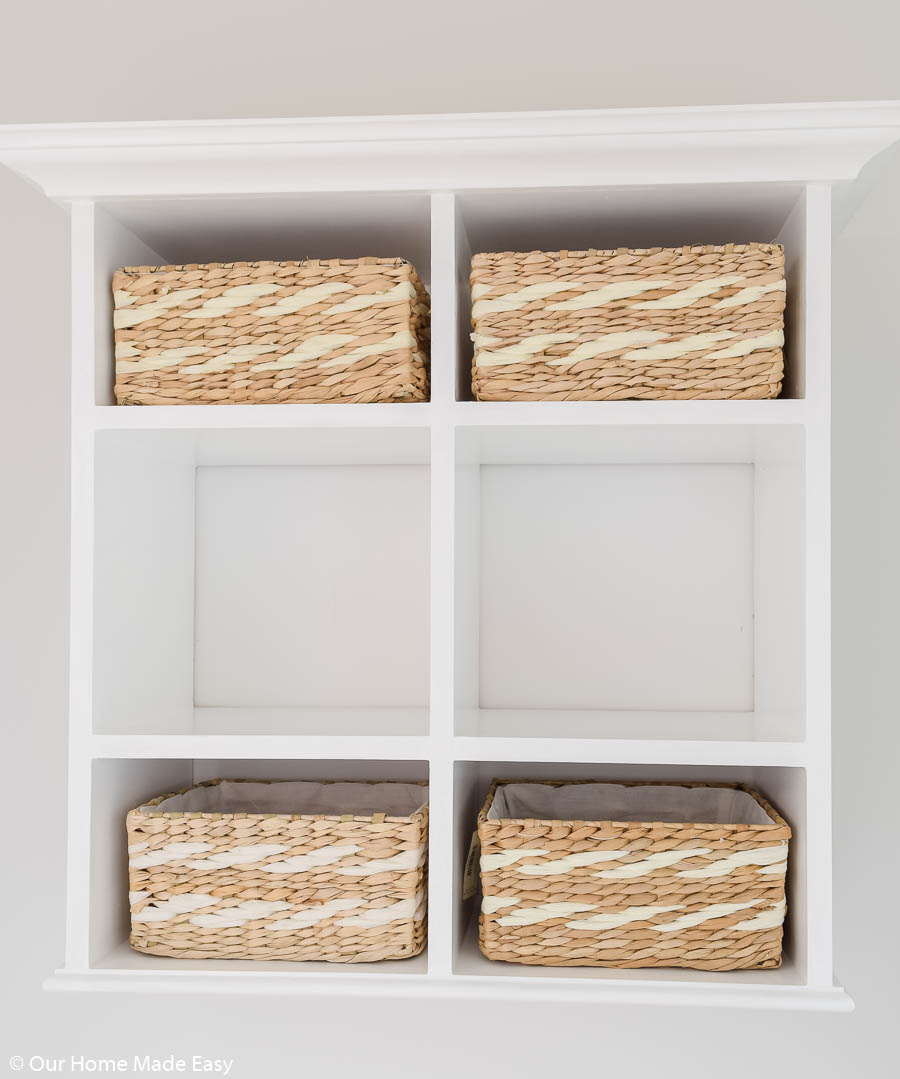
and our finished project for just $80!
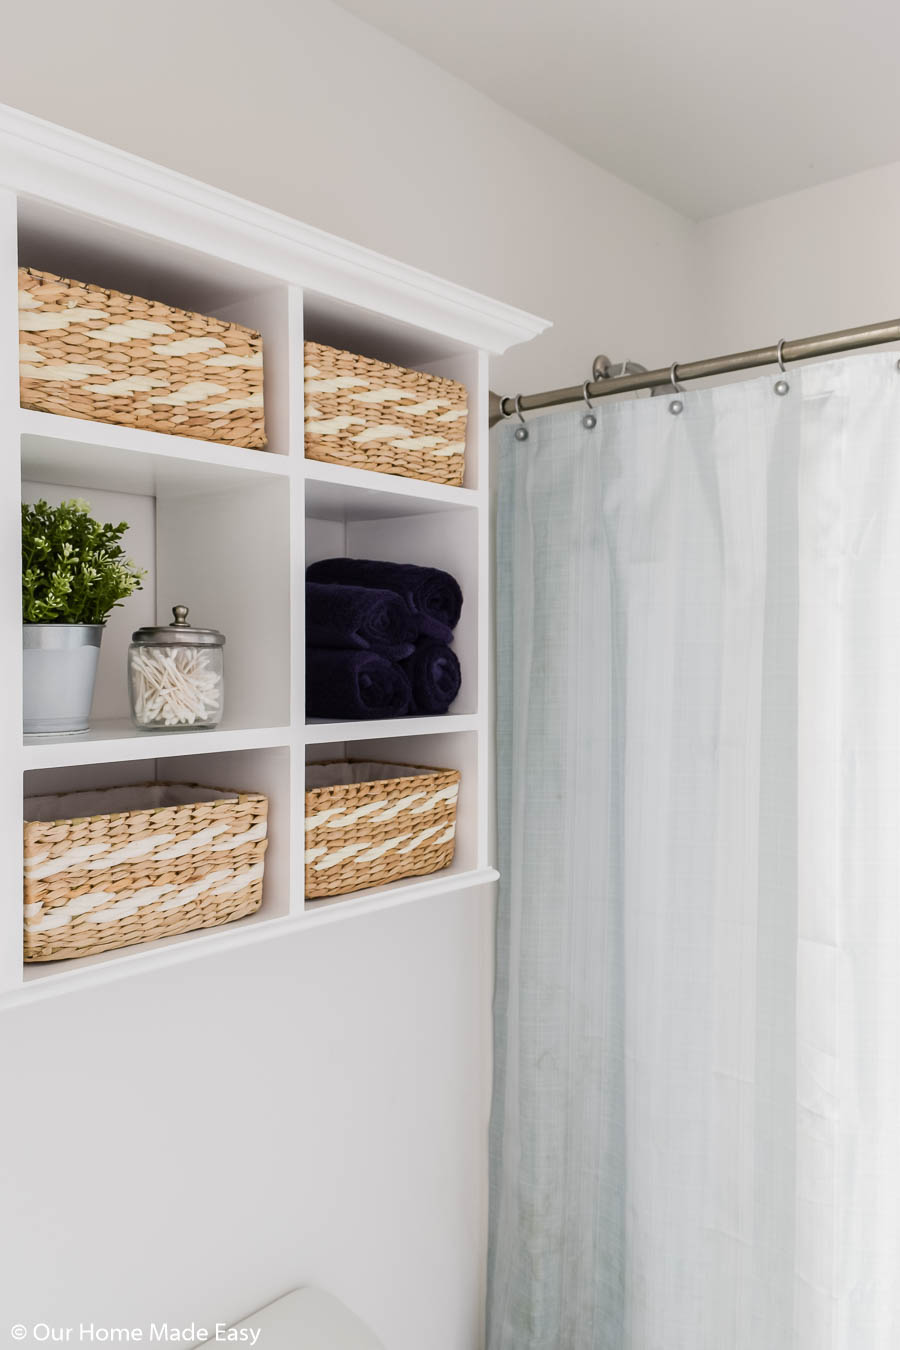
Pretty awesome, right?
Jordan really knocked it out of the park with this project.
I can’t wait to hang this new wall cabinet in our new home. I’m thinking it will look right at home in our powder room downstairs. And I think that is a wrap on all our Michigan projects!
(Or until we uncover a few more while hanging up our stuff on the walls. 😉 )
Thanks for stopping by today!
Love a great DIY project? Be sure to grab your list of my favorite weekend warrior projects below!
PIN FOR LATER:
Hi Brittany! I really like your knock off pottery barn Wall Cabinet! It came out beautiful! Wow! and you saved a bundle!