One Afternoon Project: Easy DIY Burlap Curtains
Have you ever wanted to add burlap curtains to your décor, but didn’t know how to make them yourself? These curtains are the easiest panels I’ve ever made. Seriously. If you plan it right, you can use the full width of the bolt and eliminate the need for side hems. When I made these last summer I decided to use half the width of the bolt per panel which made each panel about 30″ wide. But, if you are going for a quick timeframe, and like the panel fullness, go ahead and use the full width of the bolt (~60″). They would look significantly more full and fill up the room better.

(This post contains affiliate links. If you shop from my blog, I may be compensated for clicks or purchases that you make. Read my disclaimer page for more information.)
Supplies Needed for Making Burlap Curtains (* aff. link)
The Math:
Determine the finished panel length, add 4″ for bottom hem and 4″ for the top hem. The great part about making the burlap curtains yourself is that you have the ability to choose how long the panels should be or how much extra length you’d like at the bottom. In our case, these panels are nine feet long. I would’ve never found nine foot panels let alone in burlap in a big box store.
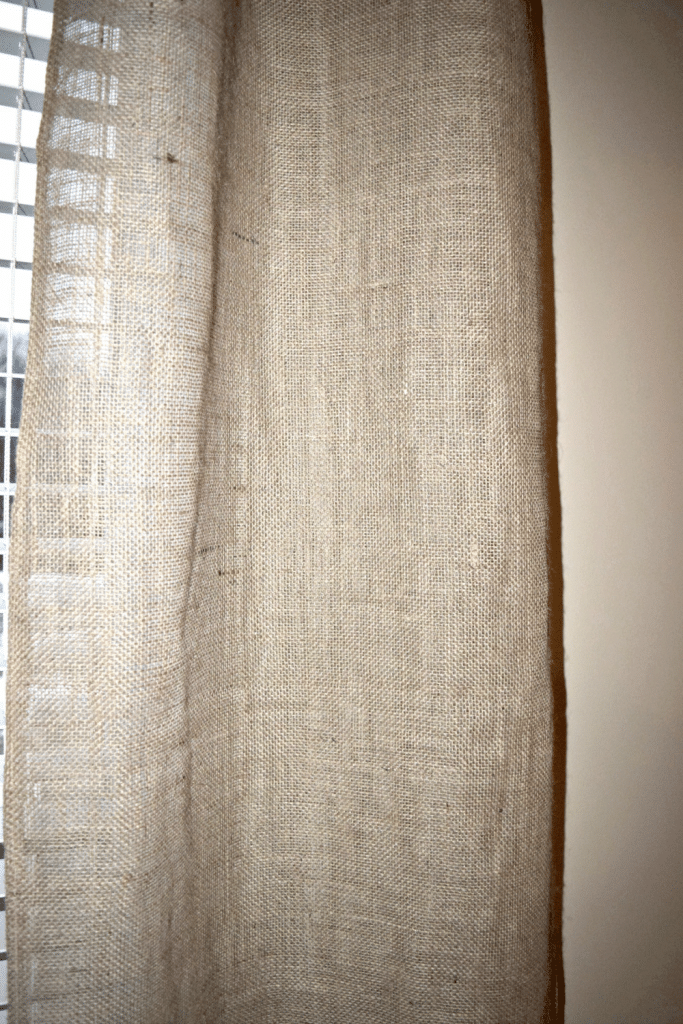
The Sewing:
Initially I worried about the infamous burlap odor, but that didn’t seem to be the case here. In less than a day, the smell disappeared. Burlap can be tricky to sew. Check with your sewing machine manual for the correct needle to use. I found it best to use a zigzag stitch with a wider and longer stich length. Practice with your scrap burlap to find the best stitch for your bolt. Fold your bottom and top hems one time. I found that the burlap was sturdy enough that it did not need to be folded twice on the bottom. Lightly press the hems. Too much and you may burn the burlap. Sew the hems using a coordinating thread. I sewed the three sides of the bottom hem to avoid and openings at the bottom. Sew across the top. Now you have a pocket for a drapery rod OR you can add grommets like I did. See my tutorial on grommets here.
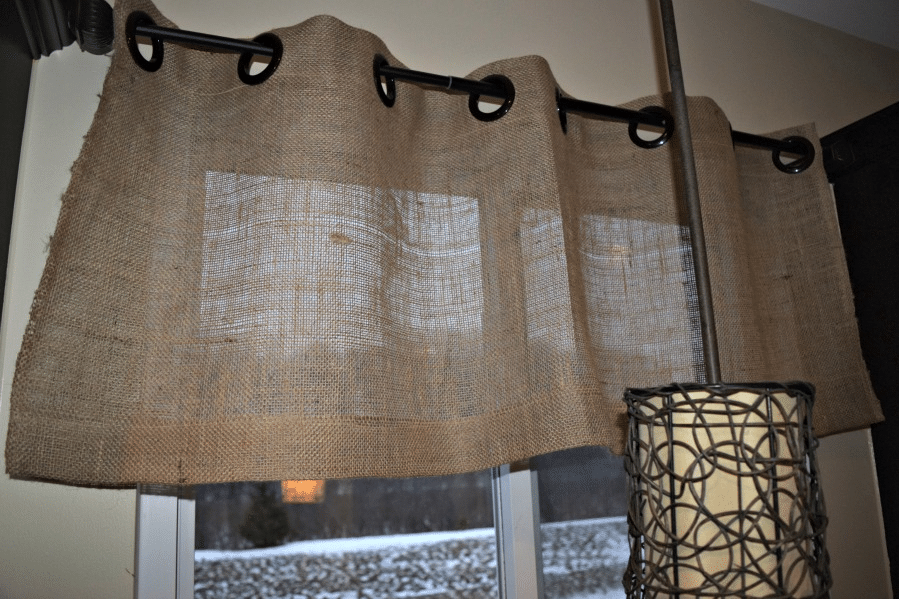
I had enough burlap left over to make a valance for above my kitchen sink. Since I had the leftover fabric, I made he valance is 15″ long so that it would partially block the afternoon sun that comes into the kitchen. I followed the same steps as the curtains and added grommets across the top.
Have you sewn with burlap? What has been your favorite project?
If you are a new sewer, check out my must haves for other newbies!
Thank You. I too, thought to read up on this idea.. Because, days ago, I thought this, would be a “low cost and time savings” window treatment… I wanted to see my thought evolve into reality 1st, and seeing your DIY results proved worth doing and I will do it for sure… Now to find the grommets… Blessings…