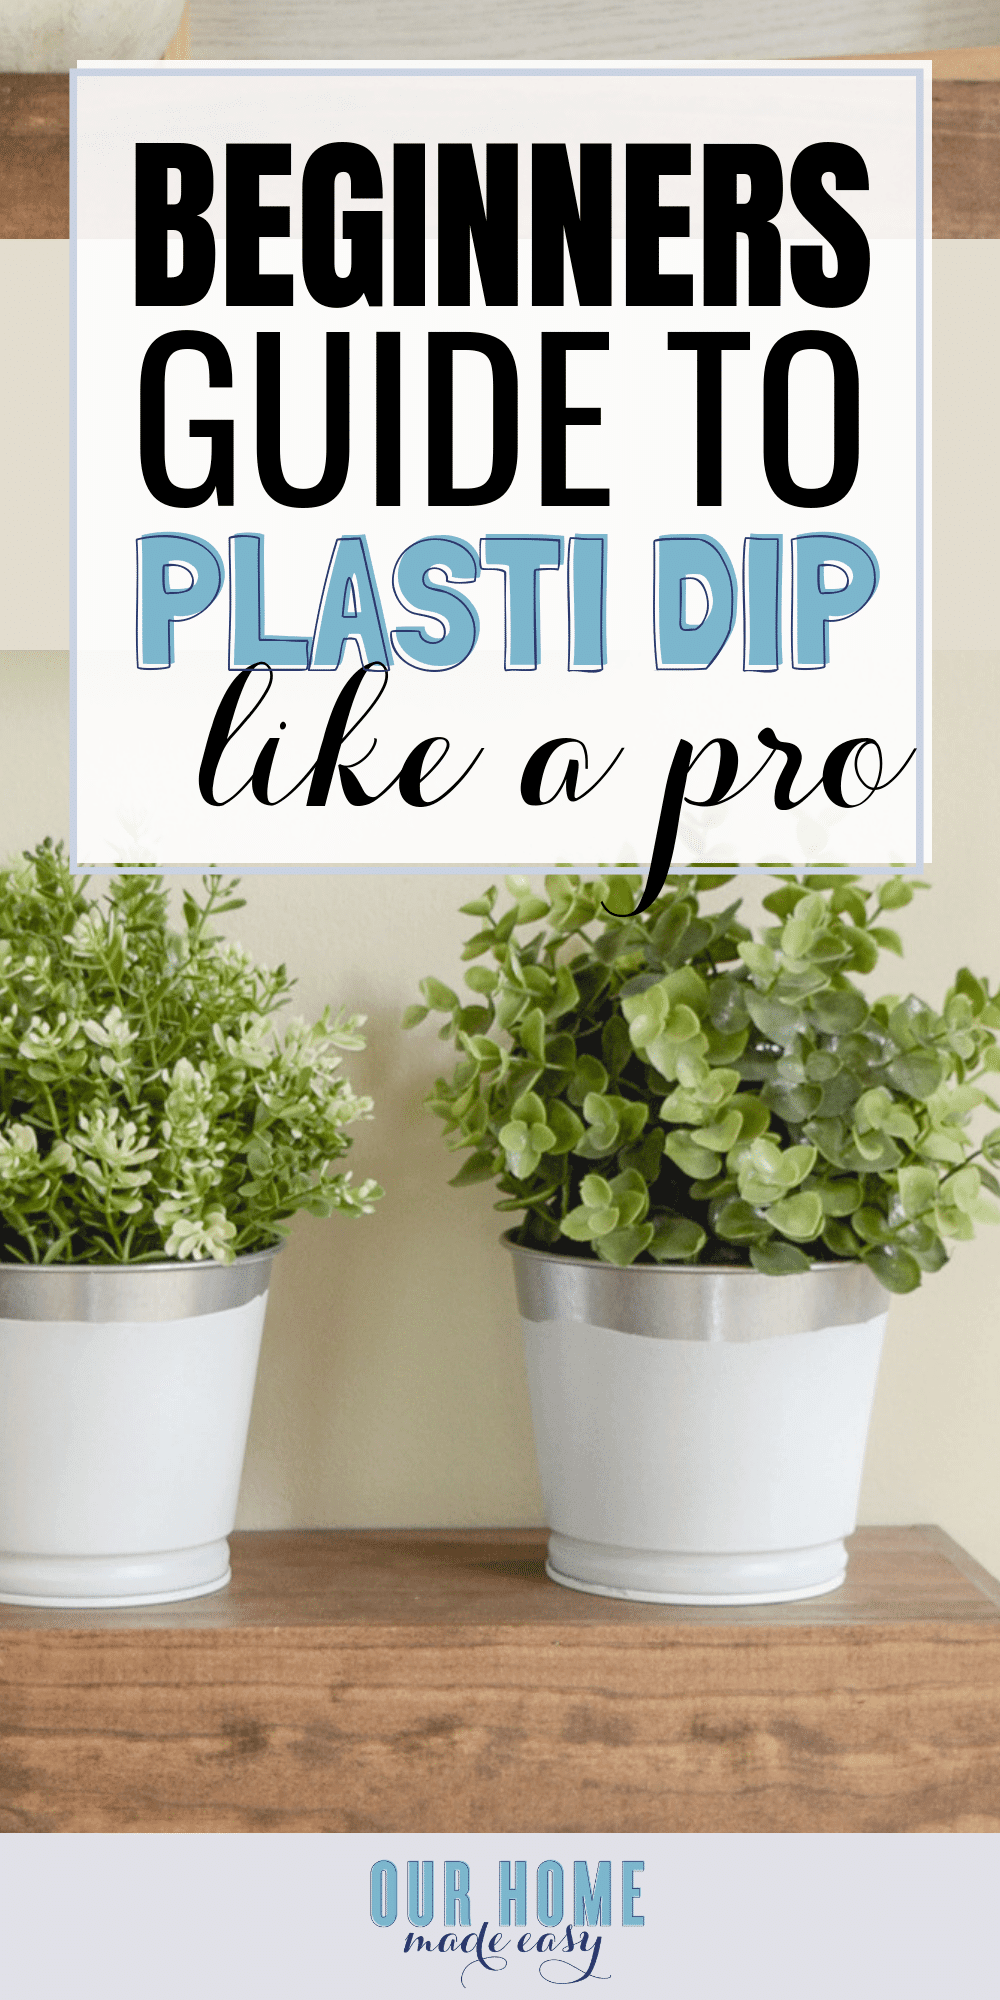
The Best Trick for Making a Dipped Look with Spray Paint!
This is a sponsored post written by me on behalf of Plasti Dip. All opinions are 100% mine. DIY your own dipped paint look but without the mess! Use Plasti Dip Craft to make a fun new project that is super easy and removable! 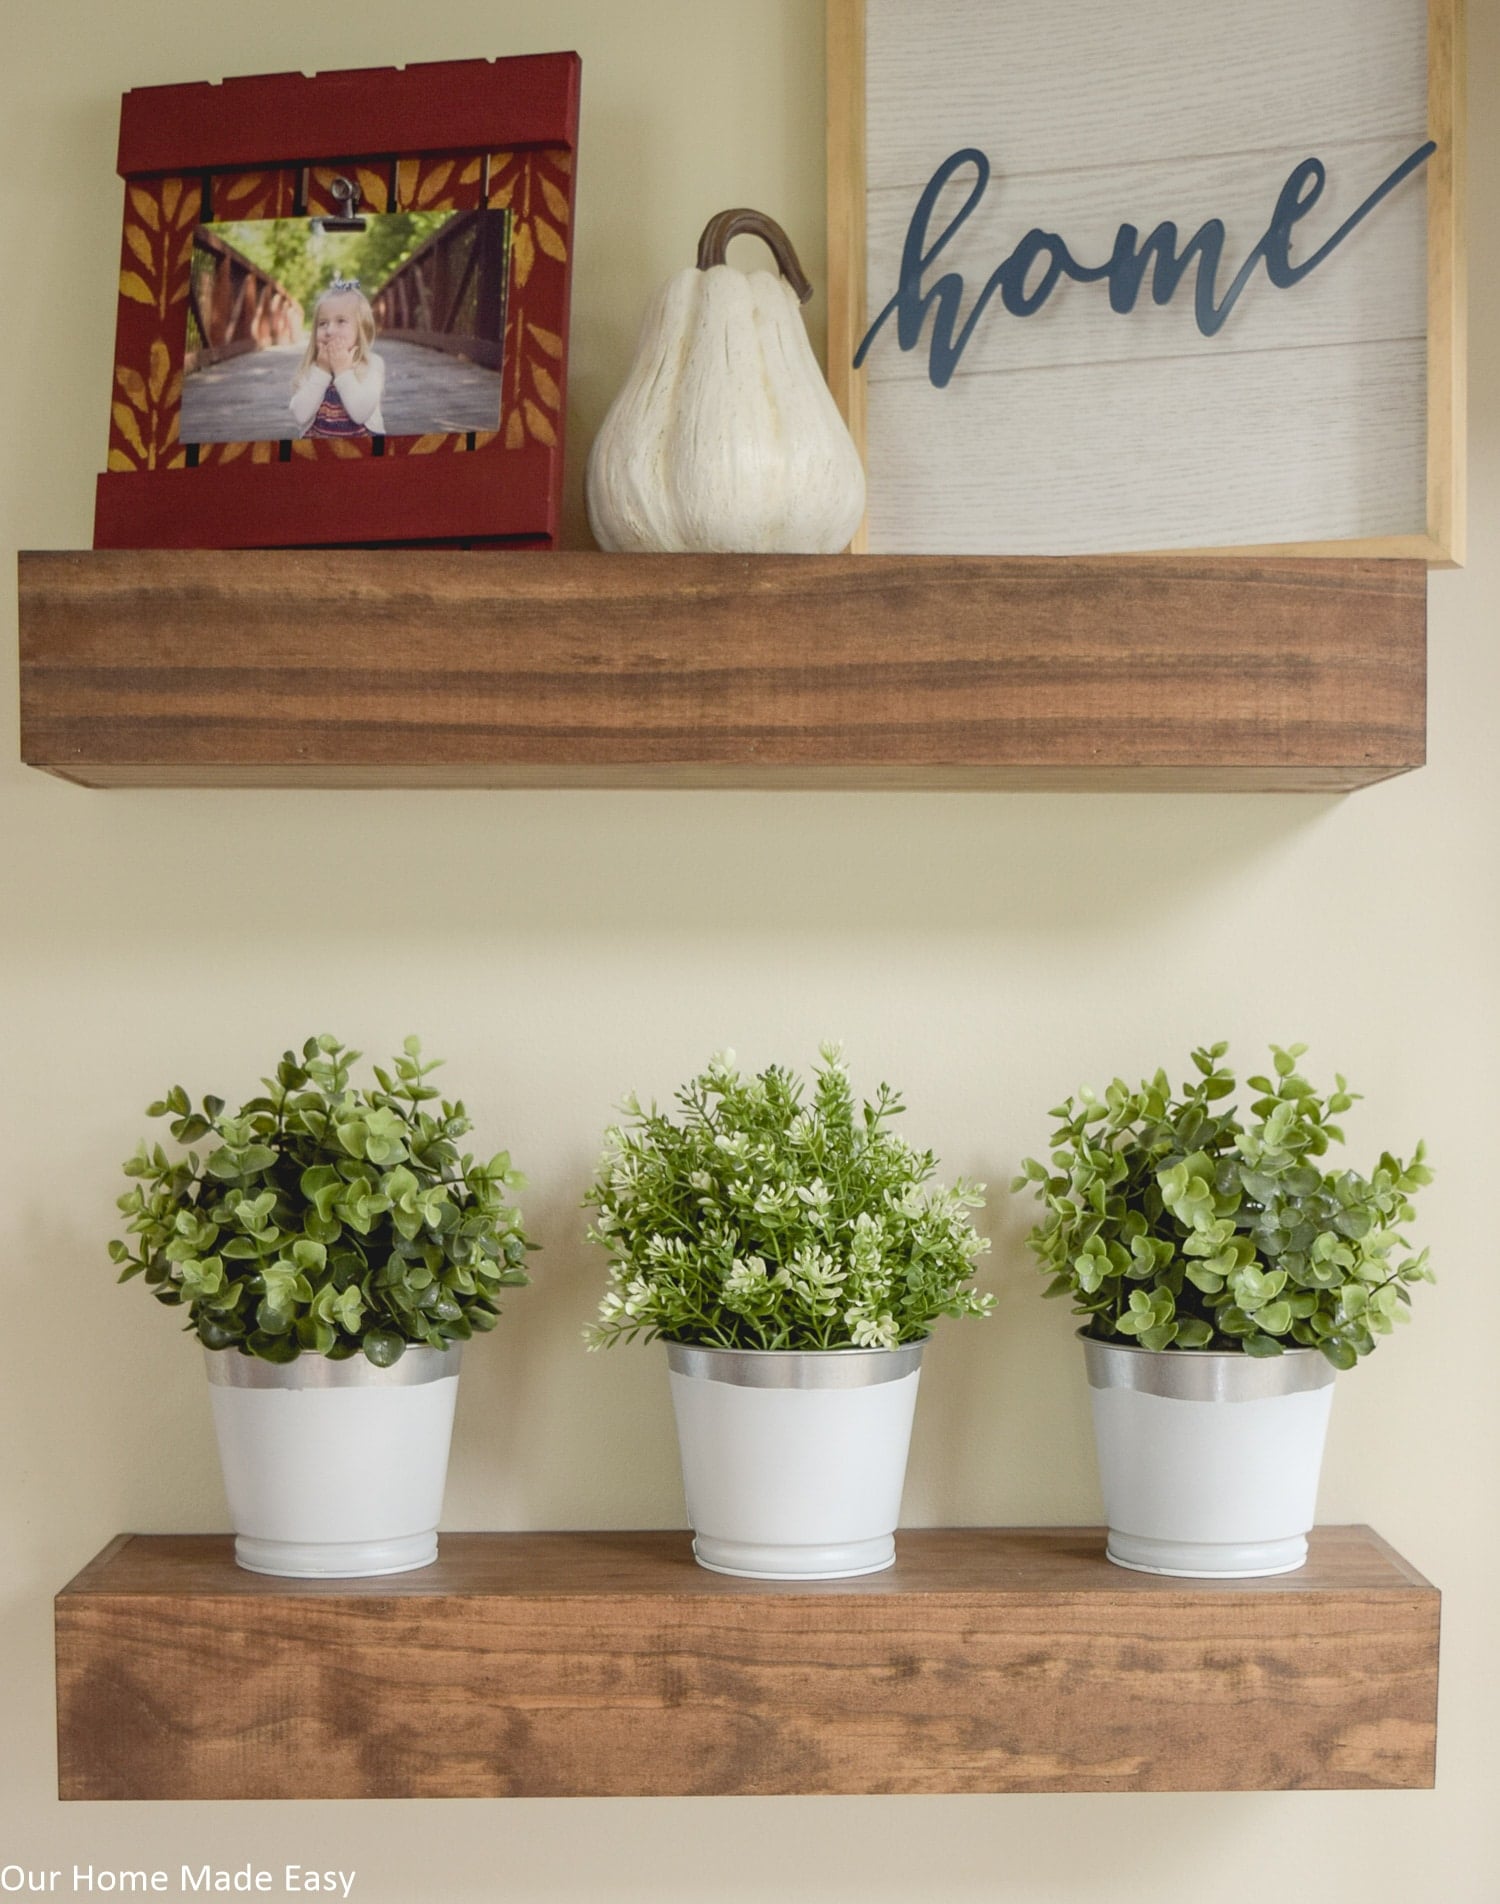
Over the past few months, I’ve been on a mission of adding decor that can be used throughout the entire year. And that includes DIYs and crafts. Recently Aubrey started Kindergarten, Owen is in preschool, and our work days are getting pretty long.
Whew.
I’d rather change out a wreath and some greenery than entire areas. Because who has time for that? When the folks at Plasti Dip reached out asking if I wanted to DIY a new project, I said “Of course! And it’s going to be a neutral color that I am going to choose…” Thankfully, they happily obliged. 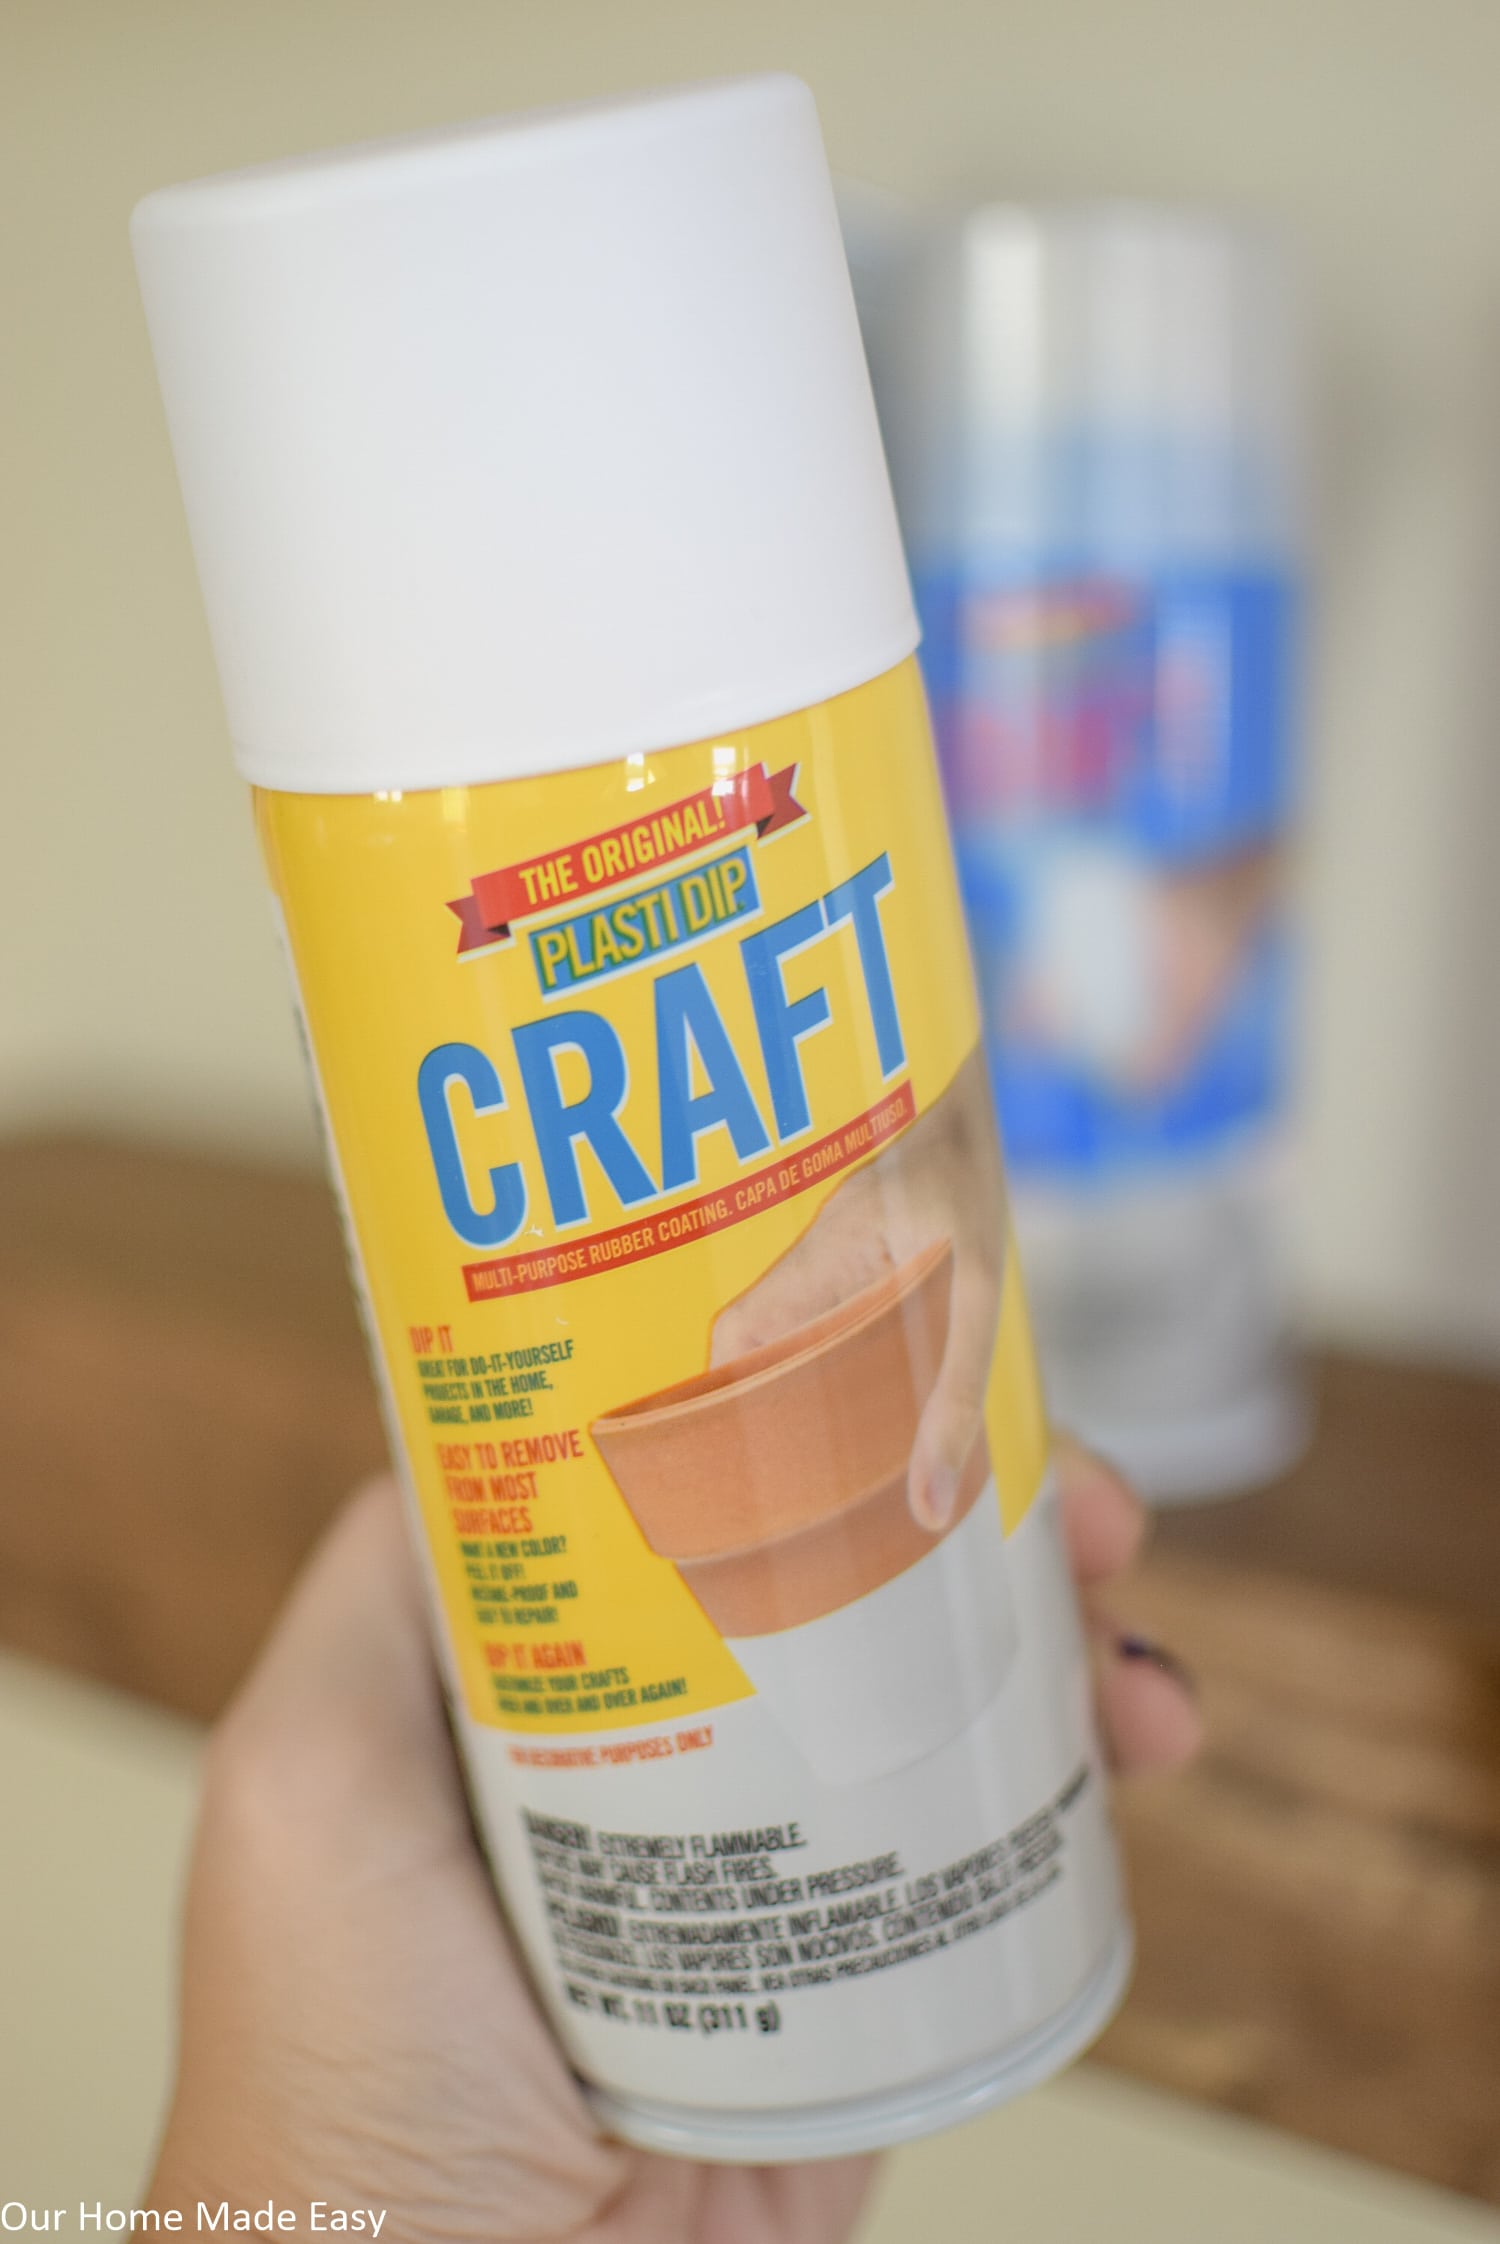
I couldn’t wait to tackle a project where I could create a ‘dipped look’ but without a mess. Hello, Plasti Dip Craft! If you aren’t familiar with Plasti Dip Craft, it’s this thick spray coating that comes in 7 colors and 3 enhancers. You can Plasti Dip just about anything (and it’s more fun than regular spray paint)!
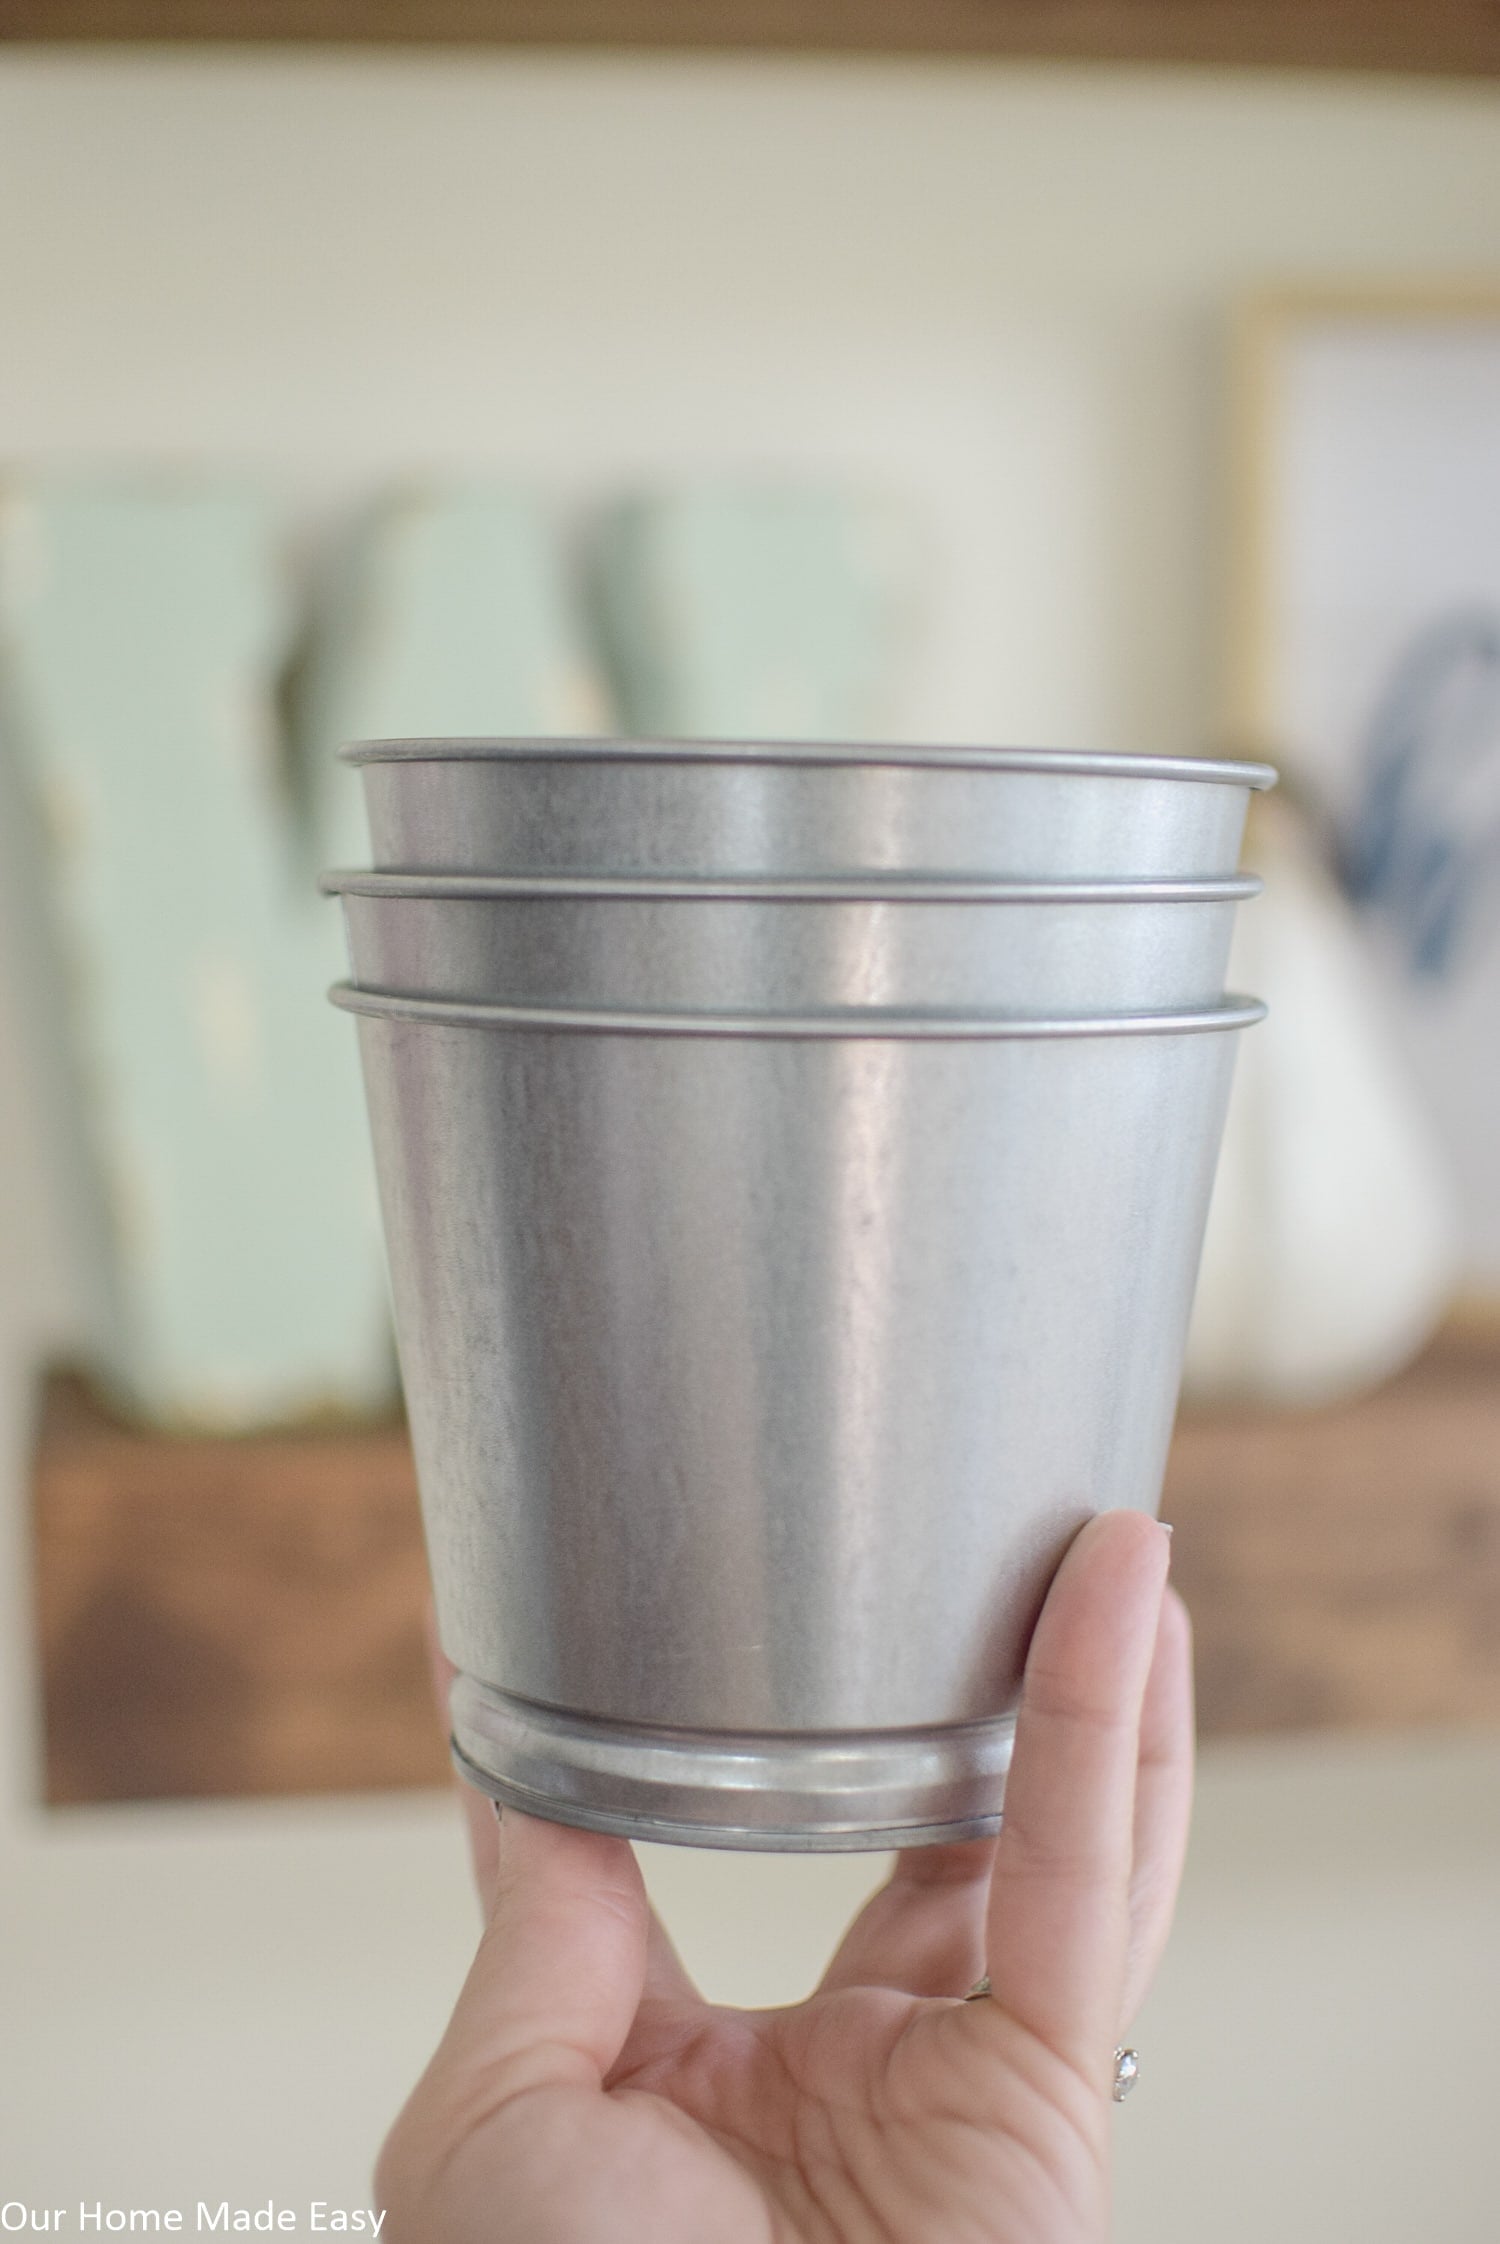
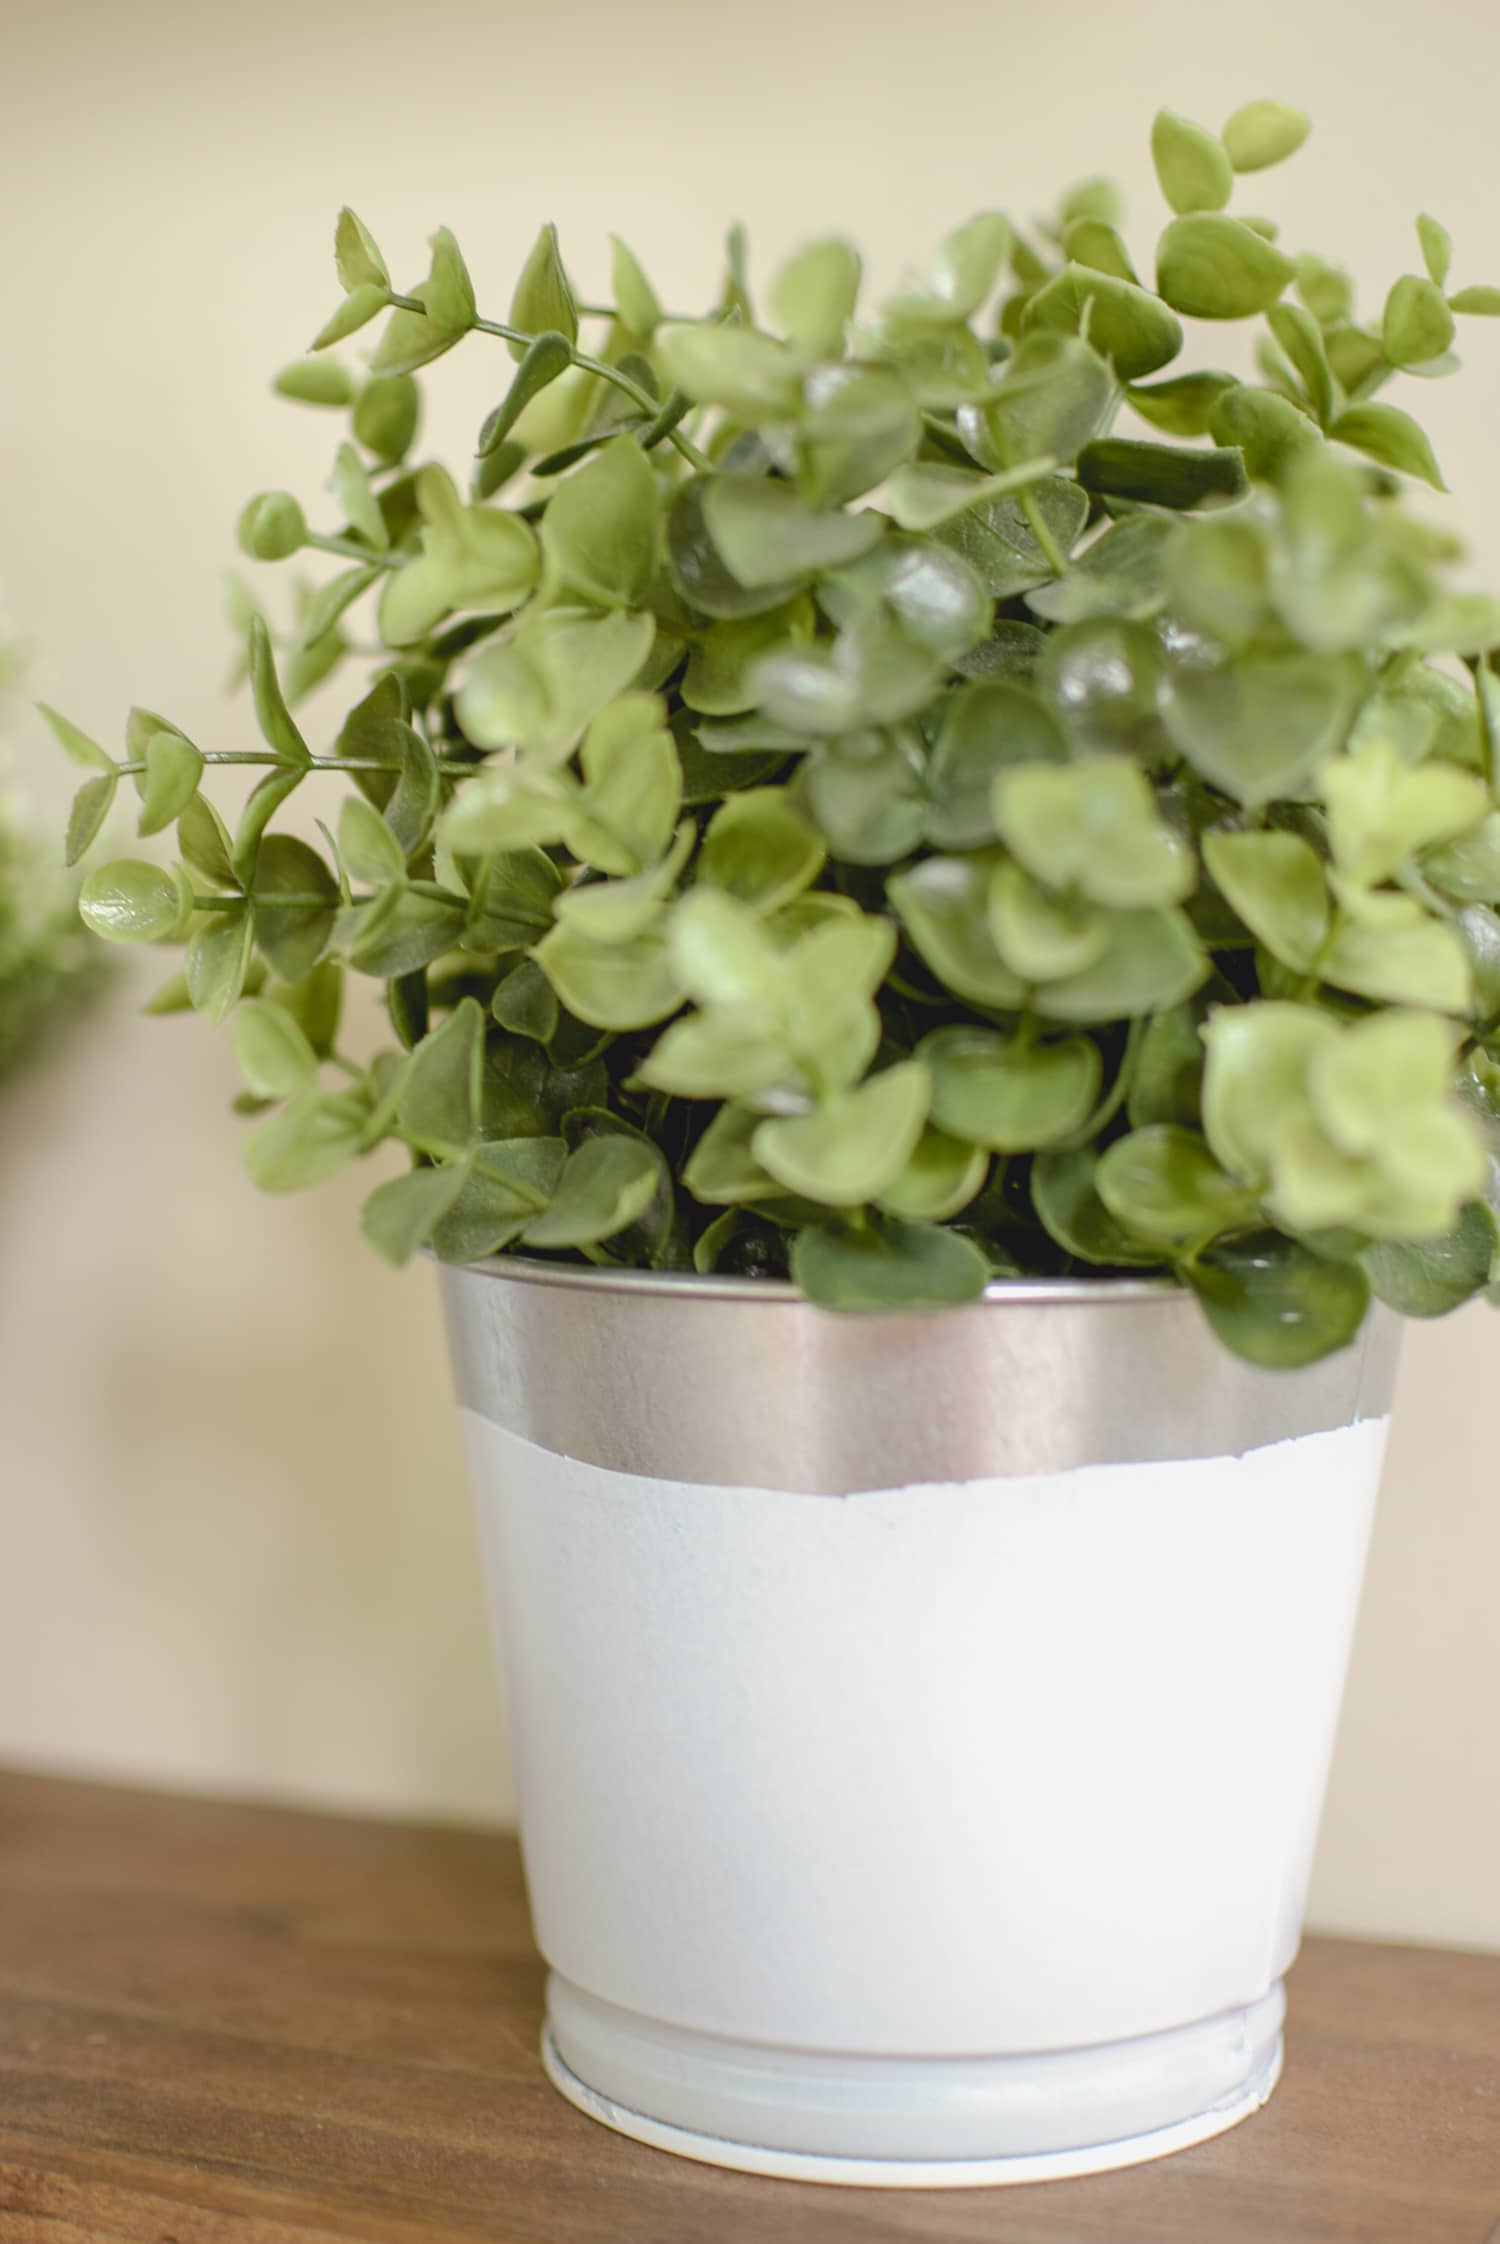
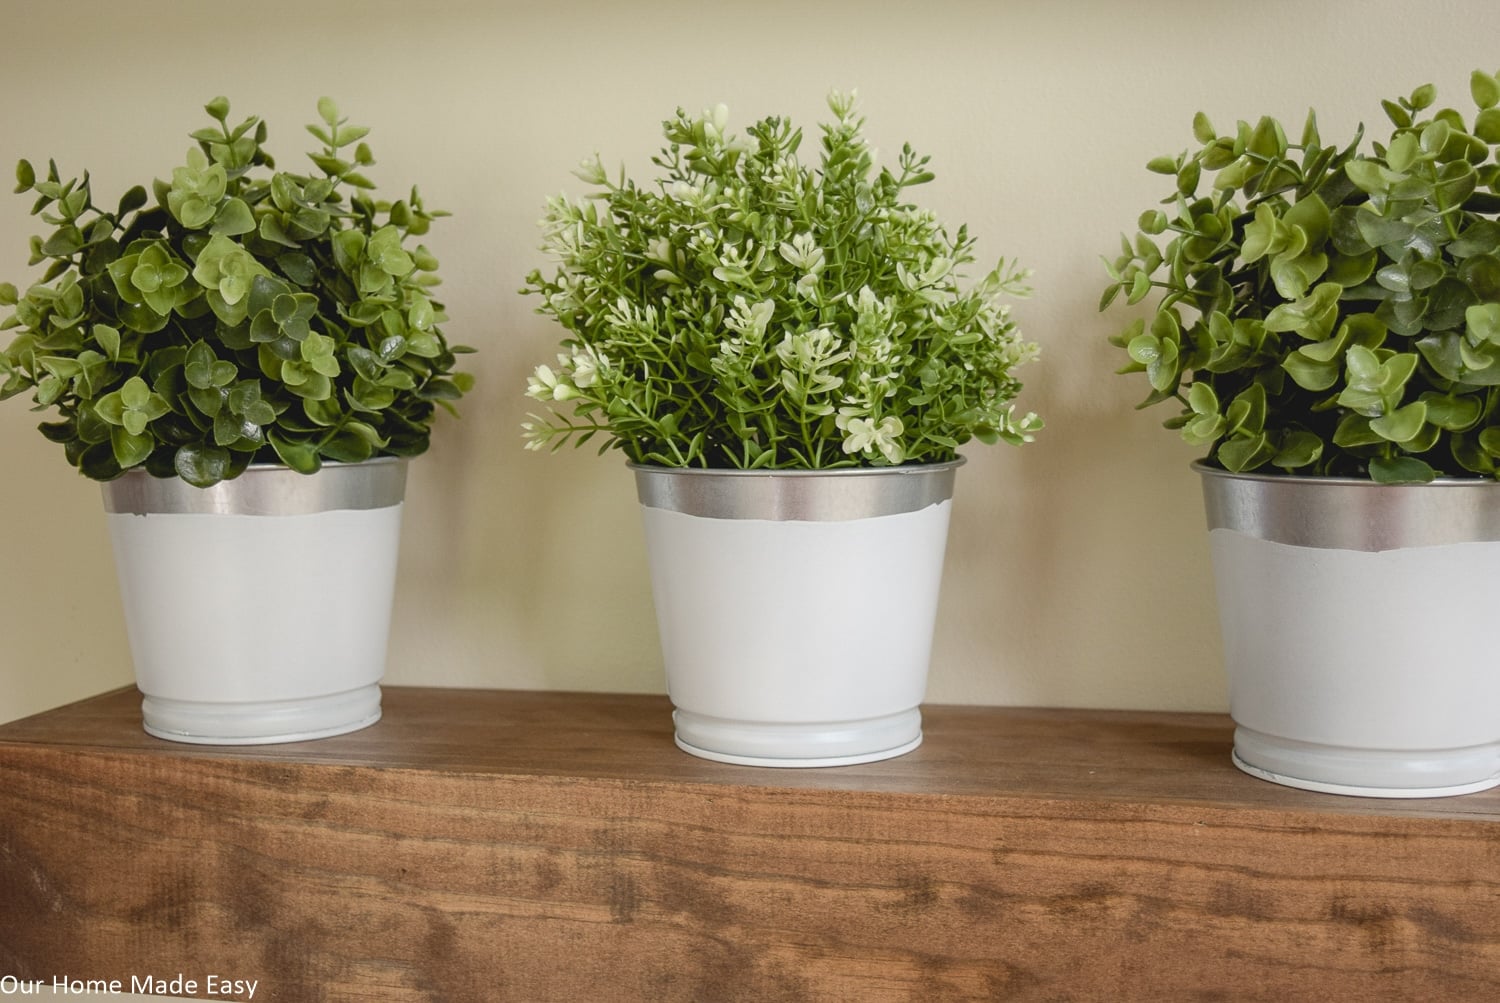
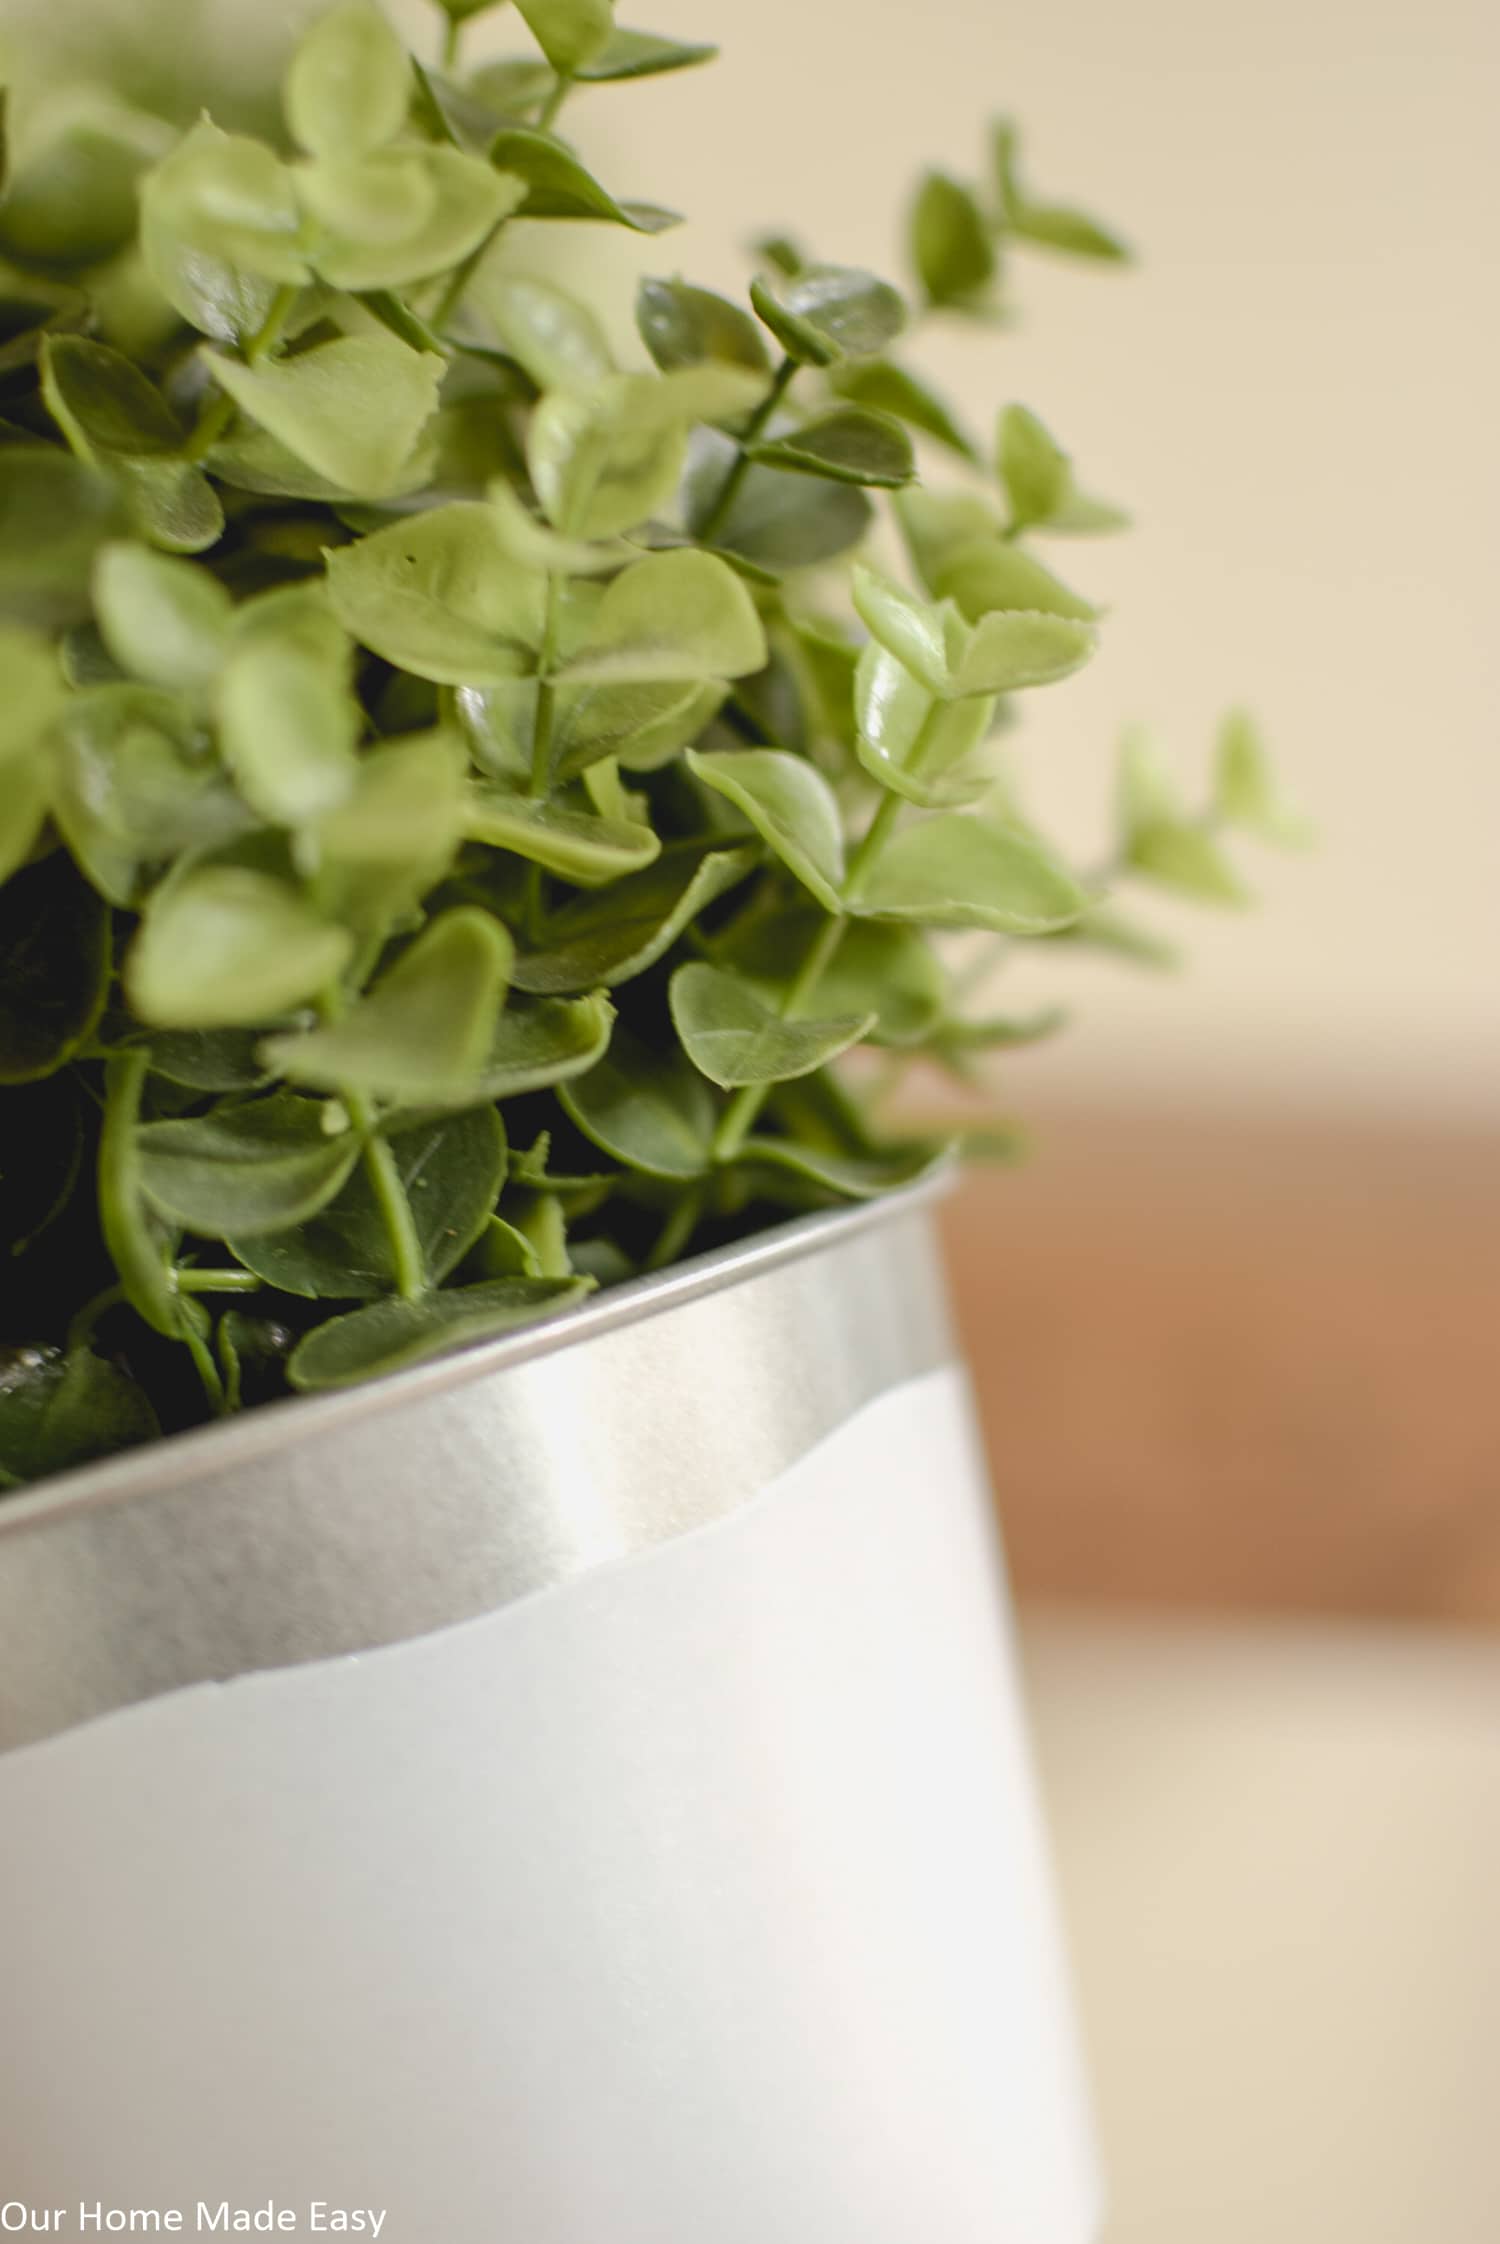
When I thought of what project I wanted to do, I immediately thought of these little galvanized buckets that I had in the house. I’ve been wanting to give them a new look. But I didn’t want to take painter’s tape and make straight lines. Instead, I wanted to give them a dipped look that looked like they were dipped in a tub of paint and pulled out.
How to Get a Dipped Look with Plasti Dip Spray Paint
I think you’ll love how easy it is to spray paint these buckets but give them a fun twist!
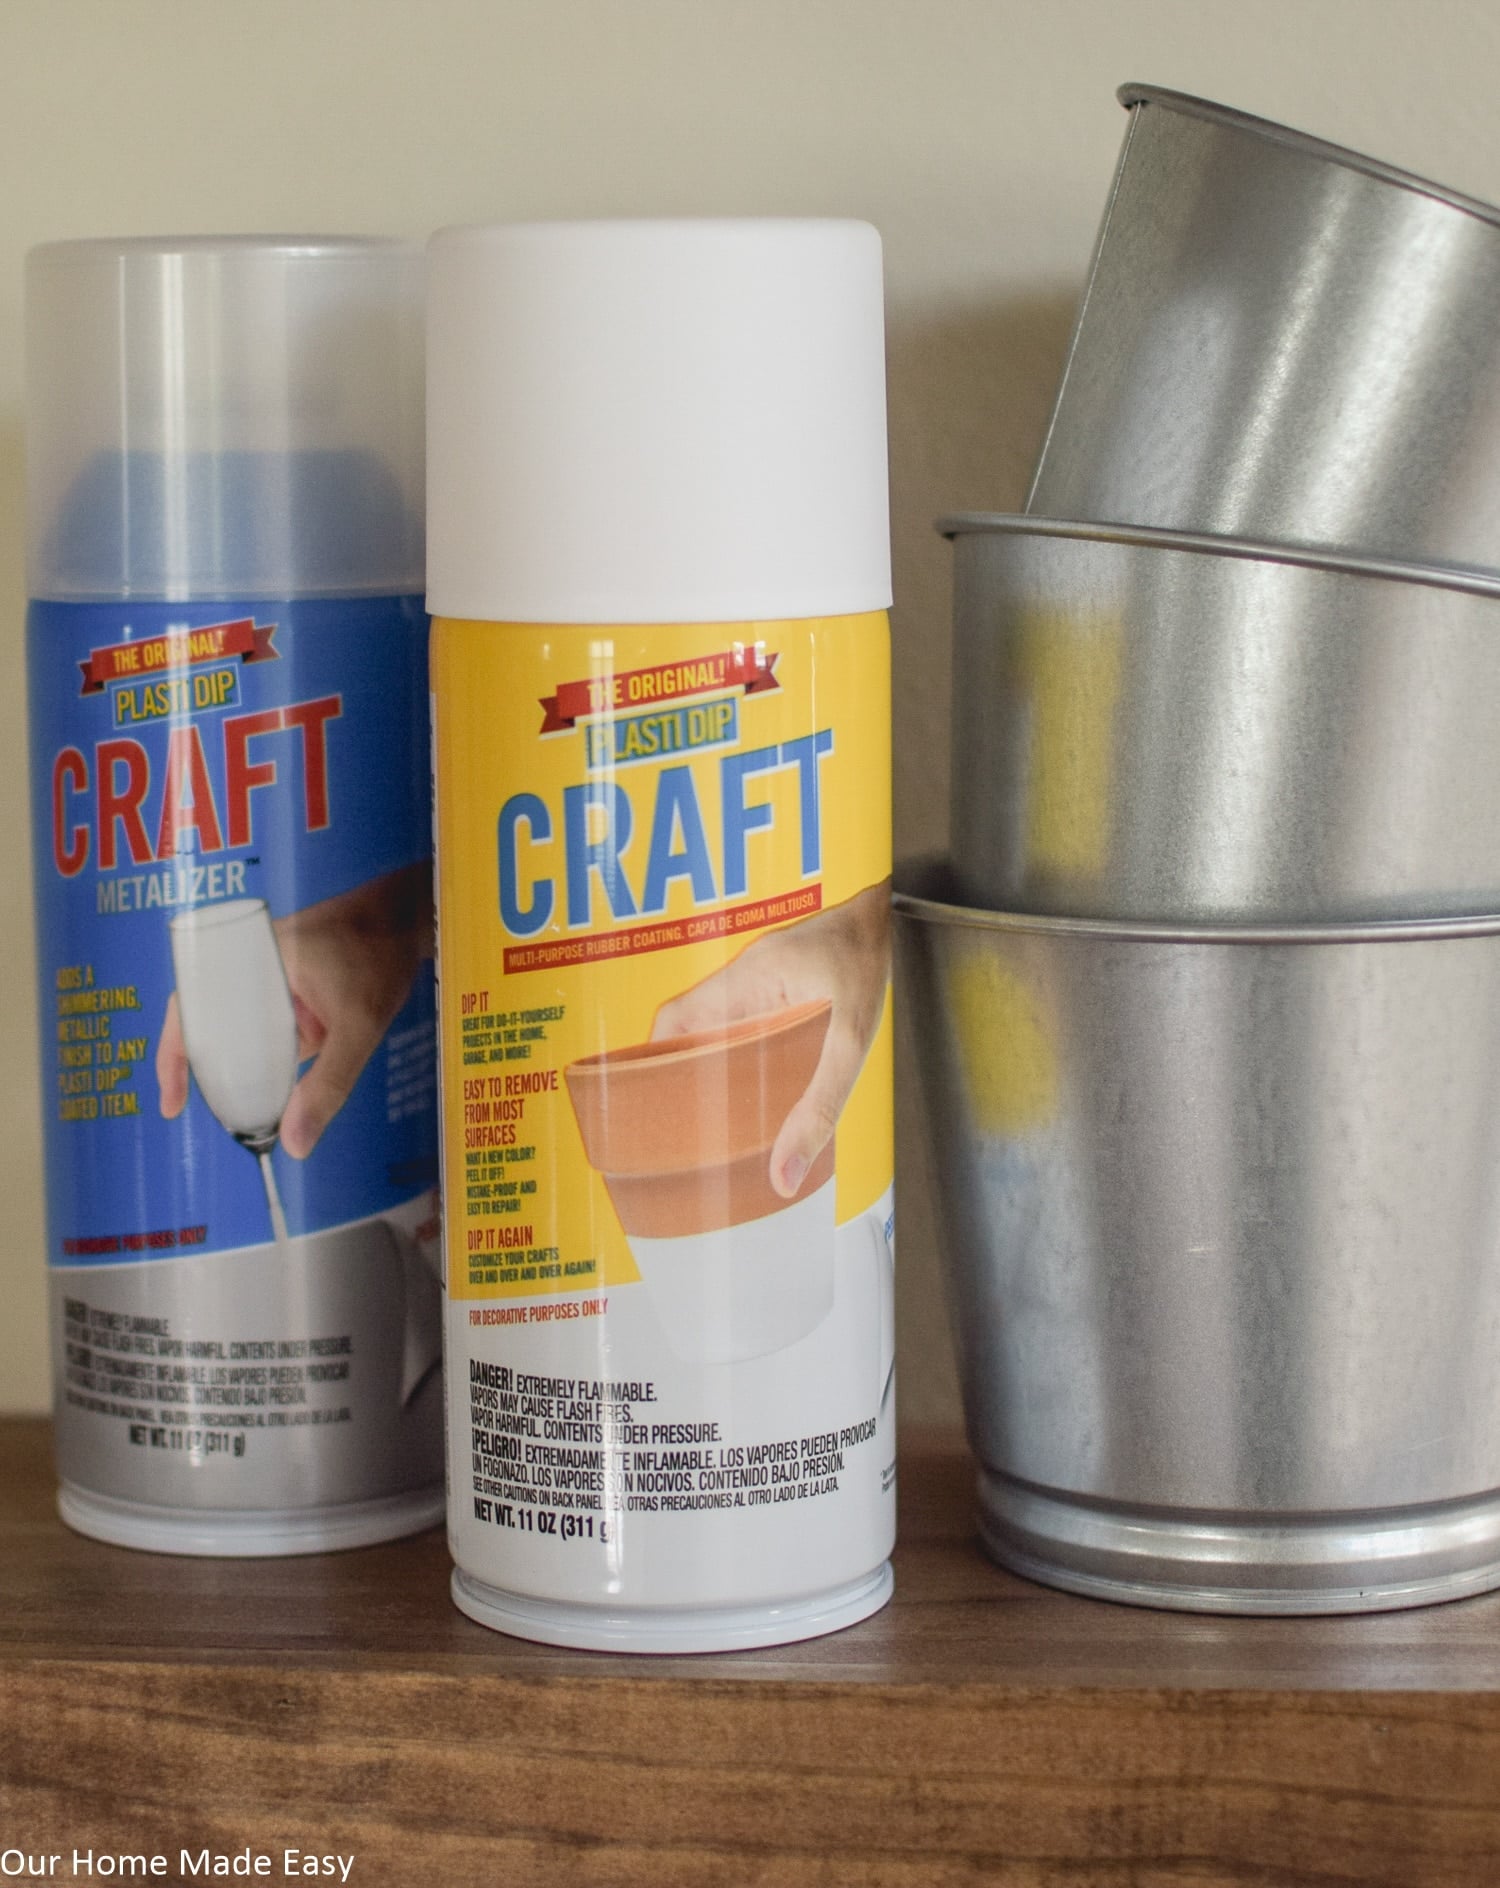
Supplies Needed:
- Plasti Dip Craft (get yours at Amazon or shop now at Awarehousefull) — I used Crisp White
- Buckets or Containers
- Painter’s Tape
- Exacto Knife
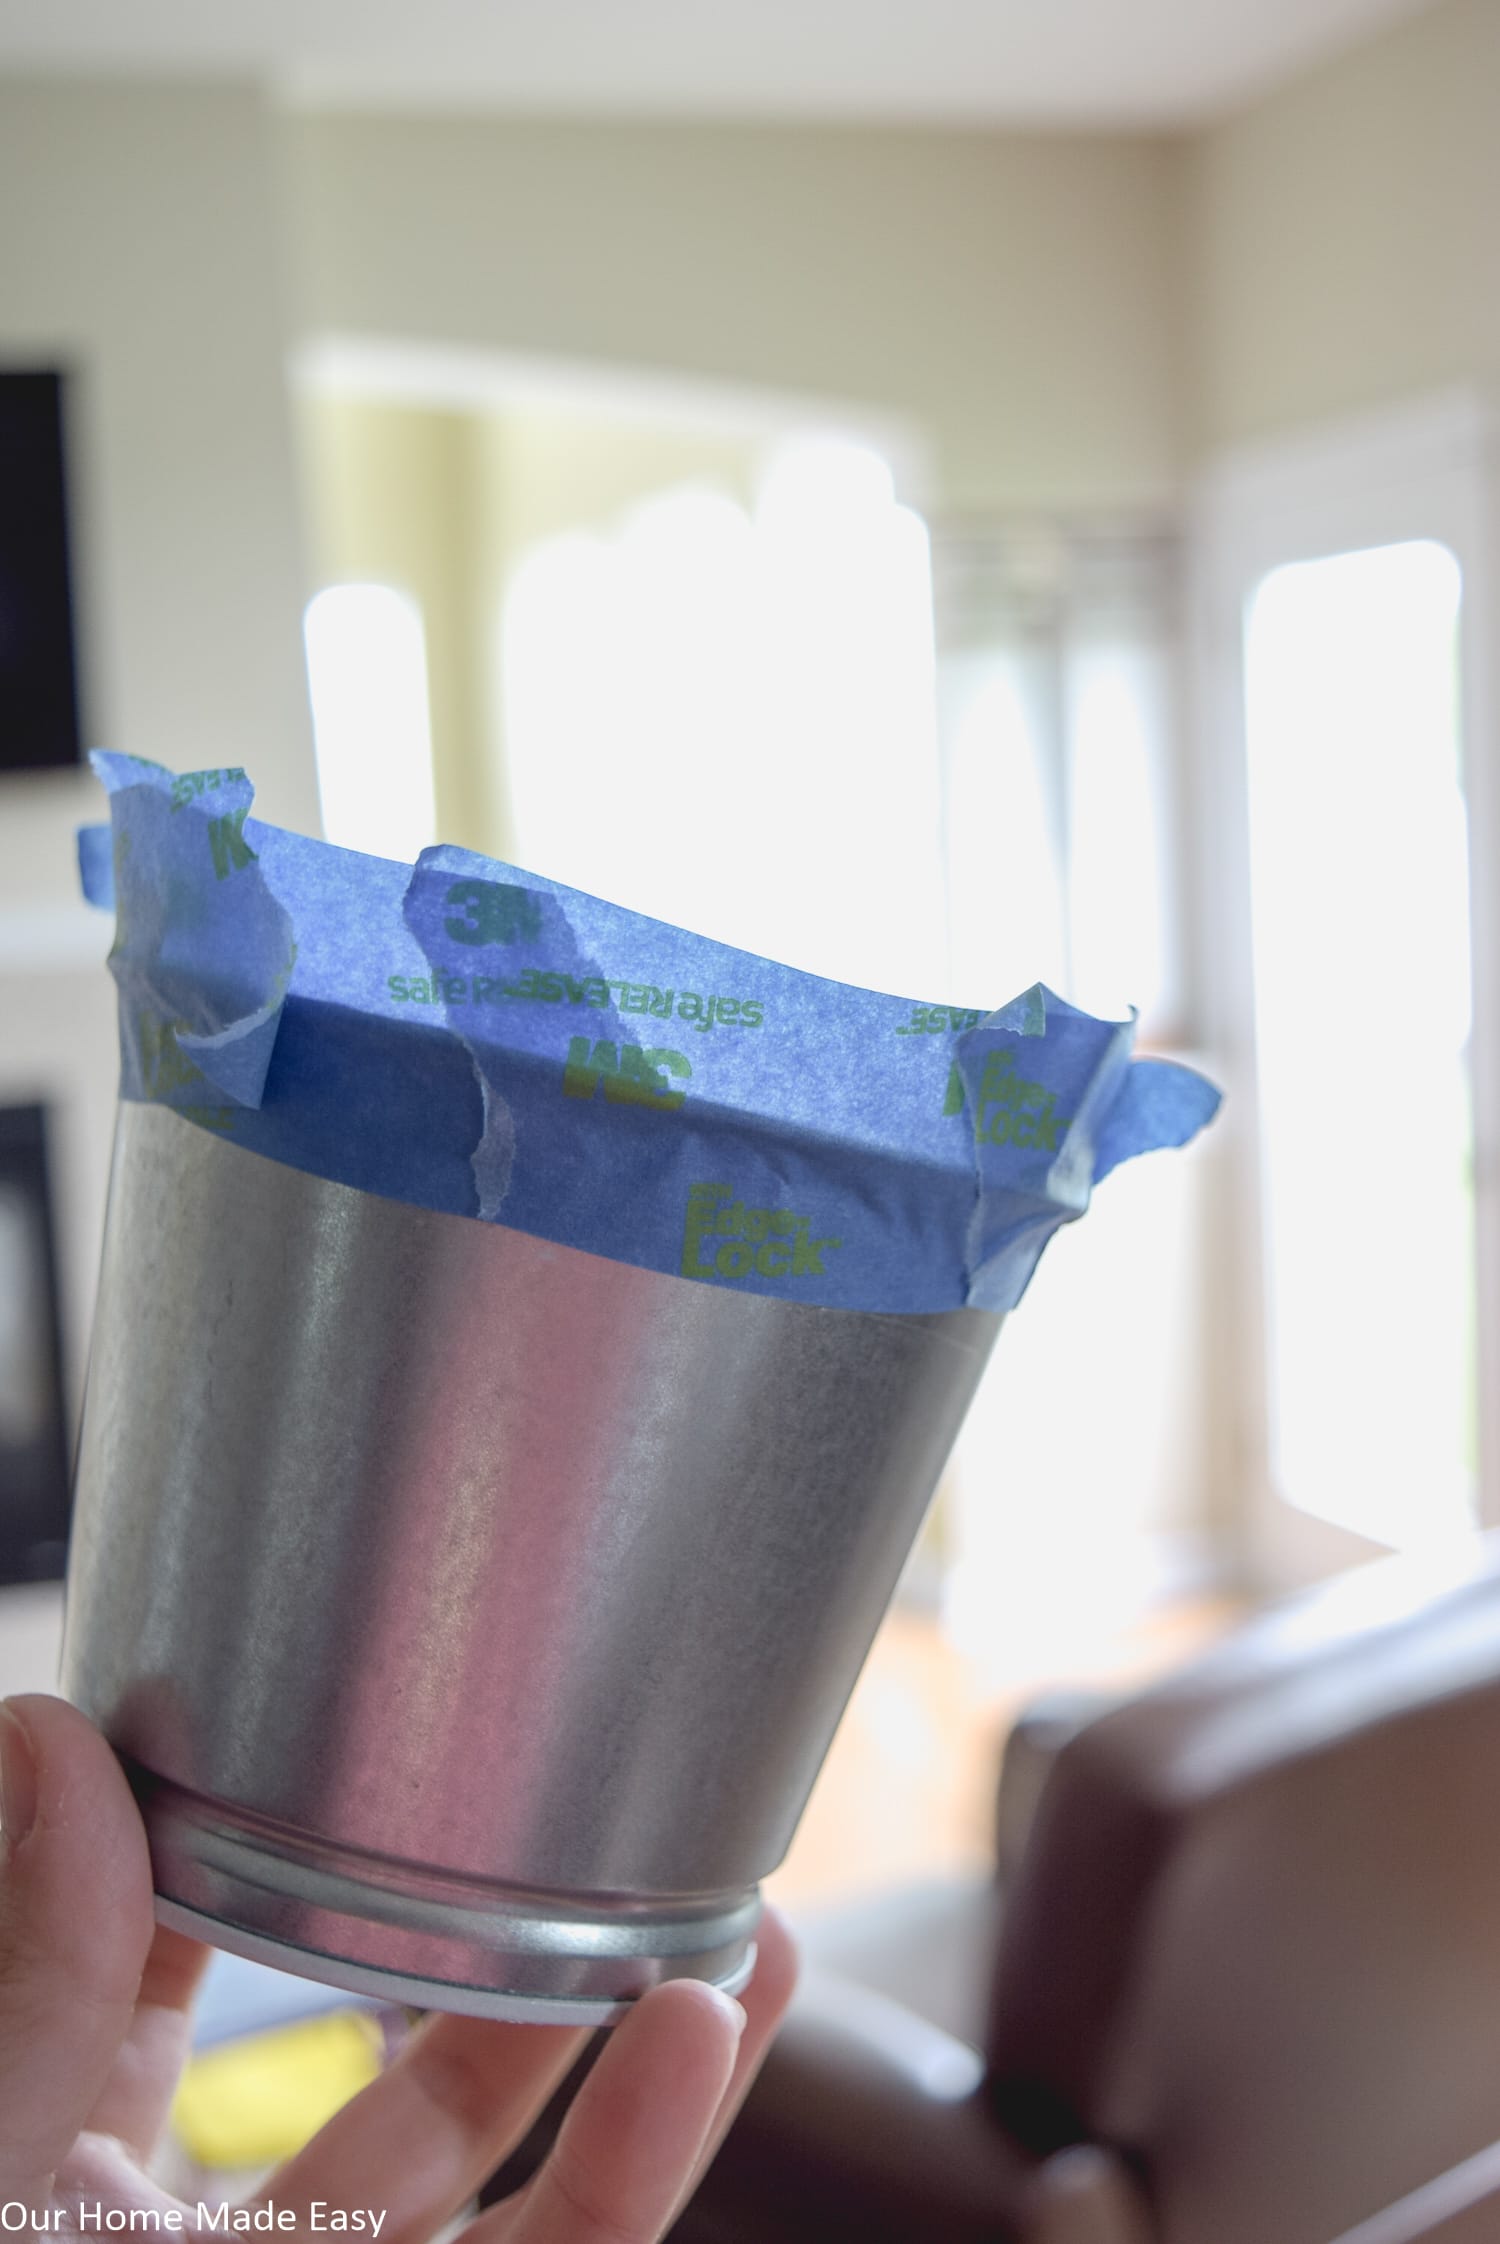
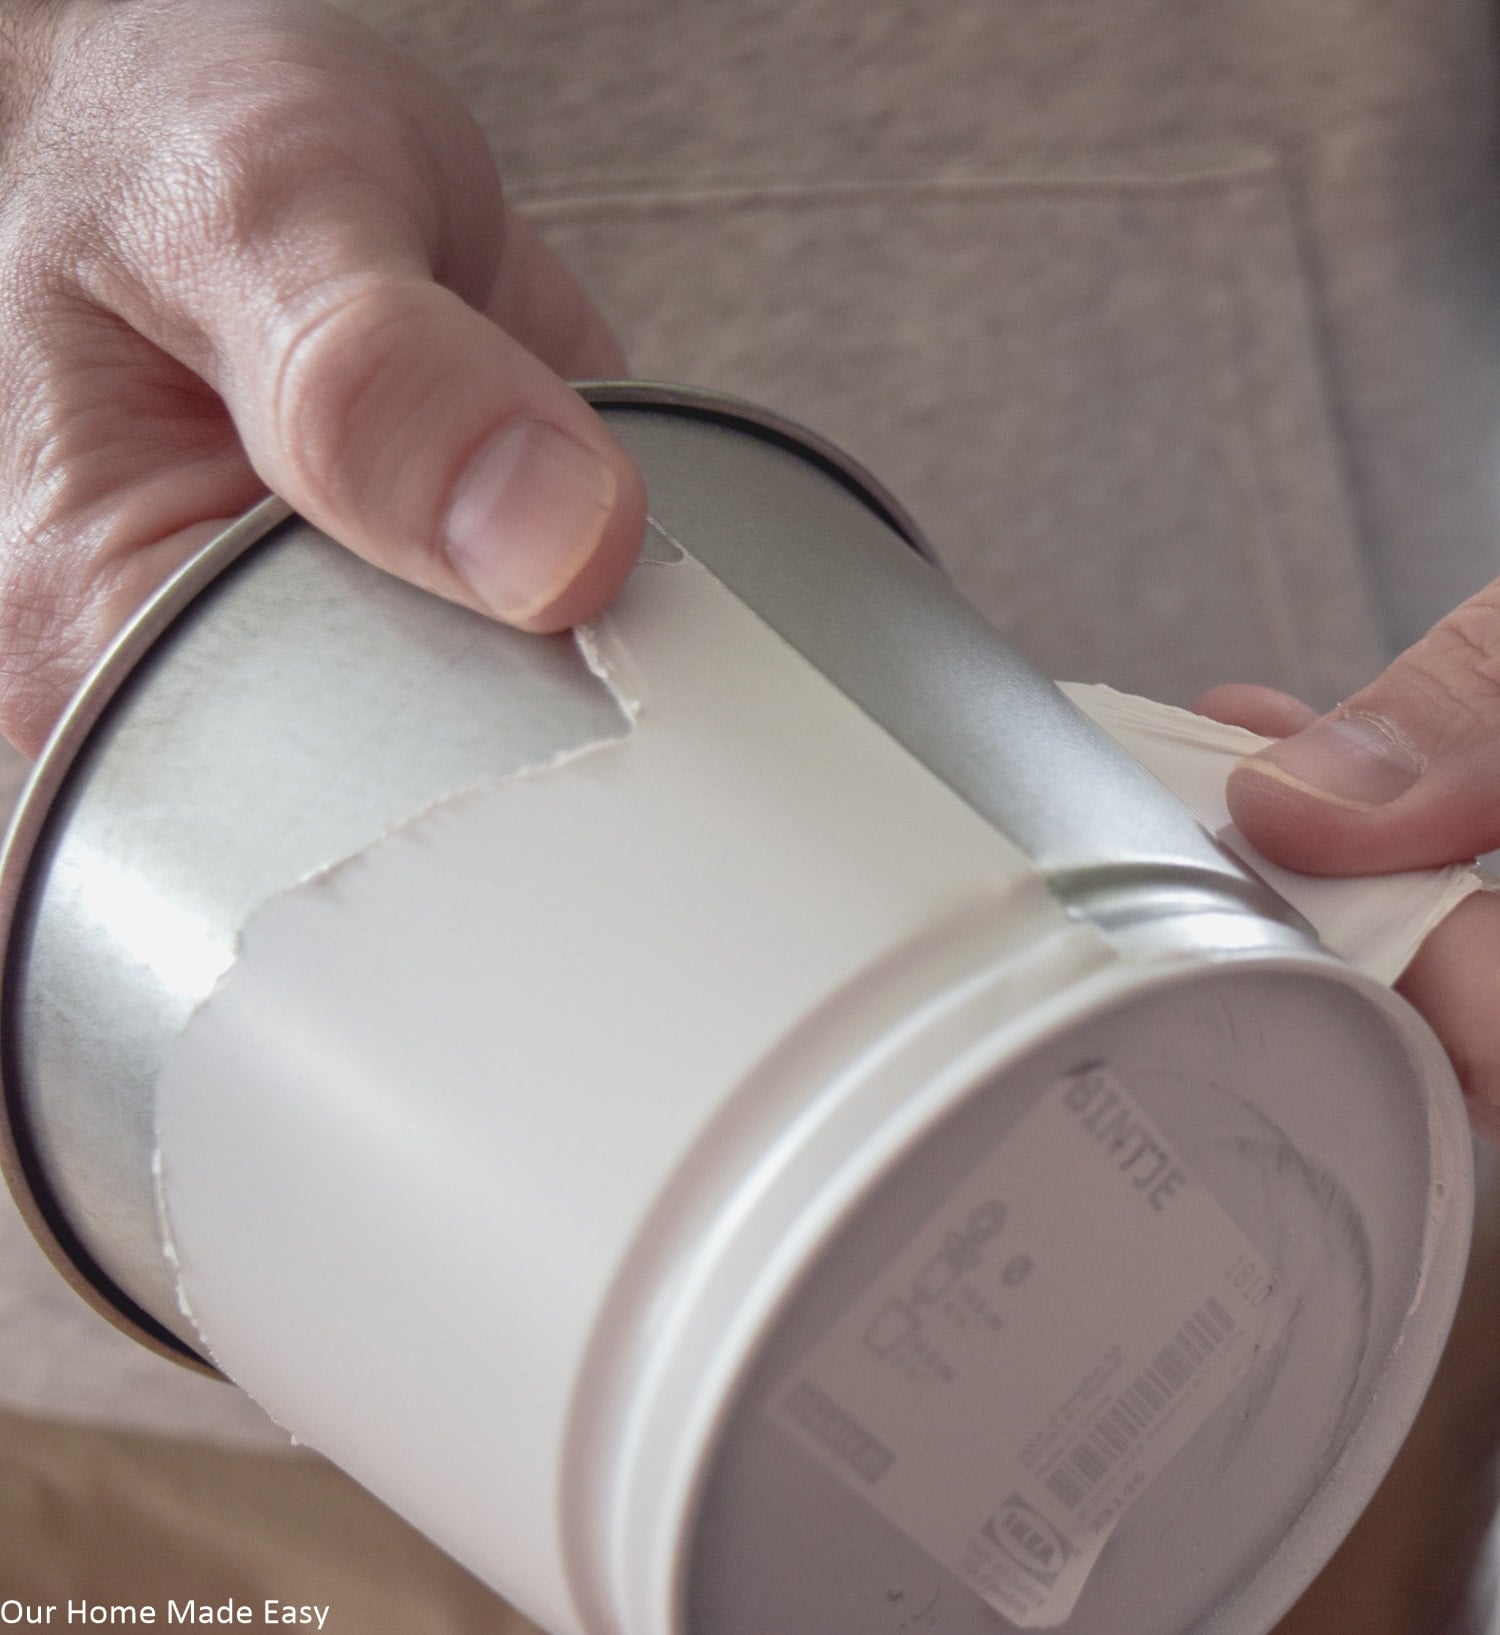
Tape Off Your Buckets
While I used small buckets, you could use this method with just about anything. Using painter’s tape, cover your container working from the top, down.
Be sure to let the top of your piece’s tape flare up for quick & easy removal (that’s really important at the end). Repeat taping down your container until you get to the desired spot for your ‘dipped look’
Trace Your Faux Dips
Next, take a pencil and lightly create a curved line that mimics a dipped look.
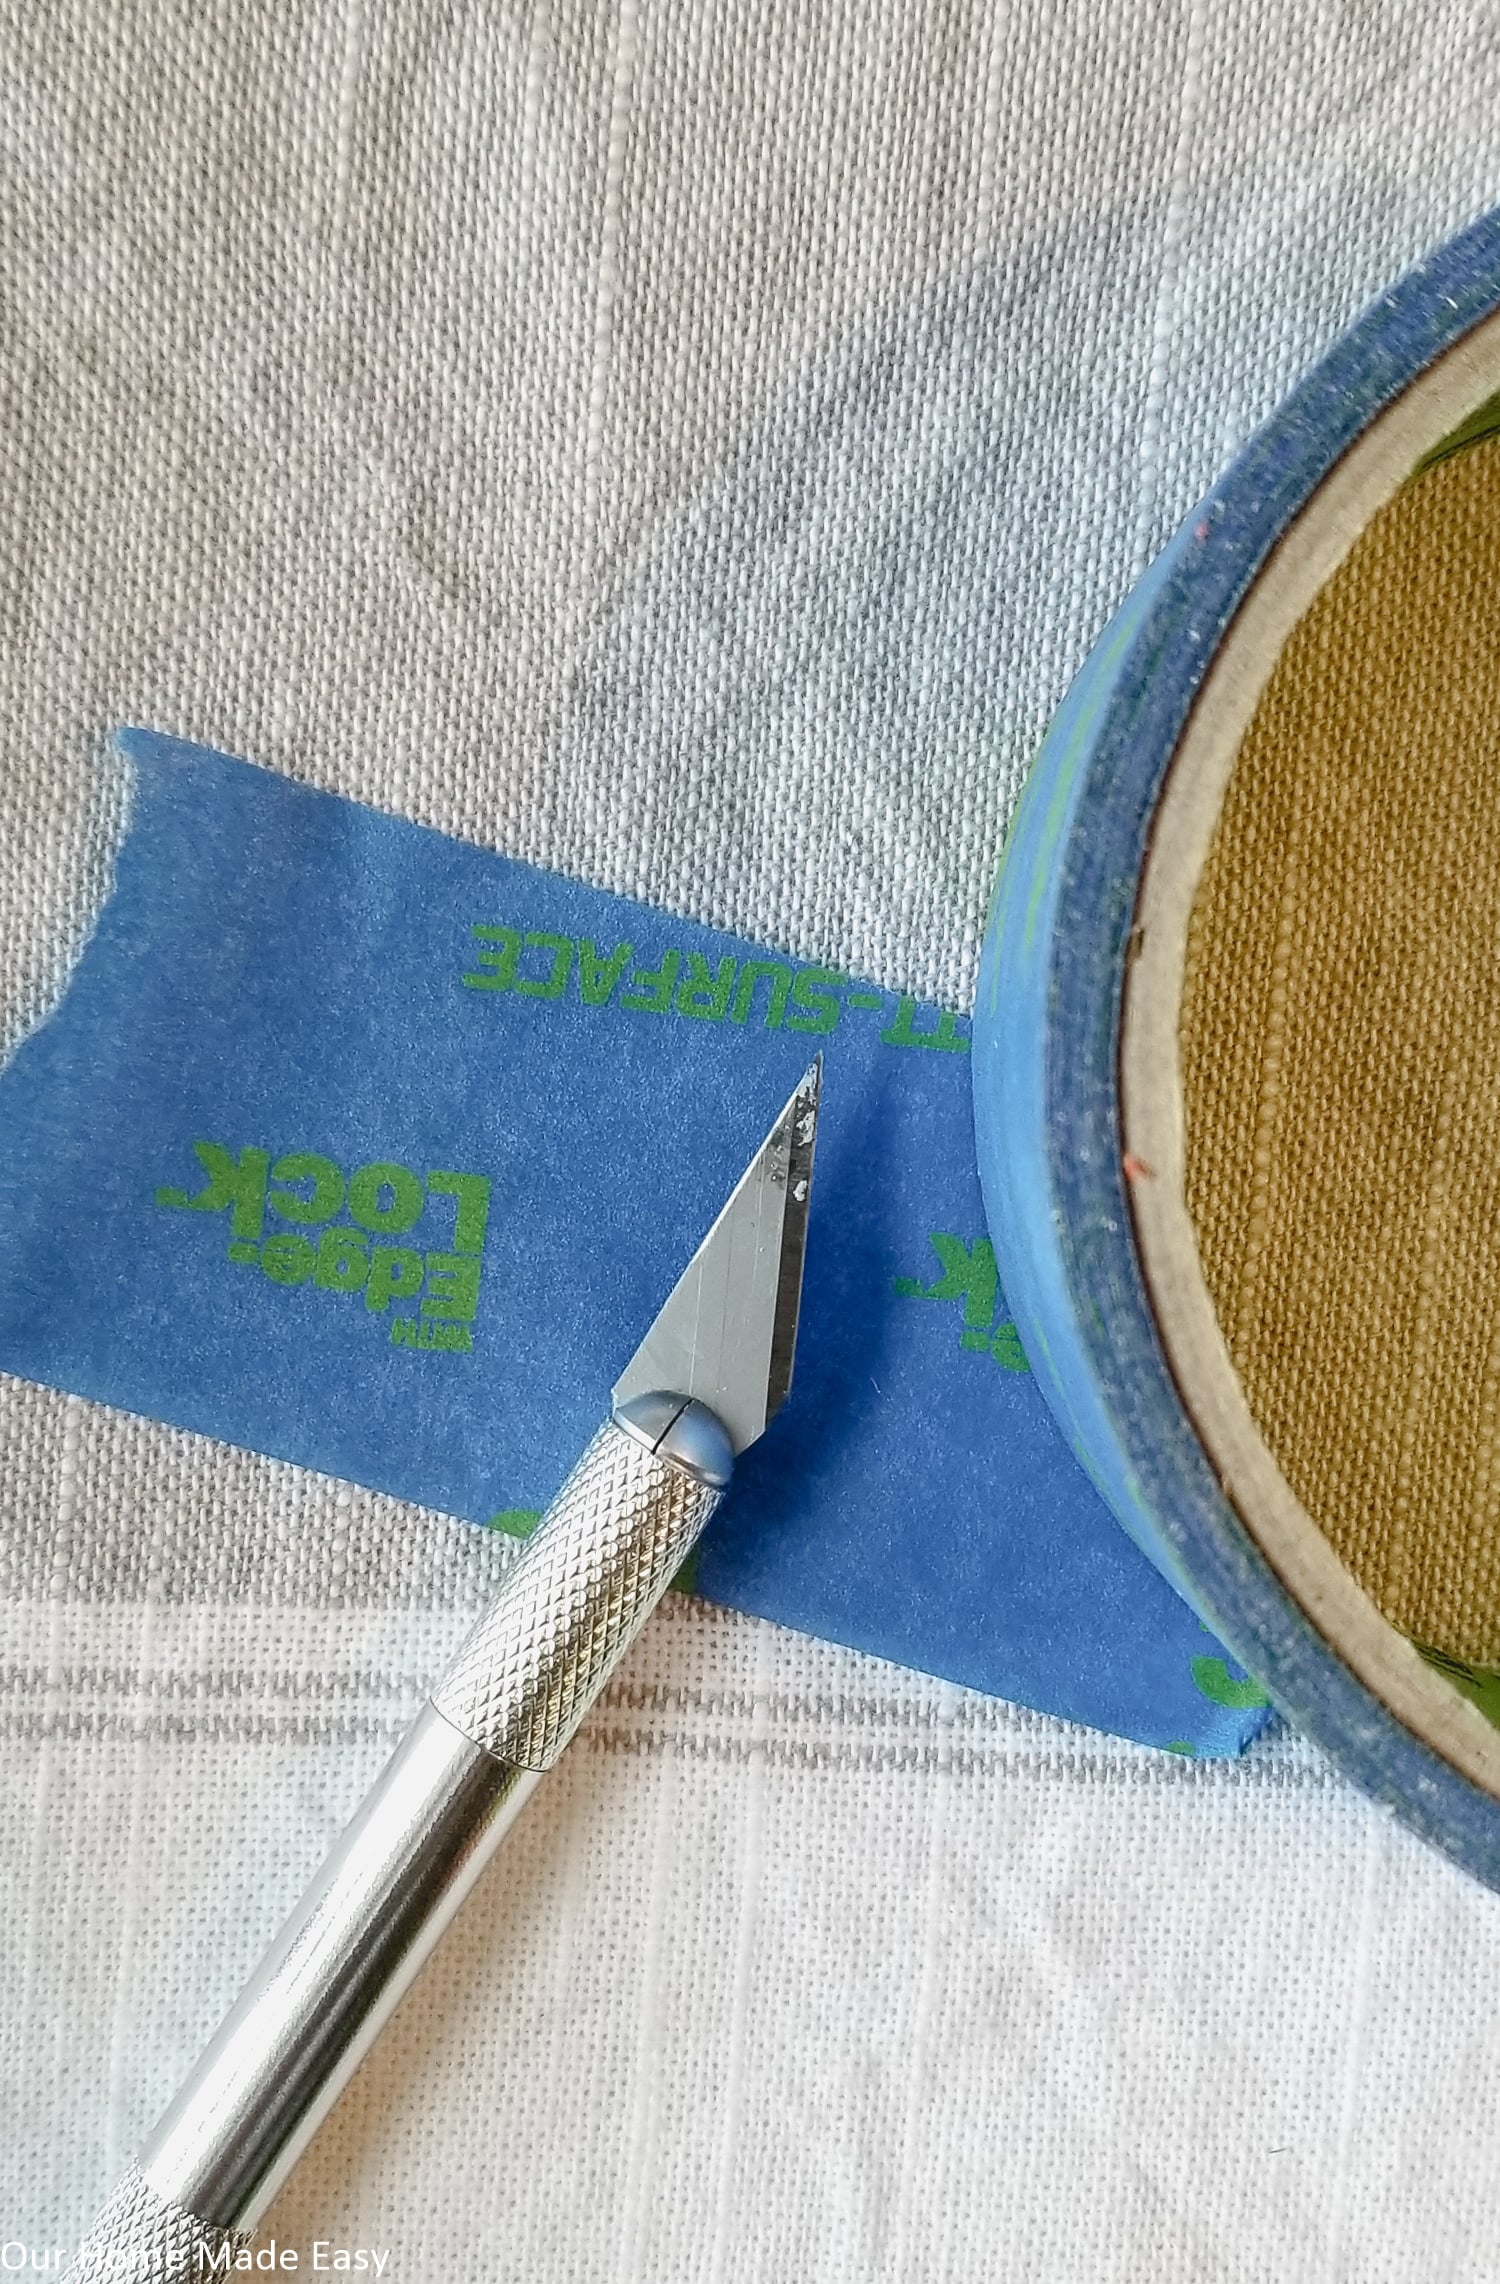
Cut for Your Dipped Look
Using an Exacto knife, lightly press down on your container and follow your pencil line. Pull away the excess painter’s tape. Run your fingers along the tape edge to seal the dips.

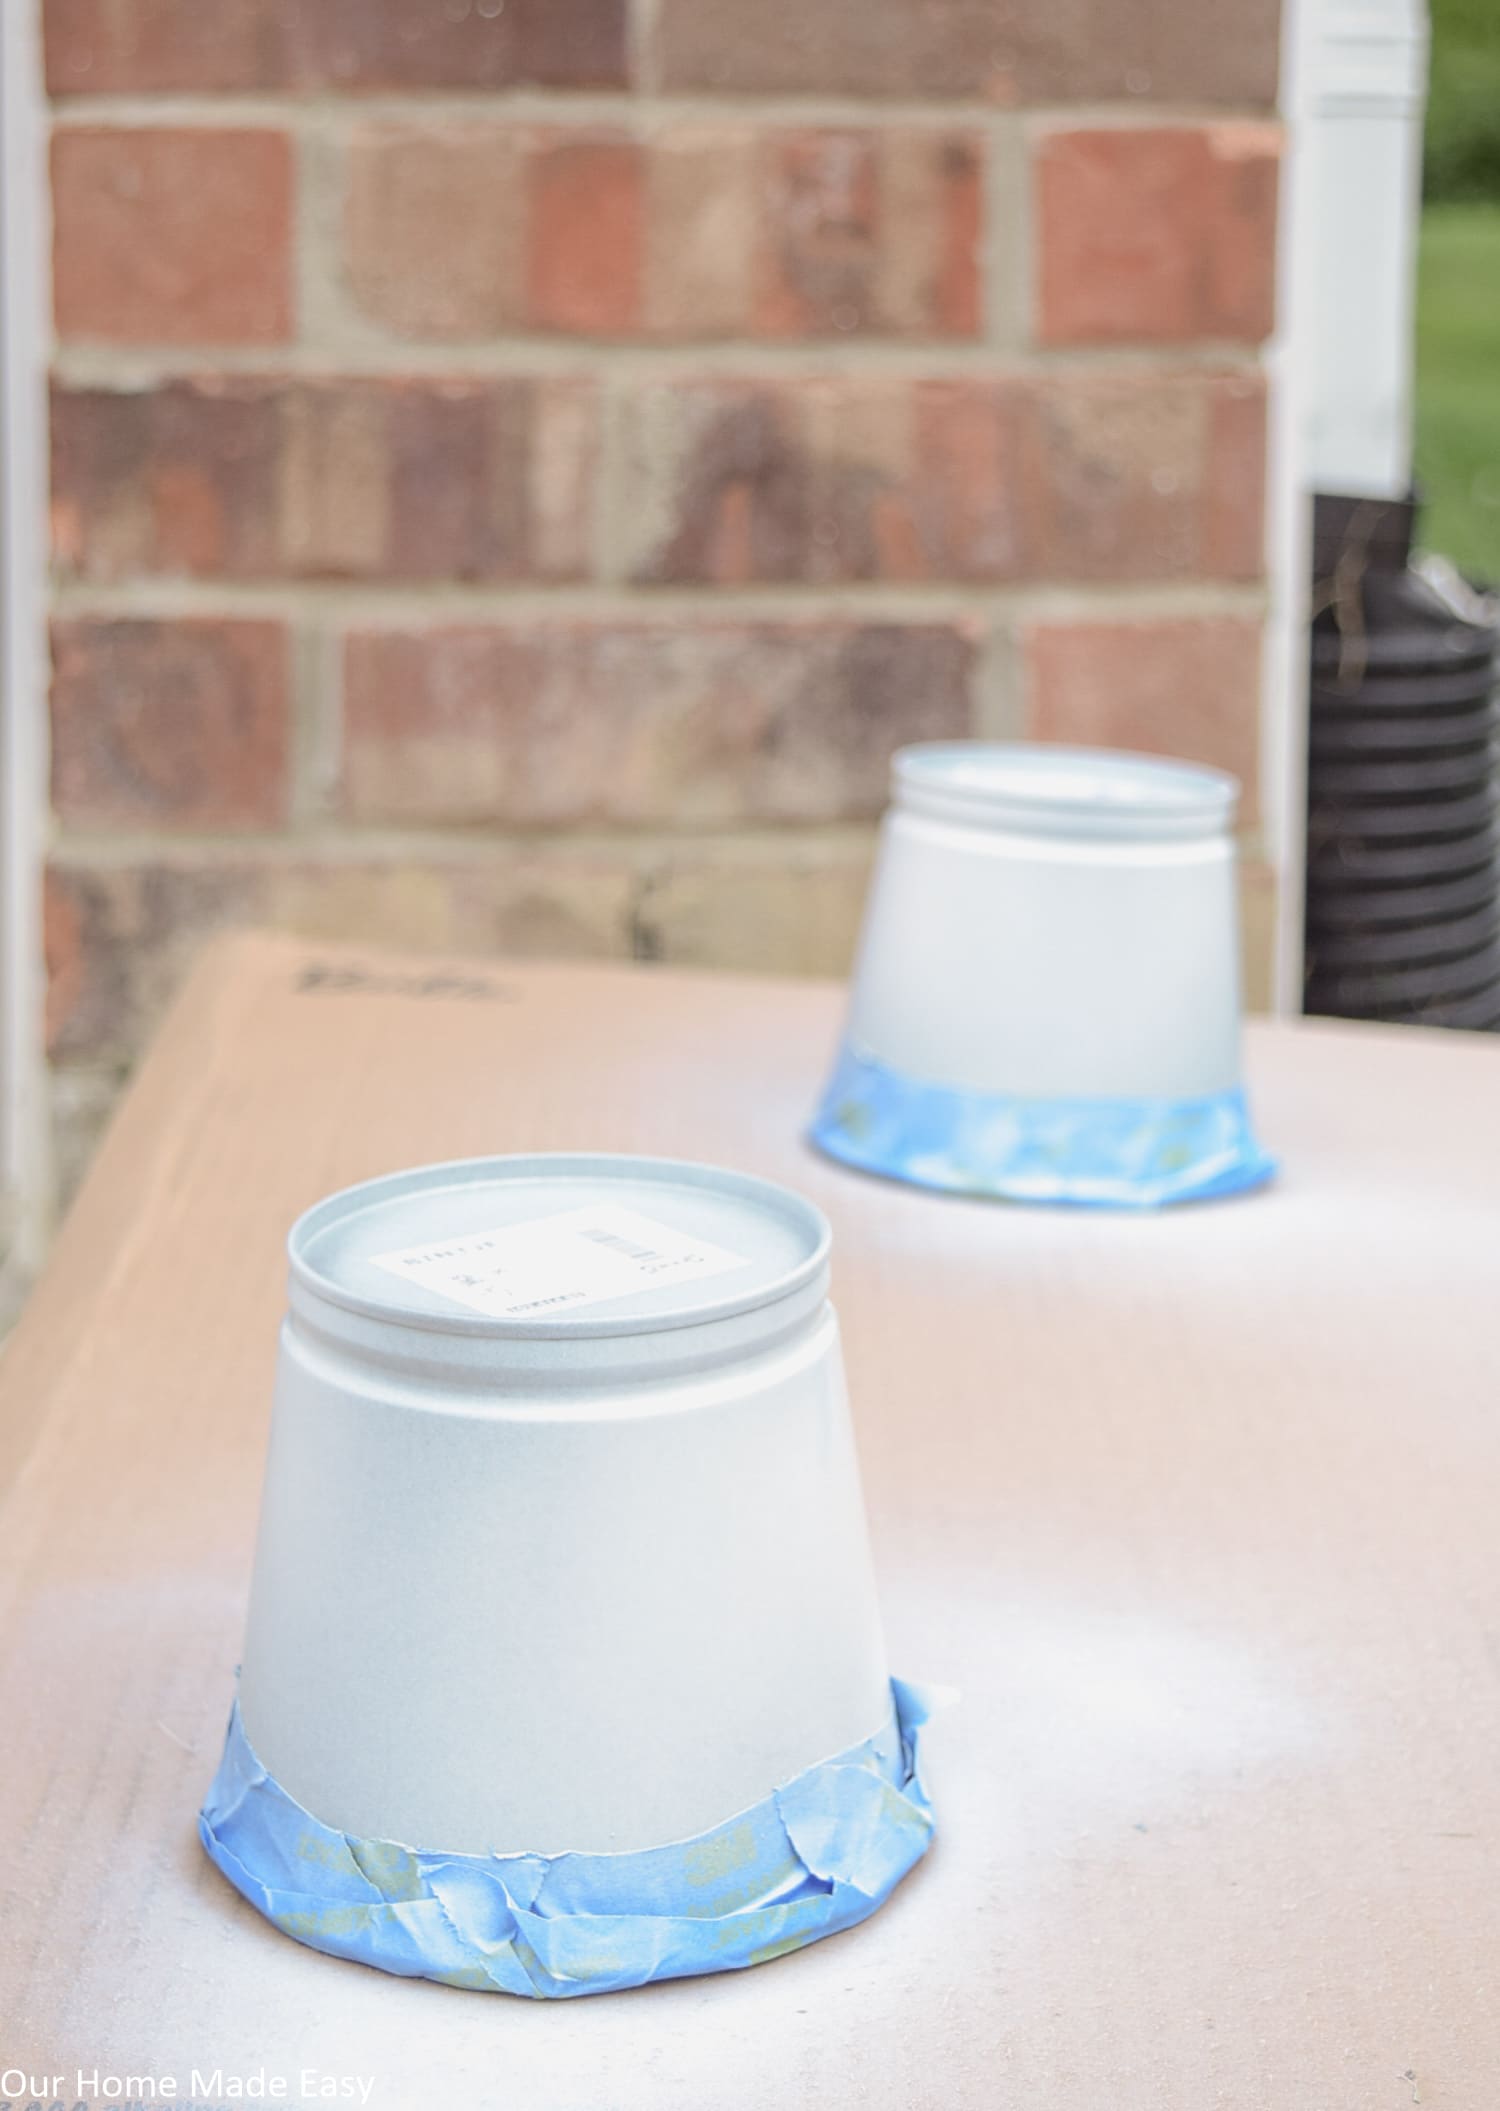
Paint Your Container
Following the Plasti Dip Craft recommendation, we spray painted our containers outside. You can do it in any well-ventilated area. Make sure that your painter’s tape is flared out like a trumpet– not like this photo 🙂
You’ll see how I was able to recover from my rookie mistake at the bottom of this post!
Plasti Dip recommends 3-4 coats for best results, but I only needed one coat for the look I wanted.
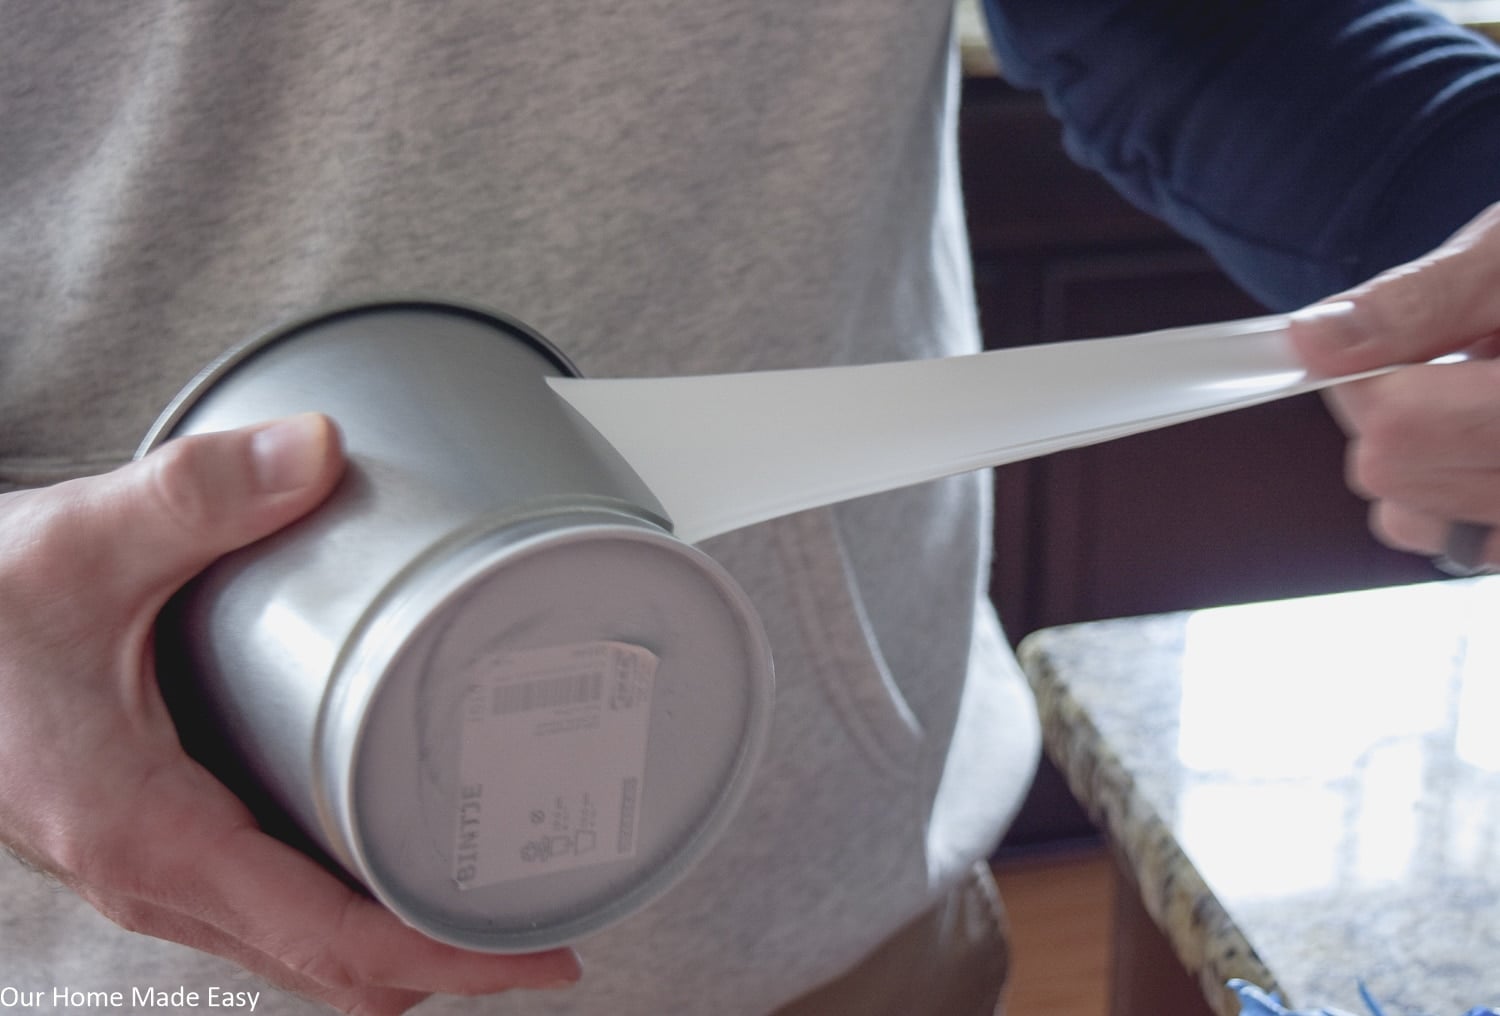
Remove The Tape
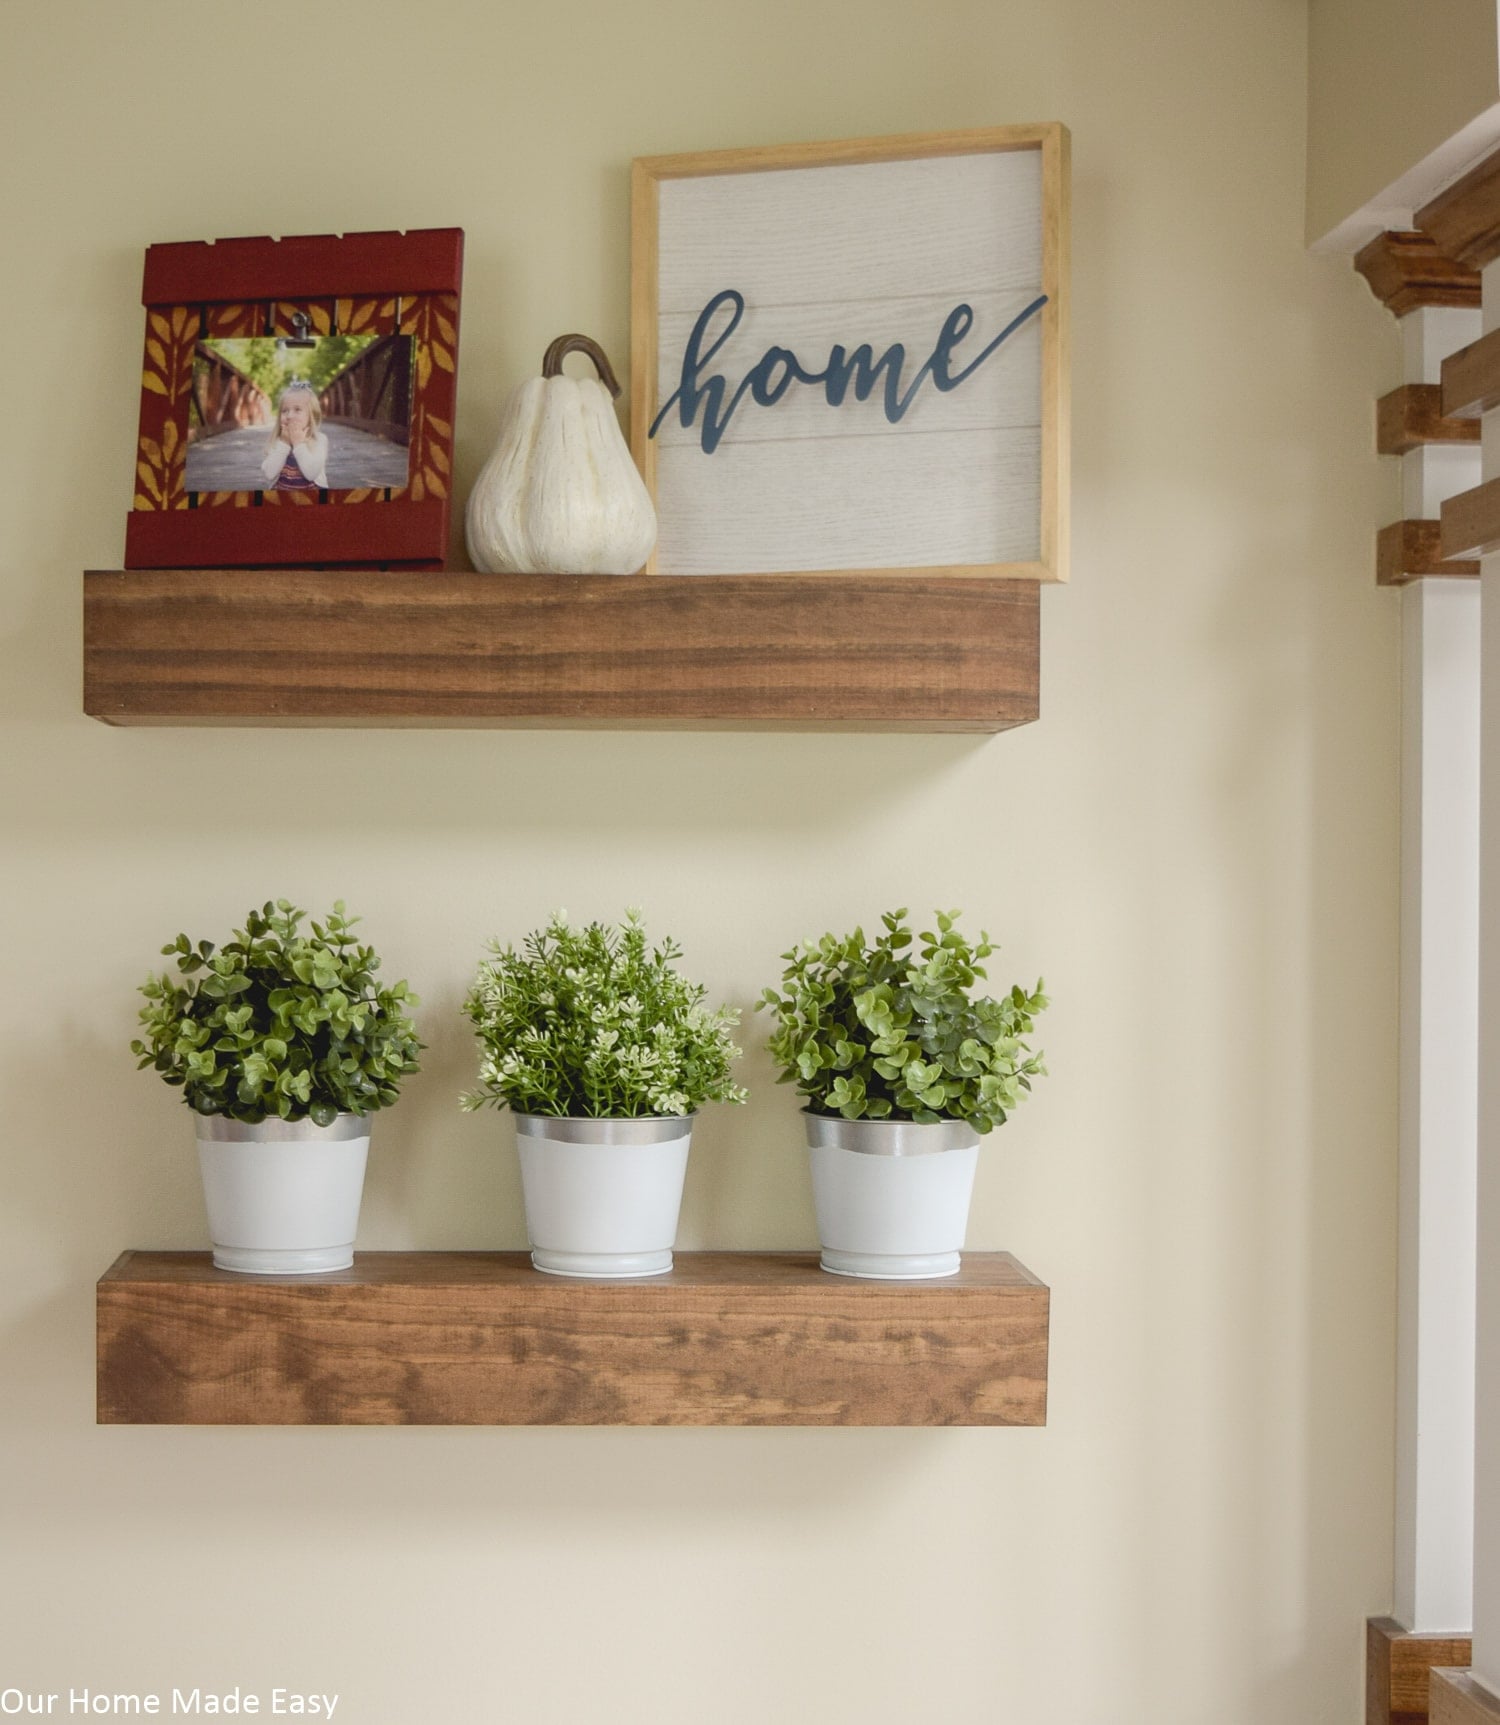
If I were to do it again, I would remove the tape after the last coat is applied and dried, as recommended. To do this, place your hand inside your container and pull away from the painter’s tape from the container. You’ll want to make sure you do this quickly so that the paint doesn’t stick to the tape and pull away. Once my little buckets dried, I popped in a few greenery pieces and set them on the shelf!
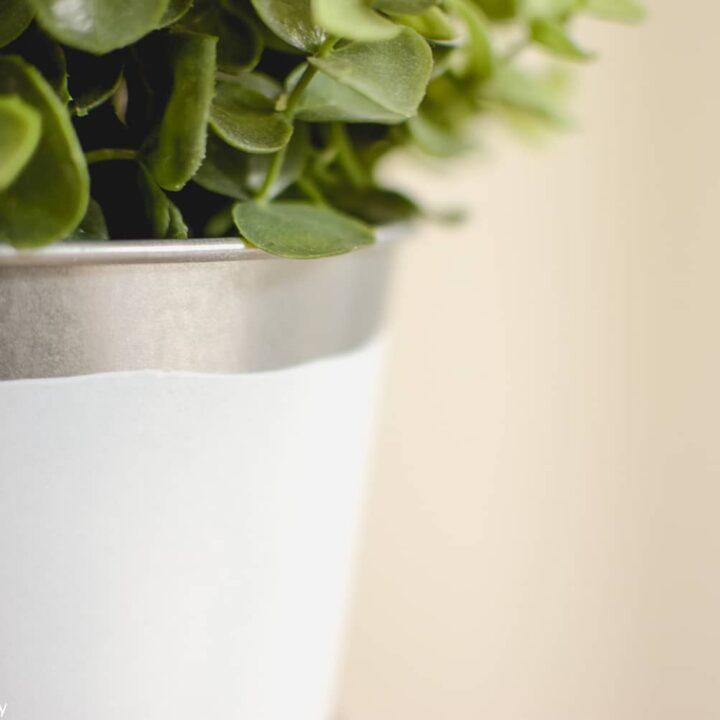
Silver Metalizer Enhancer
To add some extra fun, I added the Silver Metalizer Enhancer on top of the Crisp White color. While it’s a bit hard to see in the photos, it made the entire buckets have a pearlized finish that’s just pretty. 🙂

How to Remove The Plasti Dip Coating
At the end of the season, or when you are ready for a new look, Plasti Dip allows you to pull it off! It’s slightly addicting. 🙂 Originally, we kept the painter’s tape on too long and the paint coating pulled away (see numerous suggestions above), but we were able to fix our mistake without leaving any residue behind!
If you are avoiding the mega mess of having open paint around, this trick will help you out. Plasti Dip Craft works really well for when you want to craft and then change it up without buying more items around the house! Grab your own Plast-Dip Craft and find a retailer near you!
Paint-Dipped Planters with Plasti Dip Spray Paint
Here's how to get a mess-free paint-dipped look easily using Plasti Dip crafting spray paint! Includes my tips on how to make this fun project even easier.
Materials
- Plasti Dip Craft in Crisp White
- Buckets or Containers
- Painter's Tape
- Exacto Knife
Instructions
Tape Off Your Buckets
While I used small buckets, you could use this method with just about anything. Using painter's tape, cover your container working from the top, down.
Be sure to let the top of your piece's tape flare up for quick & easy removal (that's really important at the end). Repeat taping down your container until you get to the desired spot for your 'dipped look'.
Trace Your Faux Dips
Next, take a pencil and lightly create a curved line that mimics a dipped look.
Cut for Your Dipped Look
Using an Exacto knife, lightly press down on your container and follow your pencil line. Pull away the excess painter's tape. Run your fingers along the tape edge to seal the dips.
Paint Your Container
Following the Plasti Dip Craft recommendation, we spray painted our containers outside. You can do it in any well-ventilated area. Plasti Dip recommends 3-4 coats for best results, but I only needed one coat for the look I wanted.
Remove The Tape
If I were to do it again, I would remove the tape after the last coat is applied and dried, as recommended. To do this, place your hand inside your container and pull away from the painter's tape from the container. You'll want to make sure you do this quickly so that the paint doesn't stick to the tape and pull away. Once my little buckets dried, I popped in a few greenery pieces and set them on the shelf!
Silver Metalizer Enhancer
To add some extra fun, I added the Silver Metalizer Enhancer on top of the Crisp White color. While it's a bit hard to see in the photos, it made the entire buckets have a pearlized finish that's just pretty.
PIN FOR LATER: