Easy How To DIY Your Own Perfect Two Tone Furniture
Have you seen the two tone furniture craze taking over HGTV shows and your Pinterest feed? Have you ever wondered how a busy mama can make their own? It’s actually pretty easy. I cannot wait to show you the few steps it takes to make your own two-tone furniture! Find all my thoughts on Fusion Mineral Paint here!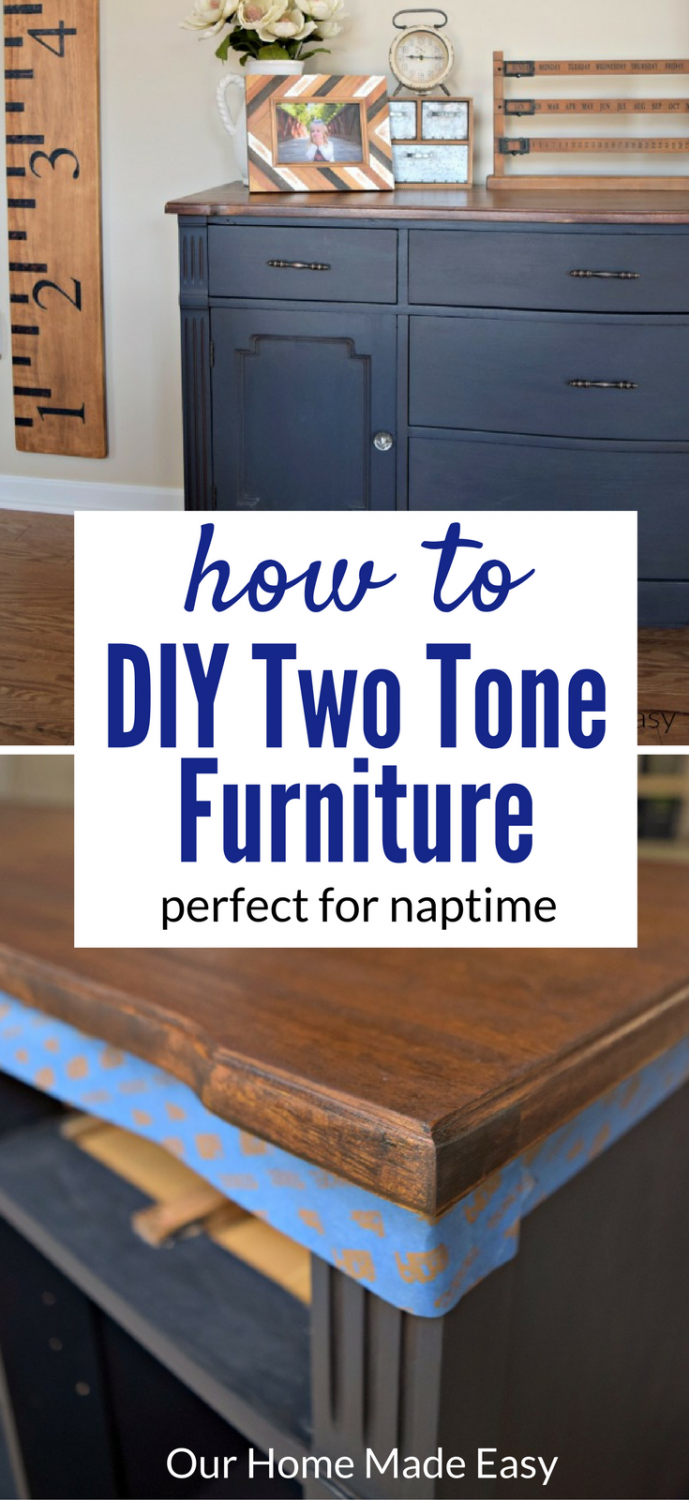
(This post contains affiliate links. If you shop from my blog, I may be compensated for clicks or purchases that you make. Read my disclaimer page for more information.)
A bit of back story on how this buffet came to be— I impulsively bought it on a Facebook Buy/Sell/Trade 3 years ago. I wasn’t sure what I was going to do with it, but it seemed like a good buy.
Fast forward a few months and Jordan gave me a deadline to have it finished by the time our new home was ready.
I found lots of inspiration on Pinterest and picked out bright red for its new color. I didn’t own a single item that was red, but gosh, red buffets sure looked nice on Pinterest. Jordan was adamant that we should paint it dark blue.
Spoiler: Do not scroll down if you don’t want to see the final color! 😉
Bright red with black wax won out because it looked great on Pinterest.
Sigh. Now this year I am focusing on creating a cohesive style throughout the entire house, thanks to Making Home Base’s “Don’t Wait, Decorate!” eBook. It really made me focus on what I liked and what style I enjoy.
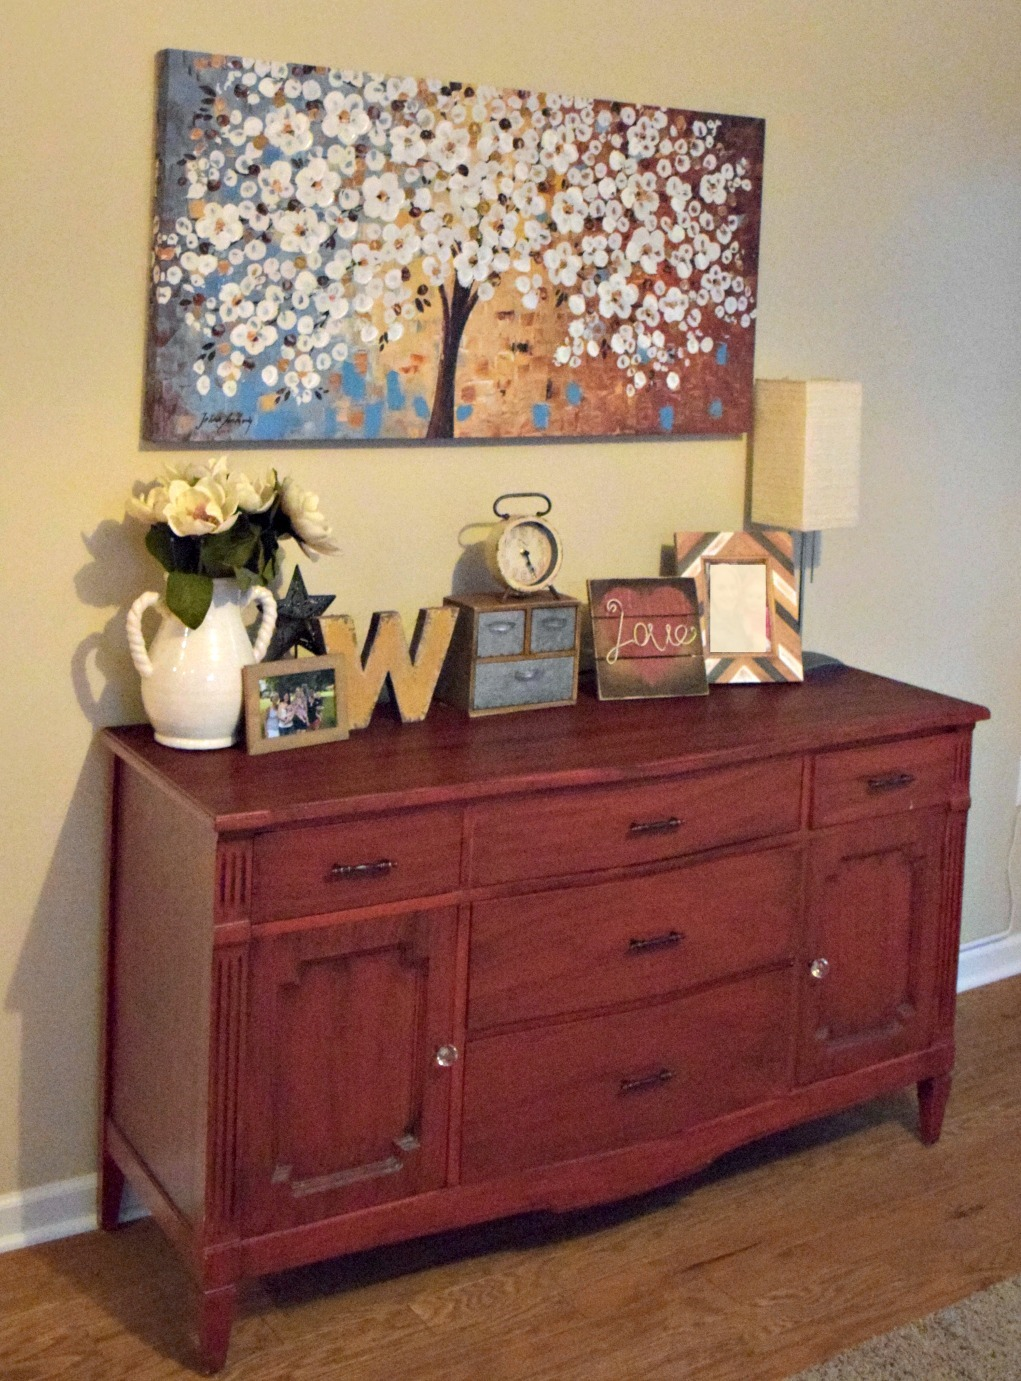
So while the before wasn’t awful, it certainly could be improved in our home. [Check out how I stripped that red latex and black wax here]
Luckily, with a few hours time (+ drying!) I had a totally different outcome.
And a happier husband. << He is still telling me ‘told ya so…’
Supplies Needed For Making Two Tone Furniture
- Orbital Sander & Pads
- Wiping / Painter’s Cloths
- Painter’s Tape
- Paint Brushes
- Paint (Used this one and review coming soon!)
- Wax (optional)
- Chip Brush
- Stain (used my ol’ favorite)
- Polycrylic (I used this sheen)

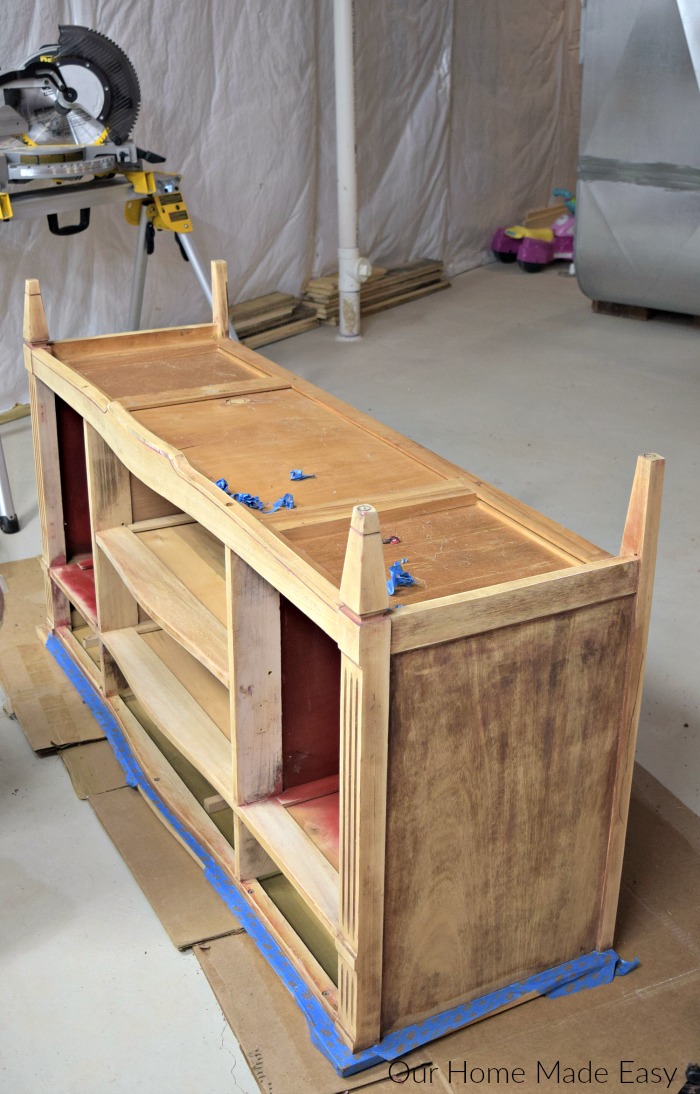
Prep Your Furniture Surface
In the previous post, I talked about how to remove paint and varnish from furniture. This wasn’t necessary for the paint I was going to use.
However, since we are staining the top, it did need everything removed from the wood.
And Jordan is a stickler for not skipping steps, so every micro-inch (is that a real word?) of old paint and varnished was removed. He thought the doors and sliders wouldn’t stick anymore due to paint build up.
So remove any finish from the stop of your piece of furniture. I recommend using a low VOC product that works well.
Sand down your furniture with a 220 grit sandpaper. Make sure to sand in the direction of the wood grain. Lightly wipe off any excess residue.
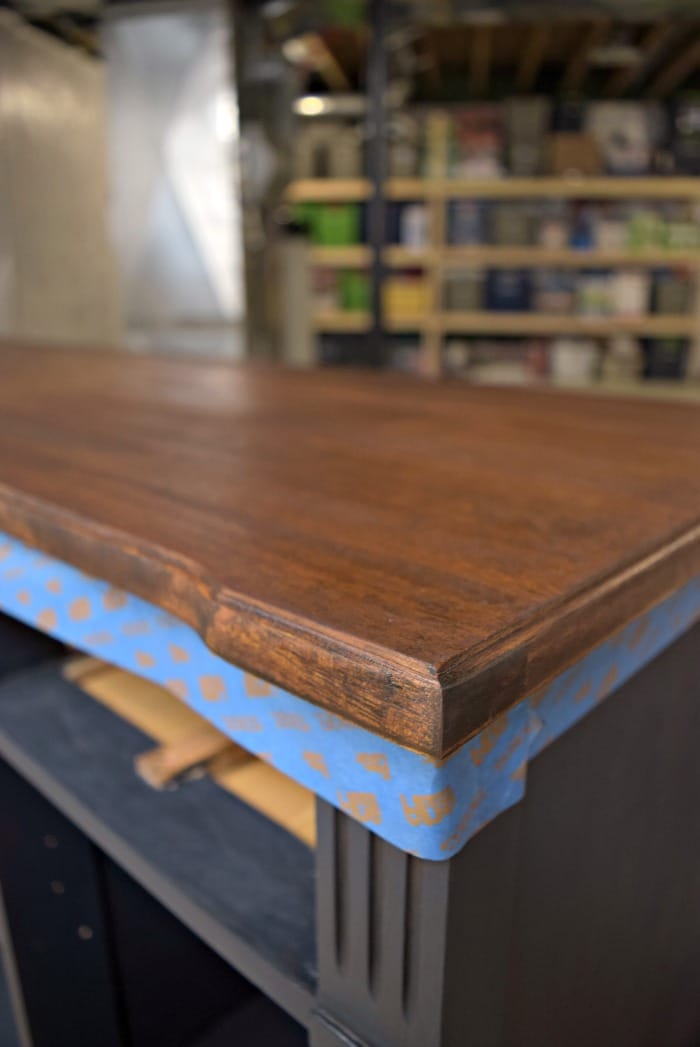
Tape off your furniture so that paint drips don’t fall on any areas where stain is going to go! It’s harder to remove the paint later in the process.
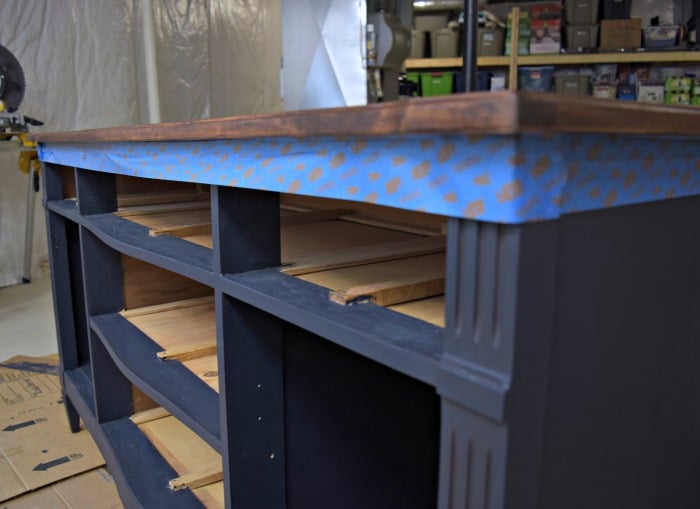
To make things quicker, consider turning over your furniture! Since I was staining the top, it made no sense that it be easiest thing to reach– when I didn’t need it.
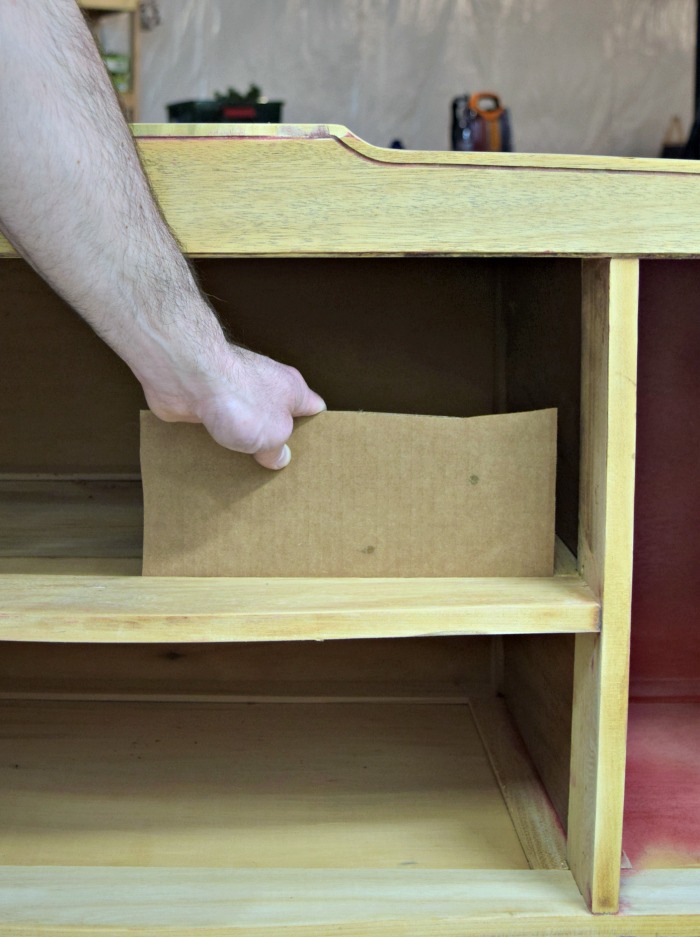
Start Painting the Bottom Part
Jordan cut up small rectangles in various sizes for me. Essentially he created little widgets so that I could hold the cardboard and paint “inside the lines” and not worry about accidentally nicking an inner area that I didn’t want painted.

This is the quickest part of the process! I spent several times more removing paint than I did actually painting.
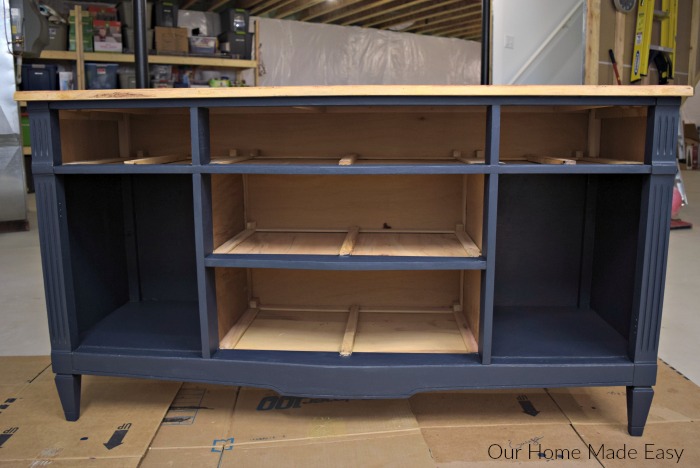
The buffet ended up only needing one coat of paint. I was planning on needing two so it was a major time saver to not need to do this!
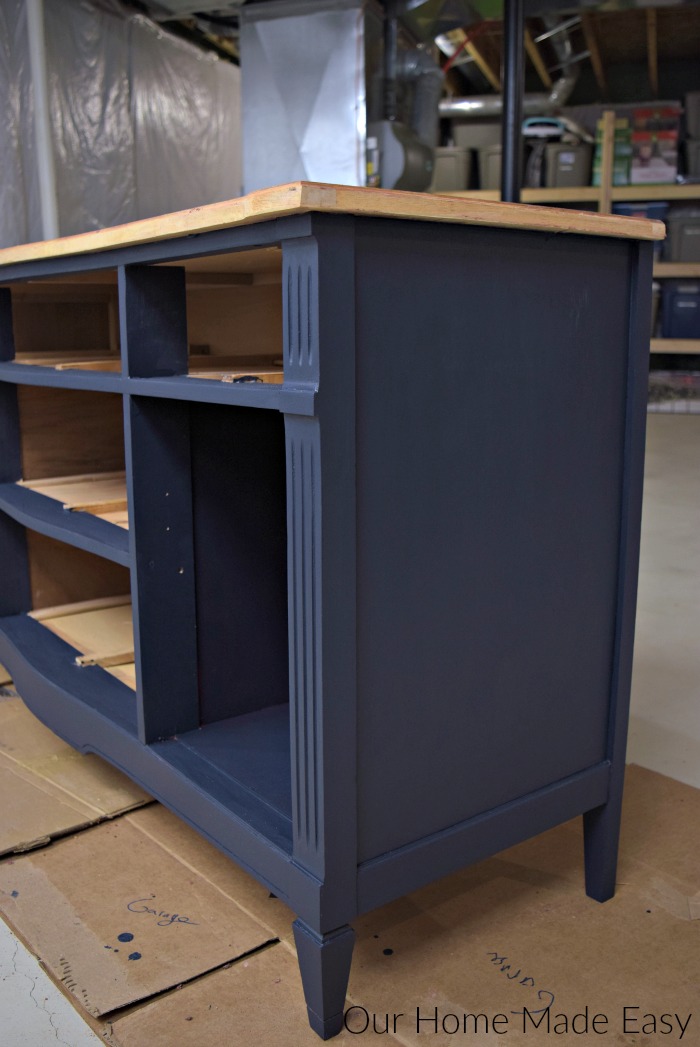
Once everything was painted on the exterior, paint any inside areas.
Applying Wax
Fusion Mineral Paint advertises that there paint does not need any wax or finishing product! But you know me, I wanted to try my hand at this espresso antiquing wax.
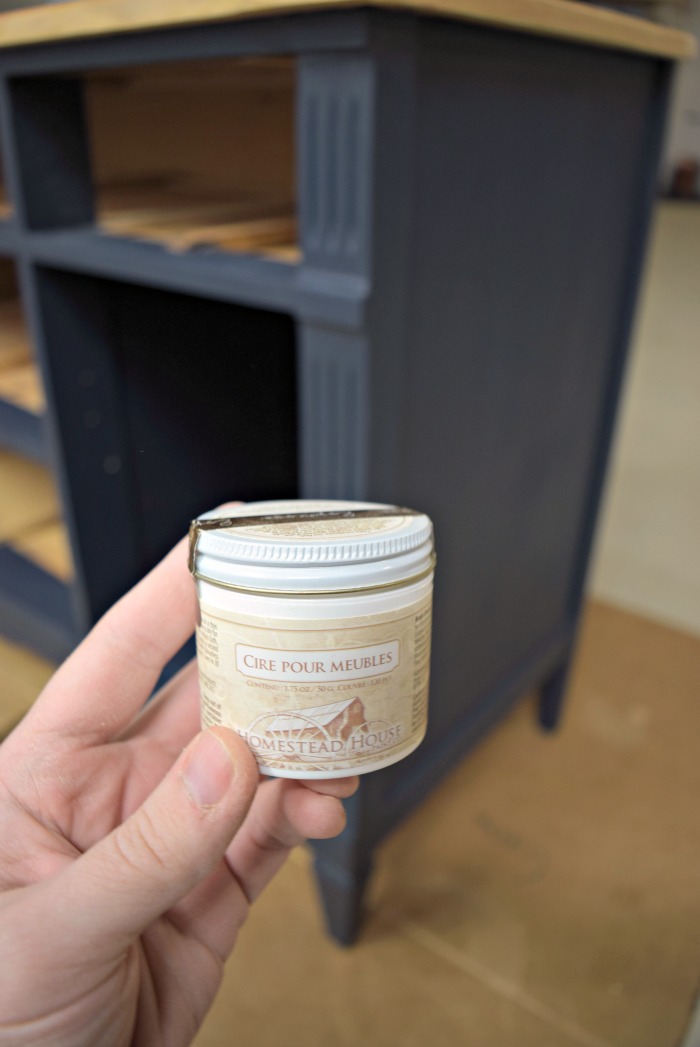 If you’ve never applied wax before, take your chip brush and apply a coat over the paint. The wax should be heavy handed thickness, letting it ‘catch’ in the corners.
Look at your directions for removal. After a set period of time, you’ll take wiping cloths and wipe off the wax in the direction of the wood grain.
Stain the Top Surface
Now you’ll want to flip over the dresser and start wrapping up your project!
Re-tape the area that you don’t want stained. You are wanting to avoid any drips (like the painting taping earlier).
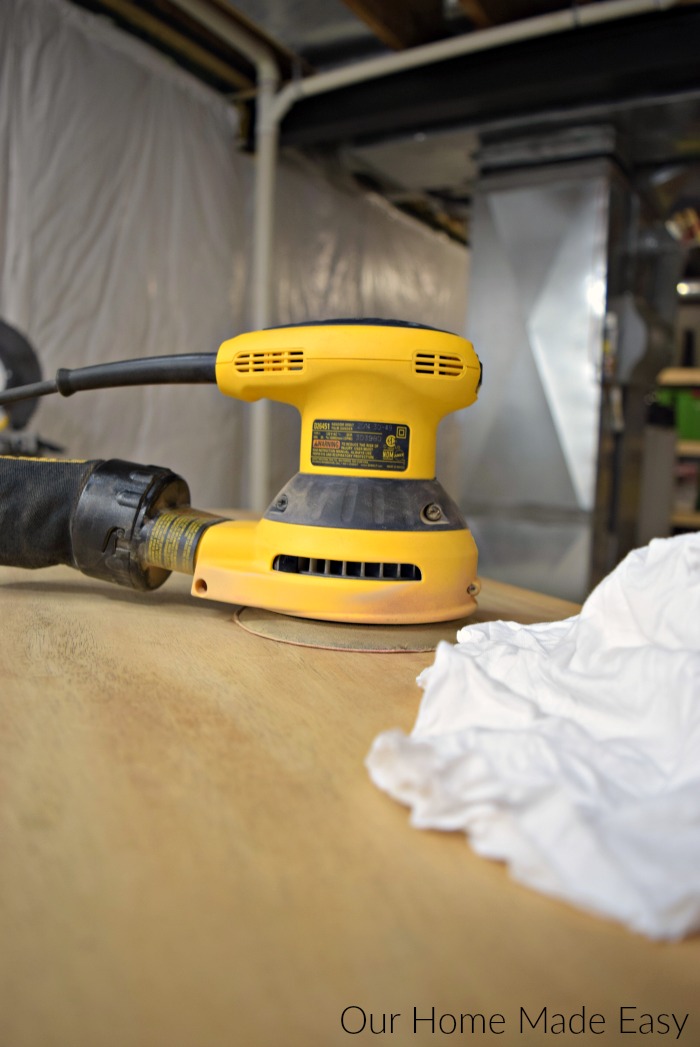
Once your dresser is right side, or if it always was, use your orbital sander and run a 220 grit over the entire surface. Use a small piece of sandpaper to get into any corner bevels.
Wipe off any dust or dirt with clean wiping cloths. <<< If you haven’t noticed, I went through a few packs of clean cloths on this buffet 😉
Now, take a clean cloth and dip it into the stain. Liberally wipe across the surface in the direction of the grain. Depending on the color you want, wait a few minutes, and wipe off using a clean cloth.
Don’t forget about the under side of the overhang.
Repeat stain layers as needed.
Once you have the stain completely dried, lightly sand it again to ensure a smooth finish.
Apply a polycylic to seal in your stain. I always prefer a matte finish so that it looks like there isn’t a high-gloss top coat.
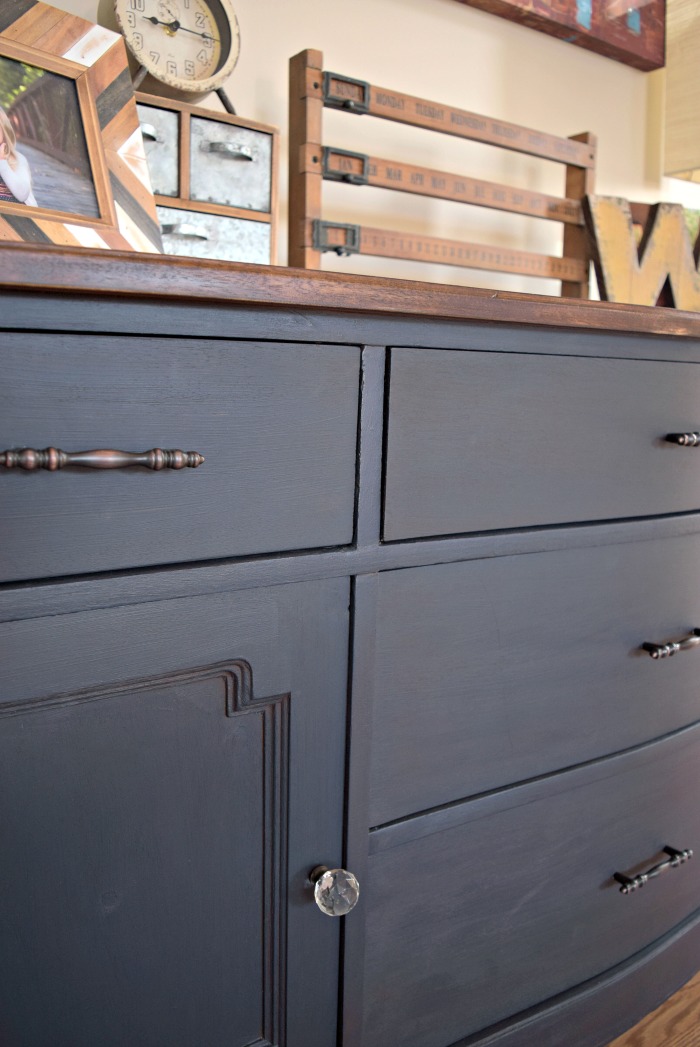
Don’t forget about updating old hardware and hinges. Jordan spray painted our door hinges to make them match the existing drawer pulls.
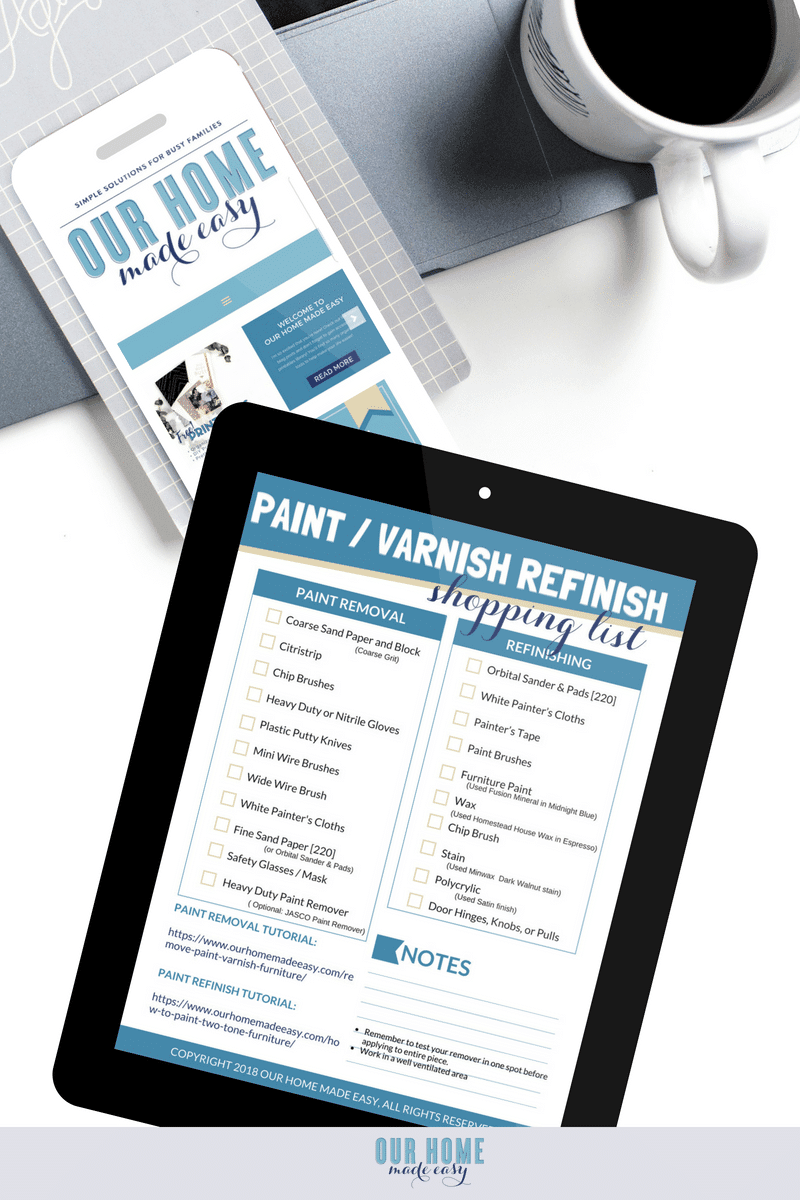
Get This Entire Project’s Shopping List Right Here!
Click the image below for the shopping list!
You can see the espresso wax added some depth to the buffet.
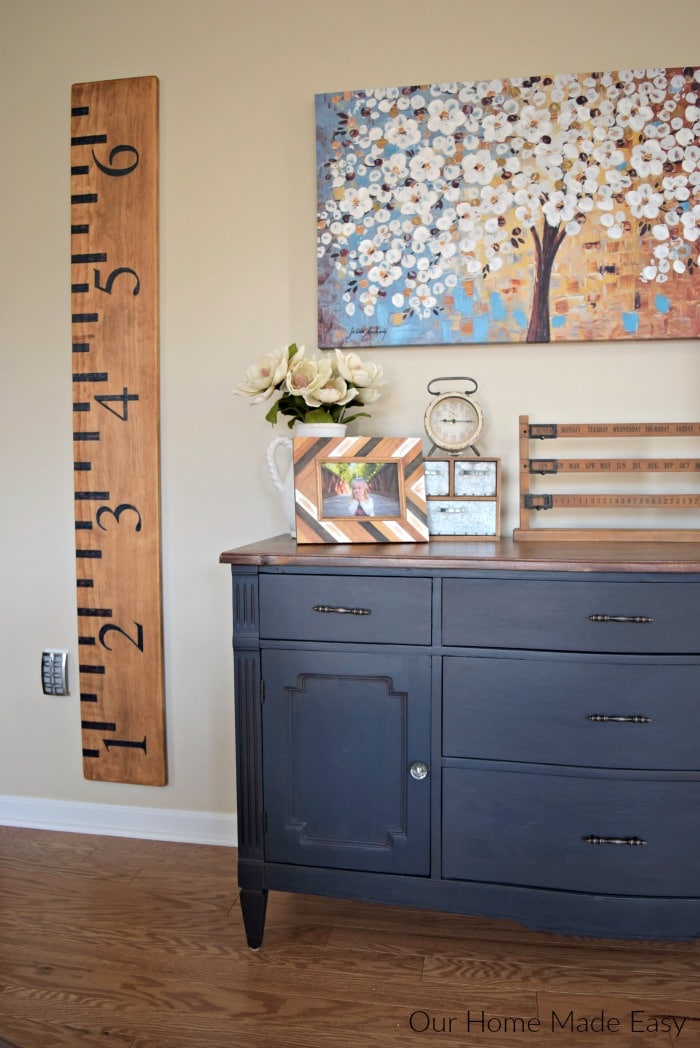
Customizing your own furniture is pretty easy. It’s a perfect weekend project while the kids are napping. For the cost of a small can of paint and leftover stain, you can really transform the look of a room!
Related Posts You Might Love:
- 8 No-Fail Ways to Update Old Furniture
- Fusion Mineral Paint: Is It Worth It?
- A Side by Side Comparison of Fusion Mineral Paint Colors
Thanks for this great post! Custom designing your furniture yourself is a cool way to spend a memorable weekend with your family. With no high expenses to deal with, you get to witness awesome results in just a few hours. I will be trying this for sure.
Thanks Lisa! It looks so much better in our room with the blue. Thank you for stopping by! -Brittany
What color did you use on that buffet, you did an amazing job irlts beautiful
Thanks Lindsay! The buffet is painted in Midnight Blue by Fusion Mineral Paint with Homestead Espresso Wax over it. 🙂 I recently wrote a review of my painting experience, if you are interested: . https://www.ourhomemadeeasy.com/fusion-mineral-paint-is-it-worth-it/
Thank you for stopping by! -Brittany
Hi Brittany, I have several old pieces that have the laminate covering on them that have chipped or broken, how do I fix that before I paint? Thank You.
I
Hi Elaine! If you’re going to paint the surface, I would recommend picking up wood filler. You’ll want the kind that goes on a purple color and turns white when dried. I would apply a really thick layer and sand down the dried filler until even with the surface! If you’re staining, it may be hard to cover up the filler (not impossible though), and you want some imprefections to show through. My piece has divots and spos and I’d like to think it gives it some character. 🙂 -Brittany
Hi Brittany, I love your post. I am planning to do a coffee table with the same 2-color concept. I would like to know the color and brand of the stain you use in your table.
Hi Libertad! For the top, I used Minwax Dark Walnut and 2 coats of satin poly (any brand will do). Good luck! -Brittany
Hi. I love the color of paint you choose. It’s always recommended to stain first if you plan on painting. The rationale is that if the stain drips you can always paint over it but if the paint drip onto where you want to stain then you pretty much have to repaint or glaze over where the stain has dripped because you won’t totally get it off.
Hi. I forgot to ask….did you brush, roll or spray the midnight blue?
Hi Cleo! I used a brush for painting!