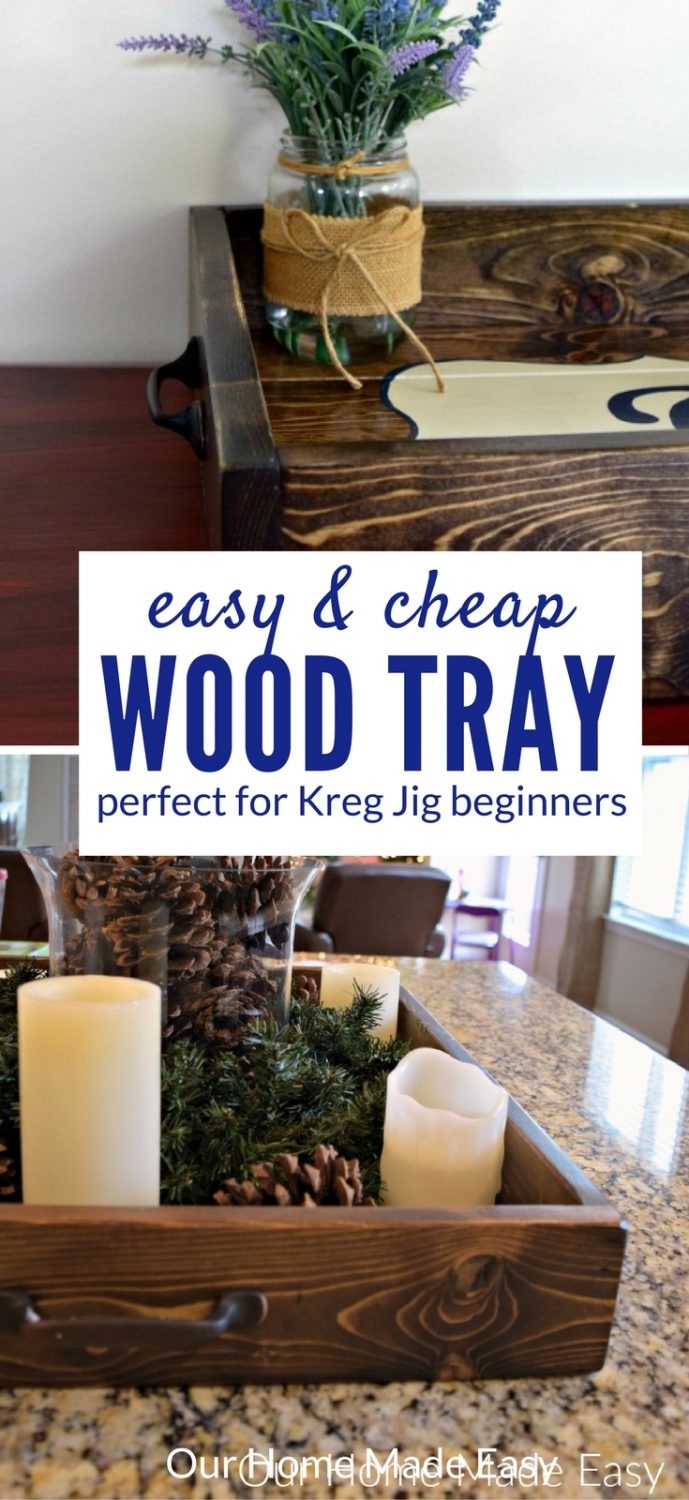
Make an Easy DIY Wood Tray Quickly and for Cheap!
Good morning friends! We have been super busy this month already! How have you been? If you haven’t already checked out my first fall tour and our front porch this year, take a look! While you are looking through the house, you might notice a tray that keeps popping up. It’s so versatile and beautiful. But guess what? It’s all DIY, made by Jordan, and built with less than $10 worth of materials! Keep reading if you’d like to build one too!
I am going to show you how to build a tray that is 4 boards in width. It’s the perfect size for all of your needs.
If you need a larger tray, check out how to obtain material list / cuts/ assembly directions below!
This post contains affiliate links. If you shop from my blog, I may be compensated for clicks or purchases that you make. Read my disclaimer page for more information.
Supplies Needed for DIY Wood Tray
- (2) – 1″ x 4″ 6 foot piece of lumber (We used select white pine)
- (19) 1-1/4″ Kreg Screws
- (2) Decorative Handles
- Stain & Polyurethane of your choice
- Orbital Sander
- Kreg Right Angle Clamps
- Miter Saw
- Power Drill
- Various Clamps
- Kreg Pocket Hole Jig
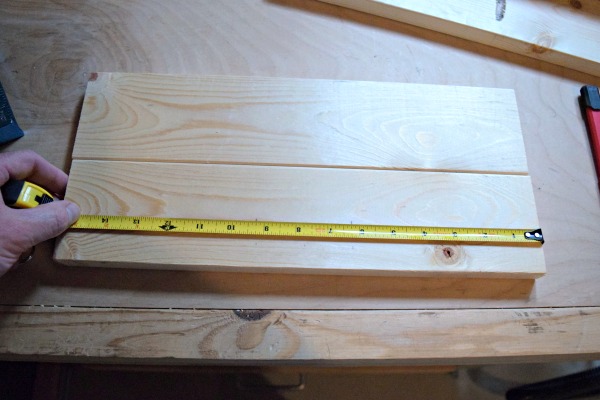
Making your cuts

Using a Miter Saw, cut your wood using the dimensions above.
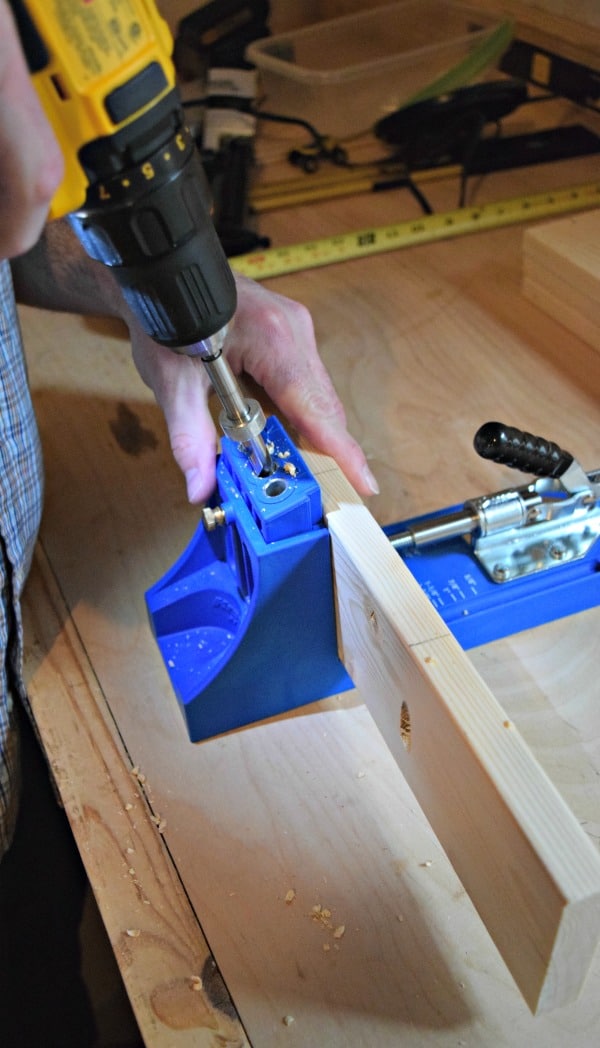
Drilling your Pocket Holes
For this, you will need a Kreg Pocket Hole Jig. If you don’t already have one, consider investing in one. It has made our DIY abilities sky rocket AND it’s super easy to learn how to use. It’s like instant DIY build gratification!
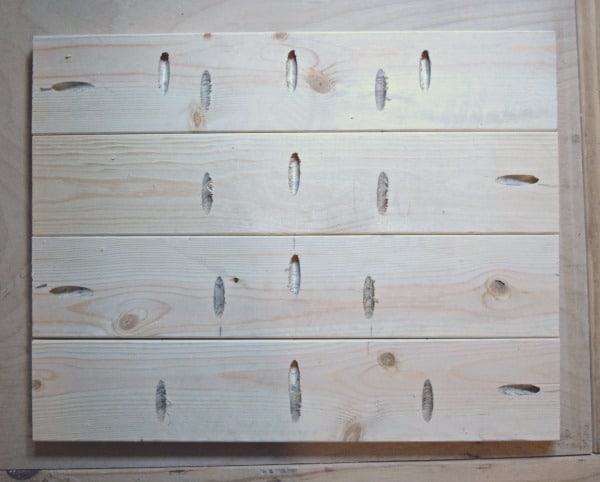
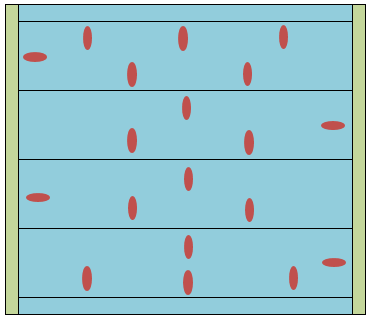
Alright, off my Kreg Jig, soap box. Drill your pocket holes using the illustration below.
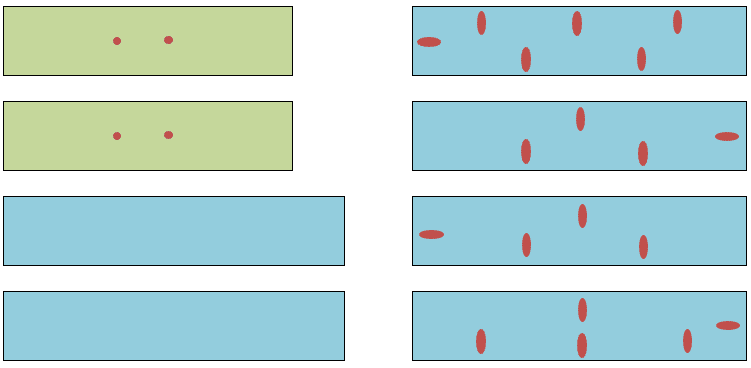
As a guide, begin 4″ in on the first board, 9″, then another 4″ from the other side. For the second board, the dimensions are 6″ & 9″. Continue with the 4/6/9 pattern as shown.
- Related: DIY Wooden Serving Tray
- Related: Quick & Easy Wood Tray [Less Than $8!]
- Related: Easy DIY Pallet Wine Rack in 15 Minutes!
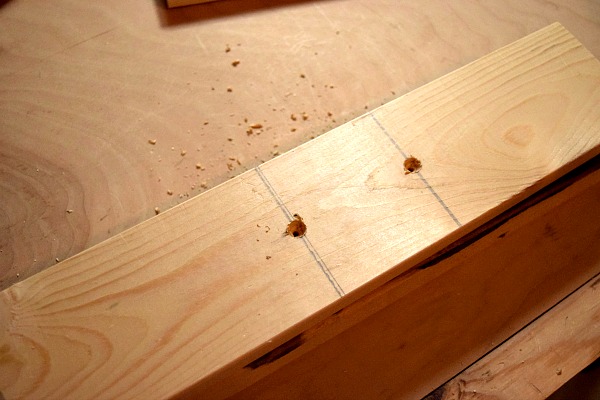
Next, find your center of the end pieces. Mark your points. Drill your holes for your decorative handles.
Assemble the Tray
Line up your wood bottom as shown in the illustration.
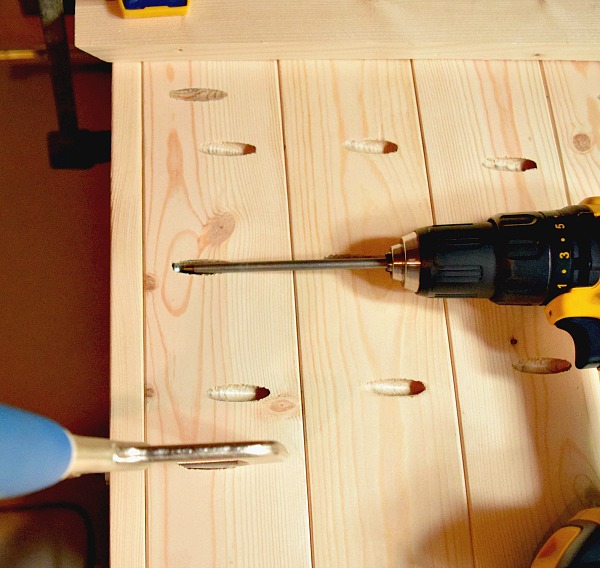
Using your various clamps, begin assembling the boards, one at a time. To avoid board warping or cupping, Jordan had a vise clamp attached to a straight board. This kept the pieces from moving while being joined (see the picture below).
Drill in the screws, building upon on each board. You’ll keep adding one piece to the pieces already screwed together. With the tray base assembled, roughly sand the entire piece with an orbital sander.
Next sand the side pieces and upper tray corners until smooth.
Next, use your right angle clamp and begin joining the tray & sides together with the middle screw. Fasten together. Move the right angle clamp to the outside edges as you continue on.
Once assembled, run a sander over the tray to desired texture.
- Related: DIY Wooden Ruler Growth Chart
Stain
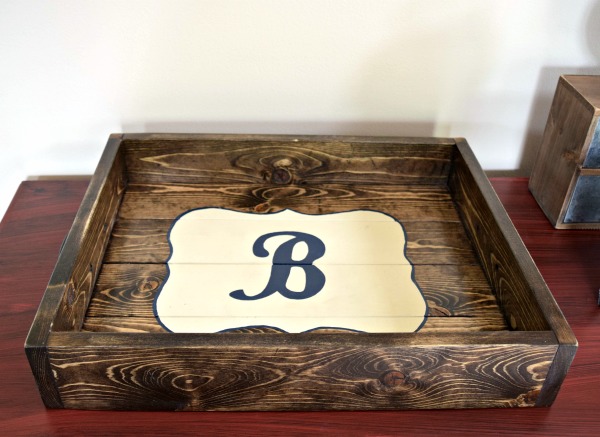 We had some stain on-hand from past DIY projects. Apply one to two coats. At this time you can either finish the project off with two coats of polyurethane OR add some fun decor (we did a monogram)! Once you have the monogram done, finish with the polyurethane.
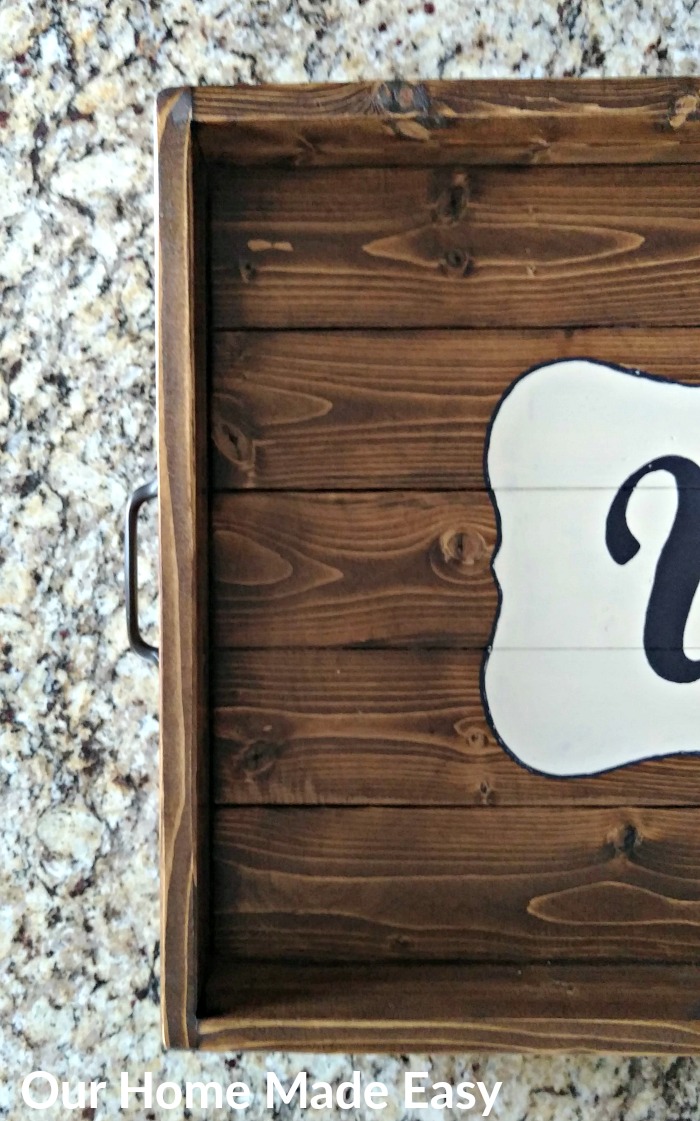
Add Handles
Complete your project by screwing in your decorative handles!
The picture above is the 5 rail tray. You can see we did a satin poly coat to make it look less modern and more aged.
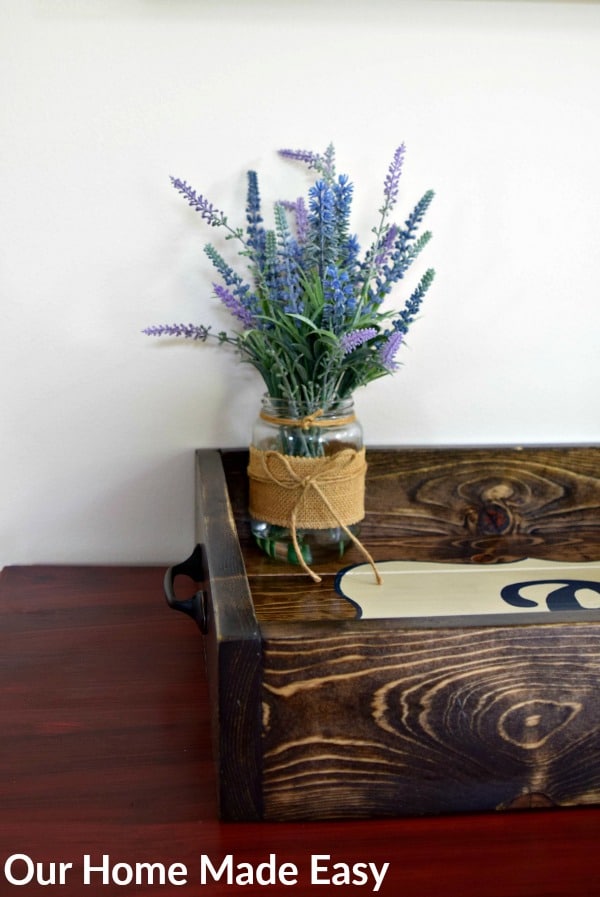
This is a super easy project that cost us less than $10 in lumber, screws, and handles. You can easily make it one afternoon and size it just right for your table! Add your own personal touch with your stain choice and fun handles.
Love a great DIY project? Be sure to grab your list of my favorite weekend warrior projects below!
![]()